Advertising disclosure: This page includes affiliate product links that may earn us a commission, as well as products from our own store.
Landmine Rows: Secure the Pivot, Hold Your Hinge and Build a Stronger Back
A landmine row looks simple until you try to make every repetition look the same. One end of the bar stays anchored while the loaded end traces an arc toward your torso. That arc gives the exercise a different feel from a free barbell row, but it does not cancel out the need for a solid hip hinge, a stable grip and enough room for the plates to travel.
The useful question is not whether a landmine row is universally better than a barbell, dumbbell or machine row. It is whether the setup lets you load the intended back muscles, repeat a worthwhile range of motion and progress without turning each rep into a hip extension. Here is how to make that happen.
1. Understand the bar path before adding weight
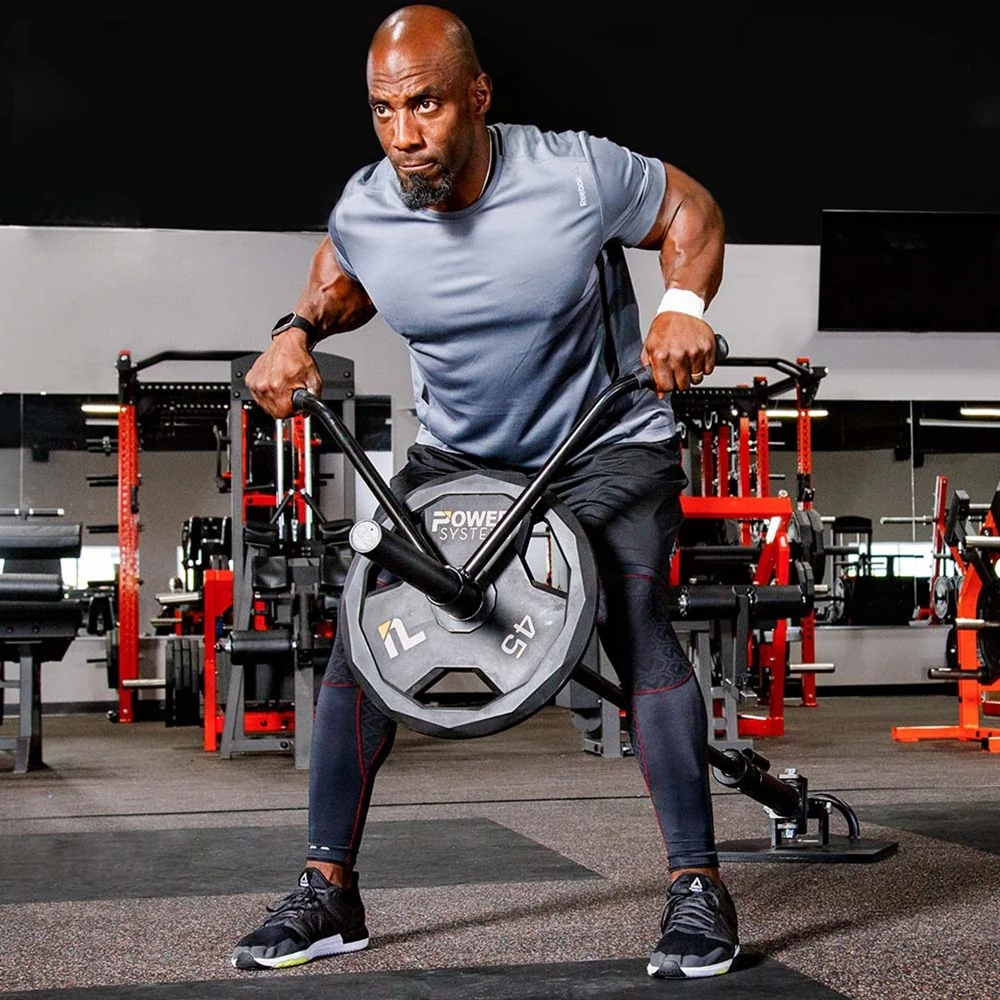
The landmine holds one end of an Olympic bar in a pivoting sleeve. When you pull the other end toward your body, the loaded end moves along an arc instead of vertically. As the bar rises, its angle to the floor changes. That means a plate marked 20 kg is not equivalent to 20 kg of constant vertical resistance at the handle throughout the rep. Bar length, where you hold it and the angle of the bar all affect the leverage.
Traditional two-arm landmine rows usually put you astride the bar, facing away from the pivot, with a close neutral-grip handle positioned beneath the sleeve. Other handles create different wrist positions and elbow paths. The attachment is only useful if its shape leaves enough clearance for your hands and the plates. A free-moving landmine base is different from a fixed T-bar row machine, even though gym conversations often use the names interchangeably.
Secure the anchor first. Use a landmine designed to hold the bar, make sure its mounting hardware cannot shift and check that there is unobstructed travel for the plates. Improvised corners can slip, damage the bar or wall and change the pivot angle without warning; a properly installed unit is a more repeatable option. Give yourself room to stand clear of other lifters and do a few unloaded strokes.
Do not treat the anchored end as a promise of perfect stability. Your legs, hips and trunk still need to resist unwanted movement while your upper body rows. A landmine may feel less demanding to stabilize than a free bar, but the actual balance challenge depends on your stance, leverage and load. That is a setup choice, not a proven guarantee that the exercise prevents back pain.
2. Build the hinge, stance and handle around the equipment
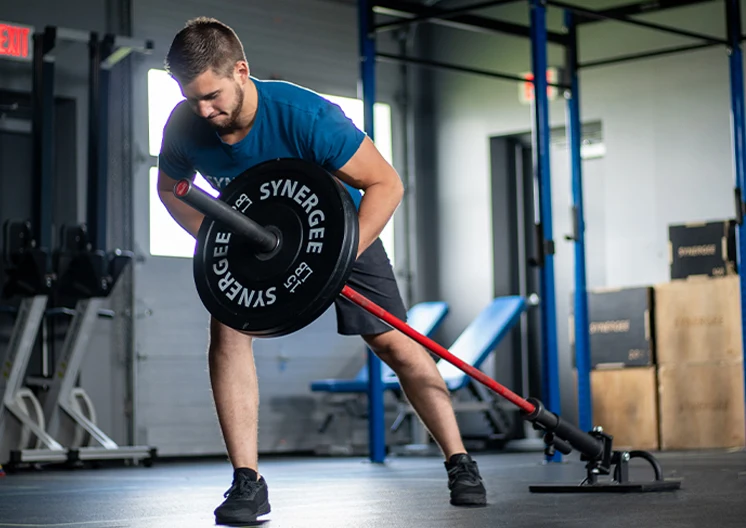
Start with the unloaded bar. Straddle it, put your feet approximately hip-to-shoulder width apart and angle your toes however you can keep pressure through the whole foot. Soften your knees, push your hips back and bend forward until your hands can reach the handle without rounding sharply to chase it. An aggressive forward lean is not automatically better; it is only useful when you can maintain it.
For a two-arm T-bar-style row, secure a neutral handle beneath the sleeve, typically just behind the plates. Check that the handle cannot slide sideways or catch against a collar. Keep your wrists reasonably straight. If the handle feels too narrow, a wider purpose-built row attachment can be more comfortable, provided it is designed for the load and still clears your torso.
Stand far enough from the pivot that the bar has a useful arc. Too close, and the handle may crash toward your hips; too far, and you may reach or lose your balance. Run through one slow repetition with minimal weight to judge plate clearance and bar path. Large-diameter plates often contact the body or floor early, so several smaller plates can sometimes give more usable travel than one enormous plate of the same total mass.
Brace as if you are about to perform a controlled bent-over row: ribs stacked over the pelvis, weight distributed across the feet and torso relatively quiet. You can breathe normally between reps; do not hold your breath longer than needed to maintain a comfortable brace. Set the loaded bar down with the same deliberate hinge you used to pick it up. If you cannot reach the starting position comfortably, raise the handle with a suitable setup or use a supported row variation instead of forcing your spine into it.
Some product links may be affiliate links, which can support Mind Muscle Perfection at no additional cost to you.

Equipment Worth Exploring
Explore equipment, accessories and gear from our carefully selected range.


T-Bar Row Attachment
Welded barbell attachment that connects a D-handle bar for landmine and T-bar rows.

GymPin Barbell Row Handle
Heavy-duty handle attachment for barbell, landmine and T-bar rows.


Grip Plates
Rubber-coated weight plates with handholds for loading barbells and machines.


Leather Lifting Straps
Padded leather straps support grip during heavy rows, deadlifts and pulling exercises.

Angles 90 Grips
Flexible grip attachments that allow natural wrist movement during pulling exercises.
3. Row with your elbows, not a full-body heave
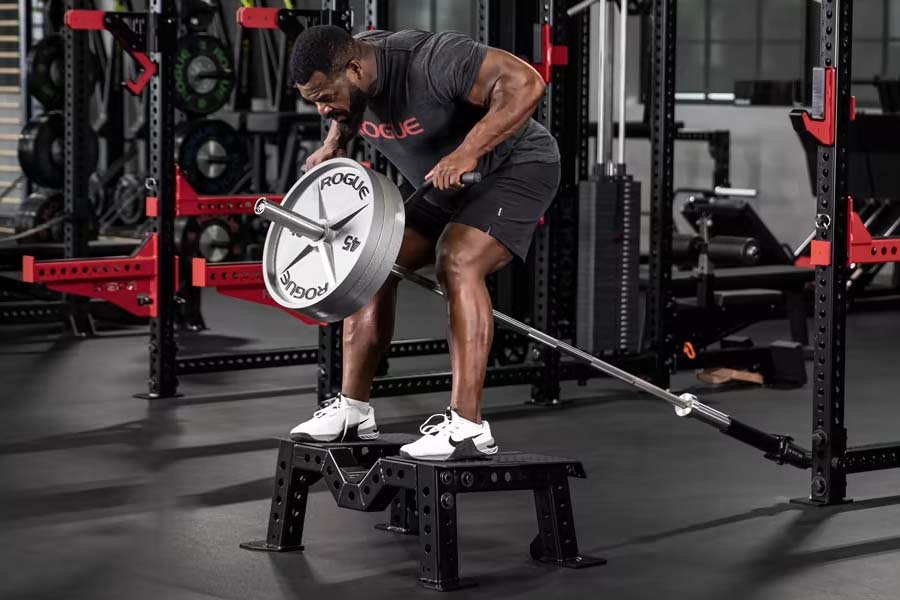
At the bottom, let your arms extend to a controlled position while your shoulders move naturally around the rib cage. Pull the elbows back and slightly toward the hips if you want a close-grip, lat-focused emphasis. If you prefer a wider upper-back emphasis, use a handle that permits a somewhat more open elbow angle without forcing your wrists to bend. Neither choice isolates a single muscle: both train several back and arm muscles together.
Think of the hands as the hooks and the elbows as the direction of travel. That cue helps some lifters avoid turning every pull into an elbow flexion contest, but it should not mean relaxing your grip. A neutral, secure grip still transmits the load. Bring the handle to a consistent position you can reach without losing the hinge or banging the plates into your chest. You do not need to yank the elbows dramatically behind the torso to make the rep count.
Pause briefly when you can actually control the top. Then lower the bar under control until your arms reach their planned end position. A roughly one-to-three-second lowering phase is a sensible practice cue, not a magic hypertrophy speed. Avoid dropping the plates onto the floor between reps unless you are deliberately performing a programmed dead-stop variation with a safe reset.
Four common errors deserve immediate attention: the hips drive upward before the elbows move; the lower back repeatedly changes shape; the neck cranes up to watch the mirror; and the last third of the set becomes half-reps as the plates collide with the body. Fix them by reducing load, moving your stance, changing handle height or shortening the set. If your lower back tires before your upper back, that is useful programming feedback rather than proof of a weak back.
Work near a challenging effort, but keep one or two technically consistent repetitions available while learning. You will get a clearer progression signal from ten controlled reps at a known stance than from twelve reps that become progressively shorter and more explosive.

Bodybuilding Shirts & Workout Gear
Bodybuilding shirts, tanks and gym gear for lifters chasing muscle, size, symmetry and the pump.


Shirt Pull Day – Back & Biceps Meme Top T-Shirt
Heavy lifts, good laughs, and a little “Pull Day Graphic” energy.

Big Back SpongeBob Bodybuilders Back Day Hooded Hoodie
Make your off-duty look more fun with “Big Back”.

Nice Traps Big Back – Halloween Horror Jigsaw Meme Vest Tank Top
Add some Halloween attitude to training with “Nice Traps Big Back”.

Back Sabbath Back Day Heavy Metal Back Training Workout Tank Top
Train hard, laugh a little, and rep “Back Sabbath Back Day”.

Gym Dost Thou Even Pull Medieval Knight Back Day Crewne T-Shirt
Show some gym-day personality with “Dost Thou Even Pull Medieval Knight Back”.

Strong Back Bodybuilder | Meme Hooded | The Simpsons Wo Hoodie
Bring “Strong Back Bodybuilder” gym humor to lazy days and post-workout plans.
4. Match the movement to the muscles and grip you want to train
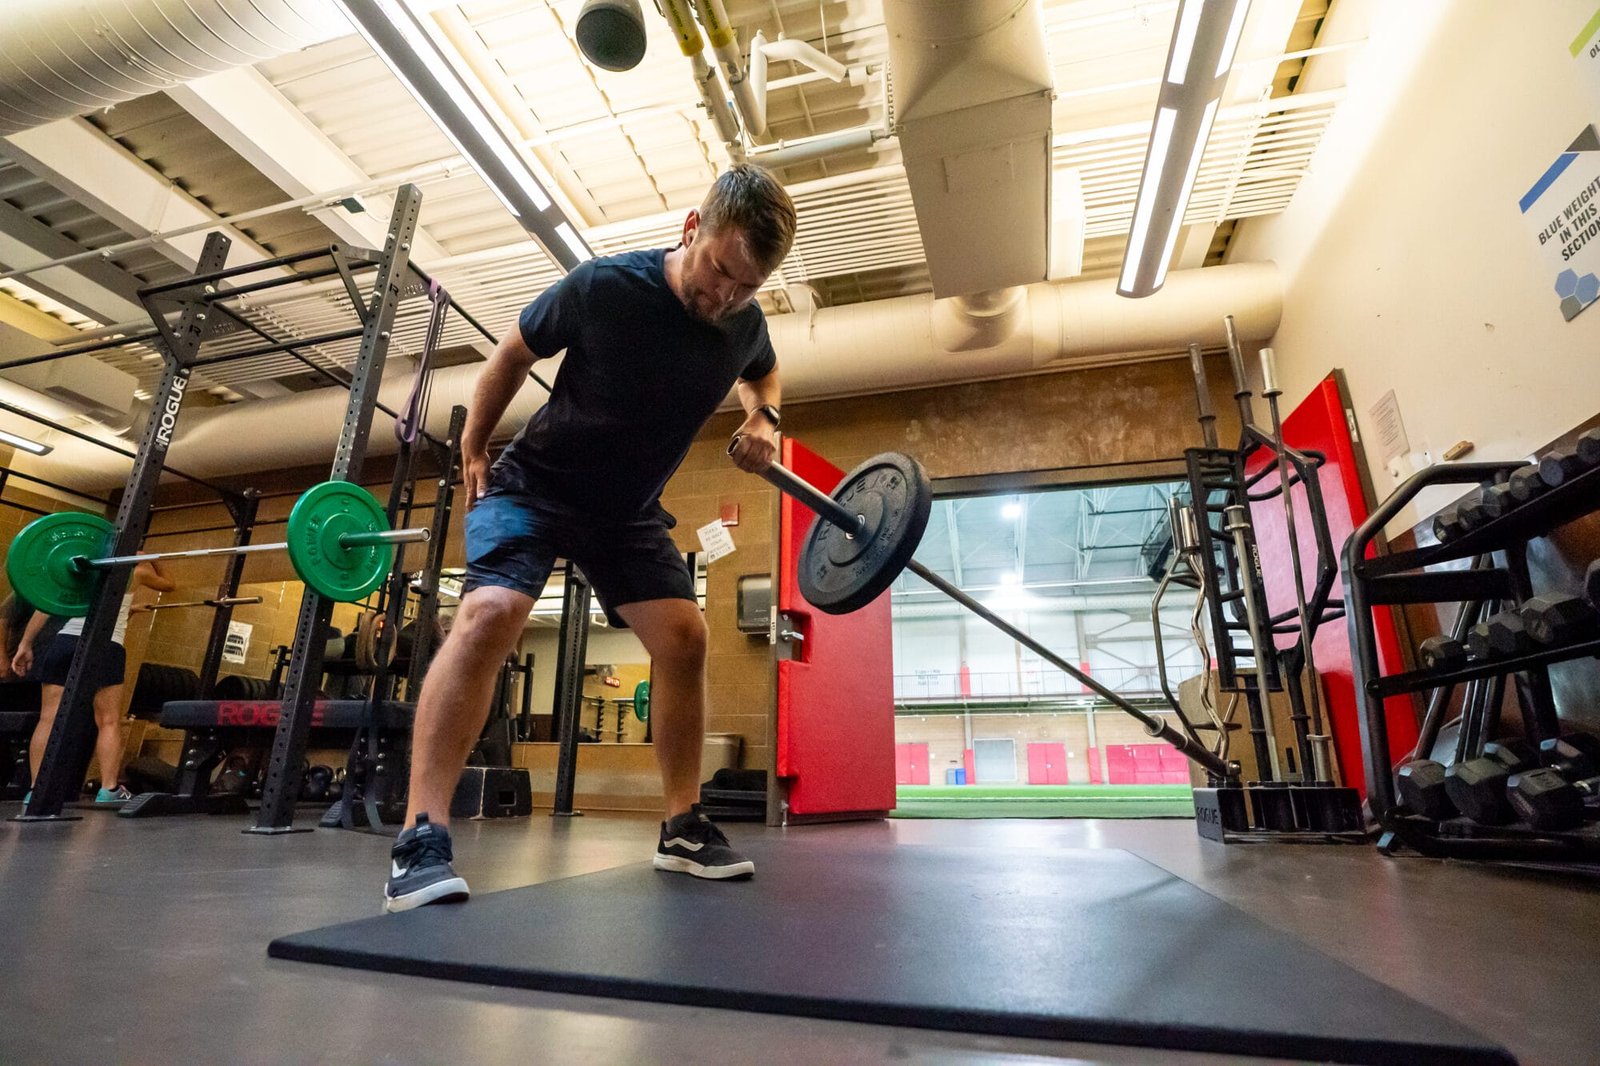
Landmine rows recruit the latissimus dorsi, middle-back musculature, rear deltoids and elbow flexors. Spinal erectors and the muscles around the hips help hold your position. This is a practical anatomical description of a multi-joint row, not a measured ranking of which variation activates each muscle most in every person. Attachment width, arm angle, torso position and the amount of support all change the exercise.
For a relatively close neutral grip, keep the upper arms nearer the sides and pull toward the lower ribs or upper abdomen. This often makes it easier to feel the lats contributing alongside the other back muscles. With a wider handle and elbows a little farther out, the movement may feel more directed toward the shoulder-blade retractors and rear delts. Adjust within a comfortable shoulder range; do not flare so wide that the handle or torso position feels awkward.
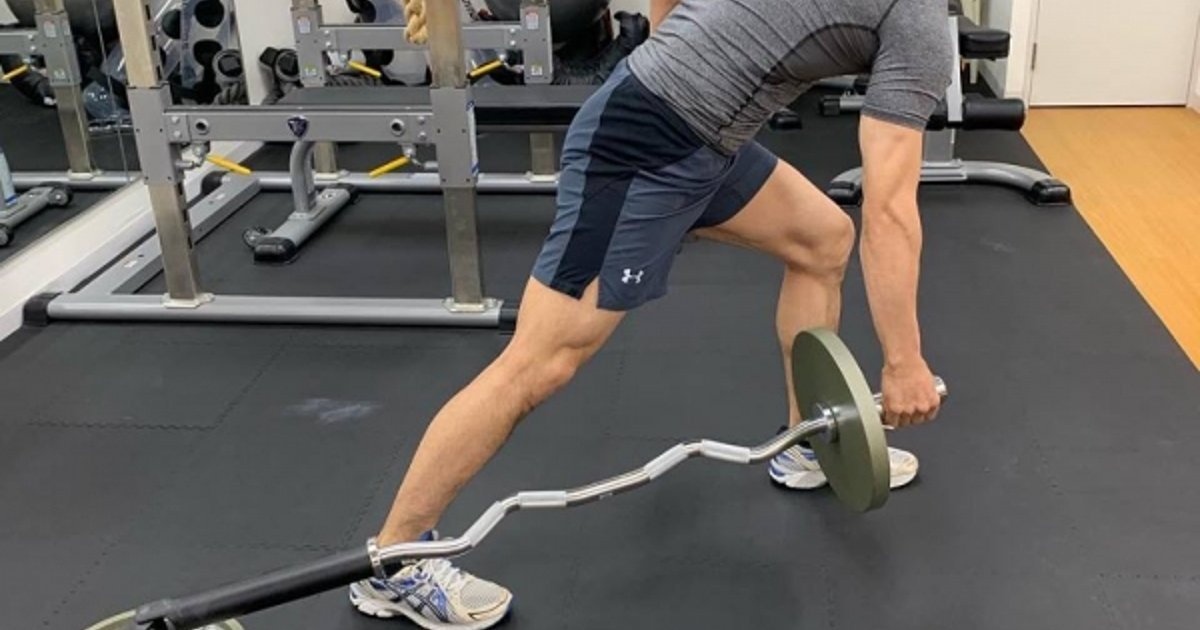
A single-arm landmine row lets one side work at a time. Stand beside the bar rather than astride it, use your free hand for support if useful and avoid letting the rib cage spin just to finish a difficult rep. The bar sleeve is thick; not everyone can grip it safely at heavy loads. Use a compatible handle or straps when grip limits otherwise clean rows, but recognize that straps change how much gripping work you must do. Stronger grip is a possible training goal, not a reason to let the implement slip.
Keep the difference between a rowing motion and a rowing machine clear. A cable row can provide a different resistance direction and easier chest support; a barbell row allows a freely moving bar; and a machine row may remove much of the hinge demand. None needs to be crowned the winner. Choose the option that fits the intended back stimulus, joint comfort, available equipment and fatigue budget for that session.
5. Use Meadows and supported rows when the standard version stalls
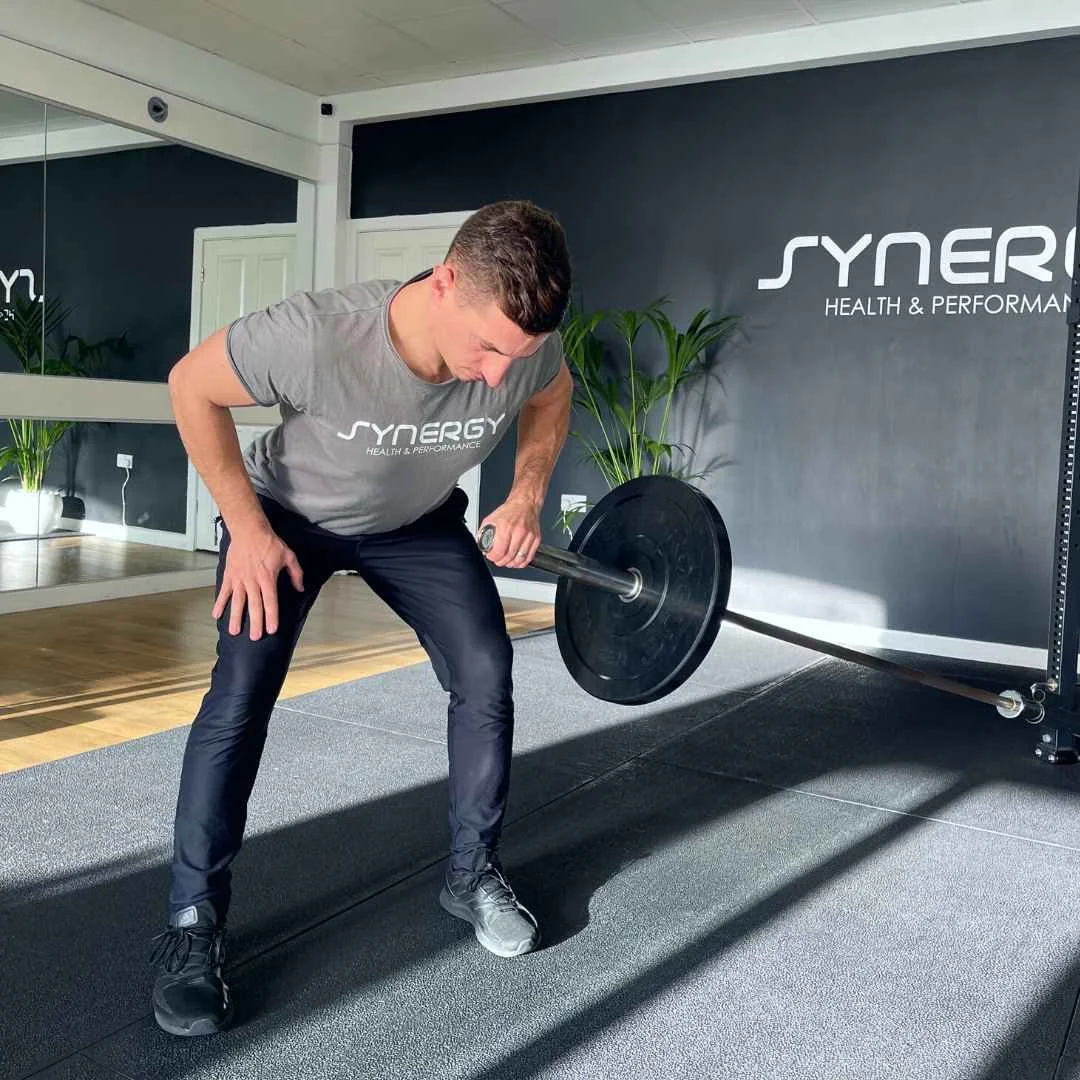
The Meadows row positions you to the side of the bar, often with a staggered stance and a one-hand grip on the sleeve. The elbows generally travel more outward than in a close two-arm row. It can be a valuable upper-back accessory, but it asks much more of your grip because the sleeve has a larger diameter than many handles. Start with small plates and a conservative load so you can learn the route without twisting.
Keep the free hand against your leg or a sturdy bench if you need stability. The torso should stay reasonably steady while the working shoulder blade and arm move. A little natural shoulder movement is part of a row, but excessive rotation of the entire trunk turns the exercise into something else. Since the bar is anchored, finding the right relative stance requires experimenting with foot placement and how far along the sleeve you grasp.
A chest-supported landmine arrangement or a properly supported one-arm row can be useful when your spinal erectors are fatigued from squats or deadlifts. Position the support so you can still move through a meaningful range without hitting the pad, and confirm the setup is rated and stable. A standard adjustable bench beside the landmine can also let your free hand provide support. Support may reduce balance demands, but it does not automatically make every heavy row risk-free.
If there is no landmine available, a chest-supported dumbbell row, cable row or dedicated machine row still lets you train horizontal pulling. If shoulder or back discomfort appears, change the setup or stop rather than forcing a prescribed elbow path. Different grips and ranges suit different people; a label such as ‘lat-biased’ is a coaching shorthand, not a guarantee of exclusive muscle activation.
For most lifters, variation should follow a purpose. Use the standard two-arm version when you want repeatable loading, unilateral versions to compare sides or reach different positions, and supported versions when you want more of the session’s effort spent rowing rather than maintaining the hinge. Track each variation separately in your training log.
Equipment Worth Exploring
Explore equipment, accessories and gear from our carefully selected range.

Linear Row LRX-750
Dual-sided rowing machine for supported rows, bent-over rows and varied pulling movements.

Lateral Row Machine LRM-720
Rowing machine with independent lever arms, an adjustable seat and chest support.

VForce Lat Tower
Wall-mounted cable tower with pivot arms and adjustable 1:1 or 2:1 pulley ratios.

VForce Wall Trainer
Space-saving wall-mounted functional trainer with pivoting cable arms and variable resistance ratios.

GymPin Ergo Handles
Pair of ergonomic cable handles shaped for comfortable triceps and pulling exercises.

GymPin D Handle Bar
Multi-use steel D-handle bar for cable rows, pulldowns and other cable exercises.

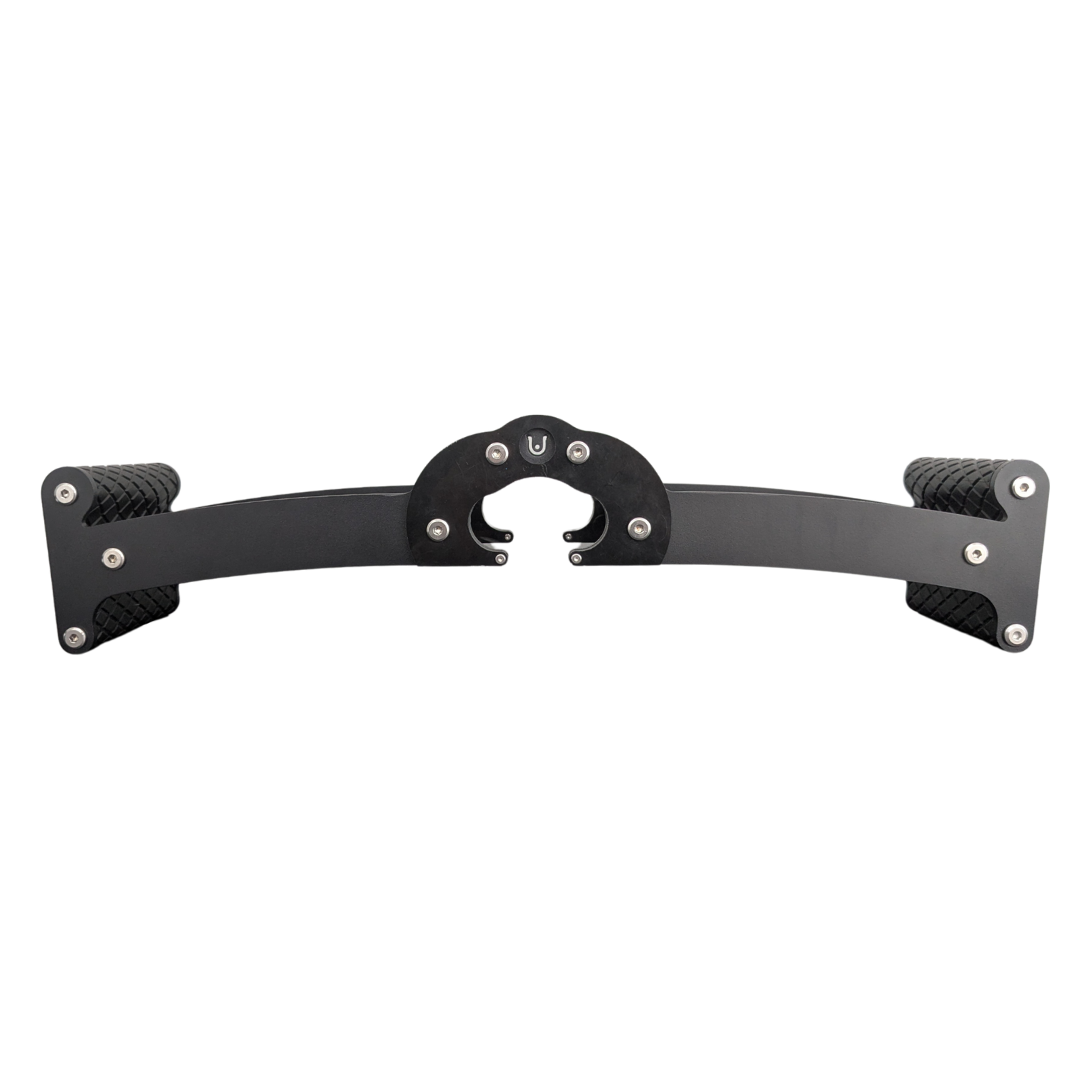
Back Bar
Multi-grip cable and landmine bar with a built-in deadlift jack.

Multi Bench MBX-650 2.0
Adjustable multi-bench with roller adjustment, 15 backrest positions and accessory mounts.
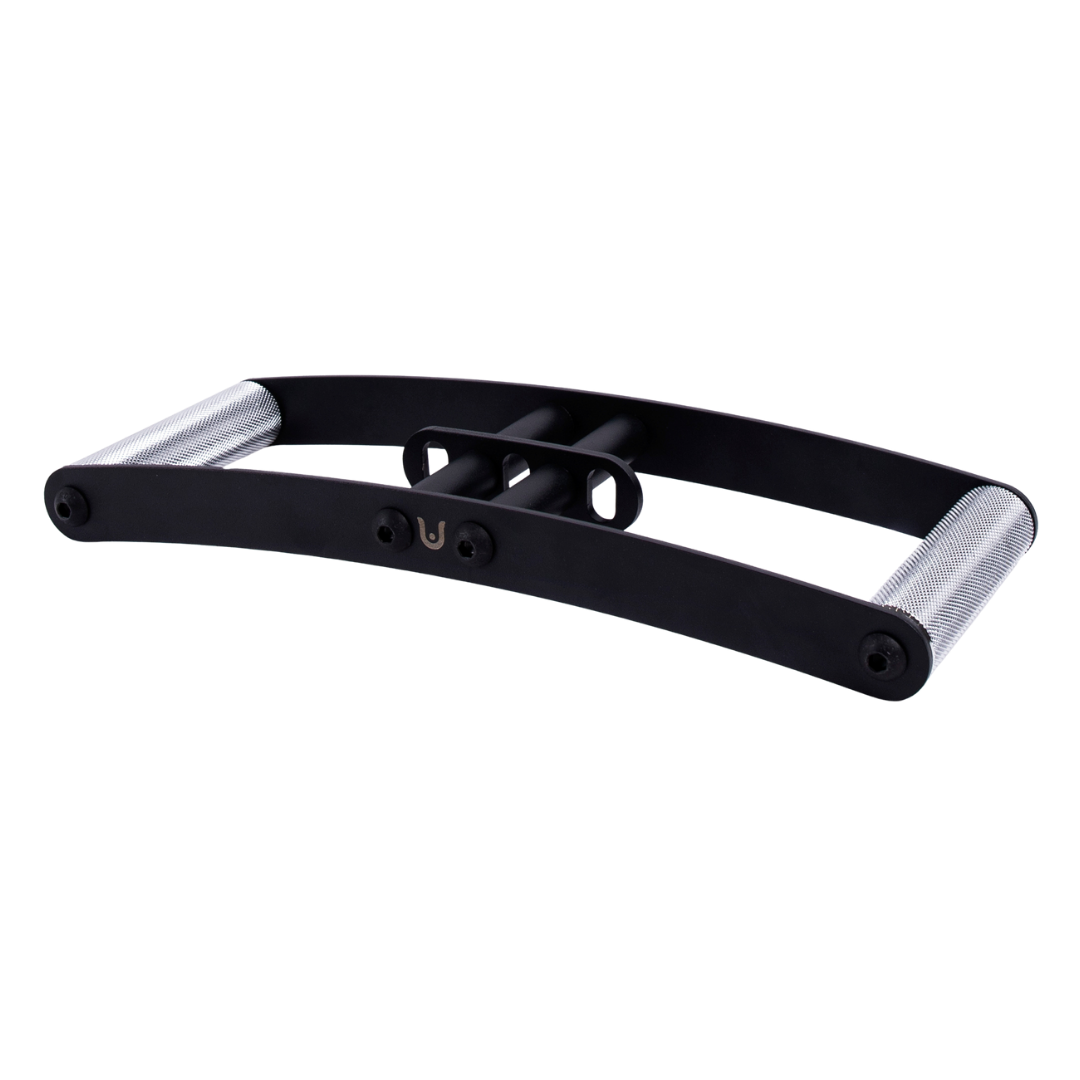
Horizon Grip
Ergonomic V-style cable grip for rows and back training.
6. Progress the row without changing the rules each week

A simple twice-weekly plan gives you enough exposure to refine technique without requiring landmine rows in every back session. Put the row after a demanding compound lift when you can still hinge competently, or use it as the first back exercise if it is your main progression priority. Warm up with the empty bar and one or two submaximal sets. Then choose a load that permits a repeatable, controlled motion.
Week 1: two working sets of 8–10 repetitions with a deliberate lowering phase. Establish the handle, plate size, foot position, trunk angle and range of motion. Record the total plates on the bar, not just a vague ‘medium’ resistance label.
Week 2: move to three sets at the same load if the previous sessions were comfortable. Aim for 8–10 clean reps per set with similar rest periods; about two minutes is a reasonable starting point, adjusted when breathing or grip has not recovered.
Week 3: work toward 10–12 repetitions in each set without shortening the stroke. You can keep the same load if the extra repetitions are genuinely hard enough. If you get more reps only by standing progressively upright, do not count that as progress.
Week 4: add a small plate increment when you have met the top of your rep target cleanly, then return toward the bottom of the range. If loading jumps are too large, maintain the weight and improve pauses or total controlled reps instead. This is a sample progression, not evidence that four weeks is a scientifically optimal cycle for everyone.
Use the same rest periods, equipment and stance in successive sessions when you want to compare numbers. Note whether grip failed early, the lower back tired or the handle struck your torso. These notes tell you whether to try straps, a support, smaller plates or a different handle before blindly adding weight. Rowing strength grows from accumulated good training, not from making the most dramatic-looking final repetition.
Finally, put the landmine row in context. Pair it with an appropriately programmed vertical pull if your plan needs one, and avoid doubling up on too many hinge-heavy rows after a very fatiguing deadlift day. The goal is a back routine you can recover from and repeat, whether the row happens with a bar in a landmine, a cable attachment or a supported machine.
Funny Gym Shirts & Workout Gear
Funny gym shirts, tanks, hoodies and workout gear for lifters who like training hard.


Grip Strength Fanatic Meme Hoodie
Show off your lifting humor in a laid-back “Grip Strength Fanatic” hoodie.


Slip Not Grip Training – Heavy Metal Workout Decal for Sticker
A fun “Slip Not Grip Training” touch for bottles, laptops, and lockers.

Pumpeye Forearm Gains & Grip Training Decal Popeye Sticker
Put “Pumpeye” gym humor on your laptop, bottle, or gym gear.

Shirt – The Empire Lifts Back , & Back Training Gains T-Shirt
Bring “The Empire Lifts Back” humor to your next gym day.

Hardcore Gains Gym | Funny No Pain No Gain Muscle Shirt Tank Top
Add some lifting attitude to training with “Hardcore Gains”.

Black Panther Big Back Gym Funny Workout Muscle Shirt A Tank Top
Add some lifting attitude to training with “Black Panther Big Back”.


Unbreakable Gains Back Tee
Make gym days more fun with “Unbreakable Gains: Strong Back Greek God” style.