Advertising disclosure: This page includes affiliate product links that may earn us a commission, as well as products from our own store.
Dumbbell step-ups are a leg-day staple for a reason: they train one side at a time, need little equipment and give you a clear way to progress. The trick is not climbing onto the tallest possible box. It is choosing a stable height, keeping the elevated leg in charge, and controlling the trip back down. This guide covers the muscles involved, common form errors, useful variations and a six-week training plan without making exaggerated glute-growth promises.
Why the step-up belongs in a serious leg program
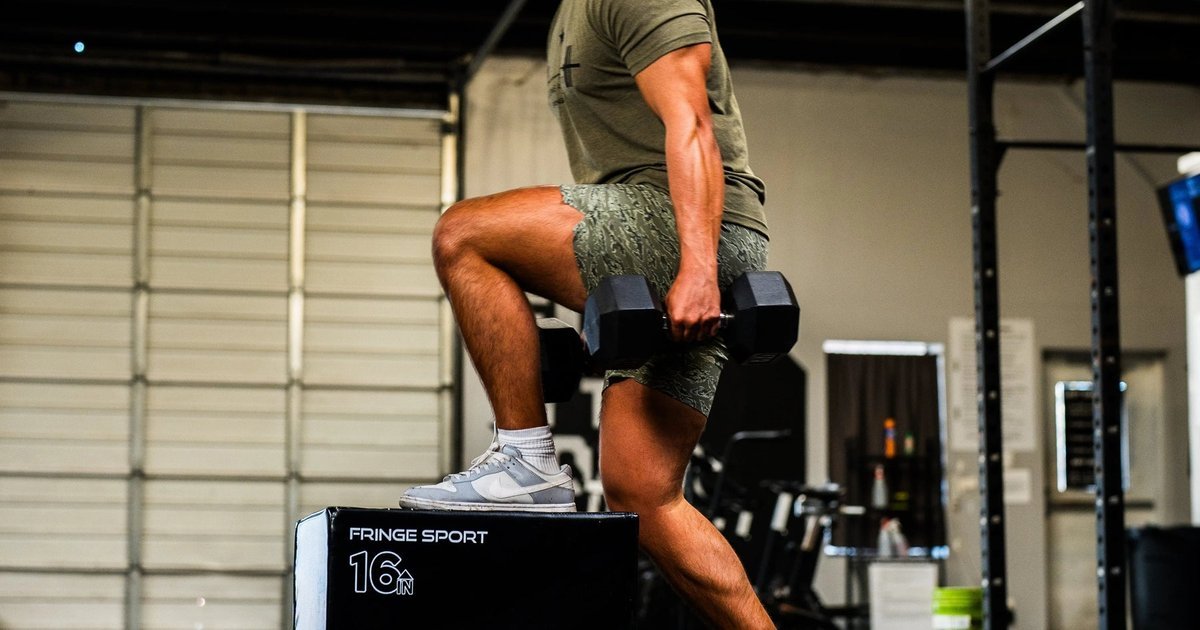
Step-ups look simple: put one foot on a sturdy platform, stand up, and return to the floor. The training value comes from making that one-foot movement repeatable under load. Each repetition asks your lead leg to extend the hip and knee while your trunk and pelvis stay controlled. Unlike a squat, a step-up creates an obvious opportunity to compare the two sides of your body without pretending you can isolate one muscle completely.
Think of the platform as a way to set the movement’s starting position, not an obstacle you must clear at any cost. A lower box lets you emphasize steady, high-quality reps; a higher one demands more joint motion and usually makes balance and mobility the limiting factors sooner. The right choice is the height you can use without pushing hard off the back foot, wobbling, or twisting your pelvis to finish the rep.
Dumbbells are convenient because their load hangs close to your sides and is easy to adjust. They are not mandatory. Bodyweight step-ups are a legitimate starting point; a single dumbbell held at the chest or one dumbbell in a suitcase position can create useful variation. What matters is that the exercise remains a controlled leg movement instead of a climb assisted by an aggressive jump from the floor.
The step-up is especially useful after a bigger bilateral lift or as the first lower-body exercise in a lighter session. If the setup feels unstable, the answer is not more weight. Start with a wider, lower platform and earn the harder version.
Which muscles work—and what the glute research actually means
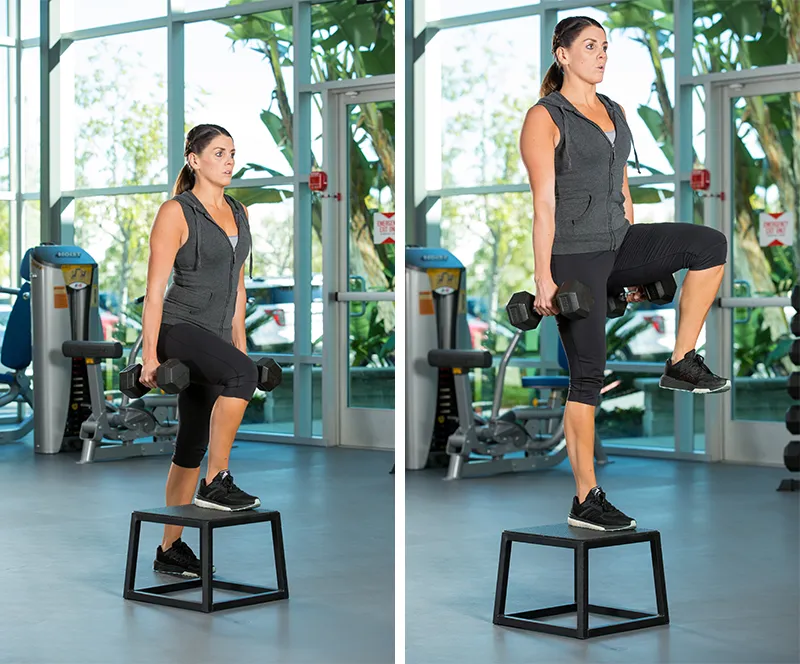
The quadriceps straighten the knee as you rise. The gluteus maximus helps extend the hip, while the side-of-hip muscles assist pelvic control as your body balances on one leg. Your calves, foot muscles and trunk contribute to stability. The same muscles participate when you descend, but they must control your weight rather than merely lift it.
One systematic review of muscle-activation studies examined 16 eligible papers and classified several step-up variations among exercises producing very high measured gluteus-maximus activation. That finding is a reason to take step-ups seriously as a loaded hip-extension pattern, not proof that they grow the glutes faster than squats, hip thrusts or lunges. Electromyography measures electrical activity in a muscle during an exercise; it does not directly measure changes in muscle size over a training block.
Even with the same platform height, technique changes which task feels hardest. If your trailing foot launches you upward, your lead leg does less of the lifting. If you rush the negative, you remove much of the controlled lowering work. If you shift your hips sideways to reach the top, the exercise becomes partly a balance rescue. These differences make technique and loading history more useful than chasing a particular sensation.
For growth, approach step-ups like any other challenging resistance exercise: progressively expose the working muscles to sensible loads, perform enough quality sets, recover, and maintain a range of motion you can actually repeat. They can complement heavy squats and hip hinges without needing to replace them.
Pick a box height you can actually control
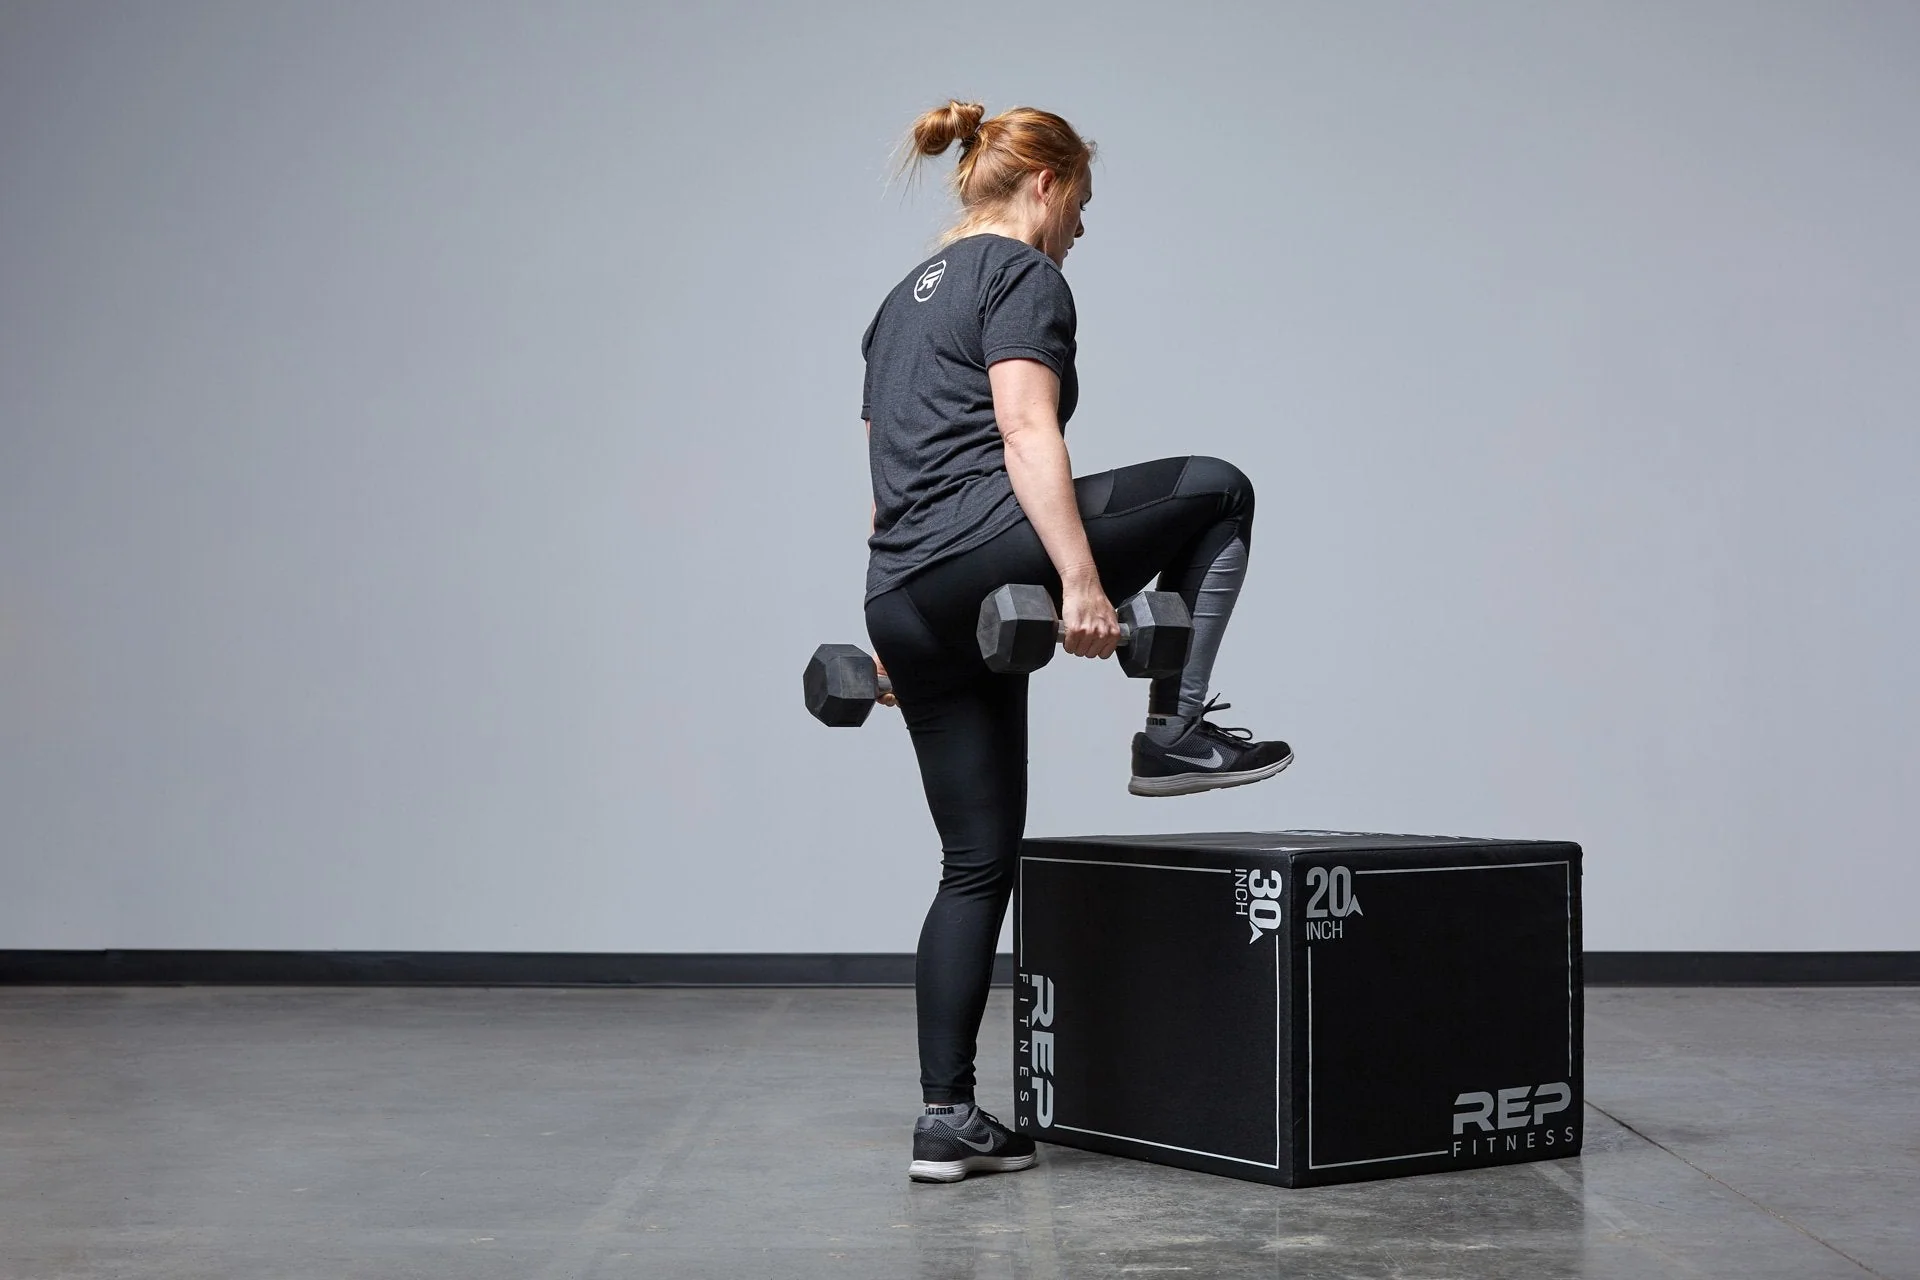
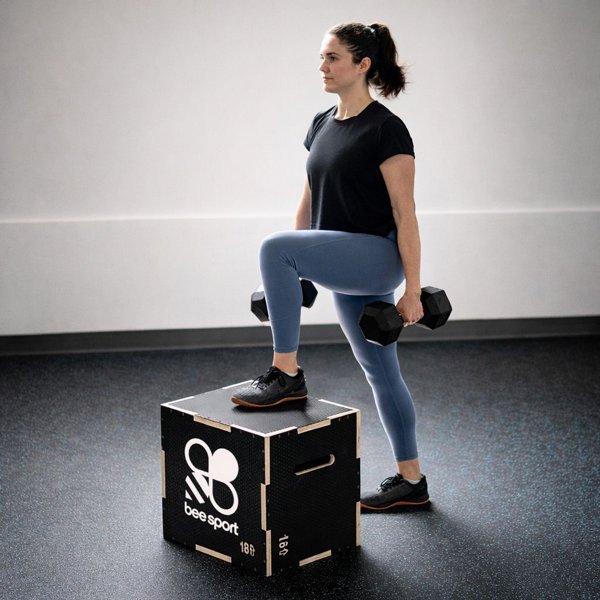
There is no universal ideal box height in inches. A low platform can be demanding for a beginner and an unnecessarily tall box can be a poor match for a strong lifter. Start with a height that puts the leading thigh below or roughly near parallel to the floor while the entire foot stays flat. This is a coaching starting point, not a fixed anatomical requirement.
Stand close enough that you do not lunge far forward to reach the surface. Put your whole lead foot on it, with enough room that the heel is not hanging over the edge. Check that the platform is level, cannot slide, and is designed for standing loads. A loose stack of plates, rolling bench, or soft object that tips under one leg is not an acceptable shortcut.
During an unweighted trial, rise mostly from the top leg and hold a tall position for a moment. Watch for three warning signs: the standing knee collapses inward, your pelvis twists sharply, or you must spring off the floor with the other foot. Any of those means the height, load or tempo is currently too aggressive. Lower the platform or slow down before considering extra weight.
Do not assume the tallest box gives the largest training effect. Taller boxes change starting joint angles and make the ascent more difficult, but they also make it easier to substitute momentum and compensation. Repeatable foot pressure, visible control and comfortable joint mechanics are better progress markers than box height alone.

Equipment Worth Exploring
Explore equipment, accessories and gear from our carefully selected range.


Rubber Hex Dumbbells
Rubber-coated hex dumbbell pairs with a stable shape for home and commercial strength training.





FID Bench MAX
Adjustable bench offering flat, incline, and decline positions + adjustable headrest.


Cast Iron Kettlebells
Textured cast-iron kettlebells for swings, squats, carries, and full-body training.

Dumbbell step-up technique: the ascent and the controlled return
Set two dumbbells at your sides with relaxed arms and shoulders. Stand tall, brace gently through your midsection, and place your right foot fully on the box. Keep the knee generally aligned with the direction of your toes. A slight forward trunk angle can be natural; you do not need to freeze your spine perfectly vertical.
- Load the lead foot: shift your bodyweight toward the foot on the platform without jerking your torso forward.
- Stand up: push through the whole lead foot and extend the working knee and hip. The lower foot can assist balance, but avoid turning the rep into a hop.
- Control the top: finish with hips extended and the pelvis roughly level, without snapping the knee or leaning back.
- Step down: reverse slowly. Lower the trailing foot to the floor while the lead leg controls most of your descent.
- Repeat consistently: either finish your target reps on one leg before switching or alternate legs if balance and counting are easier that way.
Two seconds down is a practical cue, not a rule you must count on every rep. The goal is to stop dropping from the top. Use the same landing spot and the same box throughout a set. On video, the first and last repetition should look recognizably alike.
If the dumbbells drag into the platform, let your arms hang slightly wider or select a box with more clearance. If your grip fails before your legs, use a manageable load or grip aid rather than swinging the weights. Regress the load immediately if you lose the ability to control the lowering phase.

Leg Day Shirts & Workout Gear
Leg-day gym shirts and workout gear for lifters who never skip squats, lunges and lower-body punishment.

Superman Squats Funny Gym Sweatshirt Crewneck Pump
Add a playful “Superman Squats” touch to your casual rotation.

Fantastic Booty Leg Day Squats & Glute Builders Meme Hoodie
Bring “Fantastic Booty” gym humor to lazy days and post-workout plans.


Thicc AF – Booty Lovers – Meme Shirt Thicc Glutes & T-Shirt
Make gym days more fun with “Thicc AF” style.

Funny Booty Out Of This World Gym | Alien Meme Workout T-Shirt
Keep things casual with a little “Booty Out Of This World” attitude.

Never Skip Mass Day : Greek Mythology Booty & Top T-Shirt
Rep “Never Skip Mass Day” humor in and out of the gym.

Gym Girl Booty Builder Sticker
A fun “Gym Girl Booty Builder” touch for bottles, laptops, and lockers.

I Love Squats Gym | Funny Valentine's Workout Pullover T-Shirt
For laid-back days and leg-day humor: “I Love Squats”.

Medieval Gym – Dost Thou Even Hoist Knight & Dragon Squ T-Shirt
Make gym days more fun with “Medieval” style.

Leg Day Never Comes Hoodie
Stay casual and show some metalhead attitude with “Leg Day The Day That Never Comes Metallica”.
Five mistakes that quietly steal the work
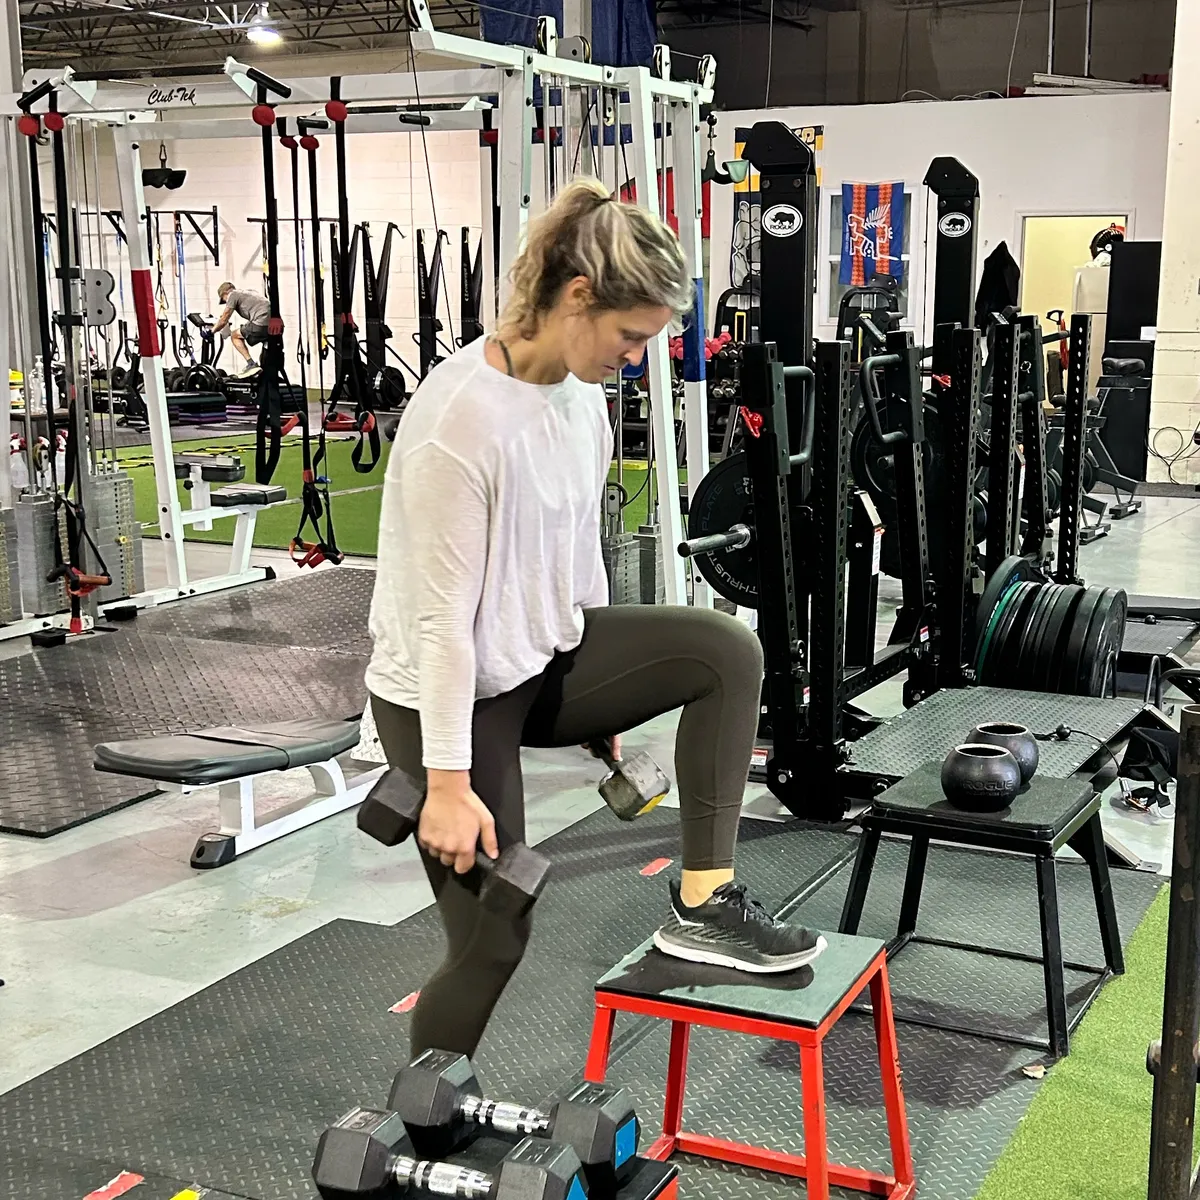
1. Jumping with the trailing leg. When the floor leg supplies the initial burst, a step-up stops being a clear test of the elevated leg. Practice bodyweight reps with light floor contact; if that makes the movement impossible, lower the platform.
2. Using a platform that is too tall. An extreme starting position can make the pelvis rotate or encourage a deep, awkward reach. Reduce height until the entire range feels deliberate. Higher is not automatically better for glutes, quads or mobility.
3. Balancing on the toes. A partly supported foot adds unnecessary instability and can change how you push. Step far enough onto the box to keep heel and forefoot supported throughout the ascent.
4. Falling through the descent. Lowering is part of the repetition. If you land loudly or need to catch yourself on every rep, use less weight, a shorter step, or a slower tempo.
5. Chasing fatigue at the cost of symmetry. The final repetitions often become sideways shuffles when one hip gets tired. End the set before technical failure, record any side-to-side difference, and give the weaker side the same quality of work rather than extra sloppy reps.
Minor natural knee travel and some forward trunk lean are not mistakes by themselves. Use pain-free control and a steady line of movement as your main checks. If a particular height causes persistent discomfort, change the setup or choose another exercise rather than forcing the exact variation.
Variations, equipment and ways to make the exercise harder
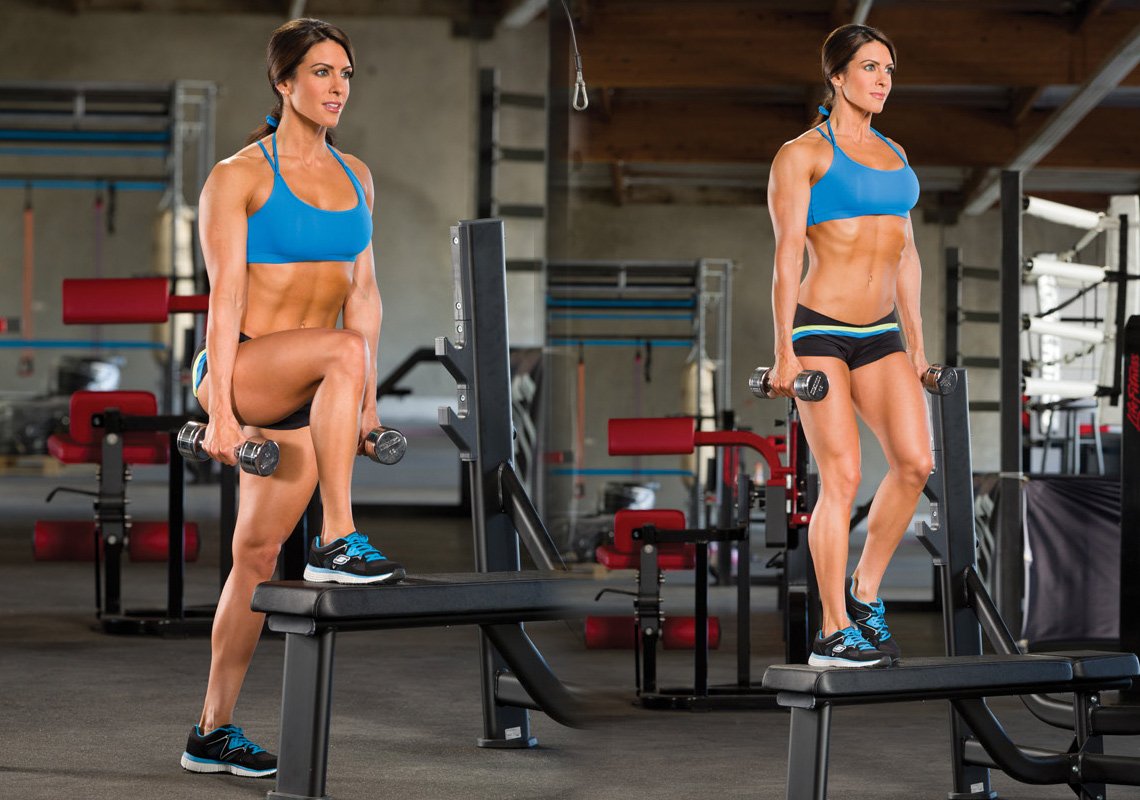
Bodyweight step-up: the best rehearsal when coordination is the priority. Add a wall or handrail for light support if you need it. Dumbbells at the sides: a straightforward load progression that does not require a bar on your back. Goblet step-up: one dumbbell held near the chest, useful when you have limited weight choices. Suitcase step-up: one dumbbell at one side creates a different trunk-control challenge. Start light because it is easy to lean away from the load.
Lateral step-up: stand beside the platform and step sideways onto it. The changed approach challenges side-to-side control; keep the same standards for foot contact and descent. Knee-drive step-up: bring the trailing knee upward at the top for a short pause, provided the supporting leg can stay stable. That added balance task is not a reason to rush the ascent.
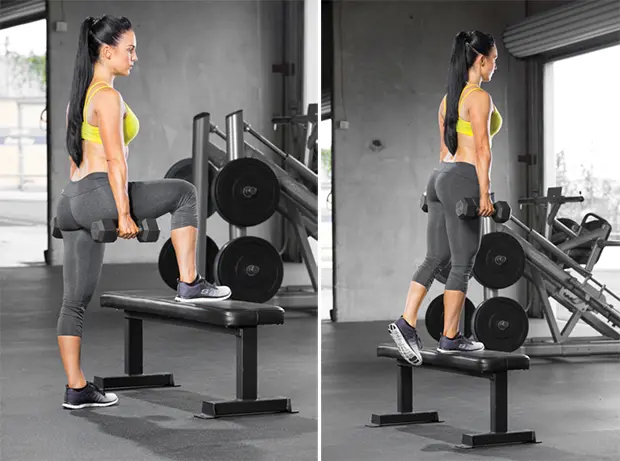
Choose equipment for its function. A stable plyometric box with a grippy top is convenient; a sturdy flat bench can work if its design and height are suitable for being stepped on. Adjustable dumbbells make load increases easier. Kettlebells can work similarly, but their shape may change the clearance next to your legs.
There are several ways to progress: a slightly heavier pair of dumbbells, one extra controlled repetition, a more consistent descent, or a small adjustment to platform height. Change only one at a time so you can tell whether you genuinely improved. Do not add box height and load in the same session just to make the exercise feel hard.
Equipment Worth Exploring
Explore equipment, accessories and gear from our carefully selected range.

Studio Glute Drive
Plate-loaded hip-thrust machine with supported back pad and adjustable foot platform.

Studio V-Squat
Plate-loaded V-squat machine for supported lower-body strength training.



Pro Sled System
Heavy-duty push-pull training sled for loaded conditioning, speed, and strength work.

Open Hex Bar
Open-frame trap bar with multiple handles for deadlifts, carries, and lower-body training.

Standing Abductor
Plate-loaded standing hip abductor for targeted outer-glute and hip-stability training.


Grip Plates
Rubber-coated weight plates with handholds for loading barbells and machines.
A practical six-week step-up progression for lifters
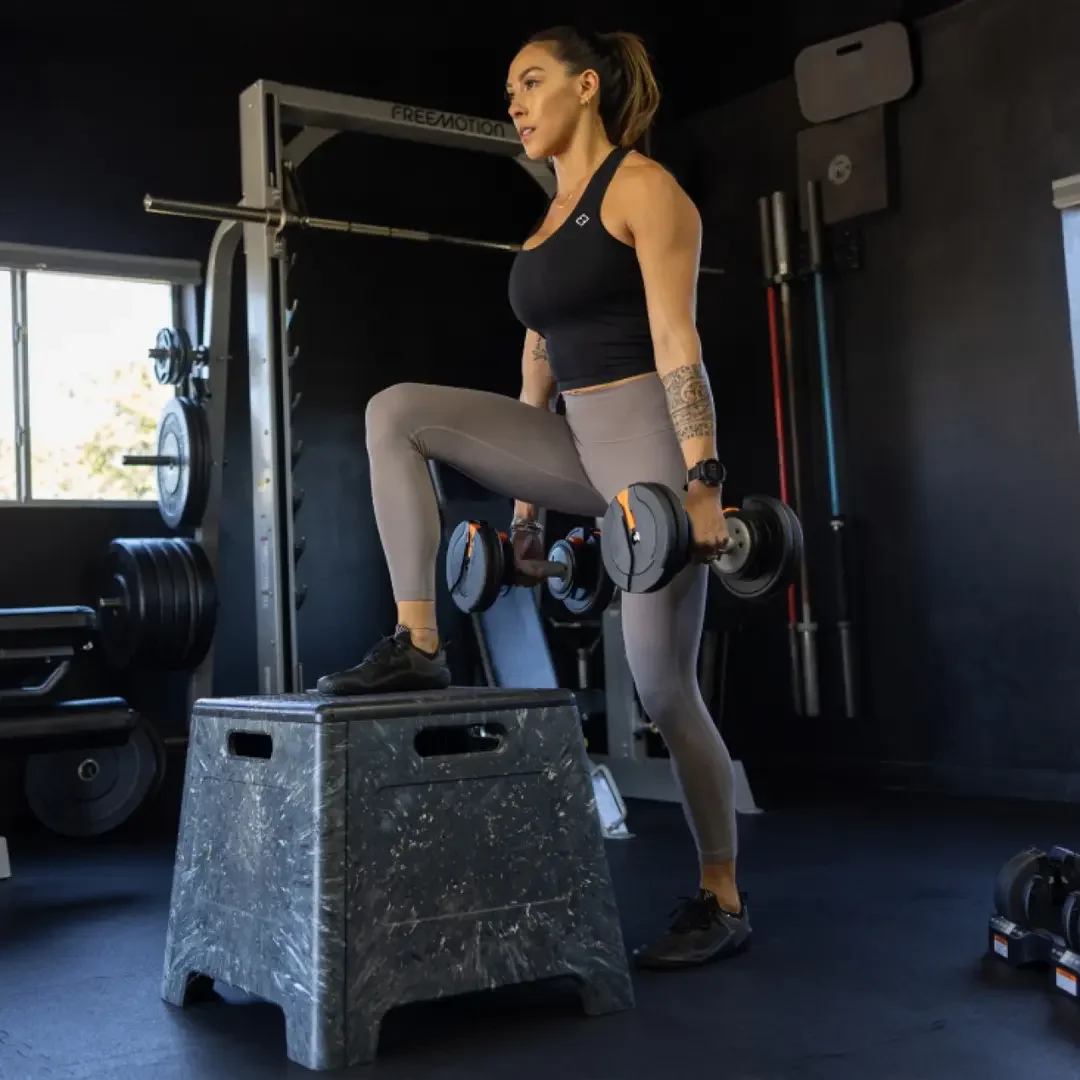
Use this plan once or twice weekly after a warm-up. Each repetition means a rep per leg; do not count one right and one left as a single rep. Select a platform that allows consistent mechanics, then keep its height fixed for the first several weeks. Start with approximately two or three repetitions still in reserve. If your gym program already includes hard squats, lunges or deadlifts, count those toward total lower-body fatigue rather than adding unlimited sets.
| Weeks | Work sets | Reps per leg | Progression focus |
|---|---|---|---|
| 1–2 | 2 | 8–10 | Light load, stable foot placement, controlled descent |
| 3–4 | 3 | 8–10 | Add a little load when every rep looks alike |
| 5 | 3 | 10–12 | Keep the box fixed and build clean repetitions |
| 6 | 3 | 8–10 | Increase load modestly if balance remains solid |
Rest roughly 90–150 seconds between demanding sets, or longer if your breathing and balance have not recovered. Switch the lead leg in a consistent order. You can alternate which leg starts on successive sessions to keep the routine equitable, but there is no need to perform more than the planned work just because one side feels stronger.
Place step-ups after your main squat or hip-hinge movement when training heavy, or earlier if unilateral leg strength is the session’s priority. Follow them with hamstring curls, calf work or other accessories if your program needs those patterns. The plan is a conservative template, not a promise of a particular percentage gain in six weeks.
At the end, compare the same box, load, rep count and video angle with your first week. Better control at a heavier load is meaningful progress even if the platform never got taller. If the box starts to wobble, your knee alignment repeatedly deteriorates or pain develops, scale back and reassess. Aim to make a strong leg exercise boringly repeatable.
Bodybuilding Shirts & Workout Gear
Bodybuilding shirts, tanks and gym gear for lifters chasing muscle, size, symmetry and the pump.

Big Booty Energy Glute Builders Meme Hoodie
Keep it laid-back with a little “Big Booty Energy” attitude.

Brains Beauty Booty Sweater & Glute Building Meme T-Shirt
For laid-back days and gym-girl humor: “Brains Beauty Booty”.

Booty Building Mode Tee
Heavy lifts, good laughs, and a little “Booty Building Mode Gym Girl” energy.

Thicc Booty Meme Glute Lovers Vest Tank Top
Your gym-day look, with a playful “Thicc Booty Gym Meme” twist.

Hells Dumbbells Hells Bells Parody AC/DC Heavy Metal Ro T-Shirt
Add a playful “Hells Dumbbells” touch to your casual rotation.

Swoledemort Wizard Workout | He Who Must Not Skip Leg D T-Shirt
Add a playful “Swoledemort Wizard Workout” touch to your casual rotation.

Rack Panther Black Panther Workout Graphic Gym Shirt Sq T-Shirt
Make gym days more fun with “Rack Panther Black Panther” style.


Shredded – Heavy Metal Gym Vest for Hardcore Bodybuildi Tank Top
Bring “Shredded” humor to your next lifting session.

BootyBuilder Sweater Squats & Leg Day Meme T-Shirt
For laid-back days and leg-day humor: “BootyBuilder”.