Advertising disclosure: This page includes affiliate product links that may earn us a commission, as well as products from our own store.
Wall Sits: Set Your Feet, Choose the Depth and Make Each Hold Count
A wall sit is easy to start and surprisingly easy to measure badly. You can keep a timer running while gradually sliding higher, moving your feet or pressing your hands into your thighs. The number improves, but the exercise changes underneath it.
A more useful approach is to choose a position you can repeat, hold it with steady breathing and finish deliberately. This guide covers bodyweight setup and progression. It treats the wall sit as a leg-training option, not a test everyone must pass or a promise of a particular medical outcome.
1. Choose a stable wall and a usable foot position
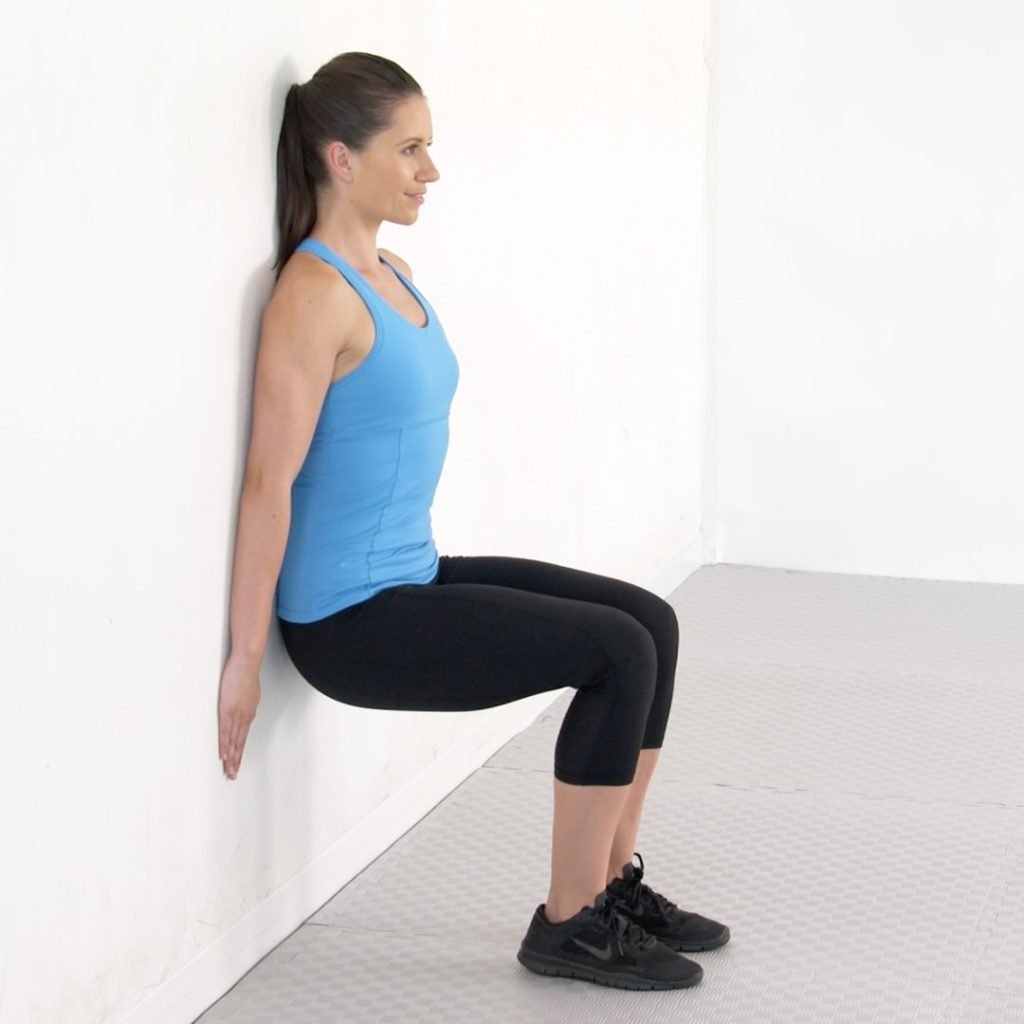
Use a secure wall with clear floor space in front of it. Avoid a door that someone could open, a fragile partition or a slippery surface. Check your shoes and floor before you lower yourself into a position that depends on their grip.
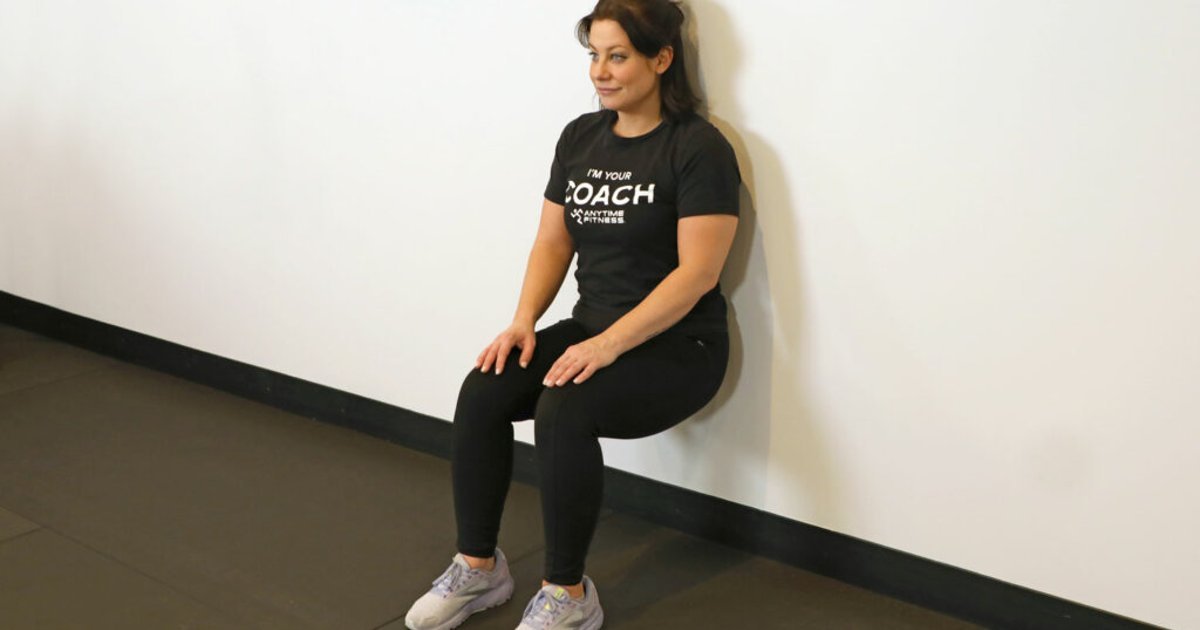
Start with your back against the wall and walk the feet forward. Set them roughly hip- to shoulder-width apart, then slide down only as far as you can maintain control. There is no single foot-to-wall distance that fits every leg length. Adjust the setup rather than forcing your proportions into someone else’s measurement.
Look for full foot contact and knees that follow the direction of your toes. If the heels lift or the feet slide, stop and reset. Trying to rescue the position while tired makes the next hold less comparable and may leave you without a reliable way to stand.
Pick your exit before starting the timer. For a manageable hold, you should be able to bring yourself upright deliberately. If you need assistance getting down or up, arrange stable support or coaching first rather than discovering the problem at the end of a maximal attempt.
2. Set the depth before chasing a longer hold
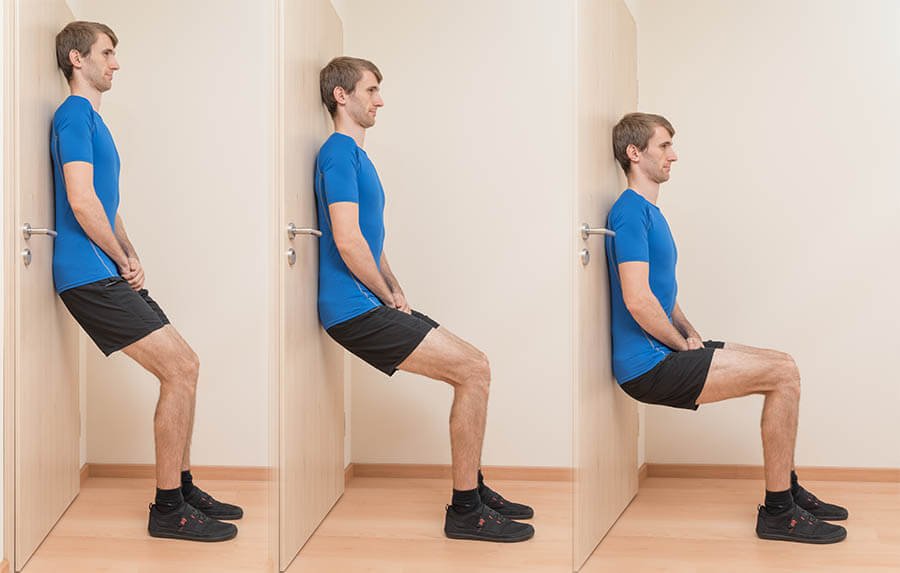
Thighs near parallel to the floor are a common demonstration position, but a shallower wall sit is a legitimate starting version. You can begin with the hips higher and build tolerance there. A deep position is useful only if you can reach it, hold it and leave it comfortably.
Depth is part of the exercise dose. Thirty seconds with the hips higher is not automatically equivalent to thirty seconds lower down. Neither version needs to be dismissed; they simply need to be recorded honestly if you want to compare sessions.
Choose a simple visual reference, such as a fixed camera angle or a consistent height relative to a wall feature. Keep the camera outside your movement area. You are looking for obvious drift, not trying to calculate perfect joint angles from a distorted phone image.
If you repeatedly creep upward before the planned finish, shorten the next hold or select a shallower position from the beginning. That produces a clearer training target than calling every changing position the same exercise. Stop if the movement causes joint pain or makes an existing problem feel worse.
3. Hold the position without adding hidden assistance
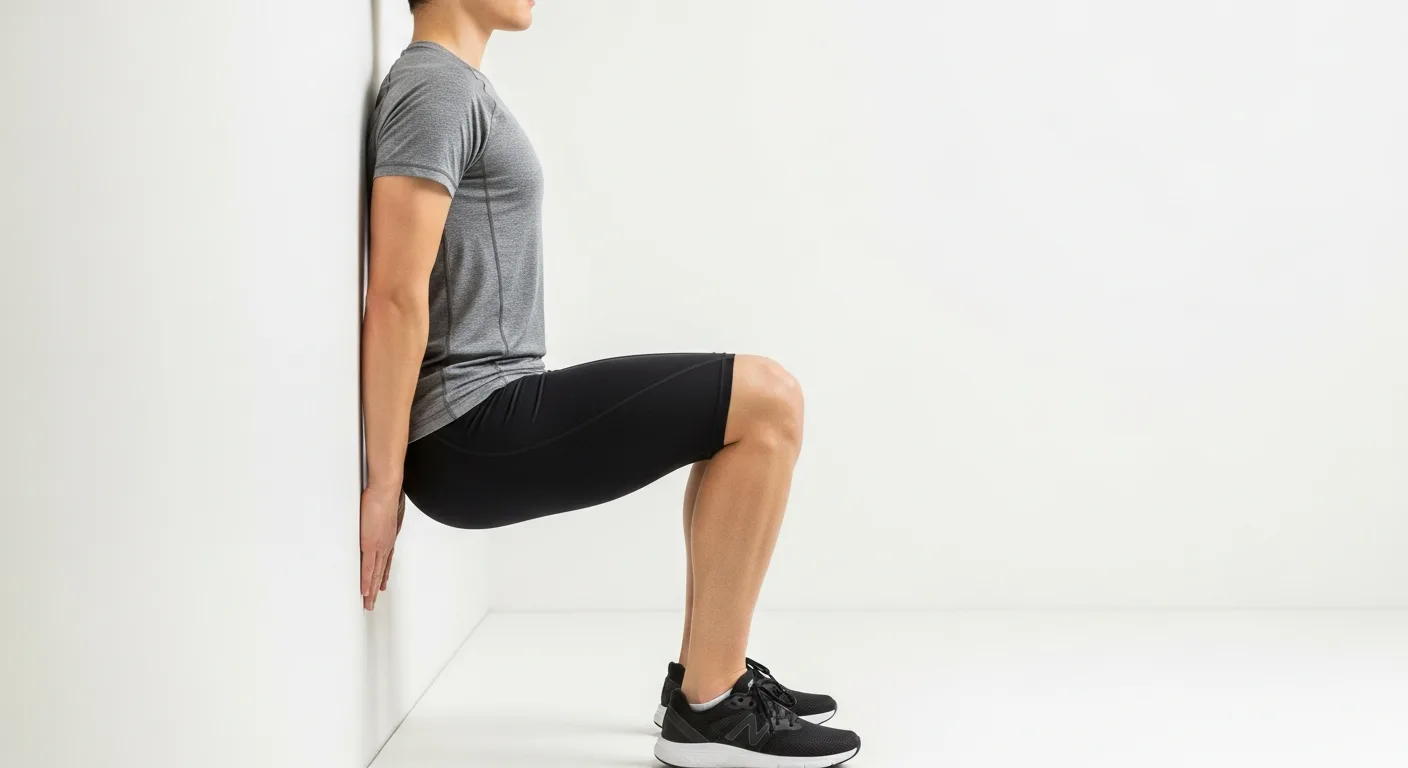
The wall sit is an isometric task: you maintain a position instead of moving through repeated squats. Keep your back supported, the feet planted and the chosen depth reasonably consistent. A small amount of natural movement is different from deliberately changing the position to extend the timer.
Decide where your hands will go and use that arrangement consistently. Resting them lightly is different from pushing hard into the thighs to unload the legs. If you use assistance, label the hold as assisted rather than comparing it with an unassisted attempt.
Keep breathing rather than turning the hold into a prolonged breath-holding effort. The aim is not to tolerate every possible sensation until you collapse. End the attempt when you can no longer maintain your chosen standard, and come up before you lose control of the return.
A useful log entry might read: “Same foot position, shallow hold, twenty seconds, no hand push.” That tells you much more than “twenty seconds, difficult.” It also gives you a straightforward target for the next session without requiring a new personal best each time.
4. Progress one variable and give the legs time to recover
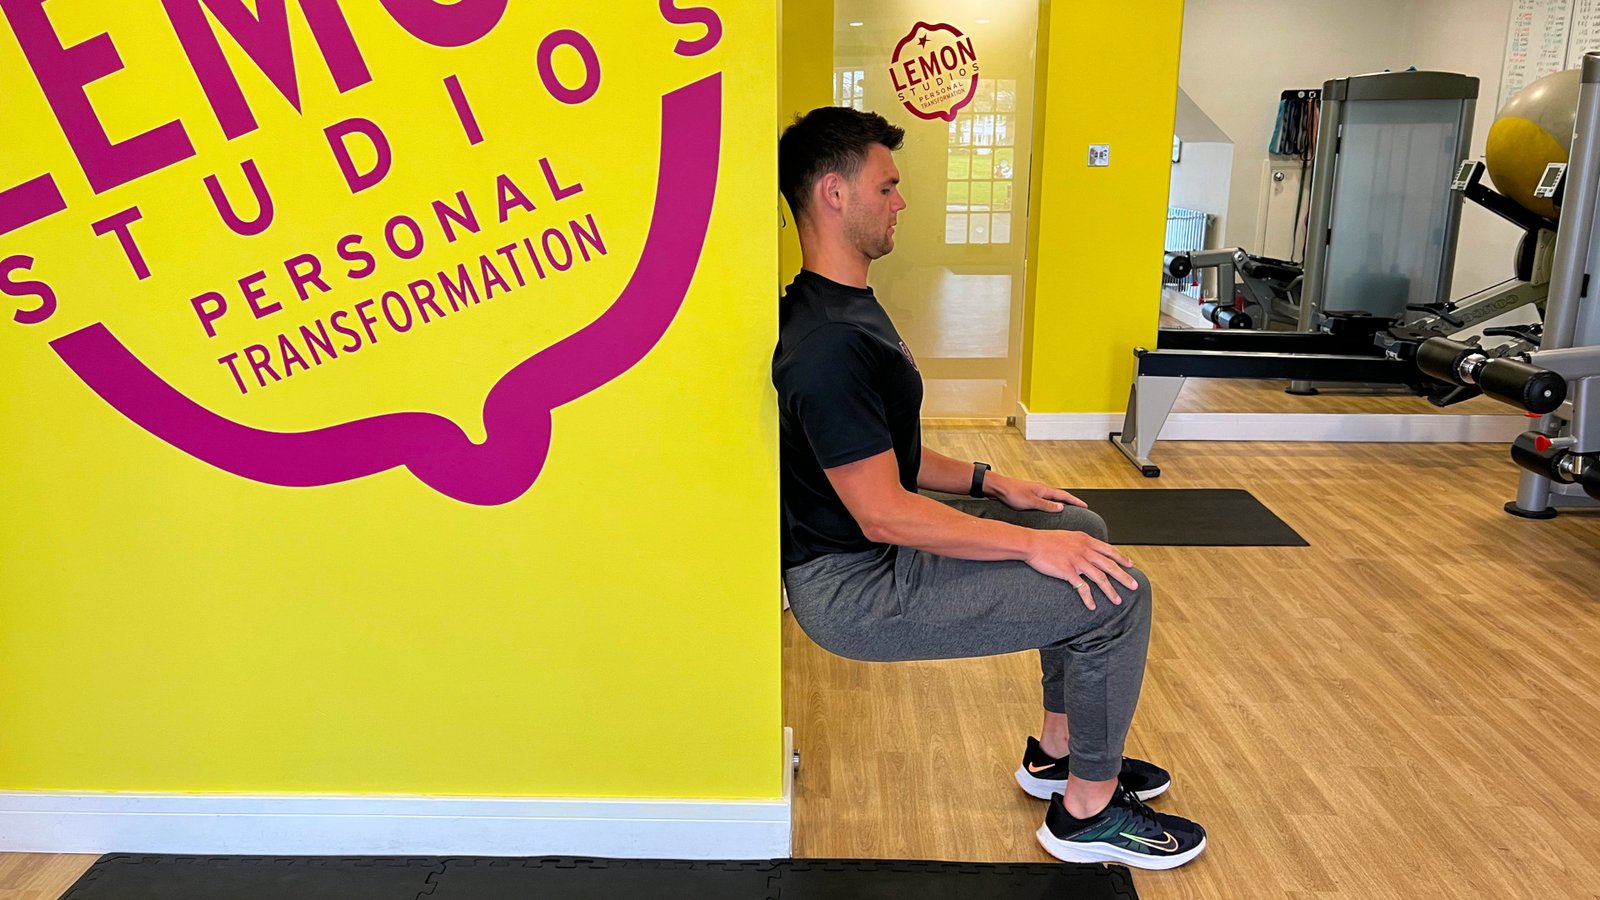
Start with a duration you can complete while keeping the position recognizable. A few short holds can be more useful for learning than one desperate maximum. For example, try two manageable twenty-second holds, with enough rest to reproduce the setup. This is a practice example, not a universal prescription.
Once those holds are consistent, choose one change: slightly longer time, a modestly lower position or an additional set. Avoid changing all three together. Otherwise, a sudden jump in difficulty can be hard to interpret, and you lose the baseline that made progress measurable.
Added load is a later option, not a requirement. A securely held dumbbell, kettlebell or suitable vest changes the task, and you must still be able to enter and exit the position. Do not balance loose plates where they could slide or assume that a weight used in a squat is appropriate for a static hold.
For other leg exercises, free weights and machines offer different ways to load movement through a range. Their numbers are not interchangeable with wall-sit time. Select the tool for the exercise you actually intend to train, and check manufacturer compatibility before using add-on loading accessories.

Equipment Worth Exploring
Explore equipment, accessories and gear from our carefully selected range.

Rubber Hex Dumbbells
Rubber-coated hex dumbbell pairs with a stable shape for home and commercial strength training.


Cast Iron Kettlebells
Textured cast-iron kettlebells for swings, squats, carries, and full-body training.


Grip Plates
Rubber-coated weight plates with handholds for loading barbells and machines.
5. Fit wall sits around the rest of your leg training
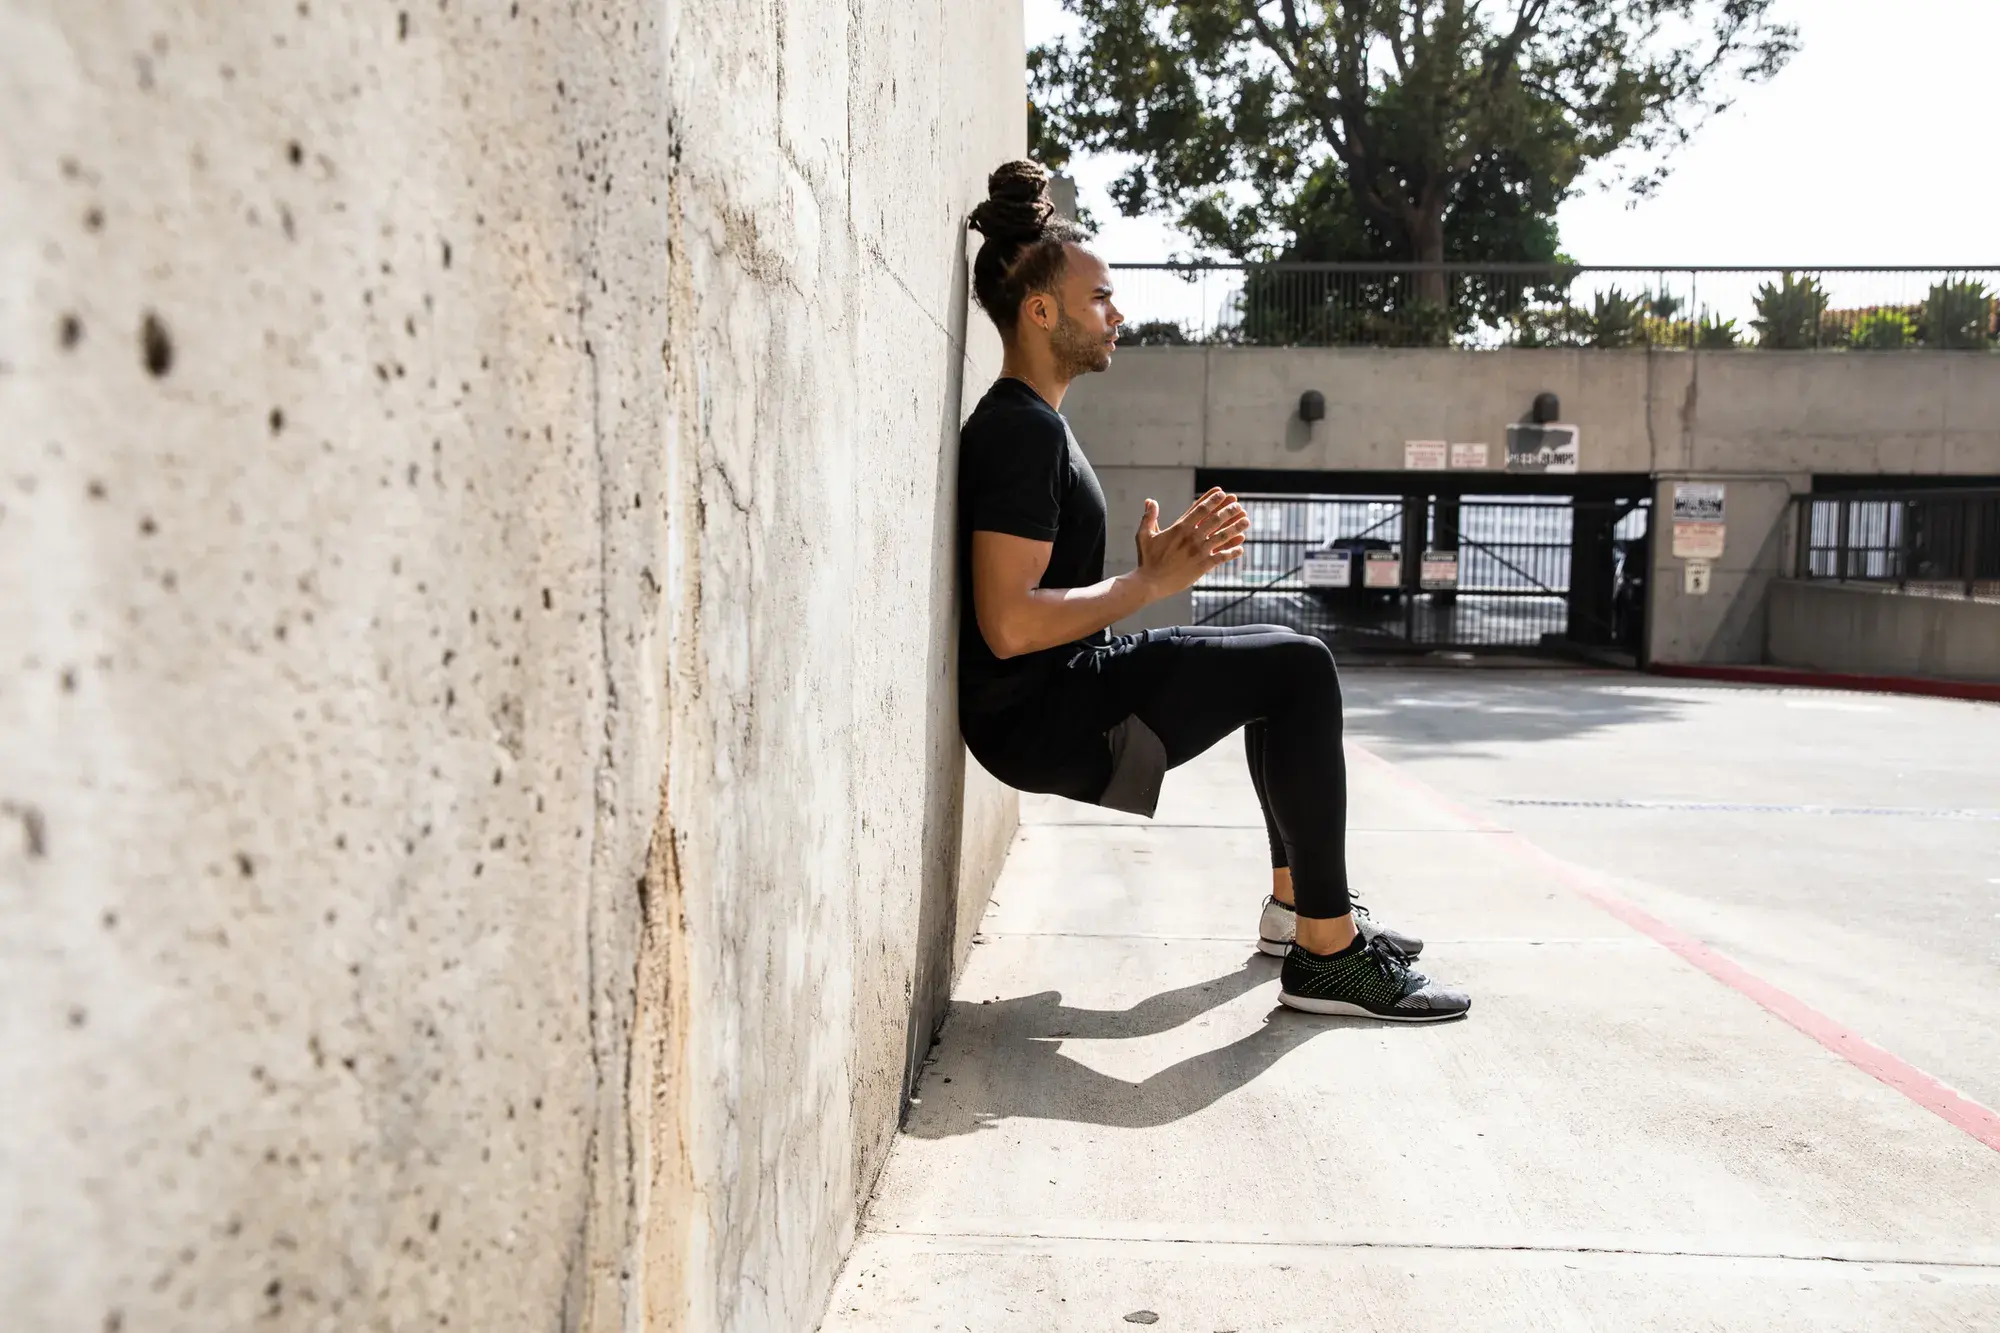
A wall sit can be a short accessory or part of a circuit. Its placement changes the experience: a hold after hard squats starts with tired legs, while the same hold performed fresh may last longer. Record the order if you want to compare results fairly.
Keep warm-up work modest enough to prepare you for the main session. A long, exhausting hold immediately before heavy leg work is a training choice with a fatigue cost, not automatically a better warm-up. If the goal is to practice the position, stop while you can still repeat it well.
Static holds also differ from dynamic squats, split squats and leg presses. They can complement those movements without replacing every form of lower-body training. A wall-sit record does not by itself establish how much you can squat, how fast you can run or how much muscle you will gain.
Use the next session to repeat the same conditions before making the task harder. Consistent depth, foot placement, hand assistance and exercise order make the timer meaningful. The most useful improvement is more controlled work under the same conditions—not simply finding a way to remain near the wall for longer.

Funny Gym Shirts & Workout Gear
Funny gym shirts, tanks, hoodies and workout gear for lifters who like training hard.

Stars Stripes & Squats Patriotic Eagle – 4th Of July T-Shirt
Rep “Stars Stripes & Squats Patriotic Eagle” humor in and out of the gym.

I Love Squats – Valentine's Day Leg Day Meme Vest Muscl Tank Top
Add some leg-day attitude to training with “I Love Squats”.

Never Skip Leg Day Chicken Legs Meme Decal Water Sticker
Give your everyday gear a playful “Never Skip Leg Day” twist.

Shirt Meme – Leg Day Yesterday Wheelchair Top T-Shirt
Rep “Funny Gym Shirt Meme” humor in and out of the gym.

Dumbbell Meme Shirt – Essential & Gymbros Seeking T-Shirt
Make gym days more fun with “Dumbbell Gym Meme” style.

Control Your Gains Stoic Greek God Marble Sculpture T-Shirt
Make gym days more fun with “Control Your Gains Stoic Greek God Marble” style.

Lift Smart Brain Weight Plate Mind Muscle Connection 45 Hoodie
Keep it laid-back with a little “Lift Smart Brain Weight Plate” attitude.

The Only Difference Between Good And Great Is One T-Shirt
Bring “The Only Difference Between Good And Great” humor to your next gym day.


Safety Practice Safe Sets Sweater Jumper T-Shirt
Show some gym-day personality with “Gym Safety”.