Advertising disclosure: This page includes affiliate product links that may earn us a commission, as well as products from our own store.
Front Squats: Build a Secure Rack, Keep Your Elbows High and Own Every Rep
A front squat often fails long before your legs run out of strength. The bar creeps into your fingertips, your elbows drift down, and what started as a squat turns into an awkward attempt to catch the load. Adding more weight rarely solves a position you cannot repeat.
The point is not to force a perfectly vertical torso or copy somebody else’s wrist angle. It is to create a stable shoulder shelf, choose a tolerable grip, keep the bar over a balanced foot and squat through a depth you can actually control. With those basics in place, front squats can be a productive lower-body exercise rather than a weekly mobility test.
1. Build the shoulder shelf before you unrack
Start with a rack and safety pins that match your planned depth, then use an empty bar to confirm the setup. J-hooks should let you clear the bar by standing tall rather than tiptoeing or performing an unnecessarily deep partial squat. Set the safeties below your normal bottom position and check that the bar could land on them if you had to abandon a rep. Avoid taking heavy front squats without a suitable way to bail out safely.
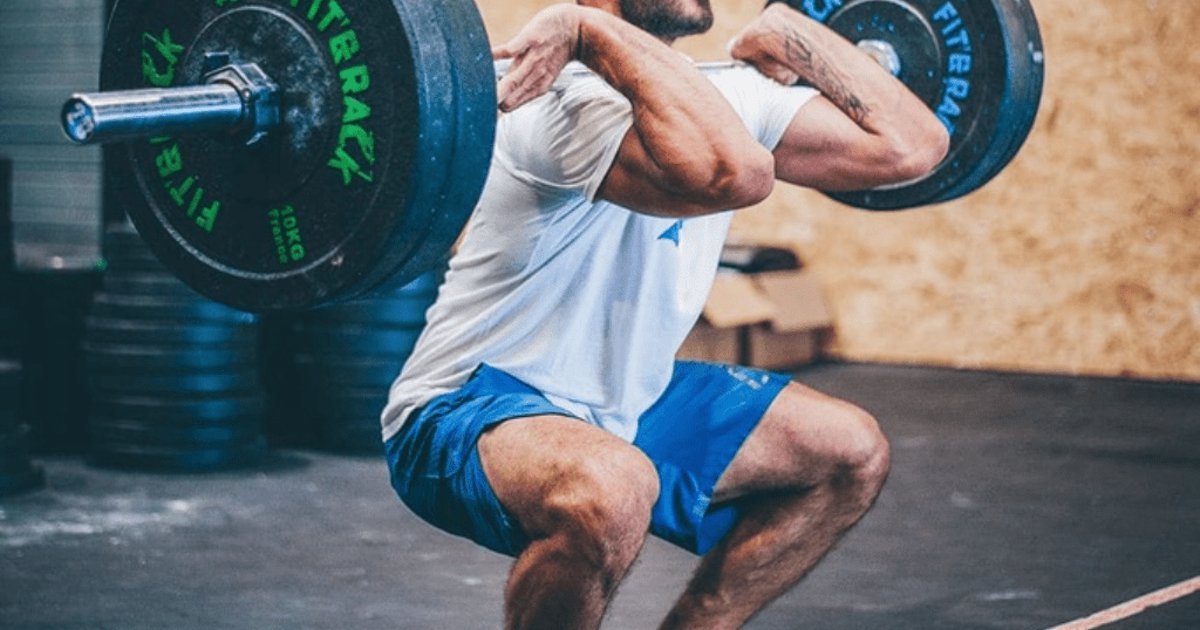
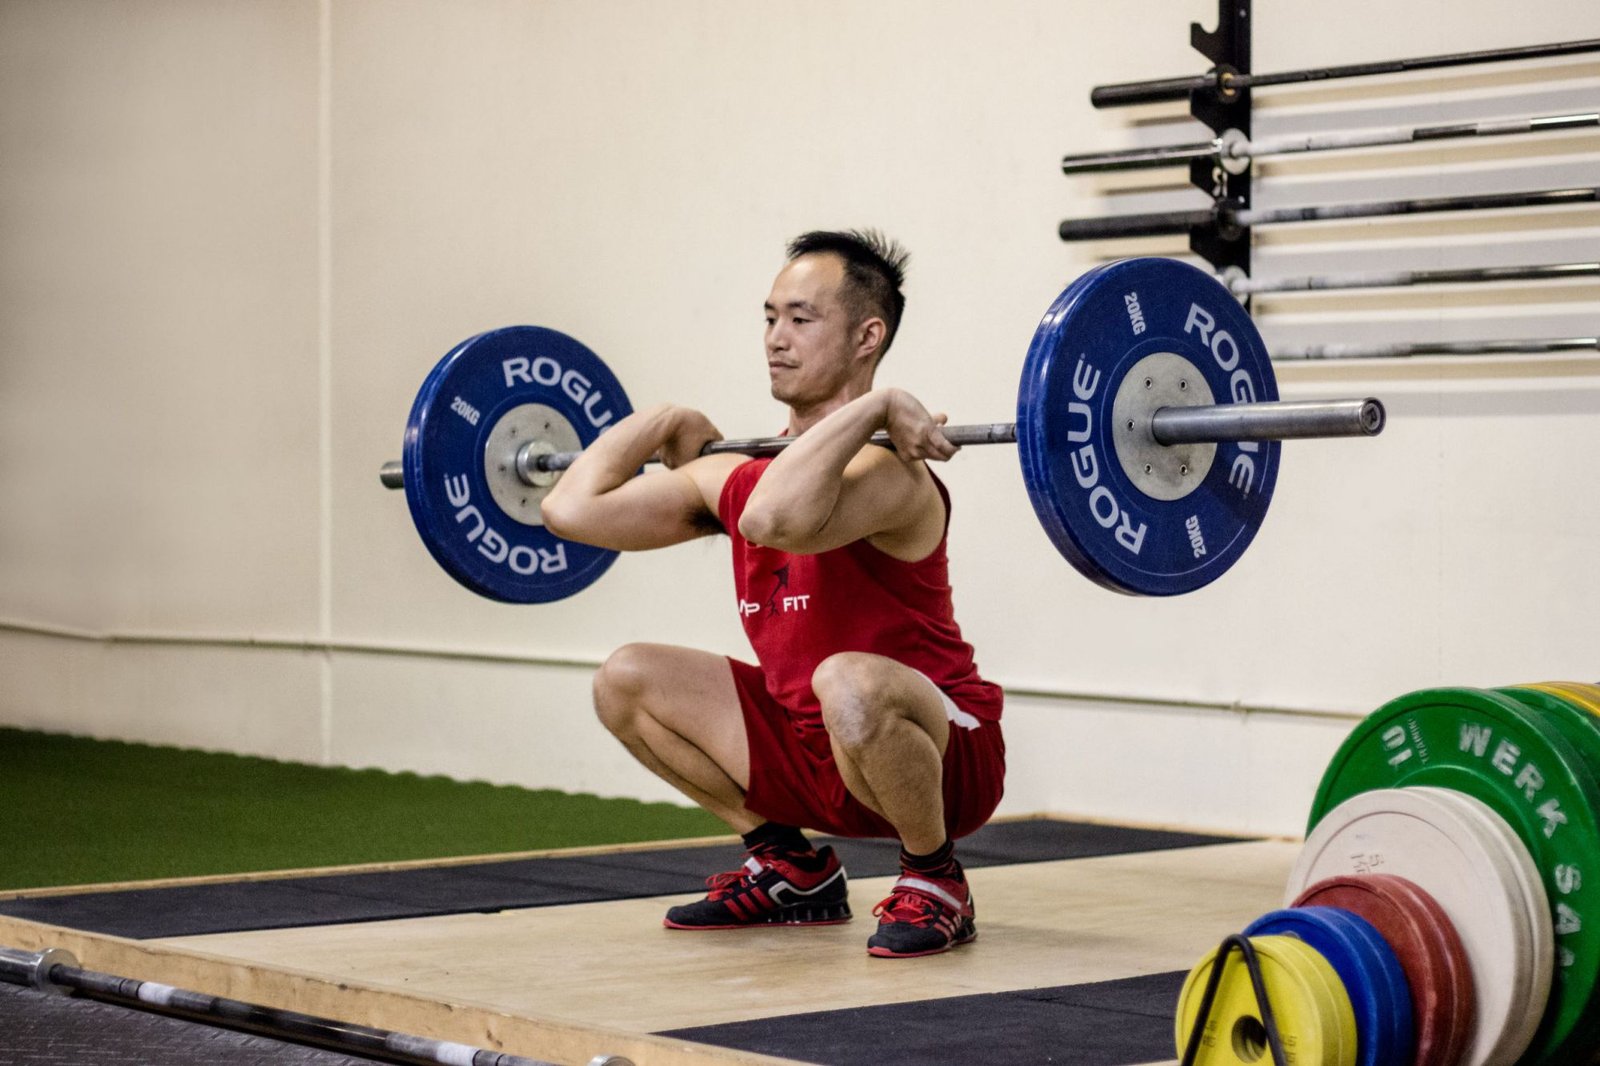
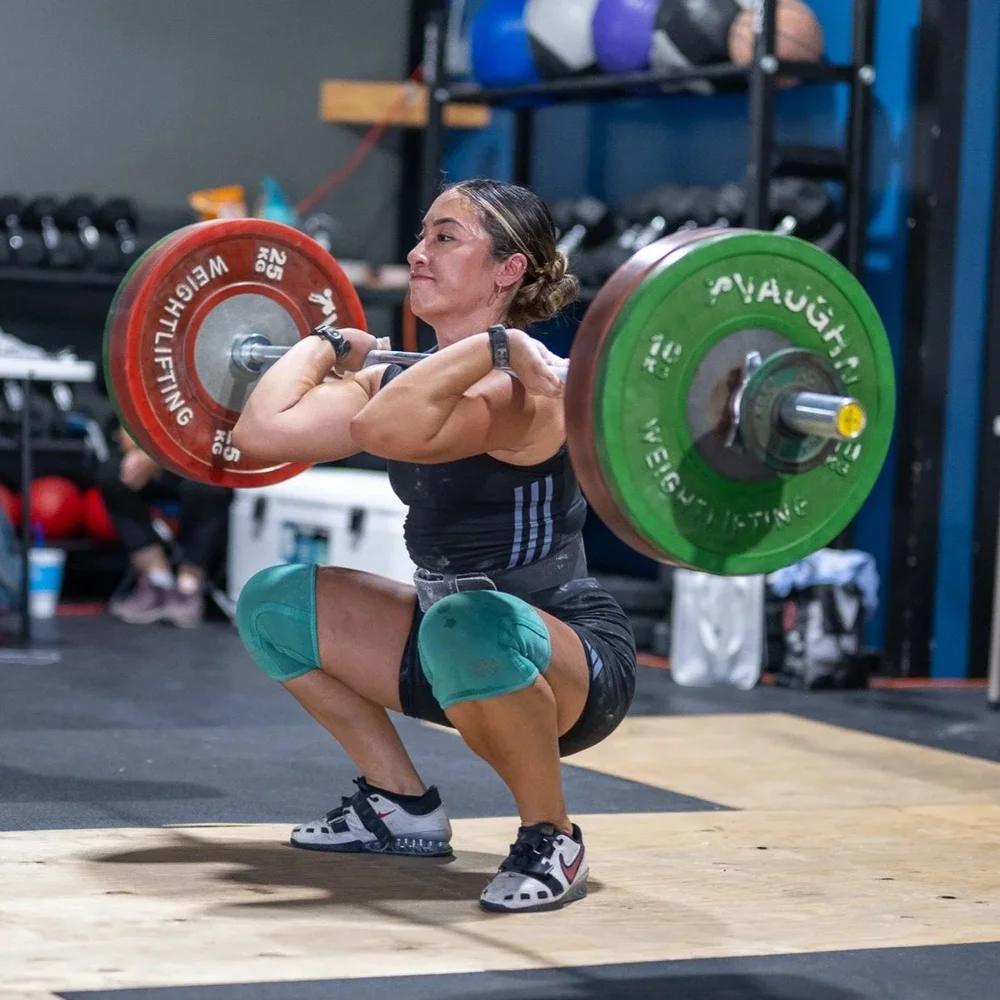
Slide under the bar until it contacts the front of your shoulders, close to the base of your throat. The weight belongs on the muscular shelf formed by the front deltoids, not suspended in your palms. If your fingers become the primary support, even a strong pair of wrists will eventually lose that contest. Raise your upper arms forward while keeping the ribs stacked over the pelvis: think of an upper back that is firm, not a huge backward arch.
Take a controlled breath into your trunk, brace as though you expect a firm push, stand up to unrack, and step clear without wandering around. One or two deliberate backward steps usually work better than a long walkout. Look ahead at a fixed point and let the weight settle before bending your knees. If the bar rolls immediately, re-rack and repair the shelf before trying again.
A good setup is intentionally boring. Every repetition starts from the same bar height, contact point and breathing routine; consistency makes it easier to see whether your legs are getting stronger instead of merely compensating for a new position.
2. Choose a front-rack grip your body can sustain
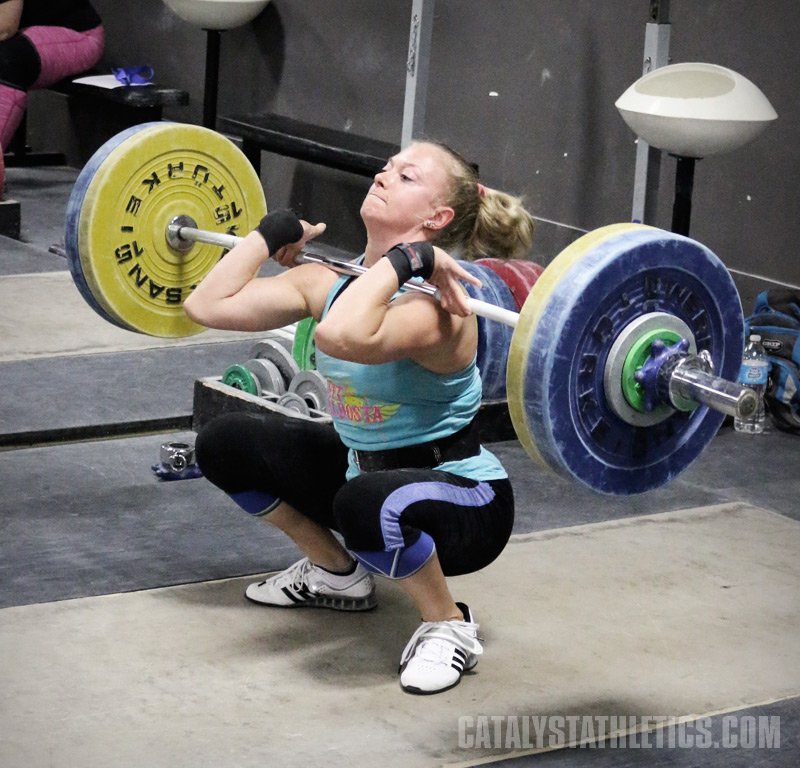
The familiar clean grip puts several fingers under the bar, with the palms partly open and elbows pointing ahead. It is useful if you also practise Olympic lifting, but getting all four fingers beneath the bar is not a requirement for effective front squats. Your shoulder shelf must carry the weight regardless of how many fingertips contact the knurling.
Try a relaxed two- or three-finger clean grip first. If the wrists complain, use a cross-arm position with the hands resting on top of the bar, or loop lifting straps around the shaft and hold their ends like short handles. Keep both strap ends the same length and do not use a loose loop that could snag when you release the bar. The alternative grip should improve comfort without disguising a collapsing torso.
Test each position with a light load for three slow reps. Ask whether the bar stays in the same place through the bottom, whether the elbows remain in front of the bar and whether the hands can stay relaxed. Compare comfort the next day as well as during the set. Sharp wrist, shoulder or elbow pain is a reason to stop, adjust and seek appropriate guidance rather than push through.
Mobility drills can help, but a front squat is not the best place to force a painful stretch under a heavy bar. Use unloaded front-rack holds, gentle wrist preparation and upper-back movement work as accessories. Keep the exercise itself in a position you can own today.
3. Set your feet for balance, depth and quad work
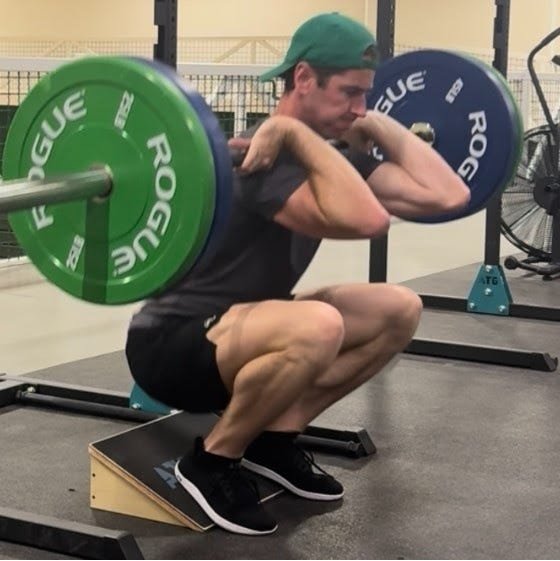
Begin with feet somewhere around hip-to-shoulder width and toes turned out only as much as needed to let the knees travel comfortably. There is no universal front-squat stance: ankle range, hip structure, femur length, footwear and preferred depth change what looks natural. An extremely narrow stance is not automatically better for quads, and an exaggerated wide stance is not automatically safer.
With the bar lightly loaded, lower through three smooth repetitions. Your whole foot should contribute: big-toe base, little-toe base and heel stay planted. Let the knees move forward and track broadly in the direction of the toes, while keeping the bar balanced over midfoot. Forward knee travel is a normal part of many deep squats, not a technique failure on its own.
If your heels rise or your torso tips sharply before reaching a useful depth, compare slightly different stance widths and toe angles. Weightlifting shoes or appropriately secured heel wedges can make some ankle-limited squats more comfortable, but they change the exercise’s geometry; do not mistake an equipment workaround for a permanent mobility cure. Use the same setup when comparing progress.
Choose your bottom position using control rather than a forced depth milestone. Some lifters can squat well below parallel while others lose their brace or pelvis position earlier. A deeper squat can expose the knee and hip to different loads, so depth should fit your training goal, current tolerance and capacity. If you cannot pause briefly at your intended bottom with the bar still on the shoulders, reduce the load or shorten the range.

Equipment Worth Exploring
Explore equipment, accessories and gear from our carefully selected range.


Foldable Wall Rack
Wall-mounted folding squat rack designed to save floor space between workouts.

Grip Plates
Rubber-coated weight plates with handholds for loading barbells and machines.


Competition Plates
Competition-style bumper plates for Olympic lifts and loaded strength training.

GymPin Squat Wedges
Non-slip 15-degree squat wedges help elevate the heels for deeper quad-focused squats.

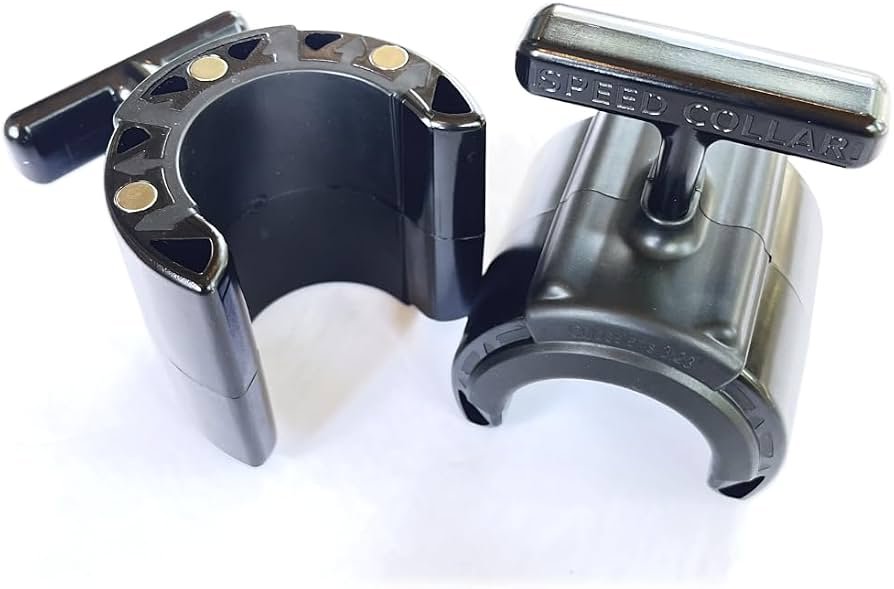
Speed Collar
Quick-release collars designed to secure weight plates on standard two-inch Olympic bars.

4. Descend deliberately and drive up as one unit
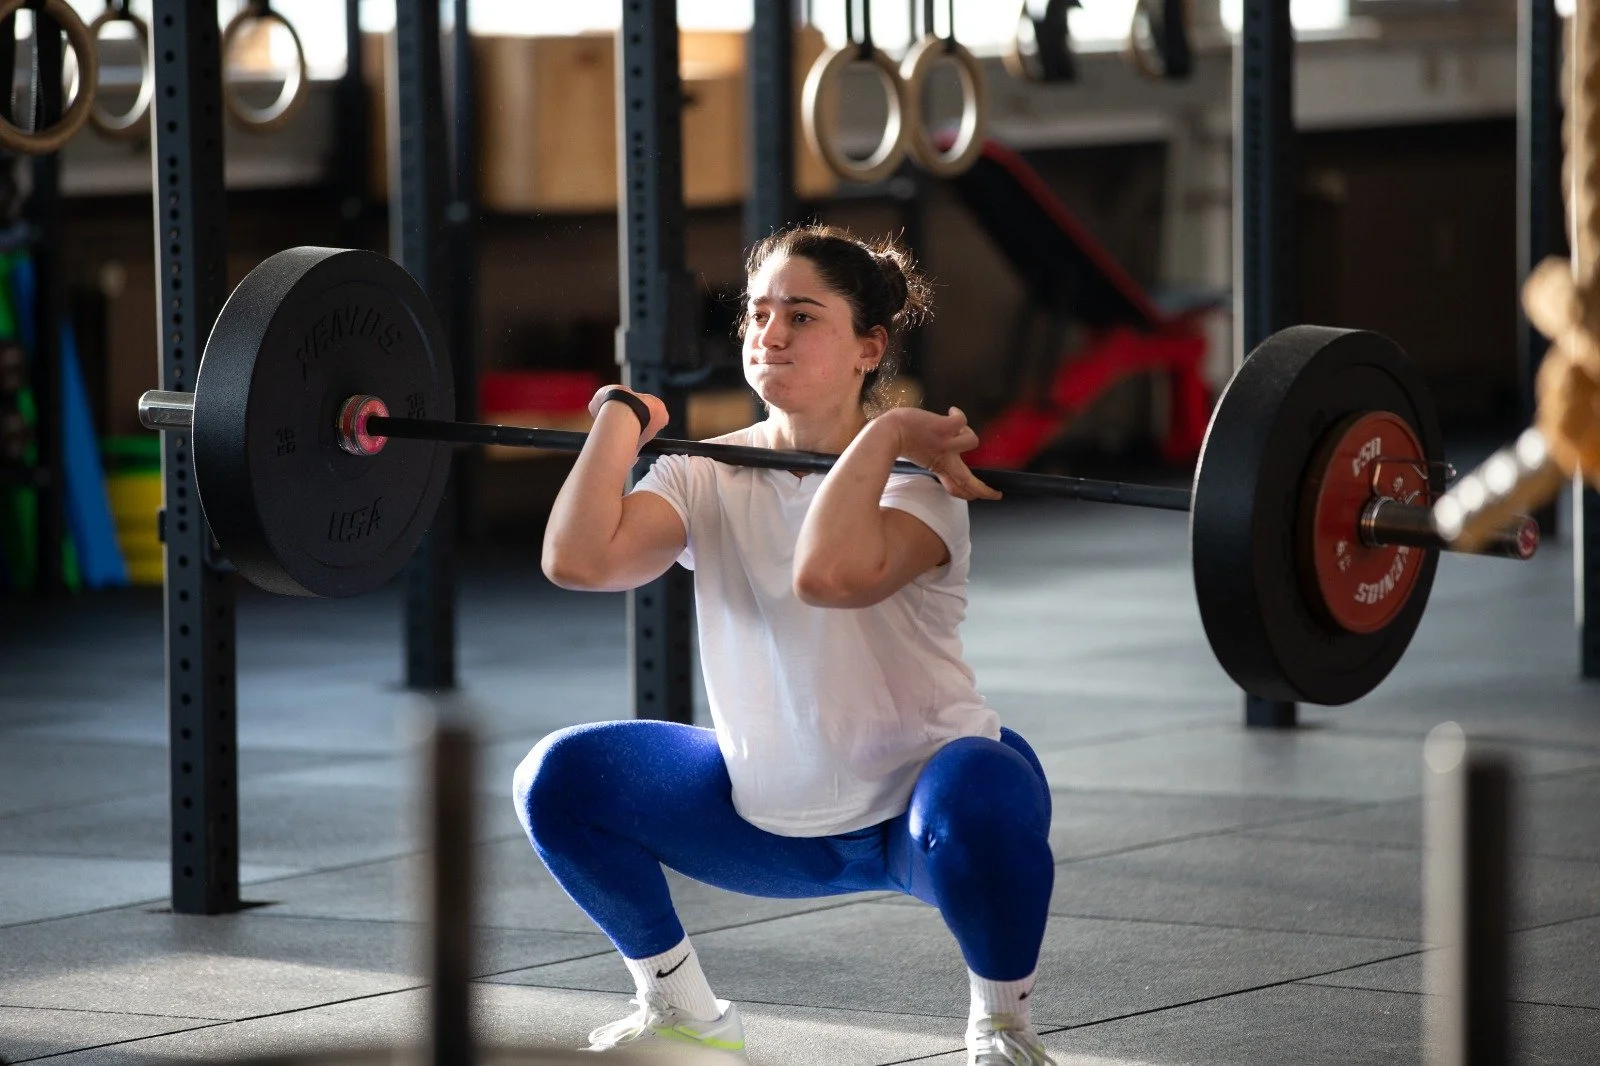
Set the breath and brace before the descent. Bend knees and hips together, lowering between the legs rather than sending the hips far backward as in a low-bar squat. Keep the elbows actively pointed forward, maintain upper-back tension and allow the torso angle to suit your body. The goal is not a cartoon-straight spine; it is a stable bar path and trunk under load.
A two- or three-second descent is a useful teaching tool while learning. It gives you time to notice whether the bar slides, pressure rolls toward your toes or one knee drifts unpredictably. You do not need to squat that slowly forever, and slowing down should not become an excuse to relax at the bottom. Stop at a repeatable depth with your brace intact.
To stand, push the floor away while keeping shoulders and hips rising together. If your hips shoot up and your chest lags, you are turning the lift into a front-loaded good morning. Reduce the load and practise a smoother ascent rather than leaning back hard to save the bar. At the top, finish tall without snapping your knees or overextending the lower back.
Film a set from the side and a front-quarter angle when possible. Compare the bar’s position over the foot, elbow height, heel contact and torso movement across repetitions. A little natural variation is expected; repeated forward dumping or a dramatic change after rep three is a programming signal. That is often your real set limit even when your thighs feel capable of more.
5. Troubleshoot the sticking points without inventing a magic fix

Bar rolls forward: Check whether it started on the shoulders, whether your elbows fell during the descent, and whether you lost upper-back tension. A lighter bar held in the rack position for ten seconds can tell you more than another grinding single. If the bar is on your fingers, reset before doing anything else.
Wrists hurt: Try a more relaxed finger position, a strap-assisted front rack or the cross-arm alternative. Check whether you are using wrist extension to hold the load because the shoulder shelf is missing. Do not insist on a clean grip when the position is painful.
Heels lift or knees feel awkward: Modify stance or footwear, review ankle capacity, and test a controlled depth. Knee travel alone is not evidence that a squat is unsafe. Different squat depths and bar positions alter joint moments, and studies comparing front and back squats do not justify declaring one universally superior for every lifter. Loads, range, participant training and whether comparisons use equal absolute weights or a percentage of each lift’s maximum all matter.
Upper back rounds under fatigue: End the set a rep earlier, add a pause at a manageable load and build more upper-back tolerance over time. If you mainly want to exhaust your quads without the front-rack limitation, a hack squat, leg press or split squat may let you train hard with less attention spent supporting a bar. These alternatives are not failures: they simply distribute the work and stability demands differently.
Do not confuse exercise mechanics with a promise of extra muscle growth. Front squats are one useful way to challenge quadriceps and trunk stability, not proof that everybody should abandon back squats. Pick the movement you can perform consistently and load progressively.
6. Use a four-week plan that rewards repeatable reps
Place front squats early in a session when you are fresh enough to maintain the rack. If they are new to you, practise twice weekly with at least a day between hard sessions. A useful starting point is two or three working sets of five to eight reps, leaving two to four good reps in reserve. This is an example progression, not a mandatory dose for every trainee.
| Week | Main practice | Progression check |
|---|---|---|
| 1 | 3 × 5 light-to-moderate | Find one comfortable grip, stance and depth |
| 2 | 3 × 6 at a similar load | Keep elbow height and foot pressure consistent |
| 3 | 3 × 6–7 if technique allows | No forward roll or torso collapse late in sets |
| 4 | 3 × 5–6 with a small load increase | Only add weight if all repetitions still match |
On a second weekly exposure, use a lighter two-second pause front squat, two to three sets of three to five. The pause should build control where you tend to lose position, not turn every workout into a maximum-effort challenge. Finish with optional leg extensions, split squats or other lower-body work if your broader program requires it.
Keep a simple log: load, reps, approximate effort, grip used and one technique observation. Increase the bar only when the last repetition looks like the first. If a load causes the bar to slide, wrists to protest or depth to disappear, repeat the week or reduce the weight. Progress is not just a heavier number; it is more work performed with the same reliable positions.
The takeaway is straightforward: the front rack must be stable before a heavy front squat can be useful. Build that foundation, squat through a depth you control and let gradual loading do the rest.

Leg Day Shirts & Workout Gear
Leg-day gym shirts and workout gear for lifters who never skip squats, lunges and lower-body punishment.

Swolebob Squatpants Gym | Funny SpongeBob Meme Workout Sticker
Bring “Swolebob Squatpants” attitude to your water bottle or laptop.

Uncle Sam Squats Funny Patriotic Gym – USA Meme Vest Mu Tank Top
Show some personality between sets with “Uncle Sam Squats Funny Patriotic”.

4 Plates Squat Club Meme Shirt Motivational Leg Day T-Shirt
Make gym days more fun with “4 Plates Squat Club” style.

Heavy Squatter Gym Wizards | Funny Harry Potter Workout Sticker
A fun “Heavy Squatter Gym Wizards” touch for bottles, laptops, and lockers.

Booty Building Mode Leg Day & Squats Meme Hooded Hoodie
Stay casual and show some leg-day attitude with “Booty Building Mode”.

Booty Building Mode Girl Meme Lovers, Leg Day, T-Shirt
Bring “Booty Building Mode” humor to your next gym day.

Bunny Squats & Booty Motivation Cute Vest Tank Top
Bring “Gym Bunny” humor to your next lifting session.

Muscle Mommy : Squats & Snow White Booty Sticker
A fun “Muscle Mommy” touch for bottles, laptops, and lockers.

Booty Builder Captain Marvel Sweater Leg Day & T-Shirt
Bring “Booty Builder” humor to your everyday gym style.