Advertising disclosure: This page includes affiliate product links that may earn us a commission, as well as products from our own store.
VOLTRA I Firmware 2.0: What to Check Before Your First Updated Workout
VOLTRA I Firmware 2.0 adds useful training options to existing hardware. The important decision is how to introduce those options without losing track of your exercise setup, effort and progress. A larger resistance ceiling is only one part of that job.
This guide covers the October 2026 release as checked on November 14, 2026. It explains the update process, the distinction between ordinary resistance and sled simulation, and a practical way to evaluate new profiles. It is a setup guide, not a claim that every feature has been independently tested here.
1. Update the device before you change the workout
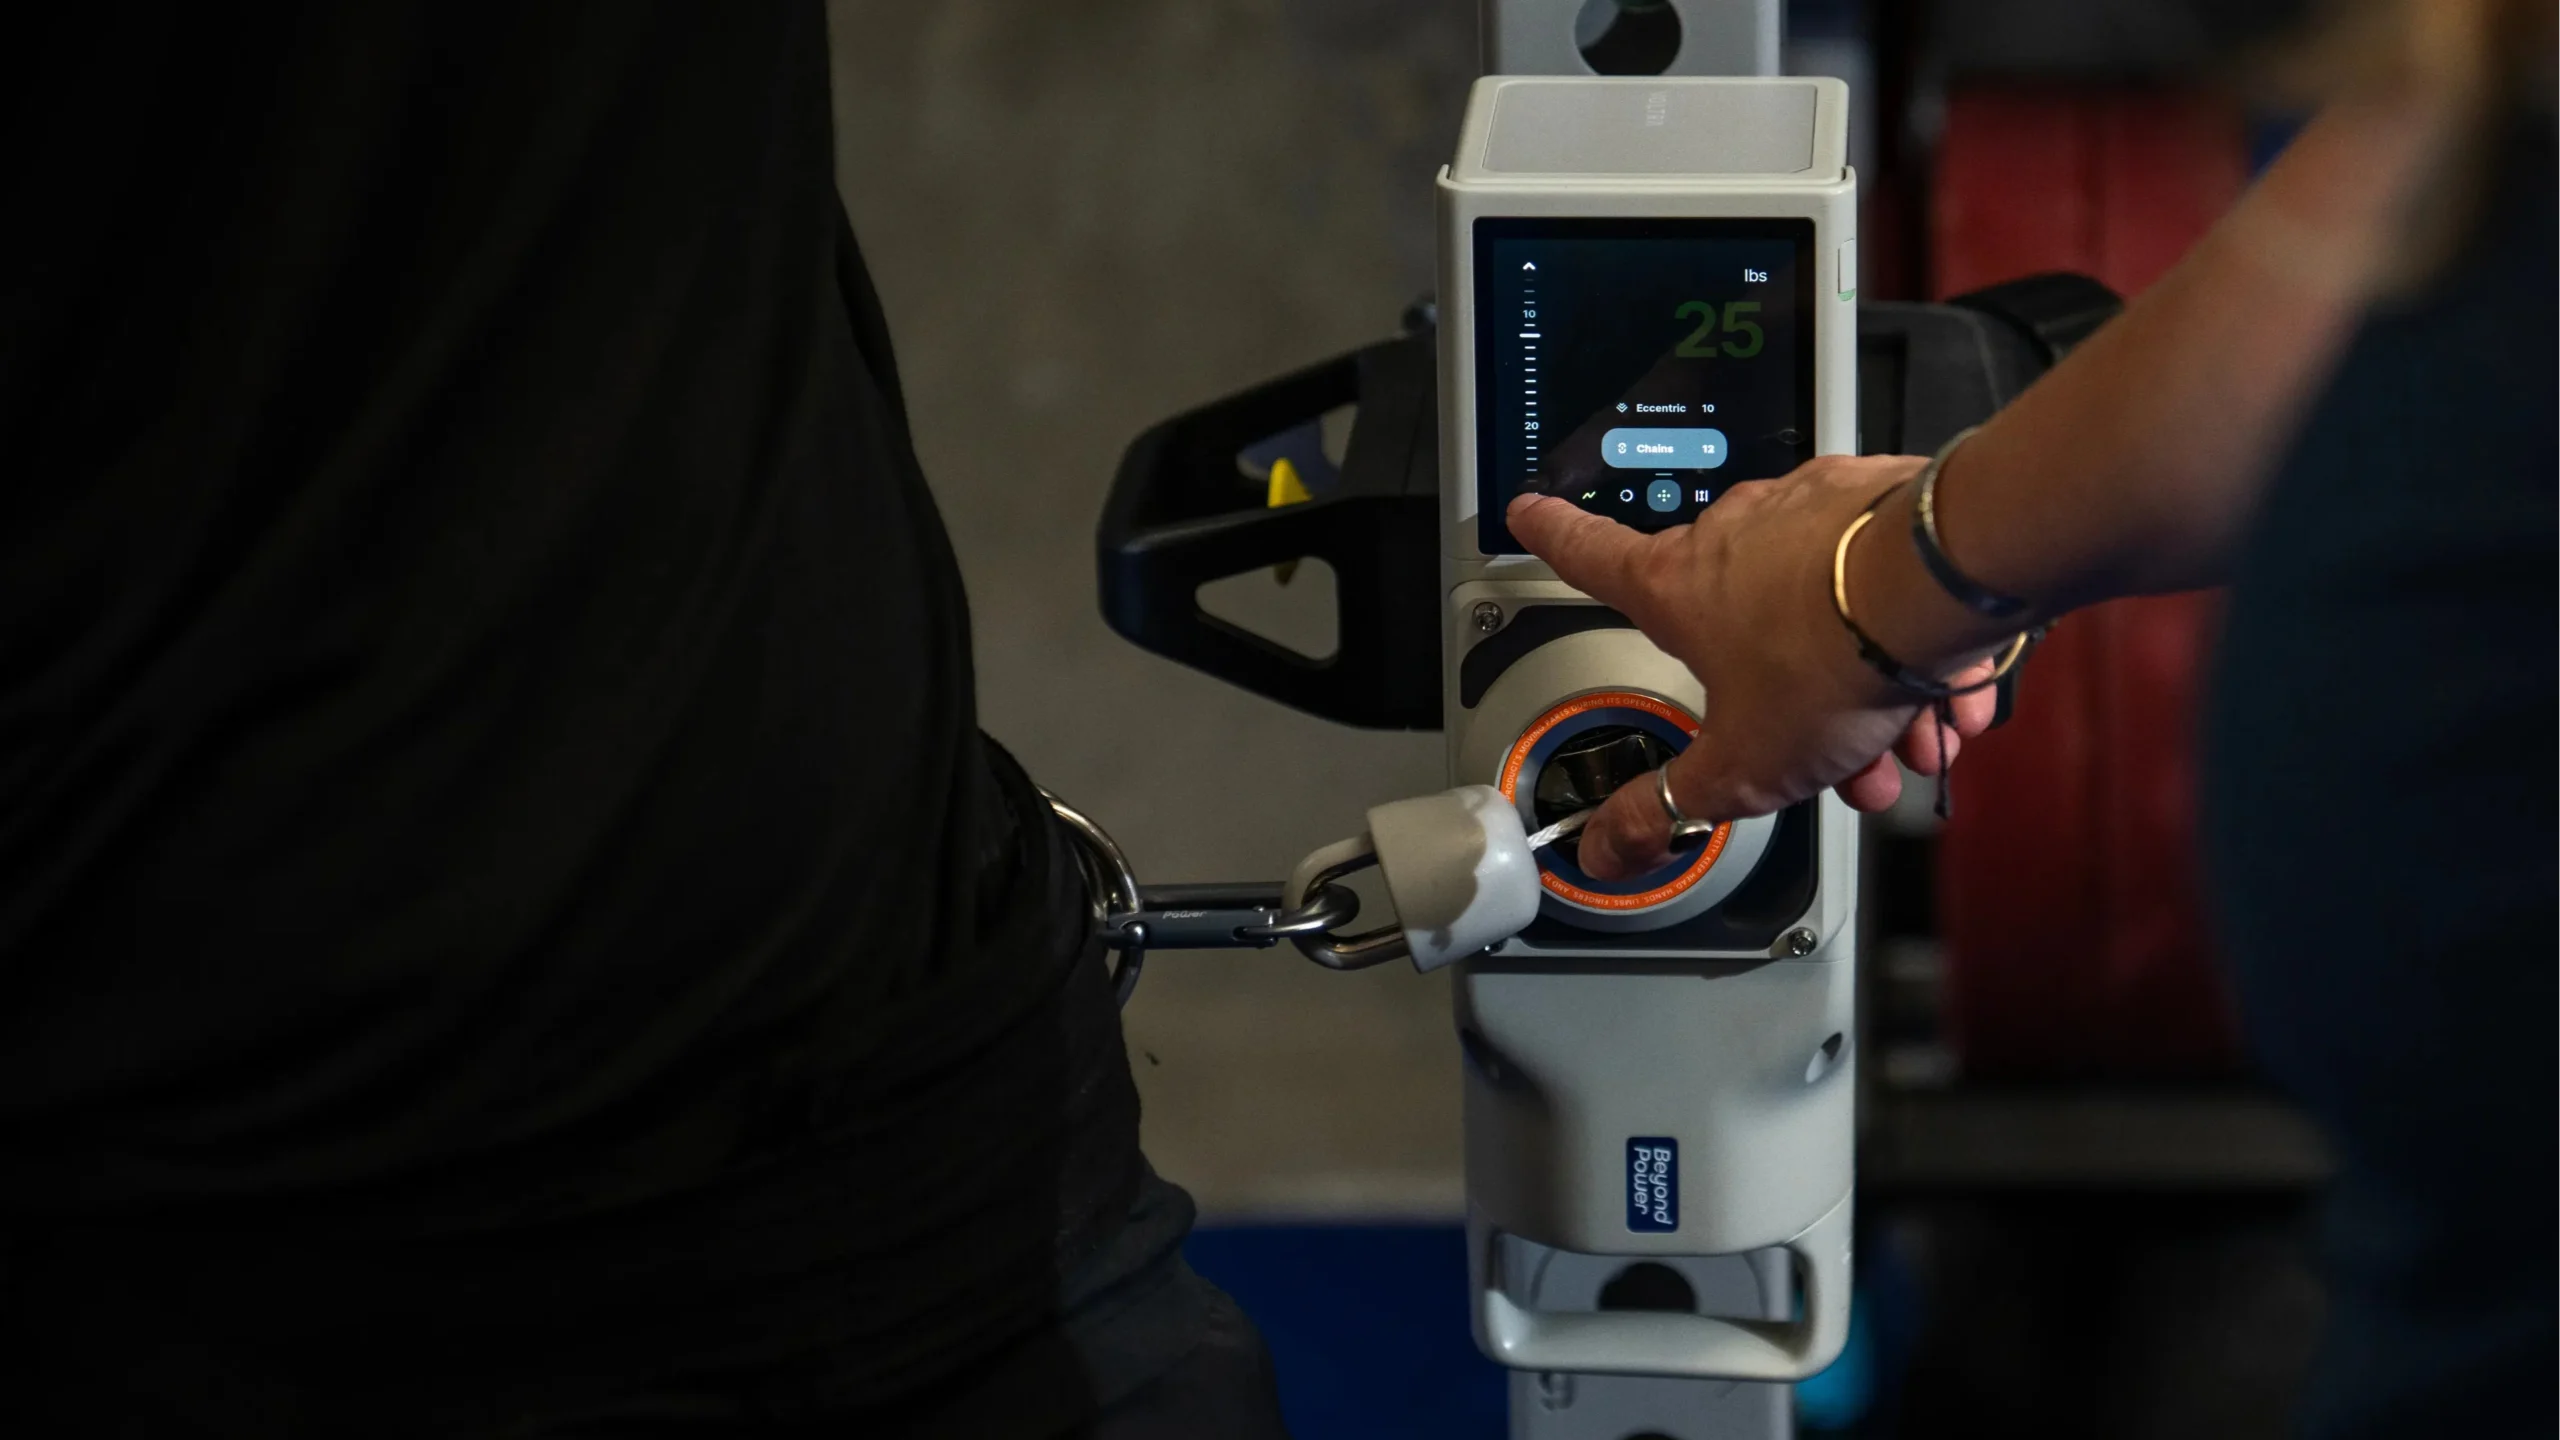
The standard update route is on the VOLTRA itself: connect it to Wi-Fi, then open Settings, General and Firmware Update. Beyond+ also provides an update route through the selected device’s menu when a direct device update is unavailable. Check the installed version after the process rather than assuming that connecting to Wi-Fi completed it.
Do this before the session you want to compare, with enough time to work through the instructions displayed on your unit. Discovering a new screen or calibration step halfway through a timed circuit makes the session harder to manage and the result harder to interpret.
Write down the starting configuration first. Record the mount position, attachment, exercise, resistance and any profile adjustments you already use. A photograph of the setup and a short note about the starting cable position can make the next session easier to reproduce. Keep your normal training log rather than creating a complicated new system just for the update.
Firmware 2.0 also includes home-screen reordering. Put your regularly used functions where you can find them easily. That is a useful convenience, but it is worth checking how to return to your ordinary training setup before selecting unfamiliar options.
For a first session, choose familiar exercises and manageable resistance. The aim is to understand the controls and transitions. A successful update does not require setting a personal best immediately, and a new feature does not need to be included in every exercise to justify learning it.
2. Treat DTR and the higher load ceiling as separate changes
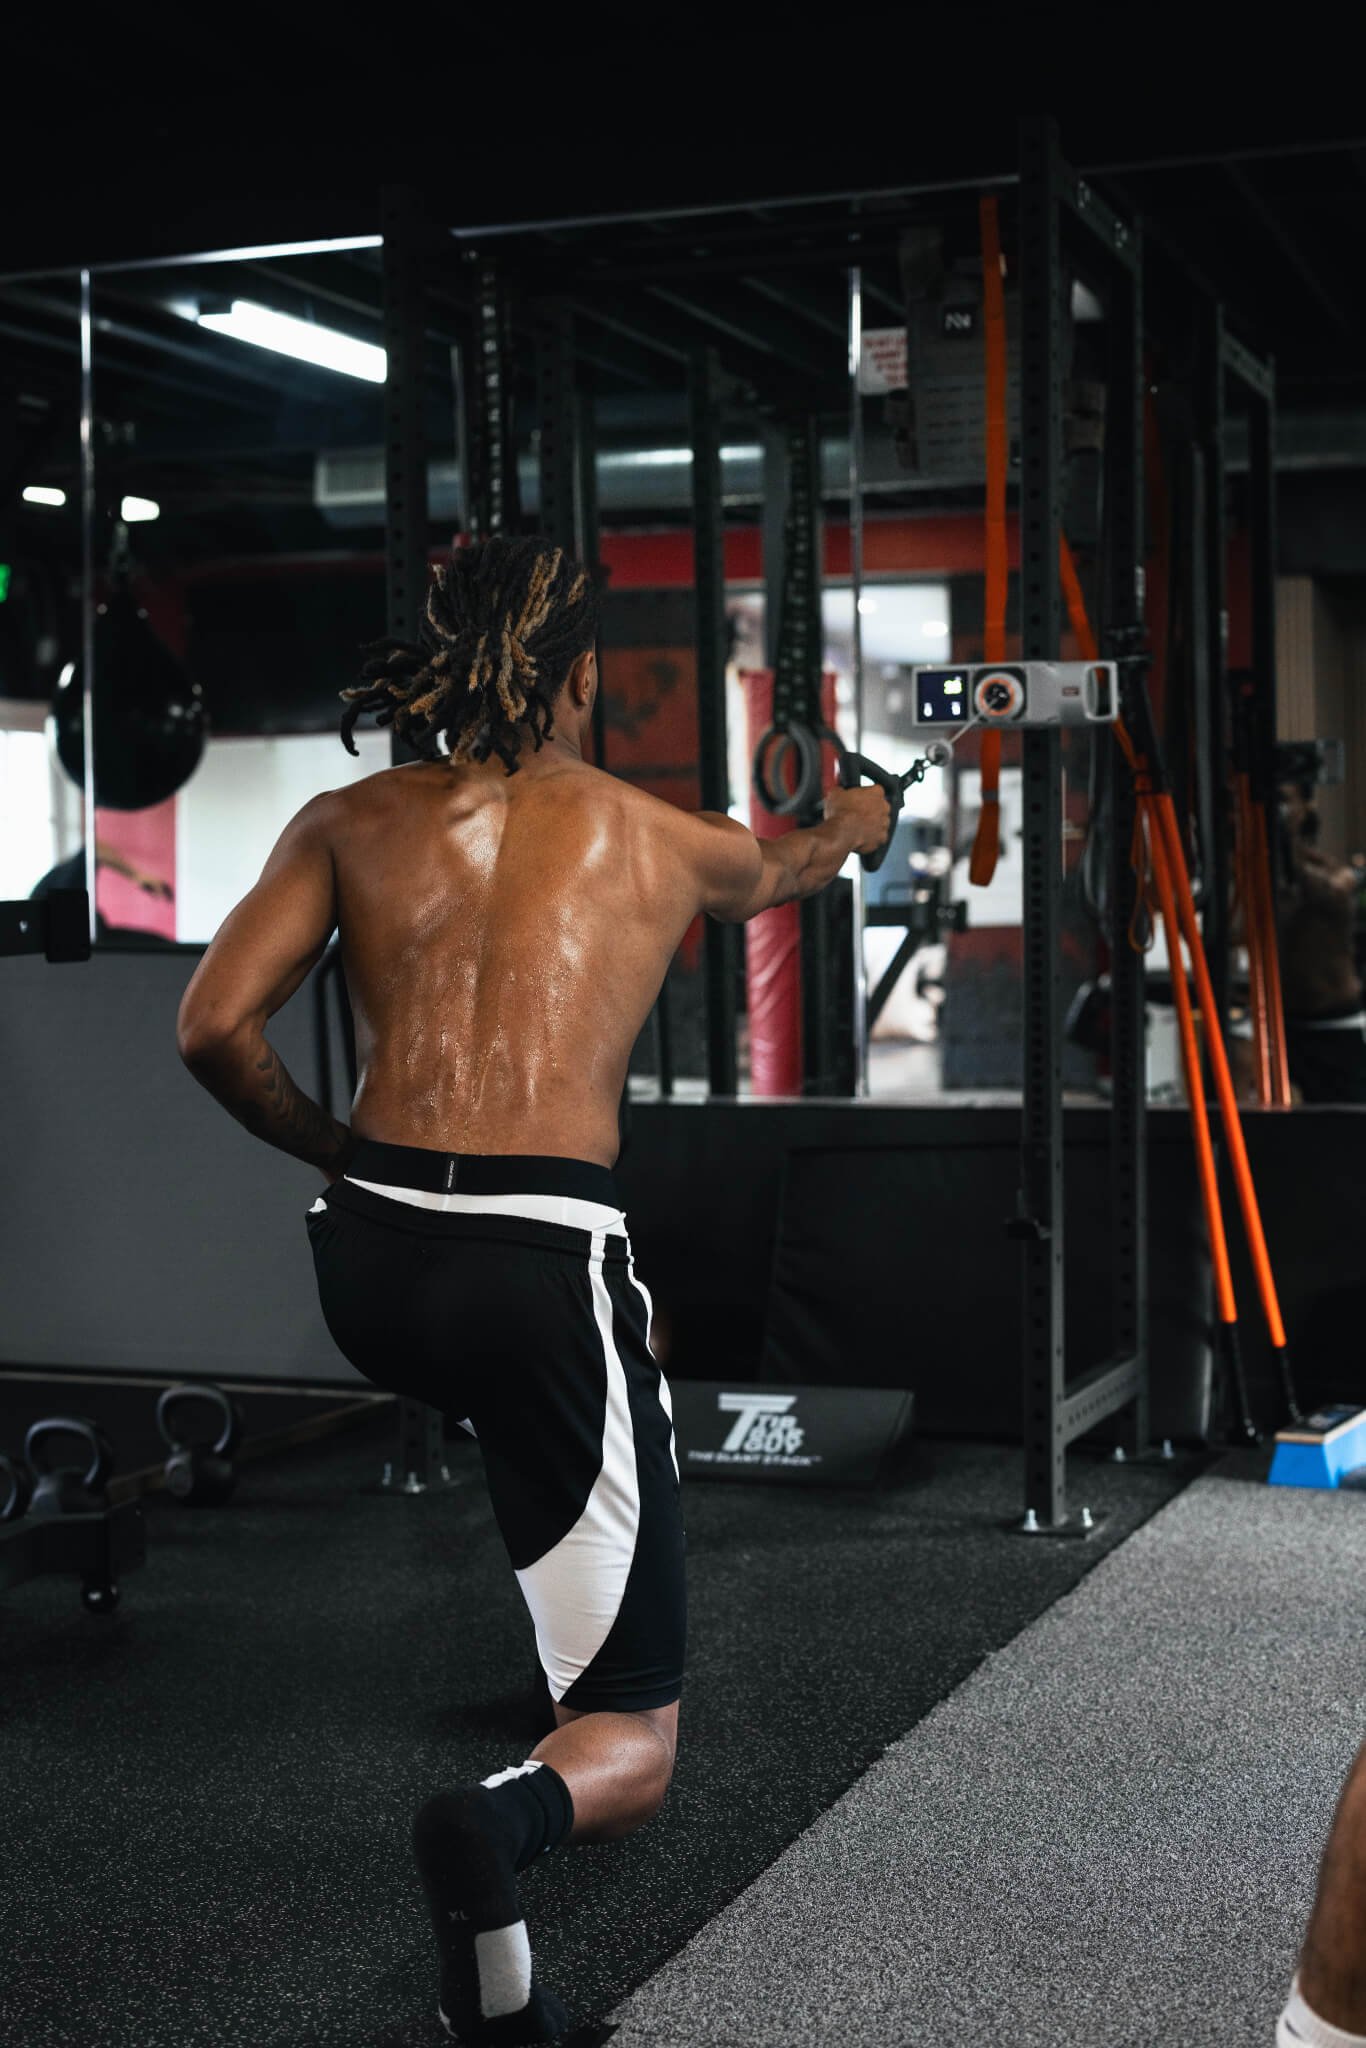
Dynamic Tension Response, or DTR, changes how the resistance follows movement. It is not a profile that deliberately adds weight as you accelerate. Follow the on-screen calibration before the first DTR set. The normal maximum resistance in Firmware 2.0 is 230 lb, or 104 kg; the separate 250 lb Overdrive option remains a beta requiring access through Beyond+.
Do not combine those facts into a promise that everyone can use 250 lb immediately. Nor does the higher ceiling mean your previous working loads are suddenly too light. Your useful resistance still depends on the exercise, range of motion, attachment and ability to control the return.
Use a familiar row as a comparison exercise. Keep the same grip, body position and cable height, and start with a resistance you already handle comfortably. Observe the start of the pull, the turnaround and the controlled return. If you change your stance or shorten the movement at the same time, you have changed the comparison.
A cleaner-feeling repetition is valuable, but distinguish that observation from a verified accuracy test or a prediction of greater muscle growth. A session note such as “same load and setup, smoother turnaround” is more informative than simply declaring the whole machine better.
Only consider a load increase after the setup and movement are settled. Leave room to end the set under control and to unload normally. The software update does not increase the strength of the rack, wall, mounting surface or attachment you connect to it. Those parts still need to suit the actual direction and magnitude of the exercise load.
3. Understand what Sled Pull numbers actually represent
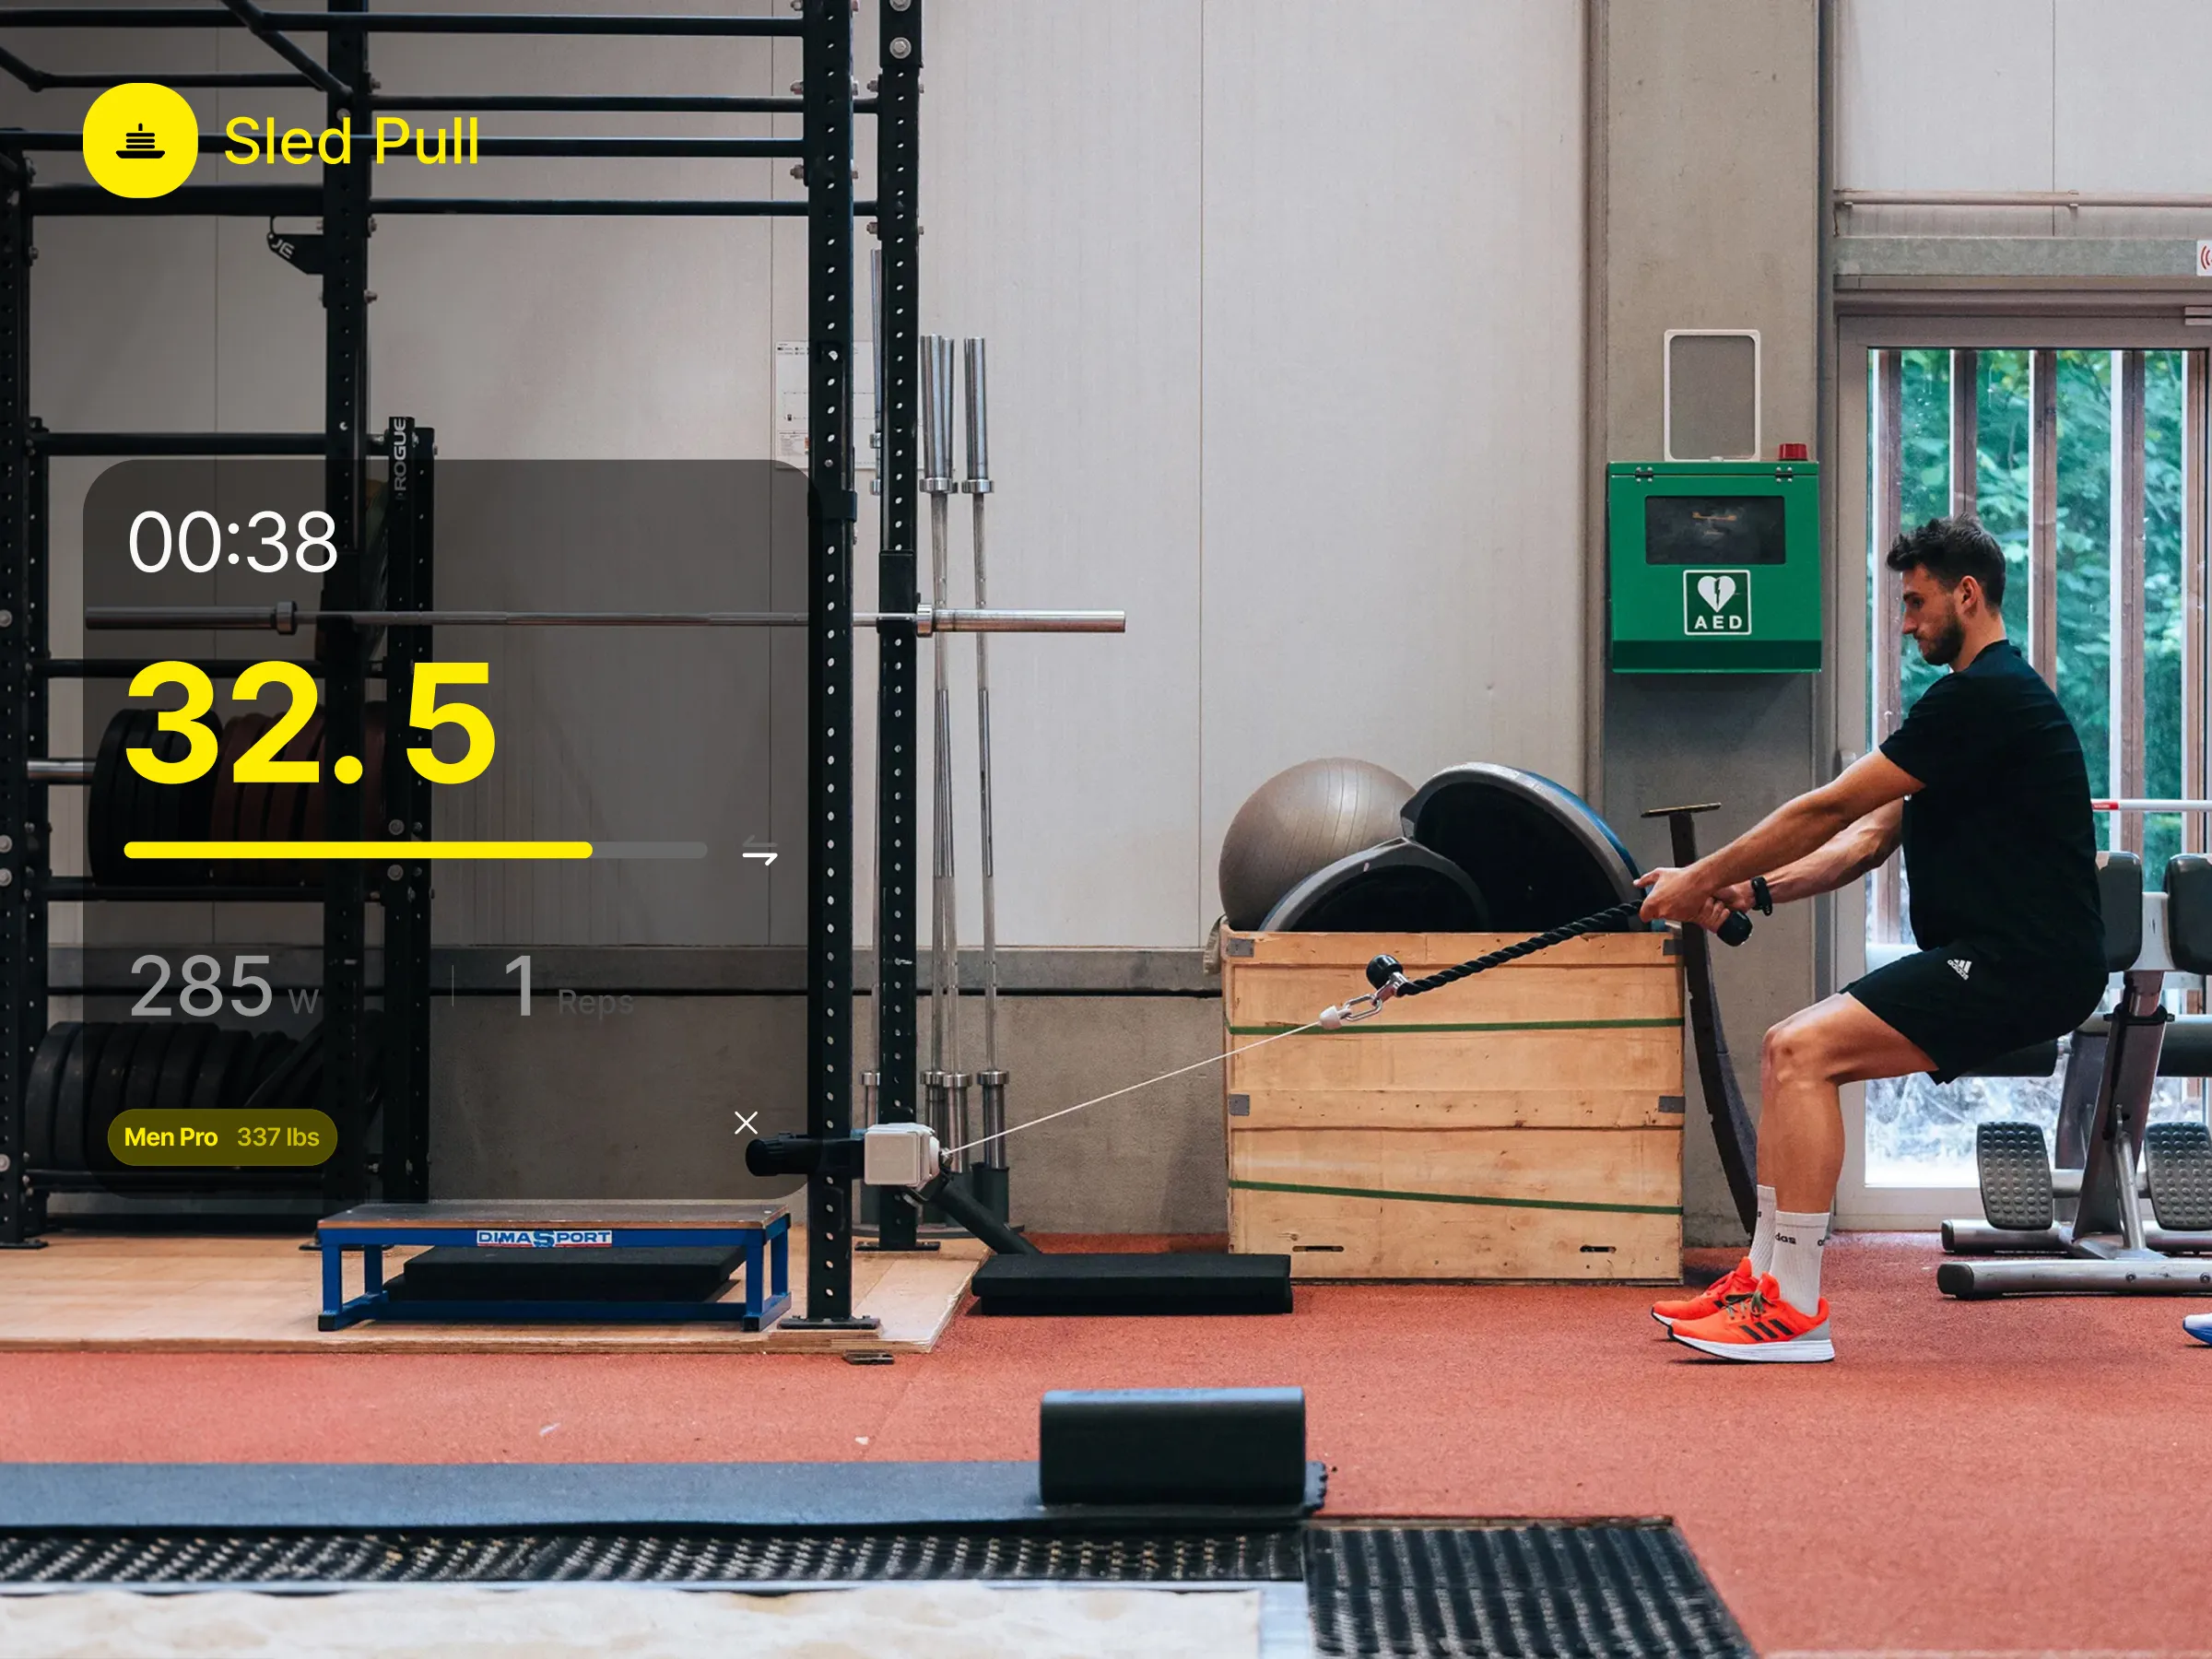
Sled Pull provides race presets, custom distances and live distance and time information. Its Virtual Switch represents changing ends after a 12.5 m pull. The displayed sled figure represents simulated sled weight and friction, rather than a direct cable-resistance reading. A preset above 230 lb therefore does not mean the unit is delivering more than its ordinary cable limit.
That distinction matters when comparing sessions. A cable simulation and a physical sled moving over turf are different tasks. Surface friction, sled construction, rope handling and the layout of a real lane affect the latter. Do not treat a successful simulated distance as proof that the same race station will take the same time.
Set up the rope path before starting the timer. Make sure there is room for the intended hand-over-hand movement and a clear place for the rope to collect. Avoid a route that drags the cable or rope against an edge, wraps around another station or crosses someone else’s training space.
For an initial comparison, use a short, manageable session with the same preset and layout each time. Record the distance, total time and relevant recovery intervals. If you change the preset, virtual switching or rest structure, label it as a different session rather than a faster version of the old one.
The performance overview can help you inspect how the set was distributed between pulling and recovery. Use that information to ask a useful question: did you lose time during the pulls, the transitions or the breaks? It is more actionable than chasing the largest preset simply because it appears on the screen.
4. Use Mountain and percentage controls one variable at a time
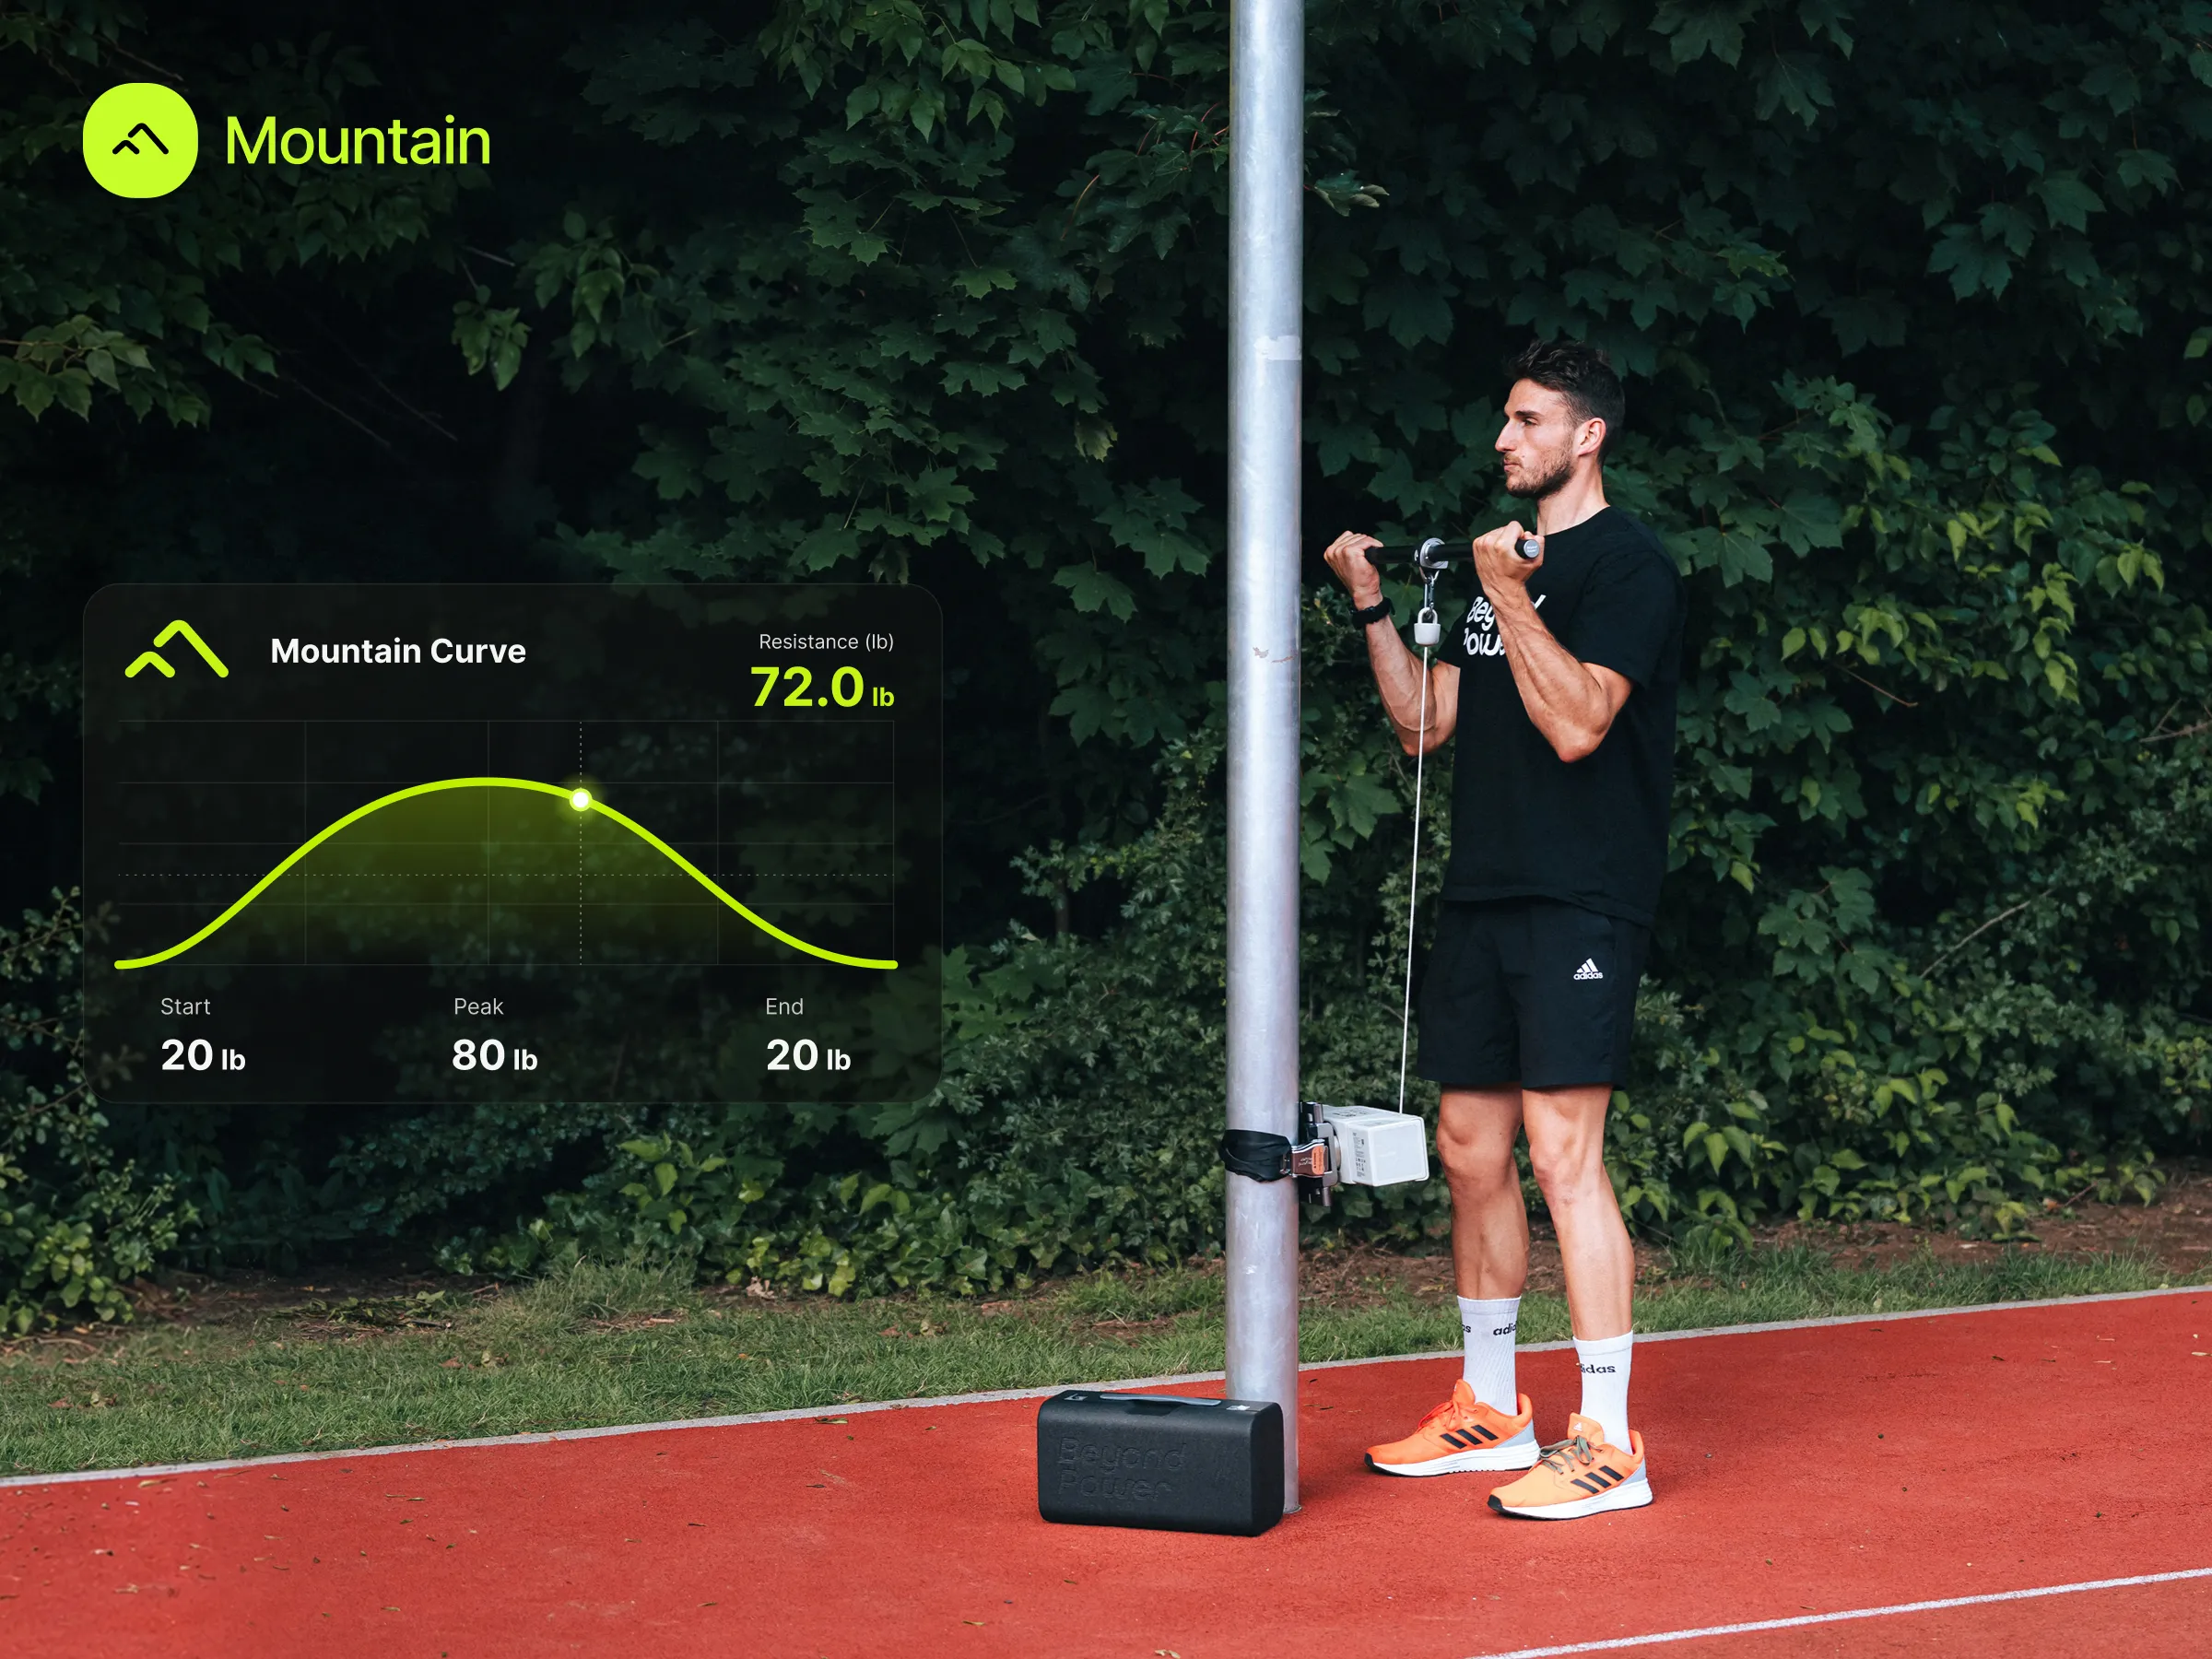
Mountain raises resistance toward the middle of the movement and eases it near both ends. It differs from Chains and Inverse Chains, so the same base setting does not describe the same loading pattern. Percentage Control lets you specify adjustments for these profiles and eccentric loading more consistently.
Start with an exercise whose setup is already reliable, such as a cable curl or lateral raise. Choose manageable settings, use your normal controlled movement and pay attention to where the repetition becomes hardest. Do not add momentum merely to pass the higher-resistance part of the profile.
Keep the base load and profile adjustment in your log as separate entries. “Curl, Mountain, base setting and percentage” is a reproducible description. “Curl, heavy” is not. If you later change the base resistance, preserve the rest of the setup long enough to understand what changed.
The shape of the programmed resistance is also different from a complete description of the load at your joint. Cable direction, limb position and attachment geometry still matter. A mid-range peak is not automatically an ideal match for every person or exercise, and it does not establish superior results by itself.
Compare one profile change at a time. Keep the same exercise order and avoid adding a new grip, a larger load and eccentric overload to the same first test. If the new arrangement makes a movement awkward or difficult to control, return to a simpler setup and reassess. The goal is useful repetitions you can repeat, not a session containing the most menu options.

Bodybuilding Shirts & Workout Gear
Bodybuilding shirts, tanks and gym gear for lifters chasing muscle, size, symmetry and the pump.

Consistency Is Key Stoic Greek God Marble Sculpture T-Shirt
Make gym days more fun with “Consistency is Key Stoic Greek God Marble” style.

Every Day Is Arm Day
Make gym days more fun with “Every Day is Arm Day Octopus Gym Meme” style.

The Real Rocky Mountains – Bicep Mountain Meme Vest Mus Tank Top
Train hard, laugh a little, and rep “The Real Rocky Mountains”.

Be Happy Lift Heavy Happy Weights Emoji Weight Plate Hoodie
Show off your powerlifting humor in a laid-back “Be Happy Lift” hoodie.

Lift Eat Sleep Repeat Meme Sweater & T-Shirt
Bring “Lift Eat Sleep Repeat” humor to your everyday gym style.

One More Rep Shirt: Motivational & T-Shirt
Make gym days more fun with “One More Rep” style.


Safety Practice Safe Sets Sweater Jumper T-Shirt
Show some gym-day personality with “Gym Safety”.

Installing Muscles Meme – Vest Tank Top
Show some personality between sets with “Installing Muscles Gym Meme”.

Shirt – I'M Strong Barbell Heartbeat , Gymbro , & T-Shirt
Bring “I'm Strong Barbell Heartbeat” humor to your next gym day.
5. Build a repeatable station, then decide what to keep
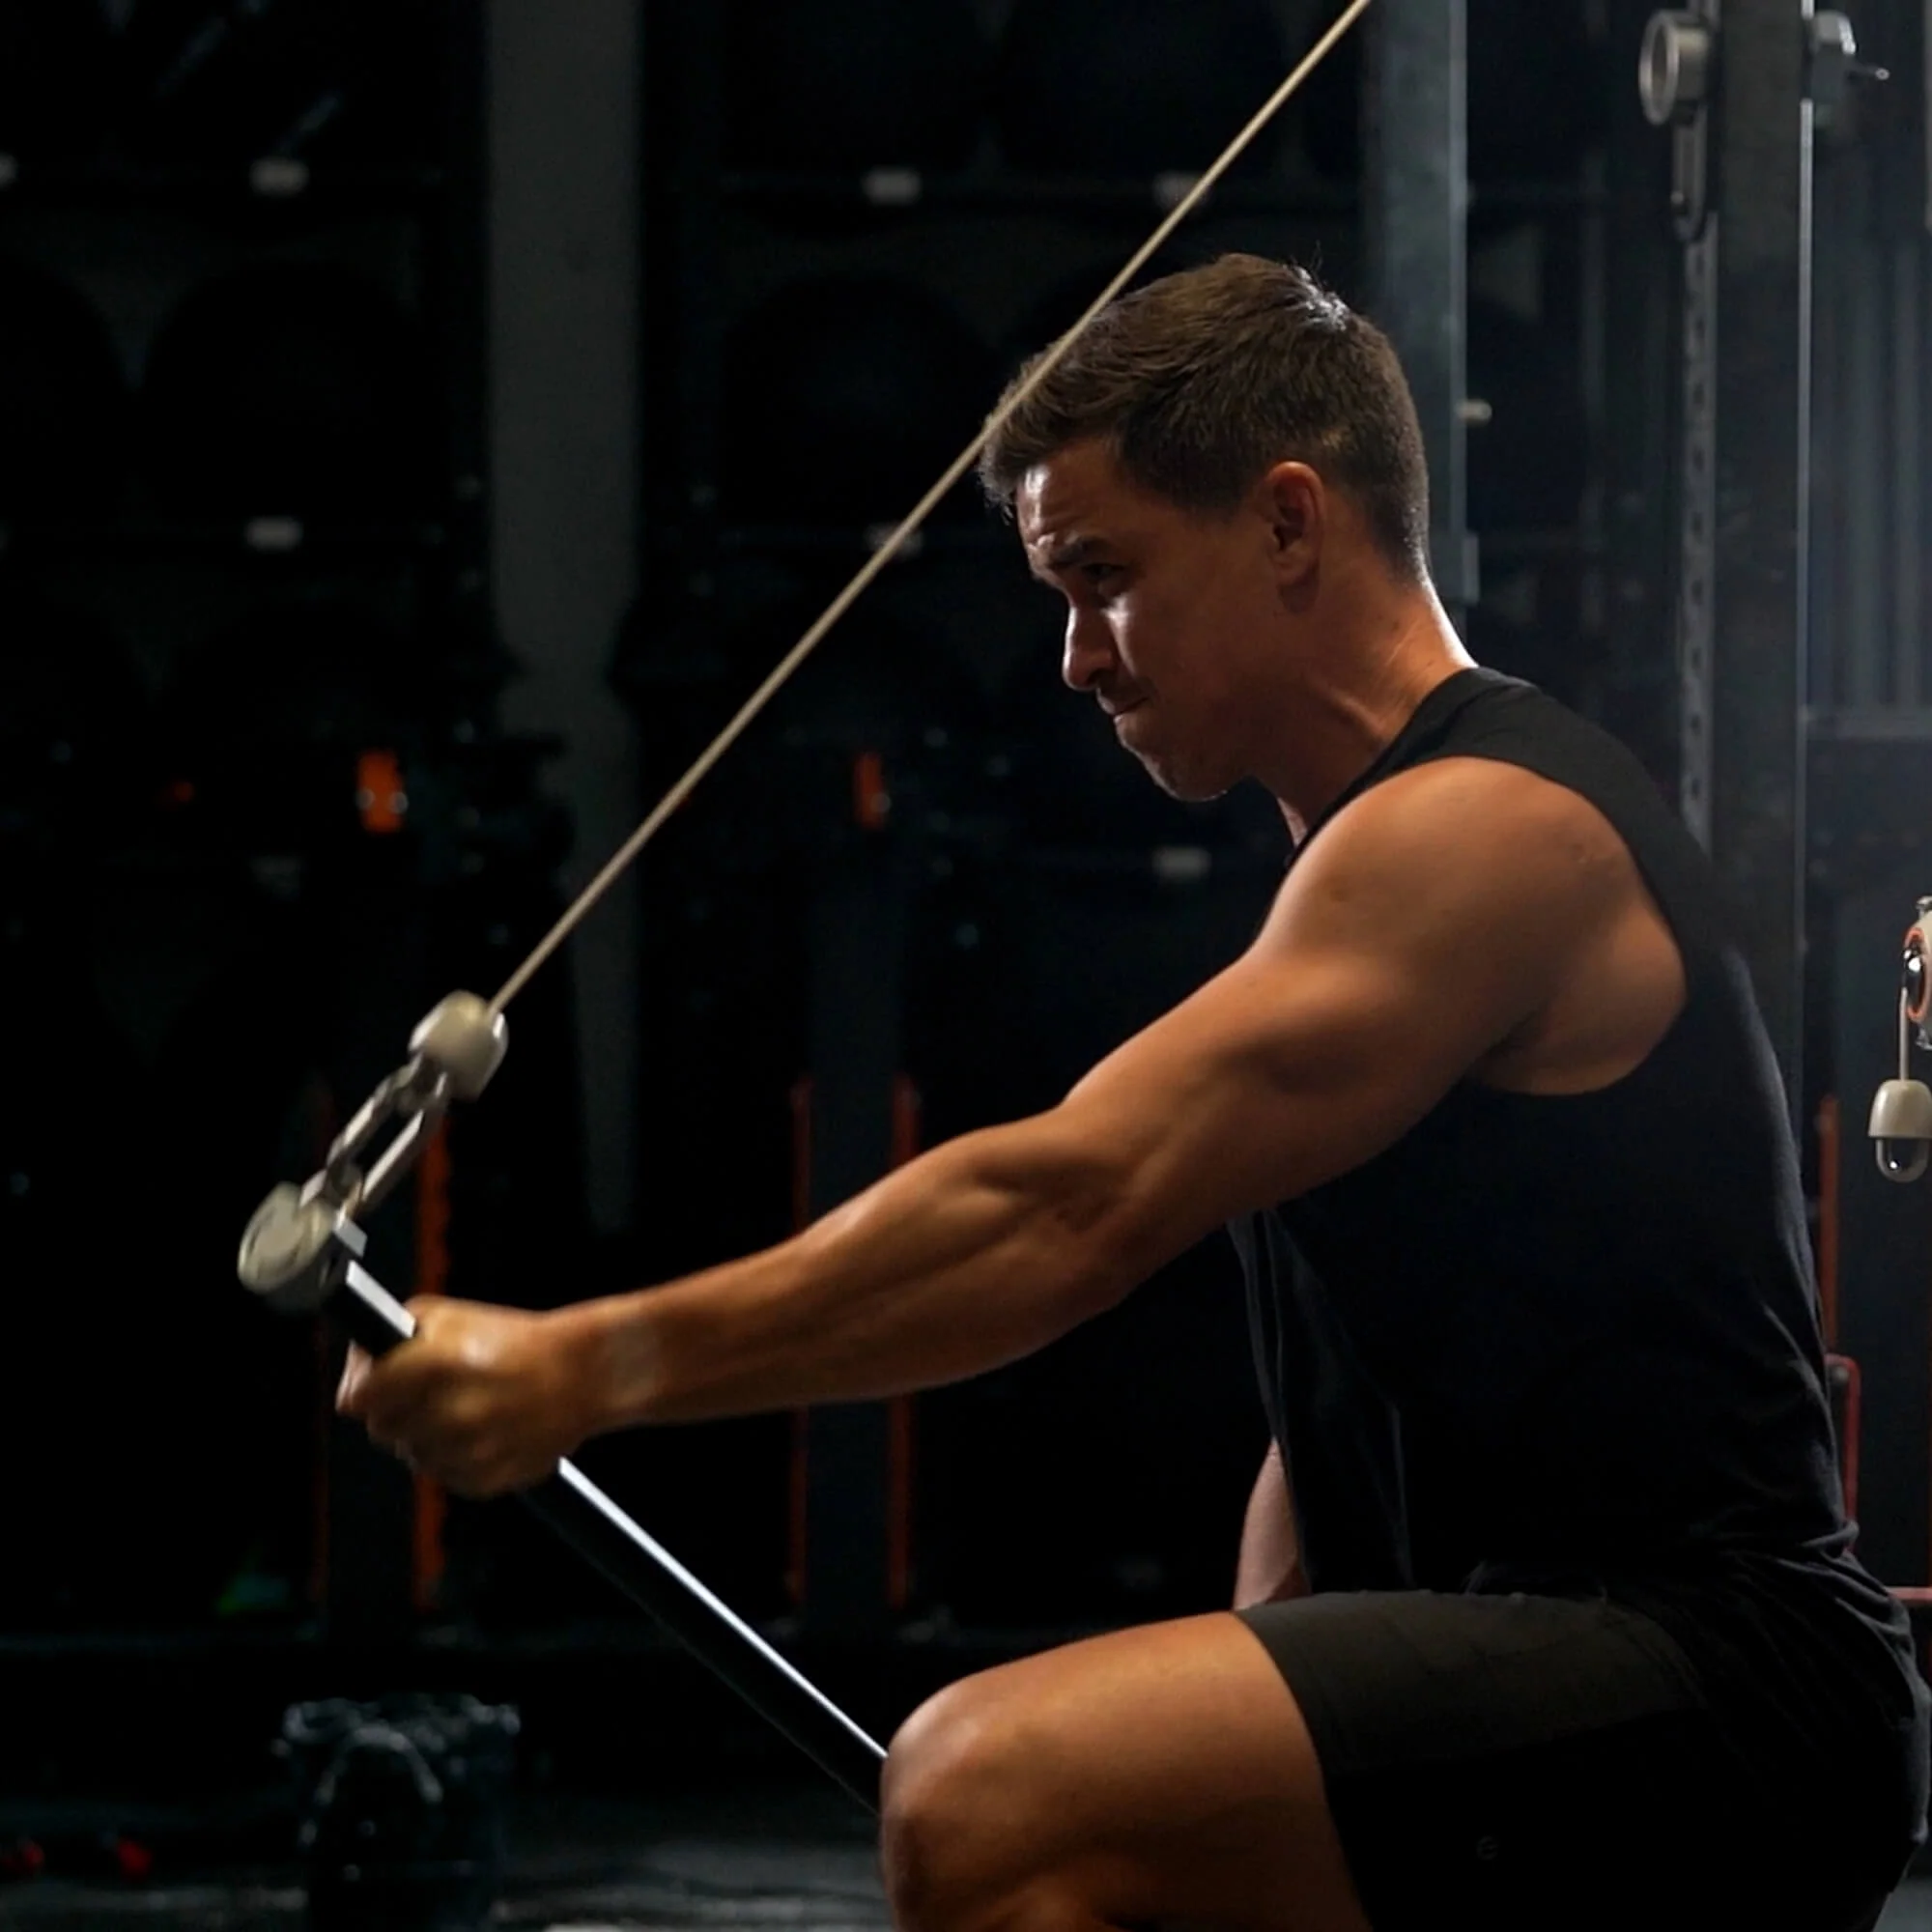
Mounting remains a physical decision. A sliding rack mount serves frequent height changes; a fixed mount serves a repeatable station; bar mounts suit compatible horizontal mounting points. Choose the actual accessory using its dedicated fitting instructions and the dimensions of your rack or bar, rather than assuming that any mount fits any structure.
Check the cable path through the complete movement before a work set. A rope pushdown, a row and an overhead pulldown need different body positions and clearance. Keep accessories from striking the device, rack or surrounding equipment, and confirm that you can reach the controls or use your established remote-control arrangement.
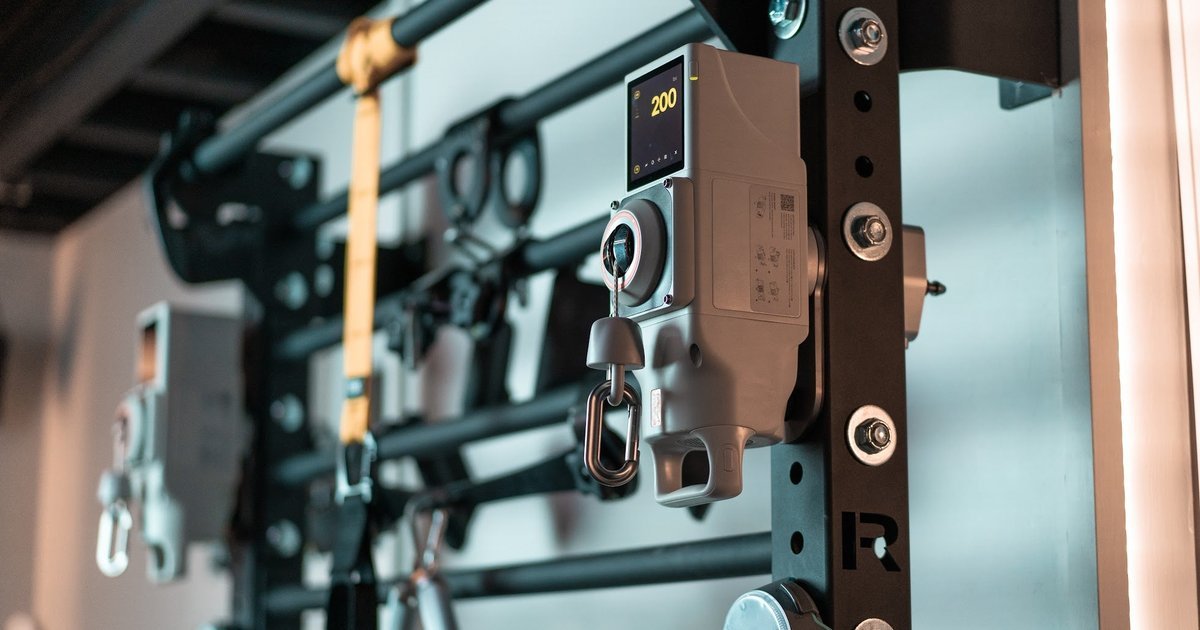
The touchscreen is the primary interface, while Beyond+ can adjust resistance remotely. Learn your normal unloading procedure before introducing a demanding new configuration. If the device, screen or mounting arrangement is not functioning properly, resolve that problem rather than building a workaround into a heavy set.
A useful first-session plan is deliberately modest: confirm the version, follow calibration prompts, repeat a familiar movement, explore one relevant new option and save the settings you would actually use again. If you want to evaluate both Mountain and Sled Pull, give each enough attention to understand its setup instead of rushing between them.
Afterward, review the station as well as the performance. Did the attachment fit the movement? Was a height change easy? Could you reproduce the settings without searching through menus? Did the new profile help organize the session, or simply add decisions?
Keep the options that serve a real training purpose. Ordinary Weight Training can remain your main setting while a new profile serves a specific exercise or conditioning block. Firmware 2.0 gives you more choices on the same VOLTRA I; a clear setup and honest log turn those choices into something you can evaluate.

Equipment Worth Exploring
Explore equipment, accessories and gear from our carefully selected range.
VOLTRA
Compact digital cable trainer with smooth, adjustable resistance.
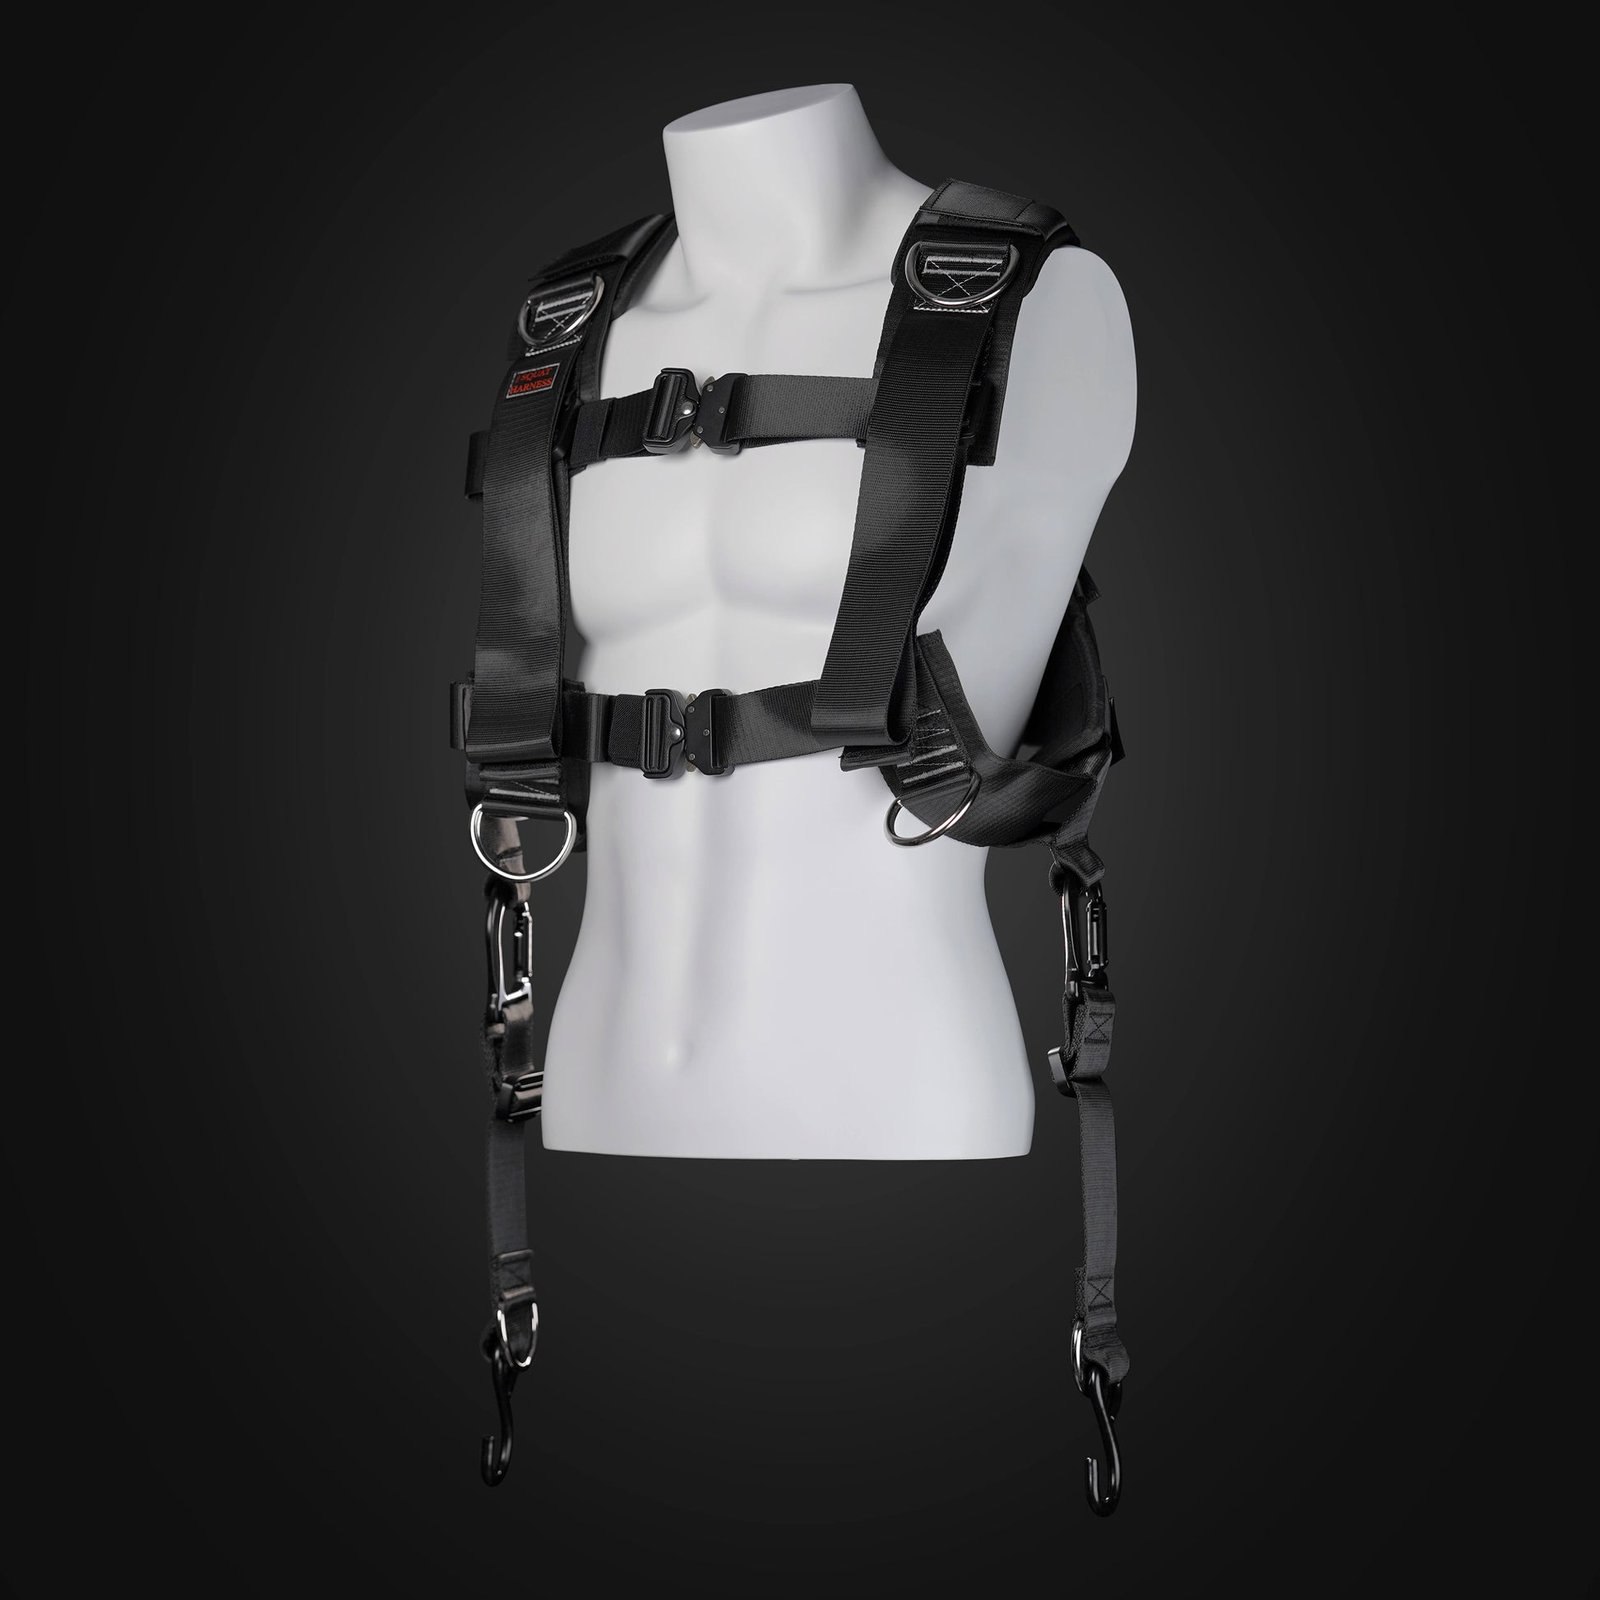
Squat Harness
Wearable harness for hands-free cable squats, sled work, and lower-body training.
GymPin D Cuffs
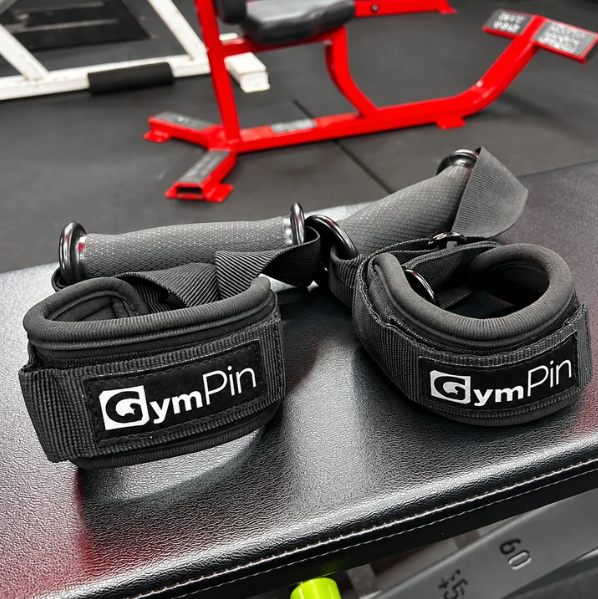
Adjustable wrist cuffs with textured grips for supported cable-machine exercises.
Back Bar
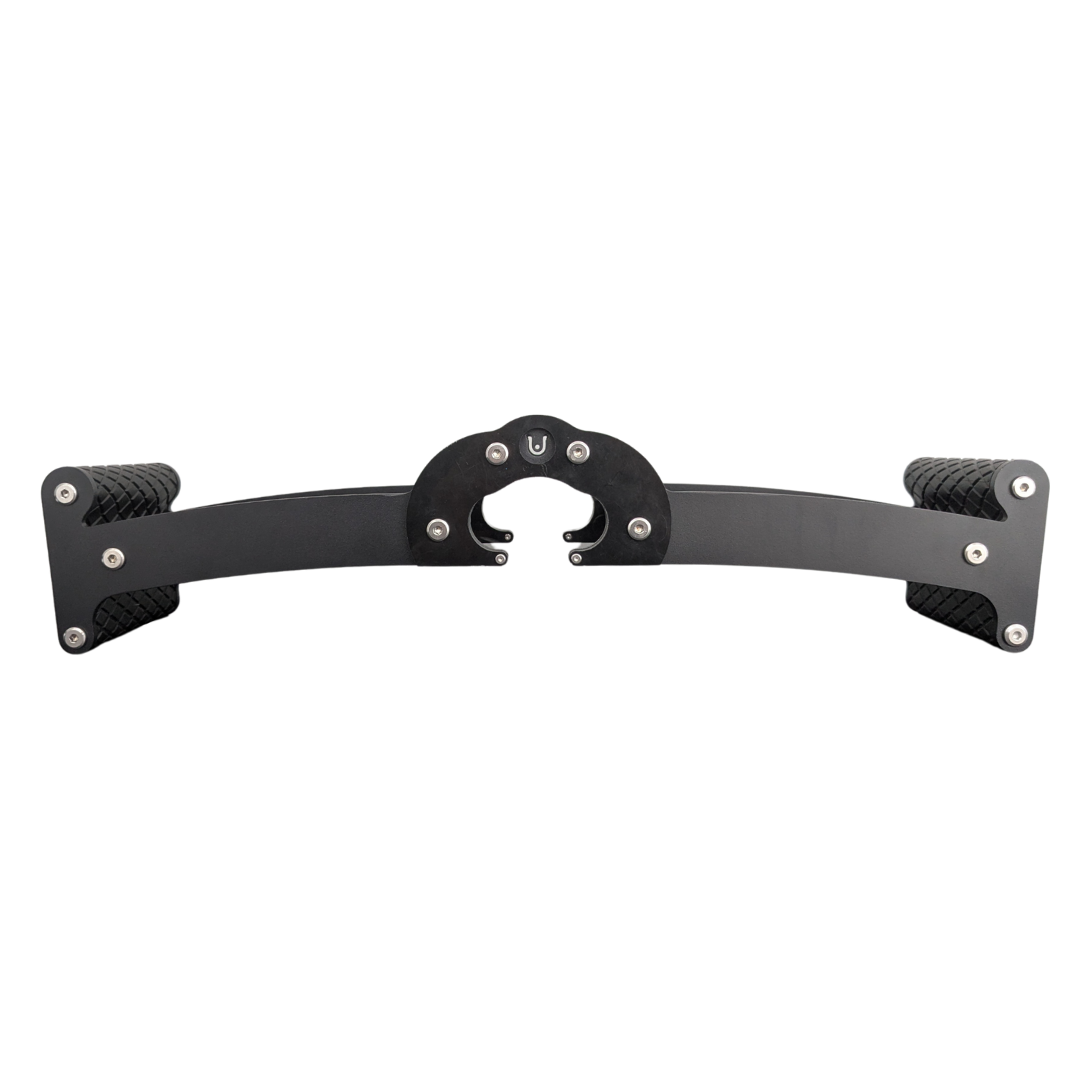
Multi-grip cable and landmine bar with a built-in deadlift jack.

Long Tricep ERGO Ropes
Extended triceps ropes with ergonomic grips for cable pressdowns and overhead extensions.