Advertising disclosure: This page includes affiliate product links that may earn us a commission, as well as products from our own store.
The Viking press looks like an overhead press with two handles, but the resemblance hides a useful distinction: the implement travels around a pivot rather than tracing a free barbell’s path. That changes what the lifter feels, how the load behaves and which equipment checks matter before the first repetition. Strongman competitors may use leg drive to move an enormous apparatus. An ordinary lifter can use a lighter, controlled version for shoulders and triceps. Neither version should be judged by barbell overhead-press numbers. Learn the machine, pick a repeatable starting position, and then decide whether the exercise actually serves your program.
Start with the lever, not the number on the plates
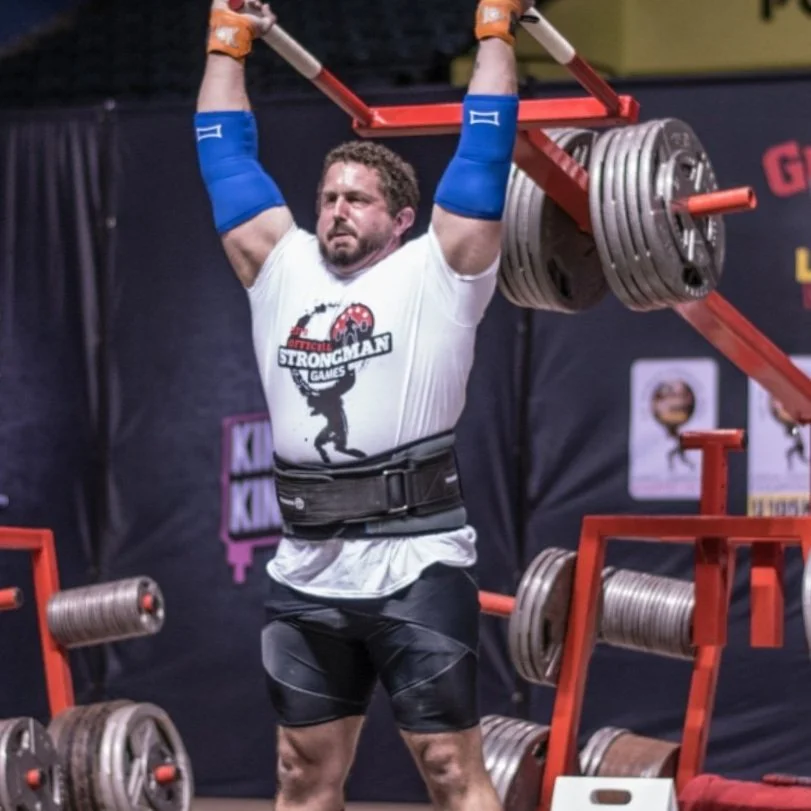
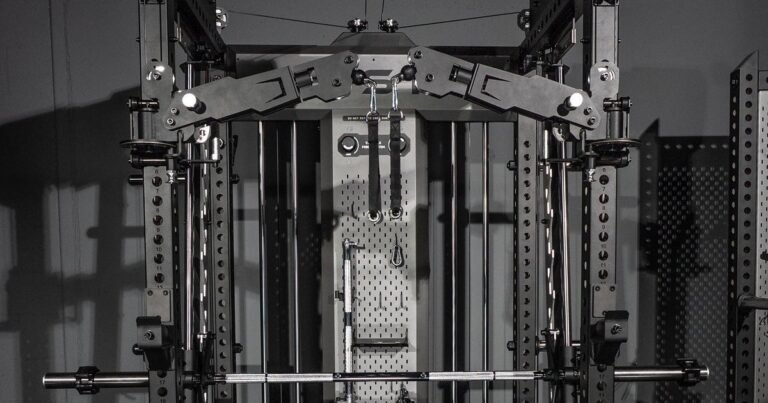
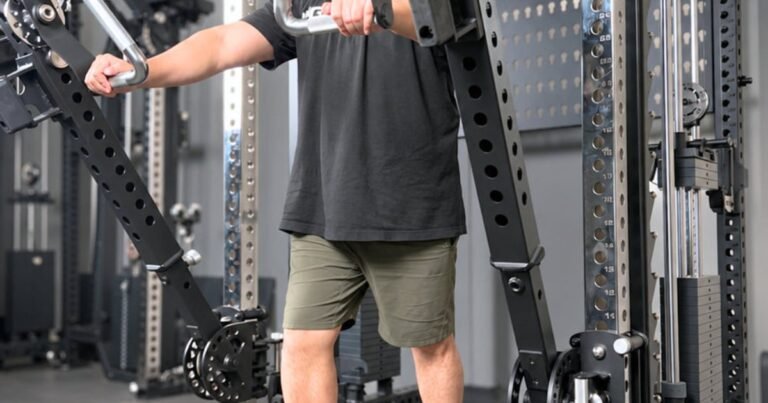
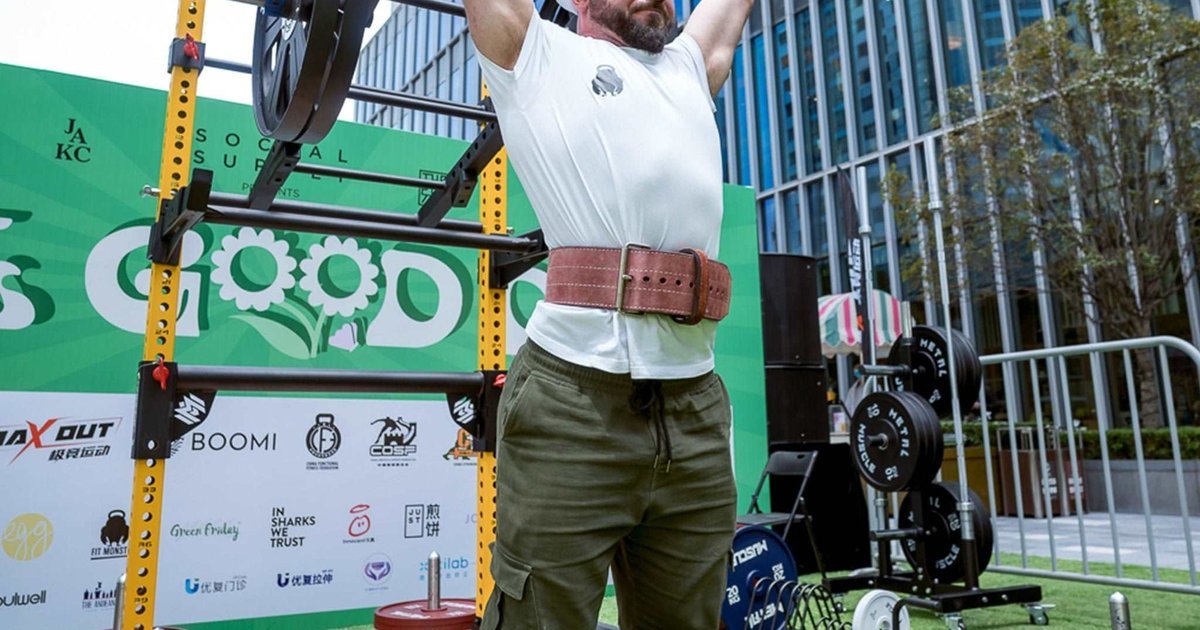
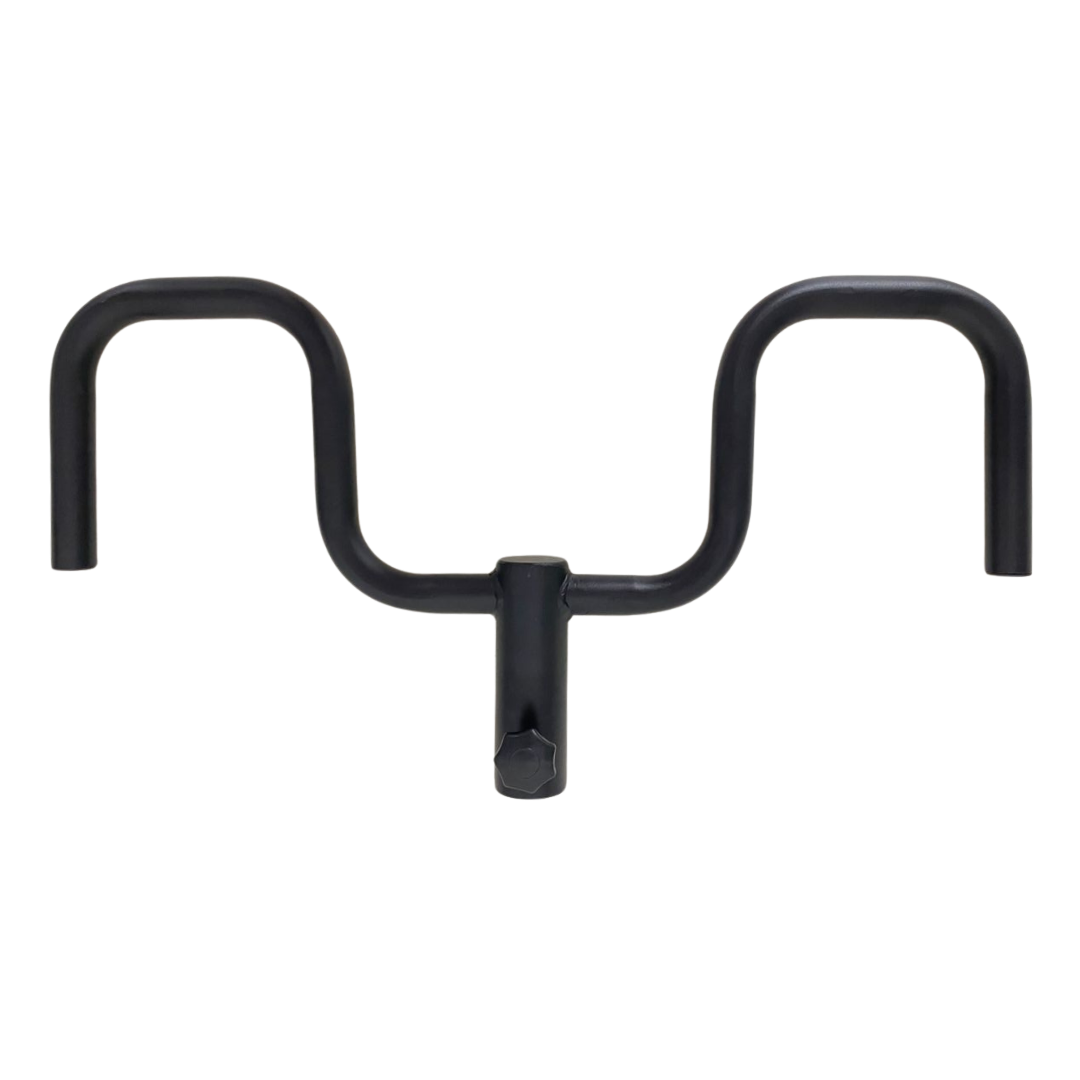
At its simplest, a Viking press has two handles connected to a lever that pivots away from the athlete. A competition implement might be a large yoke-like frame carrying heavy plates or wheels; gym versions may use dedicated machine arms or an approved handle fitted onto a landmine barbell. The handles can be neutral, with palms facing one another, or wider and angled depending on the apparatus. The shared feature is a guided arc, not a standardized resistance curve.
Imagine the pivot as the center of a clock and the handles as a point traveling around the dial. The same movement of your hands means the loaded arms rotate around the pivot. The effective resistance at your hands depends on distances from that pivot, lever design, load position and arm angle. Two machines wearing identical plates can feel surprisingly different. Even the same landmine can feel different when you move your hands to another handle position.
That is why logging “60 kg Viking press” without the equipment model and setup is incomplete. Record the machine or attachment, which grip you used, the approximate handle height, and the plates installed. Do not convert the loaded plate mass into an assumed barbell one-repetition maximum. A strongman competition may impose its own rep standard, lockout requirement, foot restrictions and loading sequence. Learn those before practicing the contest version.
For ordinary training, the opportunity is straightforward: challenge the anterior and lateral shoulder region and triceps through a pressing movement that feels different from a straight bar. The core and upper back help control your torso and shoulder girdle. Leg involvement rises substantially if you turn the lift into a push press. A guided press is still a real resistance exercise, but it is not automatically a superior growth stimulus or a pain-free option for every shoulder.
Check the anchor, handle and clearance before the first rep
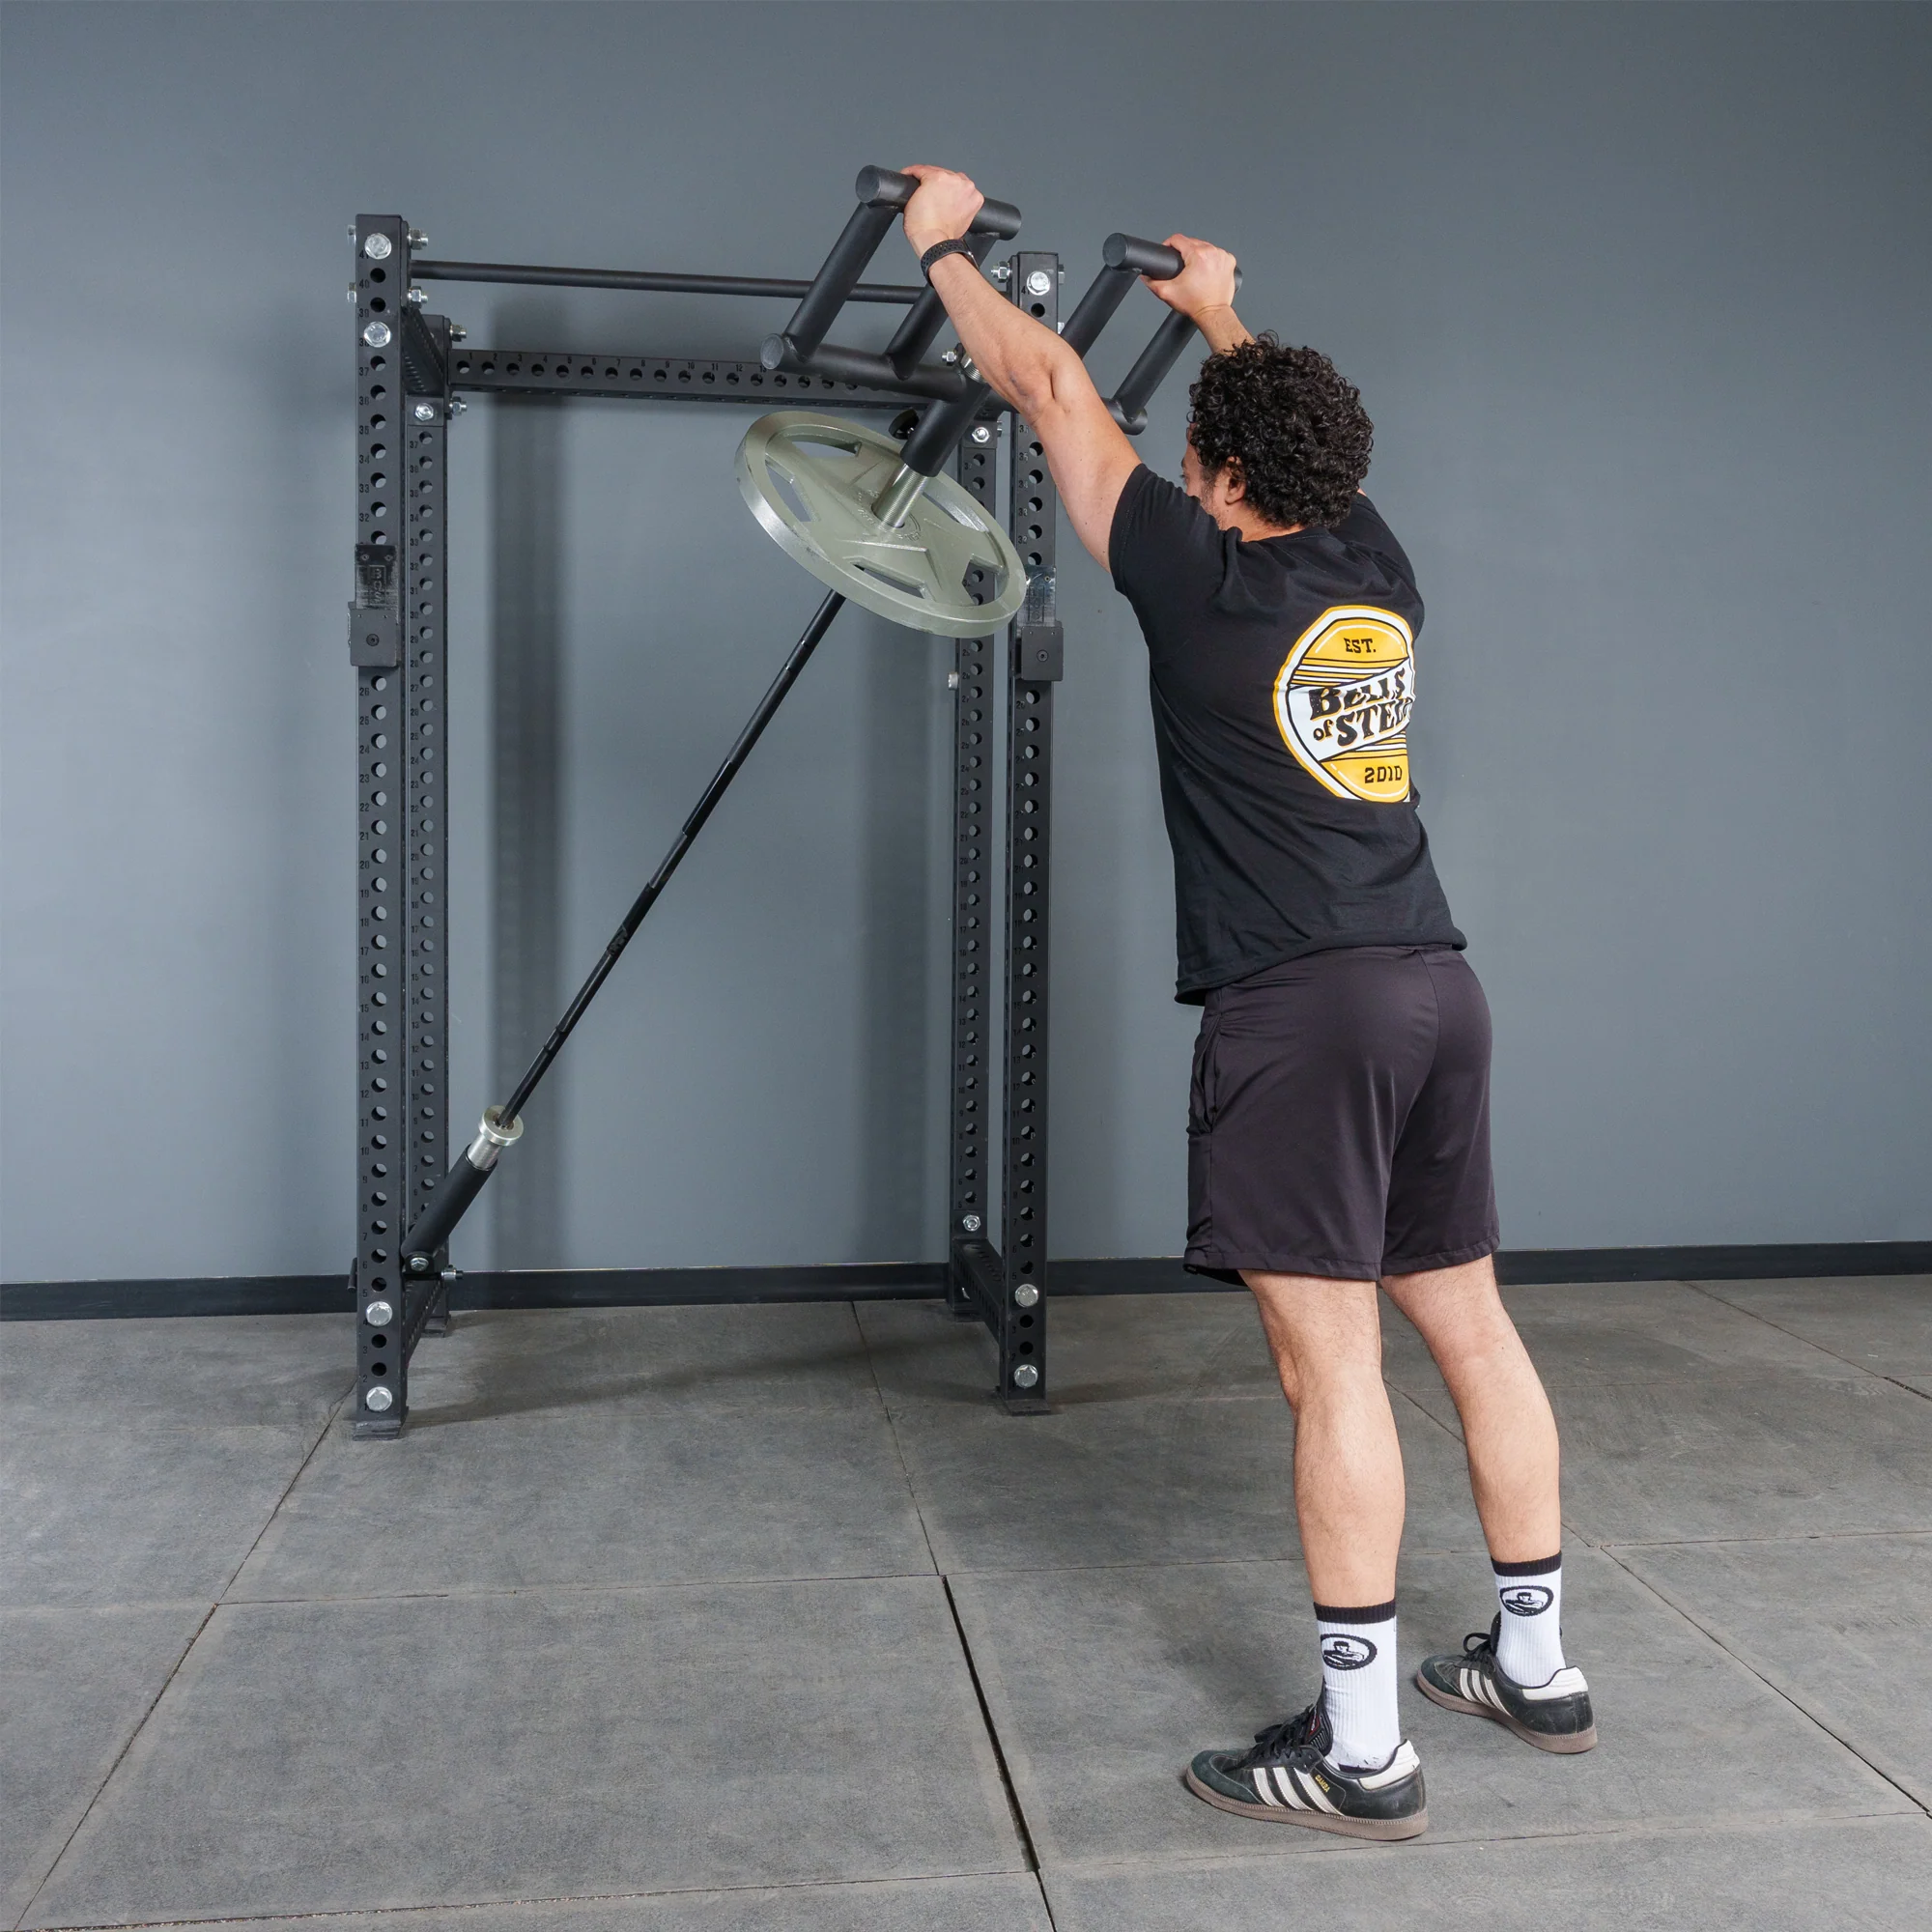
Most avoidable setup mistakes happen before lifting. For a landmine version, use a purpose-built landmine unit secured as its manufacturer specifies, a compatible barbell sleeve, a press attachment approved for that bar size and load, and any retention device required to stop the handle slipping. A corner or improvised wedge is not equivalent to a rated anchor under a dynamic overhead load. If the implement shifts or the handle twists unexpectedly, stop rather than trying to “work around” the problem.
Confirm the complete press arc is clear of uprights, J-cups, ceiling fixtures, hanging lights, nearby people and other equipment. Test the path unloaded or with minimal resistance. The sleeve should stay securely seated in the attachment; any locking knob or pin must be fully engaged. Load compatible plates evenly as directed, use collars when the configuration calls for them, and make sure the rack or floor anchor cannot migrate as the lever moves.
Set the handle so that the bottom position is around the front of your shoulders, rather than forcing a painful depth below the chest. Stand with feet roughly hip- to shoulder-width, knees softly unlocked, and the midfoot carrying your weight. Wrap your thumbs around the handles. Place wrists close to stacked over forearms and choose the grip width that allows elbows to travel comfortably below the hands. A neutral grip is an option, not a universal guarantee of shoulder comfort.
For the first warm-up, perform several slow repetitions without trying to build speed. Notice whether the bar path forces your head backward or drives your ribs into a high arch. Slight forward movement as the lever rises can be natural, but a big lumbar extension is not necessary to finish a rep. If your available space or the machine design prevents stable full-range movement, adjust the setup or choose another exercise.

Equipment Worth Exploring
Explore equipment, accessories and gear from our carefully selected range.


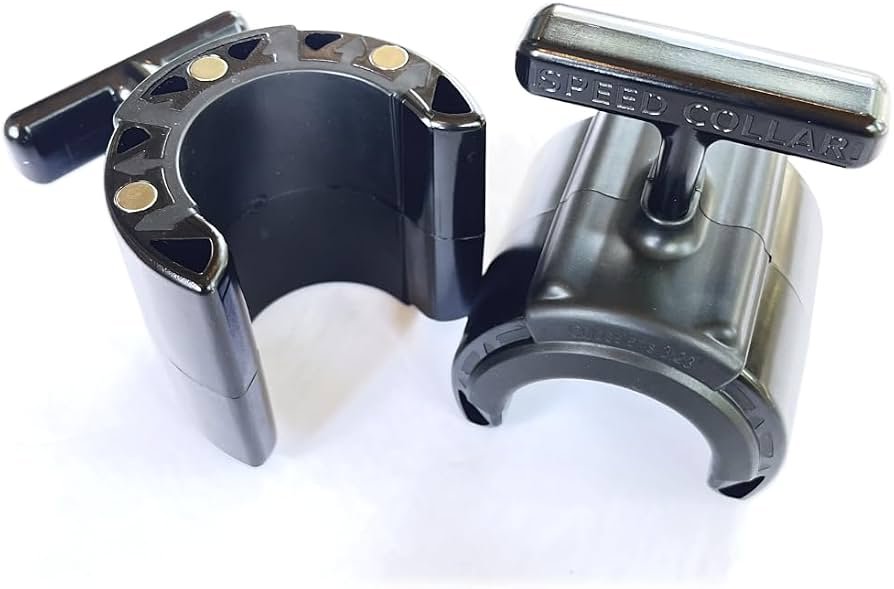
Speed Collar
Quick-release collars designed to secure weight plates on standard two-inch Olympic bars.


Grip Plates
Rubber-coated weight plates with handholds for loading barbells and machines.
Make each strict press reproducible
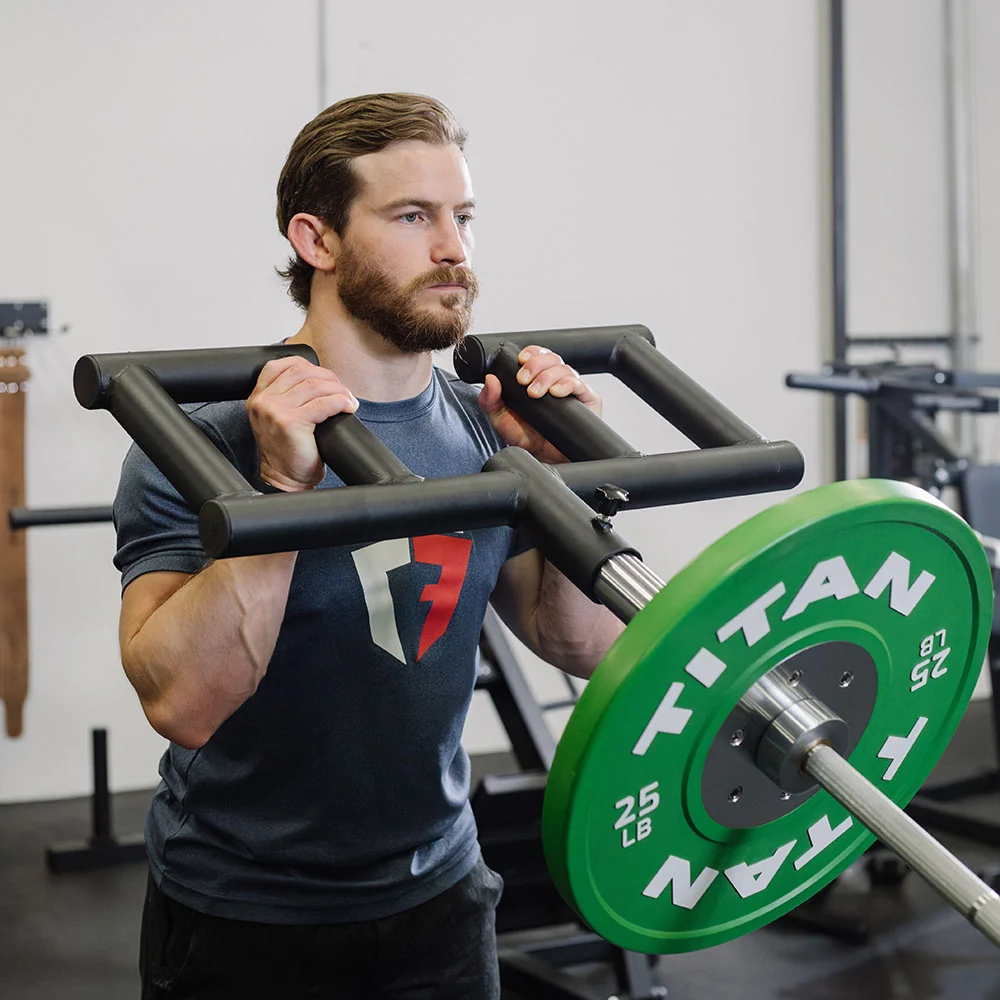
A useful strict repetition starts with the handles quietly controlled near shoulder level. Take a breath and brace through the midsection without exaggerating chest lift. Press up and along the lever’s natural arc while keeping the wrists firm and elbows aligned under the force you are applying. Allow the shoulder blades to rotate as the arms rise; do not try to freeze them unnaturally in place. Finish with comfortable elbow extension and no abrupt collision with the machine’s upper limit.
Then reverse the route under control. Many lifters rush the lowering phase, bounce from the bottom or sink their torso to chase extra range. Instead, let the hands descend to a consistently repeatable bottom position, pause just long enough to regain control, and press again. A two-second descent can be a useful teaching cue, but it is not a special scientifically proven tempo. The important thing is that your chosen cadence survives every rep of the set.
Watch for four common faults. First, flaring the elbows and bending the wrists back because the handles sit too wide; choose a narrower approved grip or reduce the load. Second, moving the torso excessively so every repetition becomes a standing incline press. Third, cutting the final inches of the arc as fatigue arrives while still counting the set as full-range work. Fourth, allowing one arm to lead unevenly on a shared attachment, which can make the apparatus rotate or shift.
Use a simple self-check: could the first and last repetition be recognized as the same movement on video? If not, the extra plate may be changing the lift rather than progressing it. Shoulder discomfort that worsens across repetitions is a reason to reduce load, adjust the implement or stop. A neutral grip can feel more natural for some people, but pain-free practice depends on the individual and the actual equipment.

Strongman Shirts & Strength Gear
Strongman gym shirts and strength gear for lifters who train stones, carries, presses and brutally heavy objects.

Atlas Greek Mythology The Power Within Top & Gymbros T-Shirt
Show some bodybuilding attitude with a playful “Atlas Greek Mythology” tee.


The Original Atlas Stone Shirt – Greek Mythology T-Shirt
Heavy lifts, good laughs, and a little “The Original Atlas Stone” energy.

Mount Liftmore Strongman Brian Shaw & Eddie Hall T-Shirt
Rep “Mount Liftmore Strongman” humor in and out of the gym.


Enter Strongman Enter Sandman Parody Strongman Atlas St T-Shirt
Add a playful “Enter Strongman” touch to your casual rotation.

Avengers Strongman Crewneck
Keep things casual with a little “Avengers Strongman” attitude.

Strongman Superman Hooded Pullover Gymbros Comic Hero W Hoodie
Bring “Strongman Superman” gym humor to lazy days and post-workout plans.


Atlas Gains Ancient Greece Strongman : Meme Shirt T-Shirt
Rep “Atlas Gains Ancient Greece Strongman” humor in and out of the gym.
Strict press, push press and event rules are different targets
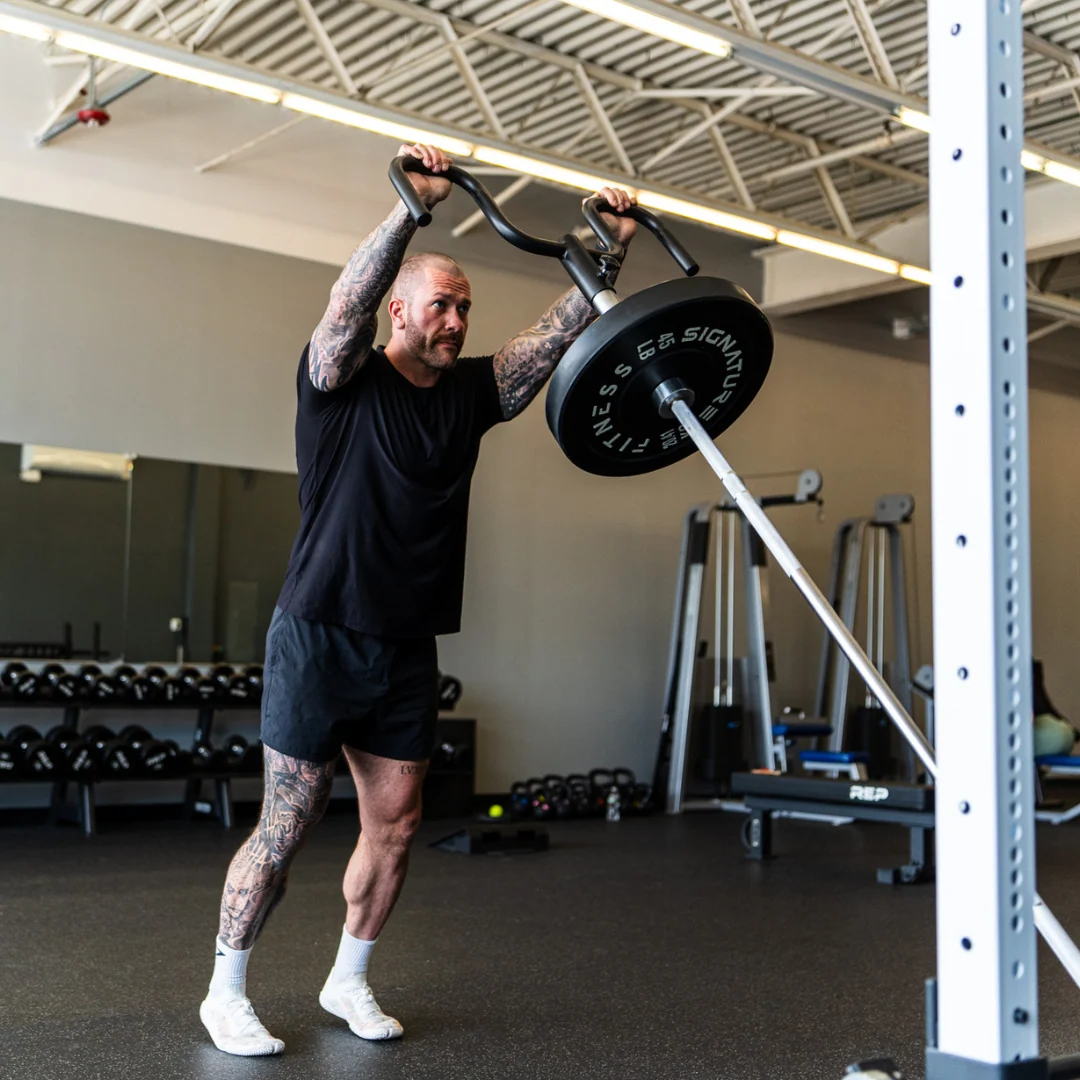
The strict version deliberately removes meaningful assistance from the legs. Your knees remain relatively quiet and the shoulders and triceps do the visible pressing work. A push-press version adds one quick controlled dip and forceful leg extension before the arms finish the lockout. That can make a heavier implement move, but it also makes the result a combined lower- and upper-body power task. Neither is cheating when it matches the stated goal.
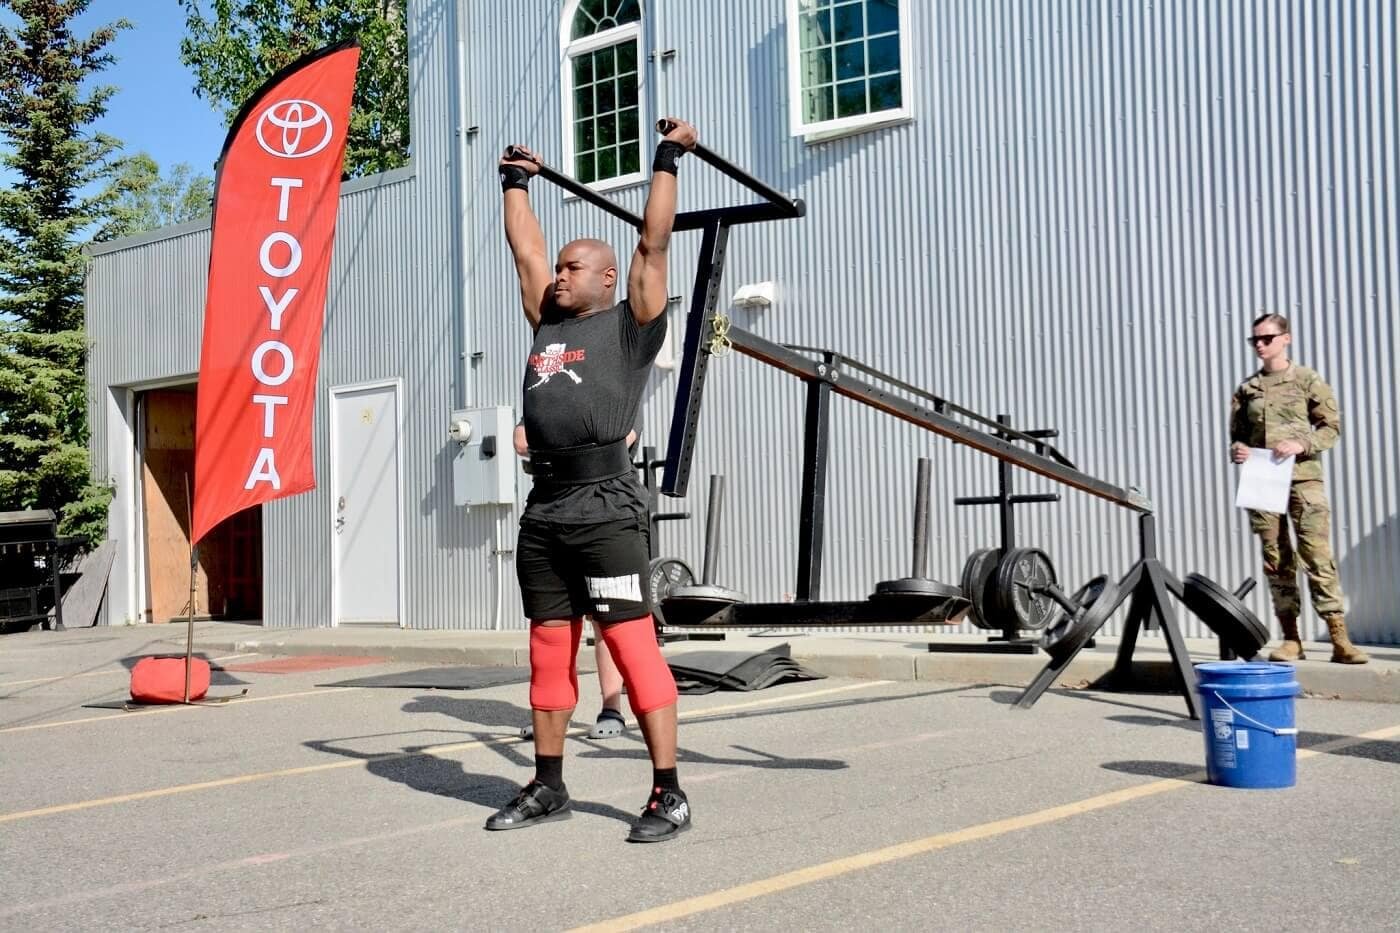
Strongman competition is another category. The organizer defines what earns a rep: handle start position, whether the implement must visibly stop between repetitions, acceptable knee movement, foot position, lockout control and the down signal can all differ. Some events prohibit a second knee dip or rebend after the initial drive. Training a particular event means reading its actual rules rather than trusting how an online demonstration happened to look.
For power practice, take smaller sets and more rest. A useful starting point is three to five sets of two to four crisp push-press repetitions, leaving enough reserve that acceleration stays clean. A hypertrophy-oriented strict Viking press might instead use two to four sets of six to twelve controlled repetitions. Those are sample prescriptions, not experimental cutoffs or a promise that one method grows more muscle. Choose them according to the rest of your pressing work and recovery.
Be careful when comparing numbers across styles. A bigger push-press load mostly tells you the legs helped move that particular lever. It does not show a matching increase in strict shoulder strength. Keep separate logs for strict and leg-driven sets, and avoid switching styles midway through a set merely to complete a target number. If you want to practice both, perform the more technical explosive work first while you are fresh.
Compare attachments and dedicated machines on practical grounds
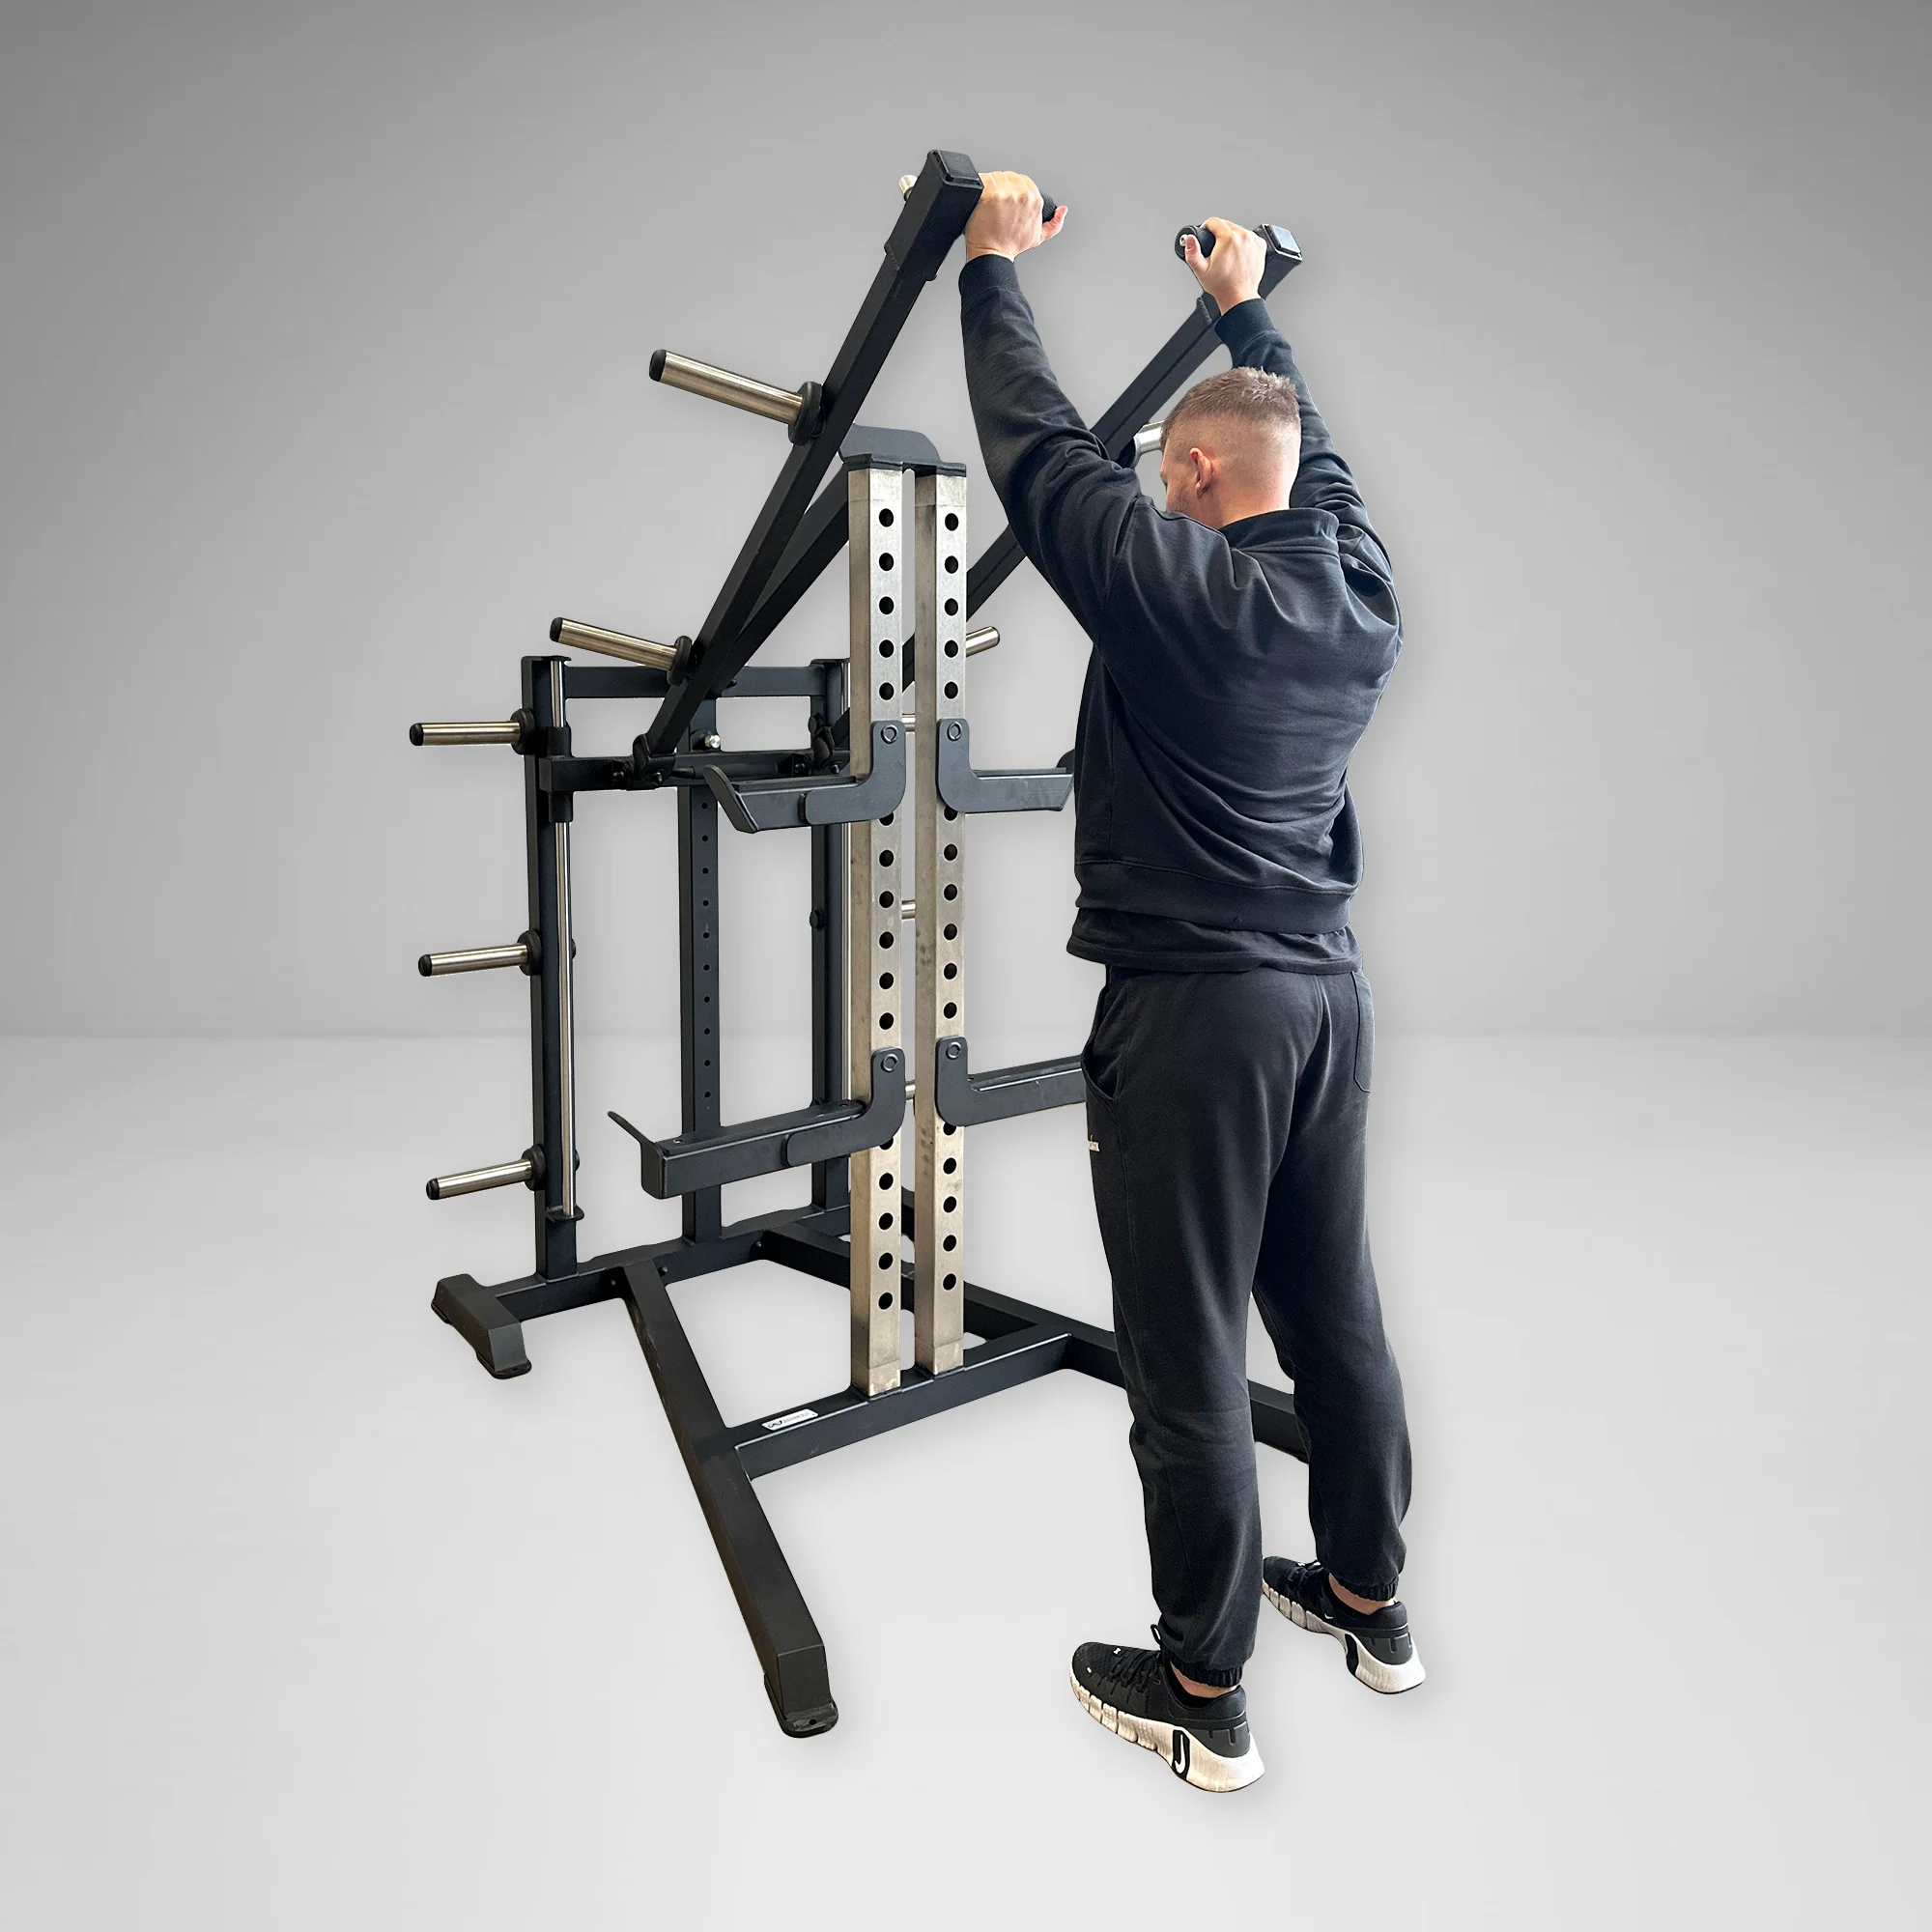
A landmine Viking handle is usually the accessible entry point. It requires a secure pivot, a suitable barbell and enough floor length and vertical clearance. It can offer several handle widths, yet the attachment moves with one barbell and normally has a single dominant pivot. Check actual sleeve fit and the manufacturer’s allowed loading; labels such as “universal” do not prove compatibility with every bar or rack.
A dedicated machine gives you a fixed frame, often a more predictable starting height, and sometimes a built-in mechanism to adjust the handles. That can make setup repeatable from session to session, but machine geometry still varies widely. Some designs use independent arms; others link both handles. The resistance at the hands can change throughout the arc, especially when plates sit at a different distance from the pivot.
One should also distinguish a neutral-grip Swiss bar from a Viking press. A Swiss bar changes the hand position while leaving the free-weight press path under your control. A dumbbell press offers independently moving hands and requires more stabilization; a landmine press may share an angled path but is commonly one-sided. These are useful alternatives, not exact replicas. The best substitute is the one that trains the intended movement safely with equipment you actually have.
Before buying, measure more than the machine’s advertised footprint. Include the sweep of the arms, plate-loading access, ceiling clearance at lockout and the room needed to stand and get into position. Check storage, serviceable moving parts, adjustment range and whether the machine can be loaded and unloaded without awkward reaches. If the goal is merely general shoulder development, a whole new single-purpose station may be unnecessary.
Equipment Worth Exploring
Explore equipment, accessories and gear from our carefully selected range.

Lever Arm Multi Press LMP-650
Multi-press with independent lever arms and an integrated adjustable bench for upper-body training.

Standing Chest Press SCP-760
Standing chest-press machine with adjustable handle positions for chest and close-grip pressing.


Multi Pull Smith Rack MPHR-780
All-in-one rack with a Smith machine, functional trainer, lat pulldown and low row.

VForce 2IN1
Half rack and pivot-arm functional trainer with switchable 1:1 and 2:1 pulley ratios.

Multi Bench MBX-650 2.0
Adjustable multi-bench with roller adjustment, 15 backrest positions and accessory mounts.

VForce Wall Trainer
Space-saving wall-mounted functional trainer with pivoting cable arms and variable resistance ratios.

Build a six-week progression without chasing imaginary load equivalence
For a general lifter who already tolerates pressing, a conservative progression begins by identifying a pain-free setup and two or three sets of controlled repetitions. Keep this variation within the weekly pressing workload instead of stacking it on top of every existing bench, incline and overhead set. Start with a load that permits at least two clean repetitions in reserve and record the exact grip and machine in your log.
Weeks one and two: use three sets of six to eight strict repetitions, twice weekly only if overall recovery allows. Establish an identical starting height, full comfortable lockout and smooth descent. Work with modest resistance and keep video of the final set if possible. If the exercise competes with heavy benching, place it after the main press or reduce its volume.
Weeks three and four: hold the same apparatus and technique while gradually accumulating repetitions. Once all sets reach eight clean reps, increase plate load by the smallest available practical step and restart near six. Changing grip width, attachment height and plates in the same week makes progress harder to interpret. If shoulder or elbow symptoms linger, do not force the planned increase.
Weeks five and six: keep the strict progression or, if the actual goal is an event, replace one weekly session with low-volume technical push-press practice. Treat explosive reps as skill work: crisp dip, powerful drive, controlled lockout, full recovery between sets. Record the style separately. A small weekly increase is optional; adding good repetitions with unchanged load can be progress too.
At the end of six weeks, ask three questions: did the chosen press become technically more consistent, did you gain repeatable reps or load on the same machine, and did your shoulders and other pressing work tolerate it? A positive answer makes the Viking press a credible tool in the rotation. A negative answer does not make the exercise useless; it may indicate the setup, dose or goal was a poor match. The lever is a means to train, not a contest to see how many plates can hang from it.
Some product links may be affiliate links, which can support Mind Muscle Perfection at no additional cost to you.
Funny Gym Shirts & Workout Gear
Funny gym shirts, tanks, hoodies and workout gear for lifters who like training hard.


– Dost Thou Even Hoist Sir? & Top T-Shirt
For laid-back days and powerlifting humor: “Dost Thou Even Hoist Sir? Workout”.

Meme – "Shhh I'M Doing Plate Math" & Weightlifting Sticker
Stick a little “"Shhh I'm Doing Plate Math" Workout &” humor on your favorite gear.

Iron Knight Motivational Bodybuilders & Hooded Hoodie
Show off your medieval humor in a laid-back “Iron Knight” hoodie.

Anti Social Lifting Club Powerlifters & Fans Vest Tank Top
Your gym-day look, with a playful “Anti Social Lifting Club” twist.


Heavy Enough Tee
Bring “If You're Not Scared It's Not Heavy Enough” humor to your next gym day.

Defy Gravity Shirt Old School Weight Strongman Meme T-Shirt
Bring “Defy Gravity” humor to your next gym day.