Advertising disclosure: This page includes affiliate product links that may earn us a commission, as well as products from our own store.
Wrist Curls vs Reverse Wrist Curls: Forearm Form and a Six-Week Plan
Forearm training is easy to neglect until a long set of rows, curls or loaded carries makes your hands the weak link. Your fingers work hard simply holding a bar, but wrist curls add a different challenge: moving a load through the wrist while keeping the forearm supported. Reverse wrist curls train the opposing movement. Together they provide a simple way to give the underside and upper side of the forearm deliberate work without turning every pull session into a grip marathon.
The useful question is not which exercise is universally better. It is whether your program contains both wrist flexion and wrist extension, whether your setup lets those muscles do the lifting, and whether the extra volume helps instead of aggravating your elbows. This practical guide explains the distinction, shows how to perform each variation and gives you a modest six-week plan you can add after ordinary upper-body sessions.
Why the two wrist-curl directions train different forearm functions
A palm-up wrist curl produces wrist flexion: the palm travels toward the underside of the forearm while the elbow and most of the forearm stay still. The muscles involved span the inside, or palm-side, of the forearm. A reverse wrist curl flips the hand over and lifts its back toward the upper forearm, emphasizing the wrist extensors on the opposite side. Both groups also help hold the wrist steady when you grip something heavy.
Wrist motion is not the same thing as finger closing. A deadlift can place tremendous demand on your finger flexors while your wrist remains almost motionless. An isolation curl makes the movement at the wrist itself the main task. That distinction explains why someone may hold a heavy bar but still find a light reverse wrist curl surprisingly demanding. It also explains why training just one direction leaves a useful movement pattern untrained.
Avoid reducing the forearm to a single visible muscle. Several muscles share flexion, extension, finger control and forearm rotation. A palm-down position changes which structures have the most work to do, but it does not switch off every other muscle. For balanced training, use a flexion variation, an extension variation and occasional real-world gripping rather than searching for one magical exercise that covers everything.
Your goal is controlled movement and gradual capacity, not maximum dumbbell weight. The wrist has a much smaller usable lever arm than a row or curl. Numbers that look unimpressive beside your pulling lifts can still produce a challenging local set when the forearm stays pinned to the bench.
How to set up a palm-up dumbbell wrist curl
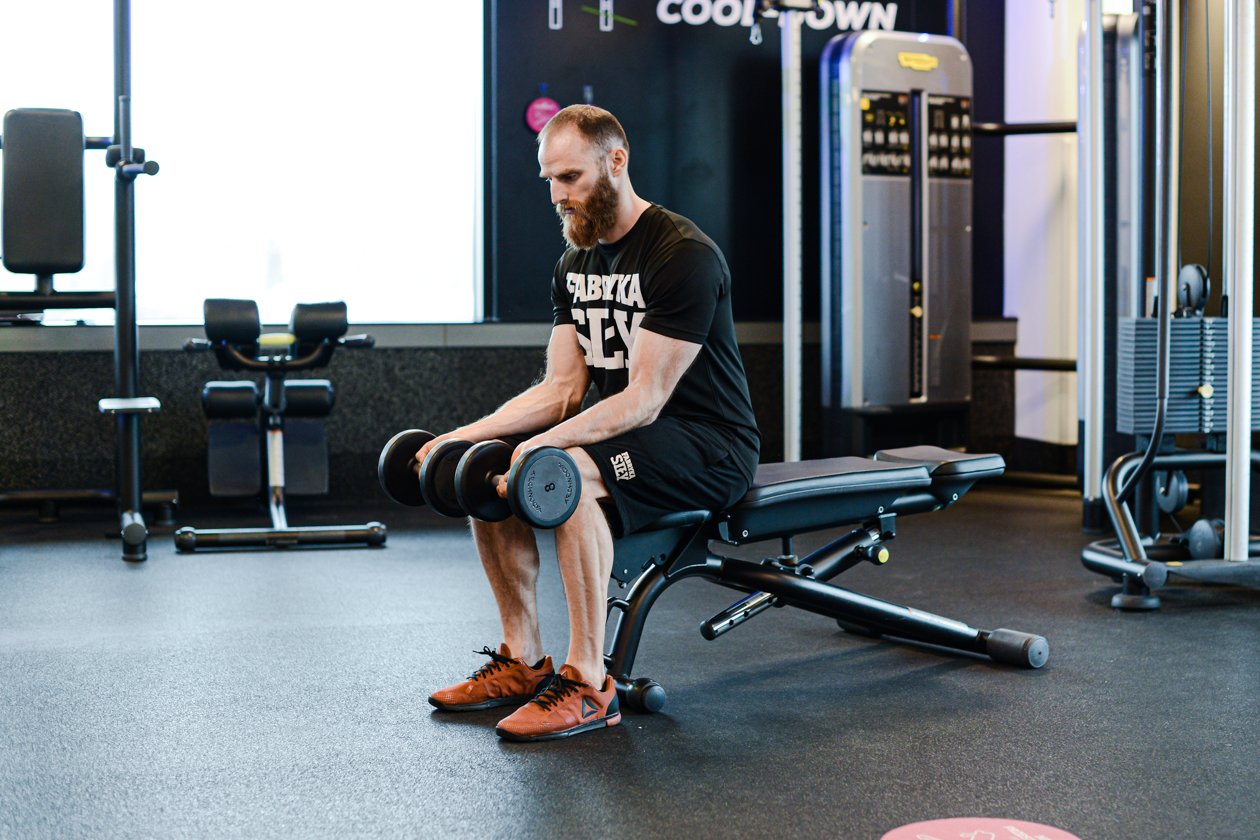
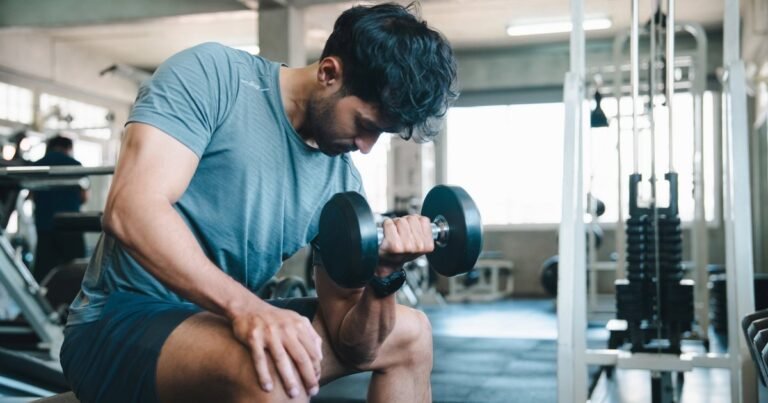
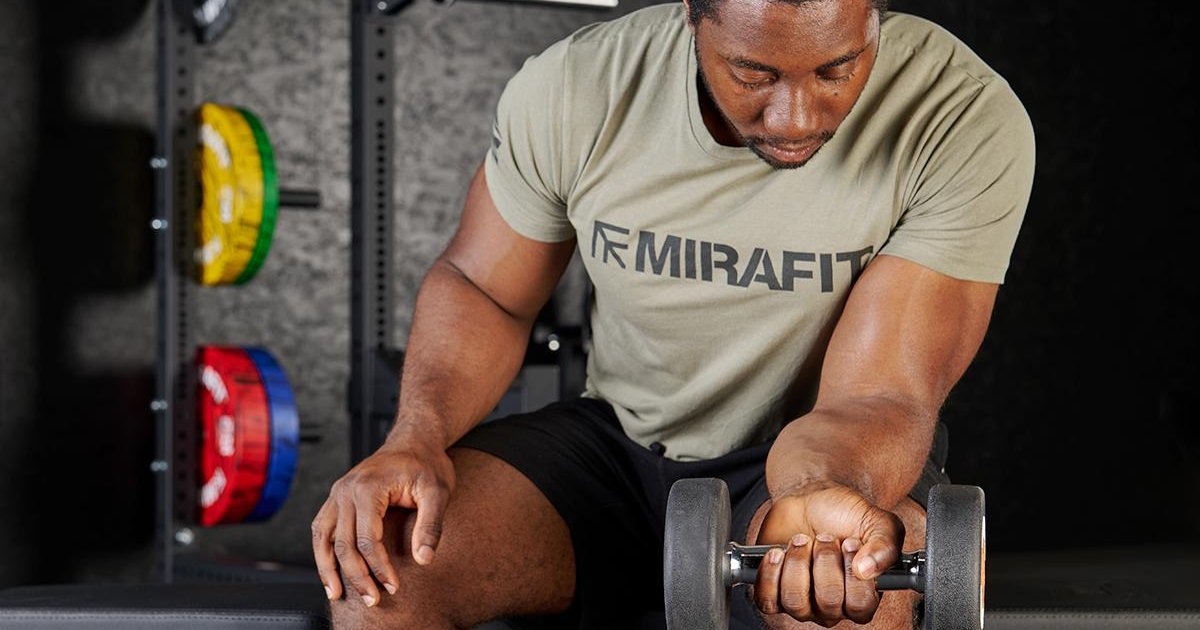
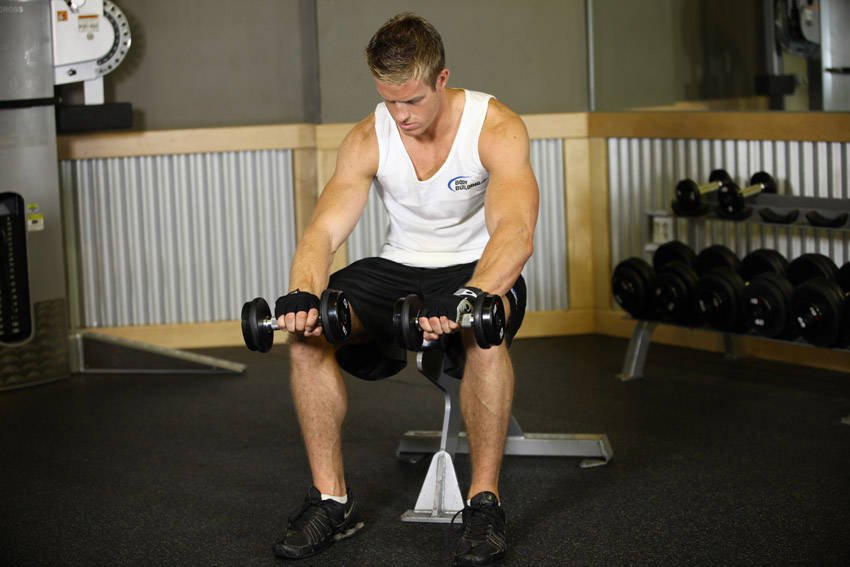
Sit on a bench with your feet planted and hold one light dumbbell in each hand. Rest your forearms along your thighs or on a flat bench so your hands extend just beyond the support. Turn your palms upward. Keep your elbows steady, shoulders relaxed and wrist bones free to move rather than pressed into the edge of the pad. If using a bench, kneeling behind it can make the support height easier to control.
Start with a complete grip around each handle. Lower the wrists gradually into a comfortable stretch without forcing the joint backward. Then curl the palms toward the forearms, pause briefly and lower again. Your forearms should not roll off the support to help finish the rep. If your upper arms or torso are bouncing, the weight is probably too heavy or the setup is unstable.
Think in terms of a smooth arc, not a huge range of motion. Different wrist anatomy and training history mean the amount of comfortable movement varies between lifters. A rep done through a slightly shorter, pain-free arc beats a dramatic swing at either extreme. A controlled two-second lowering phase is a useful starting point, but the precise count matters less than keeping the motion honest.
Be cautious about letting a dumbbell roll toward the fingertips. That technique is sometimes promoted for a bigger stretch, but it reduces security and may increase the chance of losing the weight. Keep the handle firmly enclosed while learning. Start with one arm at a time if your wrists bend at different angles or you need to concentrate on maintaining a straight path.

Equipment Worth Exploring
Explore equipment, accessories and gear from our carefully selected range.
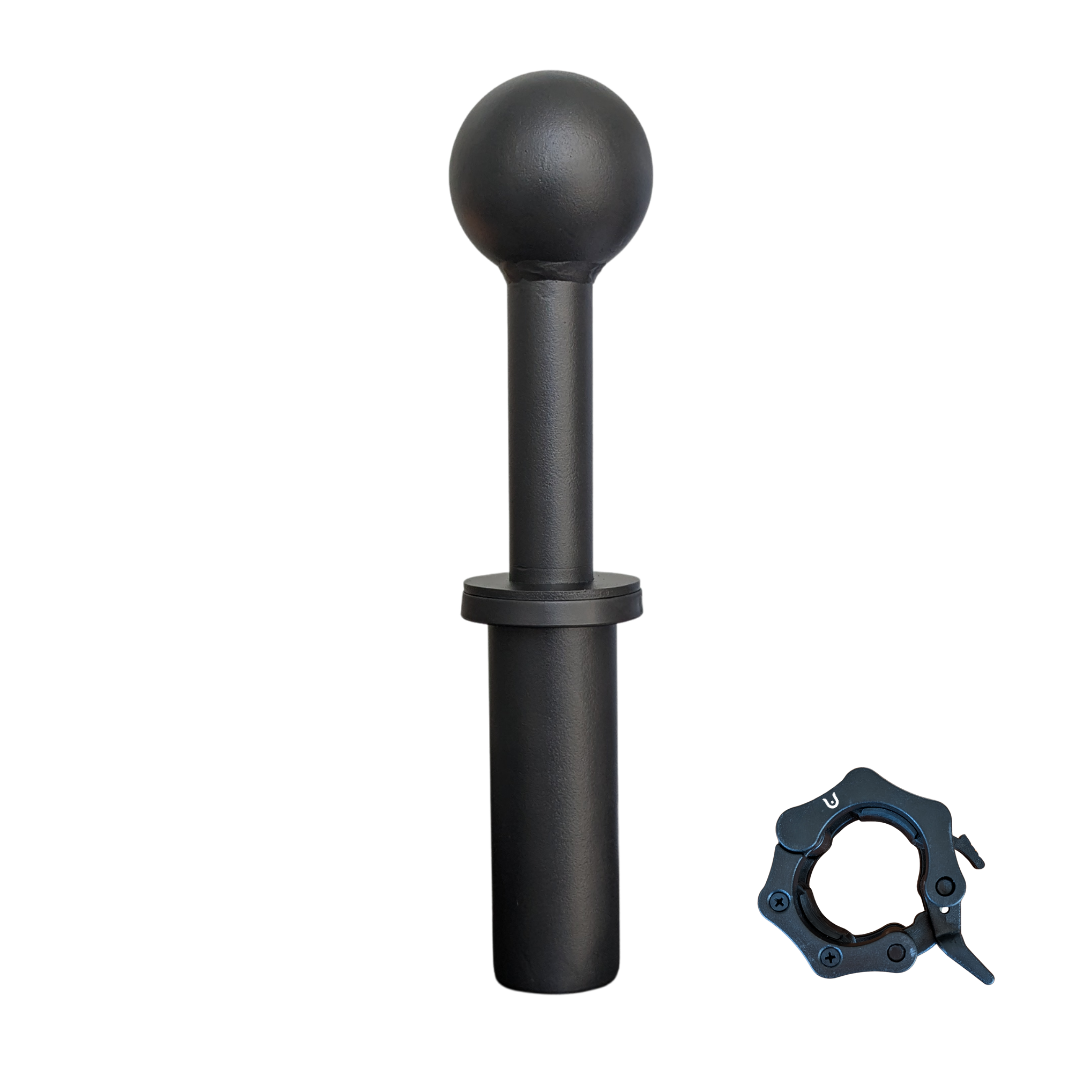


Leather Wrist Grips
Padded leather lifting grips help support the hands and wrists on heavy pulling exercises.


Rubber Hex Dumbbells
Rubber-coated hex dumbbell pairs with a stable shape for home and commercial strength training.



Reverse wrist curls: palms down, lighter weights and cleaner reps
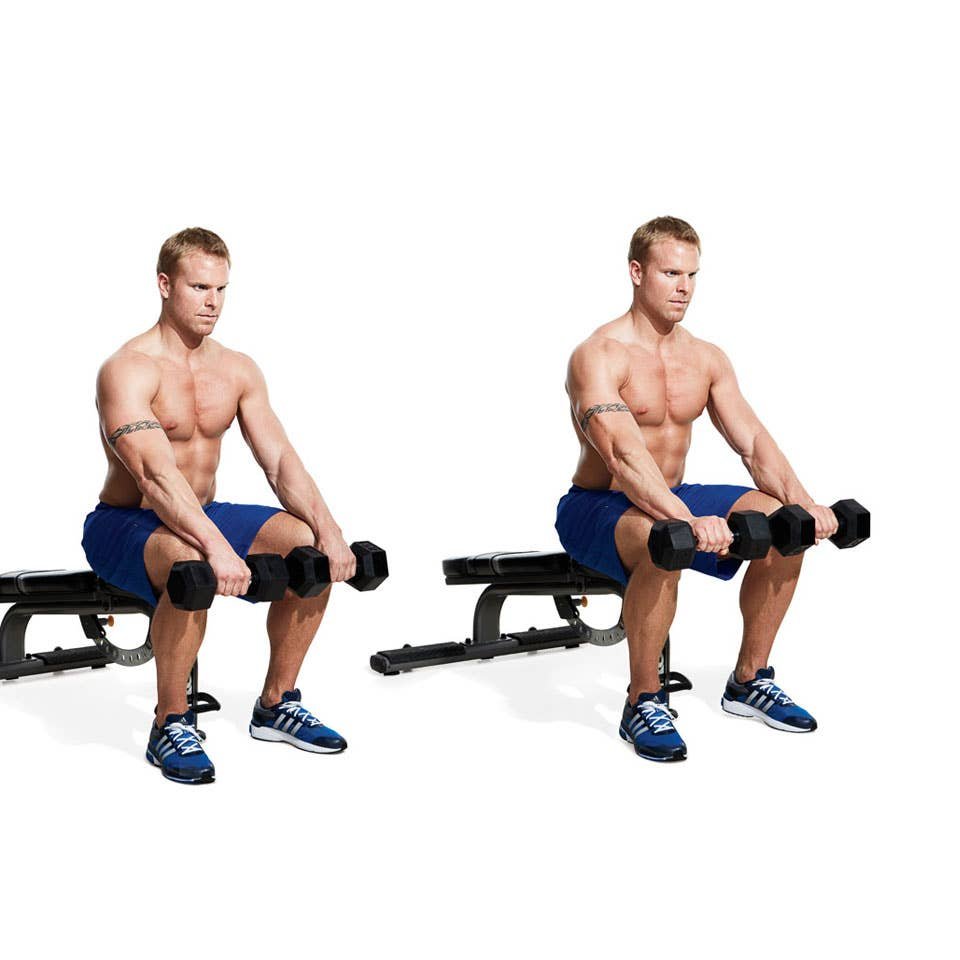
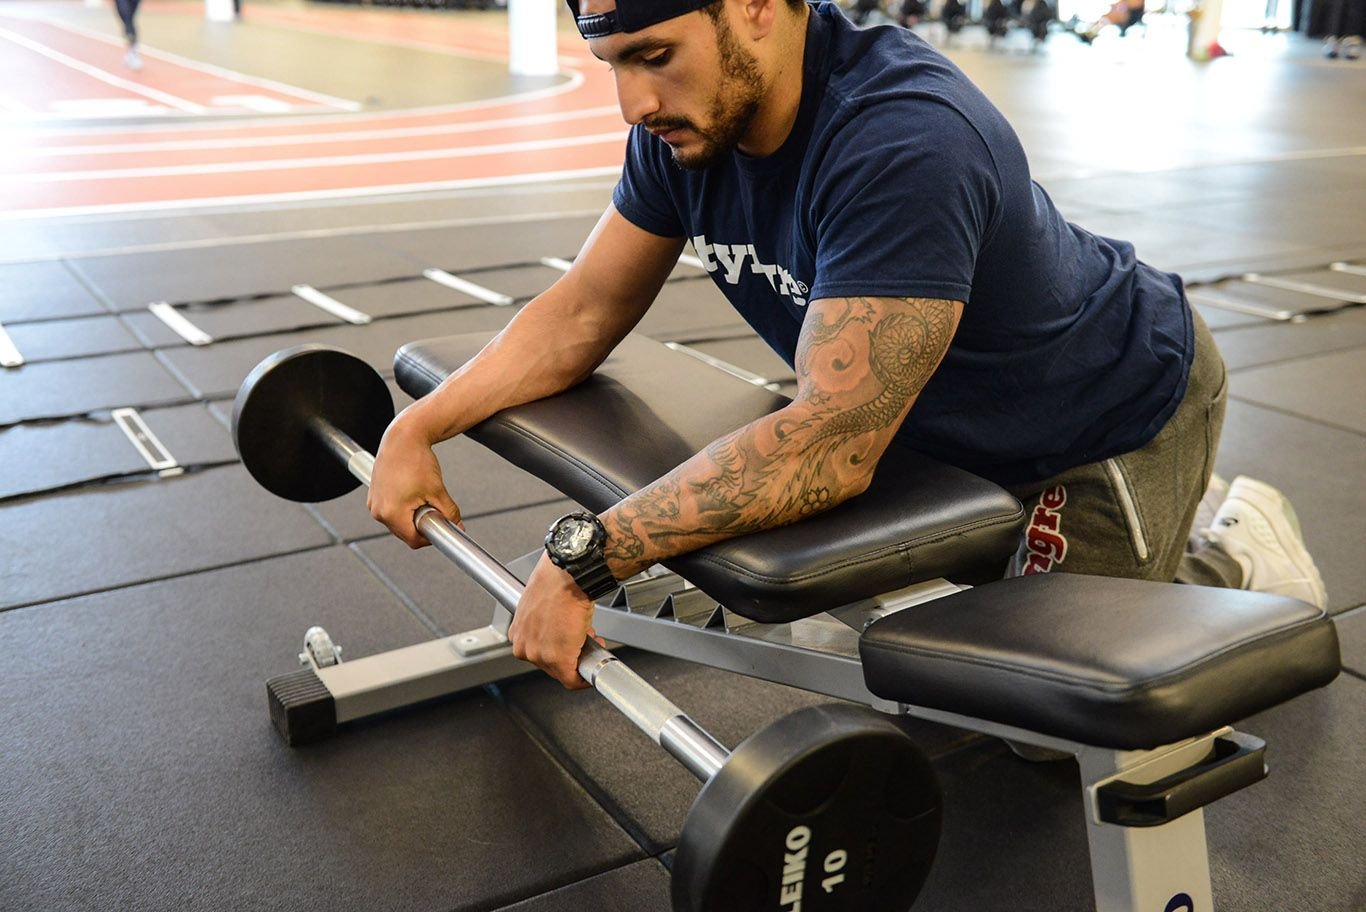
Reverse wrist curls use the same basic support but a pronated, palm-down grip. Place your forearms on a bench or thighs, with your hands just beyond the edge. Let the wrists dip gently, then raise the backs of the hands toward the ceiling without lifting the elbows. You should feel work through the top and outer part of the forearm rather than a biceps-style elbow curl.
Most lifters need less weight for this movement than for palm-up wrist curls. That is normal: the leverage and muscle demands differ. Instead of chasing the load used on the flexion version, choose a dumbbell that allows a visible, repeatable wrist arc for roughly twelve to twenty controlled repetitions. If the weight makes you shrug your shoulders, rotate the forearm or yank from the elbows, reduce it.
A slight pause at the raised position can help you distinguish actual wrist extension from lifting the entire forearm. Lower steadily until you reach the bottom of your comfortable range, then repeat. Some people find a single-dumbbell version easier because it allows the working forearm to lie flat and avoids the grip angle imposed by a straight bar.
Do not confuse a reverse wrist curl with a reverse biceps curl. In a reverse biceps curl, the elbow bends and the dumbbell travels toward the shoulder. In the wrist variation, the elbow is practically fixed and only the hand pivots. Both have a place in a forearm-focused program, but they do not provide interchangeable training stress.

Bodybuilding Shirts & Workout Gear
Bodybuilding shirts, tanks and gym gear for lifters chasing muscle, size, symmetry and the pump.

Huh Huh Let'S Train Grip Beavis And Butt-Head T-Shirt
Make gym days more fun with “Huh Huh Let's Train Grip” style.

Pumpeye Sweater Forearm & Grip Training Popeye Meme T-Shirt
For laid-back days and bodybuilding humor: “Pumpeye”.

For Whom The Bell Curls Metallica Kettlebell Workout Cr T-Shirt
Add a playful “For Whom The Bell Curls” touch to your casual rotation.

Thor Hammer Curls Meme Hero Top Shirt T-Shirt
Show some superhero attitude with a playful “Thor Hammer Curls Meme” tee.

Challenge The Weights With This Stoic Sigma Greek T-Shirt
Show some bodybuilding attitude with a playful “Challenge the Weights with this Stoic Sigma” tee.


Integrity Stoic Bodybuilder : Meme & Top T-Shirt
Show some lifting attitude with a playful “Integrity Stoic Bodybuilder” tee.

Character Gains : Stoic Meme & Greek God T-Shirt
Bring “Character Gains” humor to your next gym day.

Mike Mentzer Heavy Duty Old School Bodybuilding Muscle Tank Top
Show some personality between sets with “Mike Mentzer Heavy Duty”.

Five technique mistakes that make forearm work less productive
The first mistake is letting the elbow or shoulder drive the repetition. A supported wrist curl should look almost boring from the side: forearm still, hand moving. If the whole arm rises, the larger muscles have taken over. The second mistake is using a weight that forces a sudden drop at the bottom. The wrist can tolerate progressive resistance, but a bouncing rep is not a useful substitute for it.
Third, avoid gripping a dumbbell so loosely that it begins slipping. Secure the handle, especially with sweaty hands or narrow grips, and use a load you can control. Fourth, do not force extreme bending at the top or bottom. Your comfortable range is what matters; pushing past it does not automatically add productive muscle tension. Fifth, be careful with volume if your regular routine already contains hard deadlifts, pull-ups, rows, climbing or long carries.
Forearms can feel tired without the larger muscle groups feeling challenged. That makes it tempting to add set after set. Instead, track how your hands, wrists and elbows respond across the following day. A small amount of direct work that you can repeat consistently is often more useful than an occasional punishing forearm-only session.
If you notice sharp pain, tingling, numbness, spreading discomfort or loss of grip function, stop that variation. Persistent symptoms deserve assessment rather than a heavier dumbbell or a self-prescribed rehabilitation protocol. Ordinary training guidance should not be mistaken for individualized treatment of tendon or nerve problems.
Dumbbells, cables, straight bars and wrist rollers: what changes?
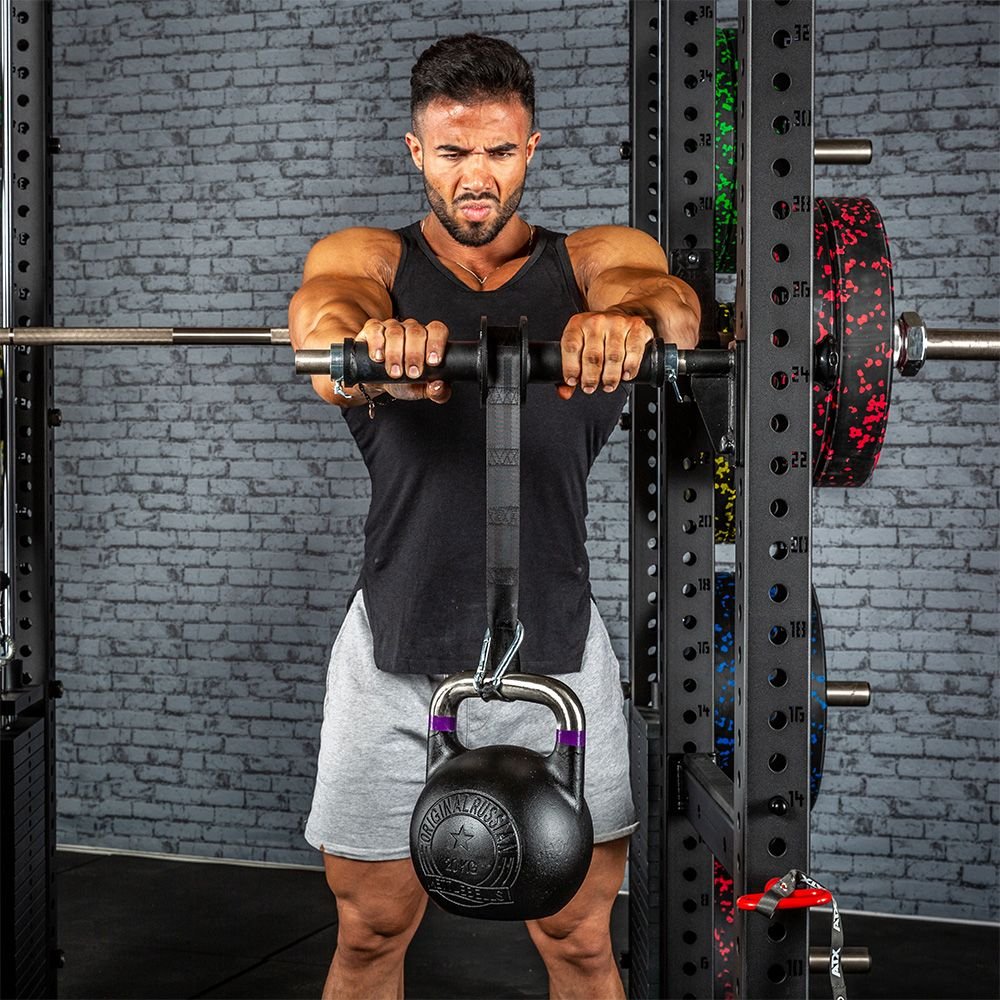
Dumbbells are the most convenient place to begin. Each hand can choose a comfortable angle, the load can be modest and the wrist can move independently. A straight bar trains both wrists at once and makes small changes in wrist angle harder. An EZ-style bar may feel more comfortable for some lifters, but grip width and bar shape should be chosen by comfort and control rather than appearance.
A low cable with a handle or short bar can also provide resistance to wrist flexion or extension. The useful benefit is easy weight adjustment and a different line of pull, not a guaranteed hypertrophy advantage. Rest your forearms securely, start with the pulley positioned so the handle does not drag against your legs, and use a full grip. If the cable tries to rotate your wrist awkwardly, change the body position or use a dumbbell instead.
A wrist roller is a separate challenge. By winding a cord and hanging weight up and down a cylinder, you repeatedly alternate small wrist movements while maintaining a firm grip. It can be useful for forearm endurance, but it is easier to build unnecessary fatigue when you extend sets until your technique collapses. Use a very manageable hanging load and count controlled climbs rather than sprinting through an endless burn.
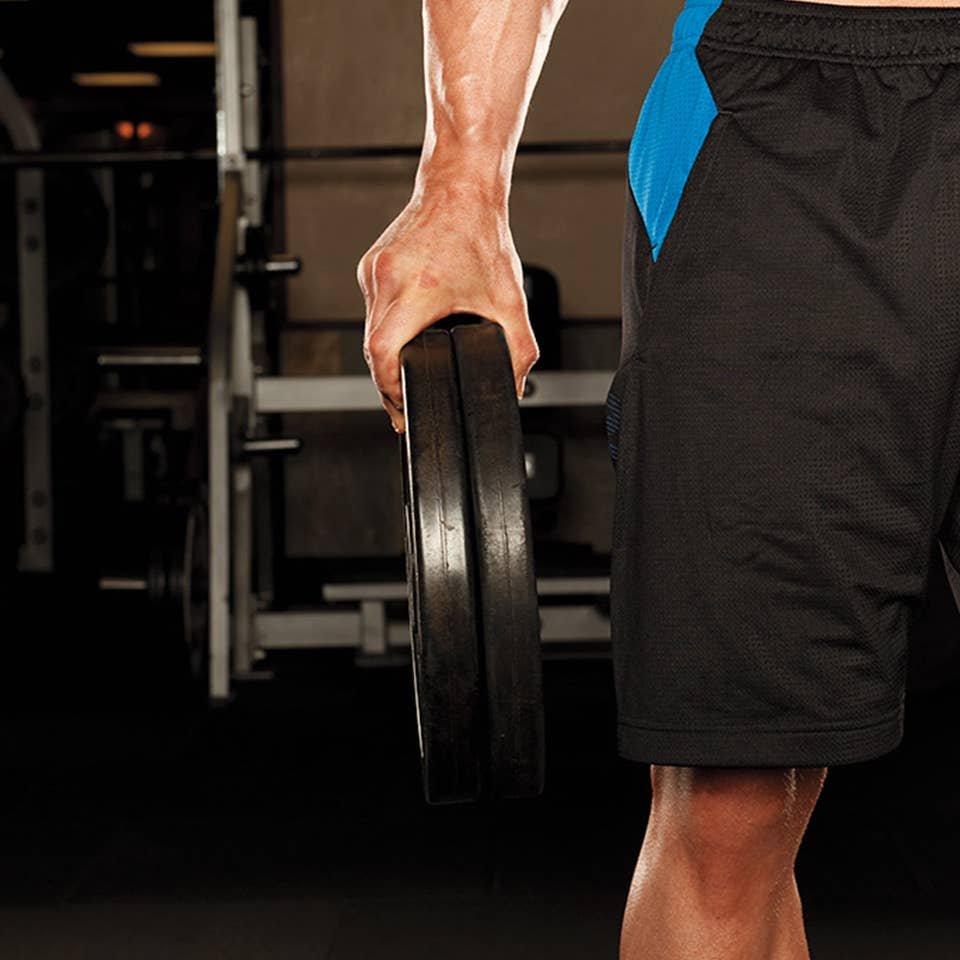
Other options include plate pinches, towel hangs and thick-handle holds. These are primarily gripping challenges rather than direct wrist-isolation replacements. Select equipment according to the quality it trains: wrist curls for moving the wrist, rollers for repeated wrist effort, and loaded holds when you want to practice keeping a grip on something difficult.
Equipment Worth Exploring
Explore equipment, accessories and gear from our carefully selected range.
VOLTRA
Compact digital cable trainer with smooth, adjustable resistance.

Go-Tone Pro
Portable digital cable trainer with up to 66 lb (30 kg) of adjustable resistance.

VForce Wall Trainer
Space-saving wall-mounted functional trainer with pivoting cable arms and variable resistance ratios.

Leather Lifting Straps
Padded leather straps support grip during heavy rows, deadlifts and pulling exercises.

GymPin Ergo Handles
Pair of ergonomic cable handles shaped for comfortable triceps and pulling exercises.

Angles 90 Grips
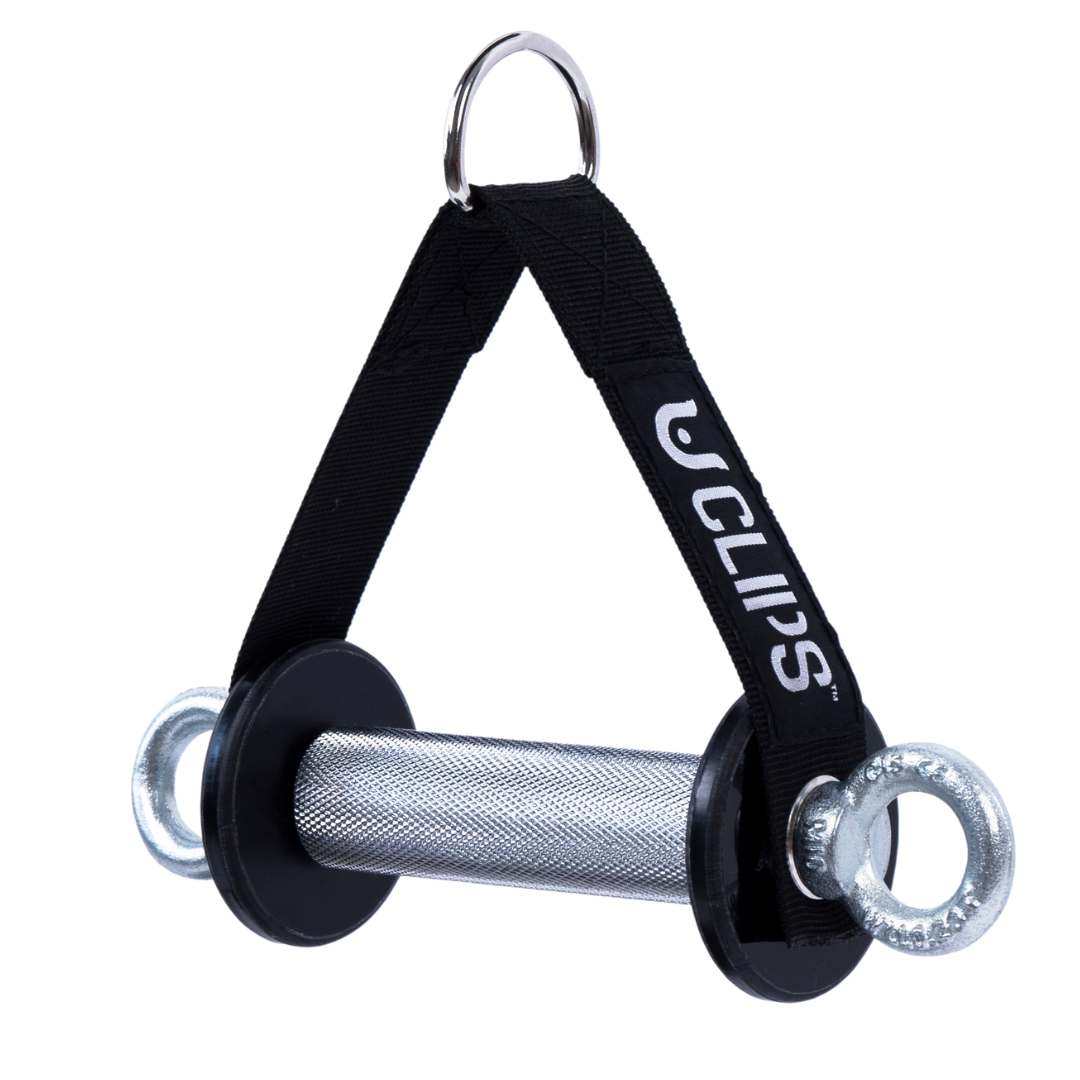
Flexible grip attachments that allow natural wrist movement during pulling exercises.
W Grip
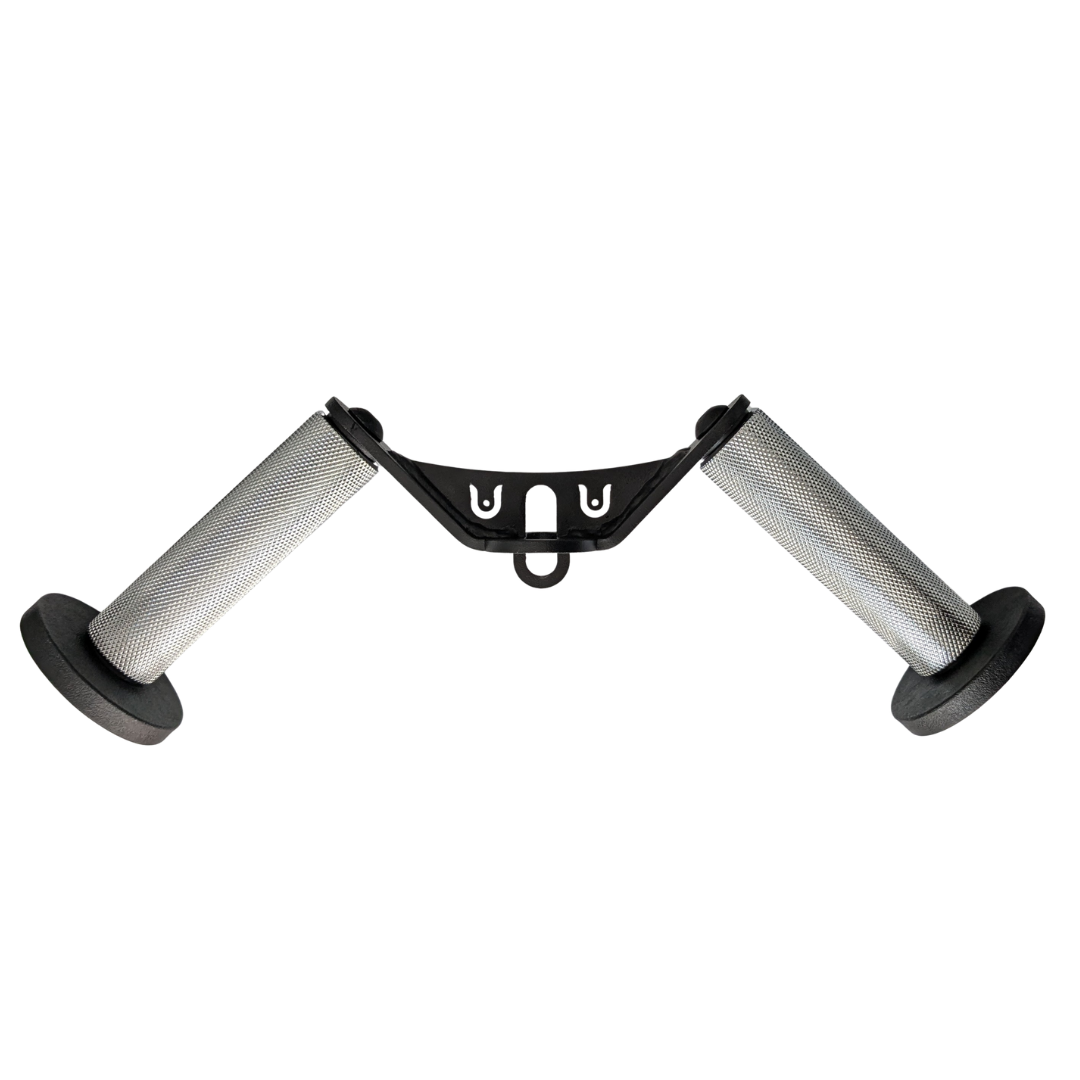
Angled cable grip for comfortable rows, pushdowns, and curls.


A six-week forearm plan that fits after ordinary lifting
Train these movements twice weekly after your main upper-body work, ideally with at least a day between the two direct sessions. Begin with two sets of palm-up wrist curls and two sets of reverse wrist curls. Use twelve to twenty controlled reps per set and stop while you could still complete about two clean repetitions. Rest roughly one minute between sets, longer if you need it for stable wrists. The first goal is repeatable form, not soreness.
In weeks one and two, establish comfortable dumbbell weights and learn to prevent elbow movement. In weeks three and four, add one set to either variation if recovery has been easy, or stay at two if you are already doing heavy pulling several times per week. In weeks five and six, first aim for more controlled reps within the same range; increase the weight only when every set reaches the top of the range without swinging.
For a sample Monday and Thursday layout, Monday can finish with palm-up wrist curls, reverse curls and one optional thirty-second light plate hold. Thursday can repeat the curls and substitute a short wrist-roller climb for the hold. These grip extras are optional, not essential. If your deadlift or pull-up performance suffers, drop the optional holds before you cut your main training.
Record the load, clean reps and any discomfort. For example, two sets of fifteen may become two sets of seventeen and eighteen before you touch the weight selector. A successful six weeks means your wrist movements look more stable, your total quality work has risen, and the training has not stolen capacity from your larger priorities.
Powerlifting Shirts & Lifting Gear
Powerlifting shirts and gym gear for squat, bench and deadlift lifters who live for heavy numbers.

Zombie Deadlift Lifting Dead Halloween Meme T-Shirt
Rep “Zombie Deadlift” humor in and out of the gym.

I Love Deadlifts Valentine's Gym | Heart Plate Workout T-Shirt
For laid-back days and deadlift humor: “I Love Deadlifts Valentine's”.

Skeleton Deadlift Decal Water Bottles & Equipment Sticker
Put “Skeleton Deadlift” gym humor on your laptop, bottle, or gym gear.

Deadlifts And Dragons Shirt Fantasy Swoleplaying T-Shirt
Rep “Deadlifts and Dragons” humor in and out of the gym.


Minecraft Deadlift Gym | Funny Pick Up Heavy Blocks Wor Hoodie
Make your off-duty look more fun with “Minecraft Deadlift”.

5 Plates Deadlift Club Meme Shirt – Motivational T-Shirt
Bring “5 Plates Deadlift Club” humor to your next gym day.

Uncle Sam Deadlift Patriotic – 4th of July Hooded Pullo Hoodie
Bring “Uncle Sam Deadlift Patriotic” gym humor to lazy days and post-workout plans.

Funny Patriotic Deadlift Gym – Statue Of Liberty 4th Of Sticker
Give your everyday gear a playful “Patriotic Deadlift” twist.

Lord of the Plates | My Precious Bodybuilding Vest & Wo Tank Top
Add some lifting attitude to training with “Lord of the Plates”.
Will wrist curls improve deadlifts, rows and everyday grip?
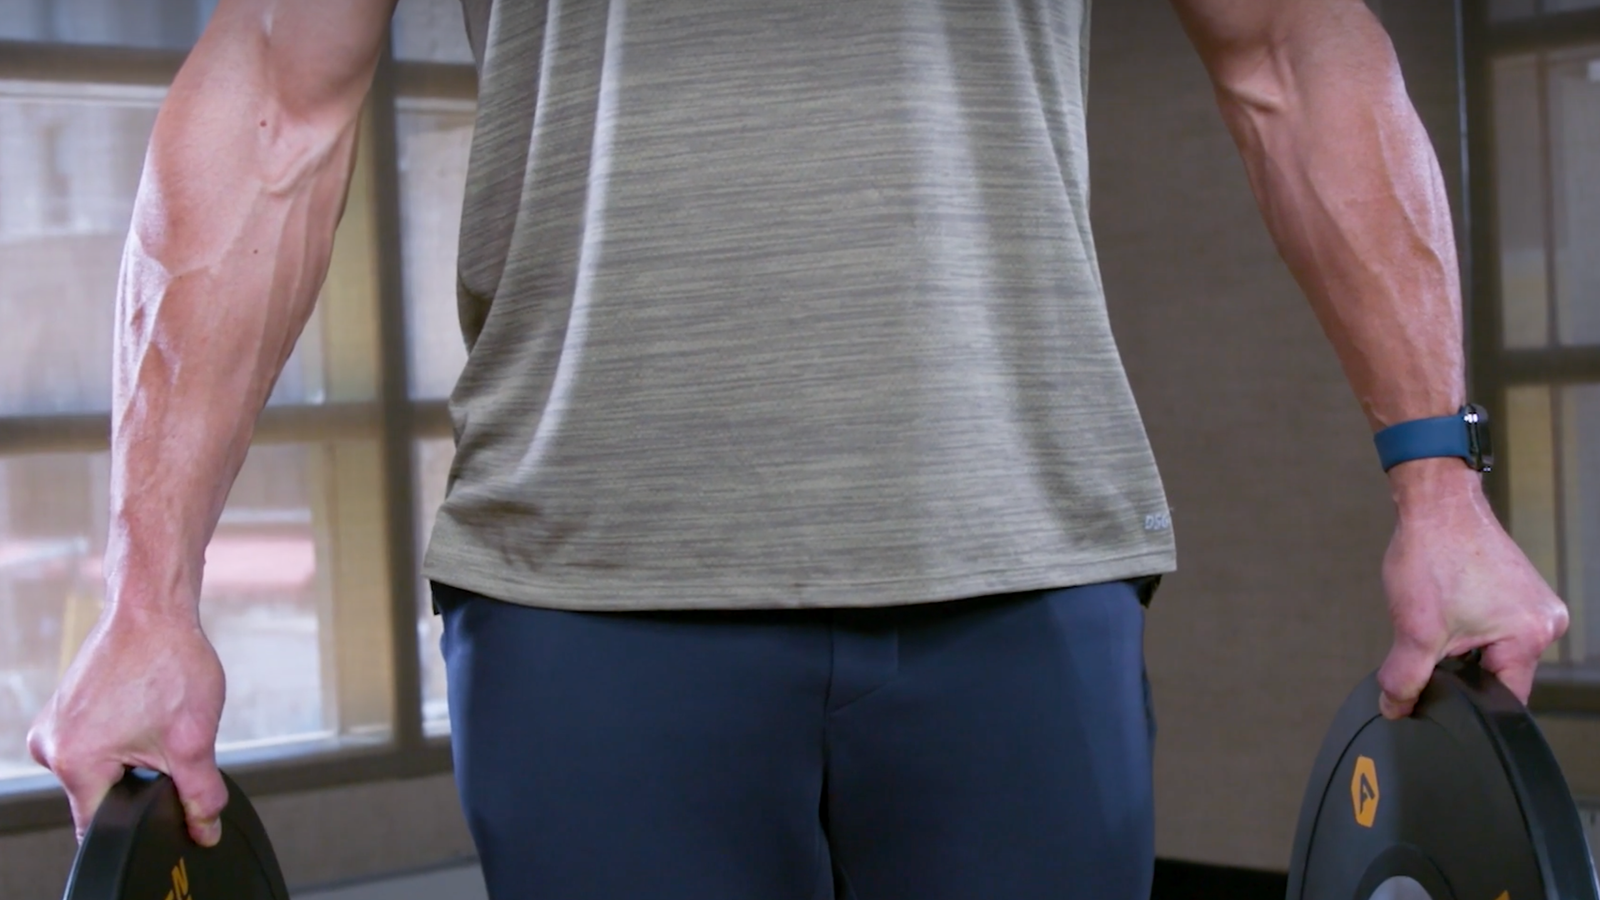
They can contribute to forearm strength and local muscle development, but carryover is not automatic. Your grip on a heavy deadlift demands strong finger flexion and the ability to stabilize the wrist under load; a seated wrist curl moves the wrist through a different task. That means a person who wants stronger deadlifts should still practice deadlift-style gripping, rather than treating isolation work as the sole solution.
If a bar routinely rolls away from your fingers, consider the complete picture: bar diameter, hand position, chalk where appropriate, fatigue from preceding sets, and the weight you are trying to hold. You may benefit from timed bar holds or controlled carries that resemble the real task. The isolation curls can sit alongside those exercises, especially if you want additional forearm work without loading the back or legs.
For visible forearm size, train with the same principles you would use elsewhere: enough challenging work to create a stimulus, progressive overload and sufficient recovery. Fatigue, soreness and a temporary pump are not measurements of long-term muscle growth. Body composition and genetics also influence how prominent the forearms look.
The simple decision is to pair one controlled palm-up movement with one controlled palm-down movement, add gripping practice when the sport demands it, and keep the total workload small enough that you can maintain it for months. The best exercise is the one you can execute accurately, progress honestly and recover from alongside the rest of your program.