Advertising disclosure: This page includes affiliate product links that may earn us a commission, as well as products from our own store.
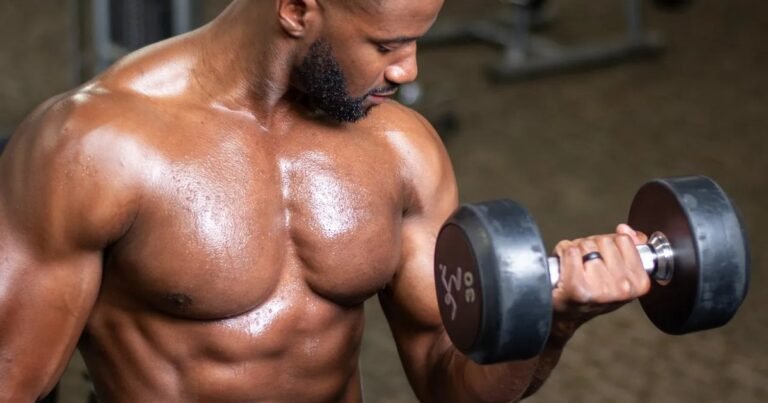
The one-arm dumbbell row looks simple: support yourself, lift a weight, lower it and repeat. Yet two sets with the same dumbbell can feel completely different depending on how much the torso twists, whether the elbow follows a useful path and how deliberately the shoulder moves. The goal is not to heave the heaviest dumbbell from the floor to your ribs. It is to create a repeatable pulling movement that challenges your back without turning every repetition into a balancing act.
A bench is helpful because it gives you a consistent reference point. It does not fix technique automatically, and you do not need one particular stance to make progress. Use the setup that lets you control the weight, then adjust load and reps from evidence in your training log rather than from a single dramatic set.
1. Understand which muscles a dumbbell row trains
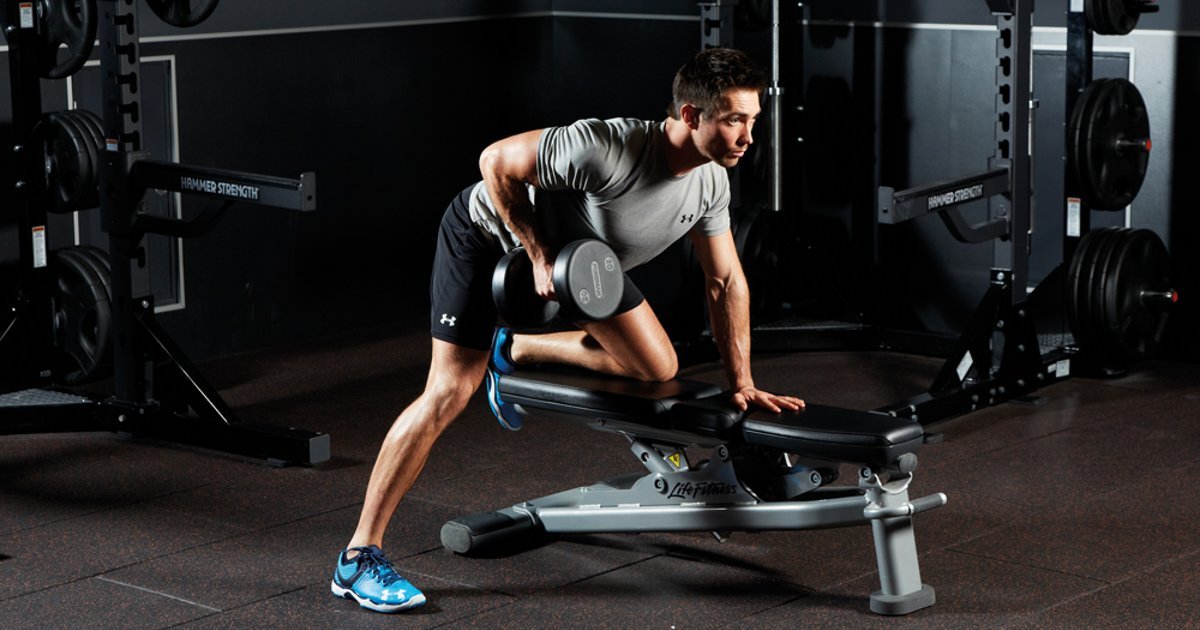
The latissimus dorsi helps pull the upper arm back toward the torso, while the muscles around the shoulder blades help position and stabilize the scapula as you row. The rear deltoid, elbow flexors and forearm muscles contribute. Your trunk and hip muscles also work to stop the body from tipping or turning. That combination makes the row a useful compound pull, not a magical isolation exercise for a single strip of the back.
Elbow direction changes the feeling of a rep, but it does not switch muscles on and off. Pulling the upper arm closer to the torso often makes it easier to emphasize the lats. Allowing somewhat more elbow travel away from the ribs can bring additional attention to the upper back. Neither angle requires an extreme flare, and neither matters much if momentum carries the weight through the difficult portion. A modest, natural path that feels strong at the shoulder is a better starting point than chasing one exact angle.
Compare exercises by what actually limits the set. If your grip or balance ends every set well before the target back muscles tire, use a more stable stance, straps where appropriate, a slightly lighter dumbbell or a chest-supported alternative. If you can keep pulling cleanly with the target muscles working hard, the basic row is doing its job.
2. Set the bench and build a stable hinge
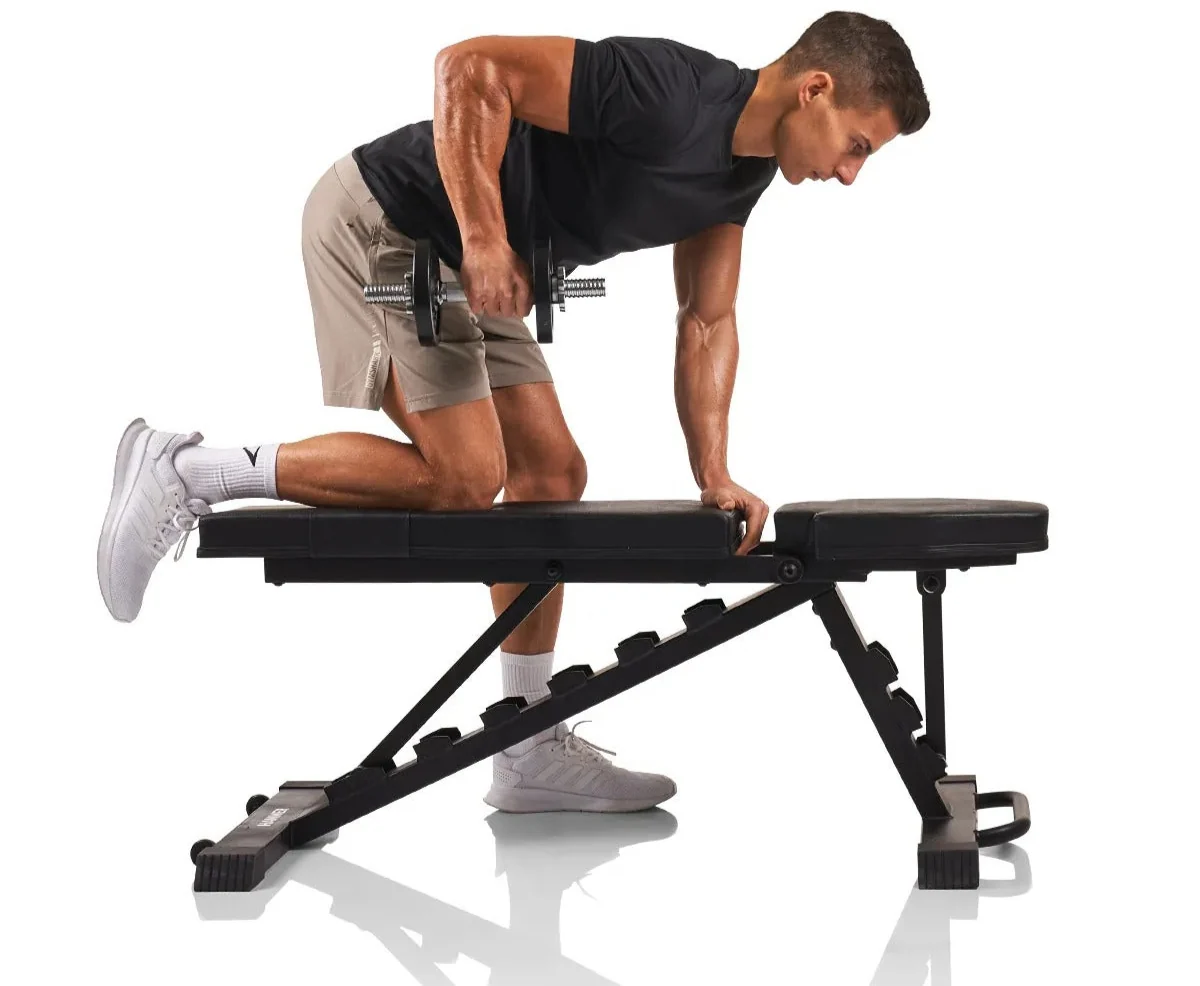
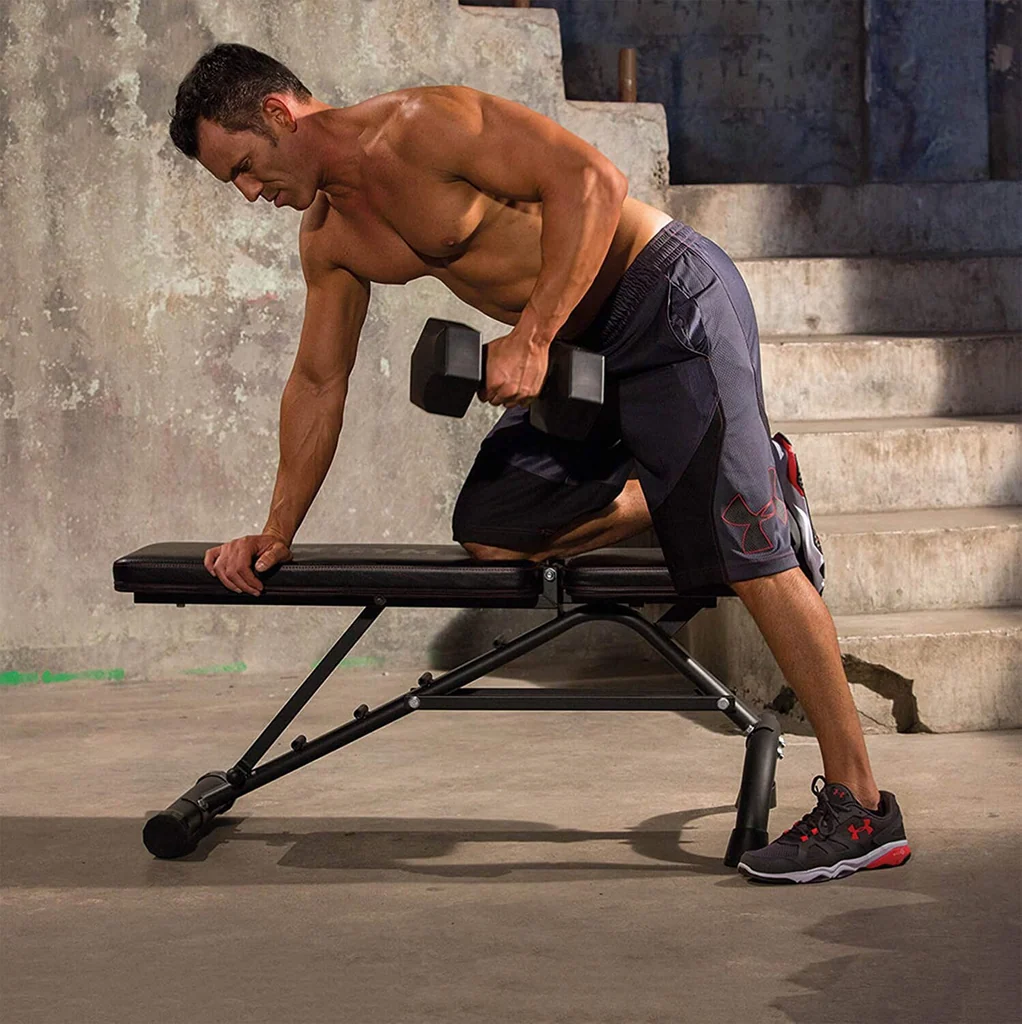
For a classic supported row, place one hand and the same-side knee on a stable bench, with the opposite foot planted on the floor. Let the free arm hang beneath the shoulder and keep enough distance from the bench that the dumbbell clears its edge. A different legitimate version keeps both feet on the floor and uses one hand on the bench for support. Choose the position that feels more balanced and gives your working arm a clear path; the knee-on-bench version is not a mandatory rule.
Hinge at the hips so the torso stays inclined rather than upright, and brace the abdominal wall as though you expect a gentle push. Keep the neck roughly in line with the torso instead of craning the chin toward a mirror. The bench should not wobble when you transfer weight onto it. Check that neither foot is so close to the bench that the knee must twist awkwardly to keep you upright.
Before your first rep, take the free shoulder through a small, comfortable reach toward the floor without dropping the whole torso. Then lift the arm without rocking the pelvis. If the setup demands more concentration than the actual pulling, move your foot, hand or bench position before adding weight. A stable hinge gives each repetition the same starting point, which makes later comparisons meaningful.

Equipment Worth Exploring
Explore equipment, accessories and gear from our carefully selected range.

Rubber Hex Dumbbells
Rubber-coated hex dumbbell pairs with a stable shape for home and commercial strength training.


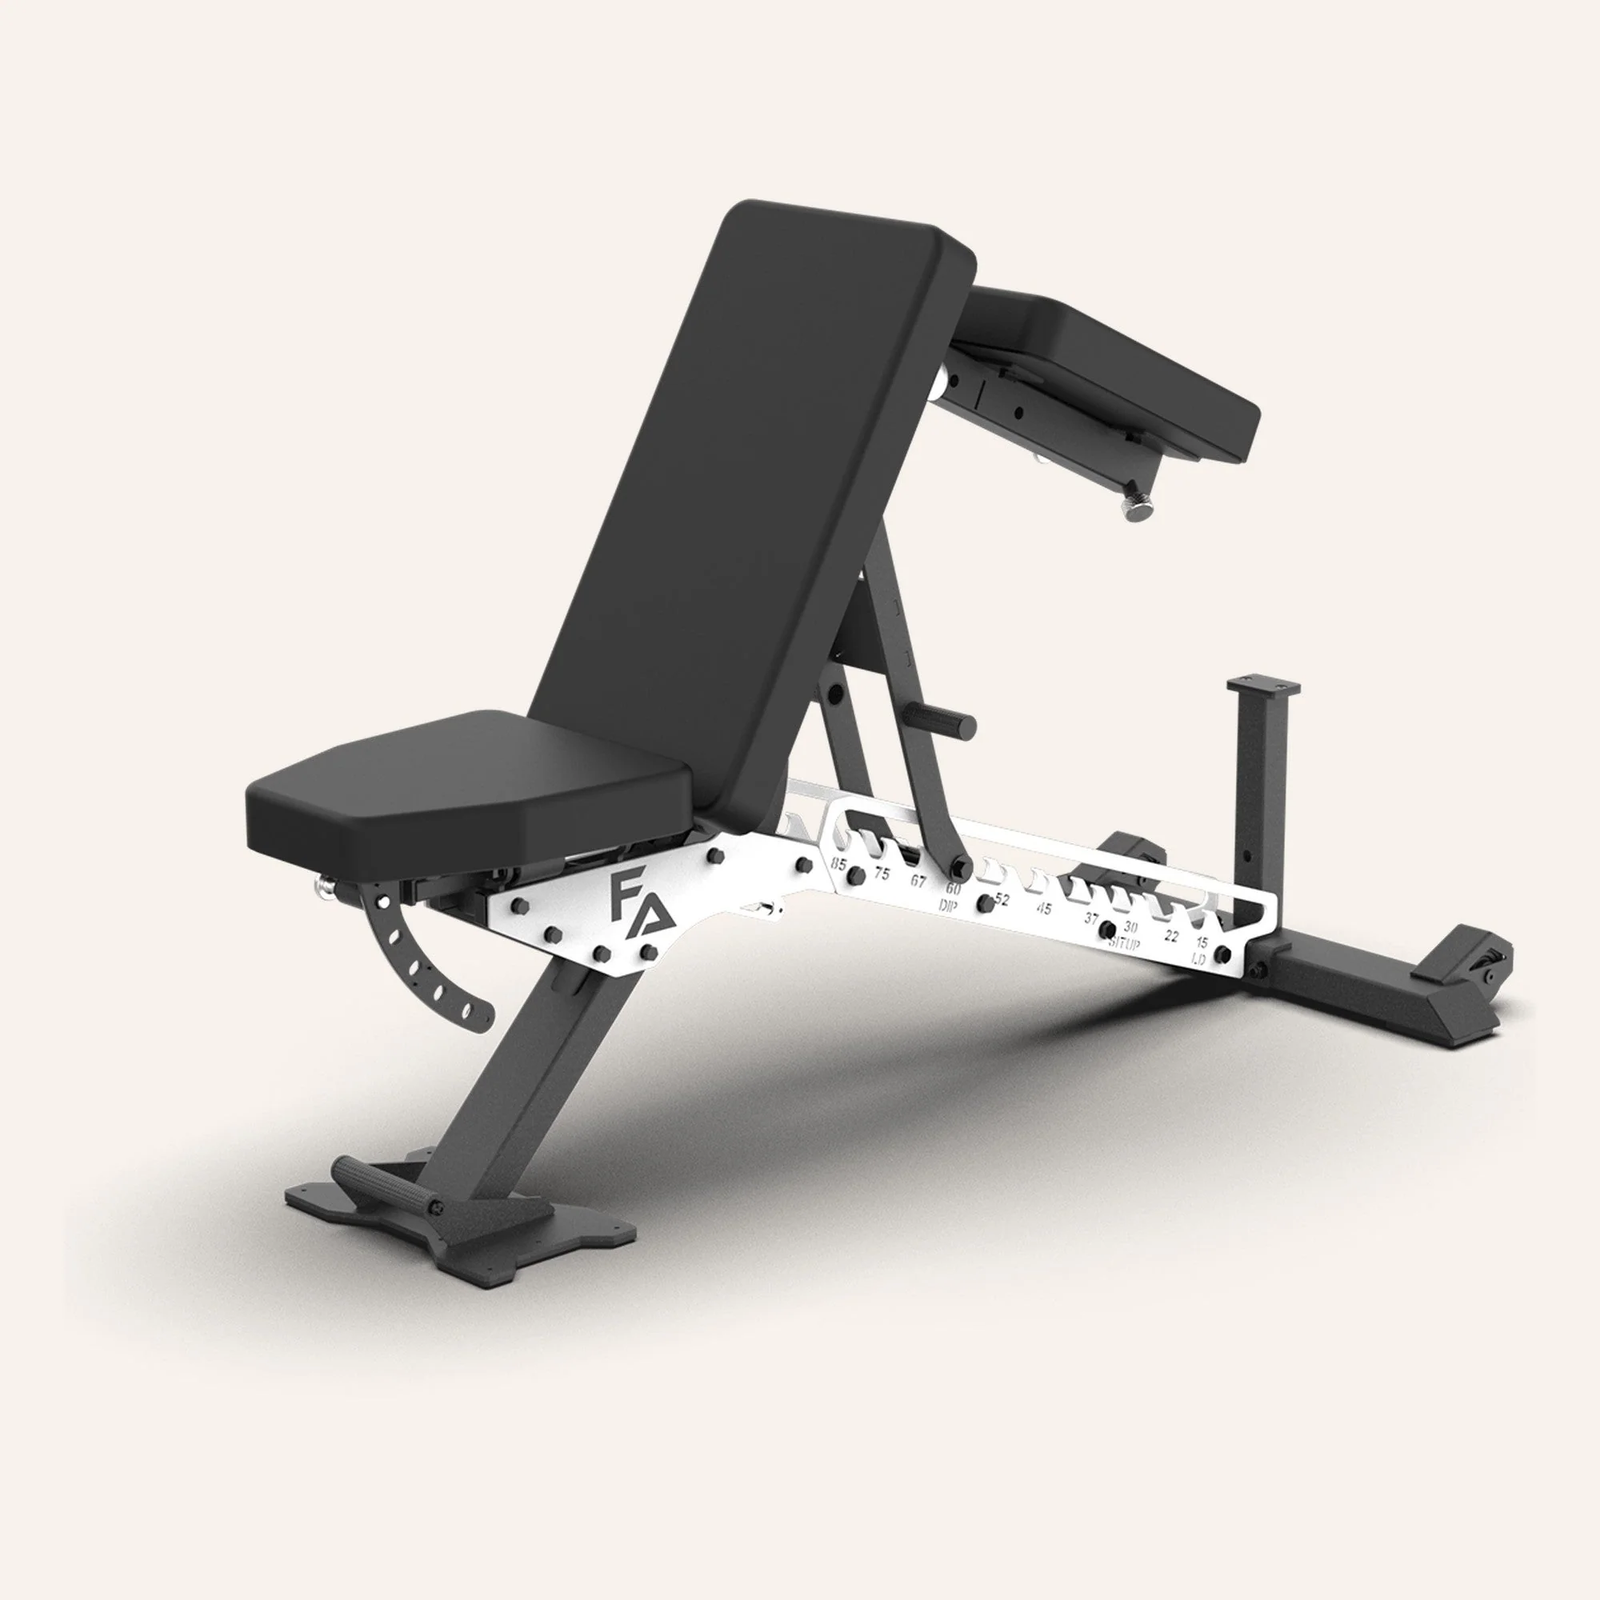

FID Bench MAX
Adjustable bench offering flat, incline, and decline positions + adjustable headrest.


Multi Bench MBX-650 2.0
Adjustable multi-bench with roller adjustment, 15 backrest positions and accessory mounts.

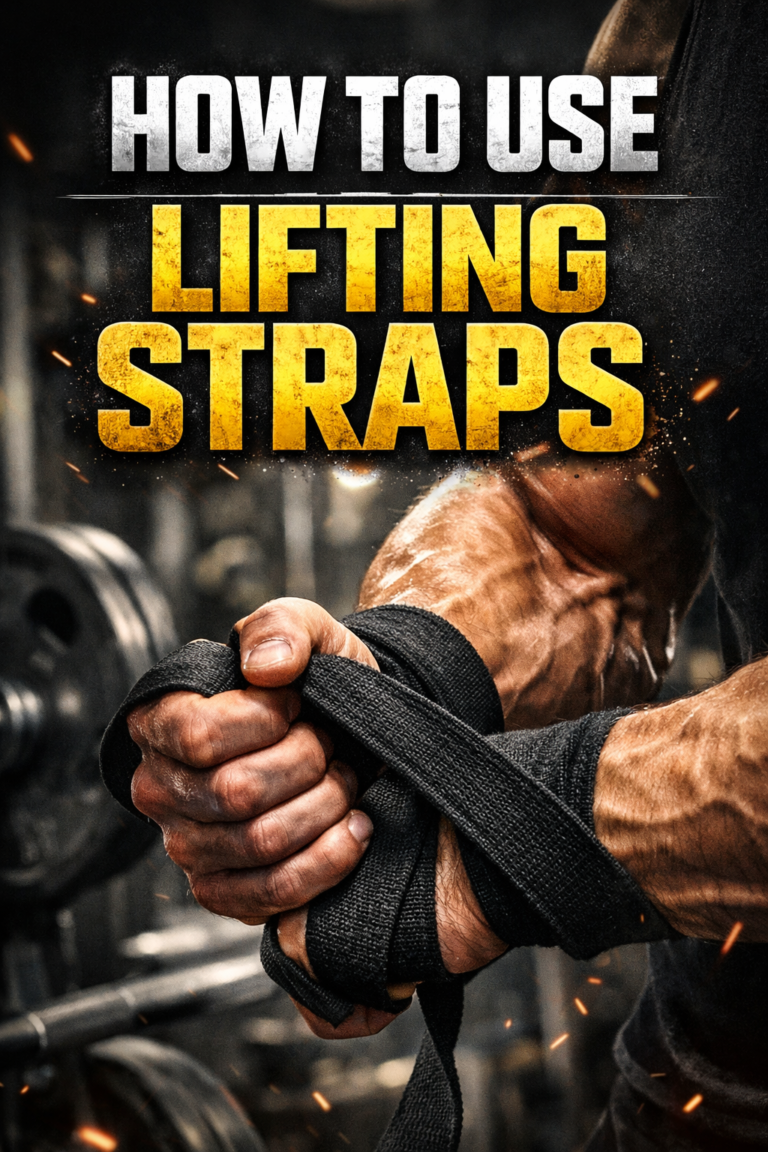
Leather Lifting Straps
Padded leather straps support grip during heavy rows, deadlifts and pulling exercises.

Leather Wrist Grips
Padded leather lifting grips help support the hands and wrists on heavy pulling exercises.
3. Drive the elbow through a controlled pulling arc
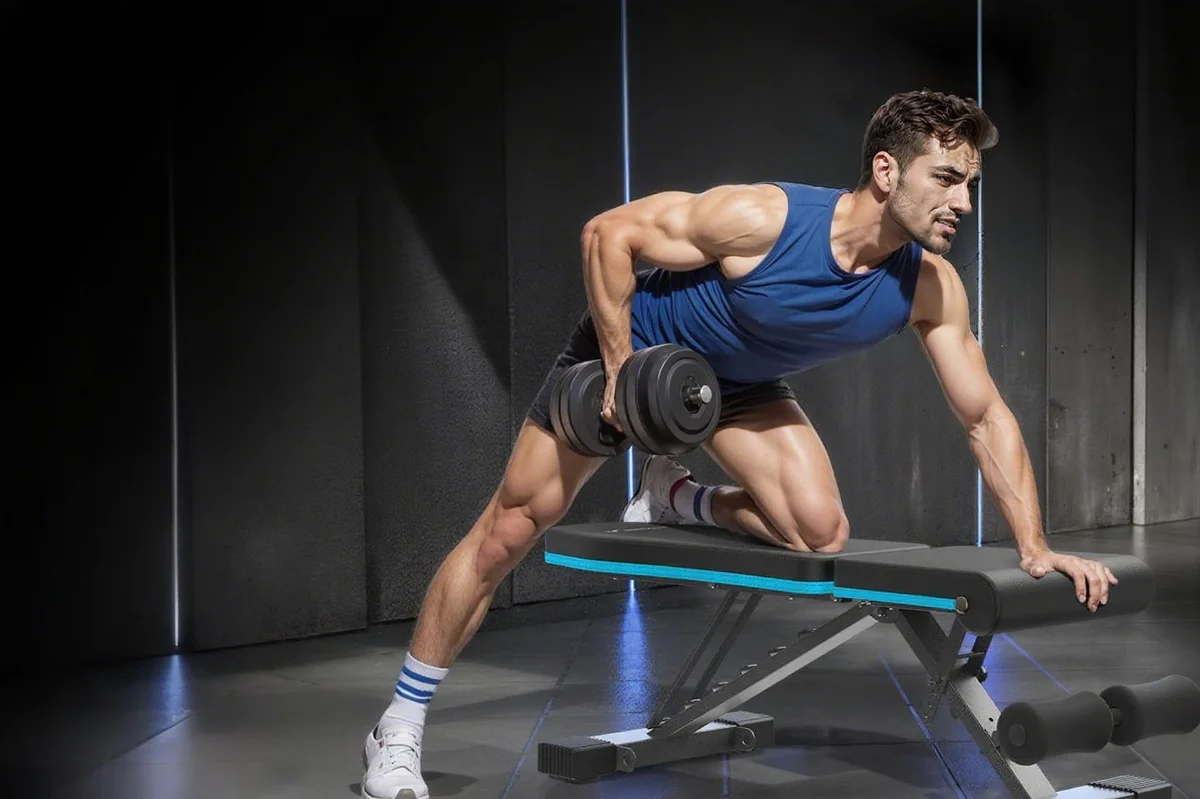
Start with the dumbbell hanging below the working shoulder and the arm mostly straight. Pull by bringing the elbow back, allowing the shoulder blade to move naturally rather than pinning it rigidly to the spine. For a lat-biased row, imagine guiding the elbow toward the back pocket while keeping it relatively close to the ribs. For a broader upper-back emphasis, a slightly more open elbow position can feel appropriate. Neither cue means dragging the dumbbell far behind the torso.
Keep the hand and wrist reasonably stacked under the load. You do not need to curl the weight toward the shoulder, swing it toward the hip in a huge arc or contort the wrist to get a longer path. At the top, stop when you can no longer move the upper arm without rolling the torso toward the ceiling. Some lifters will finish with the dumbbell around the lower ribs; others with a slightly different endpoint depending on arm length, bench height and chosen angle.
Lower the dumbbell under control, letting the arm extend without suddenly dumping the shoulder forward. A brief pause or deliberate slowdown can reveal whether you own the bottom position. Try a comfortable, steady tempo before making deliberate pauses or extra-slow negatives a training goal. The important comparison is between clean repetitions, not whether one rep lasted exactly a prescribed number of seconds.
4. Catch the mistakes that turn a row into a twist
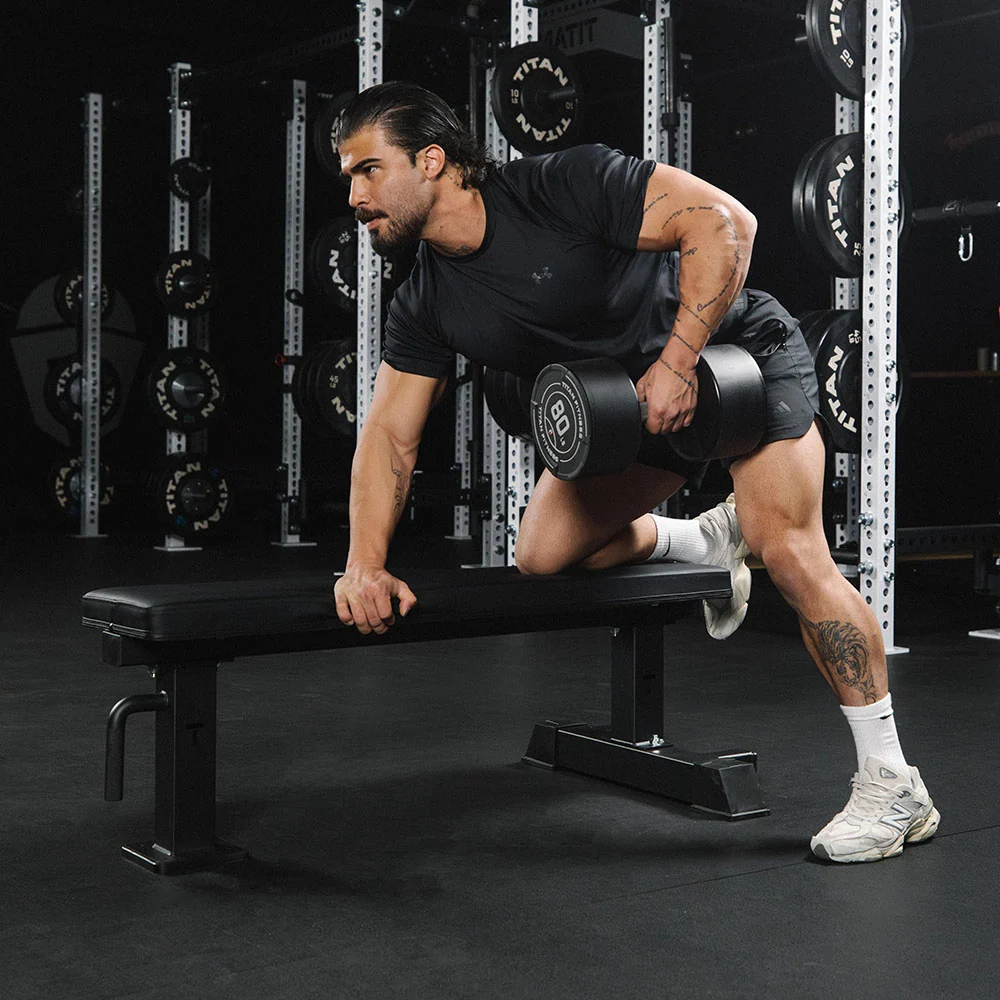
The most obvious cheat is rotating the ribs and pelvis to lift a heavier dumbbell. A little natural shoulder motion is normal, but if the shoulders finish almost facing the ceiling, the load is no longer moving through the same row you began with. Imagine balancing a cup across the lower back, then reduce the weight until you can keep the hips comparatively quiet. Do not force the spine into rigid discomfort; you are looking for control, not an exaggerated posture.
Another common mistake is shrugging the working shoulder toward the ear and pulling with the upper arm at an angle that irritates the shoulder. Recheck the elbow path and shorten the top range if needed. A third is jerking the weight off the bottom with the whole body, followed by a fast drop. That makes progression hard to judge because the amount of momentum changes from week to week. A fourth is pressing so much weight into the support hand that the torso is twisted before the first rep.
Use a simple quality check: Could you pause briefly at the top? Could you lower to the same position three reps in a row? Does the last repetition resemble the first from the side? If not, treat that as information. Shift the feet, lower the load or end the set before a technical breakdown becomes the default. Pain in the shoulder or back is a reason to stop and reassess, not a signal to pull harder.

Bodybuilding Shirts & Workout Gear
Bodybuilding shirts, tanks and gym gear for lifters chasing muscle, size, symmetry and the pump.

Demon Back Big Back & Lat Workouts Vest Tank Top
Your gym-day look, with a playful “Demon Back” twist.

Lat Man Big Back – Jumper With Huge Lats – Back Day T-Shirt
Add a playful “Lat Man Big Back” touch to your casual rotation.


Dost Thou Even Pull Tee
Make gym days more fun with “Dost Thou Even Pull Medieval Knight Lat” style.

Big Back SpongeBob Decal Water Bottles Meme Sticker
A fun “Big Back” touch for bottles, laptops, and lockers.


Lift O'Clock Gym | Funny Workout Decal For Bodybuilding Sticker
Stick a little “Lift O'Clock” humor on your favorite gear.

Anti Social Gymrat Club Serious & Fans Vest Tank Top
Show some personality between sets with “Anti Social Gymrat Club”.

Think Big Arnold Meme Hooded Jumper Hoodie
Make your off-duty look more fun with “Think Big”.

Gym Bear Unbearable Workout | Funny Exhausted Bear Pull T-Shirt
For laid-back days and lifting humor: “Gym Bear Unbearable”.
5. Give the row a progression your back can actually follow
For many lifters, two to four challenging sets of roughly eight to fifteen controlled reps per arm are a reasonable starting range, not a universal prescription. Choose a dumbbell that lets you finish with perhaps one to three clean reps still available, then adjust based on the rest of your pulling workout and recovery. If you are new to the movement, practice the pattern with a lighter load first. More advanced lifters may use heavier six-to-ten-rep work while maintaining an honest range.
Double progression makes the exercise measurable. Suppose you complete three sets of ten on both sides with the same load and stable torso. Work toward three sets of twelve before moving to the next sensible dumbbell increment; when weight increases, reps may drop again. Record each arm separately if there is an obvious difference, but do not force the stronger side to do extra junk reps just to match a number. Let the weaker side set the initial rep ceiling when symmetry is the goal.
A row does not need to monopolize the session. Pairing it with a vertical pull, a different upper-back pattern and sufficient pushing work can distribute stress and cover more functions. Consider straps if grip is the only thing repeatedly stopping you from training the back, while still maintaining direct grip work elsewhere if it matters to you. If heavy hinging already taxes your lower back, favor more support on row days rather than stacking fatigue indiscriminately.
6. Know when chest support or a different row wins
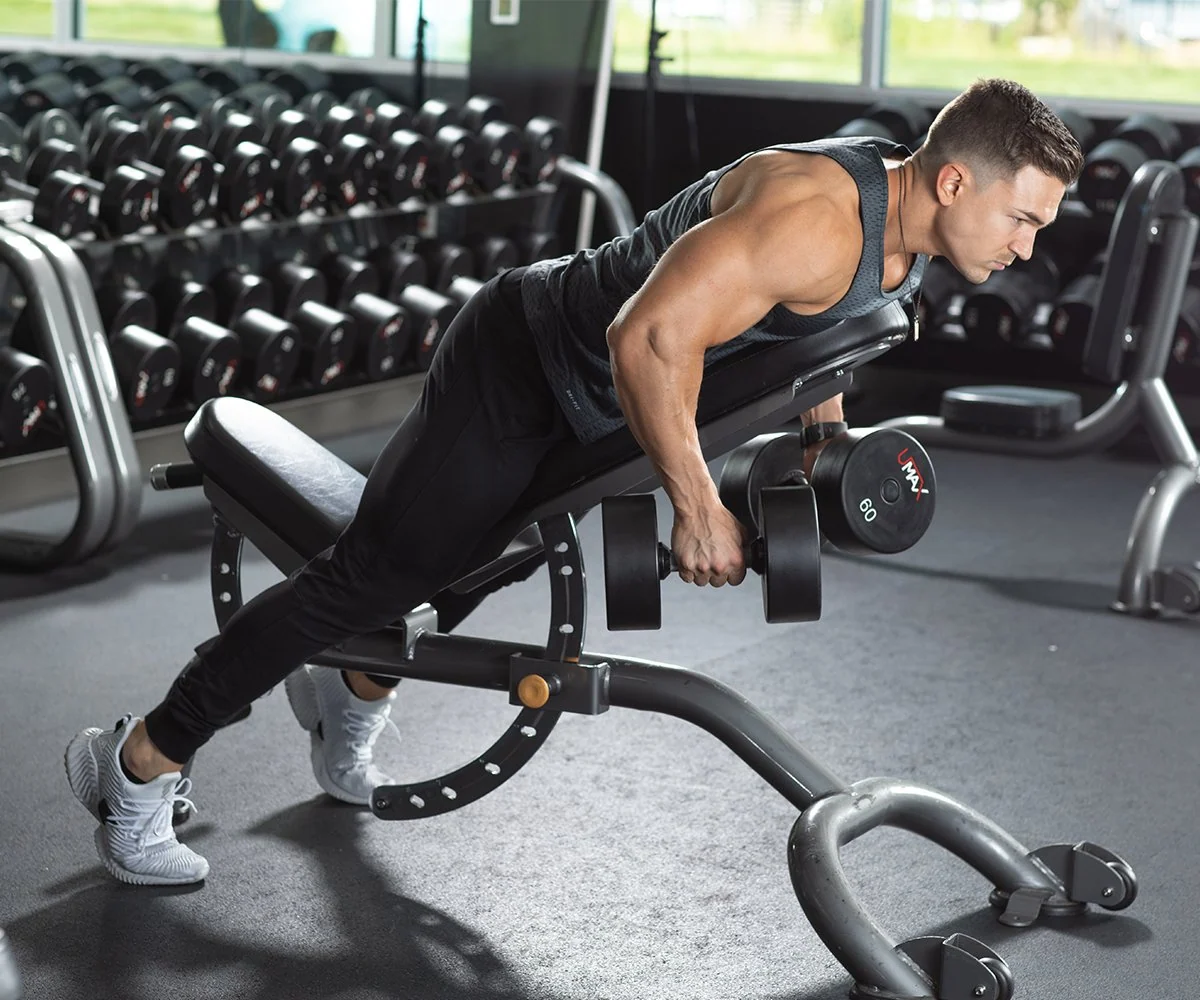
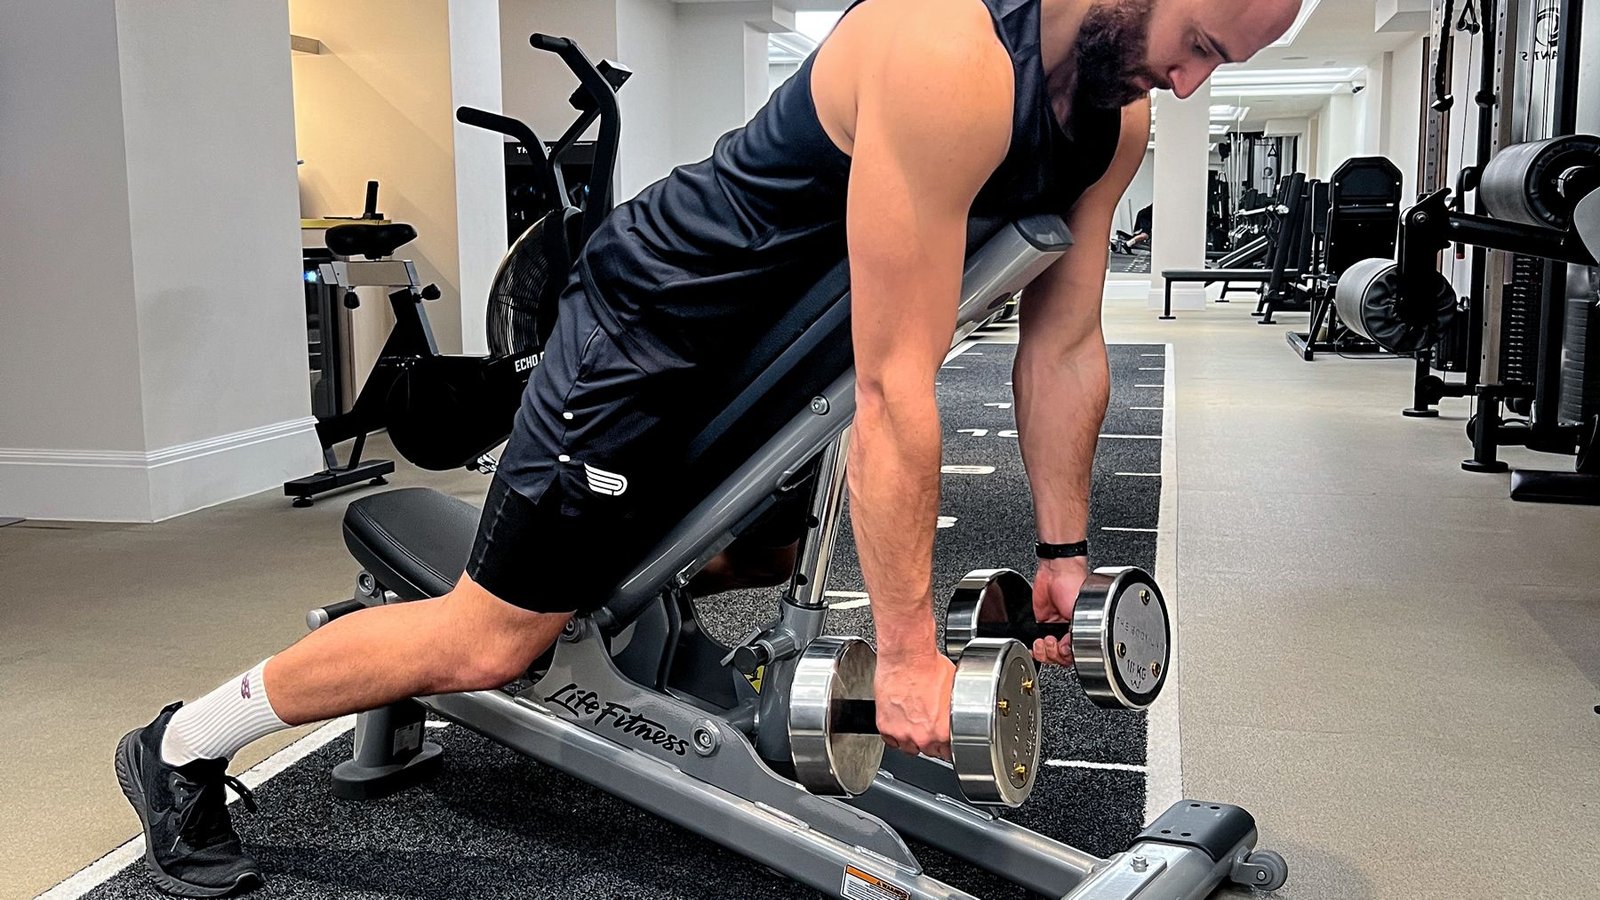
A chest-supported dumbbell row changes the limiting demands: the bench holds much of the torso’s position, so balance and anti-rotation work matter less. That can be useful when you want hard back sets after squats or deadlifts, or when unsupported rows turn into repeated trunk swings. Set an incline that lets the arms hang freely, avoid driving the chest aggressively into the pad, and check that the dumbbells do not hit the floor or bench at the bottom. The exercise still needs controlled shoulder and elbow movement.
Cable rows offer a different resistance direction and easy handle adjustments; landmine rows offer another loading option; barbell bent-over rows involve their own hinge and bracing demands. None automatically dominates the others for muscle growth. The strongest choice is usually the one you can execute through a useful, pain-free range, progress consistently and recover from alongside the rest of your plan. A supported machine row is a sensible substitute when bench space, grip, balance or lower-back fatigue makes dumbbell rows impractical.
For a practical six-week trial, keep the chosen row variation, bench height, stance and elbow path reasonably consistent. Track load, sets, reps and whether you needed to twist at the end. Increase only one challenge at a time. If the controlled range shrinks as the dumbbell gets heavier, progress has become harder to prove. The best row is the one whose next rep still looks like a row.
Equipment Worth Exploring
Explore equipment, accessories and gear from our carefully selected range.

Linear Row LRX-750
Dual-sided rowing machine for supported rows, bent-over rows and varied pulling movements.

Lateral Row Machine LRM-720
Rowing machine with independent lever arms, an adjustable seat and chest support.

Trinity Lat Machine LSW-850
Weight-stack pulldown tower offering three cable directions and adjustable seated support.

T-Bar Row Attachment
Welded barbell attachment that connects a D-handle bar for landmine and T-bar rows.

GymPin Barbell Row Handle
Heavy-duty handle attachment for barbell, landmine and T-bar rows.


VForce Lat Tower
Wall-mounted cable tower with pivot arms and adjustable 1:1 or 2:1 pulley ratios.

VForce Wall Trainer
Space-saving wall-mounted functional trainer with pivoting cable arms and variable resistance ratios.
VOLTRA
Compact digital cable trainer with smooth, adjustable resistance.

Go-Tone Pro
Portable digital cable trainer with up to 66 lb (30 kg) of adjustable resistance.