Advertising disclosure: This page includes affiliate product links that may earn us a commission, as well as products from our own store.
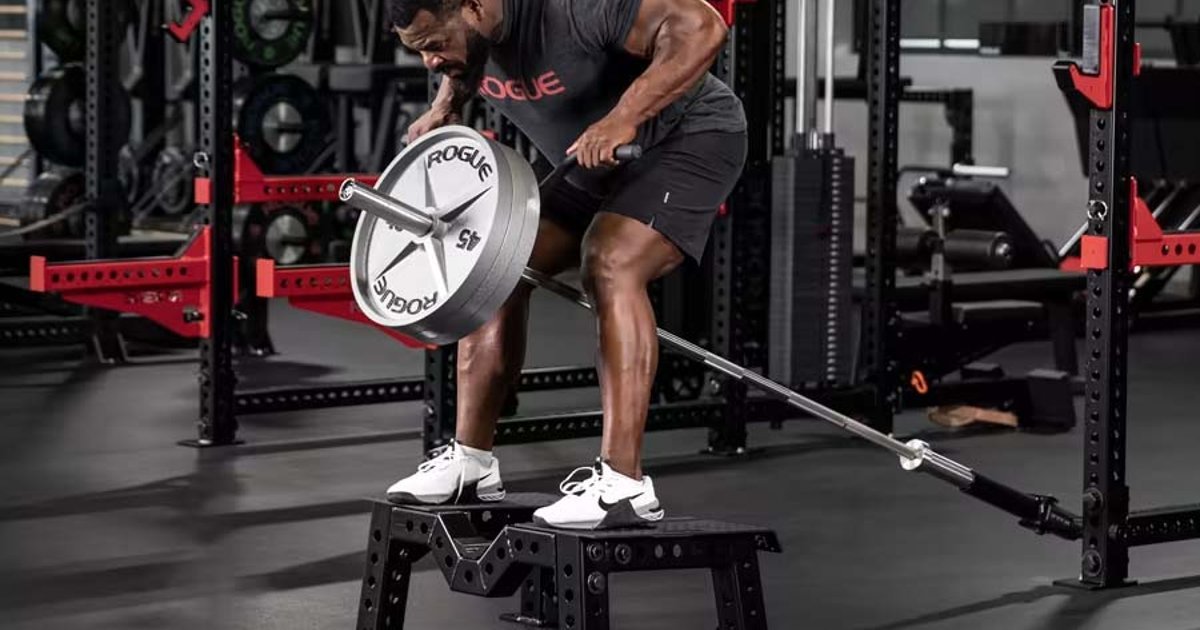
A landmine row can turn one secured barbell into a versatile back-training station. The benefit is not how many plates you can stack. It is the chance to work through a repeatable range with a controlled hip hinge, an appropriate handle and a progressively heavier load. Here is how to set it up safely, choose a T-bar grip, learn single-arm variations and build a six-week plan.
Why the landmine row is different from a free barbell row
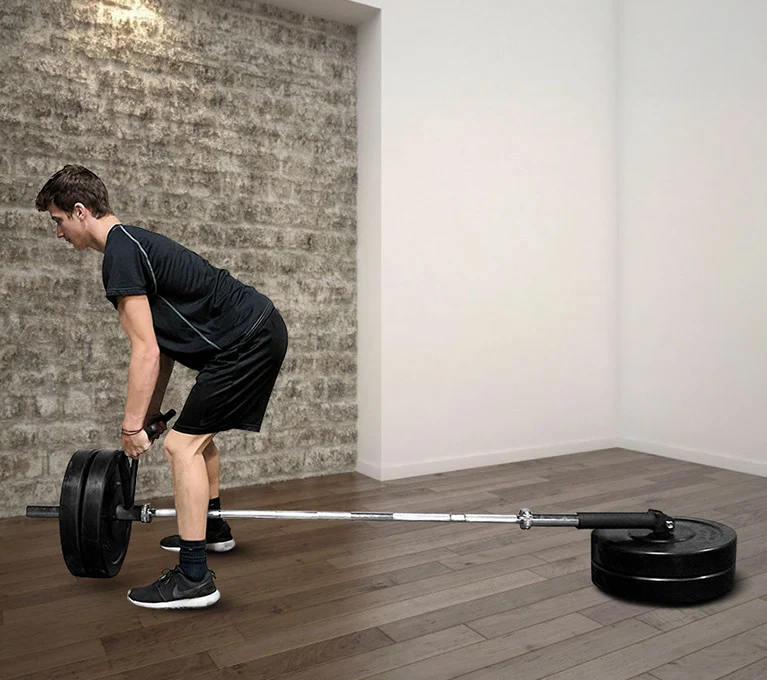
A landmine is a pivot that holds one end of a barbell while the loaded end travels through an arc. That movement path is different from the near-vertical travel of a free barbell during a bent-over row. It makes the bar’s horizontal position somewhat more predictable, though the pivot does not support your torso. The hips and trunk still have to maintain a useful hinge. A good rep requires both the upper back and the supporting muscles to do their jobs.
The lats, rhomboids, middle trapezius and rear shoulders contribute as the elbows move backward and the shoulder blades are controlled. The biceps and other elbow flexors assist the pull. Meanwhile, the spinal erectors, glutes and hamstrings work to preserve the position of the body. The exact feeling depends on your grip, your torso angle and how hard you train. No handle can isolate one muscle perfectly, and a landmine is not automatically more comfortable for everyone than a dumbbell or supported row.
One useful mechanical detail is often overlooked. The weight printed on the plates is not the exact resistance acting at the handle, because the other end of the bar is supported by the pivot. The angle of the bar also changes during the row. That means the same plate load on two different landmine setups may not feel equivalent. Keep the anchor, bar, stance and handle consistent before comparing workouts.
For a compact home gym, the movement is appealing because a single pivot and a few barbell attachments can provide bilateral and unilateral pulling. If you already have a cable or chest-supported row machine, it is an alternative rather than a compulsory replacement. The best reason to include it is that you can train the back hard, safely and consistently within the space and equipment you actually own.
Set up the pivot, barbell and hip hinge safely
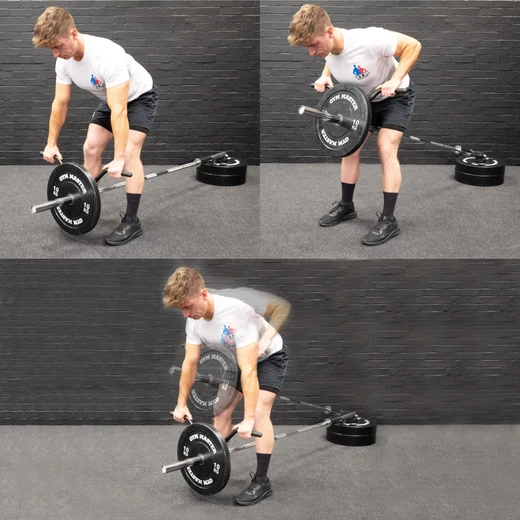
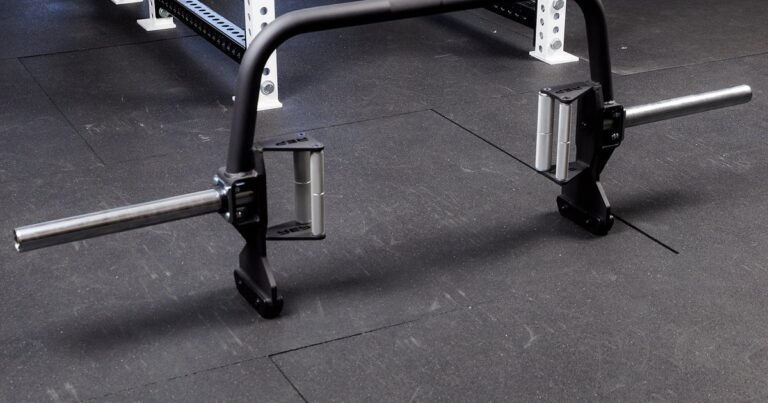
Secure a compatible barbell in a purpose-built landmine pivot. A rack-mounted attachment must be fixed using the intended hardware, while a freestanding or plate-anchored version needs an appropriately stable base. Check the movement path before loading: the free end needs room to swing without hitting a wall, a mirror, nearby storage or another person. Do not assume pushing a bare sleeve into an unprotected corner is safe. The bar can slide and can damage the room.
Load compatible plates on the moving sleeve. Use a collar if the attachment instructions call for it, and check that the handle is correctly fitted. A T-bar handle that sits under the shaft must not slide into the plates. Test the movement empty or with a small amount of weight so you can inspect the pivot, barbell and hand clearance. If the handle collides with your knees, abdomen or the plate edge, change the setup before the first working set.
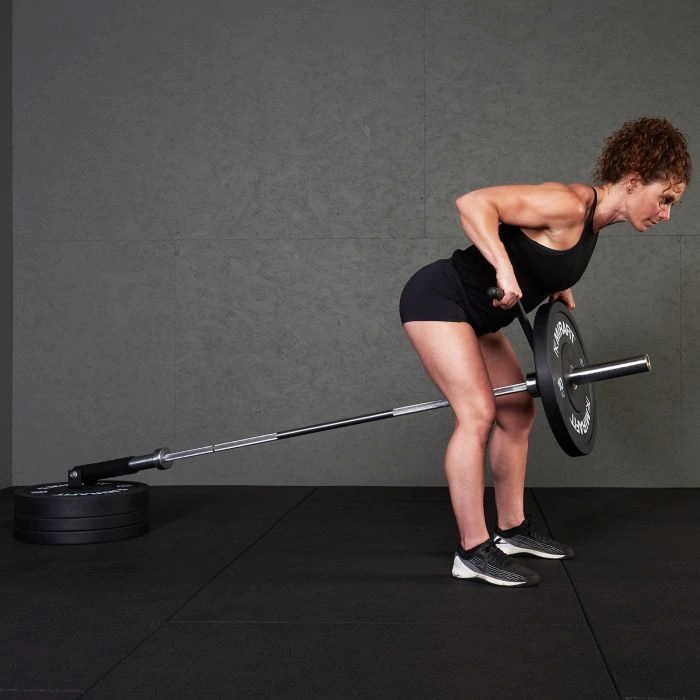
Stand astride the bar with feet far enough apart to feel balanced. Soften the knees, push the hips back and lean the torso forward until the arms hang naturally toward the handle. Brace the abdomen and keep the back in a stable position without exaggerating the arch. There is no single torso angle suitable for everyone. A deeper hinge may allow a more horizontal pull but increases the position-holding requirement. Too upright, and the movement can become little more than a short shrug.
Lift the bar to its starting position deliberately, pull one light test rep toward the upper abdomen and lower under control. Make sure the body can remain stable while the plates clear the floor and legs. A minute spent fixing the pivot and stance is more productive than adding a plate to a movement you cannot repeat.

Equipment Worth Exploring
Explore equipment, accessories and gear from our carefully selected range.


T-Bar Row Attachment
Welded barbell attachment that connects a D-handle bar for landmine and T-bar rows.

GymPin Barbell Row Handle
Heavy-duty handle attachment for barbell, landmine and T-bar rows.
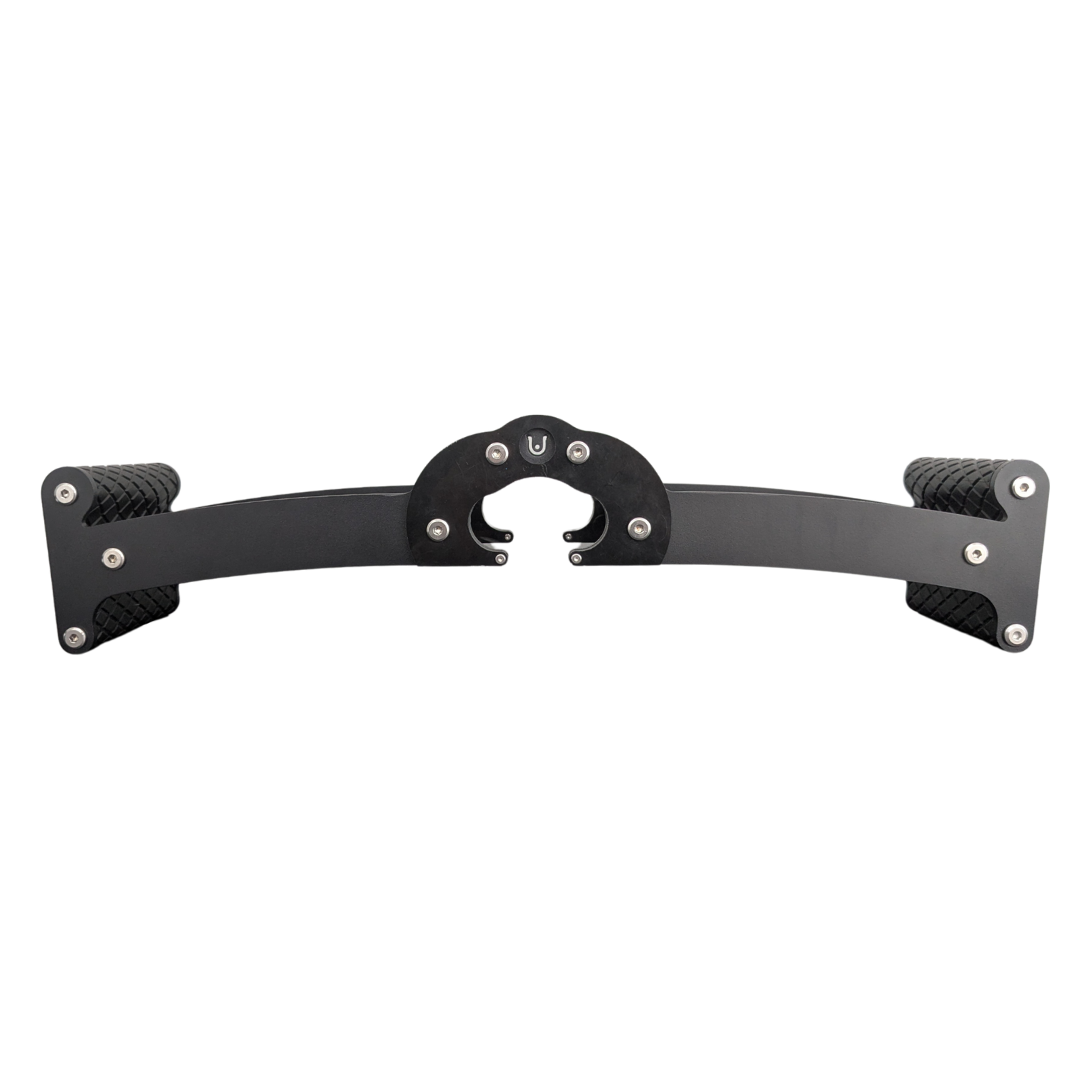
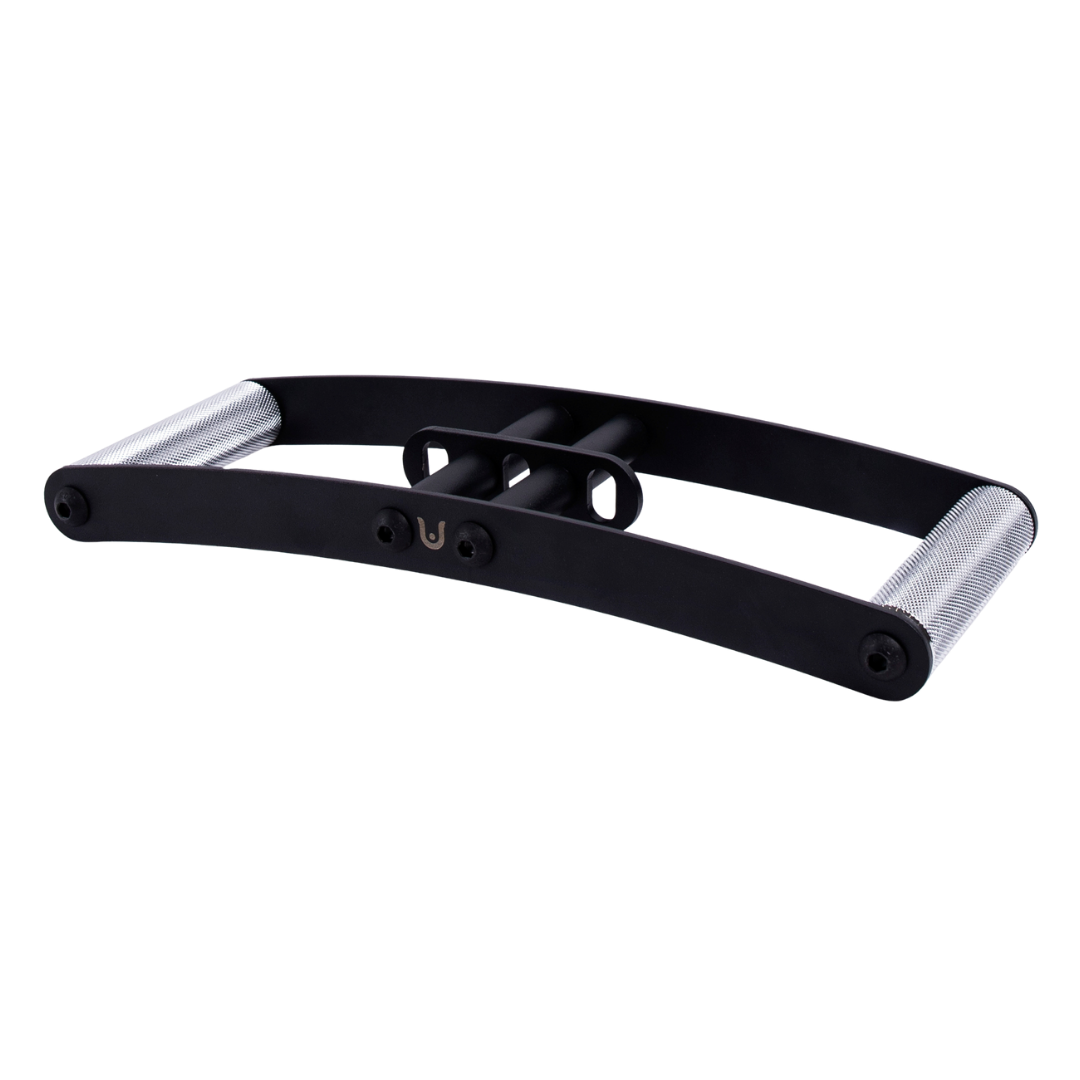
Back Bar
Multi-grip cable and landmine bar with a built-in deadlift jack.
Horizon Grip
Ergonomic V-style cable grip for rows and back training.

GymPin D Handle Bar
Multi-use steel D-handle bar for cable rows, pulldowns and other cable exercises.


Grip Plates
Rubber-coated weight plates with handholds for loading barbells and machines.

Two-hand T-bar rows: neutral versus wide grips
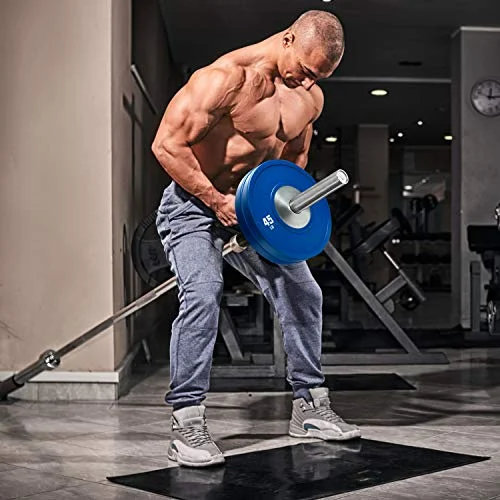
A narrow neutral-grip handle is a practical starting choice. With the arms extended at the bottom, row the elbows backward toward the ribs and let the handle approach the upper abdomen. Pause briefly, then lower until the arms lengthen again. The torso should not pop upright to finish each repetition. If the bar cannot travel through a useful range without bouncing or hitting your body, adjust the stance, handle position or plate size.
A wide pronated handle changes the elbow path and often shifts the perceived work toward more of the upper back and rear shoulders. An angled or rotating grip can feel better on the wrists. These differences are useful, but they do not establish a universal ranking for muscle growth. Choose a version that allows the shoulder to move comfortably, the elbows to follow a consistent path and the bar to be controlled both upward and downward.
Attachment fit matters more than it first appears. Some handles slide over the sleeve, some fasten around the bar, and some are designed for specific landmine systems. Keep your fingers clear of the moving plates. Never use a cable attachment in a way that its manufacturer does not support. A handle that changes your wrist angle smoothly is valuable only if it stays secure through the entire set.
To compare grips, perform two light sets of eight repetitions with the same load and hinge position, changing only the handle. Record which gives you greater usable range and more comfortable wrist alignment. Then keep the chosen grip consistent for several weeks. Switching grips every workout can make the training log appear more varied, but it becomes harder to tell whether your row has actually improved.
Single-arm landmine rows and Meadows row variations
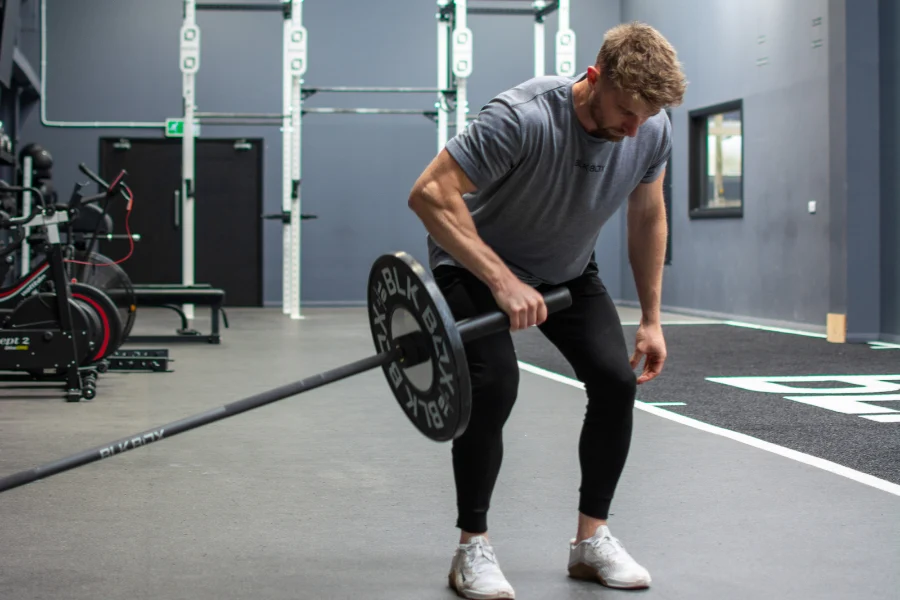
For a single-arm landmine row, stand beside the moving sleeve with a staggered stance. Hinge at the hips, brace the midsection and hold the bar at an approved gripping point. Your free hand can rest on the thigh or a sturdy bench for balance. Pull the working elbow back toward the hip rather than twisting the rib cage violently to launch the weight. Lower until the arm extends under control, keeping the body position reasonably constant.
Single-arm rows let you compare left and right sides without relying on a two-hand handle. They also add grip and balance demands, especially when the end of the bar is thick. Begin lighter than you expect. Two or three sets of eight to twelve clean repetitions per side can be enough to challenge the back when the movement is strict. Match the range on both sides before adding weight.
A Meadows row uses a more perpendicular stance to the bar and usually an overhand grip near the free sleeve. The elbow follows a somewhat different path, and some lifters enjoy it for upper-back and rear-delt work. Keep the anchor stable, support yourself where helpful, and do not use whole-body rotation to disguise an overloaded rep. An uncomfortable thick-sleeve grip is a reason to use a compatible handle or another exercise, not something you must push through.
Start each unilateral set with the weaker side if there is a meaningful difference, then match its repetitions with the other side. Increase reps until the target range is comfortable with controlled form. Only then add a modest amount of weight. This simple approach keeps the movement about back training rather than which arm can create the biggest swing.

Bodybuilding Shirts & Workout Gear
Bodybuilding shirts, tanks and gym gear for lifters chasing muscle, size, symmetry and the pump.

Gym Dost Thou Even Pull Medieval Knight Lat Pulldown De Sticker
Give your everyday gear a playful “Dost Thou Even Pull Medieval Knight Lat” twist.

Funny Hardcore Gains Gym | No Pain No Gain Workout | Fi Hoodie
Keep it laid-back with a little “Hardcore Gains” attitude.

Demon Back Big Back & Lat Workouts Vest Tank Top
Your gym-day look, with a playful “Demon Back” twist.

Lat Man Big Back – Jumper With Huge Lats – Back Day T-Shirt
Add a playful “Lat Man Big Back” touch to your casual rotation.


Wide Privilege – Wide Back Meme Decal for Water Bottles Sticker
A fun “Wide Privilege” touch for bottles, laptops, and lockers.

Strong Back Bodybuilder Tee
Show some lifting attitude with a playful “Strong Back Bodybuilder” tee.


Unbreakable Gains Back Tee
Make gym days more fun with “Unbreakable Gains: Strong Back Greek God” style.

Nice Traps Big Back Tee
Heavy lifts, good laughs, and a little “Nice Traps Big Back” energy.
Progress without cheating the range of motion
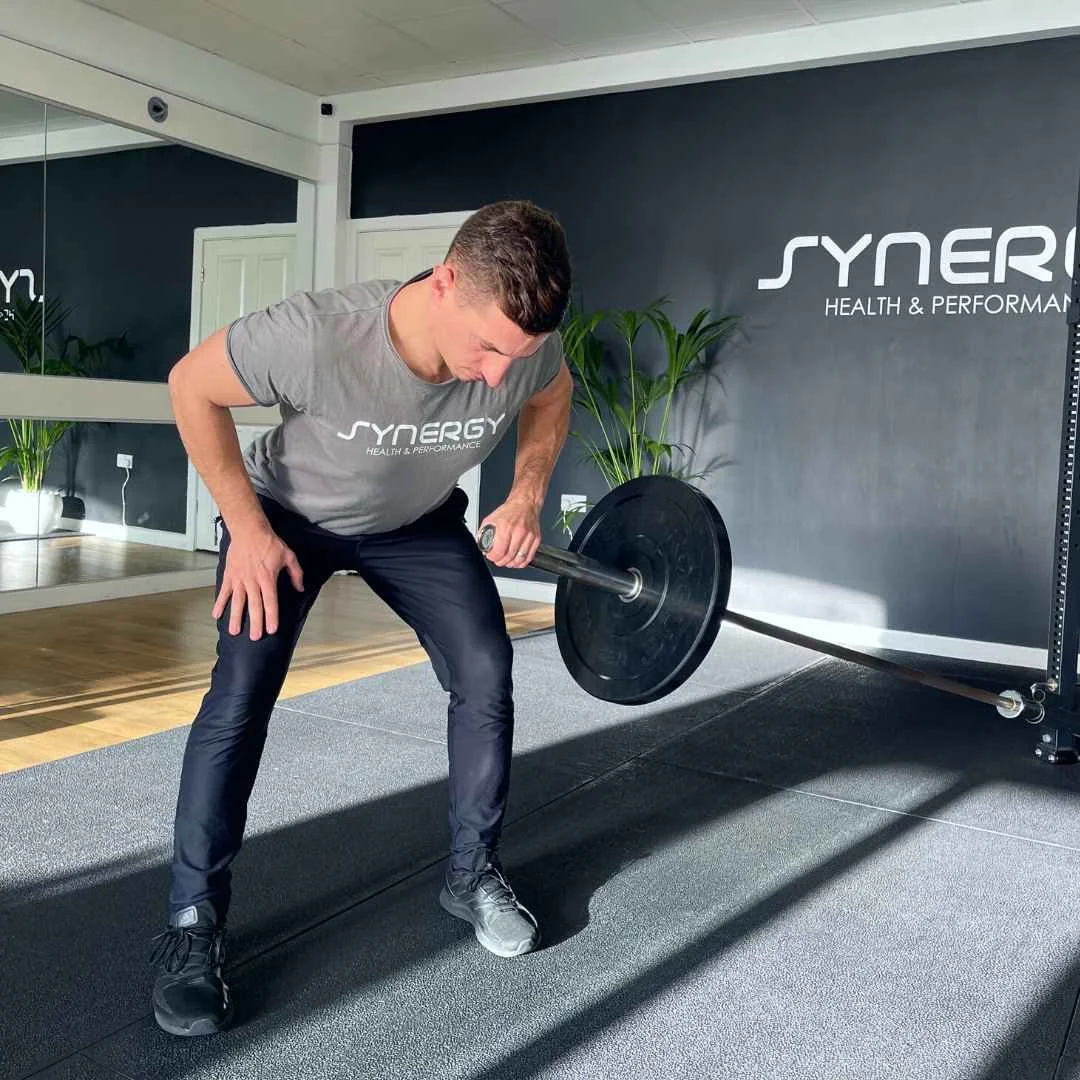
The most common progression mistake is adding plates until the movement becomes a tiny pull. Large-diameter plates can contact your torso or the floor earlier than smaller plates, depending on handle position. Smaller plates may allow more useful travel, but the goal is not an extreme stretch at the expense of a stable back. Choose a start position you can reproduce and a top position that comes from the elbows traveling backward rather than the hips driving upward.
Use double progression: take a load you can row for three sets of eight to ten with around one or two repetitions still available, then slowly add clean repetitions. When all three sets reach ten with good form, increase the plate load modestly and start near eight again. Rest long enough that the next set is a back-training set, not an uncontrolled cardiovascular scramble. Around two minutes is a reasonable starting rest for demanding work.
Record the anchor, handle, plate diameter, load, repetitions and any meaningful change in stance. The amount at your hands can change with bar angle and grip placement. Without consistent setup notes, two visually similar workouts may not be equivalent. A video filmed from the side can help you notice whether the hinge is drifting upright as the last reps become difficult.
Lower smoothly rather than dropping the bar into the end of its arc. A controlled descent and a short pause can help keep the same range on every rep, but no fixed tempo is mandatory. When the shoulders begin shrugging excessively or the spine position changes drastically to move the weight, end the set. Quality control is a more reliable sign of progress than louder plates.
Equipment Worth Exploring
Explore equipment, accessories and gear from our carefully selected range.

Leather Lifting Straps
Padded leather straps support grip during heavy rows, deadlifts and pulling exercises.

Leather Wrist Grips
Padded leather lifting grips help support the hands and wrists on heavy pulling exercises.

Angles 90 Grips
Flexible grip attachments that allow natural wrist movement during pulling exercises.

GymPin Ergo Handles
Pair of ergonomic cable handles shaped for comfortable triceps and pulling exercises.
W Grip
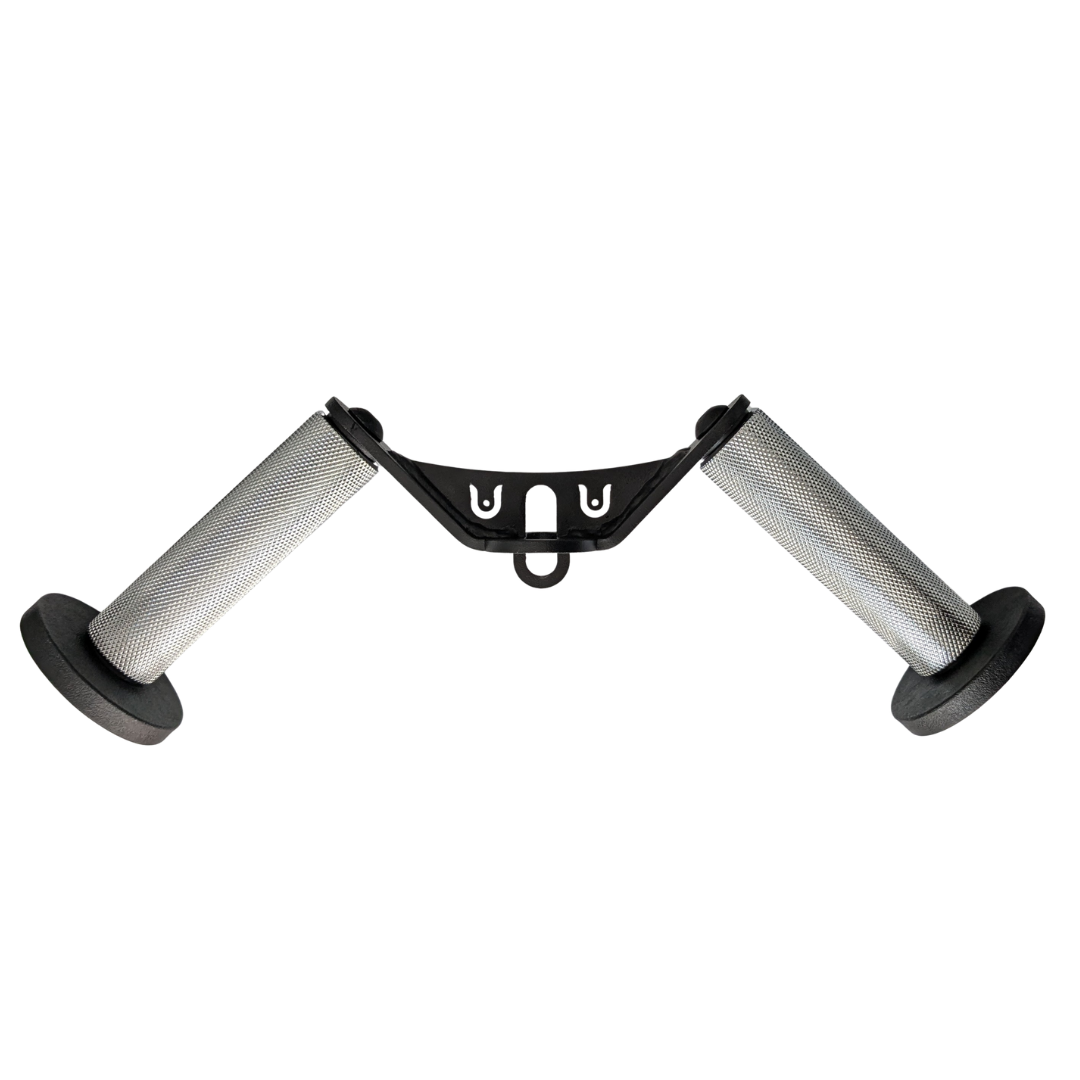
Angled cable grip for comfortable rows, pushdowns, and curls.


VOLTRA
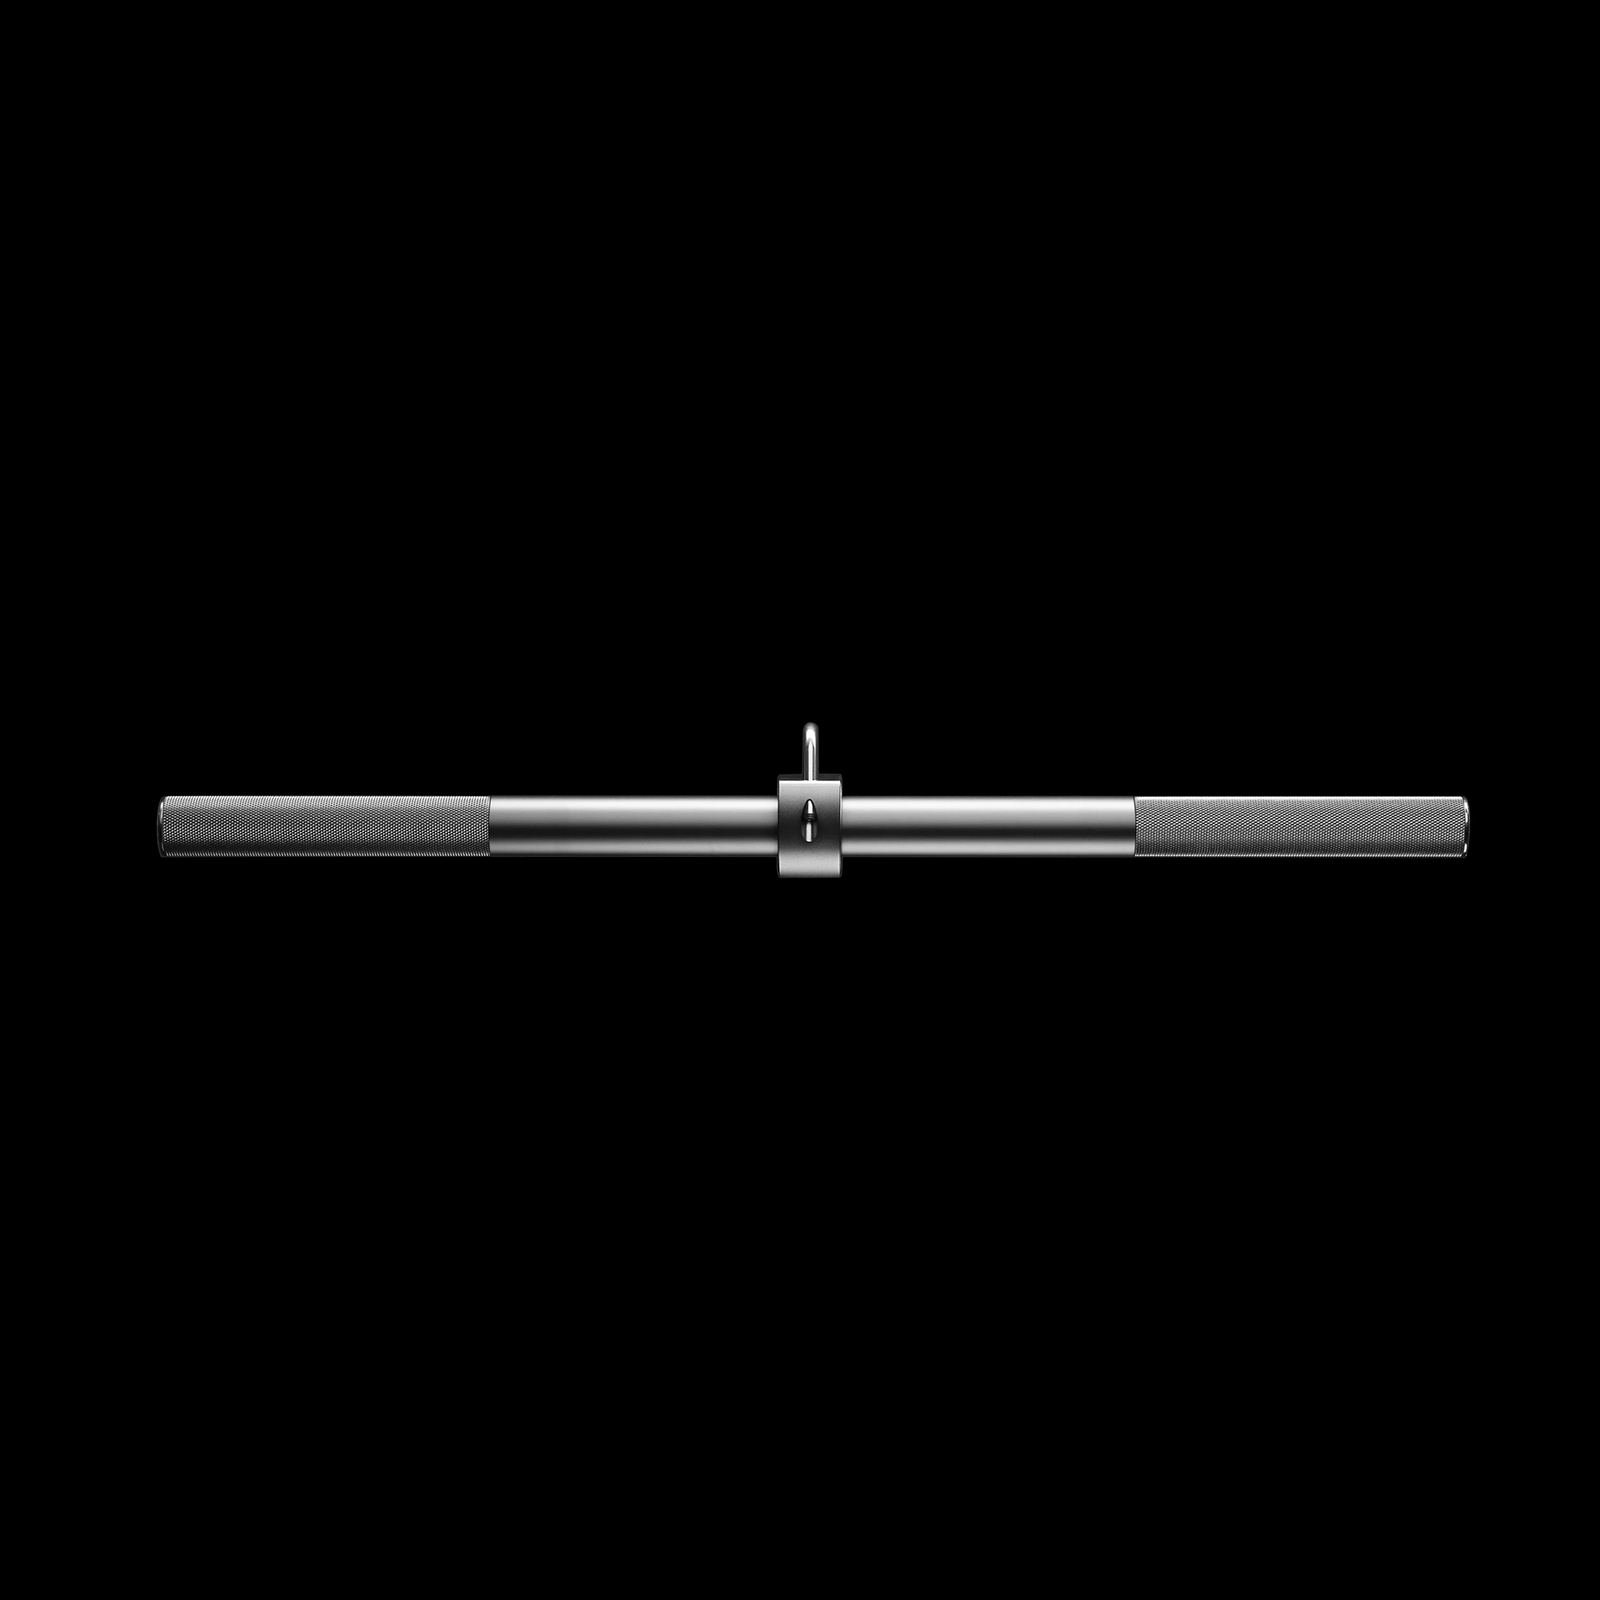
Compact digital cable trainer with smooth, adjustable resistance.

VForce Lat Tower
Wall-mounted cable tower with pivot arms and adjustable 1:1 or 2:1 pulley ratios.
When your lower back or grip quits first
Because an unsupported landmine row requires a maintained hinge, the erectors may become the limiting factor before the lats or upper back are close to their limit. This is especially relevant after heavy deadlifts, squats or other demanding hinge exercises. The solution is not always more bracing or a heavier belt. Sometimes a chest-supported row or seated cable row is simply a better match for the day’s training goal.
Grip fatigue can create a similar problem. A thick bar sleeve or slippery handle may challenge the forearms more than a smooth, well-sized row attachment. Try a compatible grip that allows comfortable wrist positioning. Lifting straps may be useful for back-focused working sets when grip otherwise stops the set first, but they cannot secure a loose pivot or unsafe handle. Train the grip separately if desired rather than turning every back workout into a maximal hold test.
If the trunk is tired, reduce the load, rest longer or shorten the working set while keeping the same controlled range. A supported single-arm row is another alternative. Be careful when comparing performance between a chest-supported T-bar machine and an unsupported barbell landmine: the body position and resistance path differ, even if both are called rows.
Sharp pain, new numbness, radiating symptoms or sudden loss of control are reasons to stop, not to force one more repetition. General exercise advice cannot diagnose an injury. If discomfort keeps returning, seek qualified guidance and choose the variation that lets you train consistently. There is nothing special about landmine rows that makes them worth training through persistent pain.
A six-week landmine row plan for a compact gym
Two weekly exposures can give enough practice to develop a consistent row without taking over the whole program. On the first back-focused day, use a bilateral T-bar landmine row for three sets of eight to ten after light warm-up sets. Add a pulldown or pull-up movement so the session covers a different direction of pulling. On the second day, use two sets of single-arm landmine rows for ten to twelve repetitions per side, followed by a supported or cable row if the back still needs more work.
An example first session is: T-bar row 3 x 8-10; pulldown 3 x 8-12; rear-delt movement 2 x 12-15. A second session could contain single-arm landmine row 2 x 10-12 per side; chest-supported row 2 x 10-12; optional light forearm work. These are starting examples rather than prescriptions for every lifter. Count your other weekly pulling sets and allow recovery between hard sessions.
During weeks one and two, choose an anchor, handle and stance that you can repeat and leave roughly two clean reps in reserve. In weeks three and four, add repetitions while holding those variables constant. In week five, increase the plates only when you have reached the top of the range without bouncing or shortening the rep. In week six, assess technique and progress instead of testing a risky maximal row.
At the end, ask whether the same movement feels steadier, whether you can complete more quality repetitions and whether the intended back muscles can work hard before the grip or lower back ends the set. If the answers are positive, keep the landmine row as a staple. If not, adjust the handle or replace it with a supported variation. The most useful home-gym lift is the one you can set up safely, train effectively and improve over time.
Powerlifting Shirts & Lifting Gear
Powerlifting shirts and gym gear for squat, bench and deadlift lifters who live for heavy numbers.
Heavy Metal Deadlift – Skeleton Gym Shirt for Powerlift T-Shirt
A t-shirt featuring the Heavy Metal Deadlift – Skeleton Gym Shirt for Powerlifters and Leg Day Lifters artwork, bringing lifting-inspired humor and distinctive gym graphics to your everyday gear.


Lift Together Grow Stronger for Workout Partners and Li Hoodie
Show off your powerlifting humor in a laid-back “Lift Together Grow Stronger” hoodie.

I Love Deadlifts Valentine's Gym Shirt | Funny Leg Day T-Shirt
Show some leg-day attitude with a playful “I Love Deadlifts Valentine's” tee.

Deadlift Skull Gym Gold Heavy Metal Pullover for Powerl Hoodie
Show off your metalhead humor in a laid-back “Deadlift Skull” hoodie.

I’m Strong Barbell Heartbeat Crewneck Pullover for Powe T-Shirt
Bring “I’m Strong Barbell Heartbeat” humor to your everyday gym style.


Lift Heavy – Hardcore Heavy Metal Gym Decal for Powerli Sticker
Give your everyday gear a playful “Lift Heavy” twist.

Weights & Protein Shakes Tee
Bring “Heavy Weights and Protein Shakes” humor to your next gym day.