Advertising disclosure: This page includes affiliate product links that may earn us a commission, as well as products from our own store.
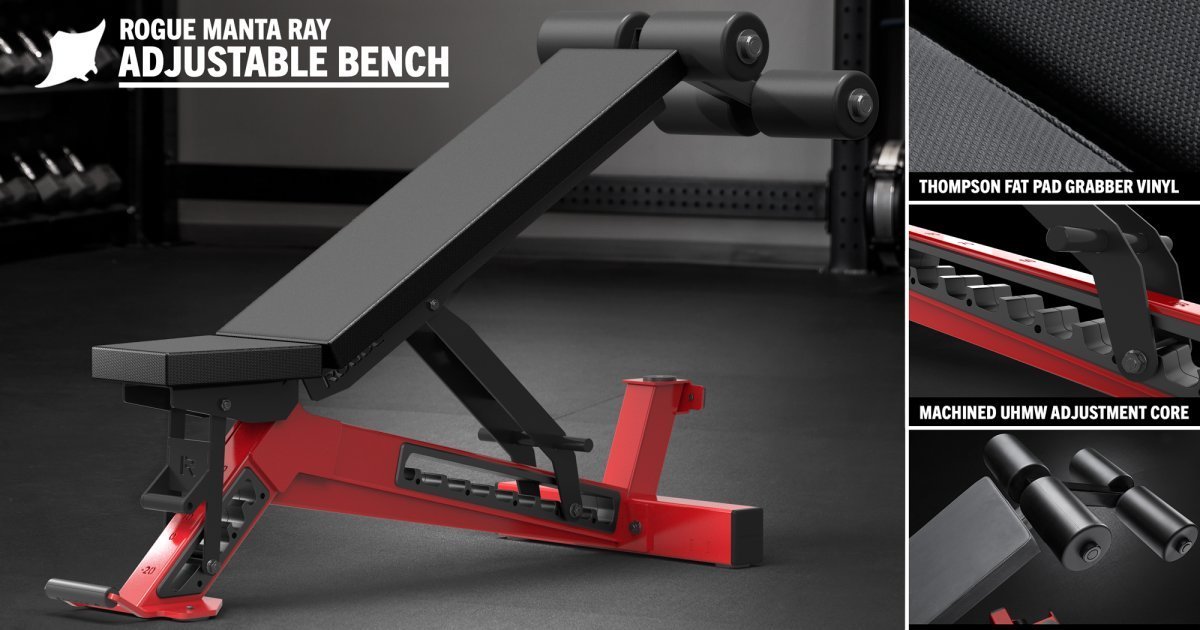
The Rogue Manta Ray Adjustable Bench is built for lifters who repeatedly change the angle of a press, row, curl or supported upper-body exercise. The headline specification is not simply that it inclines: five seat settings and ten backrest positions produce 50 possible seat-and-back combinations. The more useful questions are which of those combinations you will actually train with, whether the pad supports your body, whether the bench fits your rack and whether you can move a 140-pound bench without making every session a chore.
This is a model-specific setup and buying guide, not a hands-on MMP review. Rogue’s current specifications provide the dimensions and mechanisms; the practical recommendations below explain how to turn those numbers into repeatable exercise positions instead of assuming that the largest configuration count automatically makes the best bench.
Choose the back and seat angles as one setup
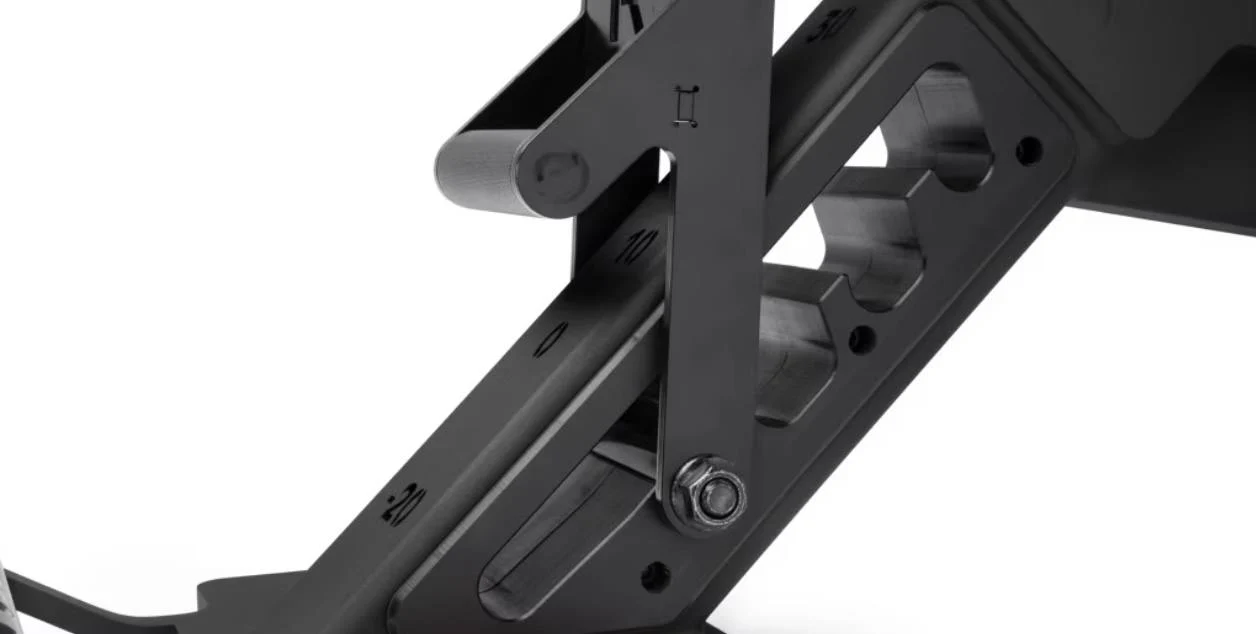
The Manta Ray’s backrest adjusts through 0, 20, 30, 37.5, 45, 52.5, 60, 67.5, 75 and 85 degrees. The seat adjusts to -20, 0, 10, 20 or 30 degrees. Each group of numbers describes a different part of the bench. When you see the advertised 50 combinations, think of the ten back positions multiplied by five seat positions, not 50 unique backrest inclines.
For a flat dumbbell press, begin by setting the backrest and seat flat. For an incline press, choose one backrest angle—30 or 45 degrees make sensible starting experiments—and set the seat to resist unwanted sliding without forcing the hips into an uncomfortable position. For a near-vertical seated press, use one of the higher back settings and check that the seat lets the thighs and feet support a stable torso. Those are starting positions to test, not claims that a particular angle recruits the same muscles for everybody.
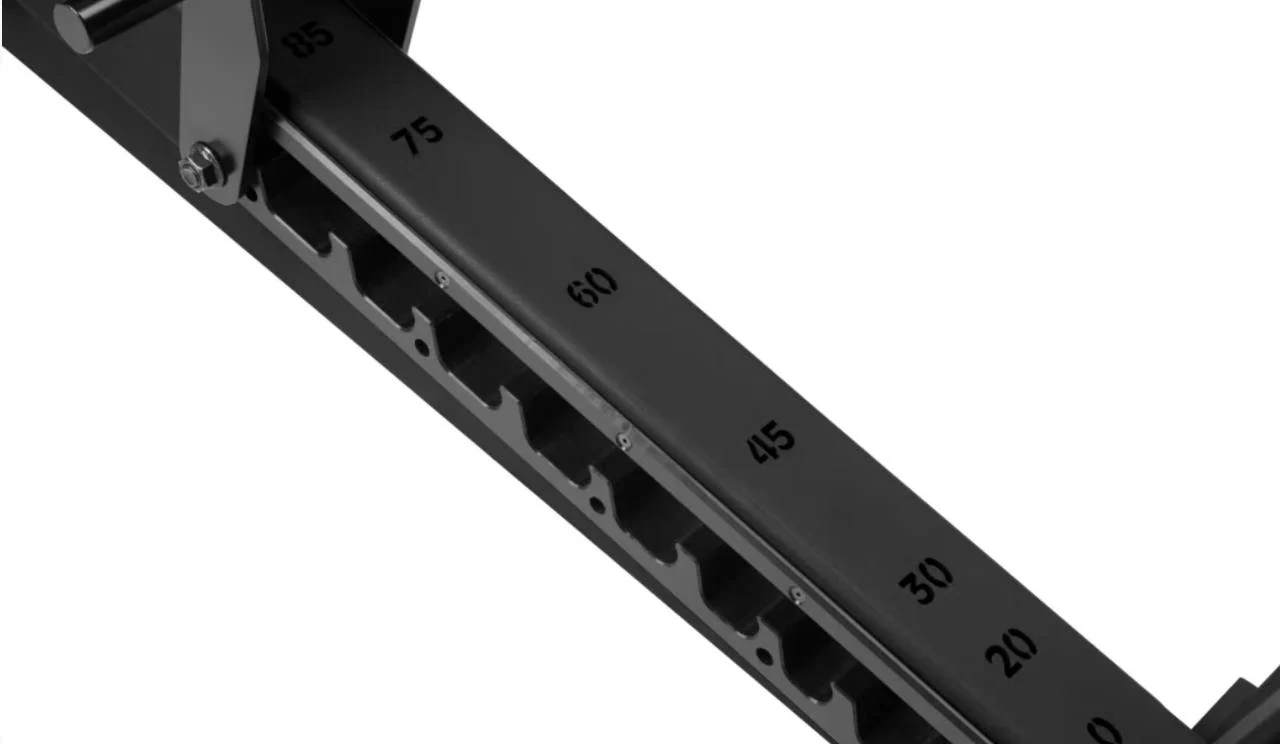
The adjustment ladder sits inside the frame tube, with angle markings cut into the steel. Before every working set, verify that both the back support and seat are positively engaged. Adjust with the bench unloaded, keep fingers clear of moving hinges and avoid trying to change the pad position while somebody is lying on it. Record the actual back and seat settings in your log. A statement such as “incline dumbbells, setting 30/10” is more reproducible than “medium incline,” and it becomes useful when comparing comfort and performance over several weeks.
Small changes in torso angle can substantially alter how a press feels, but they are not a substitute for controlling the load and your range of motion. If an incline makes the shoulder uncomfortable, reduce the load, try a different angle or exercise variation and evaluate the setup rather than treating the marked settings as a prescription.
Understand the front foot and rack clearance
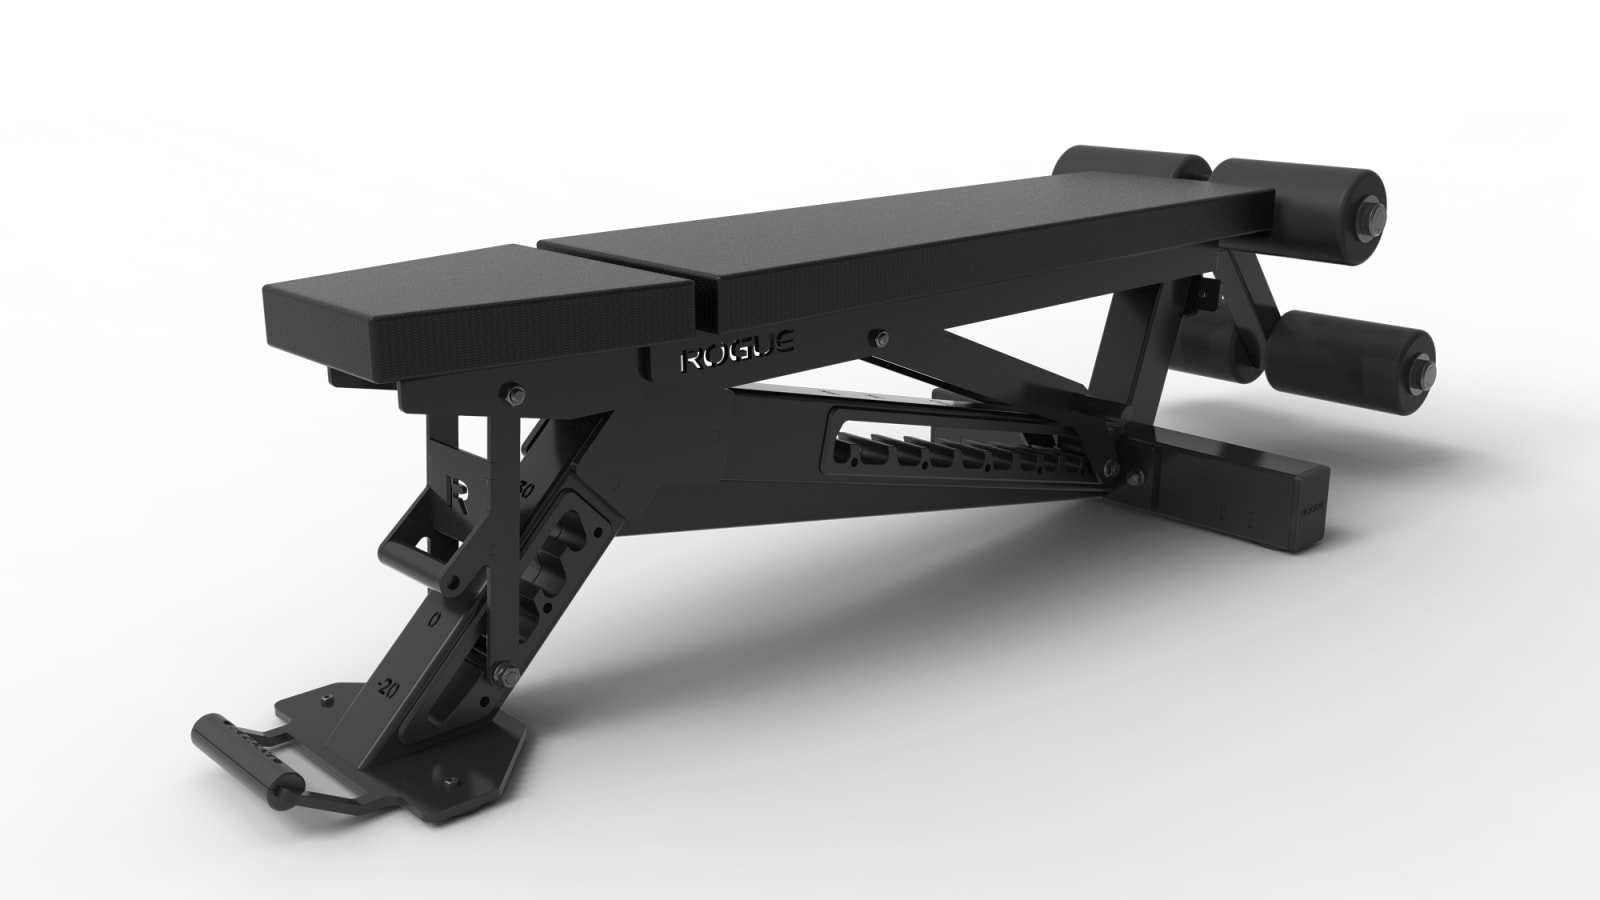
At the front, the Manta Ray uses a broad, swept foot inspired by its namesake shape. Rogue describes it as retaining the foot-access advantage of a three-leg design while improving stability in declined positions. The important distinction is that the front foot takes up less space around the lifter’s feet than a conventional straight crossbar would, but the whole bench still needs stable, level floor contact.
Before ordering, make a real floor-space sketch: the published base is 57 inches long and 24.75 inches wide, and the flat pad height is 17.5 inches. Add room for an athlete’s feet, the end of an Olympic bar, dumbbell pickup and spotter movement. A 57-inch frame can fit a floor outline while still leave an awkward bar path or prevent the bench from lining up under rack uprights. If you intend to use it in a rack, check the distance between your particular uprights and the point where the bench’s backrest must sit for unracking.
The 3-by-4-inch, 7-gauge steel frame contributes to the substantial 140-pound mass. Mass can help resist unwanted movement, but the model’s strength or the shape of the front foot does not guarantee the safety of every floor or exercise setup. Keep all feet seated on the surface, check for wobble with no weights, and confirm that attachments and any rack are separately suitable for the loading you plan.
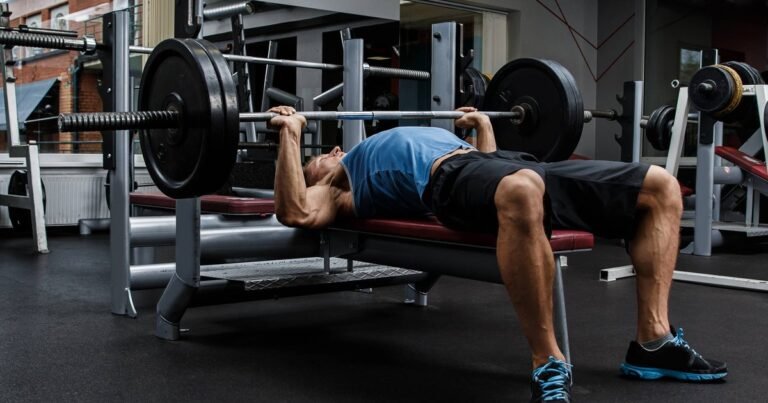
For a barbell bench press, bring the bench into position before loading plates. Lie back, locate your eyes relative to the bar, and test the unrack and return path with an empty bar or appropriate assistance. A heavy fixed bench that feels excellent for dumbbells may still require frequent small moves to align with a specific rack.
Evaluate the pad before comparing finishes
The pad measures about 52 inches long, 12 inches wide and 2.25 inches thick, with an approximately one-inch gap between the back and seat cushions. The advertised 12-inch width is wider than Rogue’s 11-inch Adjustable Bench 3.0 pad. Those are measurable differences; they do not prove that the wider surface will suit every torso, shoulder position or press. A broad pad may feel supportive to one lifter and interfere with the shoulder position another prefers.
Test pad fit with the movement rather than your hand alone. In a dumbbell press, maintain comfortable head, upper-back and pelvis contact while the feet stay grounded. Reach the bottom of the movement without deliberately bouncing off the pad or losing shoulder control. For chest-supported dumbbell rows, check whether the upper edge of the pad and the chosen incline let your arms move without bumping the frame. A bench can be excellent for pressing yet require a different angle or stance to make a supported row comfortable.
Rogue offers different surface and finish combinations. Certain medium-gloss configurations use grippier vinyl and a machined handle, while a textured-black option is described with another premium-foam pad and a molded handle. Check the current order selector for the exact package rather than assuming every color has an identical cover, feel or accessory arrangement. Product photos from different finishes can make a bench look like an entirely different version when it is the pad covering or frame finish that changes.
The narrow seat-to-back gap is worth noting when a seated position puts the hips close to the hinge, but no gap specification eliminates the need for a trial. The useful buying question is whether the pad width, height, grip surface and angle combination help you keep repeatable contact throughout the exercises you actually perform.
Decide whether the optional foot catch earns its cost
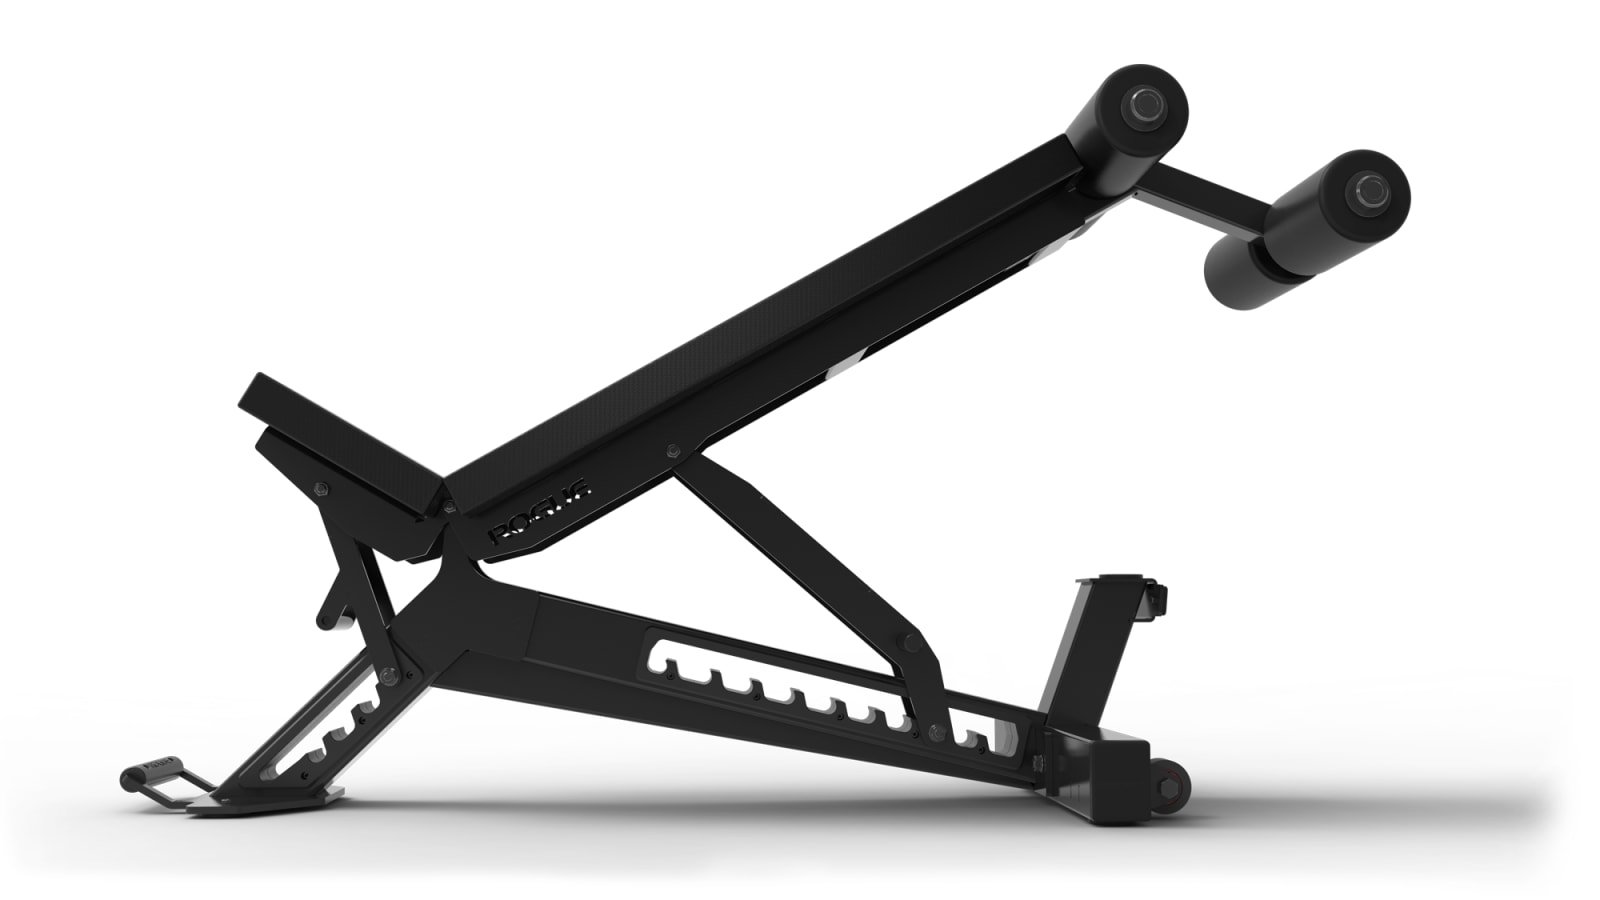
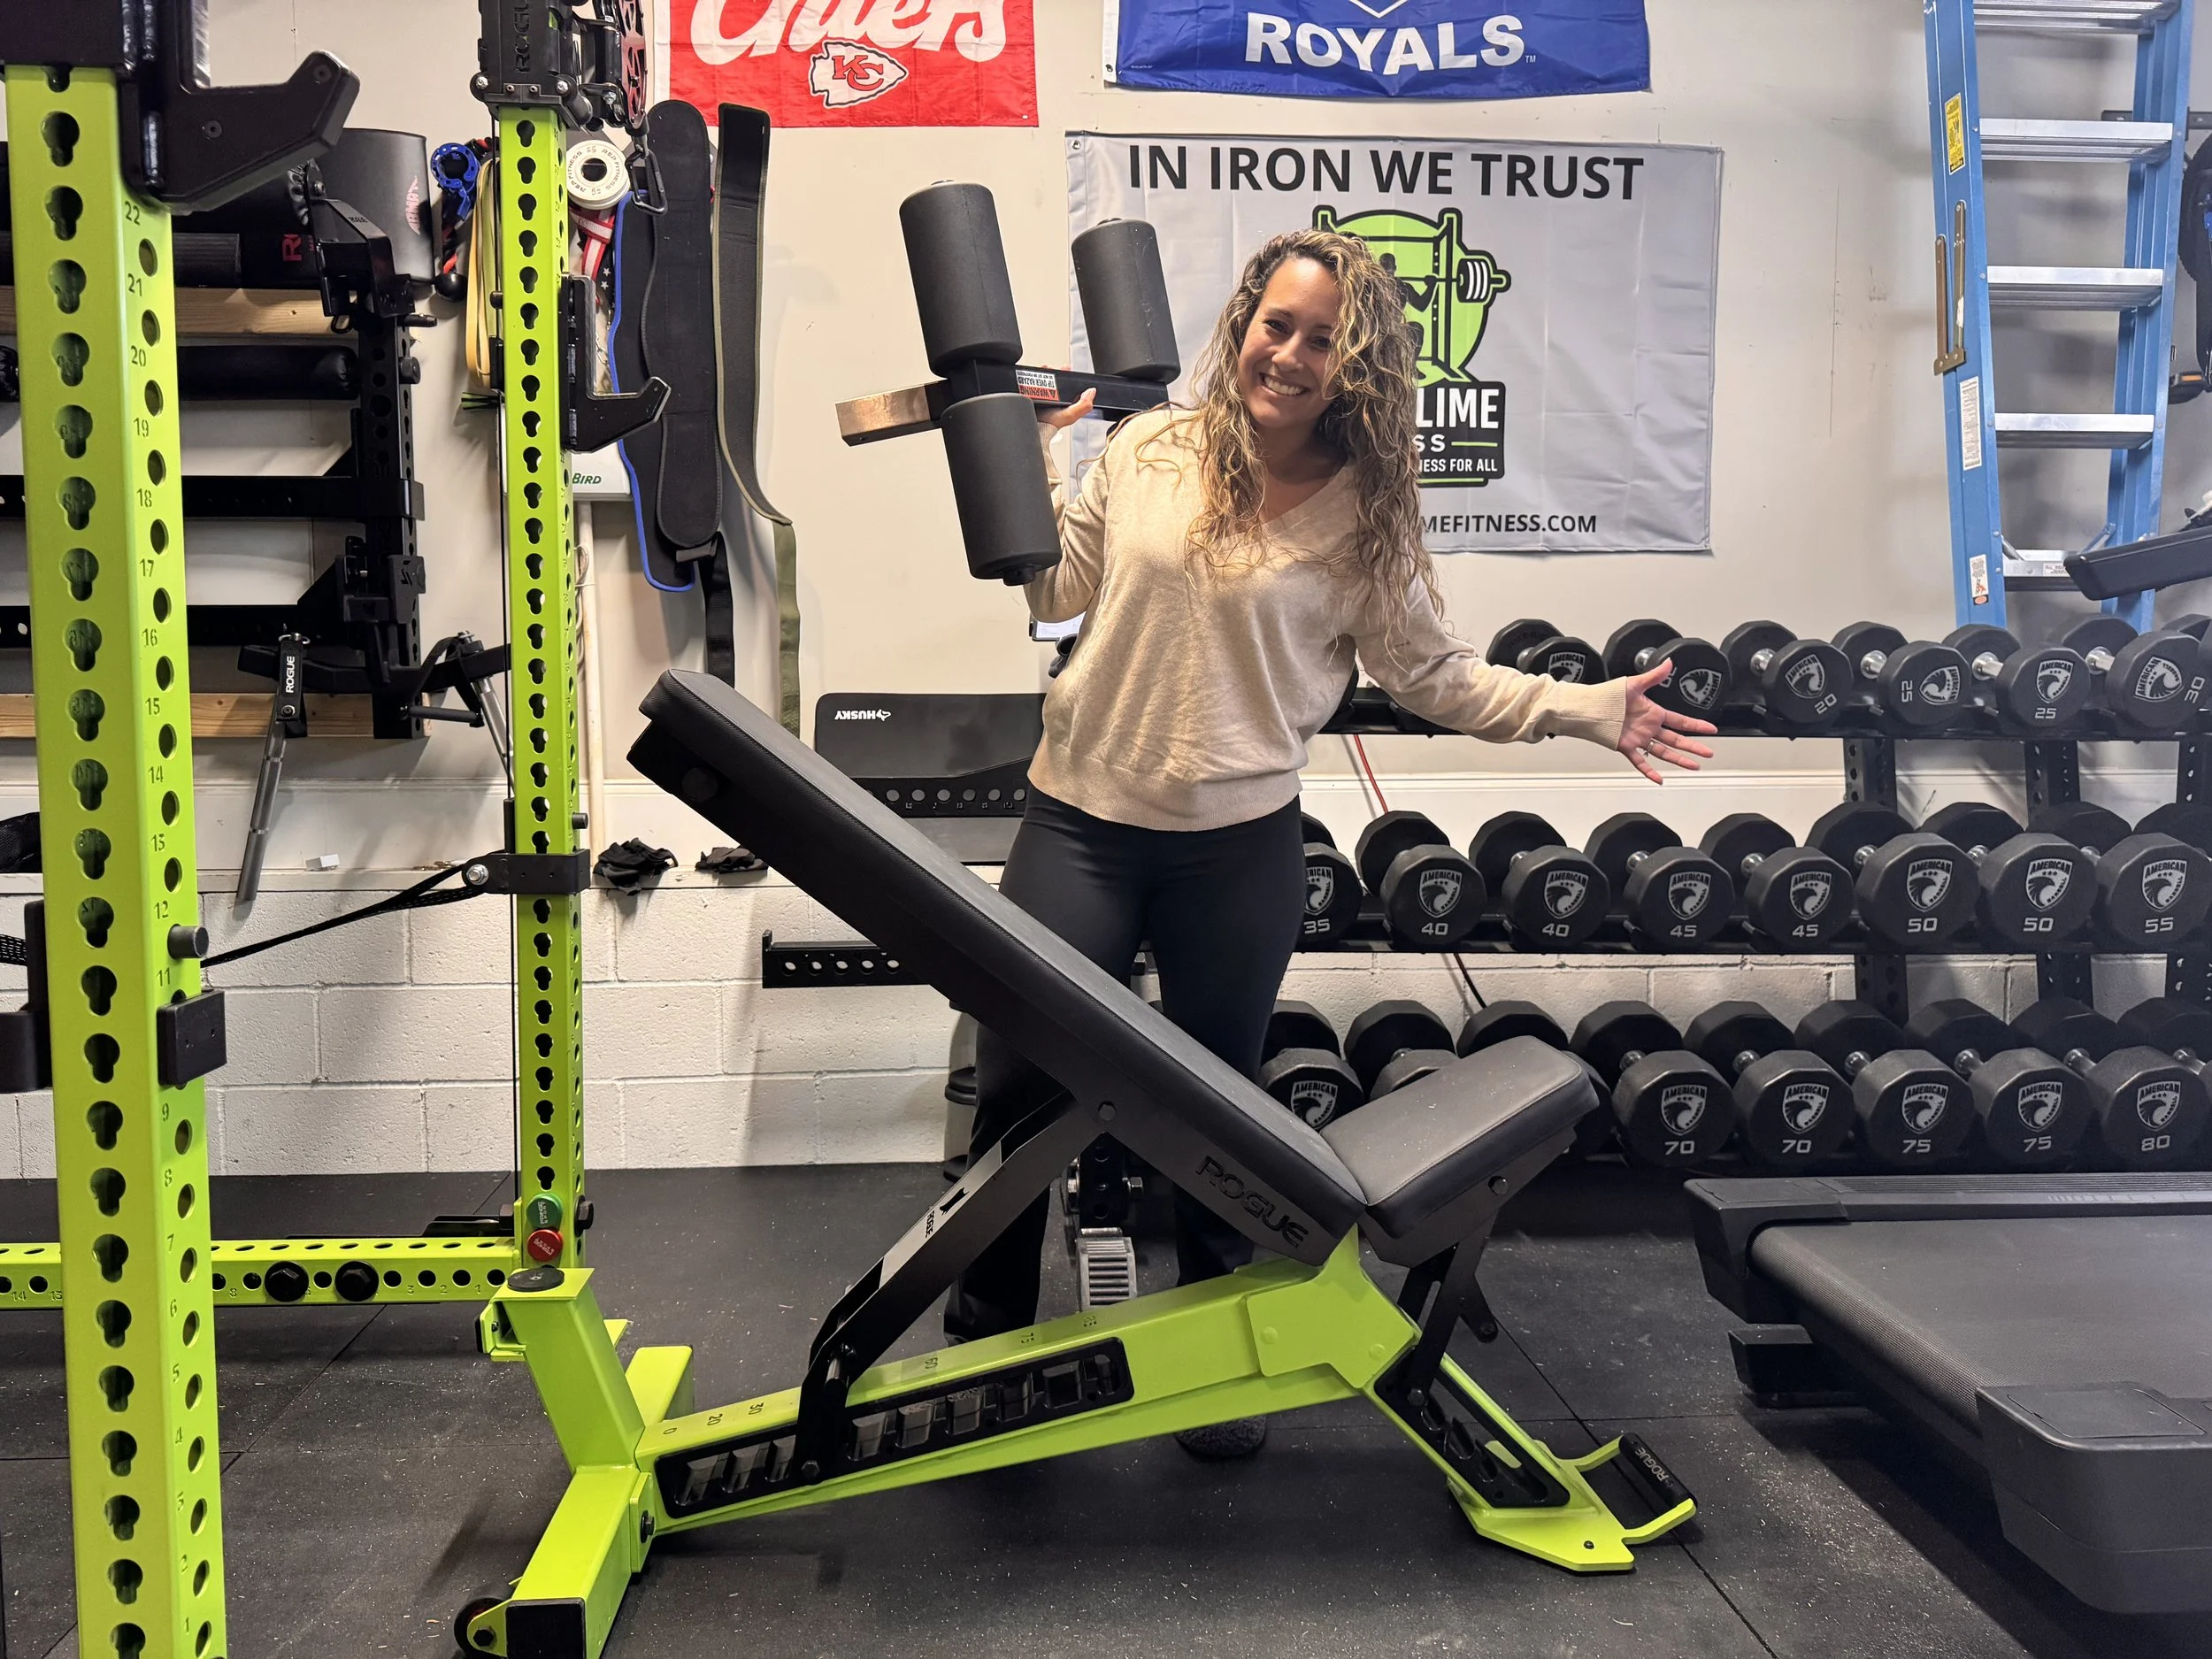
The Manta Ray can be configured for decline exercises, and Rogue offers an optional removable foot catch with foam rollers to secure the lower legs. It is not included in the standard bench package unless you select it. An important compatibility warning: Rogue specifically states that the foot catch from its AB-3 Adjustable Bench does not fit the Manta Ray. Buying a used attachment because the brand name matches is not a safe substitute for confirming the exact accessory.
Think through what you actually mean by “decline.” A modest decline press, a sit-up and a torso-supported movement can place different demands on leg support. A foot catch may make particular declined positions more repeatable, but it should not be treated as a general restraint for improvised inversions or unsupported loading. Check the manufacturer’s intended use and the bench’s installed configuration, and test access and exit before adding weight.
A practical first session uses an unloaded or light resistance setup. Set the chosen decline angle, fit the correct catch, position your legs comfortably against the rollers, and practise entering and leaving the position under control. Have assistance for pressing where appropriate. If the feet are painfully compressed, the body cannot exit easily or the bench shifts when the position changes, the setup needs adjustment before the working sets.
For somebody who never programs decline work, paying for an attachment that stays in a cupboard adds little value. For somebody whose program relies on repeatable declined pressing, the correct Manta Ray-specific catch may be a useful part of the total purchase. Evaluate it together with the bench, not as an afterthought after delivery.

Equipment Worth Exploring
Explore equipment, accessories and gear from our carefully selected range.
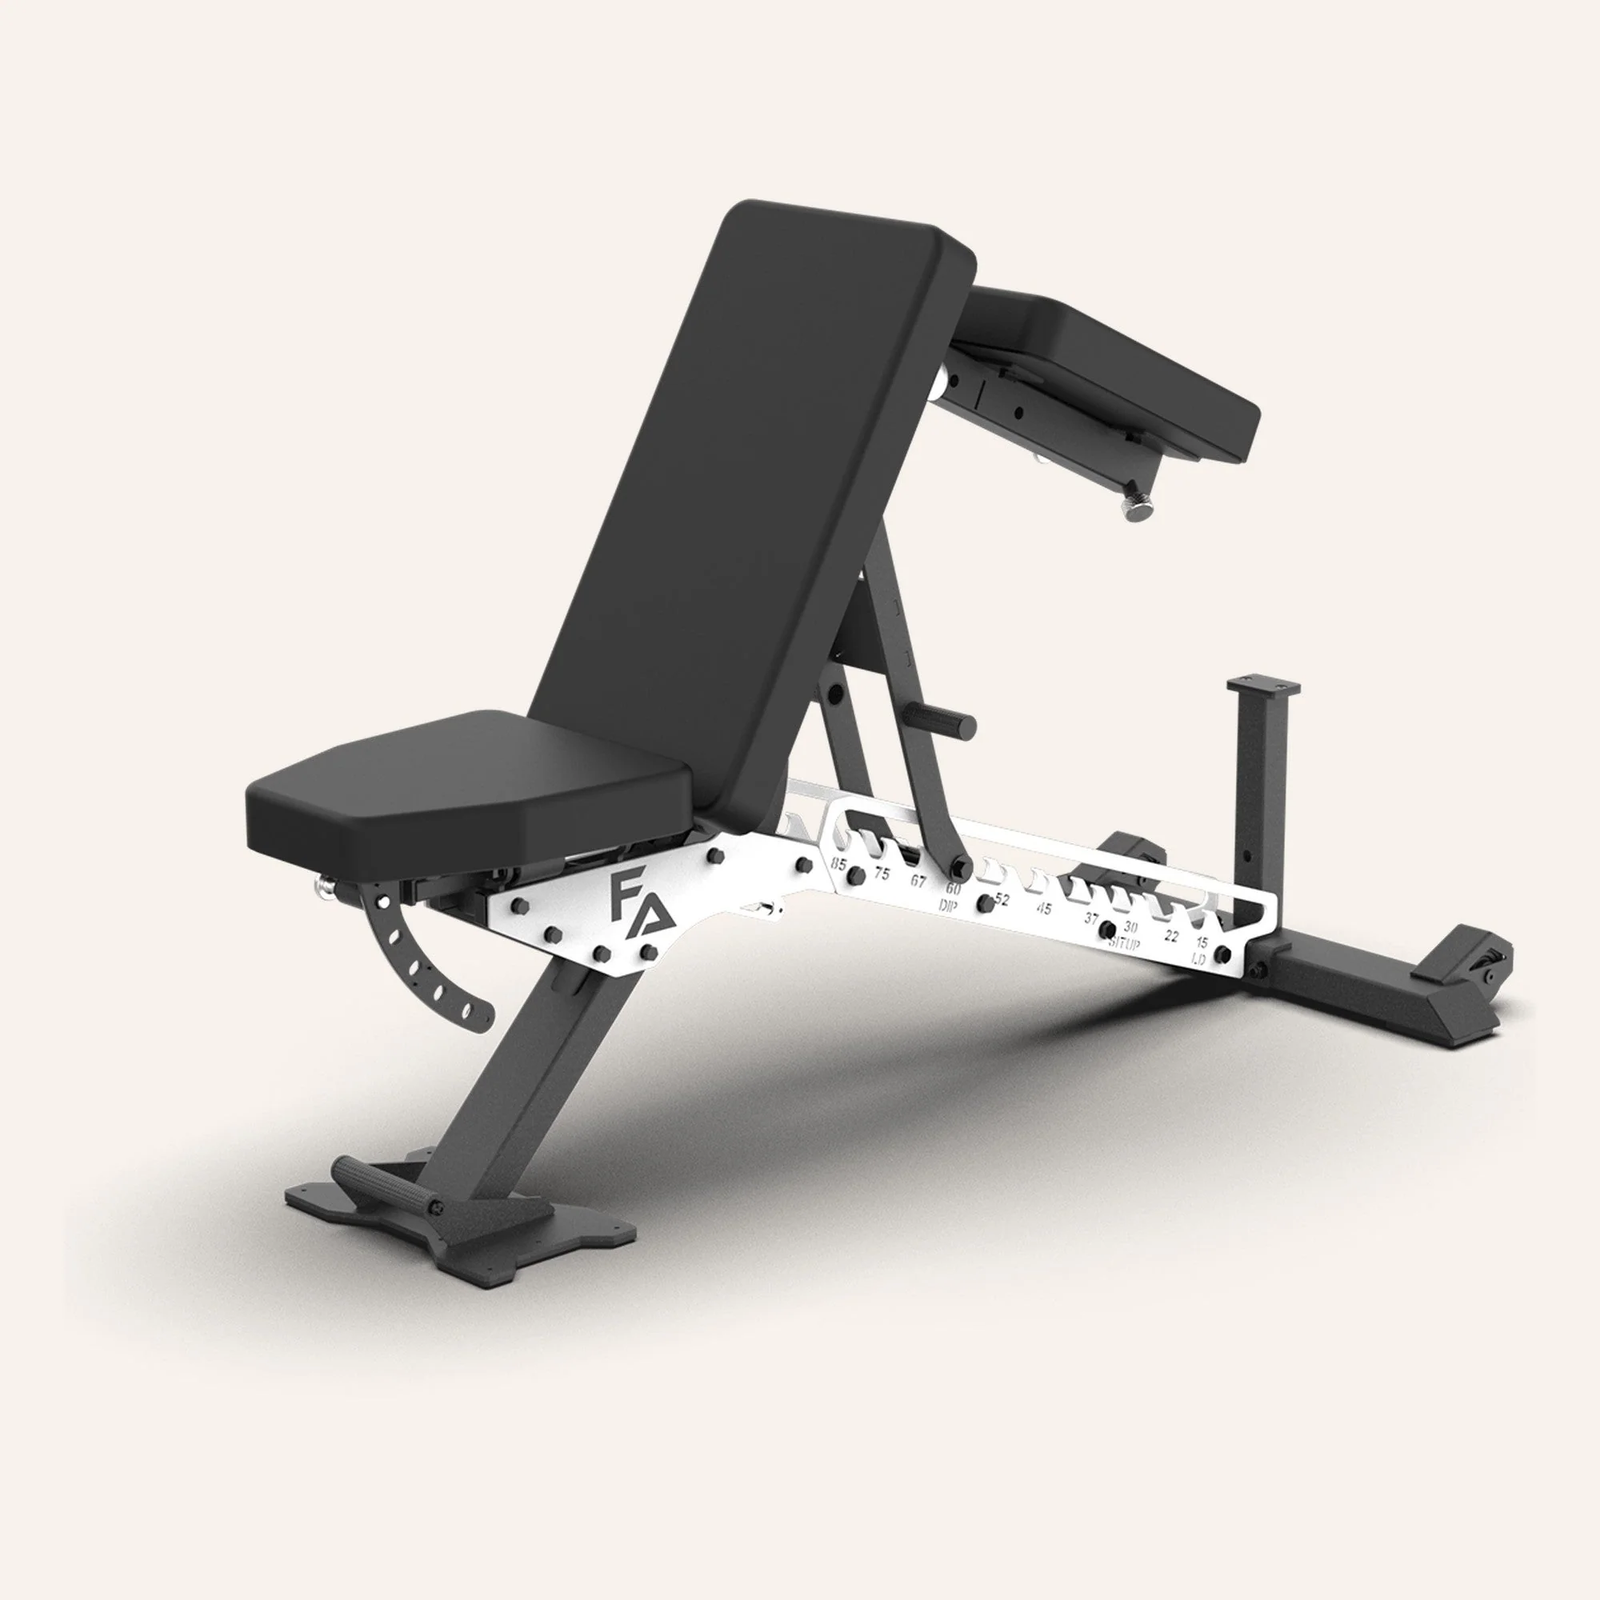

Multi Bench MBX-650 2.0
Adjustable multi-bench with roller adjustment, 15 backrest positions and accessory mounts.

FID Bench MAX
Adjustable bench offering flat, incline, and decline positions + adjustable headrest.


Rubber Hex Dumbbells
Rubber-coated hex dumbbell pairs with a stable shape for home and commercial strength training.


Foldable Wall Rack
Wall-mounted folding squat rack designed to save floor space between workouts.
Plan how you will move, store and assemble it
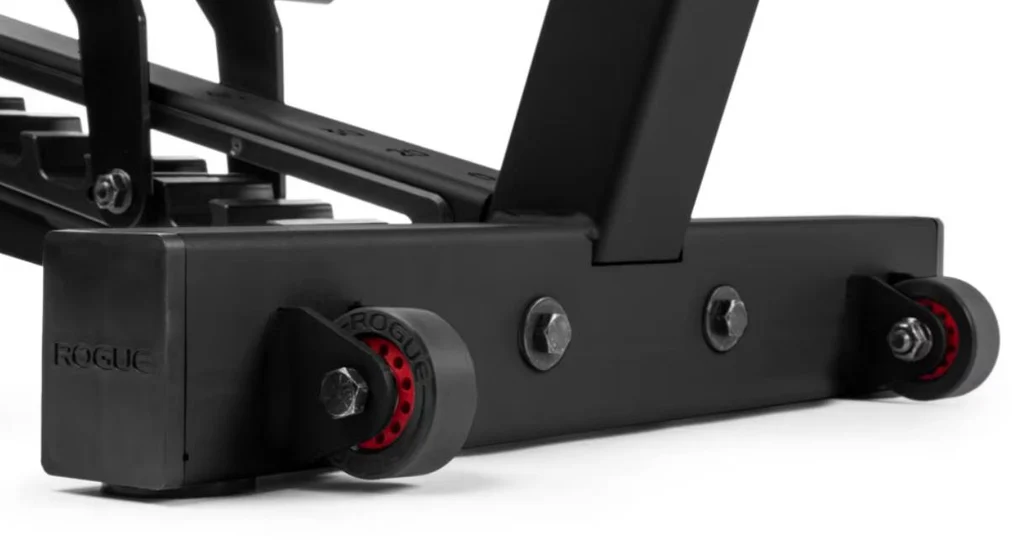
The integrated front handle and rear caster wheels provide a way to roll the 140-pound bench rather than carrying it. That solves one problem but not every movement problem. You still have to raise the non-wheeled end enough to engage the wheels, navigate floor seams and avoid striking a loaded bar or adjacent equipment. Before choosing a storage spot, trace the rolling route on the actual floor and note any thresholds, mat edges or tight corners.
Rogue builds upright storage into the Manta Ray. A protective UHMW contact piece prevents the frame and pad from resting directly against the ground in that parked position. Upright storage can free valuable floor space while the bench is not in use; confirm that the planned storage location will not be obstructed by a low shelf, a passing door or an unstable surface. Do not assume that “stores upright” means it can be leaned unsecured in any environment, especially where children or pets can access it.
The bench arrives as a bolt-together unit. Rogue lists a 3/4-inch wrench or socket and a 7/32-inch hex key as required tools that are not included. Clear the assembly area, identify each fastener before tightening, follow the supplied assembly sequence and check the movement of the seat and back ladder before putting a person or load on the bench. Avoid guessing torque values or substituting hardware because a bolt appears similar.
Finally, account for overall weight if the equipment must travel up stairs, pass narrow doorways or be moved routinely across rooms. A transport handle is useful on level ground, but the heavy steel frame remains a genuine tradeoff against lighter adjustable benches.
Build a repeatable bench-based session and buying checklist
A bench with 50 combinations creates possibilities, not a program by itself. A simple upper-body session might begin with three sets of flat dumbbell presses, continue with three sets of moderate-incline presses and finish with three sets of chest-supported rows. Each set can fall in a controlled six-to-twelve-repetition range if appropriate to the lifter’s ability and goal. Leave manageable repetitions in reserve, use stable foot placement and consider a spotter where the load or exercise requires one. That is an illustrative structure rather than a universal prescription.
Keep the exercise log focused on what changes: the back angle, seat angle, implement, load, repetitions and any setup issue. For example, if the 45-degree press feels different after you change the seat from 0 to 20 degrees, hold the remaining variables steady next time before deciding which arrangement works better. For rows, note the difference between chest-supported dumbbells and a rack-based barbell arrangement; the bench angle is only one component of the overall exercise setup.
Compare benches on the features that affect your workouts: suitable back and seat range, support under the upper back, overall length and pad height, attachment compatibility, rolling route and storage stability. The Manta Ray offers a broad set of angles, a wide pad, internal adjustment ladder, a large steel frame and an optional model-specific foot catch. It also requires assembly, weighs 140 pounds and takes up a real 57-by-24.75-inch base footprint.
Before checkout, measure your rack and room, identify the three angles you will use most, determine whether decline work justifies the optional catch, and confirm the current pad/handle package in the listing. Only after those checks should color and finish decide the order. A bench that makes your normal sessions comfortable, safe and repeatable is a more valuable choice than a feature count you rarely use.

Powerlifting Shirts & Lifting Gear
Powerlifting shirts and gym gear for squat, bench and deadlift lifters who live for heavy numbers.


Chest Day Sweater Bench Press & Meme T-Shirt
Add a playful “Chest Day” touch to your casual rotation.


Bending Bars Meme – Barbell Squat Bench Deadlift, & T-Shirt
Heavy lifts, good laughs, and a little “Bending Bars Gym Meme” energy.

Shirt: Good Argument But I Bench More Than You – T-Shirt
Make gym days more fun with “: Good Argument But I Bench More Than You” style.

Four Plates Bench Club Tee
Show some powerlifting attitude with a playful “4 Plates Bench Club” tee.

Chest Day Decal Water Bottles & Equipment Meme Sticker
Bring “Chest Day” attitude to your water bottle or laptop.