Advertising disclosure: This page includes affiliate product links that may earn us a commission, as well as products from our own store.
Ring face pulls are a compact way to train a high-elbow pull without a cable stack, but they are also easy to turn into a sloppy bodyweight row. Two suspended handles, the position of your feet relative to the anchor, and the direction of the elbows determine what the repetition actually is. With the right setup, you can train the upper back and rear shoulders in a repeatable way at home. With a poor setup, the feet slide, the hips swing, and the hands finish nowhere near the face.
Secure the rings and establish a repeatable starting angle
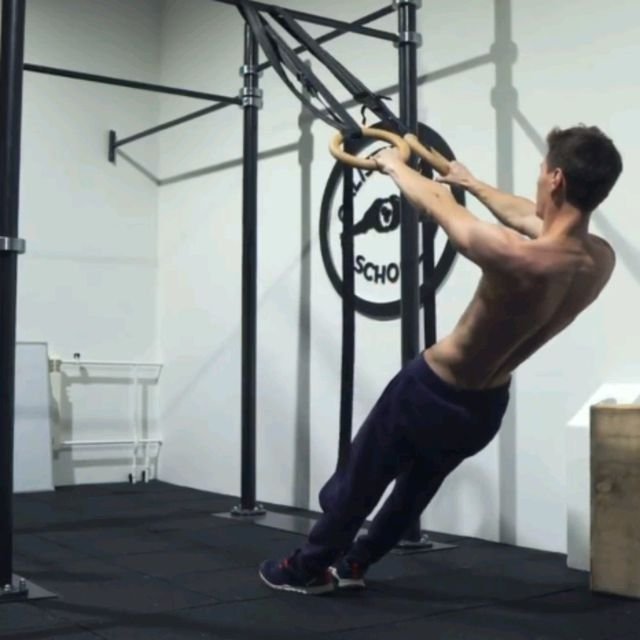
Start with a rated, stable overhead anchor and two suspension straps adjusted to the same length. Gymnastic rings can hang from a suitable rack crossmember or dedicated anchor only when that structure is intended for bodyweight suspension and there is clear space around it. Do not attach rings to loose door hardware, unstable pull-up bars, or a beam whose strength you have not checked. Look for worn webbing, damaged buckles, knots that can loosen and cracks in the rings. Check the system before applying tension, not after a hard set has already started.
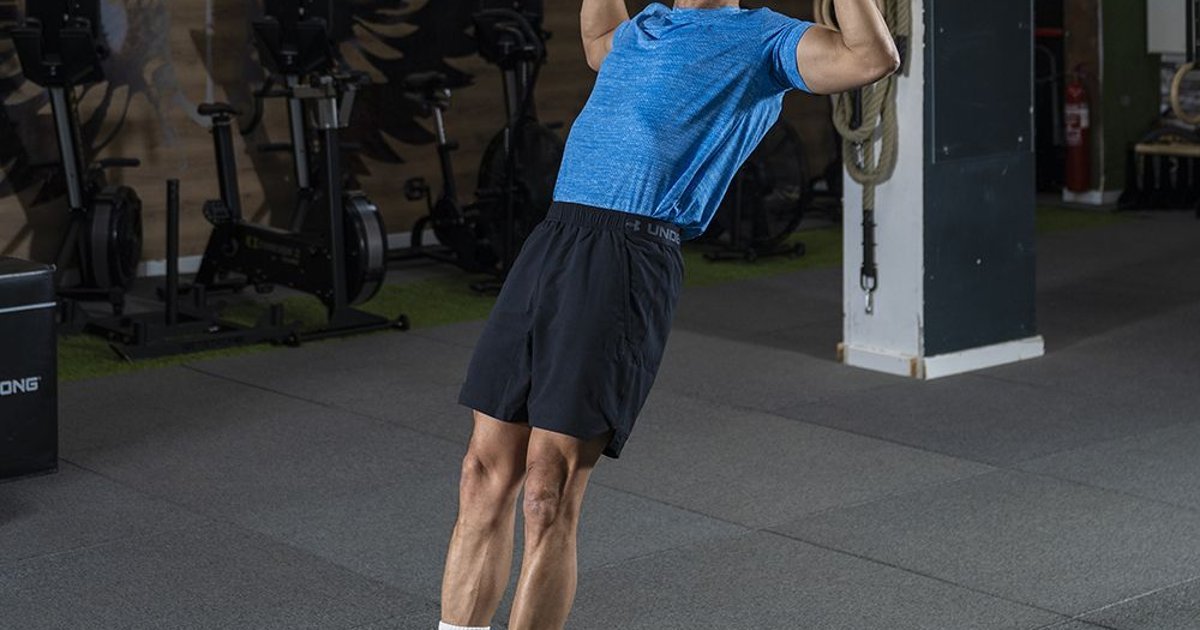
Stand facing the anchor with your feet about hip width apart and take a ring in each hand. Walk backward until the straps have tension, then lean away with the body aligned from head to heel. Begin at a fairly upright angle: the more horizontal the body becomes, the harder the pull generally feels. If the trunk sags or you cannot finish the intended path, stand taller. The rings should be far enough apart that your hands can approach the sides of the face without bumping one another, and the floor needs enough grip to hold your shoes steady.
Set your strap length so the pull travels toward your eyes or temples rather than downward toward your stomach. A very low anchor can change the movement into something else, while an excessively high attachment may make it difficult to reach a comfortable angle. Before working hard, do three deliberate trial repetitions to see whether the rings, elbows, head, and rack uprights have sufficient clearance. A small change in foot position or anchor height can make a large difference to the effective load; treating the setup casually makes progress difficult to assess.
Different lifters may require different straps or foot placements even at the same rack. Mark the foot position on the floor or record its distance from a fixed rack upright and note the approximate lean. This is not a laboratory measurement of force, but it is more informative than adding repetitions while unconsciously standing farther upright every week. The best starting angle is one that allows complete, controlled face-height pulls and leaves a couple of good repetitions in reserve. The setup should support the target movement, not turn every set into a test of balance.

Equipment Worth Exploring
Explore equipment, accessories and gear from our carefully selected range.


Power Tower
Freestanding pull-up and dip station with adjustable handles for bodyweight training.

Foldable Wall Rack
Wall-mounted folding squat rack designed to save floor space between workouts.
Premium Carabiner
Durable carabiner for connecting cable attachments and training accessories.

Angles 90 Grips
Flexible grip attachments that allow natural wrist movement during pulling exercises.
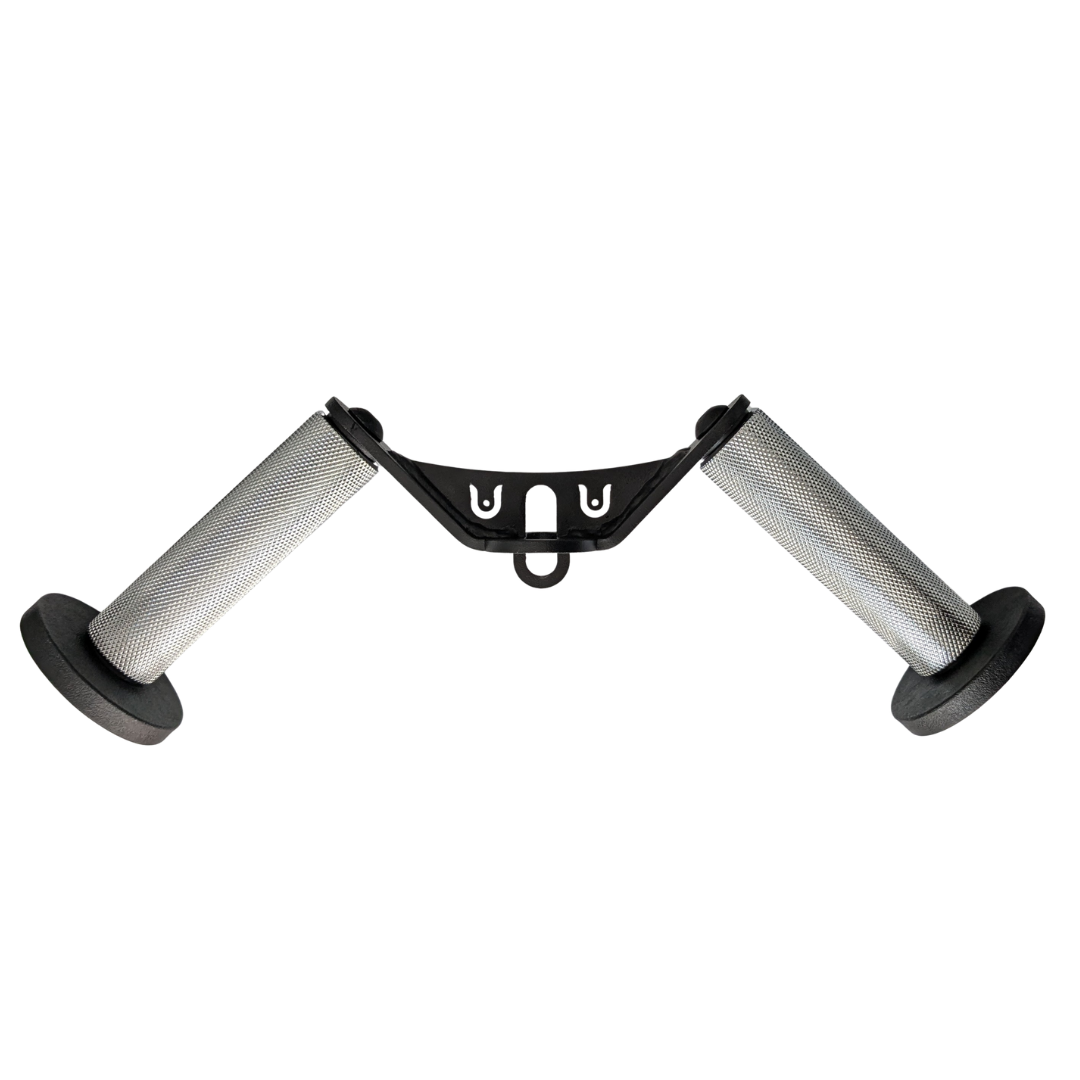
W Grip
Angled cable grip for comfortable rows, pushdowns, and curls.
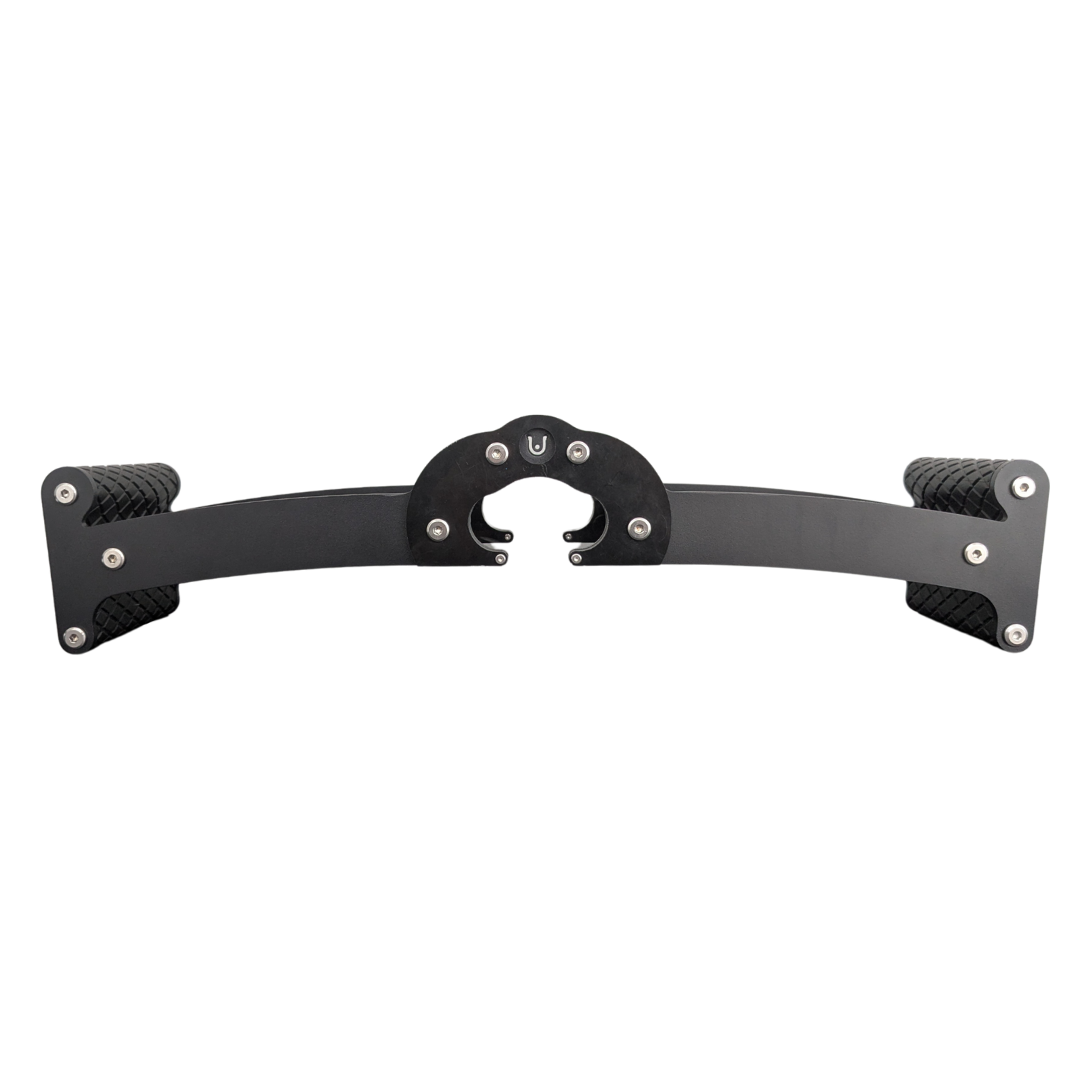
Back Bar
Multi-grip cable and landmine bar with a built-in deadlift jack.

GymPin Ergo Handles
Pair of ergonomic cable handles shaped for comfortable triceps and pulling exercises.

Pull toward your face rather than rowing to the ribs
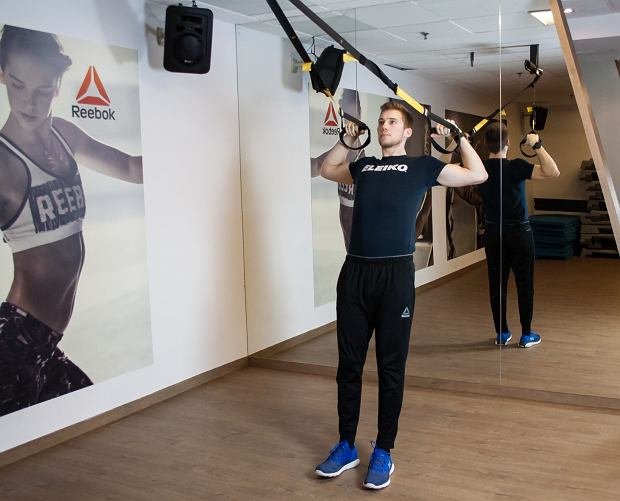
The clearest difference between a ring face pull and a suspended row is where the hands finish. In a conventional bodyweight row the elbows may run closer to the ribs and the rings usually approach the torso. In a face pull the elbows move outward as the hands travel toward the eyes or the side of the forehead. Keep the movement controlled instead of trying to lift the body as high as possible. The intended high pull can be challenging at moderate leverage, so it does not require an extreme lean to be productive.
Begin with the arms comfortably extended and a straight body. Bend both elbows, pull the rings toward the temples, and allow the shoulder blades to retract naturally. The rib cage should remain stacked over the pelvis, without the low back arching dramatically or the hips folding backward. At the finish, stop where the shoulders can move freely, rather than forcing the elbows behind the body. Elbow height near shoulder level is a useful cue but not a fixed angle that every person’s anatomy must match.
Pause briefly with the hands near the head and return over roughly two seconds, keeping the straps under tension. Let the elbows extend without dropping the hips or jerking the head forward. A helpful cue is to bring the rings toward your face rather than pushing your face toward the rings. The latter shortens the apparent distance but adds neck movement rather than the intended shoulder action. If the rings slam together or the straps abruptly lose tension, ease the angle and control the return before increasing difficulty.
Rings are free to rotate, so the hands can move from a neutral grip toward a comfortable orientation during the pull. That freedom can feel natural, but it also permits wrists to bend into awkward positions if you are careless. Keep each wrist broadly aligned with its forearm. If the front or back of the shoulder pinches, try standing a little taller, reducing the finishing range or using another pulling movement. There is no reason to fight through sharp pain just to match an aggressive demonstration.

Calisthenics Shirts & Street Workout Gear
Calisthenics and bodyweight-training gear for pull-ups, dips, handstands and street-workout athletes.


Pull Up or Shut Up Hooded Pullover for Calisthenics Pul Hoodie
Keep it laid-back with a little “Pull Up or Shut Up” attitude.

Always Pull Yourself Up Funny Gym T
Heavy lifts, good laughs, and a little “Always Pull Yourself Up” energy.

Calisthenics Heartbeat Tank
Add some lifting attitude to training with “Calisthenics Heartbeat”.

Calisthenics Evolution Sweatshirt
Keep things casual with a little “Calisthenics Evolution” attitude.


Calisthenics Hanging Out Hoodie
Make your off-duty look more fun with “Calisthenics Hanging Out”.


Calisthenics Heartbeat Crewneck Pullover Sweater for Hu T-Shirt
Add a playful “Calisthenics Heartbeat” touch to your casual rotation.

Spider Hero Pullups Hooded Pullover Gymbros Workout Fan Hoodie
Stay casual and show some superhero attitude with “Gym Spider Hero Pullups”.
Know what rear-deltoid and upper-back work can and cannot do
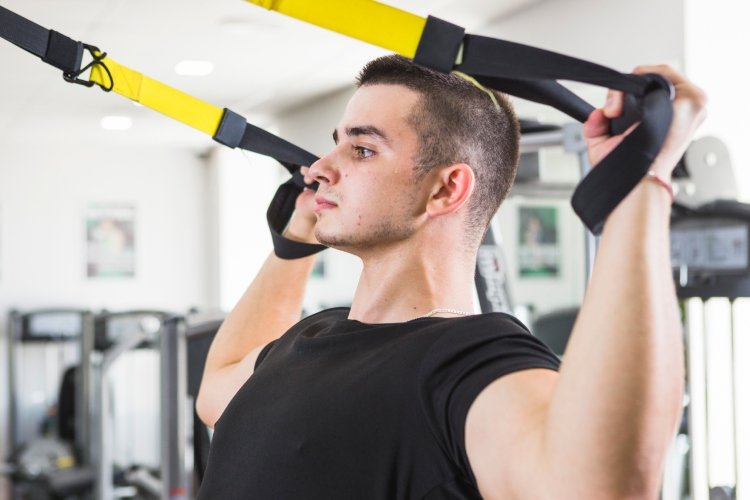
Face pulls recruit several muscles involved in moving the upper arm and controlling the shoulder girdle. The rear deltoids, mid-back muscles and shoulder external rotators may all contribute, while the elbow flexors help bend the arms. Which region you feel most strongly changes with body angle, grip and how the elbows move. This is not a strict isolation exercise, and a mild feeling in the biceps does not mean that the rear shoulders have stopped working. The aim is a technically consistent high pull, not the sensation of a single muscle.
An exaggerated claim sometimes made about face pulls is that they automatically correct poor posture or prevent rotator-cuff injuries. Strength work can improve the capacity of the tissues and the control of a movement, but no one accessory exercise guarantees that result. Shoulder discomfort has many possible causes, and posture varies with body shape, habit and context. The ring version has not been shown to be superior to all cable or band alternatives in long-term clinical trials. Avoid interpreting a temporary muscle pump as proof of a rehabilitation effect.
The shoulder blades should be allowed to move as you pull, but squeezing them together as hard as possible is not always useful. If that creates a strained neck, an exaggerated chest lift or a jerky finish, reduce the range to a comfortable one. Keep the forehead neutral, the pelvis stable and the rings moving together. It is better to finish with moderately high elbows and a smooth path than to throw yourself toward the handles to make an impressive-looking photograph.
Treat ring face pulls as an accessory inside the wider back and shoulder program. If you already perform horizontal rows, vertical pulls and rear-delt work in substantial quantities, a few moderate sets may be sufficient. Consider replacing some overlapping work instead of stacking new sets without examining recovery. Your shoulders should tolerate the exercise across repeated sessions. Persistent pain, catching, weakness or recurrent instability is a reason for appropriate individual assessment rather than increasing the lean and hoping the movement fixes itself.
Compare gymnastic rings with straps, bands and cable face pulls

Wooden or polymer gymnastic rings rotate independently, and their hanging straps make it easy to change resistance by shifting your feet. Suspension trainers with molded handles permit a similar high pulling path, although their grip feels different and some designs link the straps. Both require a secure anchor and enough floor friction. The freedom to move does not automatically create more muscle growth; it simply changes how you stabilize the hands and body during the repetition.
A rope face pull from a cable stack, functional trainer or digital cable unit offers more explicit resistance adjustments. It may be easier to increase load in small steps and can reduce the need for the trunk and feet to support bodyweight. At the same time, rings take less storage space and can turn a bare rack into a useful shoulder station. A cable face pull is not an identical mechanical problem to a bodyweight ring pull, so comparing kilograms with body angle is not meaningful. Compare the quality of the movement and how reliably you can progress it.
To compare variations fairly, use the same target: elbows travel out, hands approach face level, and the torso does not swing wildly. If you change the ring angle from nearly vertical to a steep lean, you have raised the challenge even if no plate was added. If a cable weight causes you to thrust backward, you have changed the movement there as well. In either case an exercise feels difficult for reasons other than the intended upper-back muscles, which makes it a poor basis for judging progress.
Some ring demonstrations use an underhand grip or a small turn of the wrists. These can be reasonable options when comfortable, but they should not be mistaken for entirely new muscle-building discoveries. Maintain the high-pull destination and choose the grip that preserves a smooth forearm path. If ring suspension is impractical because the anchor is too low, the floor is slippery or the athlete cannot safely lean, a light resistance-band pull or seated cable face pull may be the better tool. Consistent training matters more than equipment ideology.
Equipment Worth Exploring
Explore equipment, accessories and gear from our carefully selected range.
VOLTRA
Compact digital cable trainer with smooth, adjustable resistance.

Go-Tone Pro
Portable digital cable trainer with up to 66 lb (30 kg) of adjustable resistance.

VForce Wall Trainer
Space-saving wall-mounted functional trainer with pivoting cable arms and variable resistance ratios.

VForce Lat Tower
Wall-mounted cable tower with pivot arms and adjustable 1:1 or 2:1 pulley ratios.
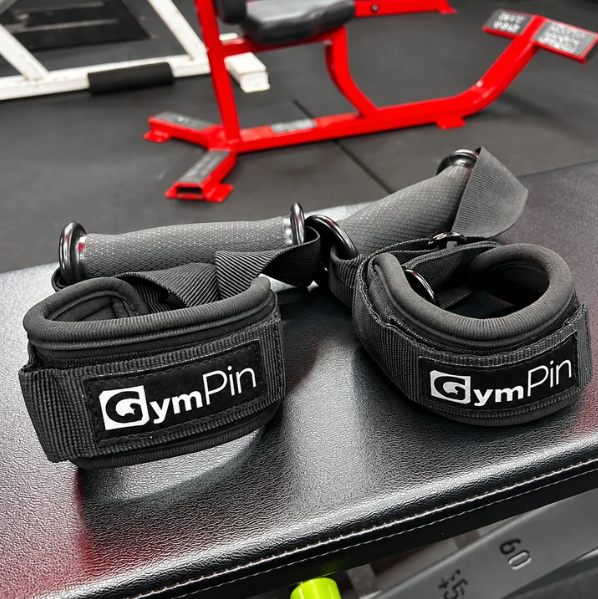
GymPin D Cuffs
Adjustable wrist cuffs with textured grips for supported cable-machine exercises.
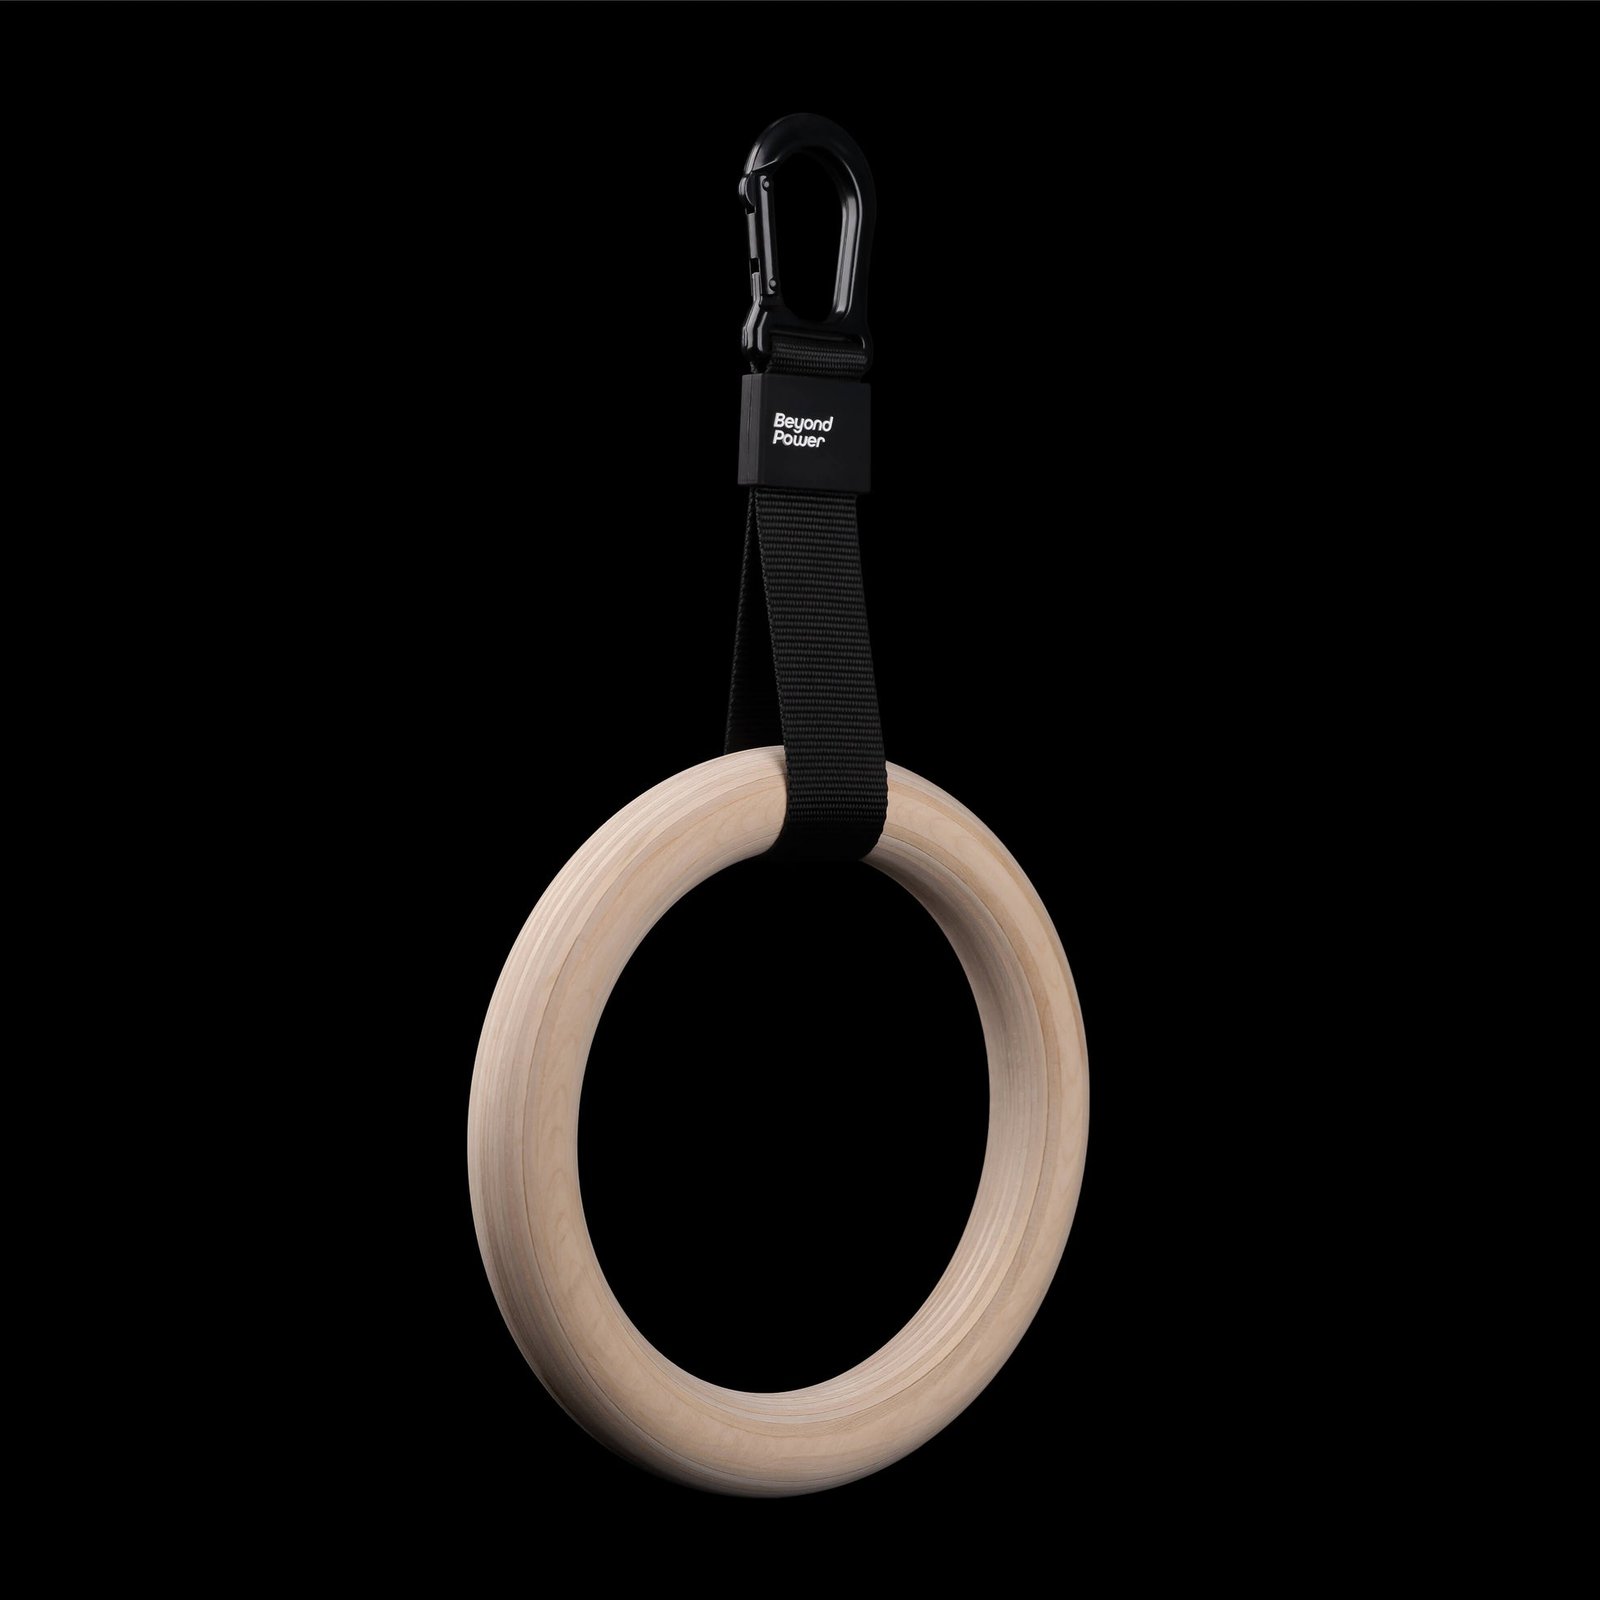

Multi-Length Tricep Strap
Adjustable-length cable strap for triceps, biceps and upper-body cable exercises.

Long Tricep ERGO Ropes
Extended triceps ropes with ergonomic grips for cable pressdowns and overhead extensions.

Multi Pull Smith Rack MPHR-780
All-in-one rack with a Smith machine, functional trainer, lat pulldown and low row.

Trinity Lat Machine LSW-850
Weight-stack pulldown tower offering three cable directions and adjustable seated support.
Progress for four weeks without losing the high-elbow finish
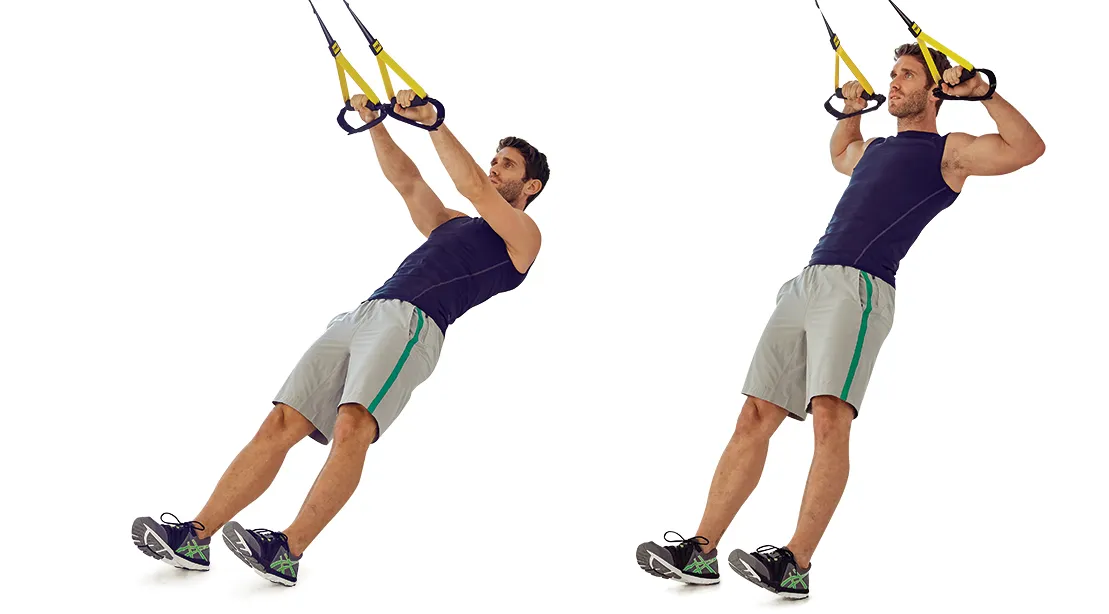
During week one, train the ring face pull once or twice alongside the usual upper-body sessions. Begin with two sets of ten to twelve controlled repetitions from a relatively upright body angle. Leave about two or three sound repetitions in reserve rather than continuing until the shoulders shrug and the face reaches forward to meet the rings. Make a note of strap length and foot location. A clean pause with the hands by the temples and a deliberate return is a more useful early benchmark than a maximal count.
In week two, try to reach twelve to fifteen clean repetitions at the same body position. If the elbows start pointing downward or the hands drift toward the sternum, you have slipped toward a suspended row. That is a valid exercise in its own right, but not the one you are trying to measure. Repeat the load or step forward slightly to restore the intended path, rather than counting every altered repetition as progress. Keep other shoulder work at a manageable level while learning the technique.
For week three, move the feet a small amount toward the anchor to increase the lean after the previous angle is comfortable. Test the full range with a few easy attempts before committing to working sets. Because body height, strap length and anchor placement all influence resistance, there is no universal step size that raises the load by a specific percentage. Choose the smallest adjustment that leaves the hips in line, the neck quiet and the hands capable of reaching the sides of the face without a jerk.
In week four, continue two or three working sets in an eight-to-fifteen-repetition range. You can aim to add reps, make a small angle change or achieve a cleaner pause, but not necessarily all at once. If rows, pull-ups and overhead work have already left the shoulders fatigued, repeat the earlier setting rather than treating week four as a compulsory test. A stable, repeatable pattern allows you to judge progress; soreness or a theatrical backward lean does not.
After four weeks, assess whether the station belongs in the program. Does the anchor remain convenient? Can you reproduce the starting position? Do the rings permit a comfortable shoulder path? Does the movement add useful rear-shoulder work without duplicating too many other sets? Keep it if the answers are broadly yes. If the straps take longer to arrange than the workout or the floor keeps slipping, use a more predictable cable, band or supported alternative. The effective exercise is the one you can keep training well.
Bodybuilding Shirts & Workout Gear
Bodybuilding shirts, tanks and gym gear for lifters chasing muscle, size, symmetry and the pump.


Back Panther – Big Back & Gymbros – Meme Shirt T-Shirt
Show some superhero attitude with a playful “Back Panther” tee.


Lat Spread Mickey Mouse Decal Meme Water Bottles Sticker
A fun “Lat Spread” touch for bottles, laptops, and lockers.

Strong Back Bodybuilder Gym | Funny Workout Decal | The Sticker
Stick a little “Strong Back Bodybuilder” humor on your favorite gear.

Big Back SpongeBob Bodybuilders Back Day Hooded Hoodie
Make your off-duty look more fun with “Big Back”.


We Are So Back Shirt | Bodybuilding Back Workout | Grap T-Shirt
Heavy lifts, good laughs, and a little “We Are So Back” energy.

Black Panther Big Back Hero – & Meme Fans T-Shirt
Make gym days more fun with “Black Panther Big Back Gym Hero” style.