Advertising disclosure: This page includes affiliate product links that may earn us a commission, as well as products from our own store.
The paused bench press trades a fast chest rebound for a motionless bar, a consistent touch point and a more honest test of pressing control. Learn how to set it up, apply meet commands where relevant, fix technique mistakes and progress over six weeks.
What a Paused Bench Press Actually Changes
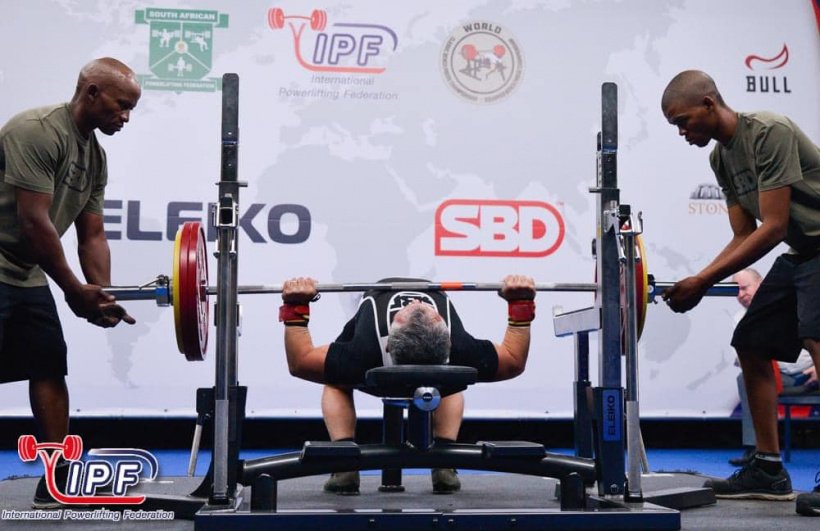
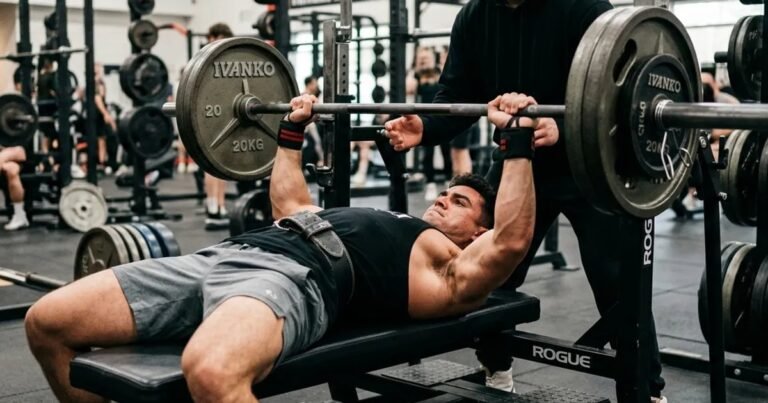
A paused bench press starts like a normal barbell bench press, but the bar must become still against the chest before you drive it upward. That small change removes the option to rebound quickly out of the bottom and makes technique easier to judge. It does not remove the chest, shoulders or triceps from the lift; those remain the main pressing muscles, supported by the upper back and lower body creating a stable base. The distinctive challenge is maintaining position and producing force after the bar has stopped.
Many lifters discover that a comfortable touch-and-go working weight becomes harder as soon as every repetition includes a controlled stop. That is useful feedback, not proof that their ordinary benching was wrong. A tap-and-go rep, a deliberate one-second pause and a meet-style referee-command pause are different tasks. Label them separately in your log instead of treating the resulting personal records as interchangeable.
Pauses are particularly useful when you want more consistent chest contact, a controlled competition lift or practice maintaining tension near the bottom. They can also add technique-focused work without increasing load. Do not assume they are inherently better than conventional bench presses for hypertrophy or that a particular pause duration automatically fixes shoulder pain. Total quality training, load, recovery and individual tolerance still matter.
Build the Setup Before You Unrack
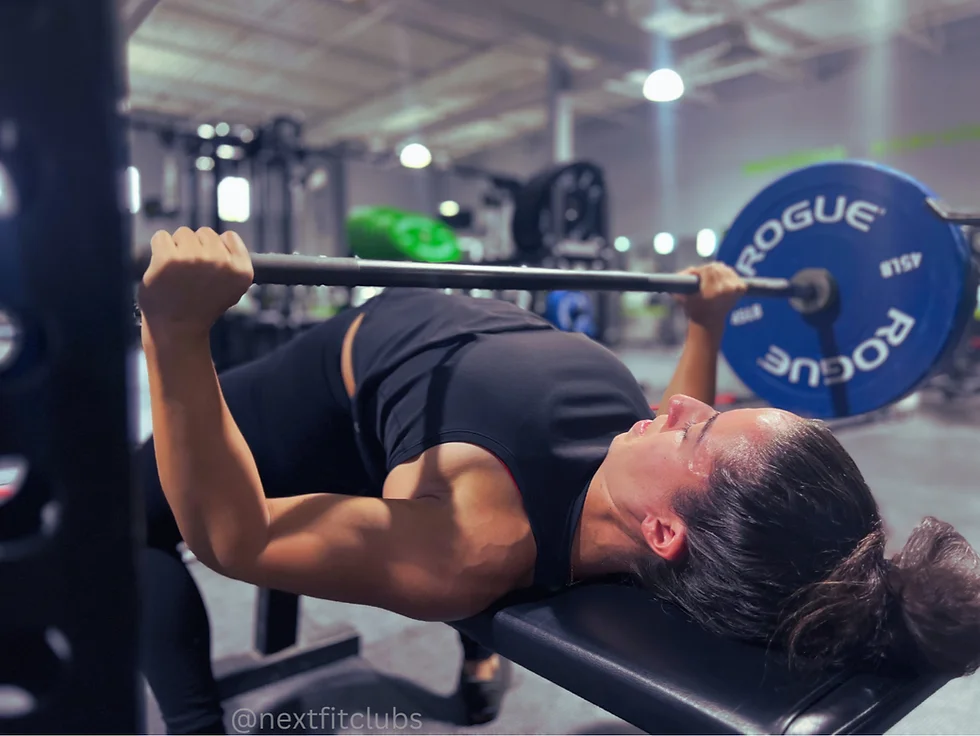
Set the bench beneath a stable rack with the hooks high enough to release the bar without a giant shoulder shrug but low enough that you can lift it clear without losing your upper-back position. Lie down with eyes approximately beneath the bar. Pull your shoulder blades toward one another and keep the upper back firm against the pad. A comfortable upper-back arch can establish consistent contact and pressing mechanics; do not force an extreme position just because it appears in competition footage.
Place your feet where you can drive into the floor without your buttocks sliding or lifting. A wider or tucked foot position may work depending on limb lengths, bench height and sport rules. For federation-specific practice, match the current rules rather than assuming every organization permits the same foot or head position. Grip the bar evenly, wrap your thumbs around it and use a competent spotter for challenging handoffs. Take a breath, brace and establish locked arms before descending.
A repeatable unrack matters more than theatrics. If a rough handoff drags the shoulders forward, the rest of the rep becomes harder to reproduce. Adjust bench placement, hook height or spotter positioning before adding weight. Film a few warm-up reps from the side: look for a steady torso, consistent feet and a bar that starts over the same position each time. Setup issues are easier to fix with a light bar than during a heavy set.

Equipment Worth Exploring
Explore equipment, accessories and gear from our carefully selected range.


FID Bench MAX
Adjustable bench offering flat, incline, and decline positions + adjustable headrest.


Competition Plates
Competition-style bumper plates for Olympic lifts and loaded strength training.

Foldable Wall Rack
Wall-mounted folding squat rack designed to save floor space between workouts.
Grip, Descent, Touch Point and a Real Pause
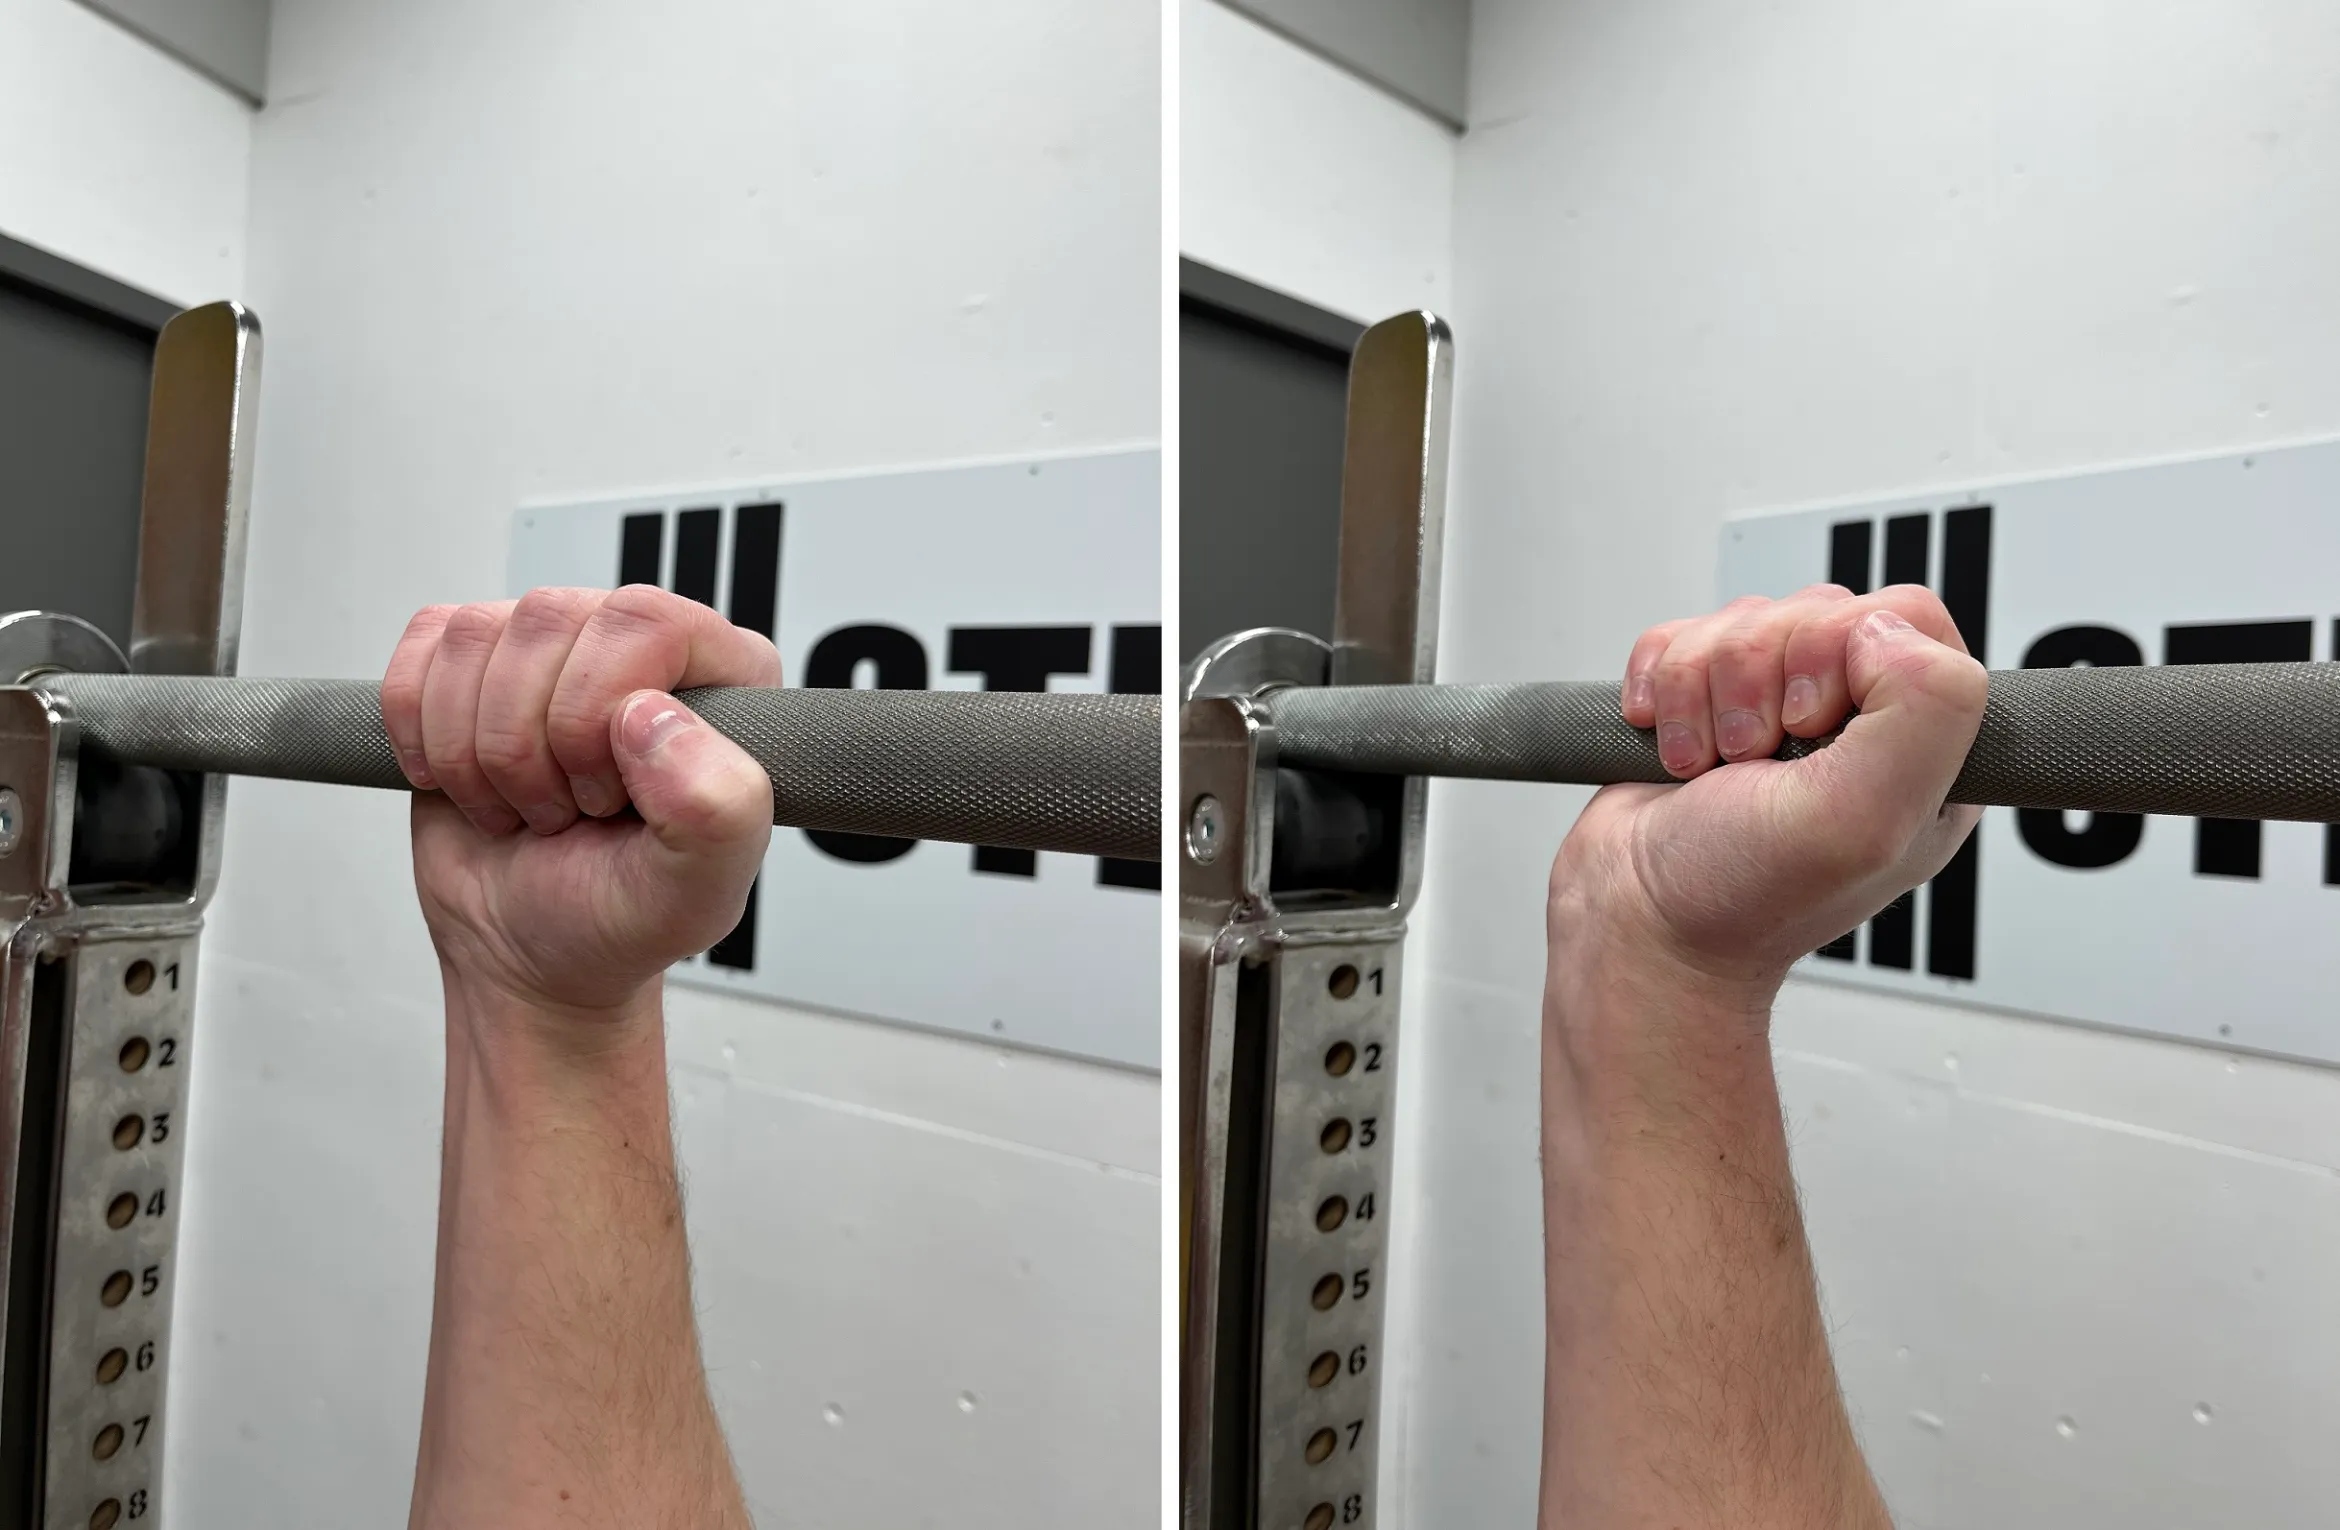
Choose a grip width that keeps the wrists reasonably stacked over the forearms and lets you lower the bar without sharp shoulder discomfort. Hands dramatically wider or narrower change joint angles and muscle demands; there is no universal perfect grip. Squeeze the bar, use a fully closed grip and keep it settled low in the palm rather than rolling it toward the fingers. Guide the descent so elbows move under control, the bar reaches a consistent lower-chest region and the shoulders stay braced.
When the bar reaches your chest, stop its movement without deliberately dropping it into the body. A pause is not the same as exhaling, relaxing the upper back, rolling the wrists or letting the plates bounce. Hold your position for a manageable interval, then push the bar upward and slightly back toward the rack while keeping the forearms beneath it. Press to full elbow extension with stable contact between your torso and bench.
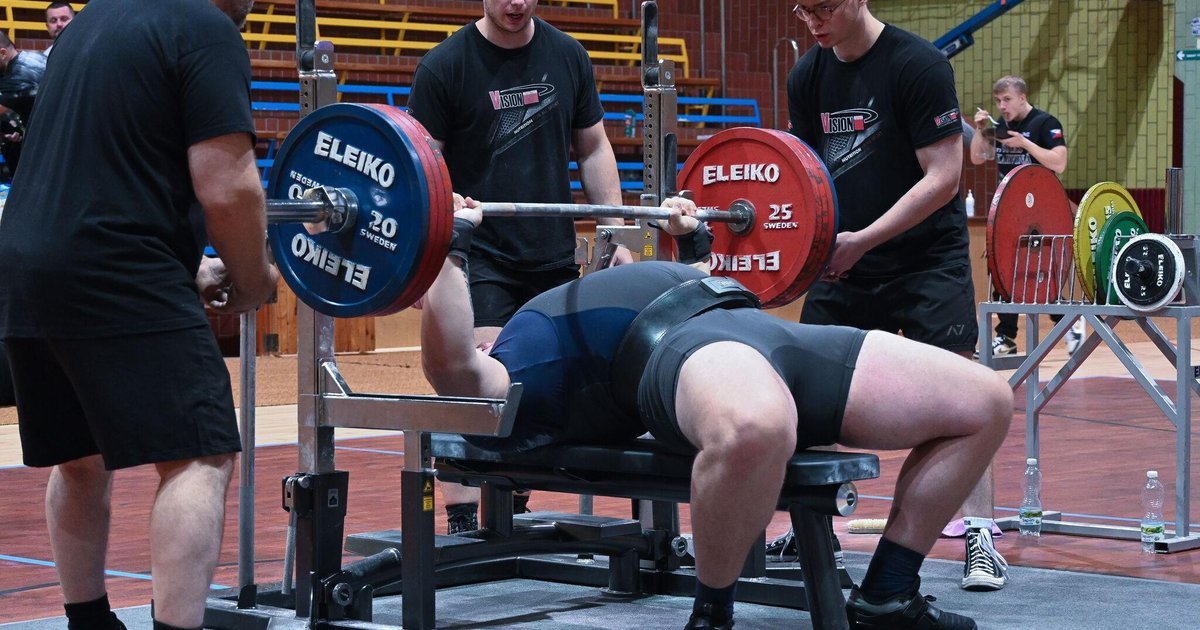
For technique training, a motionless one-second count is a practical starting point. A two-second hold is a separate variation with a different difficulty. In a judged lift, a referee gives the actual press command after the bar becomes motionless; your personal countdown does not replace that signal. Some competition federations also specify an elbow-depth requirement, not merely bar-to-chest contact. Practice that specific standard if competition is your goal; recreational lifters can use a simpler repeatable training pause.
Why the Bar Sticks and How to Train Weak Positions
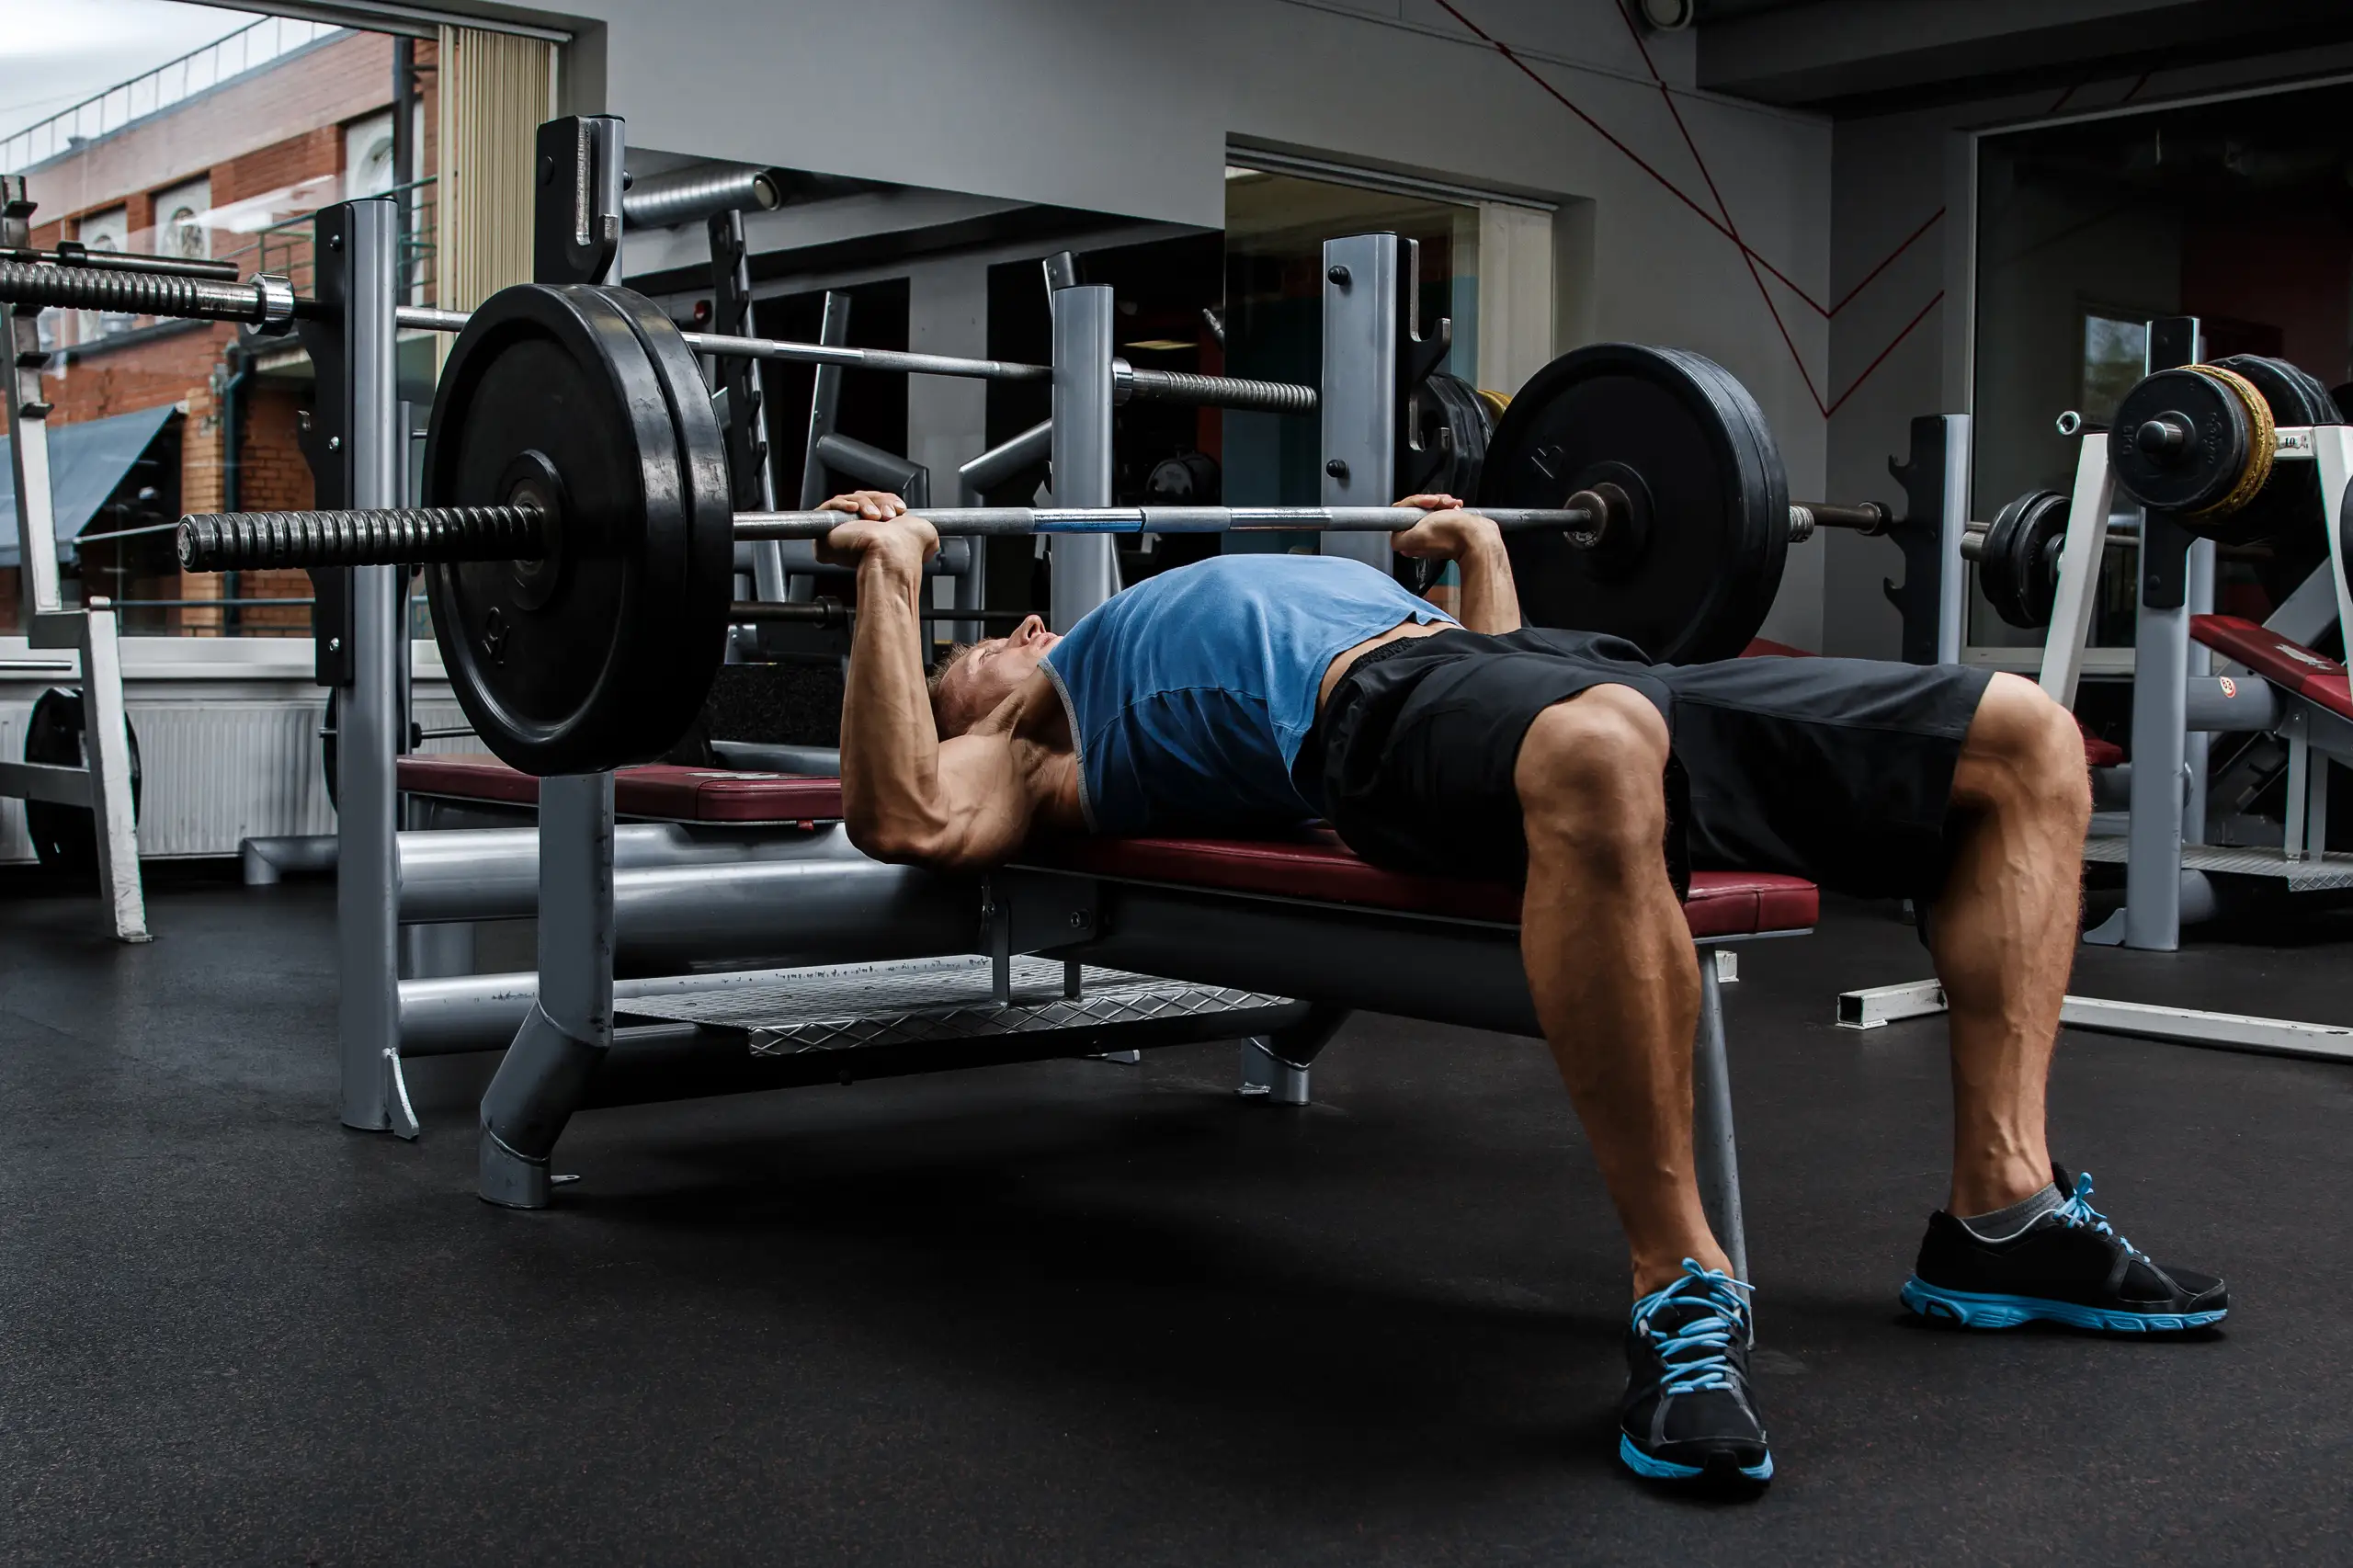
Bench pressing does not demand identical force throughout the range of motion. Bar momentum, changing joint angles and coordination among the chest, shoulders and triceps influence where a lift slows. Biomechanical testing of maximal presses has documented an early-ascending sticking region. That observation does not prove that paused bench training eliminates every athlete’s sticking point or guarantees a particular increase in a one-repetition maximum.
First identify what actually fails. If the bar rebounds off the chest and stalls once speed disappears, a controlled pause with a lighter load can help you practice producing force without that rebound. If the shoulders shift or the upper back relaxes, work on the setup and breathing rather than making the pause longer. If the bar moves well off the chest but stalls nearer lockout, examine your triceps strength, elbow path and overall pressing workload instead of treating every failure as the same problem.
Use video consistently. A side view can reveal a drifting touch point, excessive chest sink, unstable wrists or hips that lift off the bench. Compare similar loads and rest periods, not your best fresh rep with the last rep of an exhausting set. Change one or two coaching cues for several sessions so you can tell whether they help. For many lifters, sound technique and sufficient high-quality pressing volume matter more than the latest specialty variation.

Powerlifting Shirts & Lifting Gear
Powerlifting shirts and gym gear for squat, bench and deadlift lifters who live for heavy numbers.

Help I Need a Spotter – Beatles Inspired Spotter Meme D Sticker
Put “Help I Need a Spotter” gym humor on your laptop, bottle, or gym gear.

My Bench Press Is Stuck Tee
Heavy lifts, good laughs, and a little “My Bench Press is Stuck Funny Horror” energy.

I Want You To Bench Press Uncle Sam – 4th of July Patri T-Shirt
Keep things casual with a little “I Want You To Bench Press Uncle Sam” attitude.


8 Plates Bench Club Meme & Gymbro Top T-Shirt
Make gym days more fun with “8 Plates Bench Club” style.

Jesus Is My Spotter – Top & T-Shirt
Bring “Jesus Is My Spotter” humor to your next gym day.

Heavy Barbell – Meme Shirt & Top T-Shirt
Make gym days more fun with “Heavy Barbell Powerlifting Graphic” style.

Bench Press and Chill Funny Gym T
Make gym days more fun with “Bench Press and Chill” style.

Ultimate Bench Press Tee
Heavy lifts, good laughs, and a little “Ultimate Bench Press” energy.
Spotting, Safeties and Common Mistakes
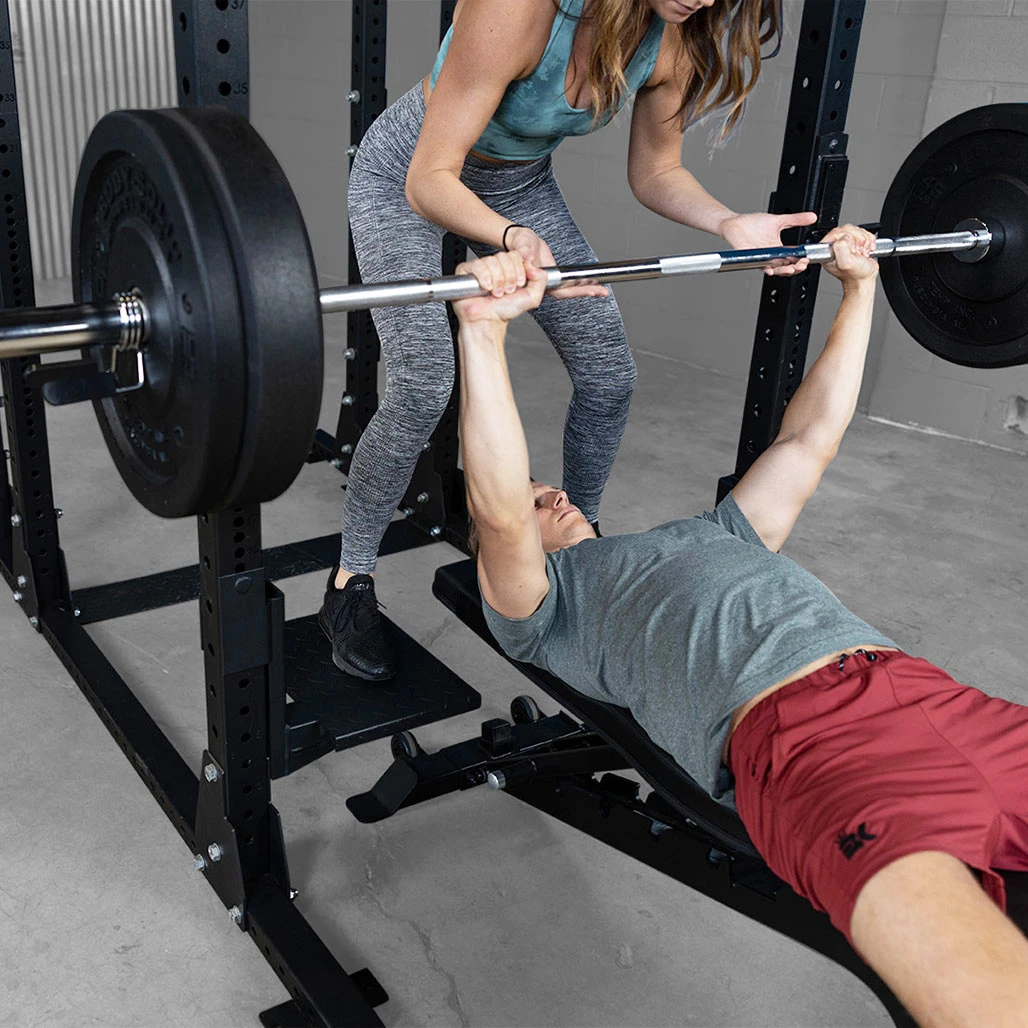
A paused rep deliberately spends extra time beneath a loaded barbell. A competent spotter or properly set safety arms are essential when the weight is challenging. Set rack safeties below your normal bar path but high enough to protect the chest and neck if you lose control. Verify that the bar can reach your normal touch point without colliding with the pins and that you can escape an unsuccessful rep. Agree in advance how the spotter will hand off, when assistance begins and how the set ends.
Common errors include a bar that keeps moving rather than truly stopping, sinking the bar into the chest, relaxing during the hold, shifting the feet, lifting the hips, changing the touch point on each rep and allowing excessive wrist extension. Loading your ordinary touch-and-go working weight for a new extended pause is another way to turn a useful drill into failed reps. Reduce the weight until the descent, stop and press look alike on every repetition.
Stop if you feel sharp pain, dizziness or a loss of control that compromises safety. A stable shoulder setup does not require forcing an arch beyond your comfortable range. Letting a helper drag the bar into position is not a substitute for an appropriate bench and rack. If training alone without safe protection, choose a different pressing option or wait until you can perform the barbell version with adequate safety equipment.
Equipment Worth Exploring
Explore equipment, accessories and gear from our carefully selected range.


Grip Plates
Rubber-coated weight plates with handholds for loading barbells and machines.

Leather Wrist Grips
Padded leather lifting grips help support the hands and wrists on heavy pulling exercises.
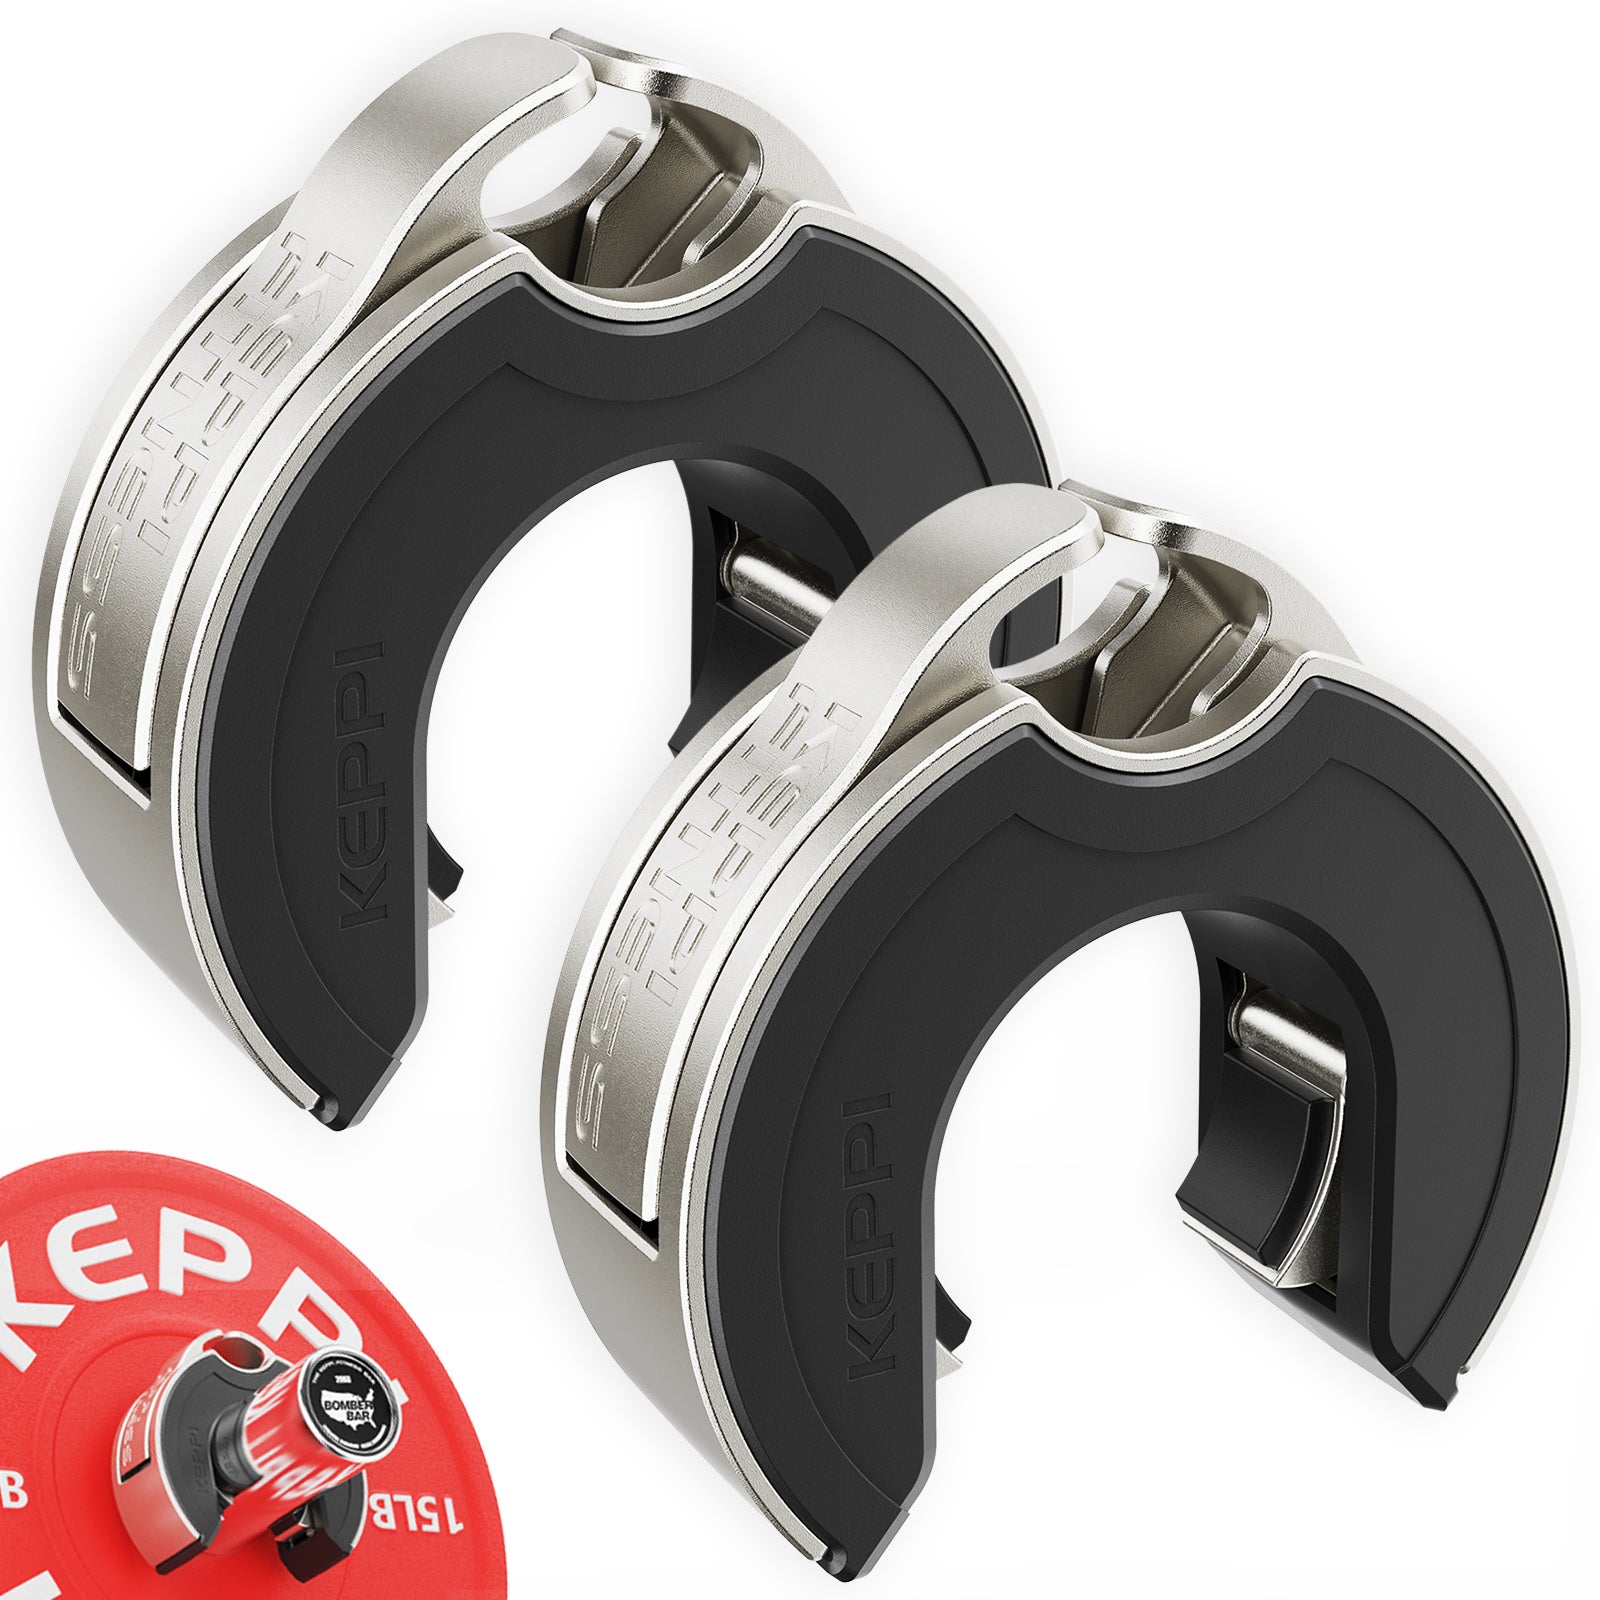
Keppi Open Collars
C-shaped magnetic Olympic barbell collars with a quick-lock mechanism and grippy lining.
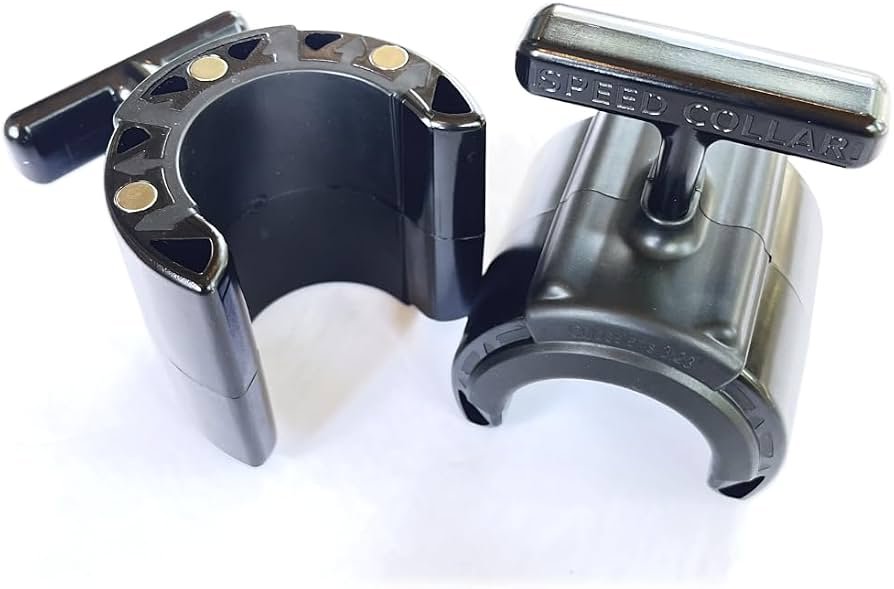
Speed Collar
Quick-release collars designed to secure weight plates on standard two-inch Olympic bars.


Rubber Hex Dumbbells
Rubber-coated hex dumbbell pairs with a stable shape for home and commercial strength training.
Pick the Right Pause Variation
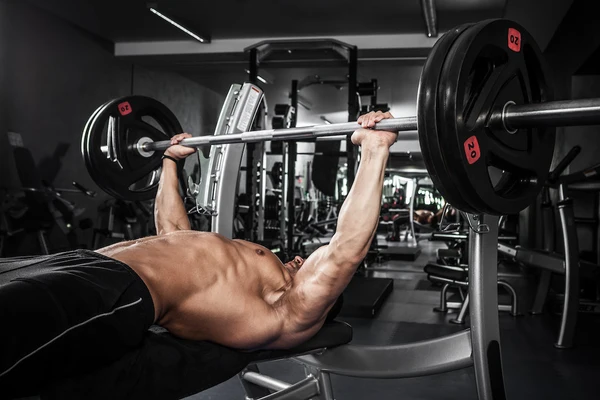
A competition-style paused bench is a full-range lift: touch the chest, become motionless and press after a signal. A one-count training pause follows the same broad pattern without relying on a referee. A two- or three-second pause demands longer positional control and typically calls for less weight. Choose the shortest duration that clearly serves your purpose rather than turning every bench session into a breath-holding endurance challenge.
The Spoto press is different: the bar stops just above the chest and does not rest on the body. It maintains tension in the lowest part of the motion and changes the precise joint position. Do not describe it as a competition-legal chest pause. A close-grip paused bench also shifts elbow and shoulder demands. Slow eccentric benching controls the descent without necessarily adding a motionless hold at the bottom.
You do not need all these variations in one training week. Pick a main press and, if recovery allows, one intentional secondary movement. Dumbbell bench pressing is another way to accumulate chest and triceps volume, but independent dumbbells make it a different motor task, not a replacement for meet-command practice. Record each movement separately so you can judge whether the specific weakness you hoped to address is improving.
A Six-Week Paused Bench Press Progression
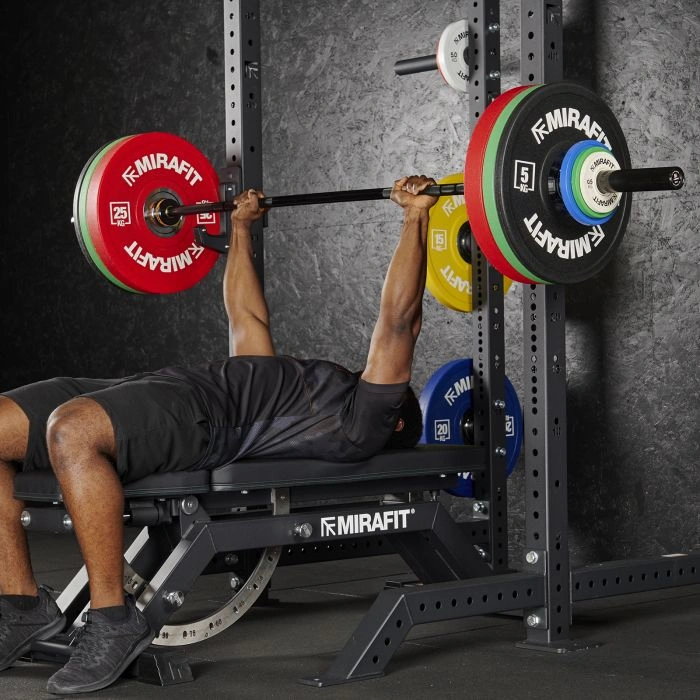
Start with a weight you can pause for a clear one-count on every rep while keeping two or three repetitions in reserve. The plan below assumes two weekly upper-body sessions with enough recovery between them. The first session prioritizes the pause; the second uses ordinary touch-and-go pressing or a comfortable dumbbell alternative. Rehearse touch point and upper-back tension on warm-up sets. If your program is already full, replace rather than pile on some existing bench volume.
Weeks 1–2: Perform four sets of five paused reps at approximately RPE 6–7, resting two to three minutes. Do not increase the load unless every rep includes a genuine stop and finishes without the hips lifting. On your other weekly session, complete three sets of six to eight ordinary bench reps with a controlled descent, ending around two reps shy of failure.
Weeks 3–4: Perform five sets of four paused reps at approximately RPE 7–8, increasing by a small increment only when all reps meet your standard. Keep the secondary bench session at three sets of six to eight, reducing it if overall fatigue climbs. If setup becomes less stable as the session progresses, hold the weight instead of forcing a new personal best.
Week 5: Use four sets of three paused reps around RPE 8, with a complete reset between each rep. Avoid grinding if the bar visibly drifts. Week 6: Reduce total fatigue. Start with three sets of three paused reps near RPE 7; if recovery and safety permit, finish with one clean heavier set of two or three for a same-standard comparison, not a mandatory maximal attempt.
Log the weight, repetitions, pause length, effort and any technique notes visible on video. If you cannot hold the same stop as fatigue rises, reduce the load or finish the set. Progress can mean a cleaner pause at the same weight. Retain this variation when it solves a real training problem, while still keeping enough general pressing, pulling and recovery in your program.
Bodybuilding Shirts & Workout Gear
Bodybuilding shirts, tanks and gym gear for lifters chasing muscle, size, symmetry and the pump.

The Chestfather Arnold Meme Sweater Big Chest T-Shirt
For laid-back days and lifting humor: “The Chestfather”.


I Love Bench Press Valentine'S Day Meme – Chest Day T-Shirt
Make gym days more fun with “I Love Bench Press Funny Valentine's Day” style.

Funny Kanye Chest Gym | Chest Day Sweater | Gym Meme Pu T-Shirt
Show some gym-day personality with “Kanye Chest”.

Funny Train Hard Gym | Thomas The Tank Engine Muscle Sh Tank Top
Bring “Train Hard” humor to your next lifting session.

No Reps No Glory Viking Gym – Funny Norse Workout Jumpe T-Shirt
Show some gym-day personality with “No Reps No Glory Viking”.

I Want You To Lift Heavy – Patriotic Uncle Sam 4th of J Tank Top
Your gym-day look, with a playful “I Want You To Lift” twist.

Gymbro Meme Decal Water Bottles & Gear Sticker
Put “Gymbro” gym humor on your laptop, bottle, or gym gear.

Shirt – I Want You To Lift Weights Uncle Sam T-Shirt
Make gym days more fun with “I Want You To Lift Weights Uncle Sam” style.

Listen Heavy Lift Heavy Gym | Funny Workout Hooded For Hoodie
Bring “Listen Heavy Lift” gym humor to lazy days and post-workout plans.