Advertising disclosure: This page includes affiliate product links that may earn us a commission, as well as products from our own store.
A conventional deadlift rewards more than brute force. A repeatable setup, firm brace, close bar path and appropriate grip help you train strength without treating every set as a one-rep-max test. Here is how to lift from the floor and progress over six weeks.
What the Conventional Deadlift Trains
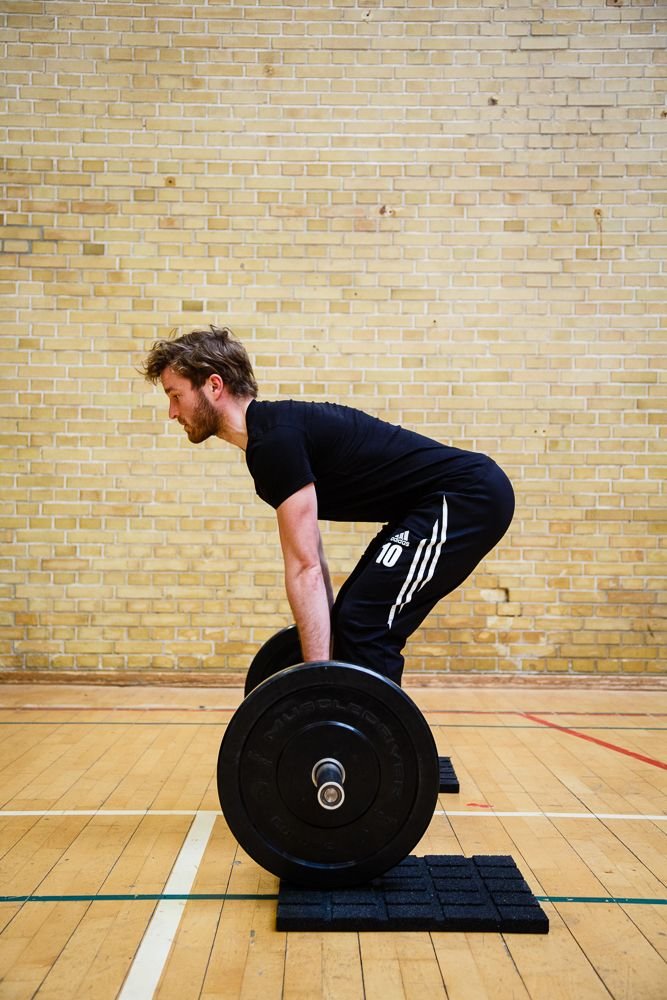
The conventional deadlift is a floor-to-standing lift combining knee extension, hip extension and strong trunk stabilization. The glutes and hamstrings drive much of the hip extension, while the quadriceps contribute around the floor. Spinal erectors resist unwanted trunk movement; the lats, traps, abdominal wall and forearms stabilize the bar and torso. No single muscle has exclusive ownership of this compound exercise.
Unlike the Romanian deadlift, which normally begins upright and emphasizes a controlled hip hinge, each conventional rep starts with the plates supported by the floor. That changes the demands of generating tension before movement. A squat starts with the load supported on the shoulders, so it is also a different strength problem even though many of the same large muscles contribute.
Body proportions influence the appearance of your start position. Longer femurs or a shorter torso can make one lifter appear more inclined than another. What matters is that your bar is balanced over the foot, your torso is braced and your hips rise in a coordinated way with the bar. Comparing different builds based on an idealized photograph can lead to unnecessary technique changes.
Find Your Bar Position, Stance and Grip
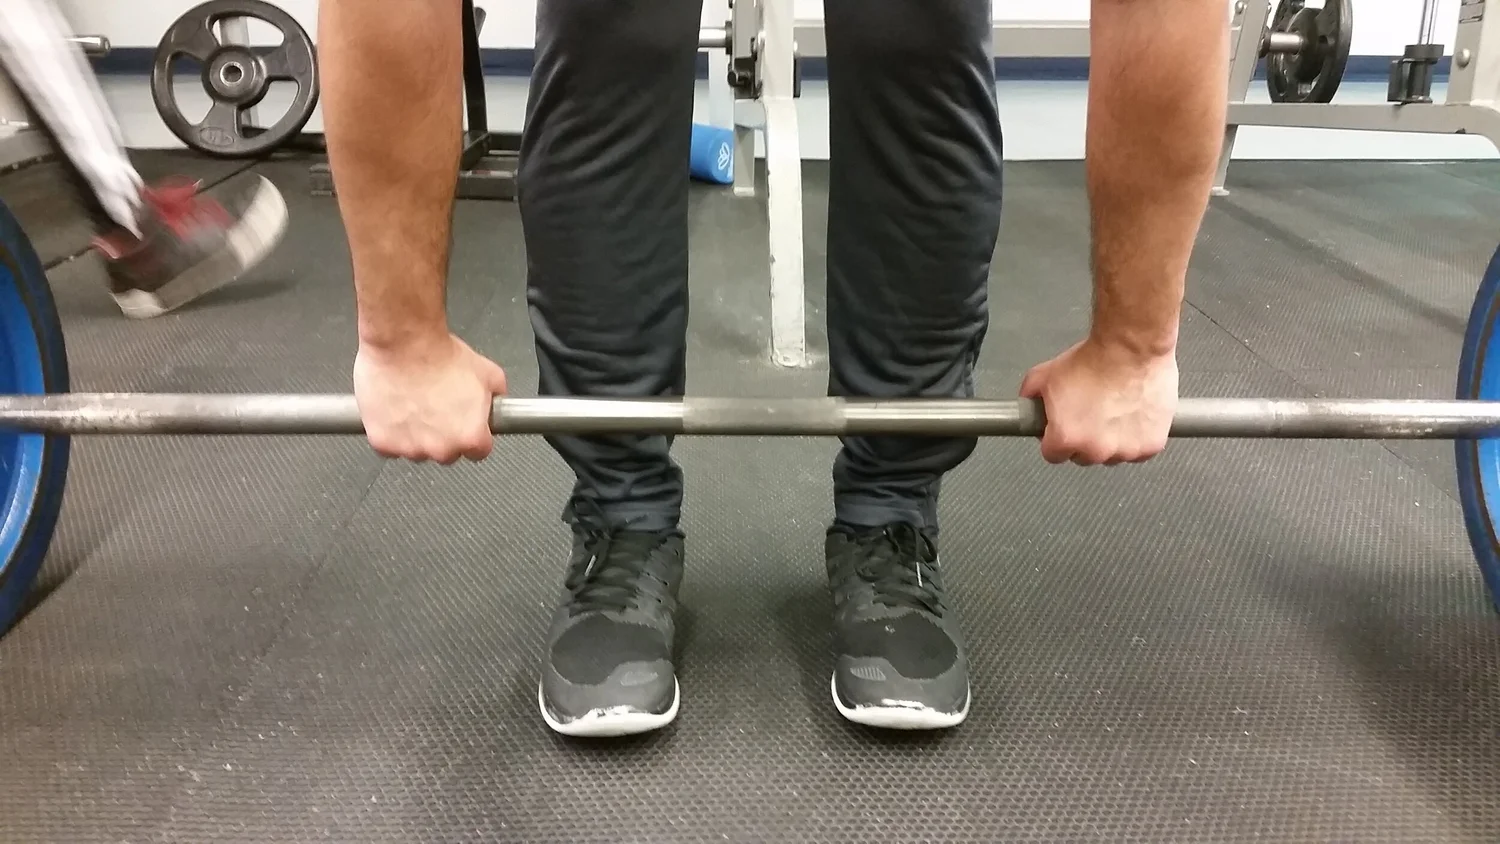
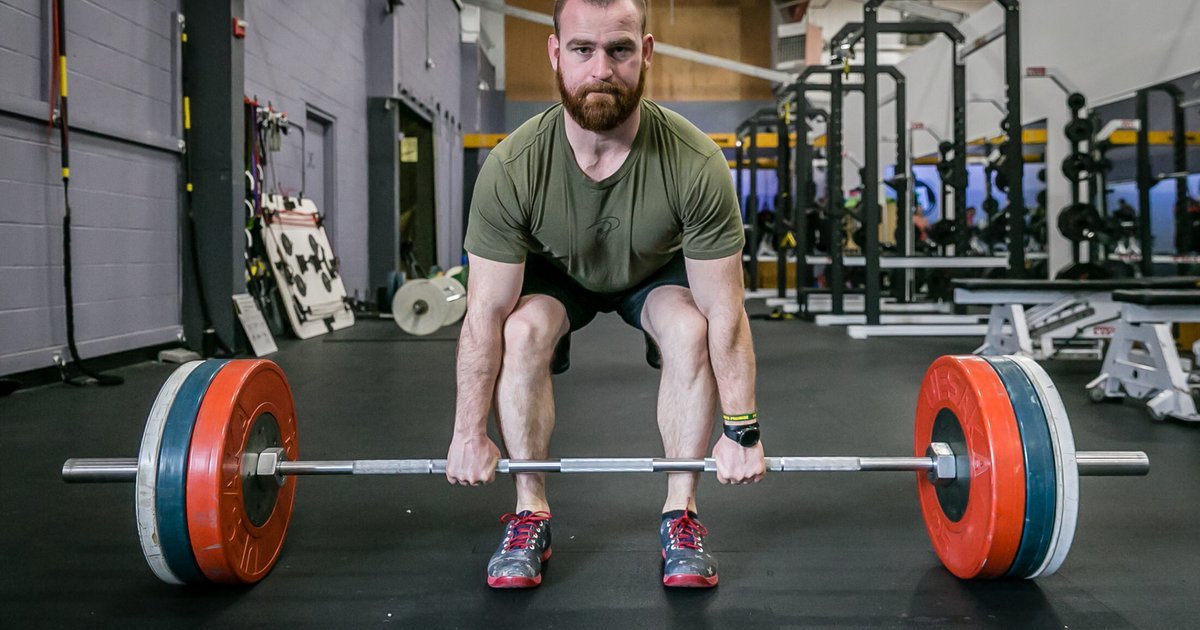
Stand with a standard barbell over the middle of your feet, usually a small distance forward of the shins. Set your feet roughly hip-width apart, adjusting the toe angle enough to let the knees move naturally. Hinge backward to take the bar with your hands just outside the legs. The final knee bend should bring the shins near the bar without shoving it away from midfoot.
Start with a double-overhand grip while learning. It is symmetrical, easy to organize and gives grip strength room to improve. As the weight increases, a hook grip or mixed grip may offer greater security, but each has tradeoffs: hook can be uncomfortable at first, while mixed grip adds asymmetry and should not involve a bent or curling underhand arm. Keep both elbows straight on the pull. Straps are an option for accessory sets when grip would otherwise cut the training short.
Footwear matters mainly because you need a stable surface under your feet. Very soft compressible soles can make balance more difficult. Choose a firm, level platform and collars that secure the plates. If standard plates create a start position too low for your current mobility, raise both ends equally on secure blocks. This adjustment lets you practice a controlled movement while working toward your intended floor height.
Use the same pulling height, foot position and grip when evaluating progress. Changing every detail at once makes it impossible to tell whether you truly lifted better or simply altered the task.

Equipment Worth Exploring
Explore equipment, accessories and gear from our carefully selected range.


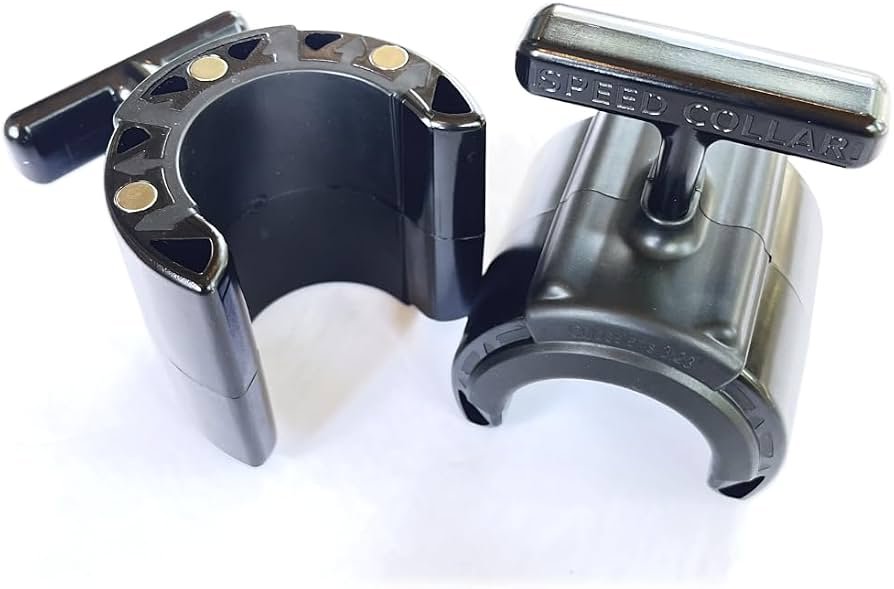
Speed Collar
Quick-release collars designed to secure weight plates on standard two-inch Olympic bars.
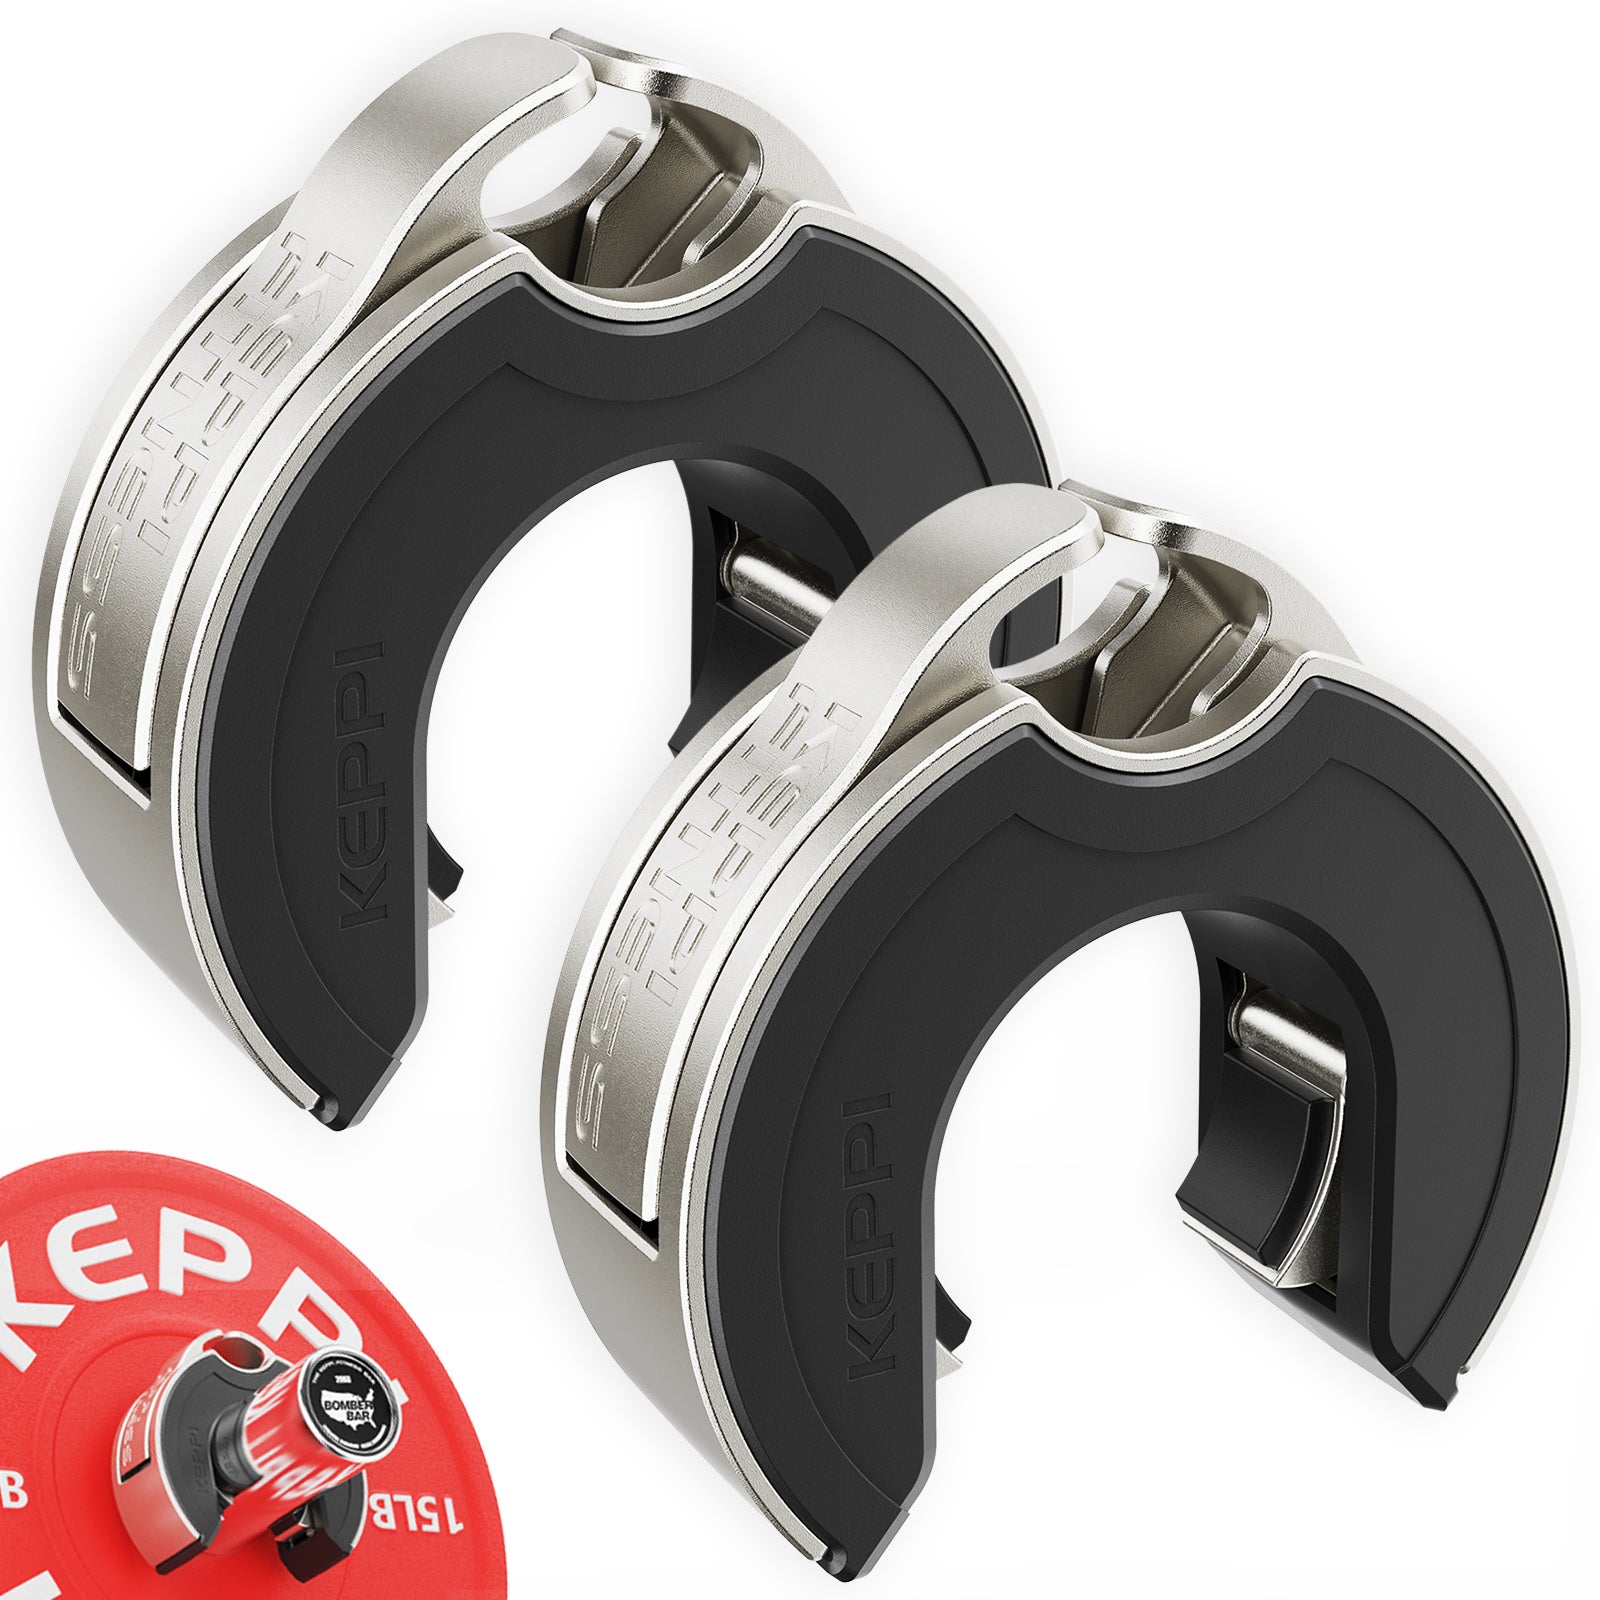
Keppi Open Collars
C-shaped magnetic Olympic barbell collars with a quick-lock mechanism and grippy lining.


Competition Plates
Competition-style bumper plates for Olympic lifts and loaded strength training.
Brace, Tighten Your Lats and Take the Slack Out
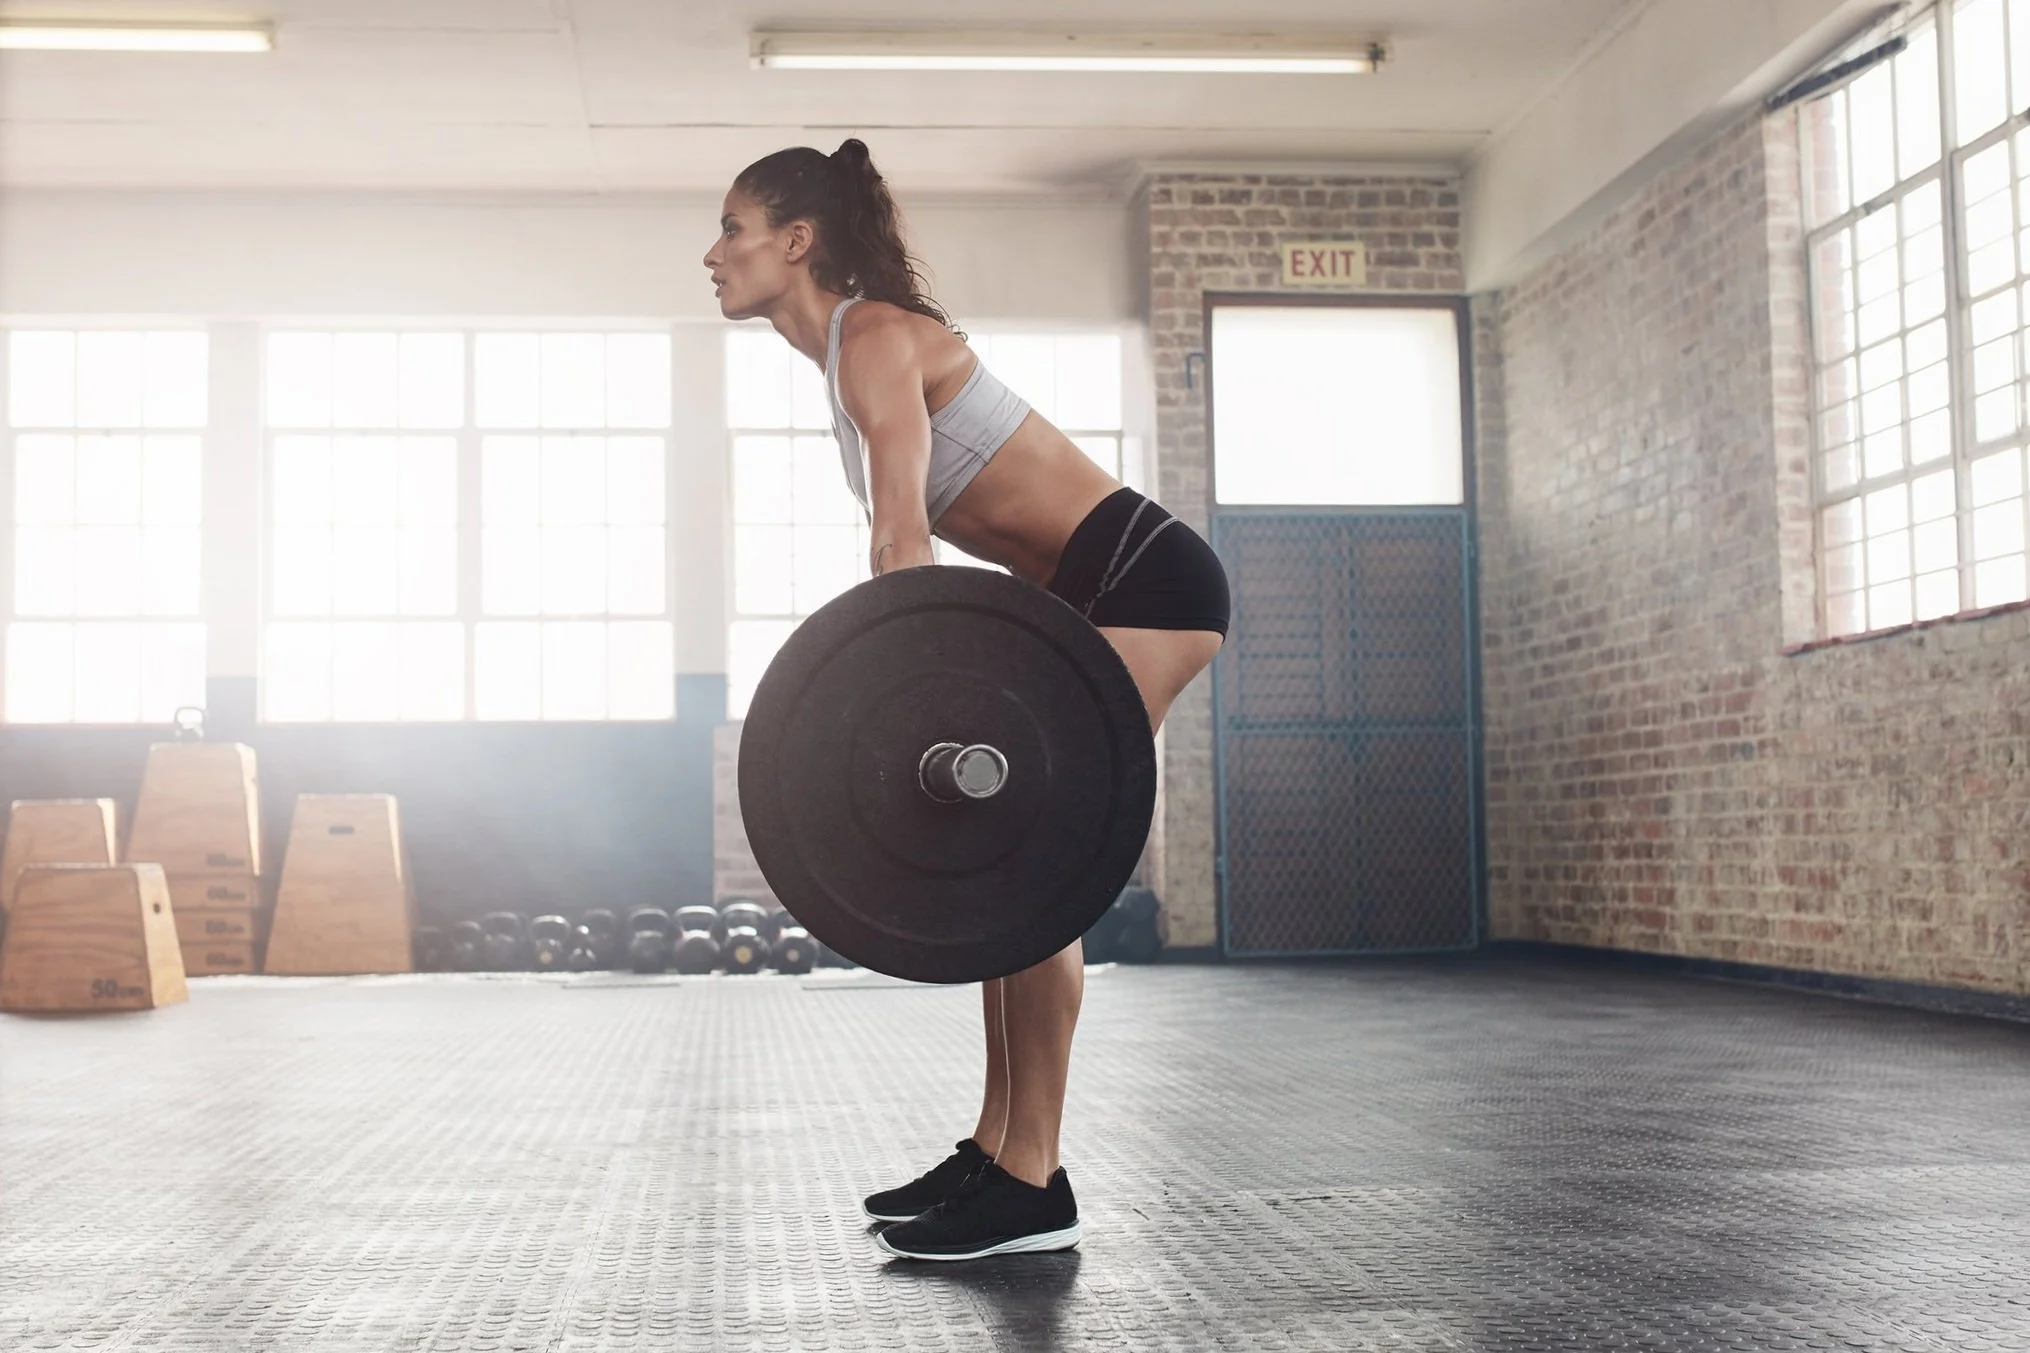
Before the plates leave the floor, inhale to expand the abdomen and lower ribs, then tighten your trunk as though preparing for an impact. The brace resists unwanted spinal movement, not an exaggerated arch. Keep the head generally aligned with the torso rather than pointing the chin toward the ceiling. A neutral, comfortable neck position is a practical default, even though different coaching traditions emphasize different gaze directions.
Pull your shoulder girdle into a strong position and tighten the lats. One cue is to imagine bringing the armpits toward the pockets while leaving the elbows straight. Lats help keep the bar close so it does not drift forward. Gently apply tension through the arms and bar before committing to the pull; some bars make a quiet click as the slack disappears.
A sudden jerk from completely relaxed arms often makes your hips rise before your chest or pulls the bar out of position. Instead, aim for a smooth buildup of force. Your torso should already be tight when the plates start moving. If you cannot hold position at the selected load, reduce the weight and rehearse the brace until it becomes repeatable.
Do not force your hips extremely low as if sitting into a squat; that can move the shins and bar out of balance. Nor should you start so high that the legs are nearly straight. Your own best start lets knees and hips contribute together as you push against the floor.

Powerlifting Shirts & Lifting Gear
Powerlifting shirts and gym gear for squat, bench and deadlift lifters who live for heavy numbers.

Iron Is My Therapy – Lifting Bodybuilding Powerlifting Hoodie
Stay casual and show some powerlifting attitude with “Iron Is My Therapy”.

Deadlifts & Gains Meme – Essential T-Shirt
Heavy lifts, good laughs, and a little “Deadlifts & Gains” energy.

3 Plates Deadlift Club – Motivational T-Shirt
Make gym days more fun with “3 Plates Deadlift Club” style.

Heavy Barbell – Meme Shirt & Top T-Shirt
Make gym days more fun with “Heavy Barbell Powerlifting Graphic” style.

Deadlift Snake Skull – Hardcore Powerlifting Gym Shirt T-Shirt
Make gym days more fun with “Deadlift Snake Skull” style.

Deadlift Skull Explosion Crewneck for Powerlifting and T-Shirt
Show some gym-day personality with “Deadlift Skull”.

Day of the Dead Deadlift Gym – Día de los Muertos Calav Hoodie
Show off your deadlift humor in a laid-back “Day of the Dead Deadlift” hoodie.

Lift Heavy Sh*T – Essential & Gymbros T-Shirt
Show some powerlifting attitude with a playful “Lift Heavy Sh*t” tee.

Deadlift Lovers Grim Reaper Sweater Powerlifters & T-Shirt
Add a playful “Deadlift Lovers Grim Reaper” touch to your casual rotation.

Barbarian Barbell Barbie Meme & Gains T-Shirt
Heavy lifts, good laughs, and a little “Gym T” energy.
Pull a Close Bar Path From Floor to Lockout
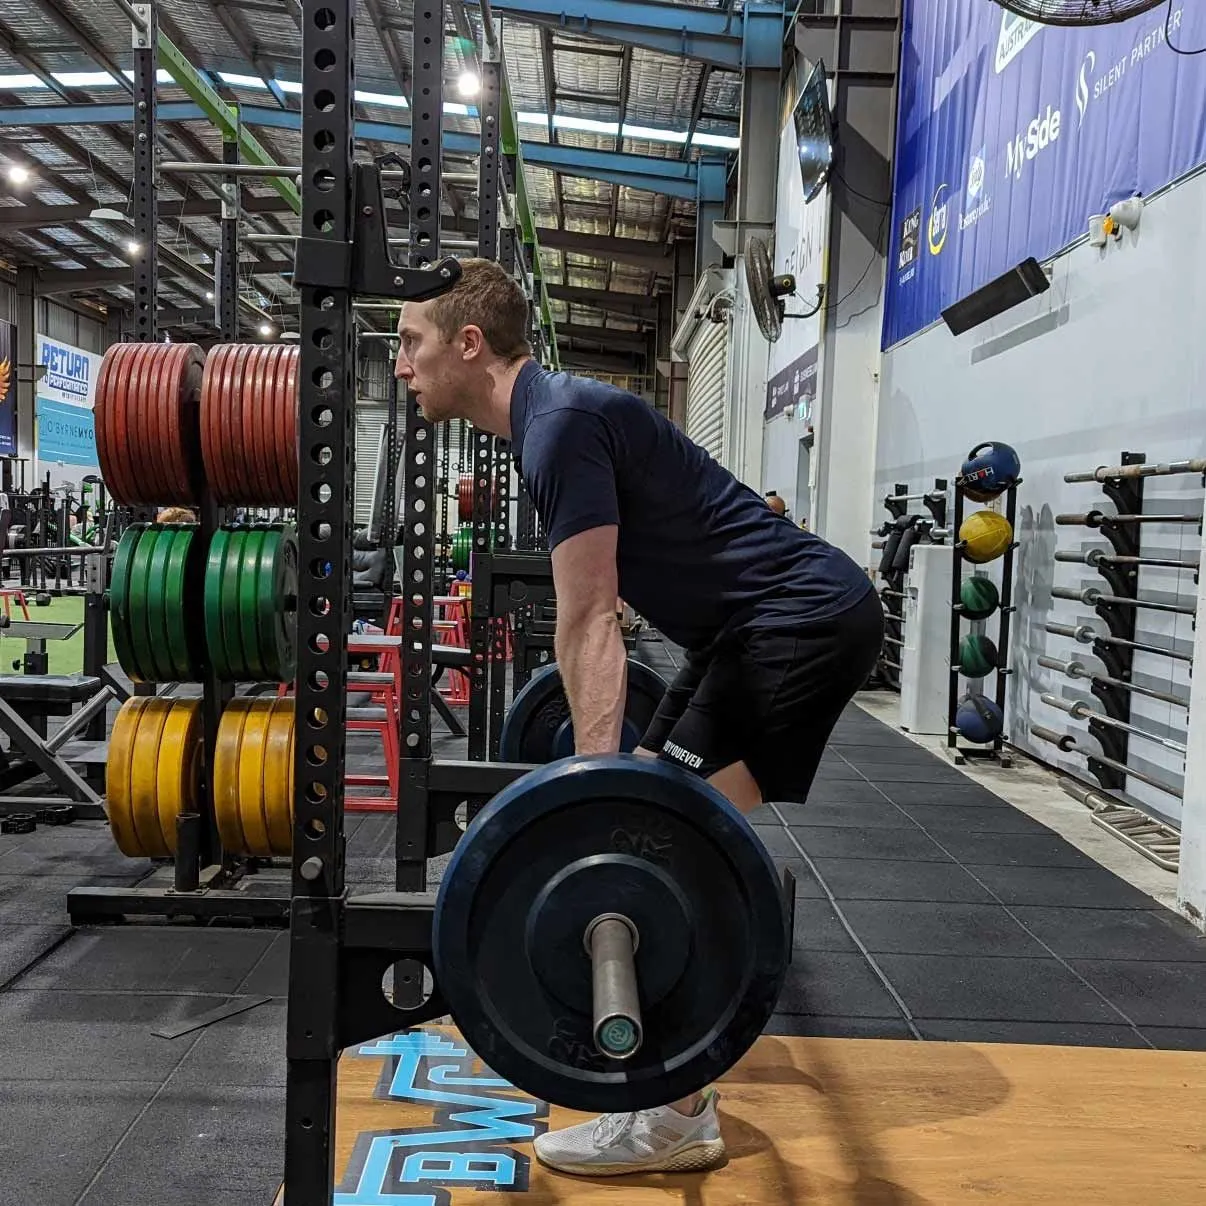
Start the repetition by driving firmly through the whole foot while extending the knees and hips together. The weight should rise close to the shins and follow a mostly vertical path. Your chest and hips need not travel in perfect synchrony, but a sudden hip shoot-up can turn the first half into an unnecessarily awkward hinge. Film a light set from the side to see the relationship between the bar and midfoot.
As the bar passes the knees, keep the load near the thighs and continue straightening the hips. Avoid swinging the bar forward around the knee or bending your elbows to help it up. A bar drifting away increases the lever arm against the back and can make a manageable weight feel harder. The cue to keep the bar close is not permission to aggressively scrape the legs; a small clearance is fine.
Finish by standing tall with hips and knees extended. You do not need to lean your shoulders far back or push the lower back into a dramatic arch. Excessive lean-back is extra movement beyond an effective lockout. If the bar stalls at the knees, inspect whether the start was balanced and whether you lost torso position before adding complicated accessory exercises.
On the way down, push the hips back first, move the bar down close to the thighs, and bend the knees after the bar clears them. Return the plates to the floor with control and reset before the next rep. Touch-and-go work can fit a training plan, but rebounding plates and rushing the brace can conceal technique errors.
Six Common Mistakes and How to Correct Them
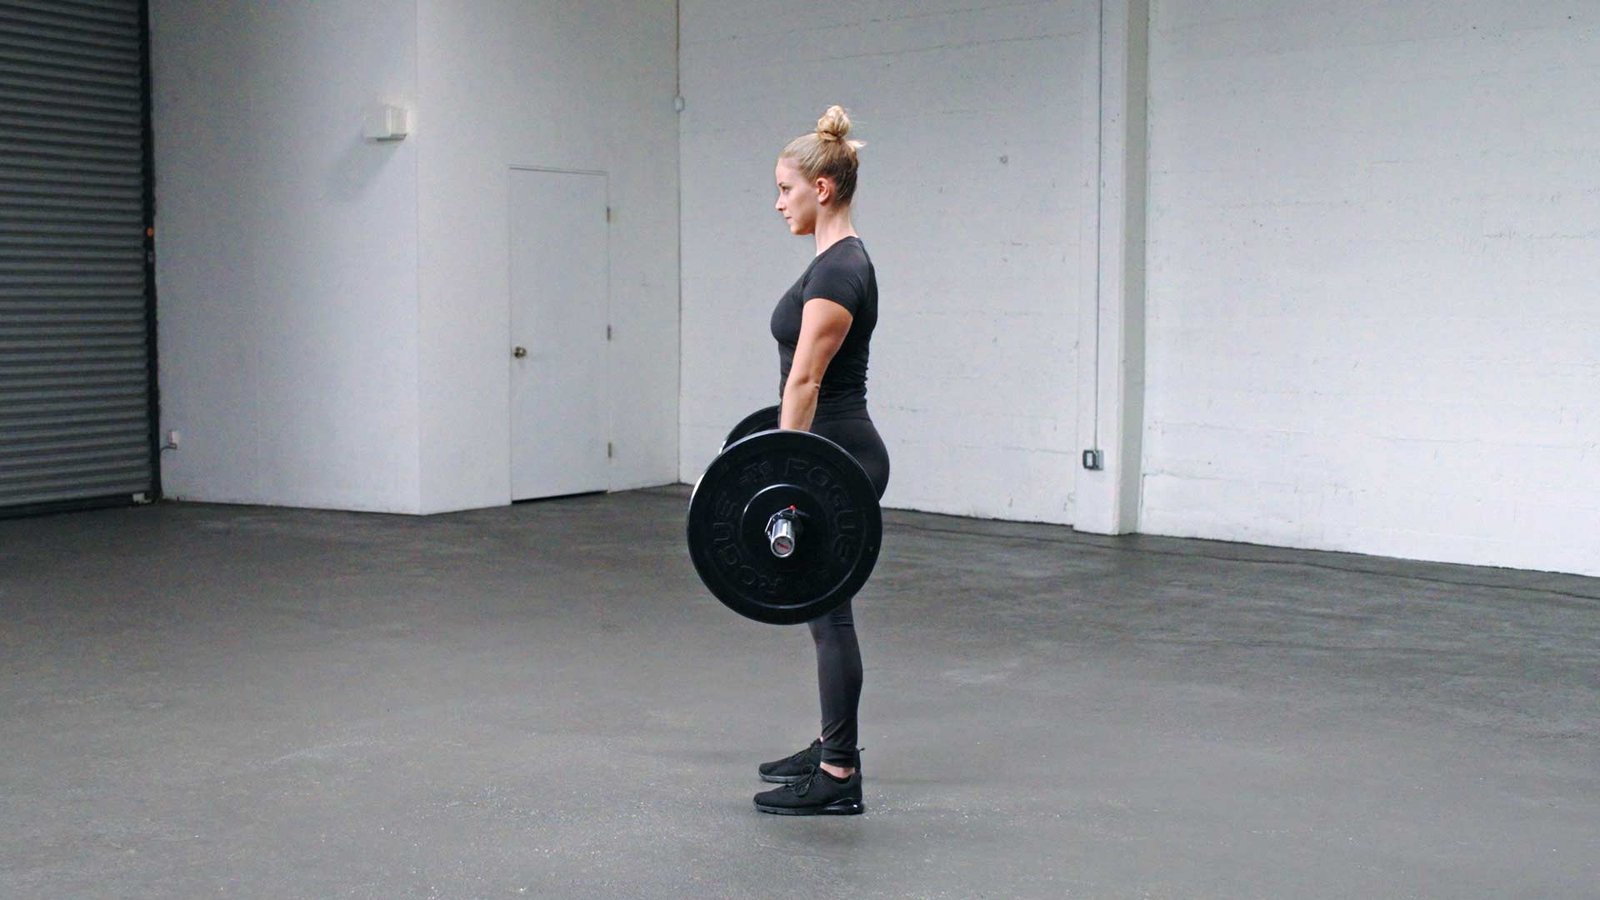
Most deadlift form problems respond better to one specific change and a manageable weight than to an endless list of motivational cues. Inspect the earliest point where a rep departs from your intended pattern. If you can fix that first problem, the later stages may improve without additional interventions.
- Bar starts too far forward: align it over midfoot before reaching down.
- Hips shoot up immediately: adjust the start height, build tension and push through the legs instead of yanking.
- Back position collapses: brace first and use a load you can control, accepting that normal movement varies by person.
- Bar swings around the knees: coordinate hip and knee extension with the load kept close.
- Exaggerated lean-back at lockout: finish tall by extending the hips, not bending backward.
- Grip or breath ends the set: rest long enough, improve hand setup and use straps selectively when appropriate.
Assess progress based on repeatable reps, not just how much weight you can grind through with changing form. Serious muscle effort is expected; sharp or persistent pain is not a performance target. If a variation repeatedly hurts, stop, change the task and obtain individualized advice as needed.
A useful rule is to check three things after the set: did the bar stay close, did your hips and shoulders rise together reasonably well, and did you finish upright without a backbend? If yes, the basic movement is likely more productive than a technically chaotic heavier set.
Equipment Worth Exploring
Explore equipment, accessories and gear from our carefully selected range.

Leather Lifting Straps
Padded leather straps support grip during heavy rows, deadlifts and pulling exercises.


Open Hex Bar
Open-frame trap bar with multiple handles for deadlifts, carries, and lower-body training.


Grip Plates
Rubber-coated weight plates with handholds for loading barbells and machines.


Foldable Wall Rack
Wall-mounted folding squat rack designed to save floor space between workouts.

Leather Wrist Grips
Padded leather lifting grips help support the hands and wrists on heavy pulling exercises.

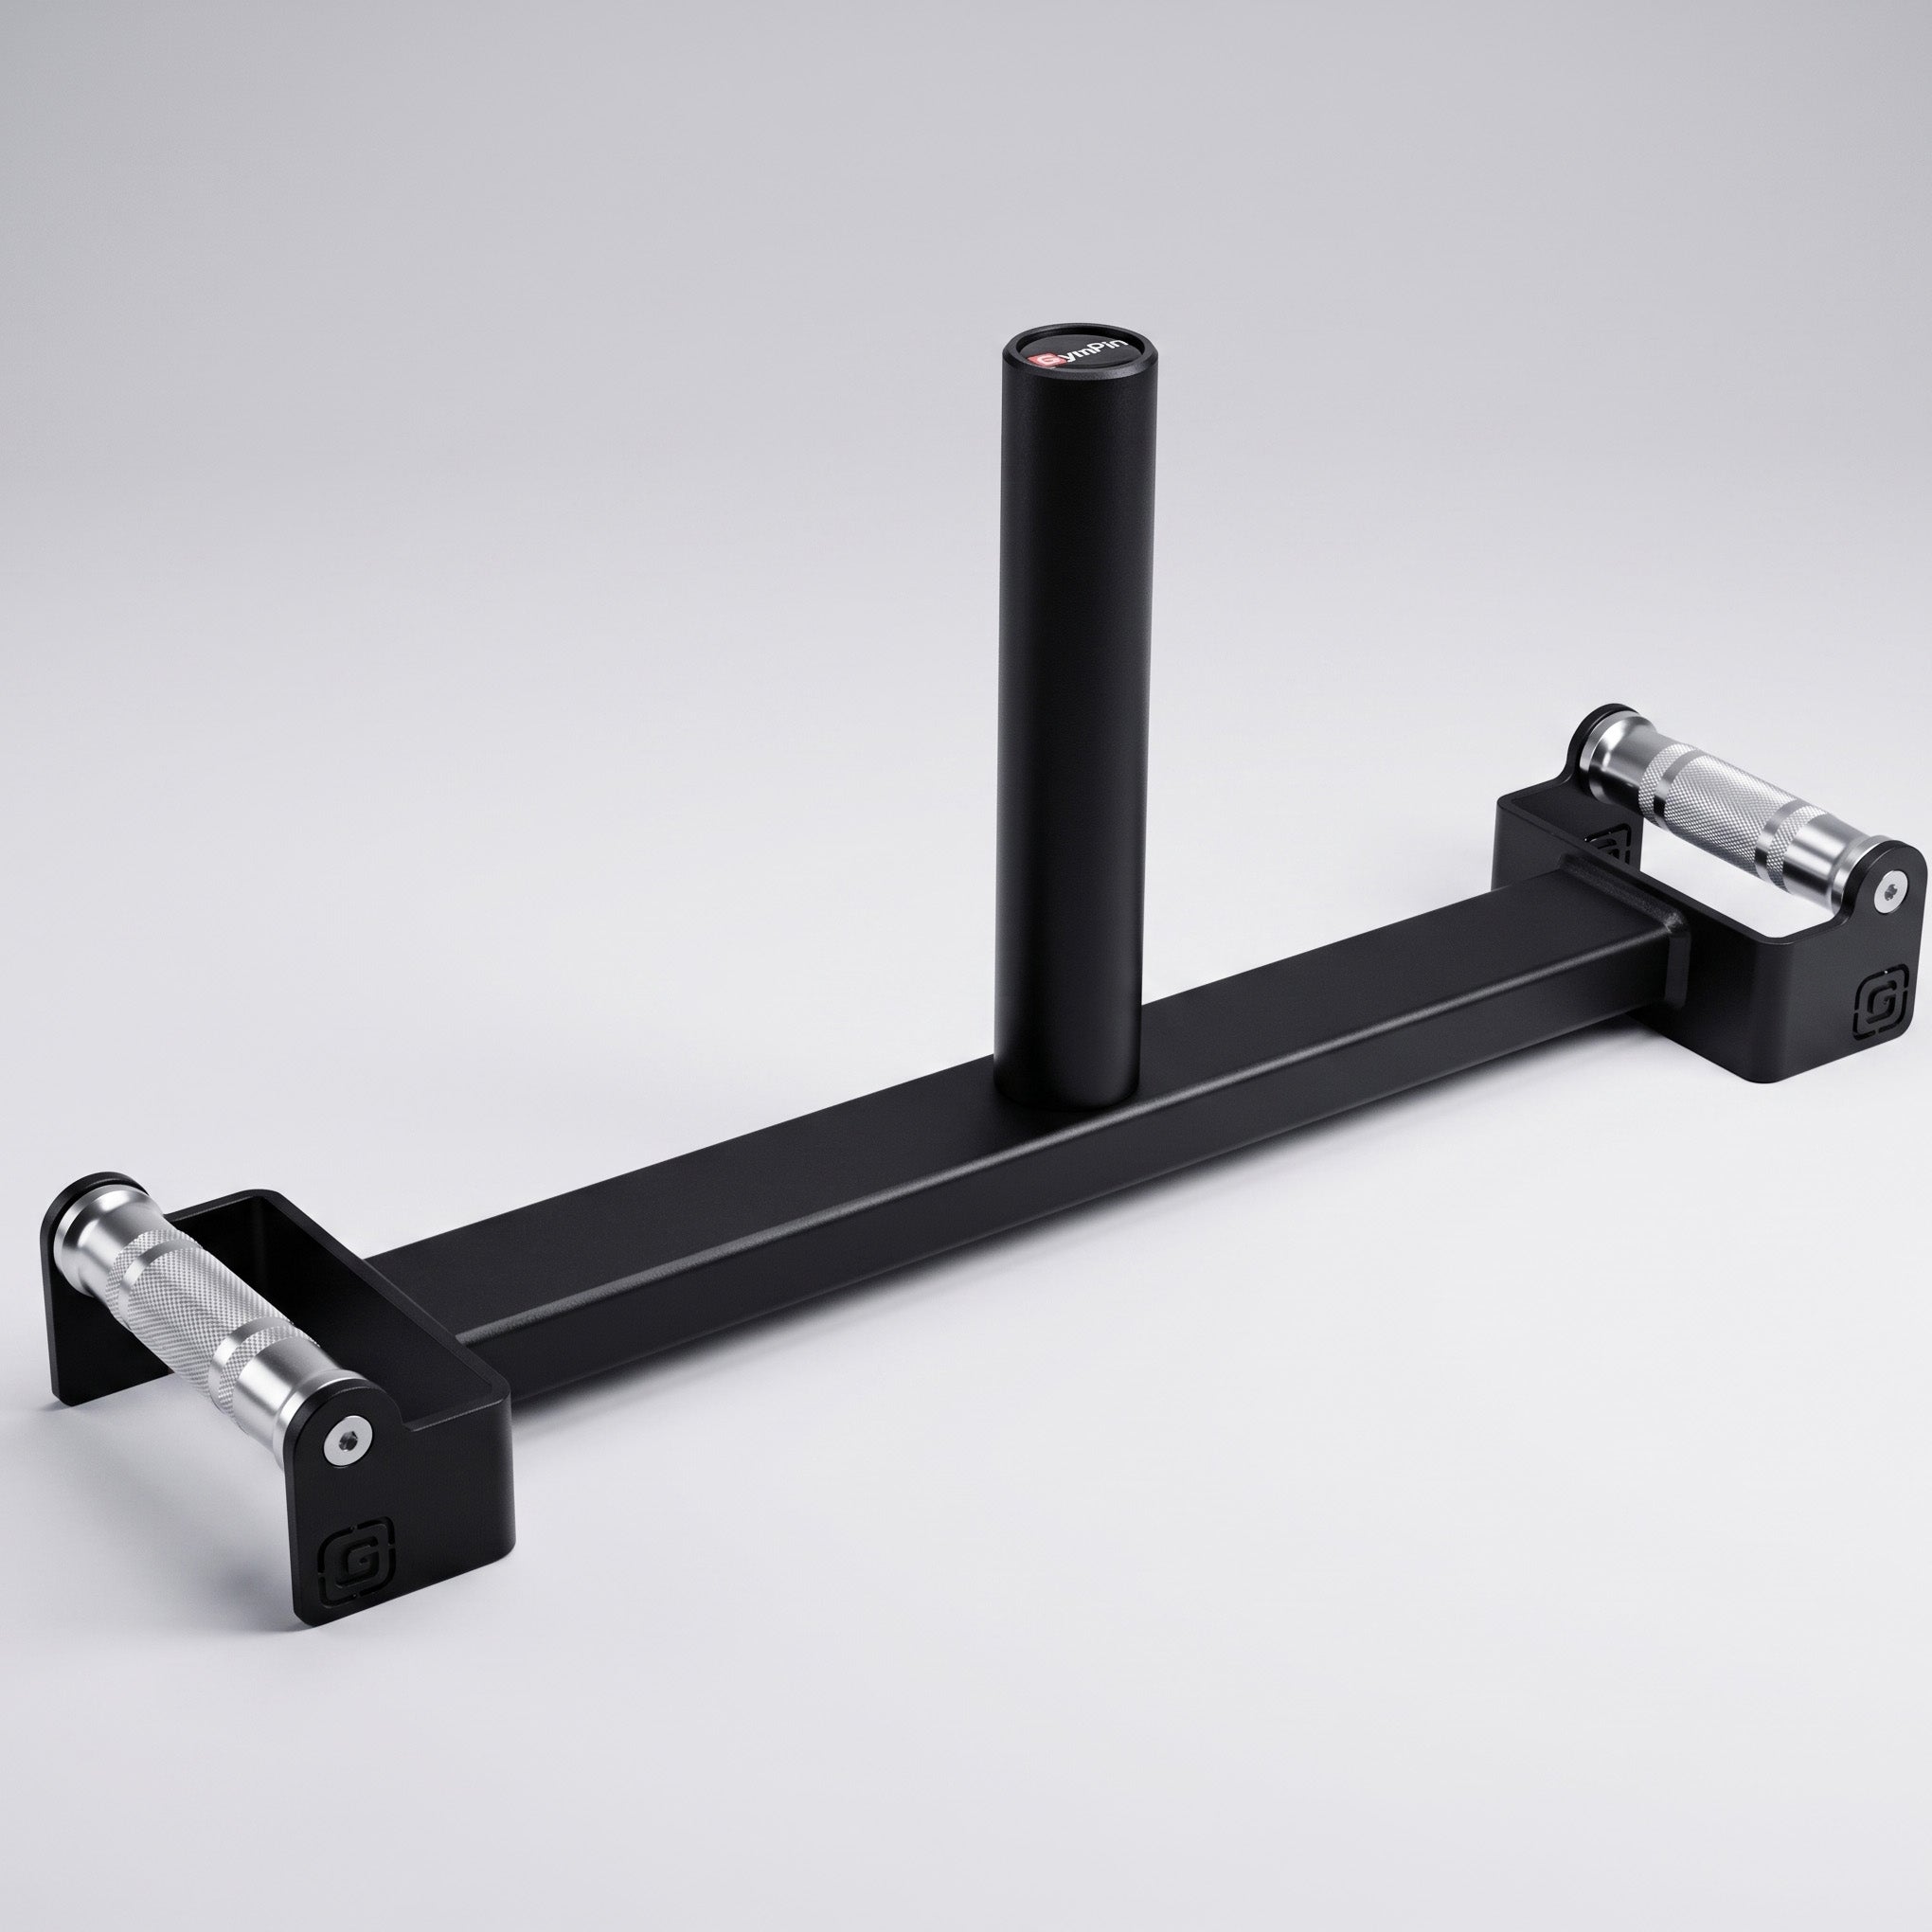
GymPin Hyper Loader
Central Olympic-plate loading attachment for weighted hyperextensions.
How Sumo, Trap-Bar and Romanian Deadlifts Compare
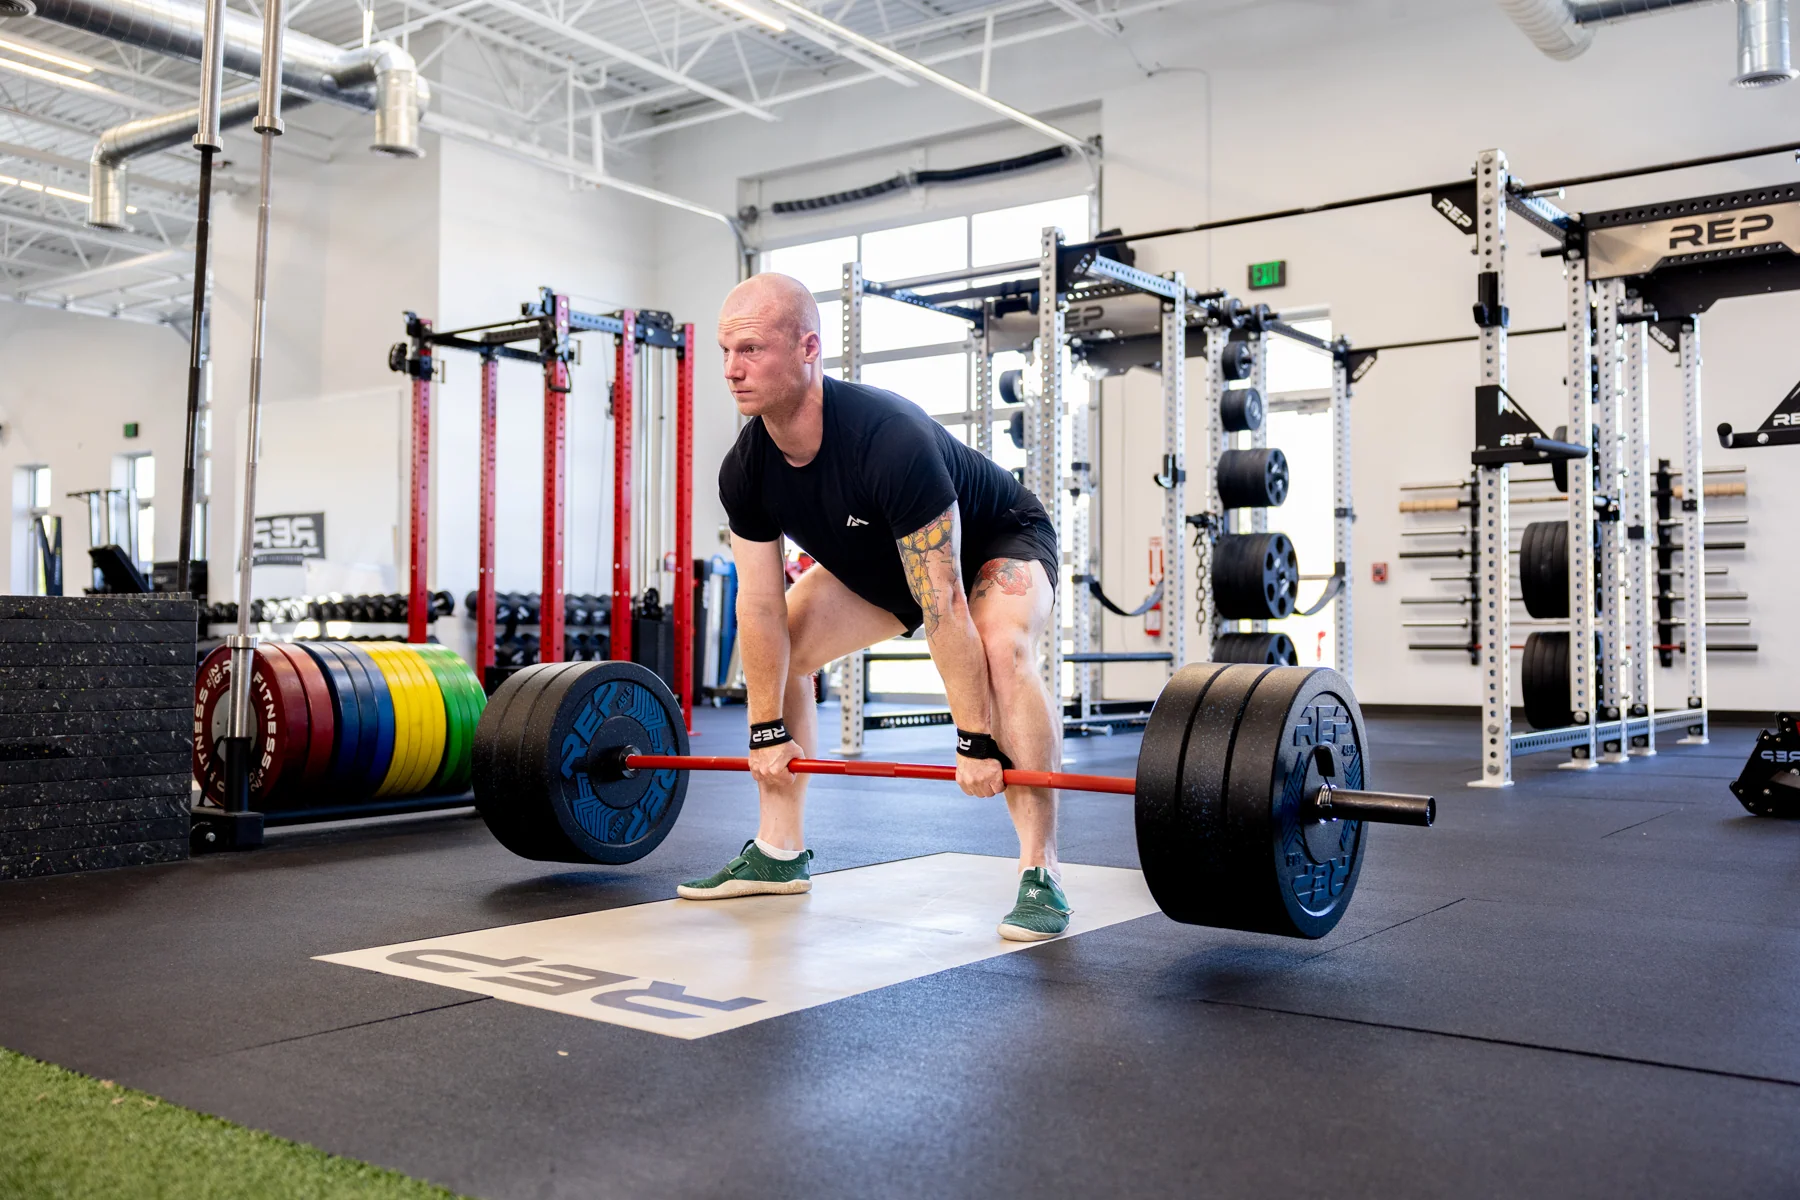
A wide sumo stance places the hands inside the knees and usually changes the trunk angle and hip demands. Some lifters find the more upright start comfortable, while others prefer conventional pulling. Differences in anatomy, mobility, training experience and the goal of the session matter more than declaring one style inherently superior or universally safer.
In a Romanian deadlift, you normally begin standing with a soft knee bend and lower the bar under control while hinging at the hips. The range ends when you can no longer preserve a productive hinge and close bar path. That makes it a useful accessory for additional hamstring and glute work without turning every rep into a pull from the floor.
A trap-bar deadlift surrounds the lifter with the loaded implement. Different handle heights can allow different starting knee angles and torso positions. That is why a high-handle trap-bar rep is not mechanically identical to a straight-bar conventional rep. Use it when its setup suits the individual or the current training objective rather than assuming it automatically replaces all other hinges.
Choose one main deadlift variation to progress for several weeks; add another only if it solves a real programming need. Grip training is a separate goal: straps can prevent forearm fatigue from limiting your posterior-chain volume, but should not substitute for practice when you want to compete without them.
A Six-Week Deadlift Progression You Can Repeat
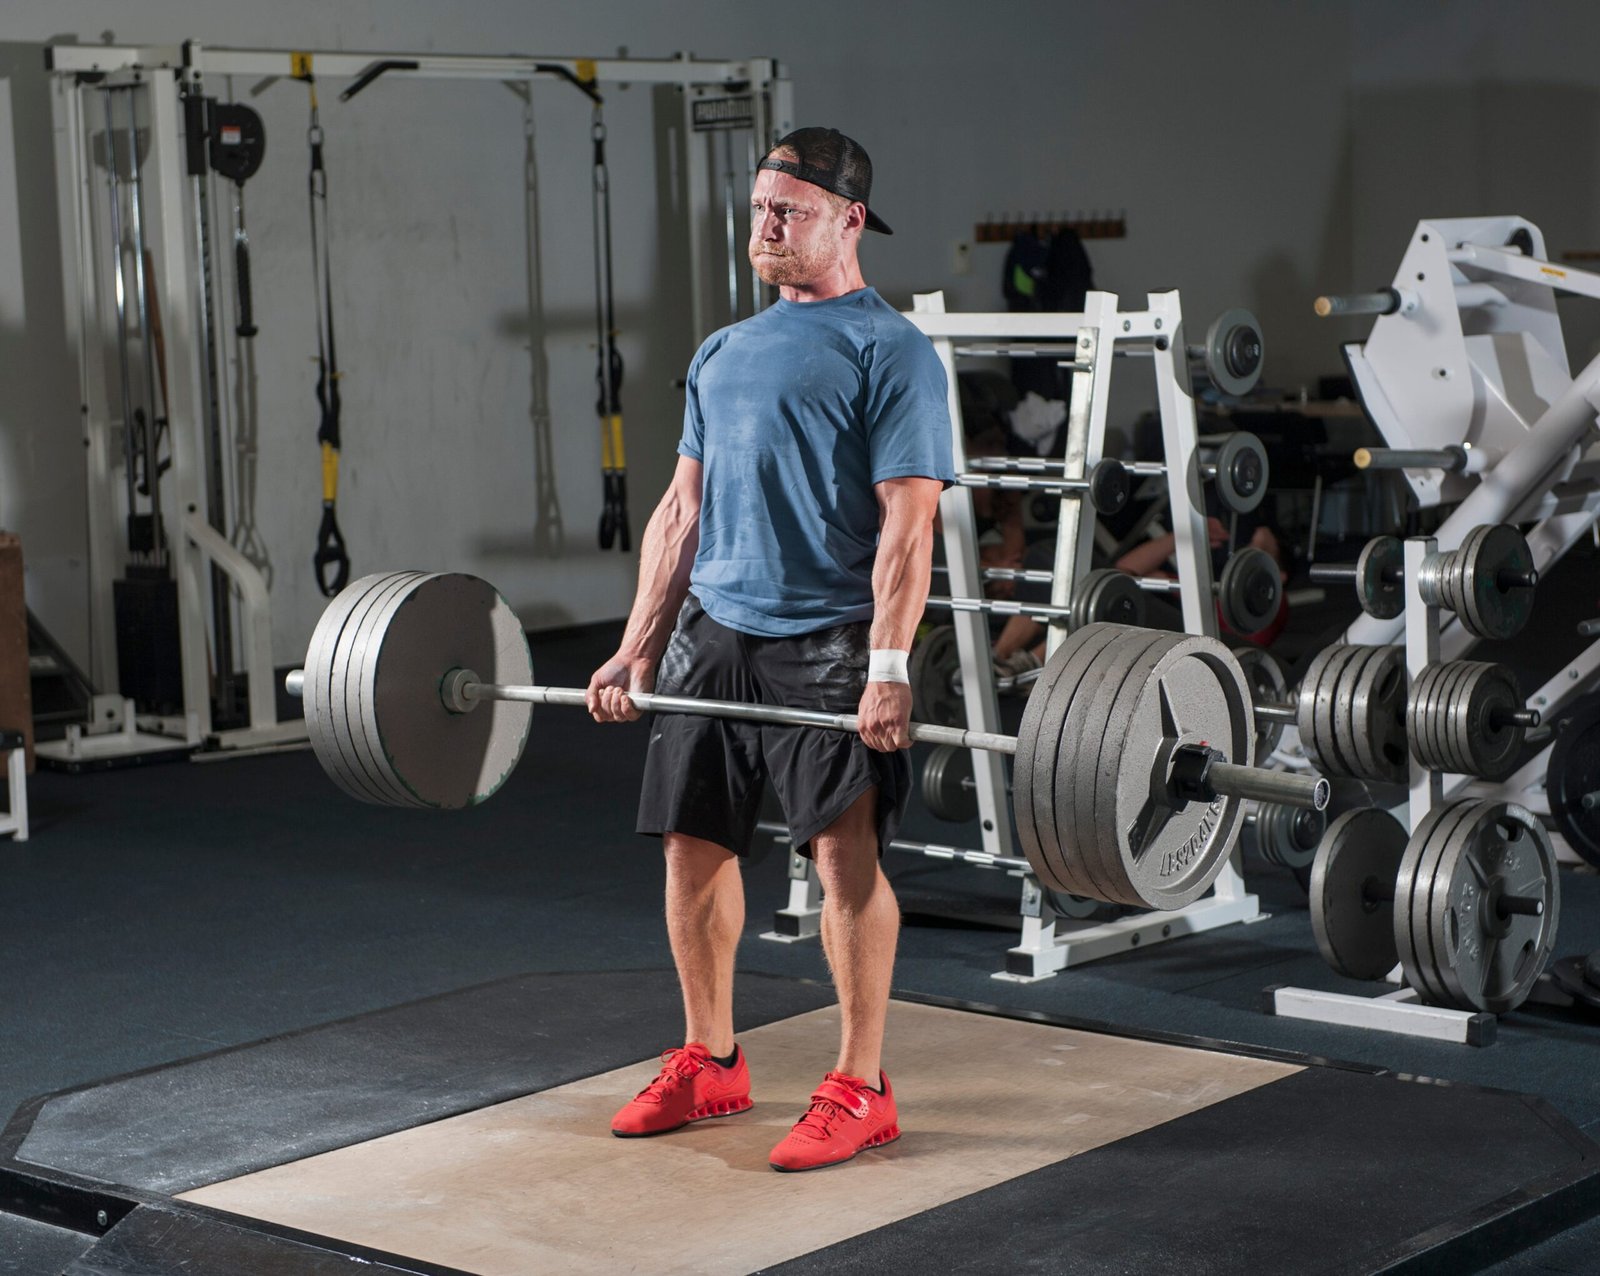
Begin with a weight that leaves about two or three good repetitions in reserve on each set. Rest roughly two to four minutes between hard sets, longer as required to restore grip and breathing. If technique slips before the prescribed reps are finished, use less weight or fewer reps. The sequence below is an illustrative progression, not a promise of a particular one-rep-max result.
- Week 1: 3 sets of 5 at a comfortable technical load; record a side-view set.
- Week 2: 3 sets of 5, adding a small amount only when all reps remain controlled.
- Week 3: 4 sets of 4 with a pause on the floor and a deliberate reset.
- Week 4: 3 sets of 4, slightly heavier only if bar path remains reliable.
- Week 5: 4 sets of 3 with crisp, braced repetitions rather than maximal grinders.
- Week 6: 2–3 sets of 3, then compare the quality of your reps with week one.
Train the main lift once or twice per week depending on recovery and your other leg and back volume. Add two or three moderate sets of Romanian deadlifts or hamstring curls if they complement your goals, and consider rows or pulldowns for additional back work. Do not pretend every extra hinge is free: the fatigue from heavy pulling matters across the whole week.
Keep a training log with load, repetitions and one precise form note. The note might be “bar moved away below knees” or “brace improved on all sets.” Use that evidence to decide whether to add weight, repeat the week or reduce volume. Building a stronger deadlift is a gradual process of practicing the same essential movement under increasing but manageable demands.
Funny Gym Shirts & Workout Gear
Funny gym shirts, tanks, hoodies and workout gear for lifters who like training hard.

Deadlift Addict & Barbell Cigarettes Can'T Quit T-Shirt
Show some deadlift attitude with a playful “Deadlift Addict & Barbell Cigarettes” tee.

Lift Heavy Be Happy Meme Bros & Gains Top T-Shirt
Show some powerlifting attitude with a playful “Lift Heavy Be Happy” tee.

Lift Heavy Pet Dogs Meme – Top & Gymbros T-Shirt
Show some powerlifting attitude with a playful “Lift Heavy Pet Dogs Meme” tee.

Barbell Buddies for Friendship, Gym Buddies, and Liftin T-Shirt
For laid-back days and powerlifting humor: “Barbell Buddies”.

Squat Bench Deadlift Pet Dogs Shirt Dog Lovers T-Shirt
Make gym days more fun with “Squat Bench Deadlift Pet Dogs” style.

Heavy Metal Deadlift – Skeleton Gym Decal for Powerlift Sticker
Bring “Heavy Metal Deadlift” attitude to your water bottle or laptop.

Deadlift And Chill Shirt Netflix & Gains Meme Top T-Shirt
Bring “Deadlift and Chill” humor to your next gym day.

I Love Deads Shirt – Valentine'S Day Deadlift Meme T-Shirt
Show some deadlift attitude with a playful “I Love Deads” tee.

Barbell Crossed Weights 45LB Plate Decal Sticker
Put “Classic Barbell Crossed Weights 45LB Plate” gym humor on your laptop, bottle, or gym gear.

Grip Strength Fanatic Meme Hoodie
Show off your lifting humor in a laid-back “Grip Strength Fanatic” hoodie.