Advertising disclosure: This page includes affiliate product links that may earn us a commission, as well as products from our own store.
Pallof Press: Cable vs Band, Better Form and a Six-Week Core Plan
The Pallof press looks deceptively simple: stand sideways to a cable or resistance band, press your hands forward and try not to move anywhere else. That last instruction is the workout. Instead of twisting your trunk, you resist the twisting force created by the anchor.
Done carefully, the drill is an efficient addition to a strength session. Done carelessly, it turns into a leaning contest with a pulley. Here is how to pick cable or band resistance, keep the setup honest, solve the common form problems and progress for six weeks without pretending that a single core exercise replaces the rest of your training.
1. What the Pallof press actually trains
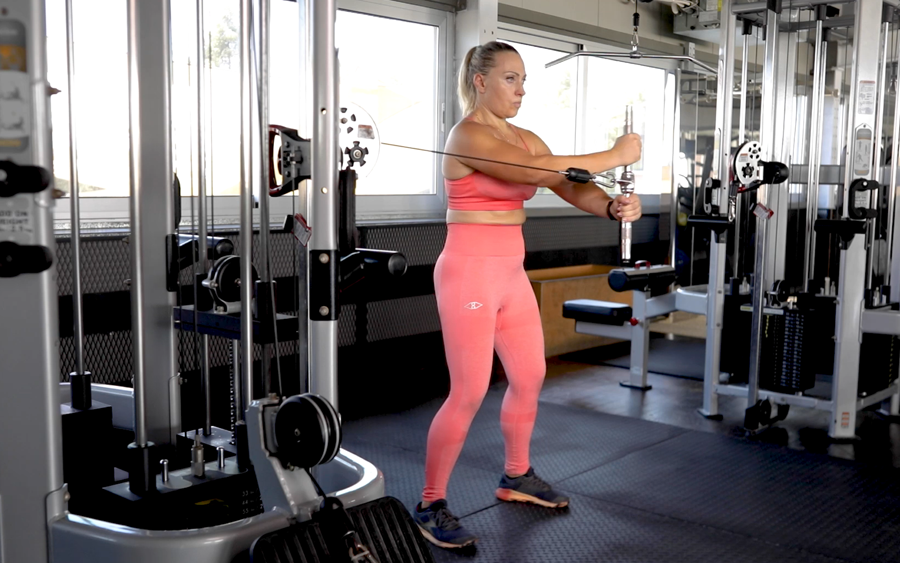
The Pallof press looks like a chest press until you notice the cable pulling sideways. Your arms move forward, but the main job of your trunk is to prevent your shoulders and hips from turning toward the anchor. This makes it an anti-rotation drill, not a twisting repetition. You should feel the challenge around your abdomen and sides while maintaining a quiet, steady torso.
That distinction changes how you judge a set. A bigger stack number, a longer arm reach or a wobbly stance is not automatically better. The useful repetition is the one where your ribs remain above your pelvis, your breathing stays controlled and your hands travel away from your chest without your body drifting. The outward press lengthens the lever and makes the sideways pull harder to ignore, even when the resistance has not changed.
Your obliques and other trunk muscles contribute to resisting that turn; shoulders and arms guide the handle, while the hips and legs provide a stable base. This exercise can complement loaded carries, planks, squats and rowing, but it does not replace progressive strength training or magically protect the spine from injury. Think of it as a simple way to train a specific control demand that is easy to repeat and measure.
A smart starting goal is two or three short sets on each side, with every repetition looking alike. The best resistance is often surprisingly light. If you feel mostly your arms, the problem may be an oversized load, a rushed press or a stance that is too narrow for your present ability.
2. Set up the cable press so every rep is comparable
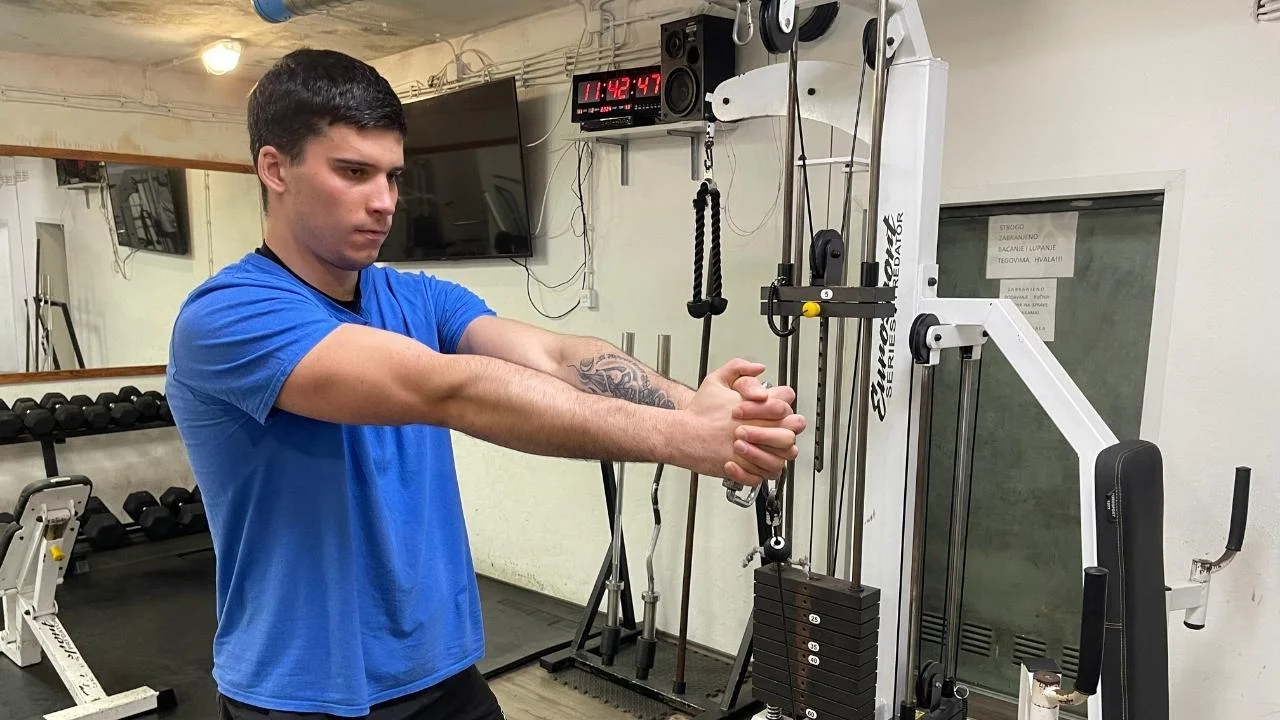
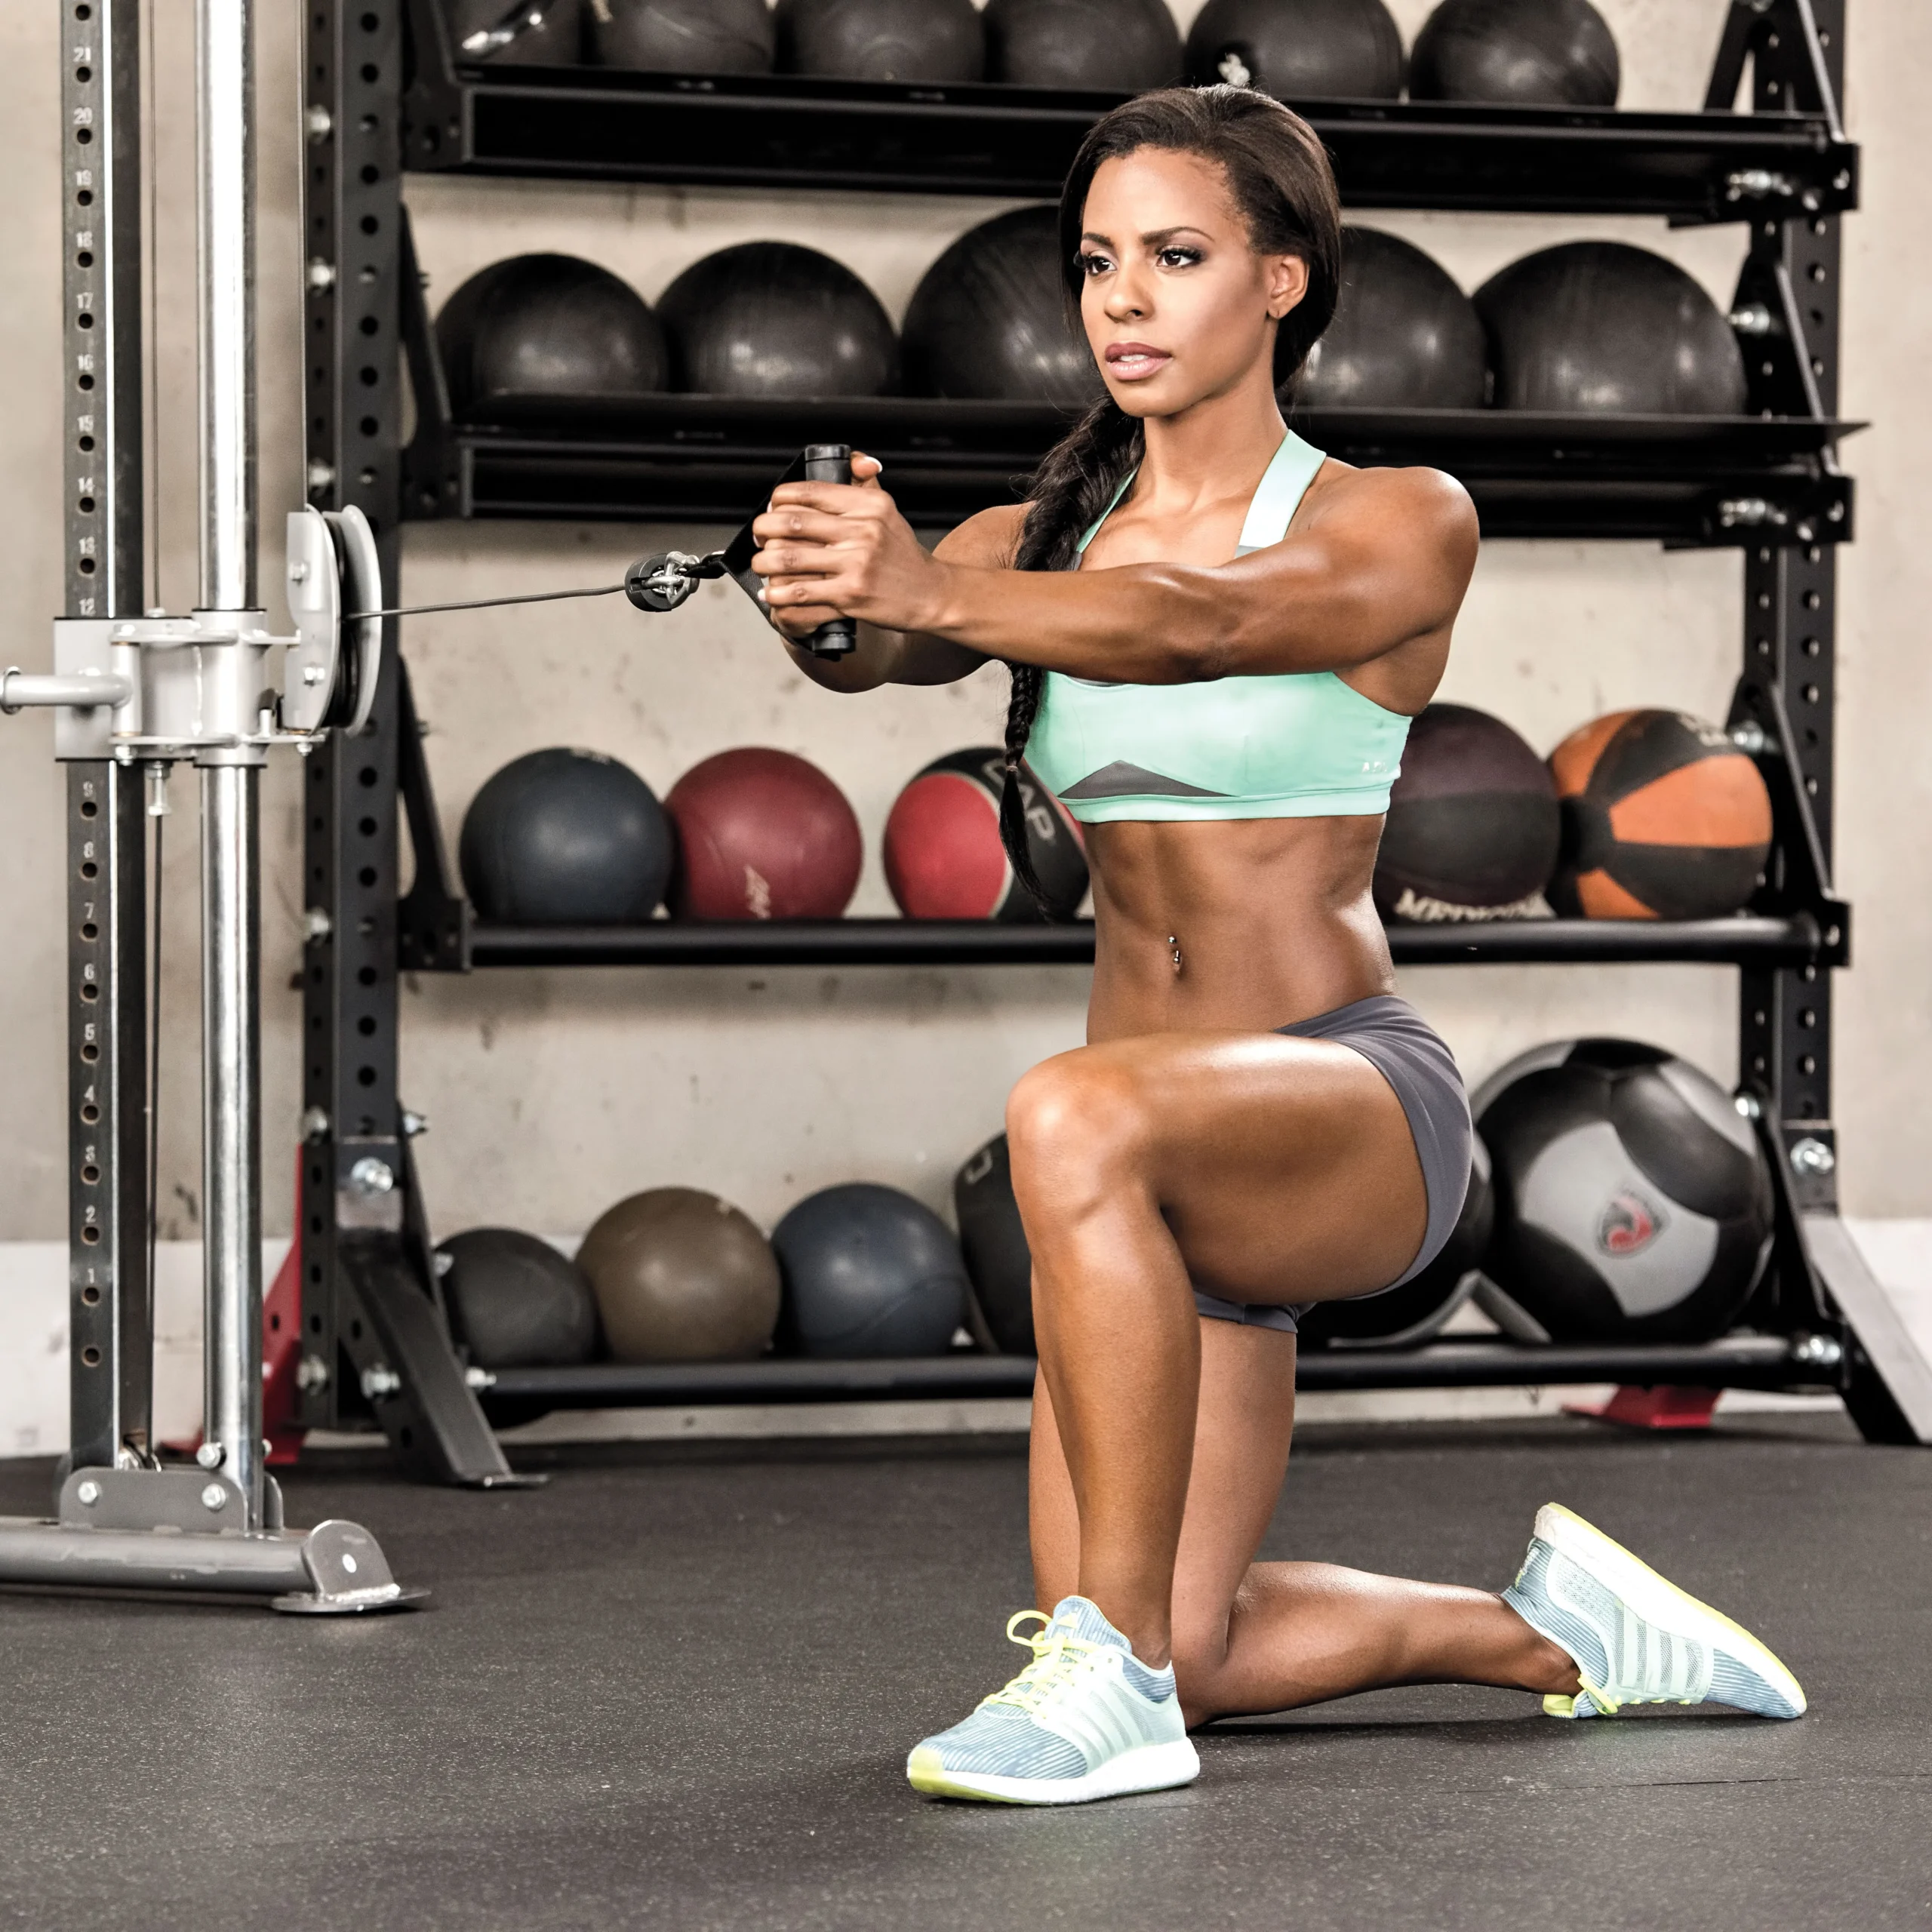
Set a single cable handle near sternum height. Stand sideways to the stack so the cable pulls from your left or right, not from directly in front. Hold the handle in both hands at the center of your chest and walk out just far enough to establish steady tension. Keep your feet roughly hip- to shoulder-width apart and soften your knees rather than locking them.
Before extending your arms, take a normal breath, gently brace as if preparing for a moderate push against your stomach, and align your ribs over your pelvis. Press your hands forward along a line directly in front of your breastbone. Briefly pause with elbows nearly straight, then bring your hands back slowly. Do not let the cable swivel your shoulders on the way out or drag your trunk around on the way back. That complete out-and-back movement is one rep.
Face the other way and repeat the same number of controlled reps. Record the stack setting, pulley height, approximate distance from the machine, stance and hold time. Machines have different pulley ratios, so a stated weight on one station cannot reliably be compared with the number on another. Even changing your distance from the cable can change the challenge and your starting angle.
A practical first session is two sets of eight repetitions per side with a one- to two-second pause at extension. Rest about 30 to 60 seconds between sides or sets, increasing rest if bracing quality deteriorates. If your arms cannot travel forward without your trunk rotating, reduce the resistance or step closer. If the weight stack floats between reps, reset the handle and cable path rather than forcing a poorly aligned repetition.

Equipment Worth Exploring
Explore equipment, accessories and gear from our carefully selected range.
VOLTRA
Compact digital cable trainer with smooth, adjustable resistance.

Go-Tone Pro
Portable digital cable trainer with up to 66 lb (30 kg) of adjustable resistance.

VForce Wall Trainer
Space-saving wall-mounted functional trainer with pivoting cable arms and variable resistance ratios.

VForce 2IN1
Half rack and pivot-arm functional trainer with switchable 1:1 and 2:1 pulley ratios.

VForce 3IN1
All-in-one rack combining an adjustable Smith machine, functional trainer, and free-weight station.

VForce 3IN1 Max
Six-post all-in-one rack with Smith machine, functional trainer, and variable-force cables.

VForce Lat Tower
Wall-mounted cable tower with pivot arms and adjustable 1:1 or 2:1 pulley ratios.

Multi Pull Smith Rack MPHR-780
All-in-one rack with a Smith machine, functional trainer, lat pulldown and low row.

GymPin Ergo Handles
Pair of ergonomic cable handles shaped for comfortable triceps and pulling exercises.
Use equipment that can be anchored safely and verify that the cable or attachment moves freely. A single comfortable D-handle is usually sufficient. Large bars, heavy rope handles and elaborate grips are optional, not the point of this exercise.
3. Cable versus band: which version fits your session?
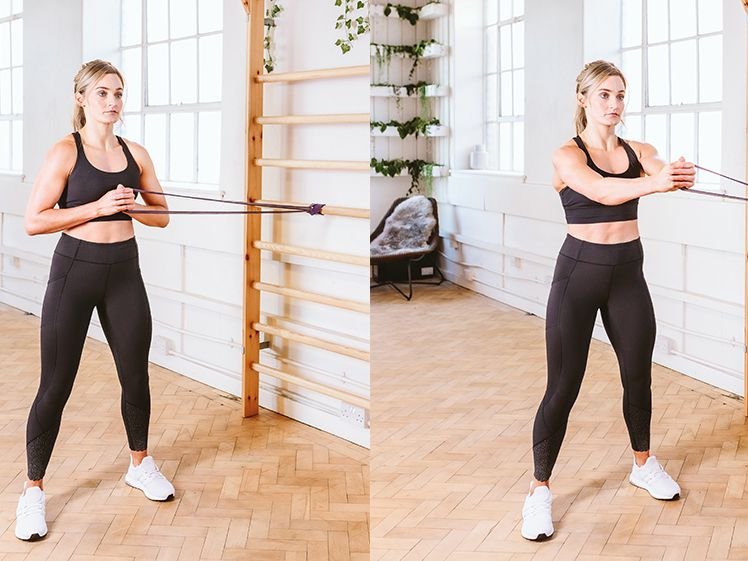
A cable station offers small, repeatable changes in selected stack weight and usually a predictable line of pull over the short press distance. It suits lifters who want to compare one week with the next without changing anchors. A band is lighter to transport and needs very little equipment, but resistance rises as it stretches. The exact tension depends on band stiffness, starting stretch and how far the hands move.
For the band variation, loop a suitable band around a truly secure rack upright or other purpose-built anchor around chest height. Stand sideways to that point, make sure the band is undamaged and pull it into your sternum with both hands. Step out until tension is present, then press forward without turning. Do not attach it to a loose object, door without a rated anchor, moving bench or another person’s hands.
Neither variation is inherently better for growing your abs. The challenge in both is resisting the rotation while you create a longer lever with your arms. For the band, note the exact band used and the floor position or distance from the anchor. For a cable, record the stack and pulley. Those details are more useful than declaring that a red band equals a particular number of kilograms on a stack.
If you have both, use whichever lets you maintain a clean line and progression. You may prefer cable sets after heavy lifting and band sets during a warm-up, but there is no need to use both on the same day. Changing the exercise for novelty every session makes it harder to identify progress. Choose one primary variation for a few weeks and use the other only when the equipment or training situation demands it.
Equipment Worth Exploring
Explore equipment, accessories and gear from our carefully selected range.

GymPin D Handle Bar
Multi-use steel D-handle bar for cable rows, pulldowns and other cable exercises.
Premium Carabiner
Durable carabiner for connecting cable attachments and training accessories.
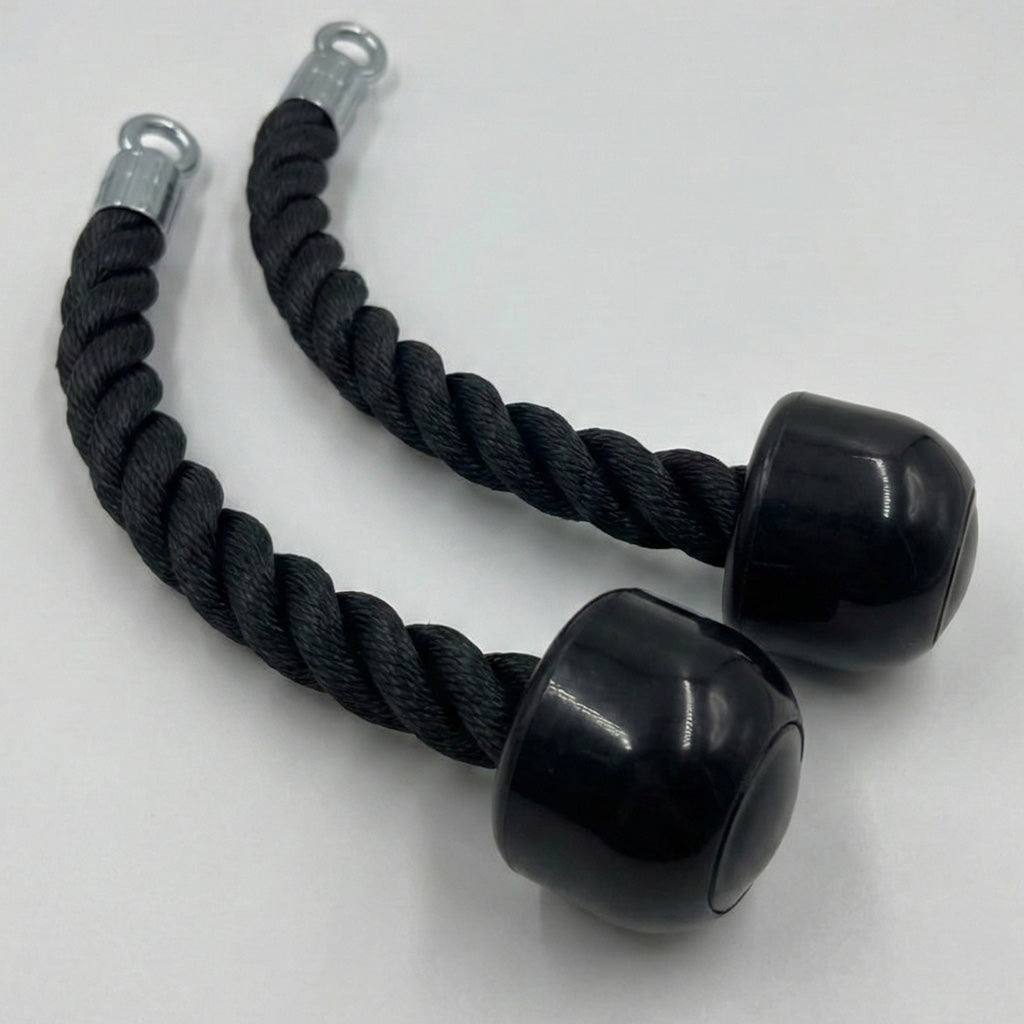
Individual Tricep Ropes
Pair of individual cable ropes for triceps pressdowns and cable hammer curls.

Long Tricep ERGO Ropes
Extended triceps ropes with ergonomic grips for cable pressdowns and overhead extensions.

Multi-Length Tricep Strap
Adjustable-length cable strap for triceps, biceps and upper-body cable exercises.
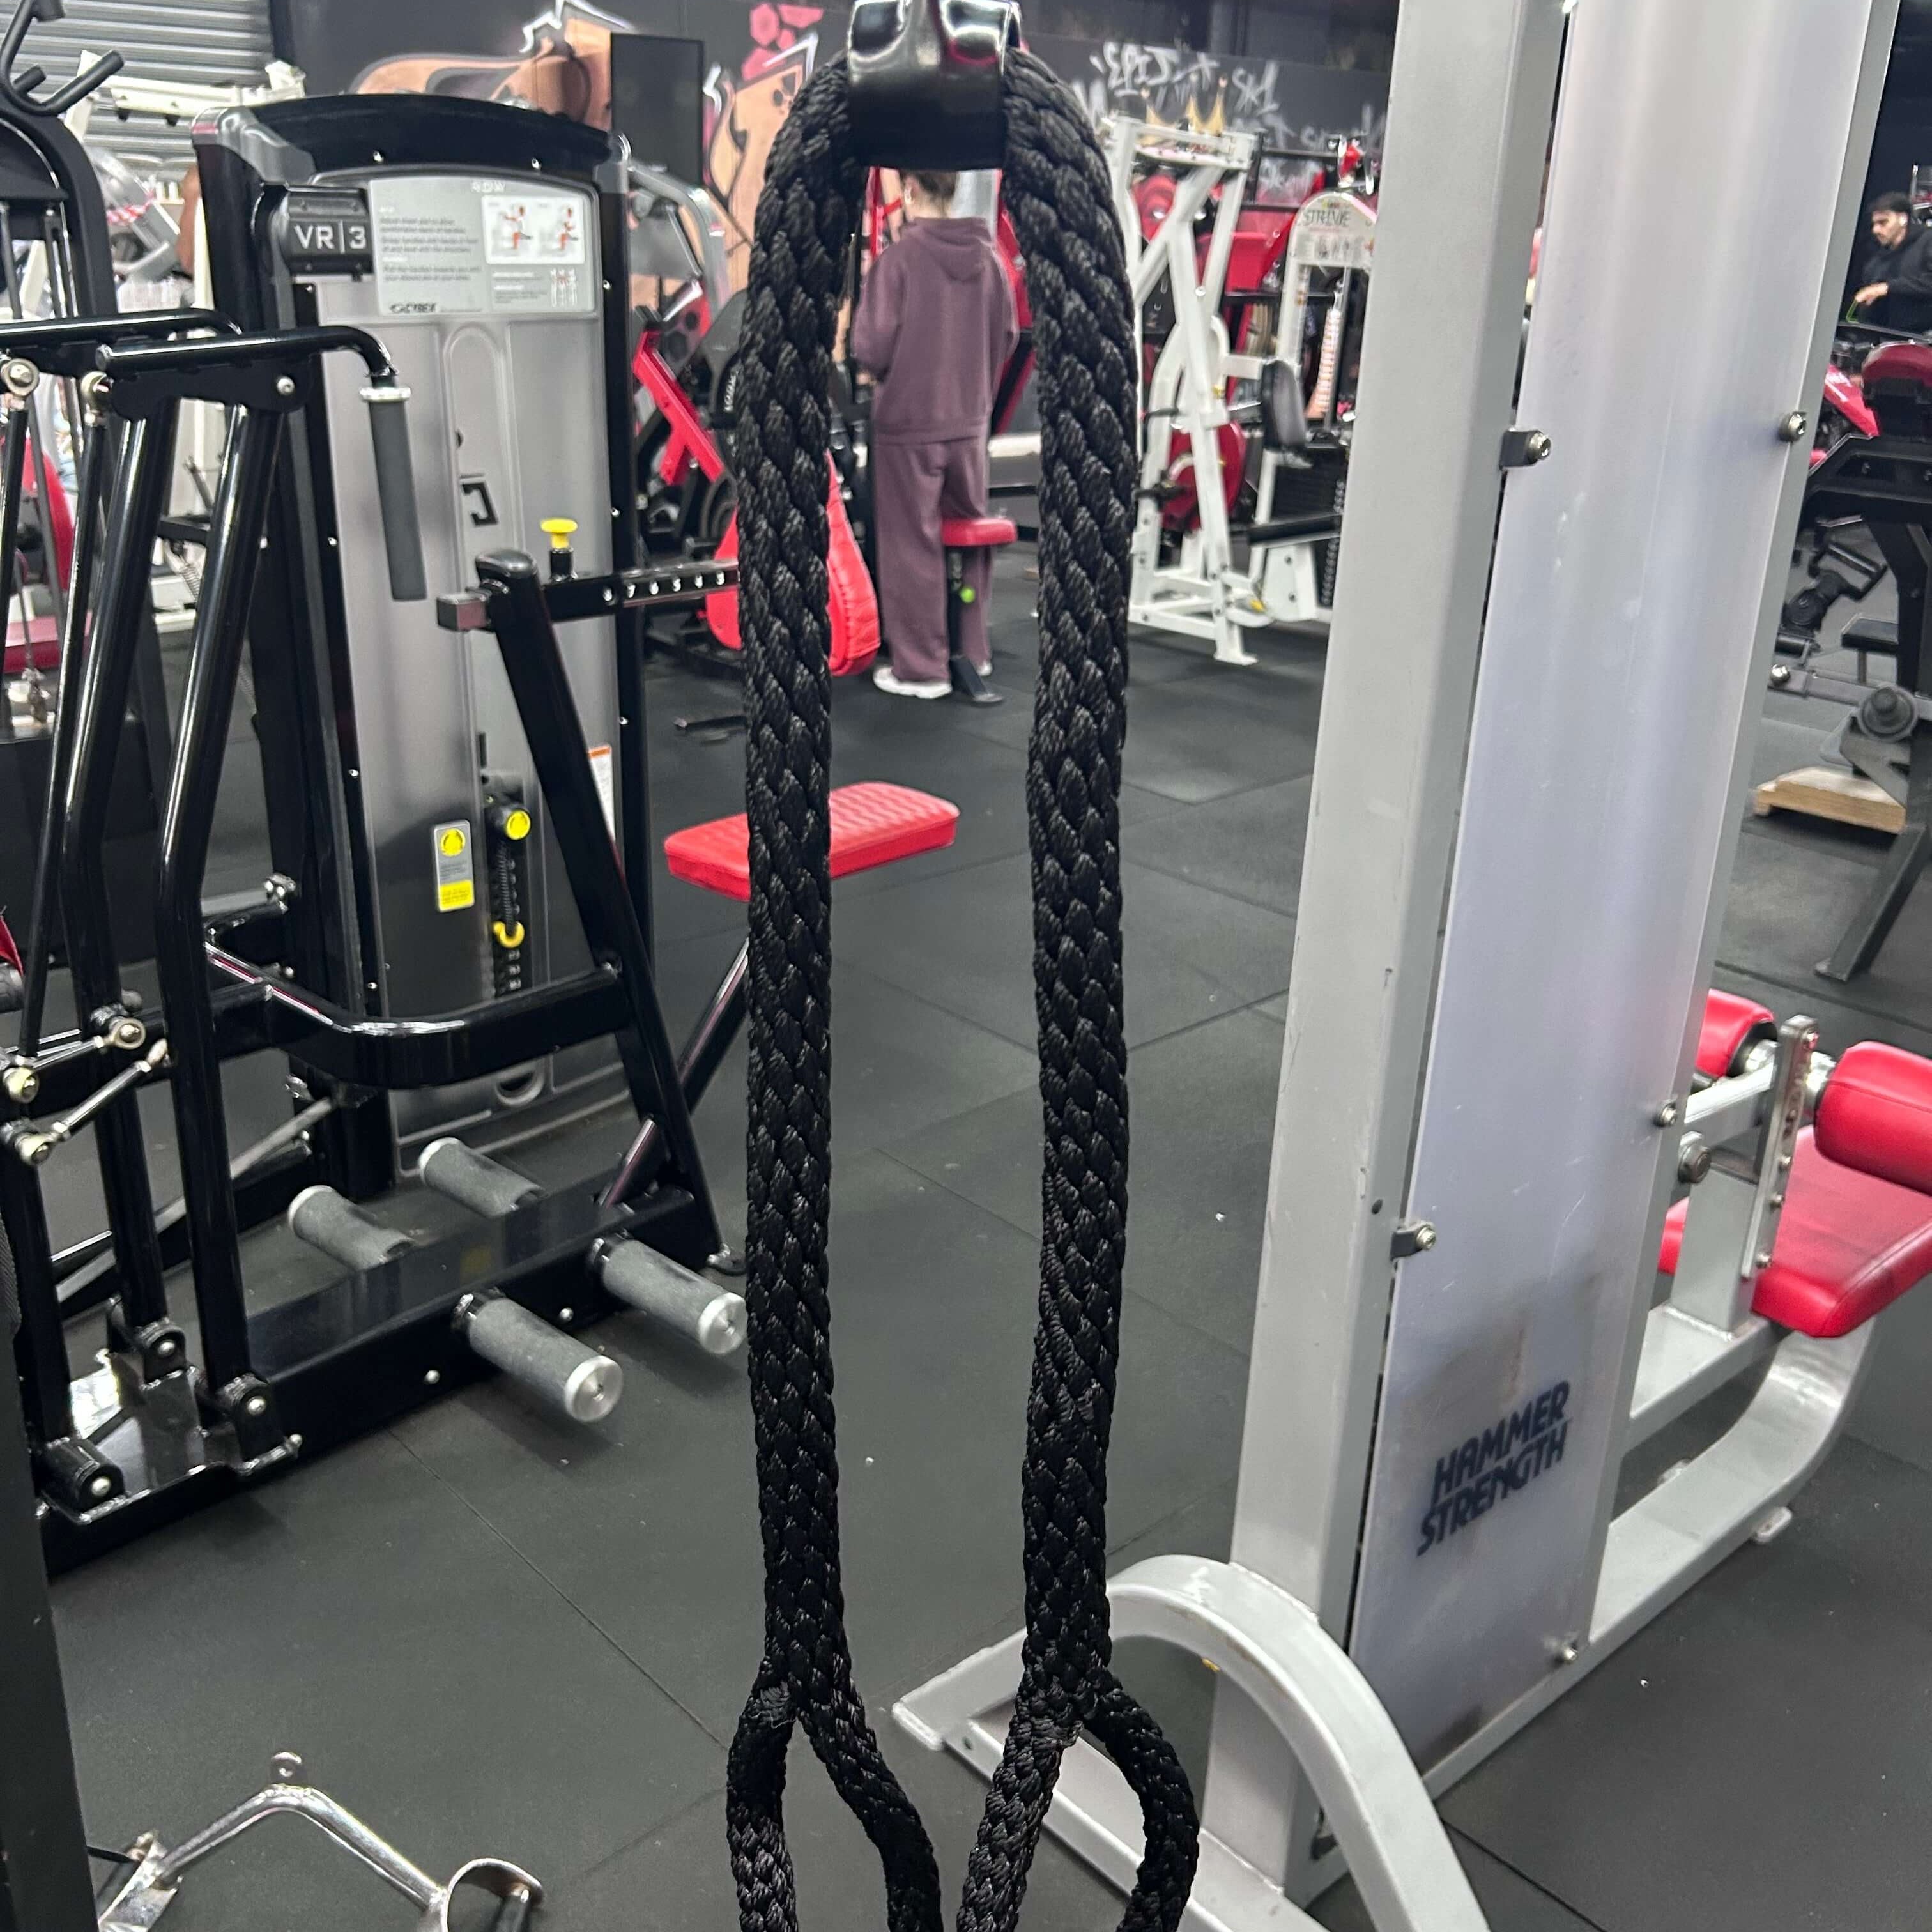
Super Long Tricep Rope
Extra-long looped cable rope for triceps pressdowns and overhead extensions.
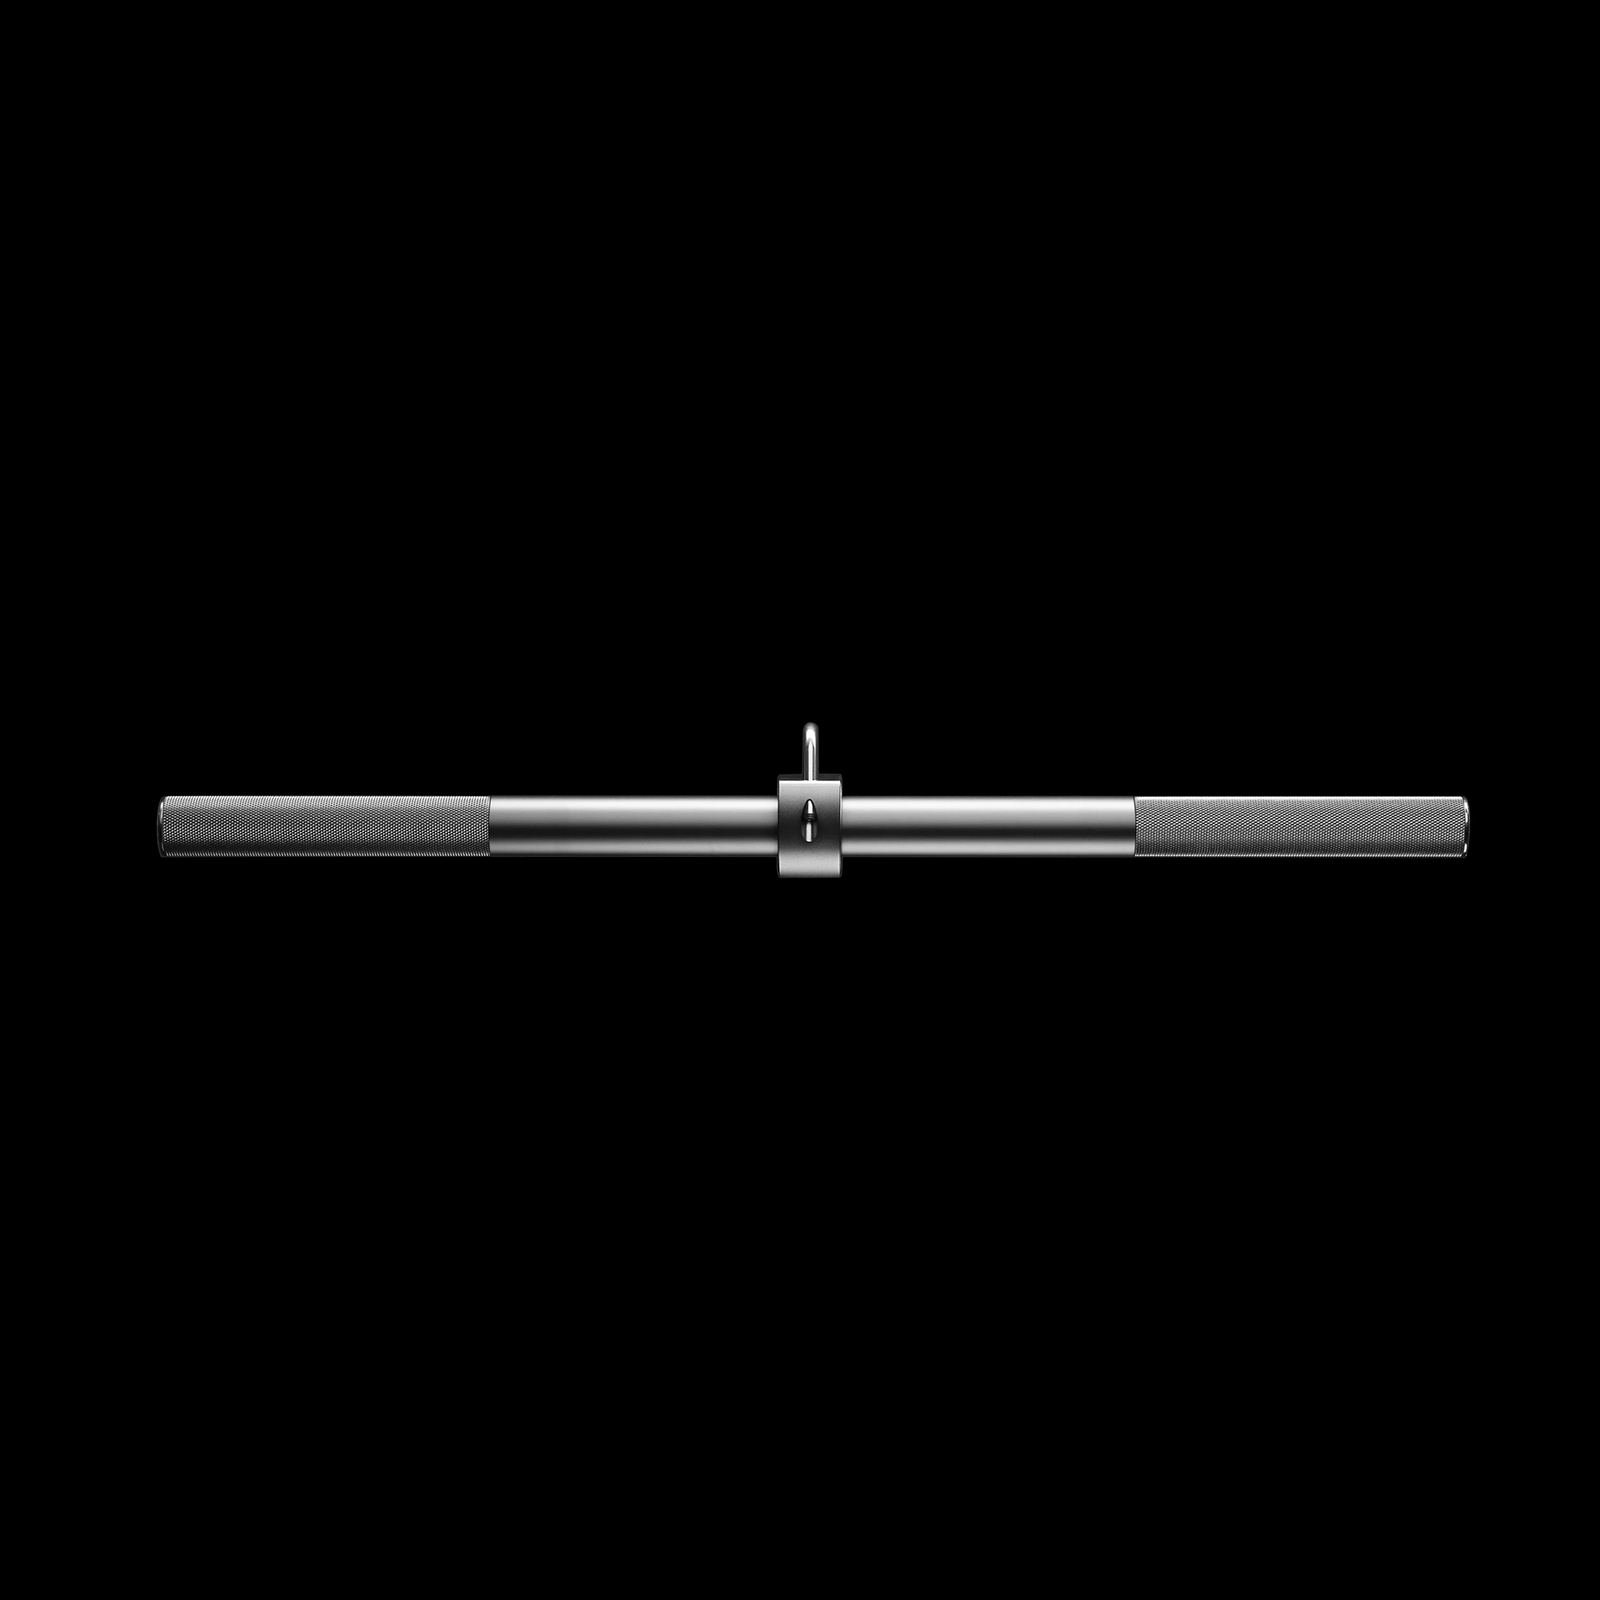

44in Dual Hook Bar
44-inch aluminum dual-hook straight bar for cable rows, pulldowns, and curls.
For those buying hardware, prioritize a stable machine or rack, adequate anchor height, smooth travel and a comfortable handle. Fancy attachments cannot rescue a flimsy anchor or a setup that puts the line of pull directly in front of you.
4. Fix the five mistakes that turn core work into a tug-of-war
The most obvious fault is rotating toward the pulley as the hands move forward. A small amount of unwanted turn can hide behind a heavier stack. Watch a straight-on video or have a training partner look at your shoulders and belt line. Use less resistance, widen your stance slightly, pause longer at the easy portion and rebuild a press that keeps both shoulders pointing forward.
A second error is flaring the ribs and arching the lower back at the end of the reach. Your arms can be fully extended without pushing the chest up. Quietly exhale as the hands travel forward and keep the pelvis stacked underneath. If maintaining that position becomes impossible, stop the set instead of treating a compensating lean as another repetition.
Third, do not lean your entire body away from the cable. That changes the movement from anti-rotation to an improvised counterbalance. You can lean slightly to establish tension, but the goal is a repeatable upright stance rather than winning a contest with gravity. If your feet slide, address footwear, floor traction and load before adding more weight.
Fourth, avoid fast pressing and snapping the handle back. Accelerating the hands can disguise a weak end position and let the cable pull you backward on the return. Use a deliberate outward press, a short stable pause and a controlled return that is at least as careful as the press.
Finally, do not ignore side-to-side differences. Perform the weaker or less coordinated side first and match its good repetitions on the second side. A temporary difference in how challenging each direction feels does not by itself diagnose a muscle imbalance or injury. If the drill causes sharp pain or persistent discomfort, stop and obtain advice appropriate to the symptoms.

Funny Gym Shirts & Workout Gear
Funny gym shirts, tanks, hoodies and workout gear for lifters who like training hard.

Six Pack Panther Muscle Shirt Athletic Vest Workout for Tank Top
Your gym-day look, with a playful “Six Pack Panther” twist.

Stability Stoic Sigma : Meme Bodybuilders & Seeking T-Shirt
Rep “Stability Stoic Sigma” humor in and out of the gym.

Handstand Walk Tee
Bring “: The Handstand Walk Beatles Graphic” humor to your next gym day.


Calisthenics Heartbeat – Pullups & Handstands & T-Shirt
Show some lifting attitude with a playful “Calisthenics Heartbeat” tee.

Consistency King Tee
Make gym days more fun with “Consistency King Stoic Greek God Marble” style.

Calisthenics Workout Sweatshirt
Add a playful “Calisthenics” touch to your casual rotation.

Discipline Stoic Tee
Show some lifting attitude with a playful “Discipline Stoic Sigma Bodybuilder” tee.

Poise & Power Stoic Sigma Bodybuilder – Greek God T-Shirt
Make gym days more fun with “Poise & Power Stoic Sigma Bodybuilder” style.

Progress Stoic Sigma Greek God Marble Sculpture – T-Shirt
Rep “Progress Stoic Sigma Greek God Marble” humor in and out of the gym.
5. Three variations that change the difficulty without chasing weight
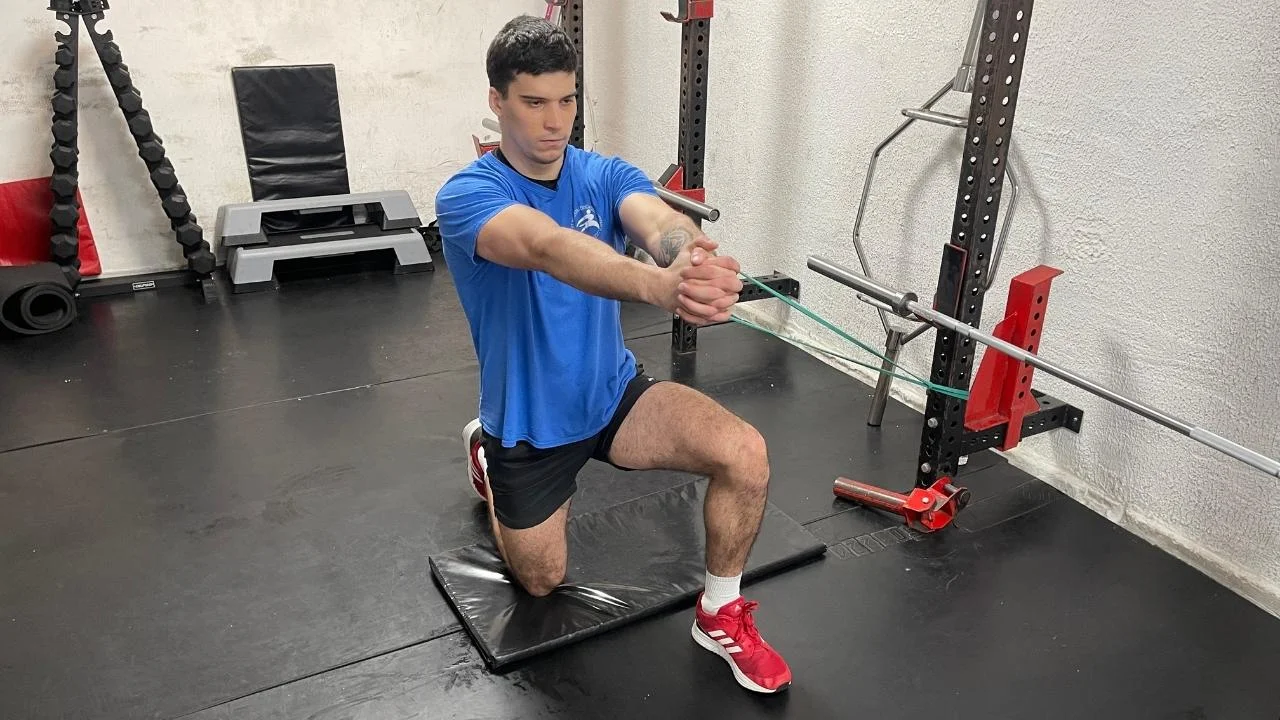
The standard standing press is the most convenient baseline. From there, a half-kneeling position can make the drill feel different by changing the contribution of the legs and narrowing the support pattern. Put one knee on a padded surface and the other foot forward, keeping the pelvis level. Set the anchor near your chest and press in front of your torso. Be deliberate about which knee is down on each side and record it if you compare sessions.
An isometric hold removes most of the moving part: press the handle to extension, then stay there for five to fifteen seconds while breathing. This is useful when you can reach the position easily but cannot maintain it. Start with short holds and stop as soon as you visibly turn, hitch the shoulder or lose the rib-pelvis relationship. Longer does not always mean better if the extra seconds are spent compensating.
A split-stance Pallof press can challenge the balance requirement differently, but it should not become a wobble test. Stagger the feet a comfortable distance, keep the front knee soft and press without letting the pelvis chase the cable. If the goal is specifically trunk resistance rather than balance, a wider, more stable base may be the smarter choice.
You can also change the direction of the cable slightly, but a substantially high or low anchor becomes a different exercise with a different line of force. Treat that as a new variation and do not compare its load directly to your sternum-height sets. For general gym programming, mastering one consistent standard version before adding variations is usually enough.
An extra set of oblique crunches is not a direct substitution: it involves moving the torso, whereas the Pallof press asks the torso not to move. Side planks and loaded carries provide other trunk-bracing challenges, while exercises such as renegade rows mix plank stability with an upper-body pulling task. They can be useful alternatives, but each has its own technique and loading constraints.
6. A six-week Pallof press plan you can actually track
Use the Pallof press after the main lifting portion of two weekly sessions, leaving at least a day between if practical. Pick either cable or band and retain that setup for all six weeks. The goal is repeatable, high-quality anti-rotation work, not a six-week claim about measurable six-pack growth. These numbers are a practical example for a generally healthy lifter, not the results of a Pallof-press intervention trial.
Weeks one and two establish control: use two sets of eight reps per side with a one-second pause, moving slowly and keeping the stack or band light enough to make each rep look identical. Spend the first session finding a convenient stance and recording it. Do not jump loads simply because the initial sets feel easier than heavy compound lifts.
In weeks three and four, work toward three sets of eight to ten per side. Maintain a one- to two-second hold at extension. If you complete every rep on both sides without rotation, rib flare or rushed returns, use the smallest reasonable increase at the next session. With bands, moving the feet farther away or changing band thickness counts as a new progression variable; change one at a time.
Weeks five and six call for three sets of ten to twelve on each side. Keep the same hold time rather than simultaneously increasing reps, cable tension and range. If the longer sets become sloppy, return to eight high-quality reps. You may instead keep the rep target lower and extend holds slightly, but document that tradeoff so your log remains understandable.
A simple progression rule is enough: increase repetitions within the prescribed range first, then add a small amount of resistance only when all sides and sets are stable. Leave roughly two clean repetitions in reserve rather than performing a maximal, twisting last rep. For people who prefer holds, begin with several brief five-second efforts and gradually accumulate quality time instead of one shaky minute.
Check your exercise log at the end of week six. Have you increased reps, time at extension or tension without changing stance and without your shoulders turning? If so, you have a meaningful sign of progress on this specific task. Continue, change only one variable, or move to a more challenging variation. You do not need to abandon other core work, and the best exercise selection remains the one that supports the rest of your training without creating unnecessary fatigue.
Bodybuilding Shirts & Workout Gear
Bodybuilding shirts, tanks and gym gear for lifters chasing muscle, size, symmetry and the pump.


Check Out My Six Pack Donut – Donut Meme Pullover Jumpe T-Shirt
Bring “Check Out My Six Pack Donut” humor to your everyday gym style.

Check Out My Six Pack Tacos – Taco Jumper Pullover T-Shirt
Keep things casual with a little “Check Out My Six Pack Tacos” attitude.

Check Out My Six Pack Beer – Gym Meme Pullover Jumper T-Shirt
Add a playful “Check Out My Six Pack Beer” touch to your casual rotation.

Six Pack Shakur Muscle | Vest for Bodybuilding & Liftin Tank Top
Train hard, laugh a little, and rep “Six Pack Shakur”.

Mind Muscle Perfection Brain and Biceps Gym for Science Tank Top
Bring “Mind Muscle Perfection Brain and Biceps” humor to your next lifting session.

Strong Inside And Out Shirt Weights And Brains Meme T-Shirt
Rep “Strong Inside And Out” humor in and out of the gym.

Consistency Is Key Stoic Greek God Marble Sculpture T-Shirt
Make gym days more fun with “Consistency is Key Stoic Greek God Marble” style.

Be Stronger Than Your Excuses – Motivational T-Shirt
Rep “Be Stronger Than Your Excuses” humor in and out of the gym.

T-Rex Hates Push Ups Hooded for Calisthenics Workout Fa Hoodie
Keep it laid-back with a little “T-Rex Hates Push Ups” attitude.
Some product links may be affiliate links, which can support Mind Muscle Perfection at no additional cost to you.