Advertising disclosure: This page includes affiliate product links that may earn us a commission, as well as products from our own store.
Landmine Squats: Secure the Anchor, Find Your Stance and Build Better Reps
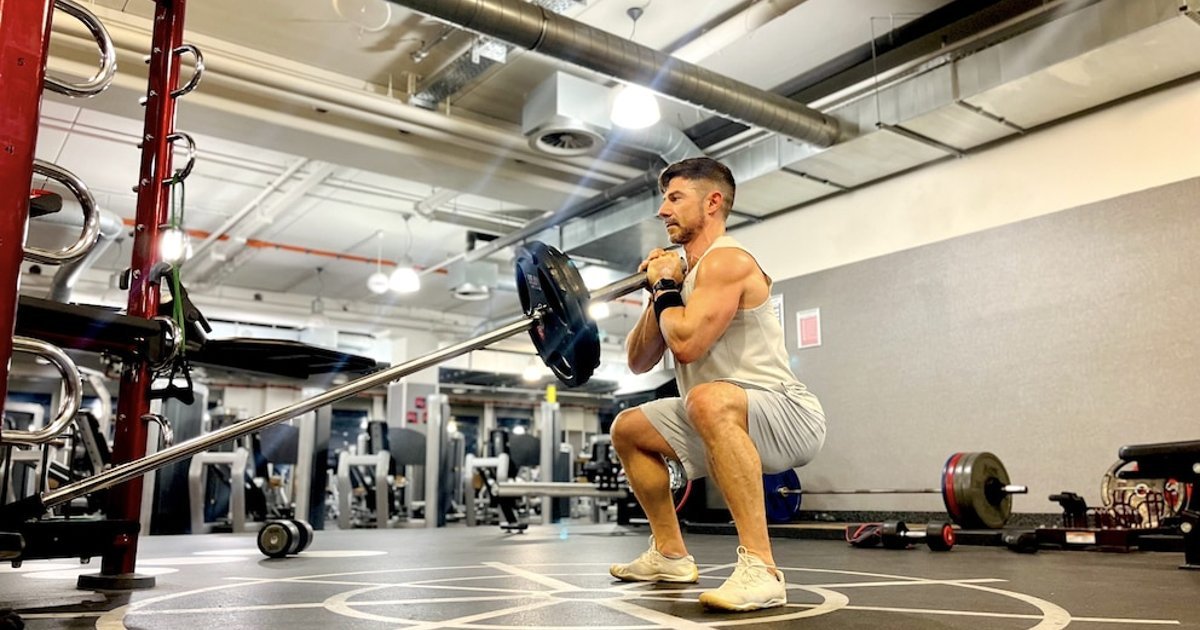
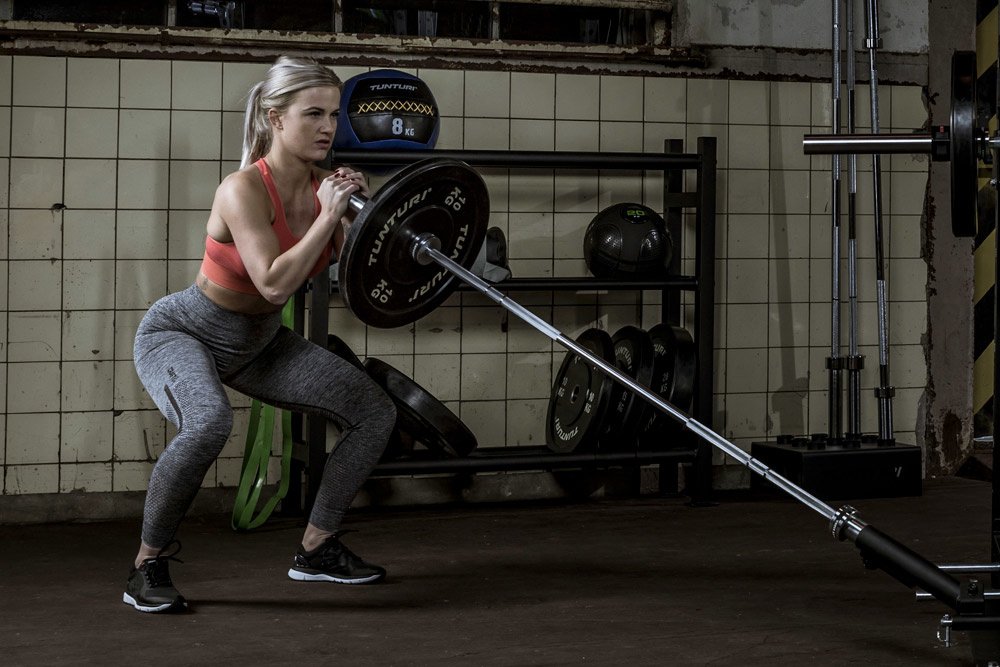
A landmine squat is a squat with one end of a barbell fixed in a pivot and the loaded end held in front of the chest. The bar follows a curved, forward-and-upward path instead of traveling freely. That can make the movement approachable, but it also means the anchor, your distance from it and your hand position influence every repetition.
The exercise is not automatically safer or more effective than other squats. Its value is the combination of a relatively simple front-loaded hold, a repeatable setup and enough adjustable resistance to train hard without turning technique into guesswork. Here is how to make those features work in your favor.
1. Secure the landmine anchor before loading
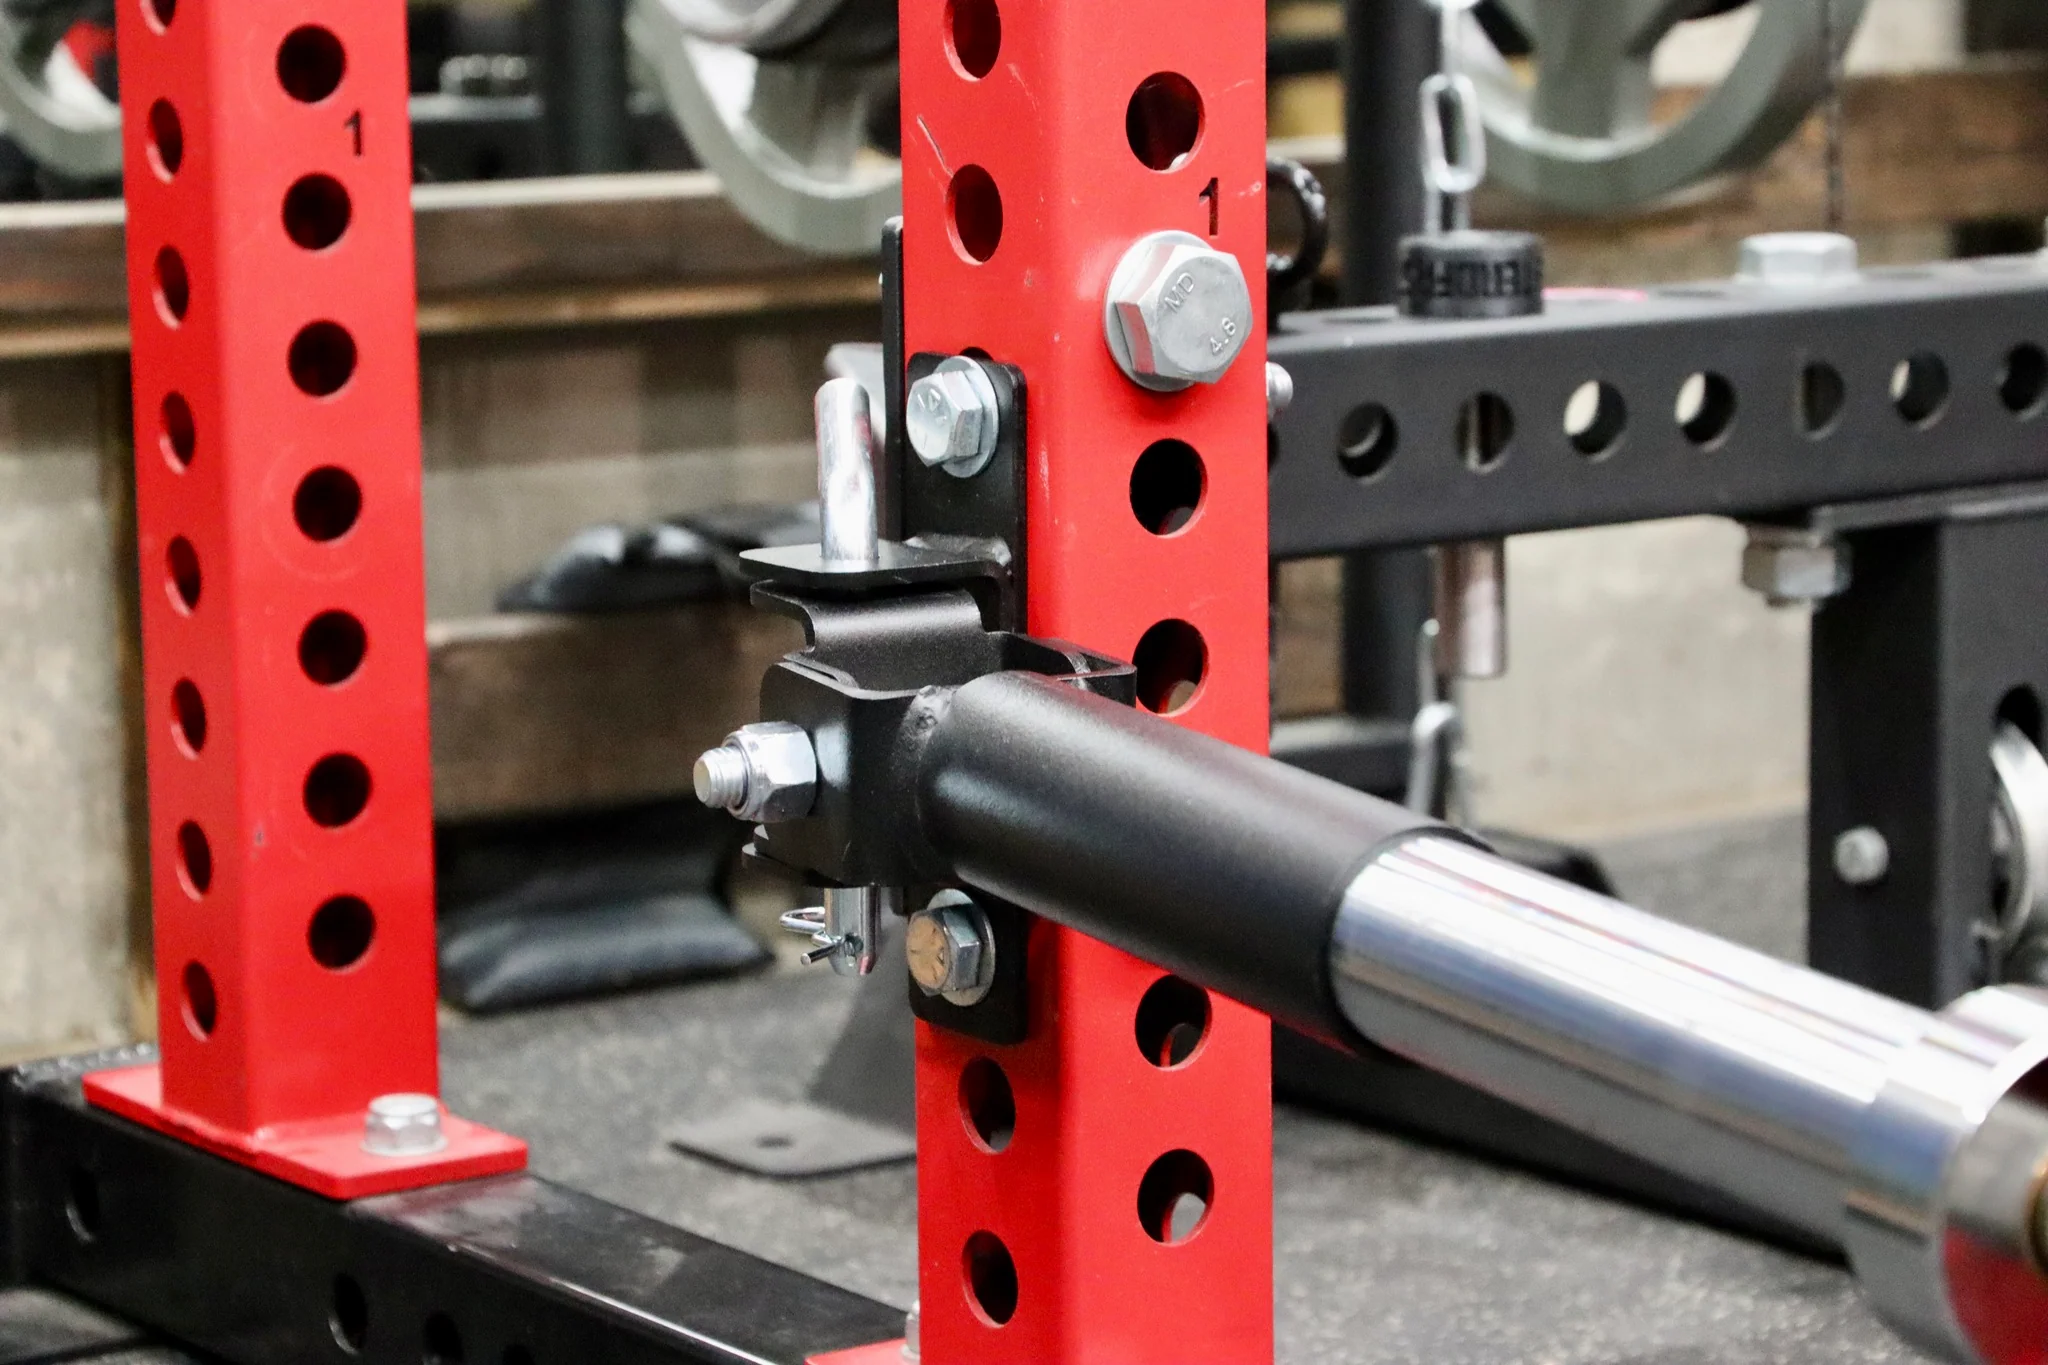
A stable anchor is the first piece of squat technique. Use a purpose-built landmine socket fixed to a suitable rack or weighted base and follow its instructions. Check that the pivot moves freely, the base cannot tip or slide, the bar sleeve is fully seated and no loose plate or clamp can hit the floor or the anchor. A barbell pushed into an unsecured corner is not an equivalent safety setup.
Before your first loaded repetition, swing the free end through its intended arc with no plates. Identify the highest and lowest positions, make sure the sleeve and your hands clear the rack, and confirm nobody will walk into the moving end. The fixed end should not lift, shift or scrape against a wall. Put plates on the free sleeve only within the bar, anchor and equipment load ratings, then secure them with a compatible collar if required.
Start with the empty bar or the lightest reliable load that lets you squat without using your arms as an emergency lever. The resistance felt at the hands changes with bar angle and leverage; twenty kilograms of plates at the free end does not feel like a twenty-kilogram dumbbell or a conventional barbell squat. Track the actual plate load and setup rather than trying to convert it into a false equivalent.
A practical pre-set check is short: anchor secure, sleeve seated, floor clear, feet in position, plates fastened, and a deliberate way to lower the free end safely after the final rep. If any element shifts during a warm-up, stop and reset.
2. Choose a stance and hold the sleeve securely
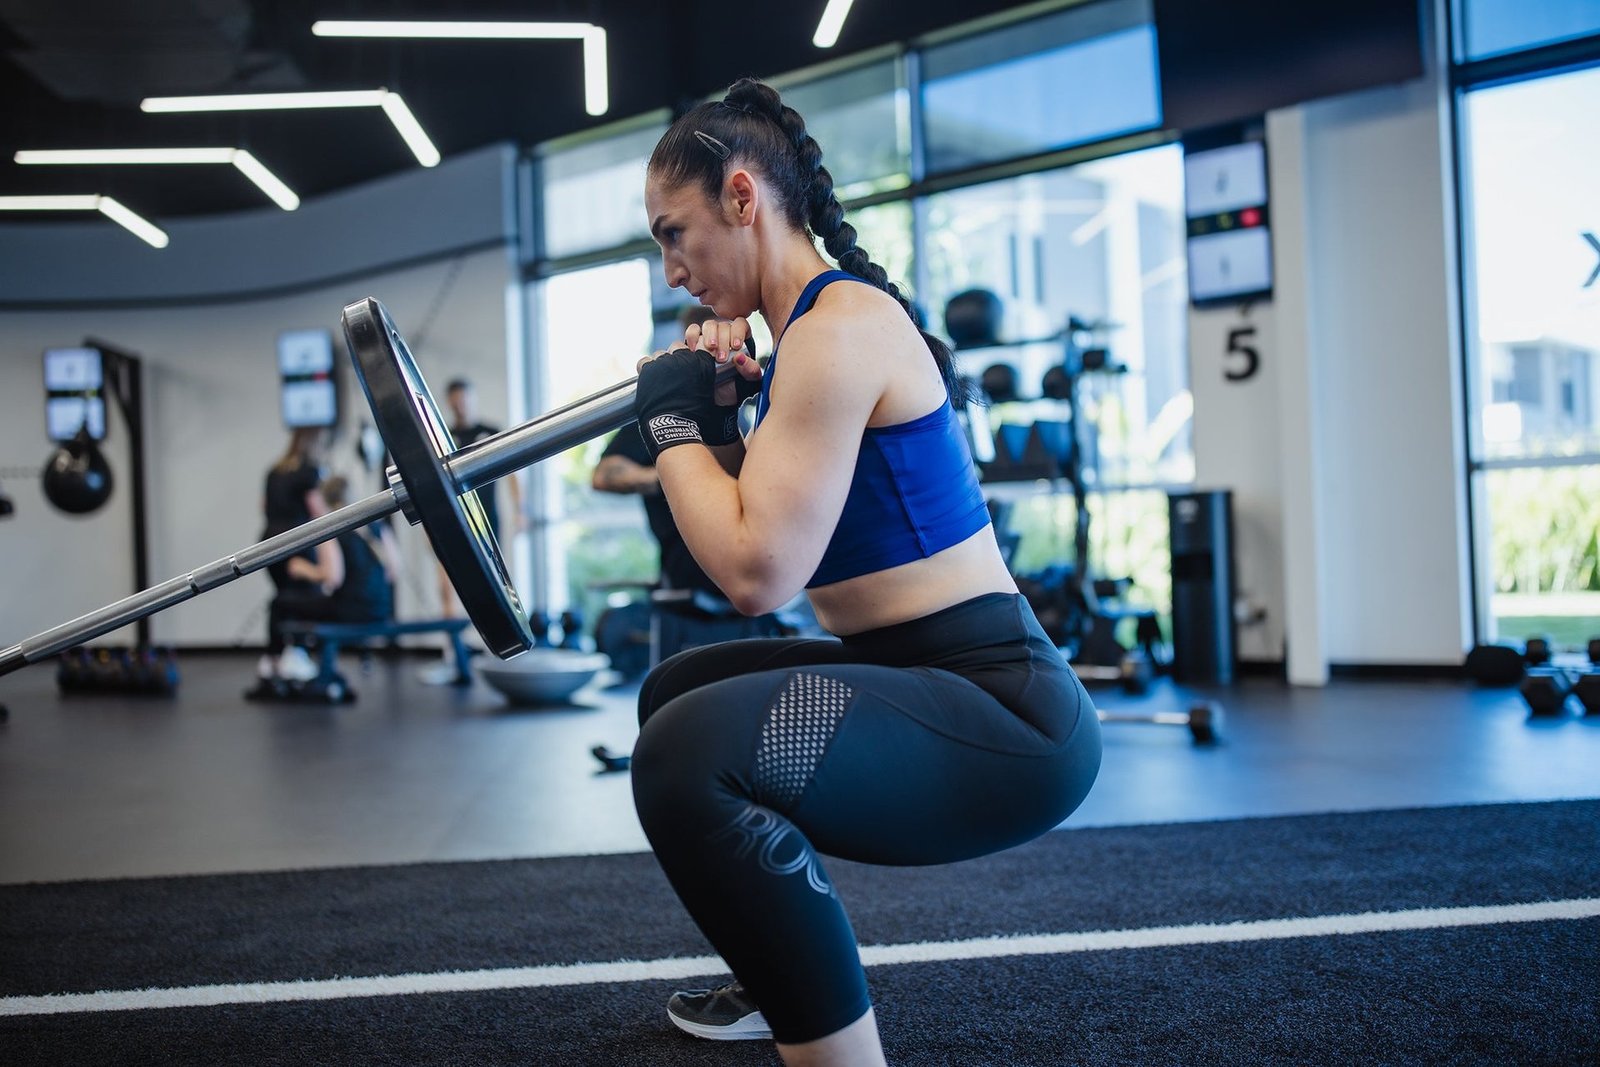
Face the anchored end, cup the loaded sleeve with both hands and bring it close to your upper chest. Avoid gripping sharp collars or pressing the plate edges into your palms. Your wrists should feel supported rather than folded awkwardly backward. If the bar end is too high to lift into position without heaving, lower the weight or use a secure setup method that does not require a risky clean.
Stand far enough from the pivot that you can squat while keeping the sleeve close, but not so far away that you must lean forward to chase it. There is no magic distance: the right spot depends on bar length, loaded diameter and your body proportions. A shoulder-width stance with toes slightly turned out is a sensible trial, not a rule that everyone must follow. Move your feet a few centimeters at a time until your hips and knees can bend together comfortably.
Keep your rib cage stacked over the pelvis and brace before you descend. Think of making your torso firm enough that the moving bar does not pull your shoulders forward. Your elbows can point down and slightly forward; they do not have to be jammed together. Keep the bar sleeve close enough that your arms guide the load without doing the squatting for your legs.
Two useful setup tests are an unloaded three-second descent and a pause near your lowest comfortable position. If the bar drags you toward the anchor, adjust your distance. If your heels rise or the knees cave inward uncontrollably, reduce range or load and find a stance you can repeat. A slight heel rise from natural anatomy is different from repeatedly losing balance on the toes.

Equipment Worth Exploring
Explore equipment, accessories and gear from our carefully selected range.


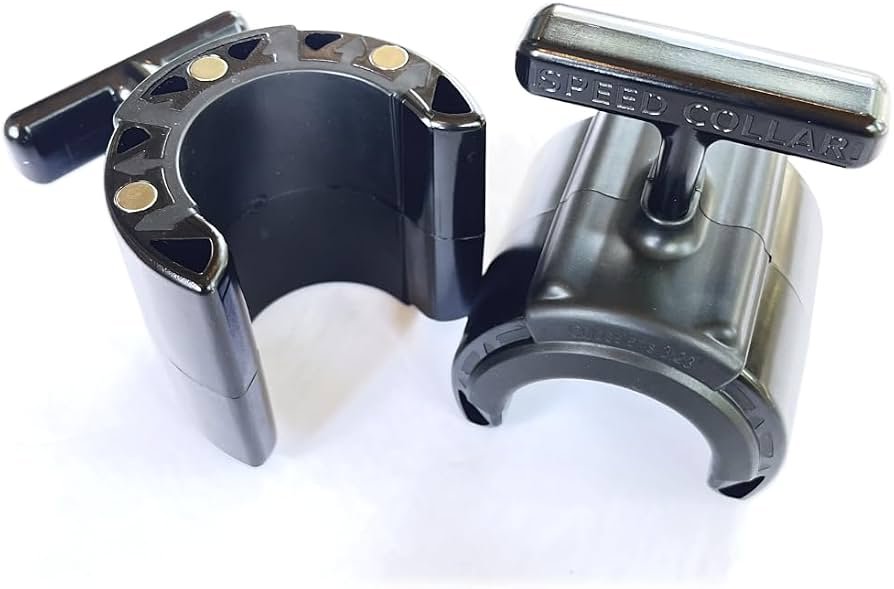
Speed Collar
Quick-release collars designed to secure weight plates on standard two-inch Olympic bars.
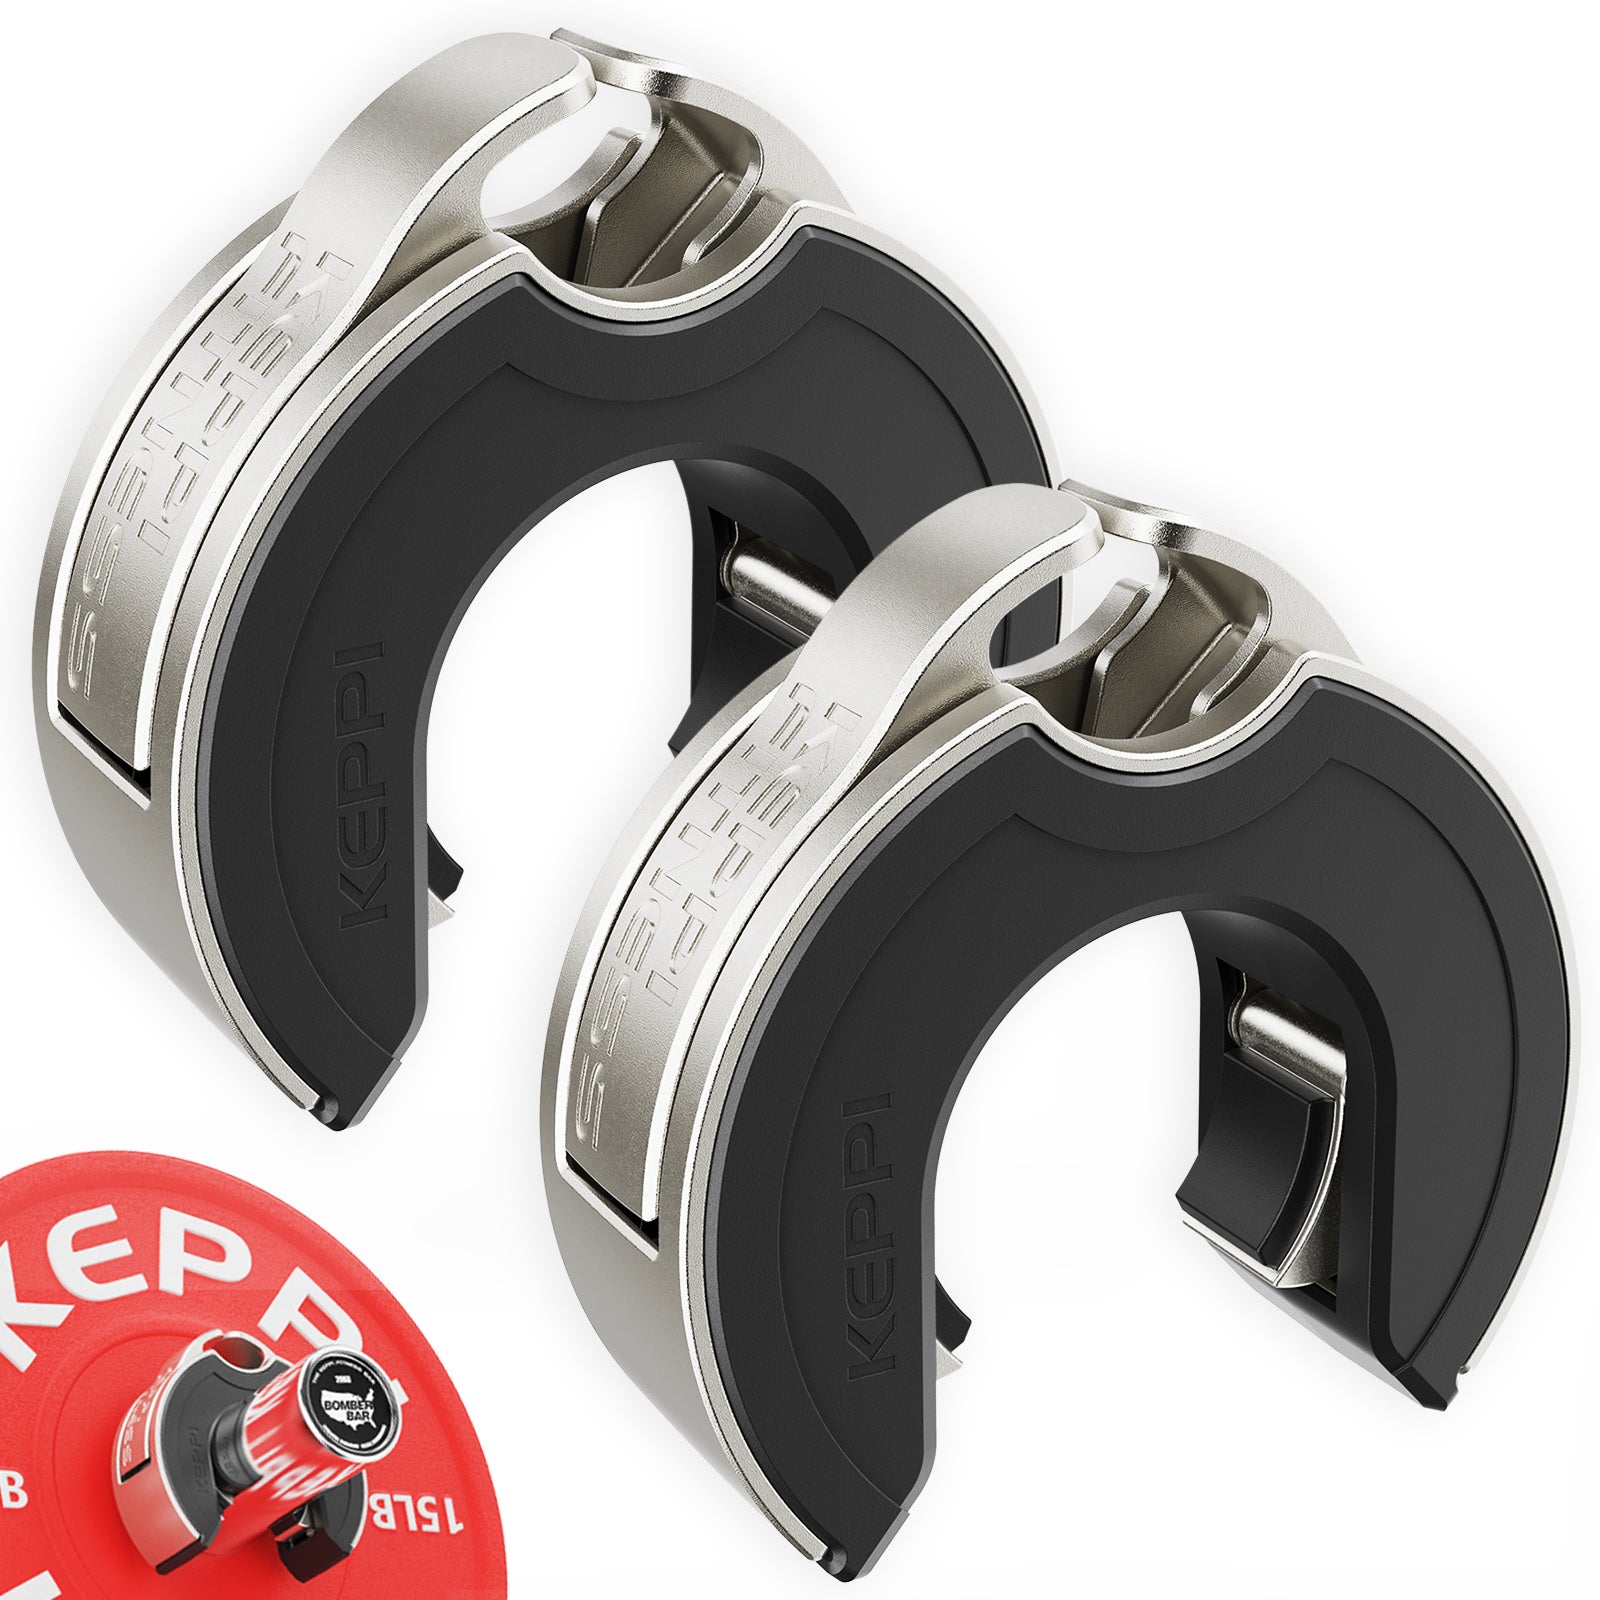
Keppi Open Collars
C-shaped magnetic Olympic barbell collars with a quick-lock mechanism and grippy lining.

Competition Plates
Competition-style bumper plates for Olympic lifts and loaded strength training.

Grip Plates
Rubber-coated weight plates with handholds for loading barbells and machines.

GymPin Squat Wedges
Non-slip 15-degree squat wedges help elevate the heels for deeper quad-focused squats.
3. Control the diagonal path and your squat depth
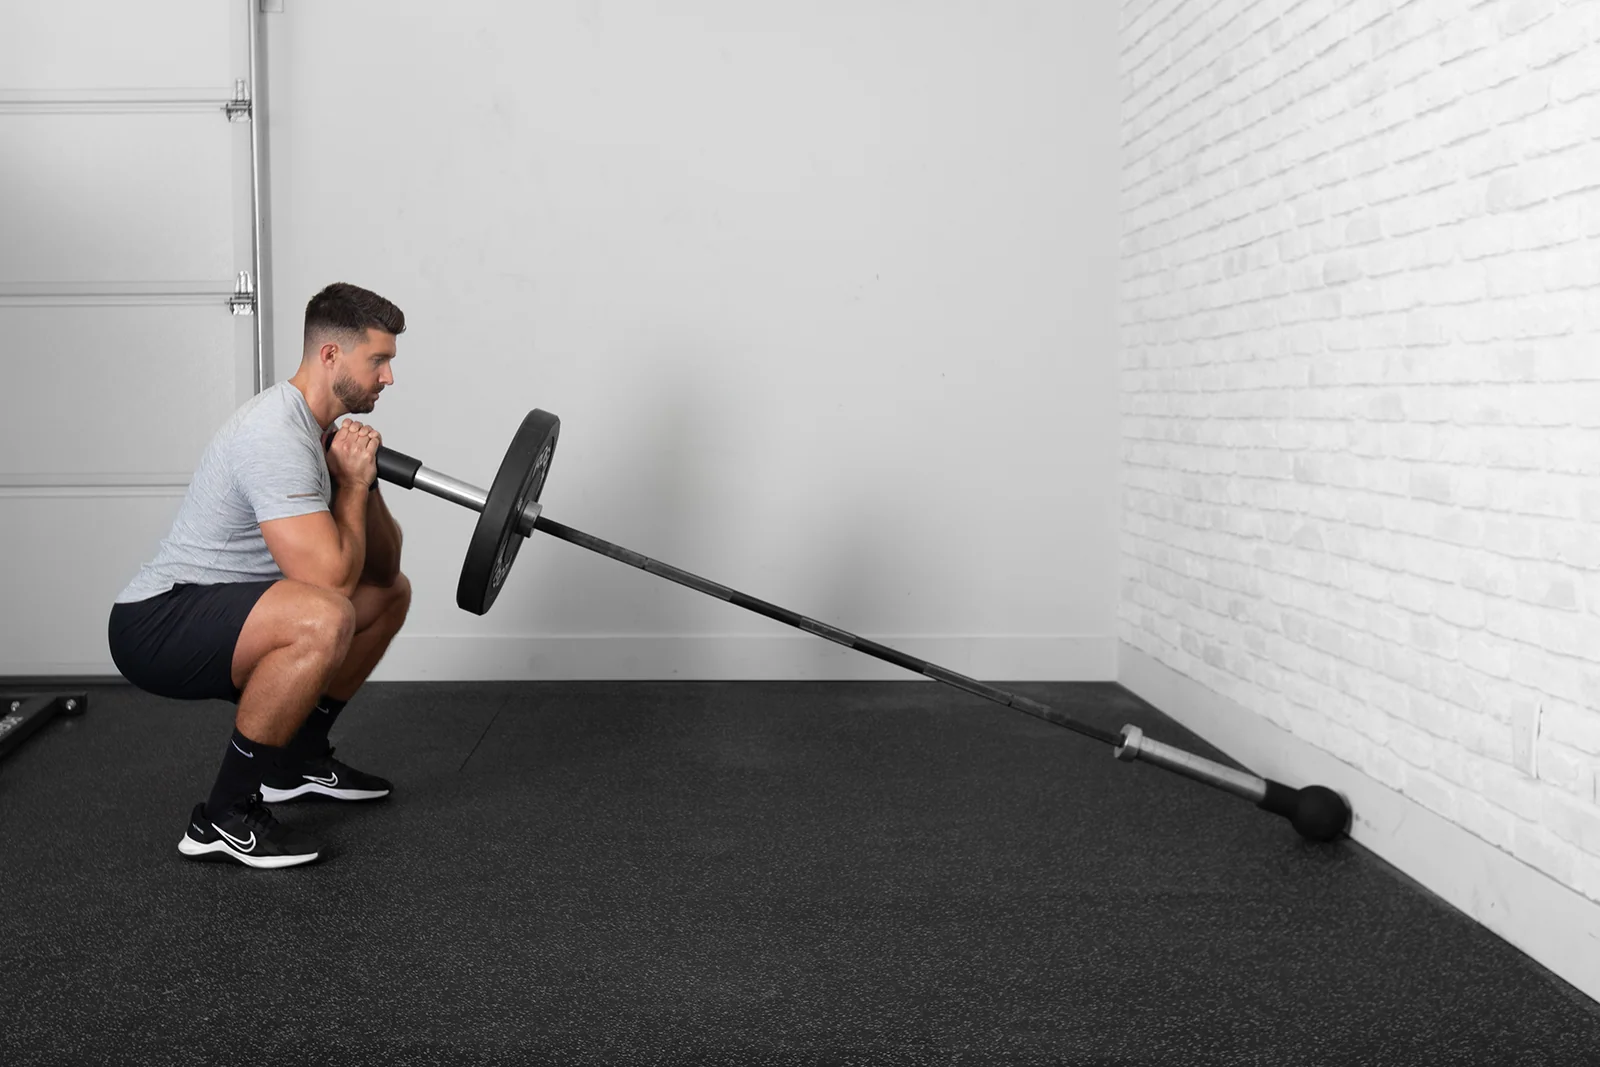
The landmine path is an arc, not a straight vertical line. As you stand, the sleeve generally travels upward and forward around the fixed pivot. Do not fight that arc by forcing the bar straight up; guide it smoothly and let your hips and knees extend together. During the lowering phase, the bar comes back toward its starting position while you maintain a balanced foot.
Start the descent by bending the knees and hips together. Keep pressure distributed through the whole foot: heel, base of the big toe and base of the little toe. Allow your knees to travel in the direction your toes point without deliberately locking them behind the toes. The useful depth is the deepest position you can reach with stable balance, a braced torso and no painful joint motion.
A three-second lowering, a brief controlled pause and an even drive upward makes the setup easy to judge. You should not bounce off your thighs, push the bar sleeve away from your body to shorten the rep or lean back hard at lockout. Finish tall with hips and knees extended; an exaggerated backbend is not extra glute training.
Film a side-view and an oblique view for two sets with the same weight. Check the bar-to-chest distance, heel contact, knee path and whether each rep reaches approximately the same depth. If the last reps become a series of short knee bends, the set was too heavy or too close to failure for your current technique.
Landmine handles and specialized squat attachments change leverage, hand position and the available clearance. Treat them as separate variations. Do not assume a row handle, swivel grip or linebacker attachment fits your particular bar and socket just because it belongs to the same equipment category.
4. Compare landmine, goblet and traditional squats
A goblet squat holds a dumbbell or kettlebell in front of the torso without an anchor. That makes it easy to take a few steps and adjust your stance, but very heavy bells can become awkward to hold before the legs are fully challenged. The landmine offers a different grip and rising arc; it is not simply a heavier goblet squat.
A front squat with a free barbell asks you to balance and stabilize the bar in a rack or cross-arm position. Landmine squats generally reduce that free-bar balancing demand, but the anchored arc changes the direction of force. A traditional back squat also allows much heavier absolute loads for experienced lifters, with different skill and equipment requirements. None of these facts establishes that one squat grows more quadriceps in every person.
One controlled laboratory comparison tested landmine and goblet squats in 32 participants—16 men and 16 women—using five repetitions at a load corresponding to thirty percent of body mass. The researchers measured muscle activation and ground reaction forces. In that specific protocol, landmine squats produced lower recorded quadriceps activation and vertical force but higher posterior horizontal force than goblet squats. The trial did not follow participants long enough to measure hypertrophy, and those five light repetitions cannot rank long-term muscle growth.
Choose based on your actual purpose: landmine squats for an anchored front-loaded pattern, goblet squats for a portable technique and warm-up option, and a free-bar squat when learning or progressing that specific barbell skill matters. If a squat causes joint pain, modify the depth, load or exercise and seek appropriate professional guidance for persistent symptoms. The goal is high-quality training stress, not loyalty to a particular bar path.
Equipment Worth Exploring
Explore equipment, accessories and gear from our carefully selected range.

Belt Squat Collar
Heavy-duty collar adapter for compatible belt-squat and landmine bar setups.

Foldable Wall Rack
Wall-mounted folding squat rack designed to save floor space between workouts.


Rubber Hex Dumbbells
Rubber-coated hex dumbbell pairs with a stable shape for home and commercial strength training.

Cast Iron Kettlebells
Textured cast-iron kettlebells for swings, squats, carries, and full-body training.


Studio V-Squat
Plate-loaded V-squat machine for supported lower-body strength training.

Leg Press/Hack Squat BPR-790
Convertible 45-degree leg press and hack squat machine with a broad footplate and band pegs.
5. Progress landmine squats over six weeks
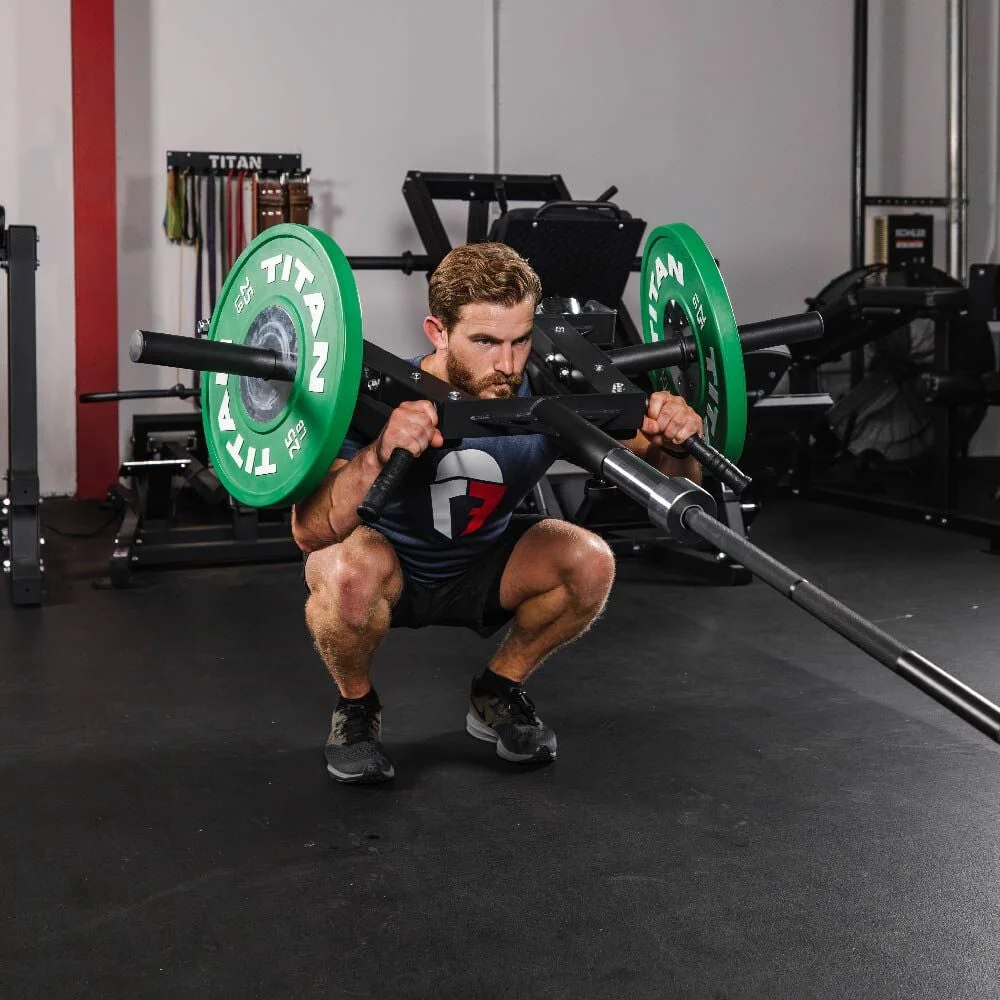
A useful six-week plan needs consistent reference points. Record the barbell and attachment setup, distance from the pivot, stance, plates on the sleeve, depth and whether you paused. Do not compare two sessions as equivalent if you changed three of those at once. Train the landmine squat one or two times weekly depending on your other lower-body work, leaving enough recovery for your next hard leg session.
Weeks 1–2: Use two or three working sets of eight to twelve controlled repetitions. Keep two or three repetitions in reserve and practice the same smooth depth. If you cannot maintain the bar against your chest or the anchor shifts, reduce weight before considering more sets.
Weeks 3–4: Keep the stance and equipment the same. Add one repetition per set before adding plates, or add a small plate increment once all sets look alike. Work in the range of six to ten reps if heavier loading suits your goal, but do not trade away heel contact or control simply to get there.
Weeks 5–6: Use three working sets of six to ten reps with a consistent controlled lowering and an optional one-second pause. Progress the final set only when you can reproduce the first set’s range and torso position. If fatigue accumulates, keep the load unchanged or reduce a set. More weight is not mandatory every week.
Place the movement early in a leg session if it is a major strength target. If your program already includes heavy back squats, deadlifts, leg presses or high-volume unilateral work, count the landmine sets toward total lower-body workload rather than adding them on top automatically. Follow with a hinge, leg curl or calf exercise only if it serves a gap in the week.
A repeatable session could be a five-minute general warm-up, two light landmine ramp-up sets, three controlled working sets, then one or two complementary exercises. Finish each set by guiding the free end down with the anchor stable and the walking path clear. Training progression is built from good repetitions you can reproduce—not the most plates you can stack on the end of the bar.

Leg Day Shirts & Workout Gear
Leg-day gym shirts and workout gear for lifters who never skip squats, lunges and lower-body punishment.


Legday Gains Squats & Deadlifts , Top & Bros T-Shirt
Bring “Legday Gains” humor to your next gym day.

Never Skip Leg Day Squats & Deadlifts Meme , Top T-Shirt
Show some leg-day attitude with a playful “Never Skip Leg Day” tee.


Leg Day Is Calling You Squats, Deadlifts & Gains T-Shirt
Rep “Leg Day Is Calling You” humor in and out of the gym.

Booty Building Mode Leg Day & Squats Meme Hooded Hoodie
Keep it laid-back with a little “Booty Building Mode” attitude.

Drake Leg Day Hoodie
Bring “If You're Reading This Its Leg Day” gym humor to lazy days and post-workout plans.

Dont Skip Leg Day Funny Gym Sweatshirt
Add a playful “Dont Skip Leg Day” touch to your casual rotation.

I Look Better Bent Over Decal Water Bottles & Sticker
Put “I Look Better Bent Over” gym humor on your laptop, bottle, or gym gear.