Advertising disclosure: This page includes affiliate product links that may earn us a commission, as well as products from our own store.
The squat starts before the first descent. If you lift the bar from the hooks and immediately shuffle backward, the weight can still be moving while you are trying to find your stance. A deliberate walkout gives you a repeatable starting position instead of making every set a fresh balancing problem. Treat the sequence as a skill: set the rack, stand the bar clear, settle, place the feet and squat. Then finish the job by returning the bar securely to both hooks.
Set rack height for the squat you actually perform
Start with the hooks low enough that you can lift the bar clear by extending the legs with both feet planted. You should not need to rise onto your toes. Equally, setting the bar unnecessarily low adds a large partial squat before your working repetitions. Test the position with the empty bar and then check it again through warm-ups as the loaded setup becomes more representative.
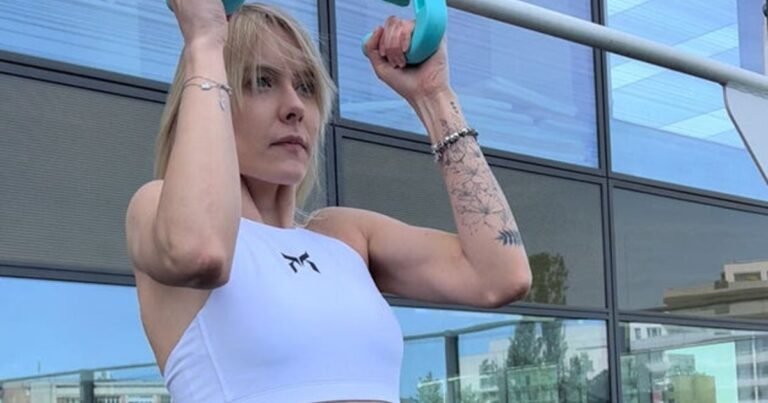
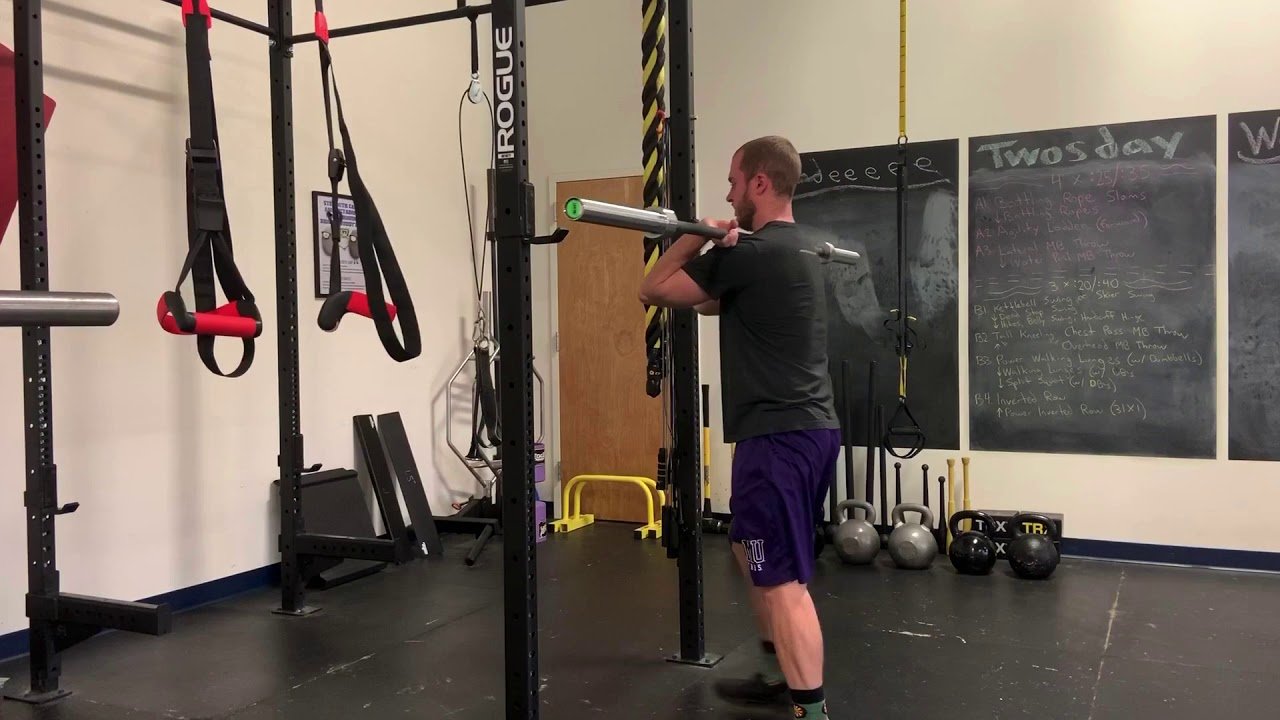
Bar position matters. A high-bar back squat, low-bar squat and front squat do not put the bar at the same height on your body. The front-rack photograph illustrates why one remembered rack hole may not suit every variation. Set the supports for your actual bar position, grip and stance rather than copying a number from another exercise or another lifter.
Check that both hooks are at the same height and properly secured according to the rack instructions. Load the bar evenly and use appropriate collars. Set the safeties for your intended squat range, testing their position with a light bar. They should allow your normal movement while providing a planned way to end an unsuccessful repetition. If you do not know how to use that setup, get qualified instruction before working hard.
Clear the platform and check the usable space between the uprights. The bar sleeves and plates need clearance, not just your torso. A wall-mounted rack, deep power rack and competition stand can demand different positioning. A guided Smith bar is a separate system and does not use the same free-bar walkout. With a combination machine, identify the actual free-weight hooks and suitable safety arrangement before treating it as a squat rack.
Stand the bar up before taking the first step
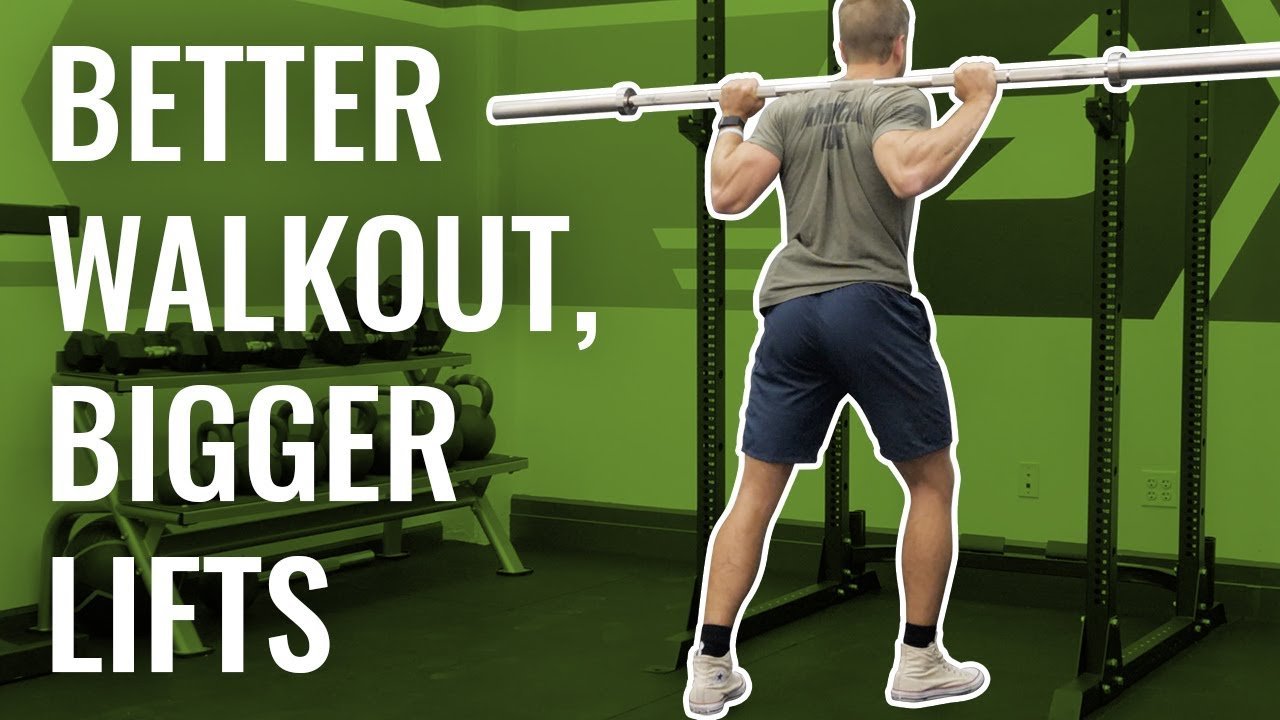
Organize your grip and bar support before lifting. For a back squat, create the upper-back position you will maintain during the set. For a front squat, establish the front rack before leaving the hooks. Neither version benefits from discovering an unstable bar position after you have already stepped away. If the bar is sliding or the grip feels wrong, reset while the load is still supported.
Place the feet so you can stand the bar up under control. Take your breath and brace for the lift, then extend the legs to clear the hooks. Avoid turning the unrack into a good morning by placing the hips far behind the bar and arching it upward. The exact stance is individual, but you need a balanced base that lets you take the weight without an awkward sideways shift.
Once clear, pause briefly to establish control before moving backward. This is a change in sequence, not a demand to perform a long static hold with every warm-up. If the bar is visibly oscillating, rushing the feet while it moves can add another disturbance. Let the load become manageable, then begin the walkout deliberately. With a light practice bar, rehearse that separation until it feels natural.
Do not combine standing up and stepping backward into one hurried action. The hooks must be fully clear before the bar moves past them. A plate striking an upright or a sleeve catching a hook is a useful signal to review height, distance and timing. Reduce the load and correct the setup rather than repeating the same collision while hoping the next attempt will feel smoother.
Use two or three purposeful steps, then stop adjusting
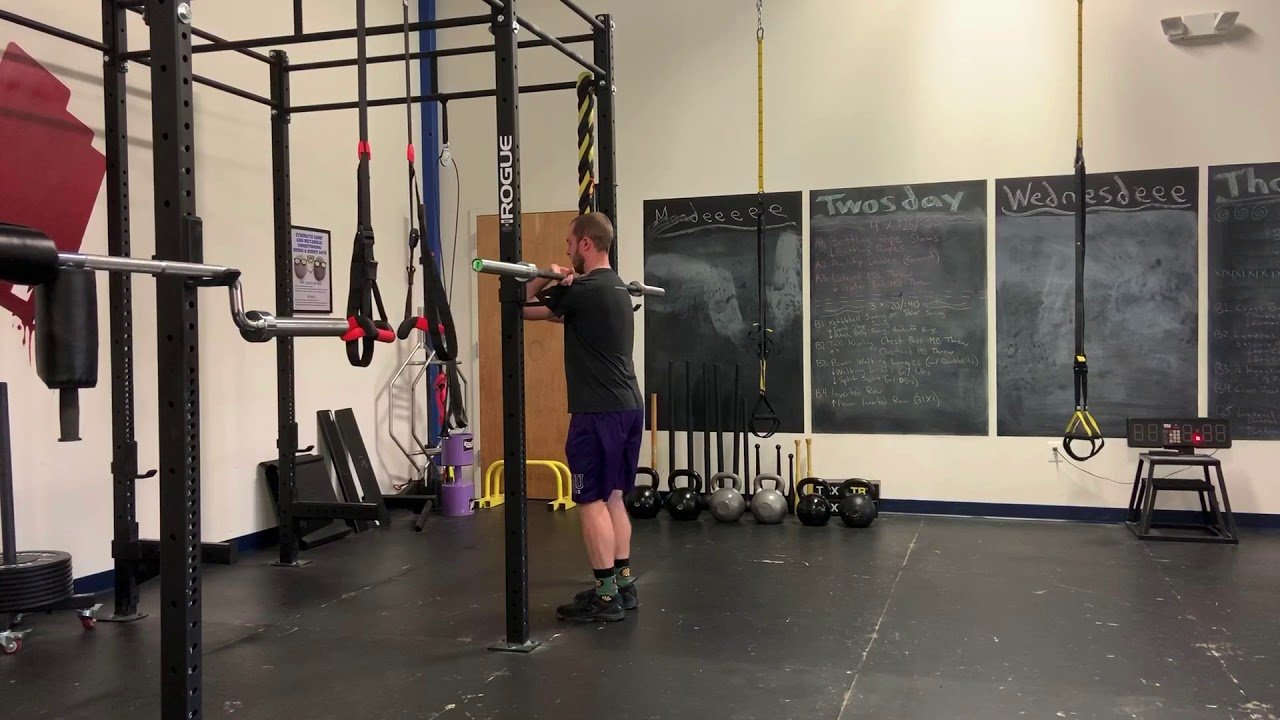
A two-step walkout places one foot back and then the other into the desired squat stance. A three-step version adds a small final adjustment to establish width or alignment. Either can work. The useful test is whether you arrive balanced, with the bar clear of the rack and the feet where you intended them to be. A rigid step-count rule cannot compensate for poor placement.
Choose a consistent lead foot during practice. Take only enough distance to clear the hooks and allow the full squat without hitting the rack. Walking a long way backward gives you farther to travel after a tiring set and can place you outside the intended safety area. Check that the bar will remain over the safeties throughout the movement when using a power rack.
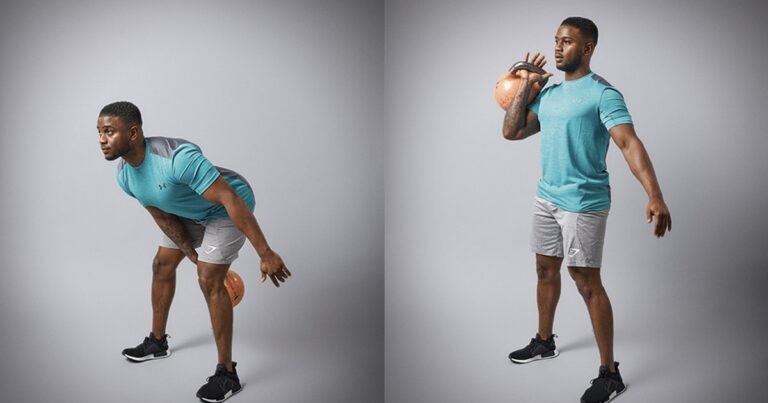
The front-squat walkout photograph shows the stepping task with a different bar-support position. The principle is the same: keep the load organized while you place the feet. It does not mean copying a front-rack grip for a back squat. Allow your preferred squat stance and toe angle to determine the destination, then practice getting there without repeated heel shuffles and toe taps.
If every set ends with a search for stance, examine the first two steps rather than adding a longer checklist at the end. A small first step may leave too little room for the second; an excessively wide first step may require correction. Film a light set from a safe angle that shows the rack and feet. Change one part of the sequence, then check whether the next walkout becomes simpler.
Reset for the squat and return deliberately afterward
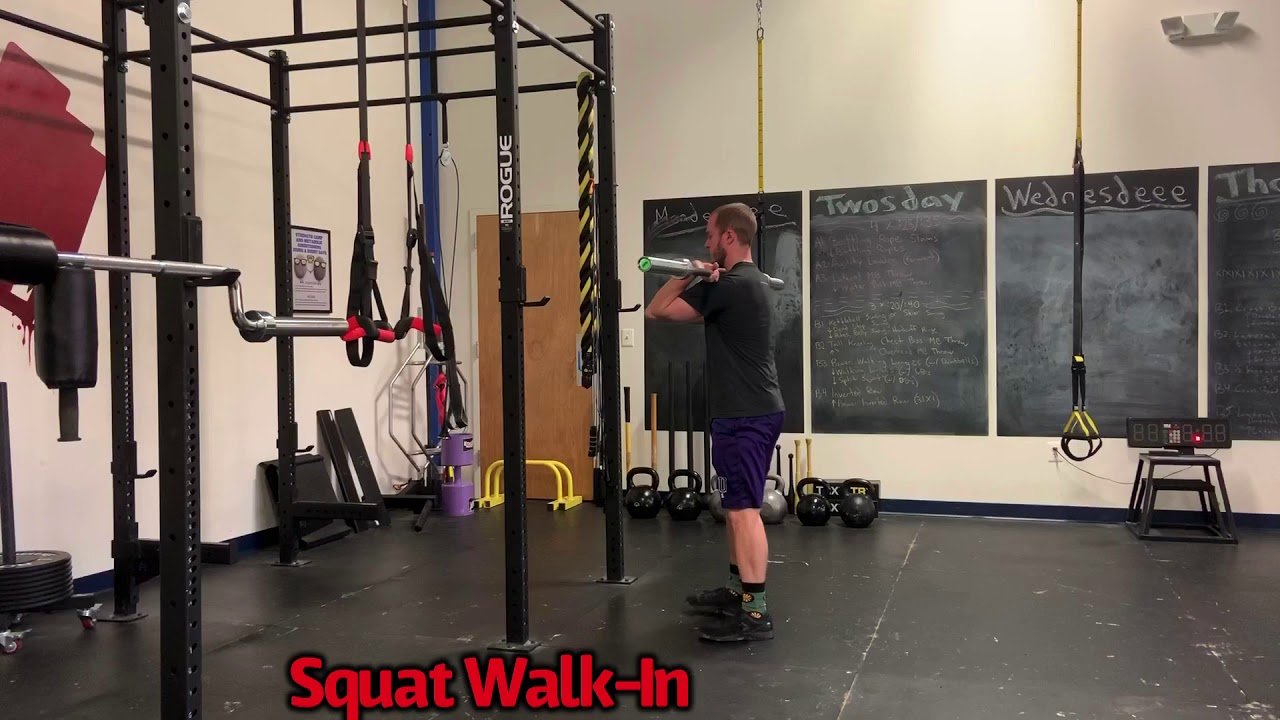
After the feet are set, confirm that you are stable and prepared for the first repetition. Re-establish the breath and brace as needed for the load and your usual technique. Do not hold one breath indefinitely while conducting an extended stance inspection. If you are not organized enough to begin, return the bar to the rack and reset with a more manageable setup.
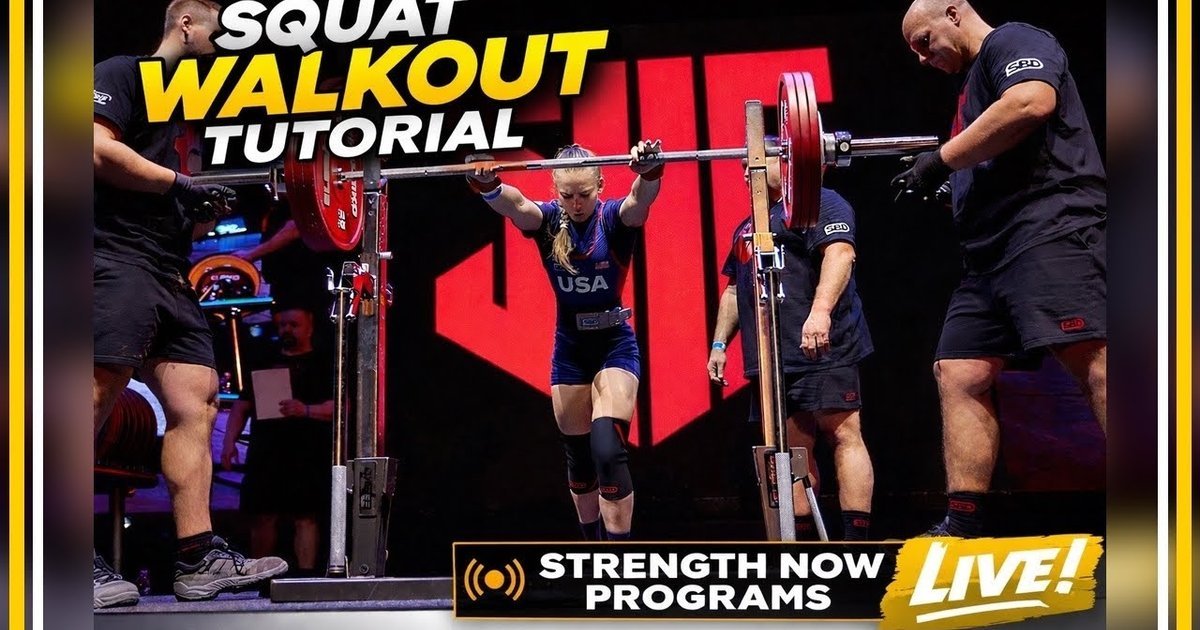
During a normal gym set, you control the transition into the descent. In competition, commands and rack arrangements depend on the applicable rules; practice the actual requirements with your coach when preparing for a meet. A monolift setup can remove the backward walk, but that is a different equipment task. Do not assume skill in one arrangement transfers perfectly to another.
At the end of the set, walk forward toward the hooks while maintaining the bar position. Keep standing tall until the bar has reached the intended rack contact on both sides, then lower it onto the supports. The front-squat walk-in photograph illustrates the return, with the load supported at the front rather than the back. Do not relax the grip or step away until both ends are securely seated.
Avoid aiming down toward one hook before the other has arrived. Fatigue can make a familiar rack feel farther away, so take the return seriously even after an easy set. If you are learning the movement, ask a qualified coach to teach the rack-specific return and spotting procedure. A training partner can observe your setup, but an improvised attempt to catch a falling bar is not a replacement for an appropriate safety plan.

Equipment Worth Exploring
Explore equipment, accessories and gear from our carefully selected range.

Multi Pull Smith Rack MPHR-780
All-in-one rack with a Smith machine, functional trainer, lat pulldown and low row.

VForce 3IN1
All-in-one rack combining an adjustable Smith machine, functional trainer, and free-weight station.

VForce 3IN1 Max
Six-post all-in-one rack with Smith machine, functional trainer, and variable-force cables.

VForce 2IN1
Half rack and pivot-arm functional trainer with switchable 1:1 and 2:1 pulley ratios.

Foldable Wall Rack
Wall-mounted folding squat rack designed to save floor space between workouts.


Competition Plates
Competition-style bumper plates for Olympic lifts and loaded strength training.

Grip Plates
Rubber-coated weight plates with handholds for loading barbells and machines.

Practice consistency rather than testing a heavier walkout
Use your warm-up sets to rehearse the same sequence you intend to use for working sets. With a light bar, you can practice the pickup, a brief settle, the chosen steps and the return without adding extra squat repetitions. Keep that practice brief and stop if fatigue starts changing the task. The purpose is coordination and familiarity, not creating another exhausting exercise before your main work.
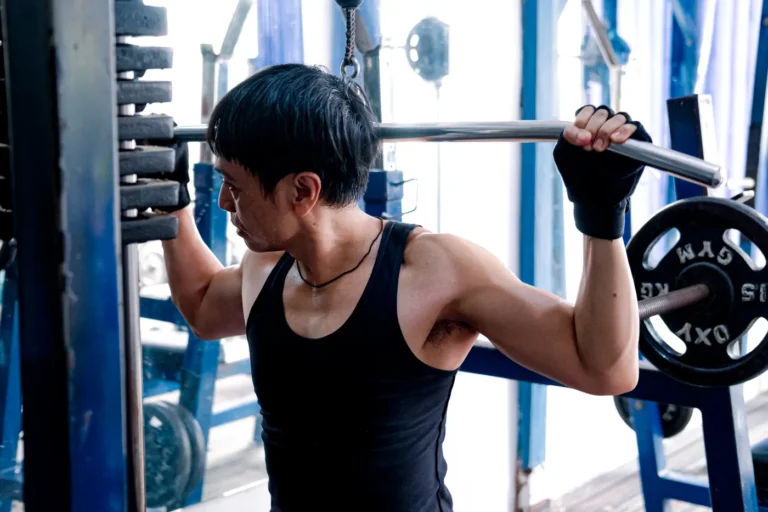
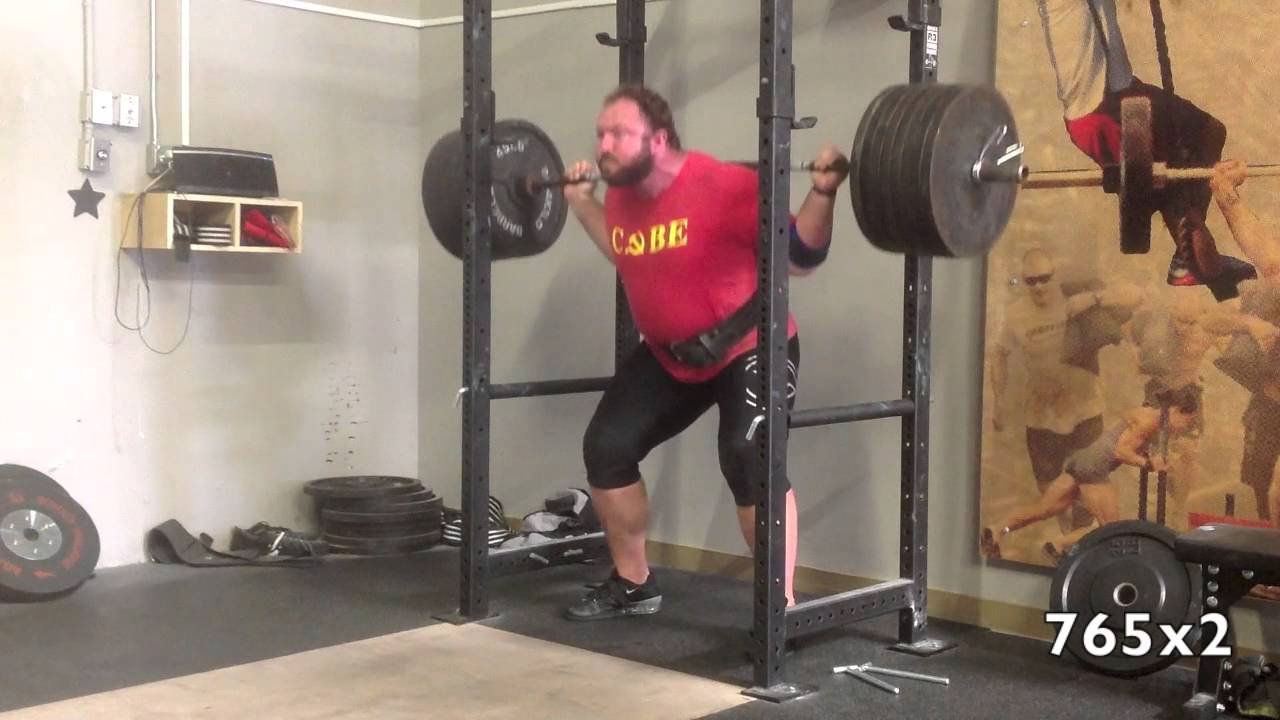
The loaded squat photograph provides training context, not a recommended load for a walkout drill. Holding more than you can squat is a separate overload method that requires specific judgment and safeguards; it is unnecessary for learning a basic setup. If your walkout already feels unstable, adding weight can hide the learning problem behind a larger effort rather than solve it.
Record the rack setting, bar type and walkout pattern alongside your normal squat log. A useful note might say three steps, lead right, no extra foot adjustment. If you change racks or use a specialty bar, repeat the clearance and balance checks. Different bar shapes change where the load hangs, so do not assume a straight-bar routine fits every implement unchanged.
Judge improvement by a repeatable starting position and controlled finish. Review whether you clear the hooks cleanly, stop the bar moving before stepping, arrive at your stance without searching and return securely. Keep the equipment choice tied to that task: suitable free-weight supports, a manageable bar, plates and collars. The walkout earns its place in training when it makes the squat easier to begin consistently, not when it becomes a performance of its own.

Funny Gym Shirts & Workout Gear
Funny gym shirts, tanks, hoodies and workout gear for lifters who like training hard.

Patriotic Eagle Stars Stripes and Squats Gym Decal for Sticker
Give your everyday gear a playful “Patriotic Eagle” twist.

Bending Bars Meme – Barbell Squat Bench Deadlift, & T-Shirt
Heavy lifts, good laughs, and a little “Bending Bars Gym Meme” energy.
Heavy Metal Skeleton Squat for Powerlifters, Bodybuilde T-Shirt
A t-shirt featuring the Heavy Metal Skeleton Squat for Powerlifters, Bodybuilders and Leg Day Lifters artwork, bringing lifting-inspired humor and distinctive gym graphics to your everyday gear.


I Love Squats Gym | Funny Valentine's Leg Day Muscle Sh Tank Top
Add some leg-day attitude to training with “I Love Squats”.


Safety Practice Safe Sets Sweater Jumper T-Shirt
Show some gym-day personality with “Gym Safety”.

Discipline Greek God Statue Stoic Sigma T-Shirt
Heavy lifts, good laughs, and a little “Discipline Greek God Statue Funny Stoic” energy.

Progress Stoic Sigma Greek God Marble Sculpture – T-Shirt
Rep “Progress Stoic Sigma Greek God Marble” humor in and out of the gym.

Raise The Barbell Shirt – Motivational & T-Shirt
Show some powerlifting attitude with a playful “Raise The Barbell” tee.