Advertising disclosure: This page includes affiliate product links that may earn us a commission, as well as products from our own store.
The one-arm kettlebell clean can turn a low swing into a dependable front-rack position for presses, squats and conditioning. It can also turn into a loud collision with your forearm if you simply fling the bell forward and hope it lands. The difference is mostly in the path, hand timing and your ability to receive and lower the weight with control. This guide breaks down the movement as a learnable skill, then shows how to progress without treating wrist bruises as a badge of effort.
What a one-arm kettlebell clean actually trains

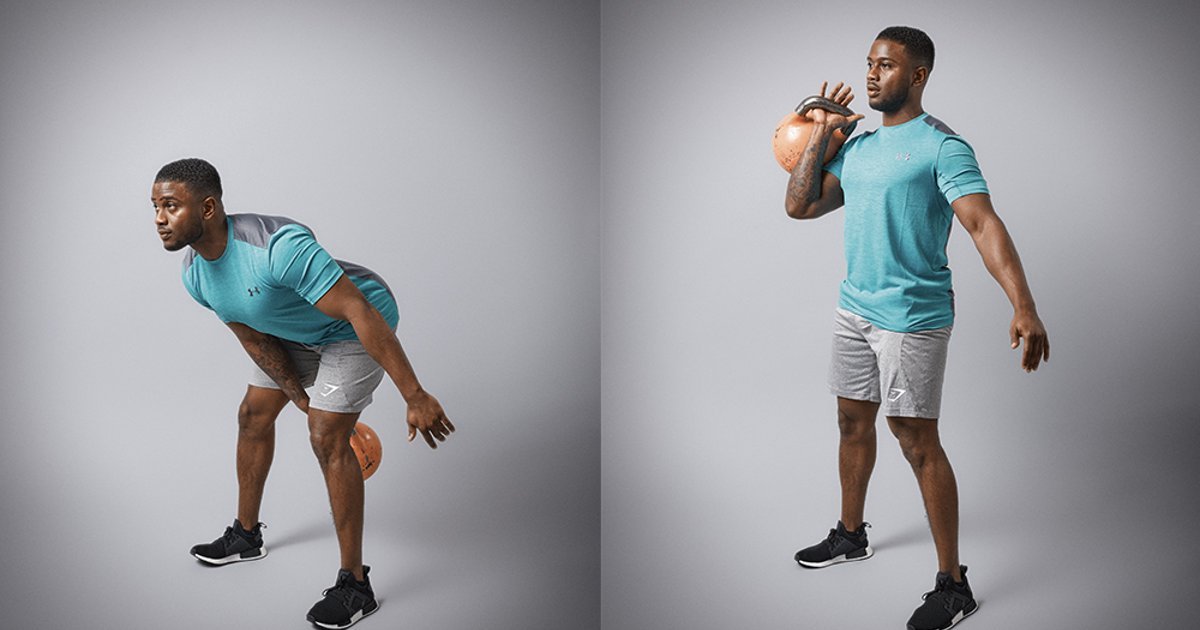
The clean is a transition from a low backswing or floor start to a usable front rack. It is not a biceps curl with a dramatic finish, and it is not a swing that is allowed to crash into the arm. A good repetition looks almost uneventful at the catch: your feet remain planted, your trunk stays organized, the handle settles into the hand and the bell comes to rest against the forearm. You can pause in that position, breathe and choose the next movement rather than spending energy rescuing the weight.
Your hips and legs provide the main acceleration, while the arm guides the path and your forearm, upper back and trunk organize the landing. The clean can therefore serve as an explosive skill drill, a way to move into rack squats or presses, or part of a longer conditioning complex. Those roles are related but not interchangeable. If the session is about clean technique, use a weight that lets you repeat the same catch; if the session is about conditioning, a shaky rack is still a good reason to stop rather than count one more rep.
Do not confuse a quiet catch with a completely soft or weightless one. A kettlebell has mass and must be decelerated. The useful distinction is between receiving that mass with the hand and forearm aligned, and allowing the bell to flip over the knuckles and strike the wrist. Start with that distinction before chasing more speed or heavier bells.
Set up the hinge, handle and first backswing
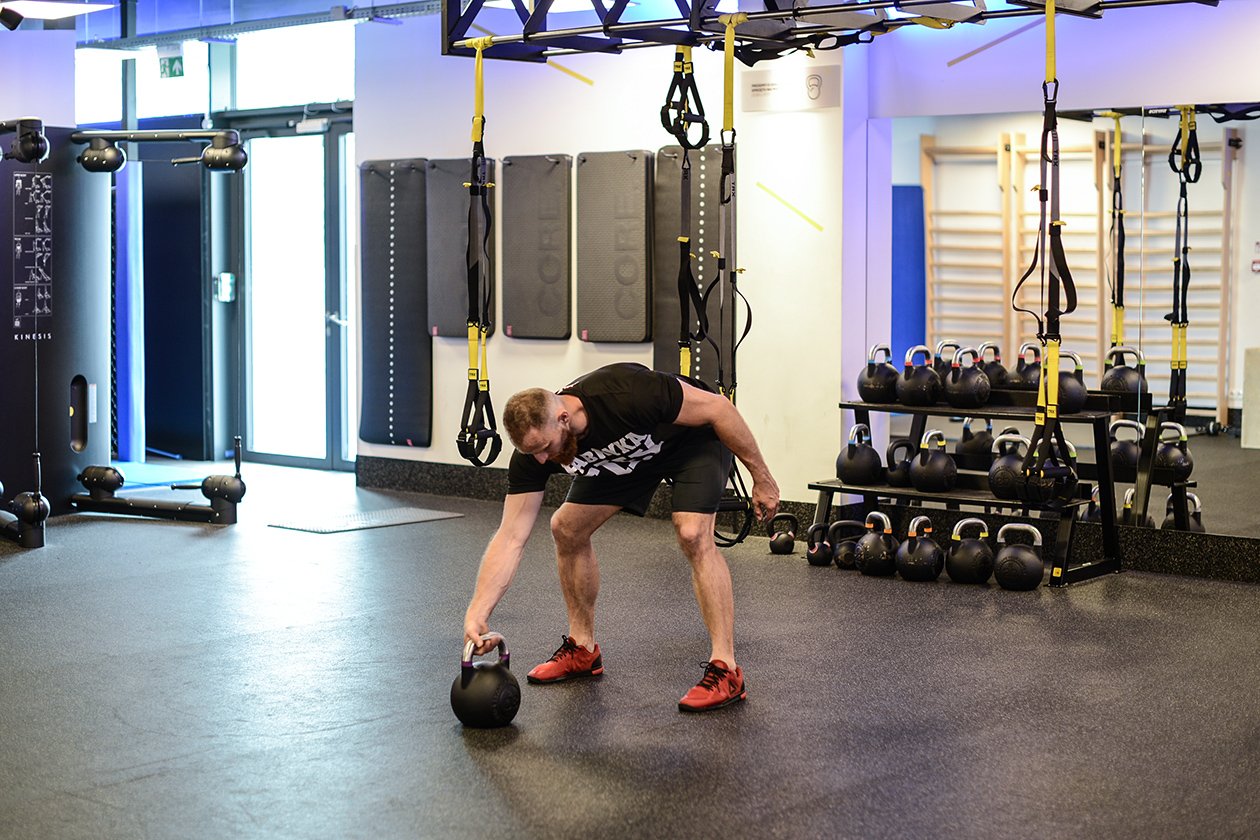
Begin with a bell you can hold comfortably in a rack with one hand, not the heaviest bell you can deadlift. Place it a little ahead of your toes, roughly between the feet, and stand at a width from which you can hinge without the knees collapsing inward. Tilt from the hips, let the knees bend naturally, keep the spine in its usual controlled position and grasp the handle so the bell can move behind your legs. The free arm can act as a counterbalance; it should not pull on a rack or other object to create momentum.
The first hike is a small, purposeful backswing. Pull the bell back toward the upper inner thighs as though passing a football behind you, rather than lifting it straight upward in front of your knees. This loads the hinge without encouraging a long, reaching arc. Keep the arm connected without locking it stiff or clenching the handle so tightly that your wrist cannot reposition for the catch. If the bell scrapes your knees or forces an awkward bend, shorten the backswing and reset the starting distance.
Floor and hang starts are both useful, but they solve slightly different problems. A dead-start repetition lets you deliberately reset each grip and stance, whereas a hang clean starts with the bell already moving between repetitions. Beginners often learn more from individual resets because they can inspect the catch and deliberately set the next rep. Practicing a one-arm swing separately also gives a clear diagnostic: if even the backswing is unstable, adding a clean will not fix it.
Drive from the hips while keeping the bell close

Stand up sharply through the hips and legs as the bell moves out of the backswing, then guide it close to your torso rather than throwing it away in a wide swing. Imagine a narrow vertical corridor in front of your chest. The purpose of this image is to control the path, not to demand that every kettlebell follow an identical geometric line. Your elbow can bend and travel inward as the bell rises, while the shoulder remains connected and your torso avoids leaning back to meet a weight that has drifted too far forward.
Timing matters more than the size of the hip snap. A powerful swing sends the bell forward on an arc; the clean needs the momentum redirected into a close shoulder-height finish. Pulling with the biceps from the outset often produces a heavy curl with poor timing. Yanking late, after the bell has already traveled far out, turns the catch into an emergency. Make the arc smaller before you make the acceleration bigger. One smooth light rep teaches the body more than several heavy collisions.
Try a controlled dead clean without a dramatic hike, or a light tall muscle clean to rehearse the hand path. These are drills, not proof that an arm-powered clean is the goal. In a tall muscle clean, the reduced leg drive makes the bell path easier to notice, but the exercise should remain light. Then restore a small backswing and practice keeping that same path while the hips provide the energy. Film a few repetitions from the side if available; look for the bell staying near the body, not for a particular number of degrees of elbow flexion.
Thread the hand into a stable front rack
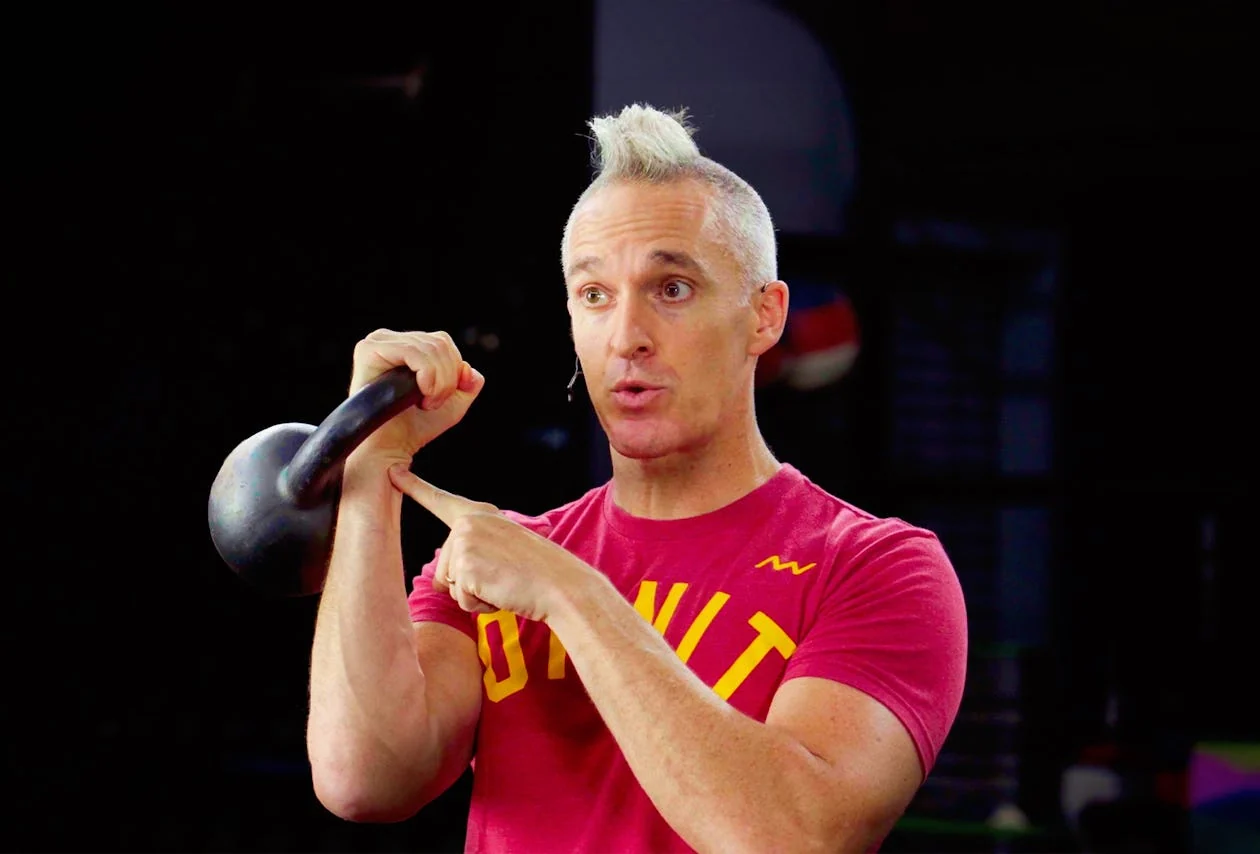
The rack is the destination, not a position to fight for after the bell arrives. As the bell rises, let the hand rotate and slip deeper through the handle so the kettlebell settles around the forearm instead of overturning across the fist. A severe wrist bend and a loud forearm slap usually mean the bell traveled too far away, the hand stayed locked in a crushing grip, or the timing of the insertion was late. Rehearse the receiving position with a static hold before solving the moving version.
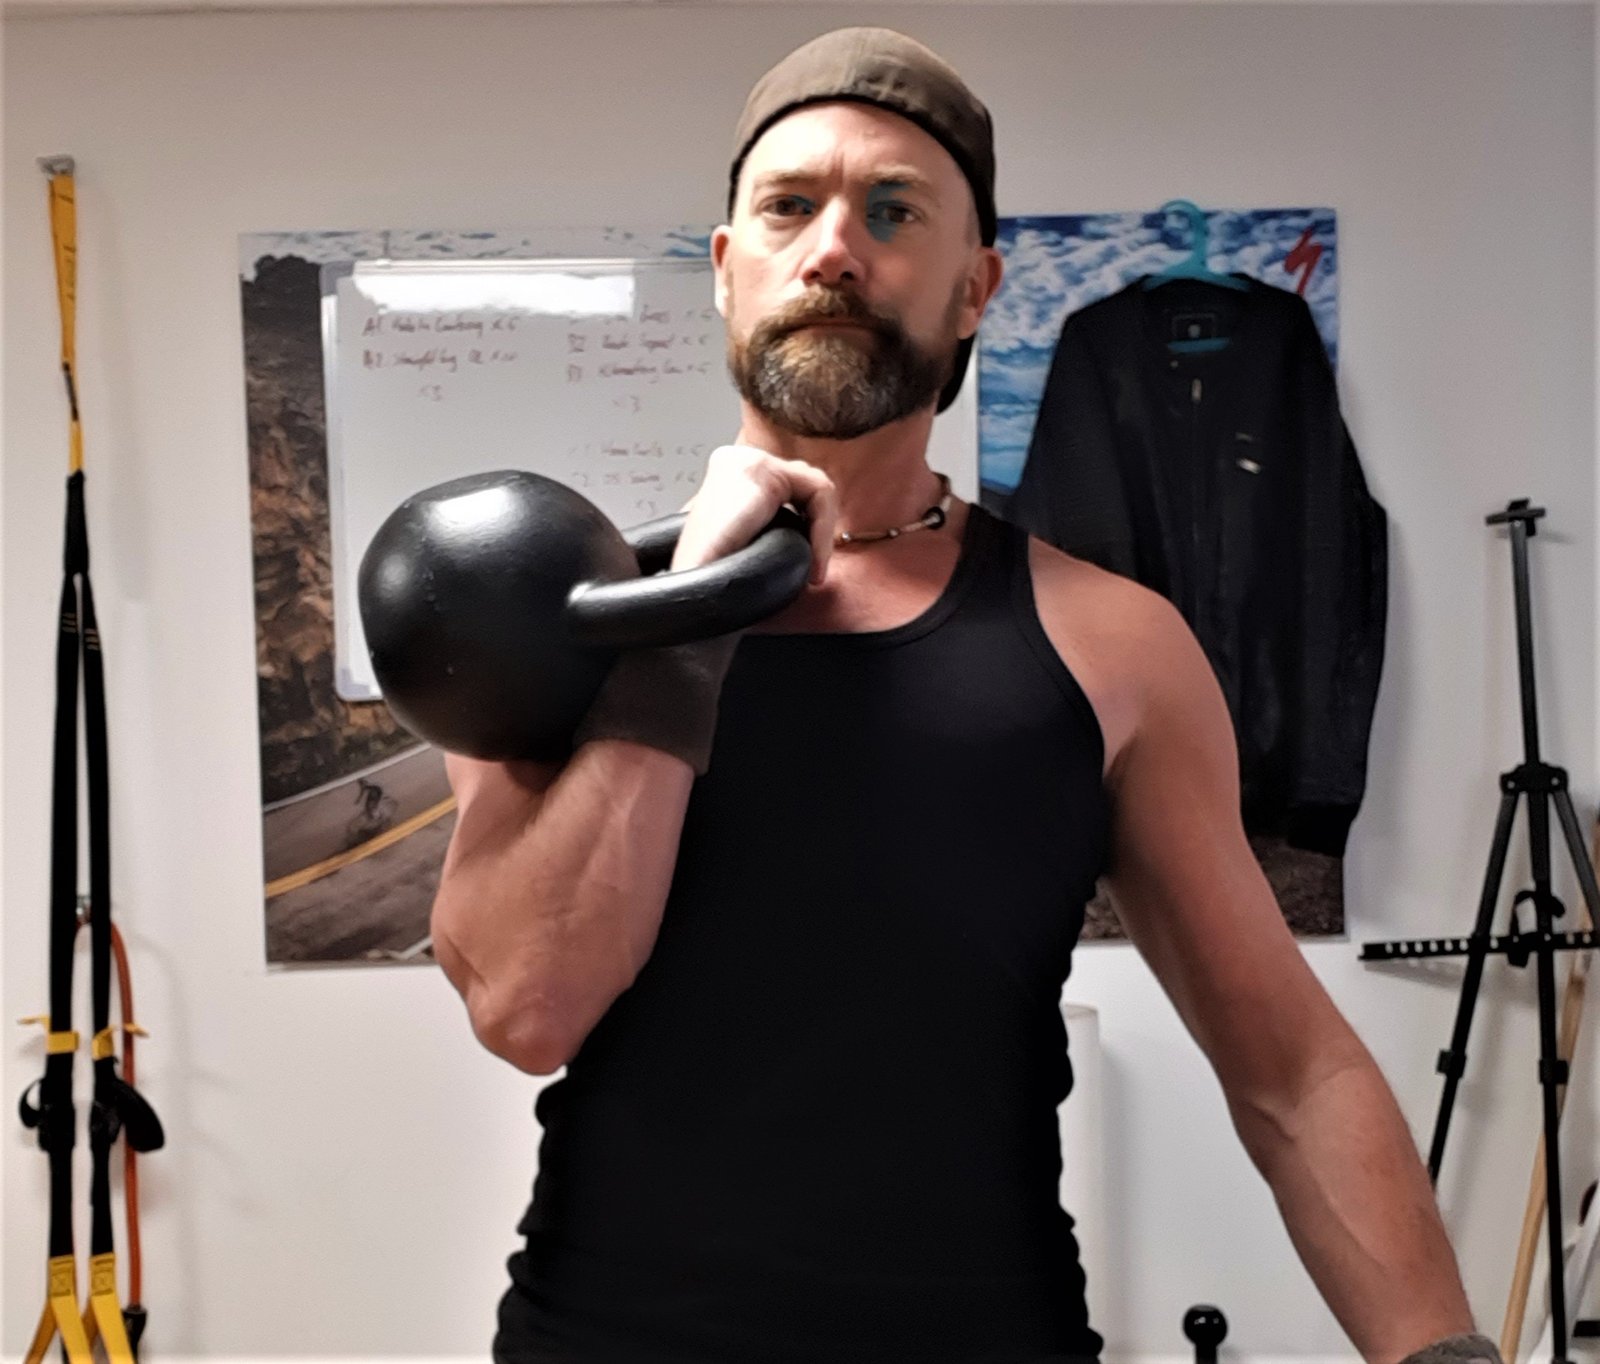
In the rack, aim for a stacked, comfortable wrist and forearm, a forearm resting near the torso and an elbow that is supported close to the ribs without being painfully jammed into the abdomen. Exact elbow and hand placement varies with bell dimensions, arm length, and whether the lifter uses a hardstyle or sport-style rack. The standard is functional: you should be able to pause, stabilize and move to a press or front squat without a big readjustment. A bell that pinches your forearm or twists your wrist may be a poor handle shape or load for learning.
If the wrist gets hit, do not simply add padding and accept the collision as unavoidable. Reduce the weight, return to a low swing, and practice the hand entry from a very small, predictable arc. Keeping the grip responsive rather than rigid may help the bell roll around the hand. Avoid letting the bell strike the shoulder directly, and do not make the wrist bear the entire load. Persistent pain, numbness or joint irritation is a reason to stop and assess technique or seek qualified help, not a normal training milestone.
Lower the clean, fix errors and choose suitable equipment
A complete clean includes the way down. From the stable rack, guide the bell away only far enough to let it drop into the next hinge, keeping your hand connected to the handle as the elbow opens. Hinge to receive the weight, rather than chasing it downward with a rounded torso. A deliberately controlled release is different from trying to lower a heavy clean by slow biceps strength alone. Practice one rep and reset on the floor before linking multiple reps; this makes the descent a separate skill instead of something that happens between counted catches.
Common mistakes can be sorted by where they occur. If the bell bangs your wrist, check the width of the arc and how late your hand slides into the handle. If you need to lean far backward, check whether you sent the bell too far forward or chose an overly heavy load. If the low back feels the movement more than expected, examine whether the hinge lost its shape or the bell is being hauled up with a torso swing. If the rack feels crowded, adjust bell size or handle position rather than cranking the elbow inward harder.
For equipment, a fixed-weight cast-iron kettlebell gives a consistent handle and center of mass; an adjustable kettlebell can be a space-efficient way to practice multiple loads, provided its particular handle, locking mechanism and plate configuration are suitable for dynamic cleans. Not all adjustable bells or plate combinations have the same limits, so verify the model instructions rather than assuming interchangeability. Dumbbells can train a similar floor-to-shoulder pattern, but their balance and catch differ; they are alternatives, not mechanically identical substitutes. Grip accessories and loading plates are best viewed as supporting equipment, not as shortcuts around learning the rack.

Equipment Worth Exploring
Explore equipment, accessories and gear from our carefully selected range.

Cast Iron Kettlebells
Textured cast-iron kettlebells for swings, squats, carries, and full-body training.


Rubber Hex Dumbbells
Rubber-coated hex dumbbell pairs with a stable shape for home and commercial strength training.


A four-week progression and when to add complexes
Use a short progression as an example to adapt, not a promise of results or a requirement to train through discomfort. In week one, practice a secure rack hold on each side, small hand-entry drills and controlled low swings. Try three to five single clean attempts per side with a light bell, giving yourself enough rest to reset each rep. Film one angle, then change only one cue at a time. The success criterion is whether the bell arrives without a painful hit and whether you can pause in the catch.
In week two, move toward two or three small sets of three clean repetitions per arm. Reset the bell whenever the path becomes erratic. In week three, consider a few linked repetitions if your descent and the backswing remain controlled; for instance, three sets of four on each side. In week four, either add a very modest load step or connect cleans to a simple rack hold, goblet squat or press that you already perform confidently. Do not increase weight, speed, density and complexity all at once. A lifter new to kettlebells may spend longer than four weeks at an earlier stage without that being a problem.
Choose an exercise extension according to the session’s real goal. Clean-and-press work adds upper-body pressing demands; double kettlebell cleans increase total load and the coordination challenge; clean-to-front-squat combinations add leg work and breathing demands. Each variation deserves its own setup and technique, rather than being treated as an automatic reward for finishing four weeks. If you are still receiving the bell awkwardly, a simpler swing, static rack or dumbbell variation is more productive than stacking fatigue on top of a faulty catch.
Keep the actual results easy to track: bell weight, clean repetitions per side, number of forearm contacts, quality of the rack pause and whether the bell stayed close on the descent. Once those improve, you have earned a repeatable foundation for harder complexes. You have not proved that one exercise is superior for muscle growth or that a single technical cue fits every lifter; you have simply made the clean consistent enough to use intentionally.

Funny Gym Shirts & Workout Gear
Funny gym shirts, tanks, hoodies and workout gear for lifters who like training hard.


Kettlebell Skull Tee
Heavy lifts, good laughs, and a little “Kettlebell Skull Gym Meme” energy.


Heavy Metal Gym – Funny Kettlebell Rock Music Pullover T-Shirt
For laid-back days and metalhead humor: “Heavy Metal”.

Cheeseburger Kettlebell – Burger Swings Meme Hooded Pul Hoodie
Bring “Cheeseburger Kettlebell” gym humor to lazy days and post-workout plans.


Strawberry Kettlebell – Viral Kettlebell Meme Decal for Sticker
Stick a little “Strawberry Kettlebell” humor on your favorite gear.

Gym Equation Makes Me Happy Kettlebell Meme Graphic Fit T-Shirt
Heavy lifts, good laughs, and a little “Gym Equation” energy.

Gym Is My Happy Place Happy Kettlebell Emoji Smiley Fac T-Shirt
Show some gym-day personality with “Gym Is My Happy Place”.