Advertising disclosure: This page includes affiliate product links that may earn us a commission, as well as products from our own store.
Zercher Squats: Elbow-Crook Setup, Bracing and a Six-Week Plan
The Zercher squat looks unusual because the barbell is not on your back or shoulders. It sits in the bends of your elbows, right in front of your abdomen. That front-loaded position can make a moderate weight feel demanding long before your legs reach their normal limit.
A good repetition is not a contest to tolerate the most pressure on your arms. It is a controlled squat with secure bar placement, a deliberate brace and consistent depth. Here is how to set it up, decide whether it belongs in your training and progress it without turning every session into an improvised max attempt.
1. Understand the front-loaded squat before adding weight
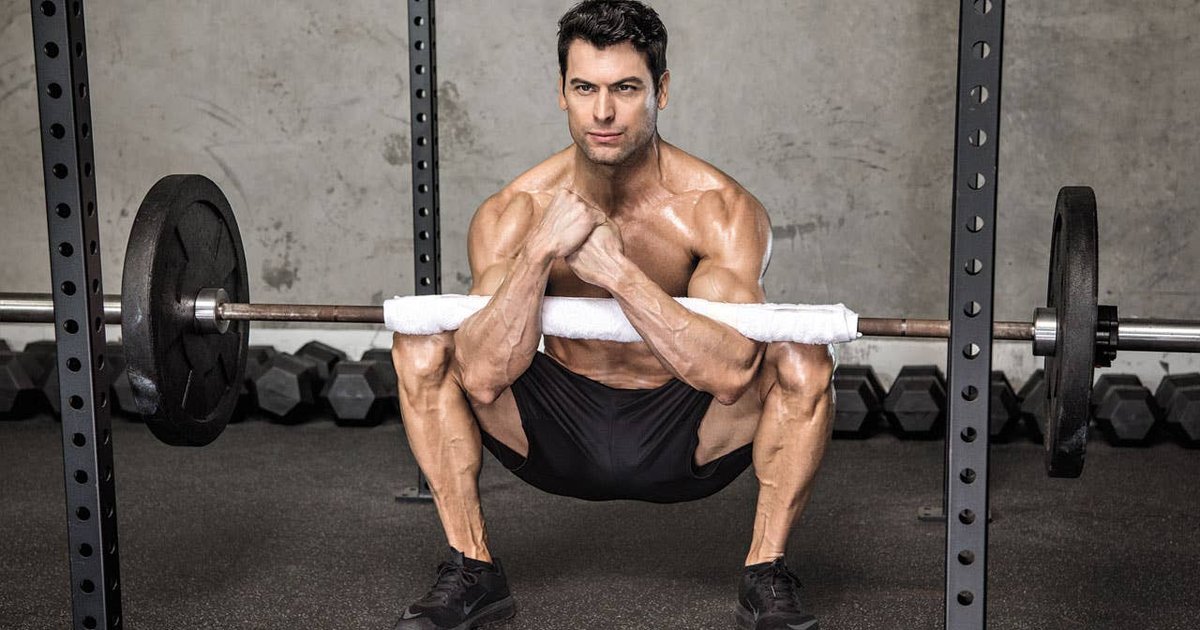
In a Zercher squat, both elbows cradle the shaft while the hands remain in front of the chest. The bar tries to pull the torso forward, so the trunk and upper back must resist that movement throughout the repetition. Meanwhile, the knees and hips flex and extend as they do in other squats. The quadriceps, glutes and adductors do meaningful lower-body work, but the ability to hold the bar may determine when a set ends.
That difference matters if you compare Zercher numbers with back-squat numbers. A lighter Zercher squat is not evidence of weaker legs. The upper-body hold, bar position and unfamiliar pressure make it a different lift. Treat it as a distinct movement in your log instead of chasing the percentage of your back-squat maximum that another lifter happens to use.
Some athletes find it easier to keep the torso relatively upright because the weight is in front. That is a useful cue, not a guarantee. A longer torso, different femur length, ankle mobility, stance and the load itself all change the posture you can maintain. A comfortable squat may include some forward torso angle; the priority is a repeatable position rather than trying to become perfectly vertical.
Use it when you want an extra squat pattern that asks your trunk to work hard, when a conventional front-rack position is awkward, or when you enjoy the challenge of holding a weight close to the body. It is not a magic replacement for back squats, a proven way to isolate one muscle, or automatically more joint-friendly. If it is consistently painful in the elbows, select a different front-loaded squat instead.
For your first session, judge success by three things: the bar stays in the same place on both arms, the feet remain planted and the torso does not collapse toward the floor. Those are better early milestones than a personal-record weight.

Equipment Worth Exploring
Explore equipment, accessories and gear from our carefully selected range.


Foldable Wall Rack
Wall-mounted folding squat rack designed to save floor space between workouts.

Multi Pull Smith Rack MPHR-780
All-in-one rack with a Smith machine, functional trainer, lat pulldown and low row.


GymPin Squat Wedges
Non-slip 15-degree squat wedges help elevate the heels for deeper quad-focused squats.


Competition Plates
Competition-style bumper plates for Olympic lifts and loaded strength training.

2. Set the rack, elbow cradle and safety arms correctly
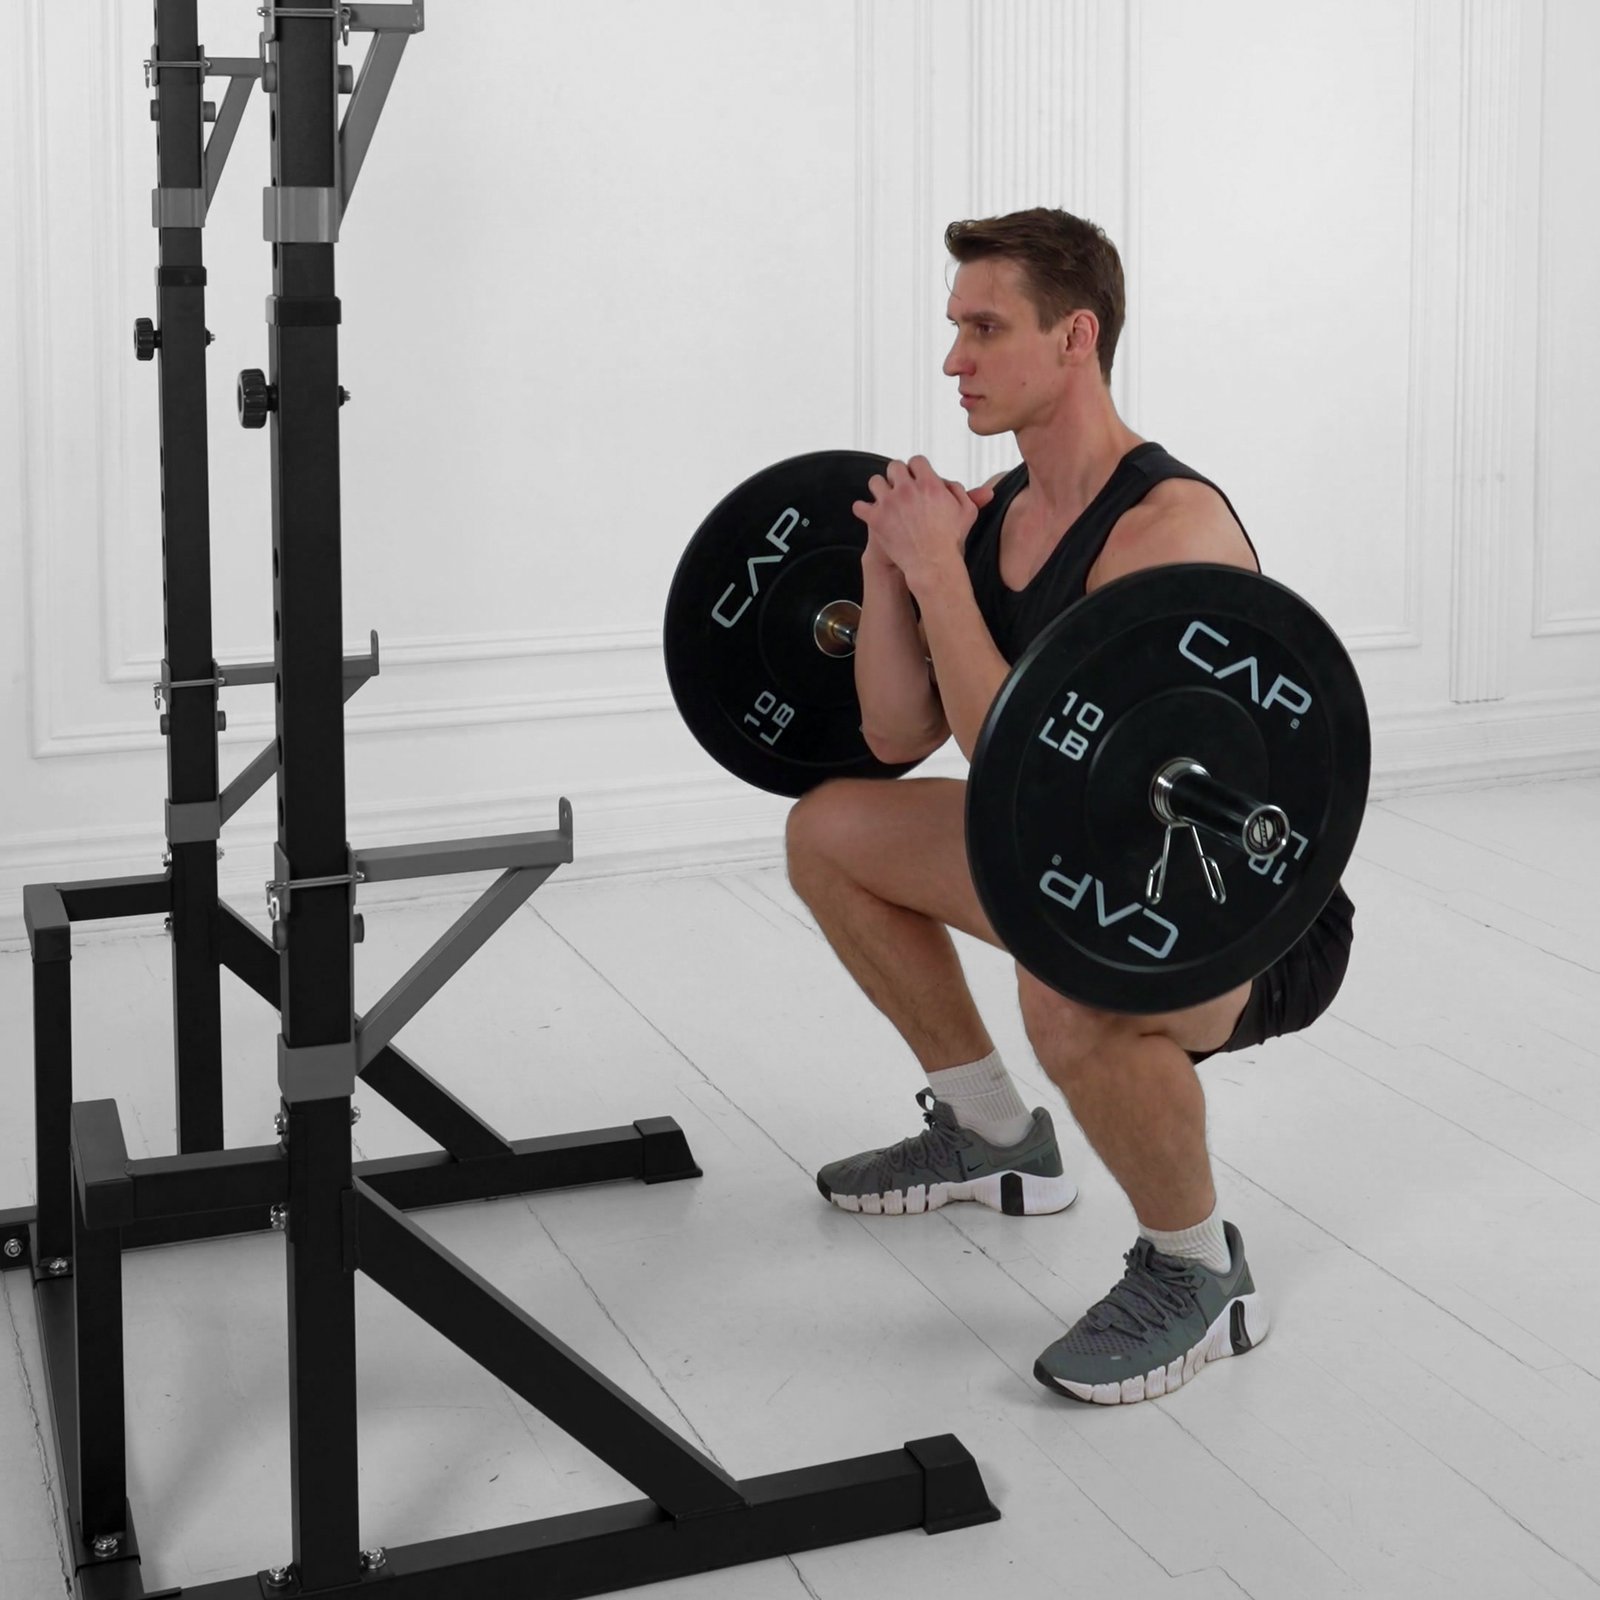
Start inside a stable rack with the bar approximately at the height of your standing elbow crooks or slightly below. Exact hook height varies by body proportions and the rack. You should be able to bend the knees a little, slide both elbows under the shaft and stand to unrack without having to curl the loaded bar upward. Set the safeties below the bar’s lowest expected position during your squat, not simply below your knees.
Place the bar deep and evenly into the soft bends of your elbows rather than balancing it on the wrists. Bring the forearms together or loosely clasp the hands in front of the sternum if that helps you keep the shaft close. Keep the elbows reasonably tucked and avoid straining the wrists into an extreme position. Do not squeeze so hard that you cannot breathe or reset your grip.
An empty bar is a legitimate starting point. If it presses painfully into the skin, use a modest layer of soft padding or a folded towel that you can secure against slipping. Padding reduces direct pressure; it does not make a poor rack height, overly heavy weight or irritated joint safe. With padding, check that the shaft remains stable instead of rolling toward the wrists.
Brace the abdomen and sides as if preparing to receive a light shove, stand up and clear the hooks. Take only the steps necessary to establish your squat stance. Recheck the safeties, collars and free space around the plates before the first working set. A spotter can help, but a stable rack and correctly set safeties matter even if someone is nearby.
Do not try a heavy floor pickup simply because a clip shows someone doing one. Getting a weight from the floor into the elbow crooks is another skill, with its own demands and failure points. Learn the squat from the rack first, then decide separately whether the floor-start variation is worth practicing.

Leg Day Shirts & Workout Gear
Leg-day gym shirts and workout gear for lifters who never skip squats, lunges and lower-body punishment.

4 Plates Squat Club Meme & Ultimate T-Shirt
Show some leg-day attitude with a playful “4 Plates Squat Club” tee.

Squat Here | Edgy Workout Sweater | Gym Humor Meme Crew T-Shirt
Bring “Squat Here” humor to your everyday gym style.

Never Skip Leg Day – NSLD Fried Chicken Meme Decal for Sticker
Bring “Never Skip Leg Day” attitude to your water bottle or laptop.

I Love Squats | Valentine's Leg Day with Black Heart We T-Shirt
Show some leg-day attitude with a playful “I Love Squats” tee.


Squat Inspector Gym | Edgy Leg Day Meme Workout | Booty Hoodie
Make your off-duty look more fun with “Squat Inspector”.

Christmas – I'M Still Gonna Squat You Monster Tank Top
Bring “Christmas” humor to your next lifting session.

I Look Better Bent Over – Squats, Deadlifts & Booty T-Shirt
Show some leg-day attitude with a playful “I Look Better Bent Over” tee.

Leg Day Gains | LEGO Inspired Muscle Shirt For Squats & Tank Top
Your gym-day look, with a playful “Leg Day Gains” twist.

Heavy Squatter Harry Potter Squat Meme Decal Water Sticker
Give your everyday gear a playful “Heavy Squatter” twist.
3. Control squat depth, bar path and the way you stand
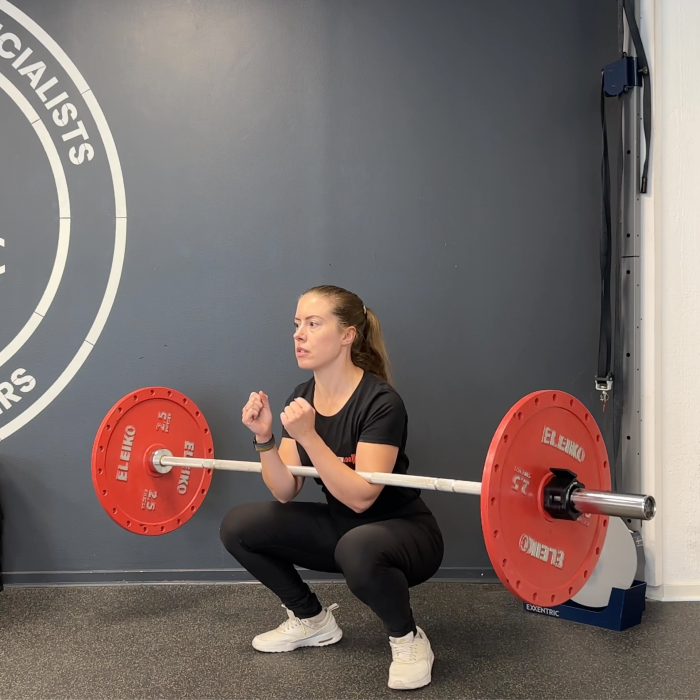
Begin with feet roughly shoulder width apart, then adjust a little wider or narrower so your thighs have room between the elbows and your heels stay down. Slightly turned-out toes work for many lifters, but a precise angle is not universal. Before descending, establish pressure across the heel, base of the big toe and base of the little toe. Keep your eyes on a steady point rather than tipping the head up to lift the chest.
Unlock the knees and hips together. Lower at a speed that lets you feel the bar remain close to the torso; there is no reward for dropping quickly into a position you cannot control. As you approach the bottom, let the knees travel in the same general direction as the toes. Your torso can incline somewhat, but it should not suddenly fold as the weight moves away from you.
Choose your deepest repeatable position: one in which the feet are stable, the bar does not slide, the spine stays reasonably controlled and the hips can reverse direction without a violent bounce. Some lifters will squat well below parallel, while others will need a higher depth until ankle, hip or torso control improves. Do not force the elbows against the thighs to manufacture extra depth.
To stand, push the floor away while keeping the weight close. Think about the chest and hips rising together instead of allowing the hips to shoot upward first. Finish tall without leaning backward, clenching the neck or throwing the shoulders into the bar. Exhale and reset your brace between reps when needed, rather than letting the final repetitions become breathless and uncontrolled.
Film a light set from the side and a slight front angle if possible. Review whether the bar moves forward, the elbows drift apart or depth changes as fatigue builds. Those observations are more useful than trying to infer exact muscle activation from how much one body part burns.
Equipment Worth Exploring
Explore equipment, accessories and gear from our carefully selected range.


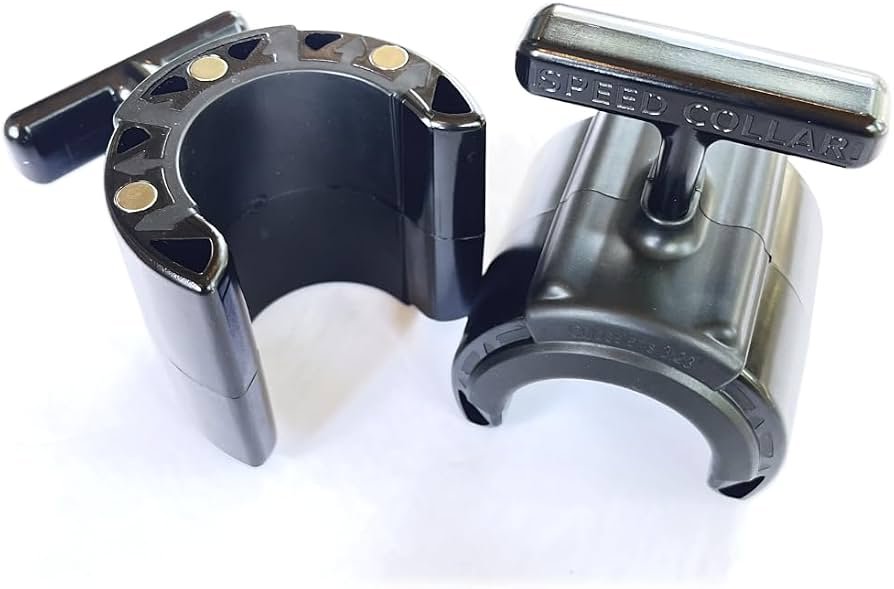
Speed Collar
Quick-release collars designed to secure weight plates on standard two-inch Olympic bars.
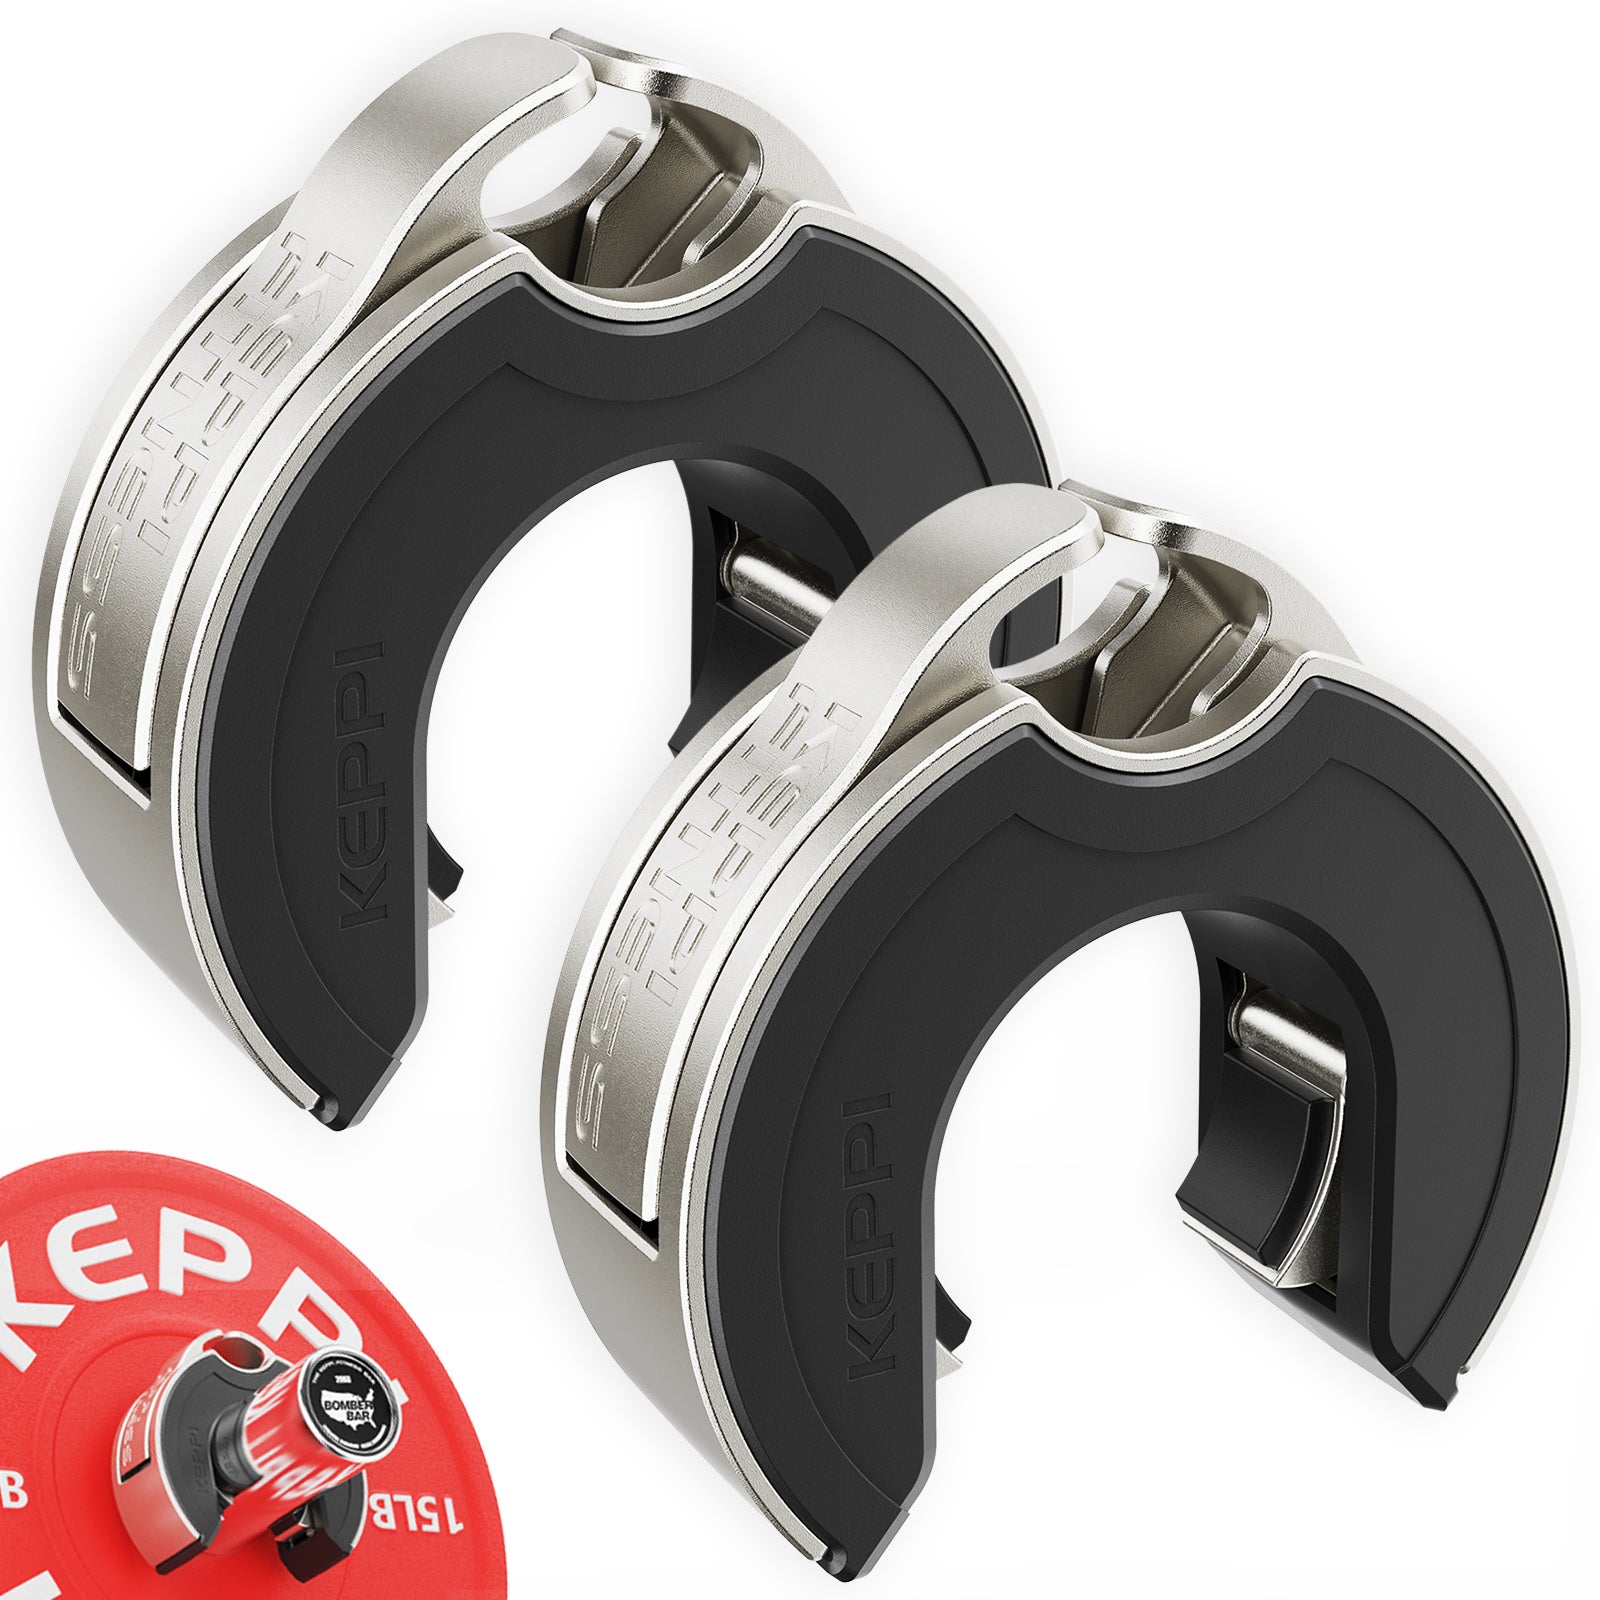
Keppi Open Collars
C-shaped magnetic Olympic barbell collars with a quick-lock mechanism and grippy lining.

Grip Plates
Rubber-coated weight plates with handholds for loading barbells and machines.


Open Hex Bar
Open-frame trap bar with multiple handles for deadlifts, carries, and lower-body training.

Studio V-Squat
Plate-loaded V-squat machine for supported lower-body strength training.

4. Troubleshoot elbow pressure, fatigue and alternative squats
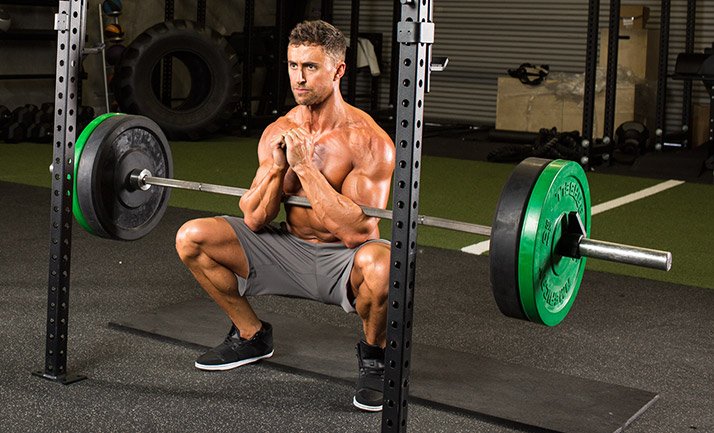
Pressure at the elbow crook is the most obvious limitation. Distinguish normal unfamiliar contact from sharp pain, tingling, numbness or a lingering joint complaint. If the bar causes any of the latter, stop the set and change the exercise or seek appropriate medical evaluation. Do not use longer exposure as a strategy to force an irritated area to adapt. There is also no need to prove toughness by refusing all padding.
If the bar creeps away from the abdomen, check whether the elbows are drifting apart, the starting load is too high or your grip loses tension. With a lighter weight, rehearse holding the bar close at the top for a few calm breaths before squatting. If you cannot maintain the hold while standing still, the weight is not yet appropriate for your Zercher squat work.
If the hips rise faster than the chest, the legs and trunk are no longer coordinating the same movement. Reduce the load, shorten the set or pause briefly at a controlled depth. A gentle one-second pause can be a useful technique drill, provided it does not demand a breath hold longer than you can manage comfortably. Keep the pause as a teaching tool, not an excuse to exaggerate fatigue.
Compare alternatives by the limitation you are solving. A goblet squat puts a dumbbell or kettlebell near the chest and removes the elbow-bar contact. A front squat moves the bar to the shoulders but may require greater wrist or front-rack tolerance. A safety-squat bar or machine squat can allow hard leg work without supporting a shaft in the arms. Each version changes its own loading and skill demands.
For lifters whose goal is primarily quad size, being able to train close to a useful leg effort consistently may matter more than insisting on this particular squat. The Zercher can be a valuable choice without being the right choice for every lifter, every week or every injury history.
Powerlifting Shirts & Lifting Gear
Powerlifting shirts and gym gear for squat, bench and deadlift lifters who live for heavy numbers.

Meme – Shhh I'm Doing Math Plate Math Weightlifting T-Shirt
Heavy lifts, good laughs, and a little “Shhh I'm Doing Math Plate Math” energy.

1 Plate Squat Club Meme – Essential Top T-Shirt
Heavy lifts, good laughs, and a little “1 Plate Squat Club” energy.

Legday – Squats & Deadlifts , Meme Top Bros & T-Shirt
Bring “Legday” humor to your next gym day.

Dost Thou Even Hoist Sir? – Do You Even Lift, Bro? T-Shirt
Make gym days more fun with “Dost Thou Even Hoist Sir?” style.

Lift Eat Repeat – Weightlifting & – Meme Bros & T-Shirt
Make gym days more fun with “Lift Eat Repeat” style.

Heavy Enough Tee
Bring “If You're Not Scared It's Not Heavy Enough” humor to your next gym day.

Bending Bars Meme – Barbell Squat Bench Deadlift, & T-Shirt
Heavy lifts, good laughs, and a little “Bending Bars Gym Meme” energy.

Deadlift Lovers – Grim Reaper Skeleton , Bros & Leg T-Shirt
Rep “Deadlift Lovers” humor in and out of the gym.

Praise The Deadlift Holy Lifting Meme , & T-Shirt
Show some deadlift attitude with a playful “Praise The Deadlift” tee.

5. Put Zercher squats into a practical six-week progression
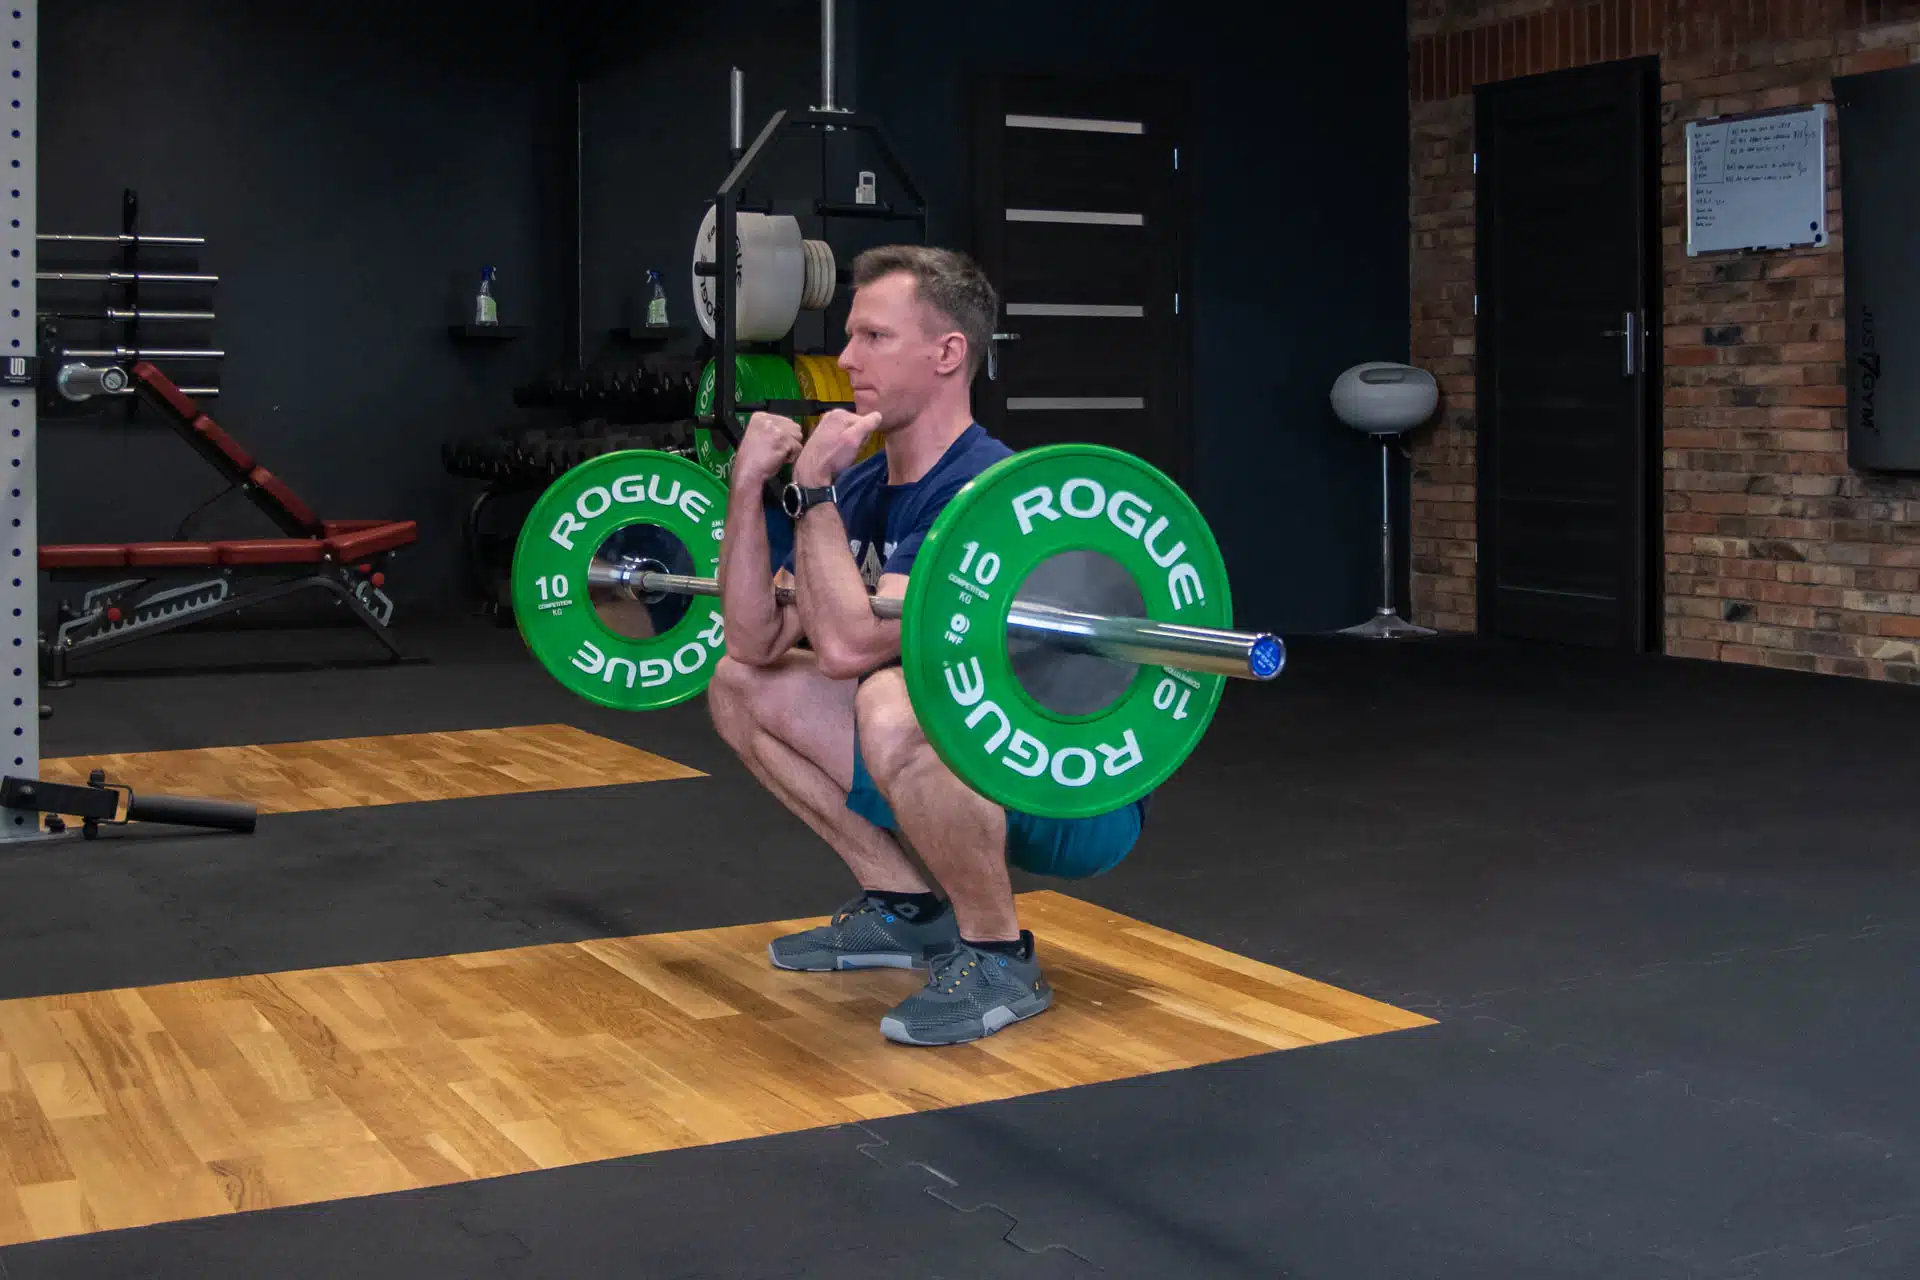
Use one Zercher session per week at first, preferably early enough in the workout that grip and upper-back fatigue have not already accumulated. Warm up with a few unloaded squats and progressively heavier practice sets, then begin with a weight that leaves roughly three technically sound repetitions in reserve. The figures below are an illustrative starting plan, not a study-tested optimal Zercher prescription.
Weeks 1–2: Perform three sets of six controlled repetitions, resting about two to three minutes. Choose the same stance, bar padding and rack height each session. On the first week focus entirely on securing the hold. In the second week, improve the smoothness of your descent before adding any plates. Keep the work easy enough that every rep looks similar on video.
Weeks 3–4: Use three sets of seven or eight repetitions if the original six are now consistent and comfortable. Alternatively, add the smallest available plate increment while returning to sets of six. Change only one variable at a time; increasing load, reps and depth together makes it hard to identify why the hold or lower back suddenly fatigues. Avoid adding volume merely because the quadriceps still feel fresh.
Weeks 5–6: Continue with three sets of six to eight, adding a small amount of load only after all prescribed repetitions meet your technique standards. If the bar starts to slide, elbows hurt or the final rep turns into a good morning, repeat the previous week’s load or reduce it. A session completed with consistent form is useful even without an increase in kilograms.
Keep your other lower-body work in the plan, but account for overlap. If you already back squat hard twice weekly, this movement may replace a secondary squat variation rather than being added as several extra near-failure sets. The trunk, upper back and elbows can recover at different rates from the legs, so assess the total training effect rather than relying on quadriceps soreness alone.
At the end of the block, compare the same load, repetitions, depth and filmed bar position from the first and final weeks. If your hold is steadier and your working sets are cleaner, you have progressed even if the bar weight barely changed. If you want a heavier conventional squat, rotate back toward that lift and treat Zercher work as a supporting tool—not a mandatory permanent exercise.
Some product links may be affiliate links, which can support Mind Muscle Perfection at no additional cost to you.