Advertising disclosure: This page includes affiliate product links that may earn us a commission, as well as products from our own store.
Weighted Push-Ups: Vest vs Plate vs Band and a Six-Week Chest Plan
When ordinary push-ups become long sets of 25 or 30, added resistance can turn them into challenging lower-repetition chest and triceps training again. But a weighted push-up is not a bench press with the bar removed. Elastic bands, fitted vests and loose plates change the rep in different ways, and a sloppy setup can make a modest load awkward to control. This guide compares the options, explains safe technique and lays out an illustrative six-week progression focused on repeatable effort rather than plate-stacking theatrics.
1. Earn the load with a repeatable regular push-up
Before adding resistance, learn to make ten to fifteen standard push-ups look almost identical. Set hands about shoulder width or a little wider, spread pressure through the palms and brace your abdomen and glutes. Your hips and rib cage should rise together instead of letting the lower back sag. Lower the chest toward the same point each time without reaching the chin forward to manufacture extra depth. A clean push-up involves controlled shoulder-blade movement around the rib cage, not an attempt to pin the shoulder blades rigidly together.
There is no magic rep count that qualifies everybody to wear extra weight. A practical entry point is three sets of roughly ten to fifteen full-range reps with a couple of good repetitions still available at the end. If the last few reps already collapse, train smaller sets or put your hands on a secure elevated surface. That decreases the difficulty without requiring a worse range. Feet-elevated push-ups are not the same adjustment; they generally shift the demand toward a more shoulder-intensive angle.
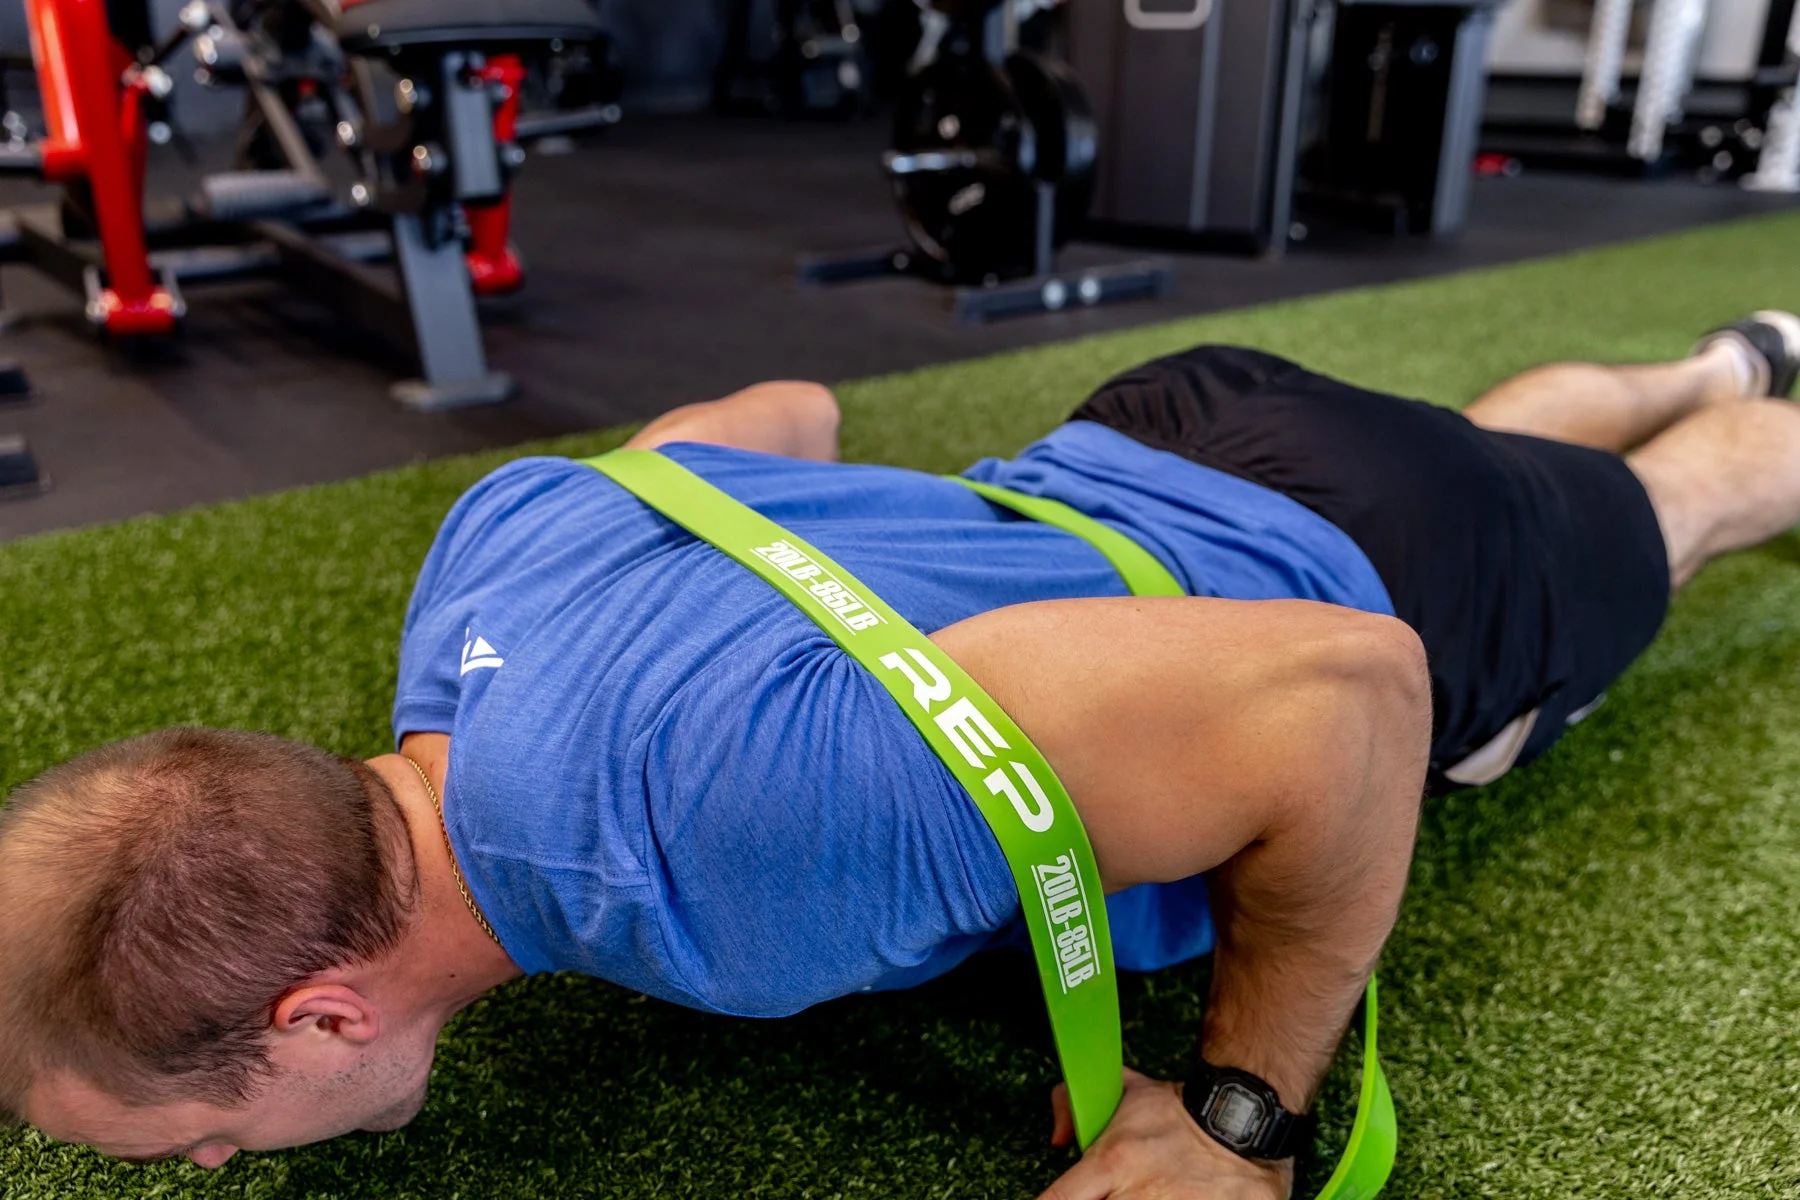
Band resistance can bridge the gap between ordinary reps and a fixed load. Hold or anchor the two ends under your hands while the band lies across your upper back, below your neck. As you press upward and the band stretches, it increases the resistance near lockout. The bottom, where many lifters struggle most, usually gets less extra band tension. That variable profile can help you practise the upper part of a loaded rep before introducing a secured weighted vest. It does not prove that bands will build more muscle than weights.
Start with a light band that allows the same chest depth and body position you use unweighted. Log the particular band, hand spacing and starting stretch. Band colours are not universal resistance standards, and changing your setup can alter the challenge substantially. Treat a clean rep as the target, not the strongest band that you can force through a shortened range.
2. Band, vest or plate: match the load to the session
Elastic band: portable and easy to change, with tension that increases as you press. It can work well for moderate loading and a controlled finish, but it is difficult to quantify exactly. Inspect the elastic for cracks or damage, keep it away from your face and avoid uneven hand placement that makes one side feel different from the other.
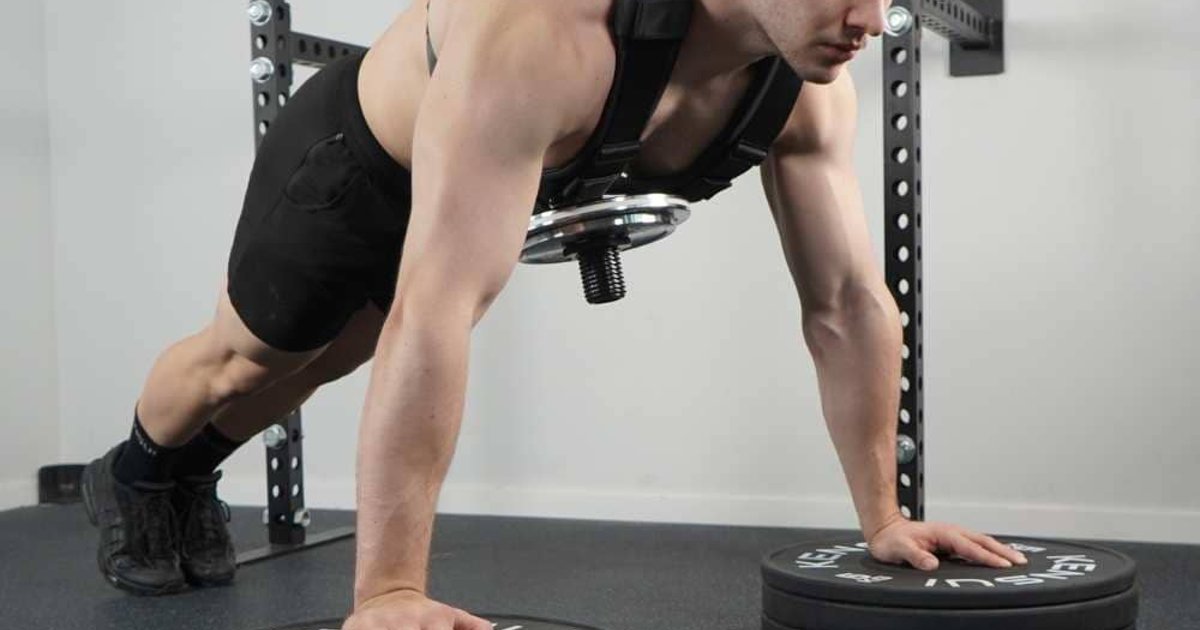
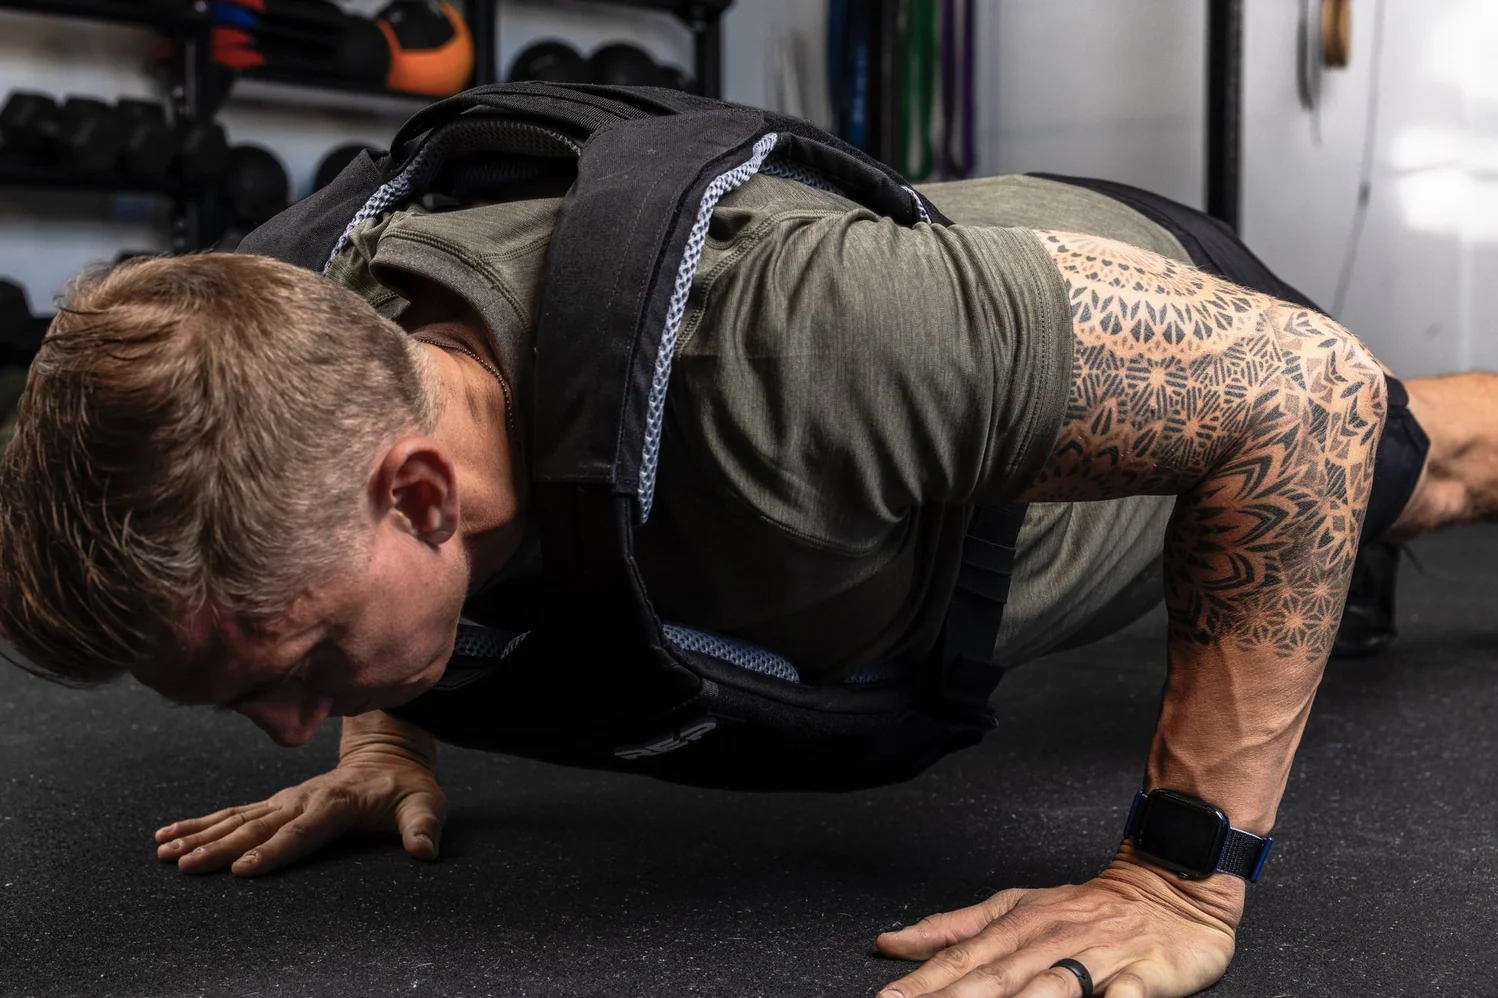
Fitted weighted vest: a more consistent external mass throughout the rep and often the most convenient method for solo training. Use small removable increments and tighten the straps enough to prevent bouncing and side-to-side shifting. Check whether the front of the vest hits the floor before your chest reaches its normal depth. A heavy plate-loaded vest may have a high advertised capacity, but that is not a sensible starting push-up load. Fit and movement quality matter more than capacity.
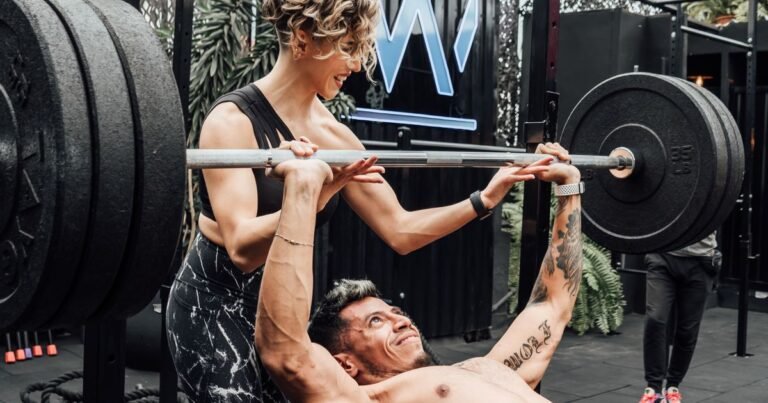
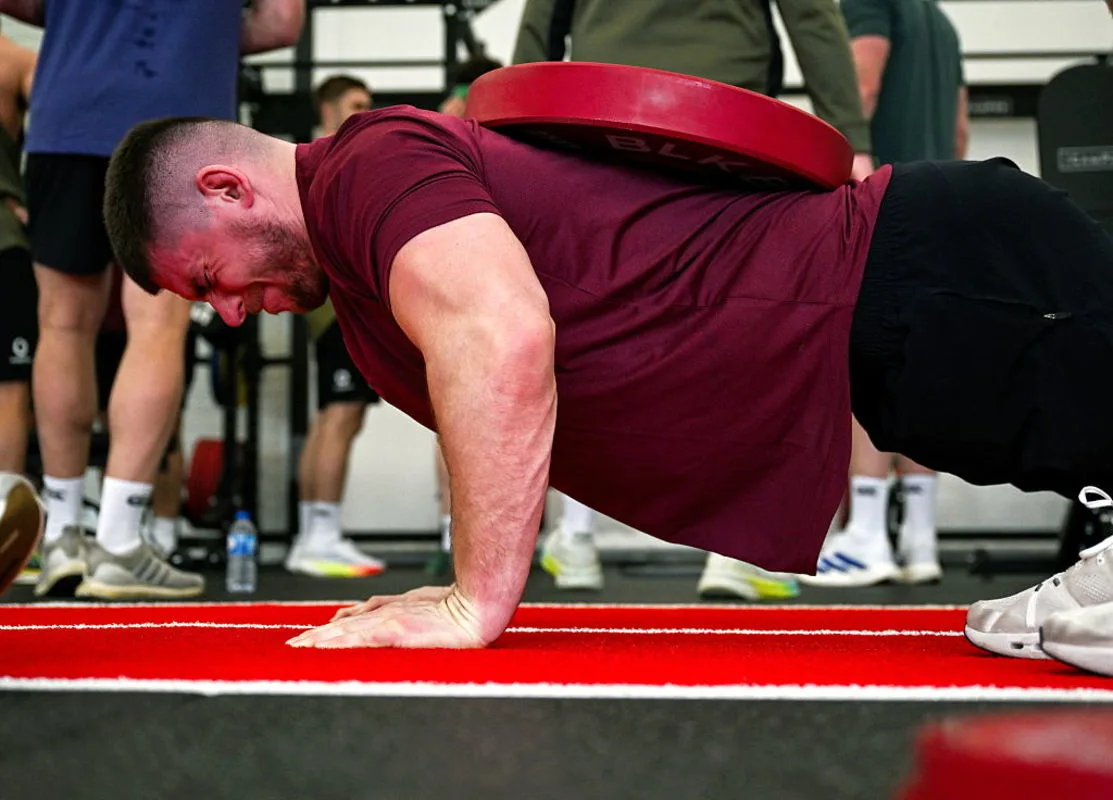
Loose plate on the back: possible with an attentive partner who places and removes it while you hold a stable top position. The plate needs to be flat and central across the upper-to-middle back, never on the neck or lumbar spine. A partner must be ready to remove a plate before fatigue makes it slide. Do not stack loose plates, twist around to retrieve one or load yourself alone while in a precarious position. For most solo sessions a vest or band is a better practical choice.
None of these is identical to adding plates to a barbell. Push-ups are a closed-chain movement where the hands remain fixed while your body moves, and the effective resistance changes with body mass distribution and torso angle. Ten kilograms added to a vest does not mean precisely ten kilograms of extra pressing force in each arm. Progress is easiest to interpret when you compare the same loading method, setup, range and effort from session to session.

Equipment Worth Exploring
Explore equipment, accessories and gear from our carefully selected range.


Competition Plates
Competition-style bumper plates for Olympic lifts and loaded strength training.

Grip Plates
Rubber-coated weight plates with handholds for loading barbells and machines.


Power Tower
Freestanding pull-up and dip station with adjustable handles for bodyweight training.
3. Keep the hands, torso and range under control
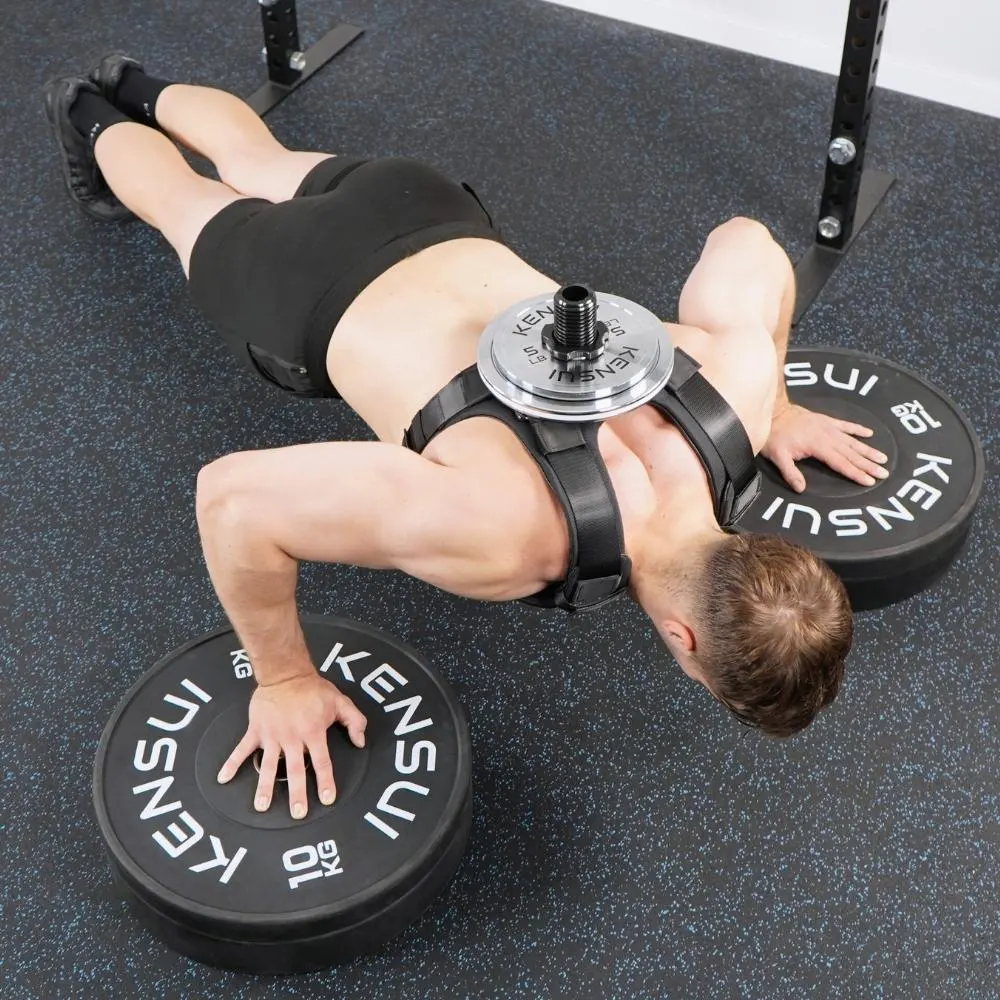
Use a level, non-slip support with enough room to place both hands comfortably. Let the elbows track diagonally back rather than straight out to the sides, and keep the shoulder movement comfortable at the bottom. At the top, press through the hands without throwing the hips down. An added load can expose weaknesses in trunk control, so brace before lowering, keep the ribs and hips moving together and stop when the position becomes unrecognisable.
Vest-loaded reps require a rehearsal. Tighten the vest while standing, get into position and perform two light reps to check that the load is secure and that the front panel does not restrict your normal depth. If it does, purpose-built, stable parallettes or push-up handles can provide clearance and a more neutral wrist position. However, raised handles may also permit a deeper stretch that the shoulders are not prepared for. Begin with a modest depth, ensure both handles are secure and do not improvise with round dumbbells that can roll.
Use a steady inhalation before lowering and exhale through the effort, keeping the torso firm. Do not hold your breath so long that every rep becomes a struggle unrelated to the chest. A stable side-view video can reveal a sagging middle, creeping foot position or moving vest; a diagonal view exposes elbow flare and uneven hands. These checks are more useful than simply watching the number on the vest increase. Do not mistake a neck-forward chin touch for a chest-to-floor rep.
Range and comfort take priority over an extreme demonstration. You may see people doing weighted push-ups with multiple unsecured plates stacked on their backs. That image displays external load, not necessarily productive or safe training. Keep any loose plate under a spotter’s control, use simple increments and end a set when you cannot preserve the same depth and torso alignment as the first repetition.
Equipment Worth Exploring
Explore equipment, accessories and gear from our carefully selected range.



Rubber Hex Dumbbells
Rubber-coated hex dumbbell pairs with a stable shape for home and commercial strength training.

Lever Arm Multi Press LMP-650
Multi-press with independent lever arms and an integrated adjustable bench for upper-body training.

Standing Chest Press SCP-760
Standing chest-press machine with adjustable handle positions for chest and close-grip pressing.

VForce Wall Trainer
Space-saving wall-mounted functional trainer with pivoting cable arms and variable resistance ratios.
VOLTRA
Compact digital cable trainer with smooth, adjustable resistance.

Go-Tone Pro
Portable digital cable trainer with up to 66 lb (30 kg) of adjustable resistance.
4. Use two weekly sessions for a six-week progression
Two pressing sessions per week are enough to practise weighted push-ups consistently while leaving room for other chest and shoulder work. One session can use slightly more resistance and fewer reps, with the other focused on comfortable volume and repeatable technique. The progression below is an example rather than a laboratory-tested optimal programme. Begin below your maximum and leave roughly one to three clean reps in reserve on most sets.
Weeks 1–2: on the first day, do three sets of 8–12 regular or lightly band-resisted push-ups. On the second, do two sets of 12–15. Choose your hand width and depth once and record what you actually achieved. If you already perform high-quality bodyweight push-ups easily, a light secured vest can replace the band. Keep the load modest enough that your first and last repetitions match.
Weeks 3–4: use three sets of 6–10 on the first day and three sets of 10–15 on the second. Try to add one rep to a working set before increasing the resistance. With a vest, make the next increment small and only after all sets reach the top of their range with unchanged depth. With a band, move to a stronger band only if it still lets you reach the bottom smoothly and the new starting stretch can be repeated.
Weeks 5–6: keep the heavier day at three sets of 6–10 and the volume day at two or three sets of 10–15. Build reps before load. If shoulders, wrists or lower back begin to complain, lower the resistance rather than shortening the movement. At the end of week six, compare a familiar setup at similar effort. The goal is cleaner reps or more work under the same conditions, not a risky one-repetition maximum with an unsecured plate.
Leave at least one day between challenging sessions, and more when your other pressing work is demanding. Dumbbell bench presses, incline presses, dips and weighted push-ups contribute to the same broad fatigue budget. If you already perform many hard chest sets each week, swap a pressing movement for push-ups rather than adding another large block on top.

Bodybuilding Shirts & Workout Gear
Bodybuilding shirts, tanks and gym gear for lifters chasing muscle, size, symmetry and the pump.


for Chest Day | I Love Bench Press Muscle Shirt with Pi Tank Top
Add some lifting attitude to training with “for Chest Day”.

The Chestfather Sticker
Put “The Chestfather” gym humor on your laptop, bottle, or gym gear.

Bench Press and Chill Funny Gym T
Make gym days more fun with “Bench Press and Chill” style.

Progressive Overload Milo Tee
Bring “Progressive Overload Milo Bull” humor to your next gym day.


Gym Sir Swole of Benchalot Medieval Knight Bench Press Sticker
Give your everyday gear a playful “Sir Swole of Benchalot Medieval Knight” twist.

Work on His Pecks Tee
Show some bodybuilding attitude with a playful “Why Did The Chicken Go To The Gym? To Work” tee.

Dost Thou Even Fly Tee
Make gym days more fun with “Dost Thou Even Fly Medieval Knight Pec Fly” style.
5. Troubleshoot limiting muscles and log honest progress
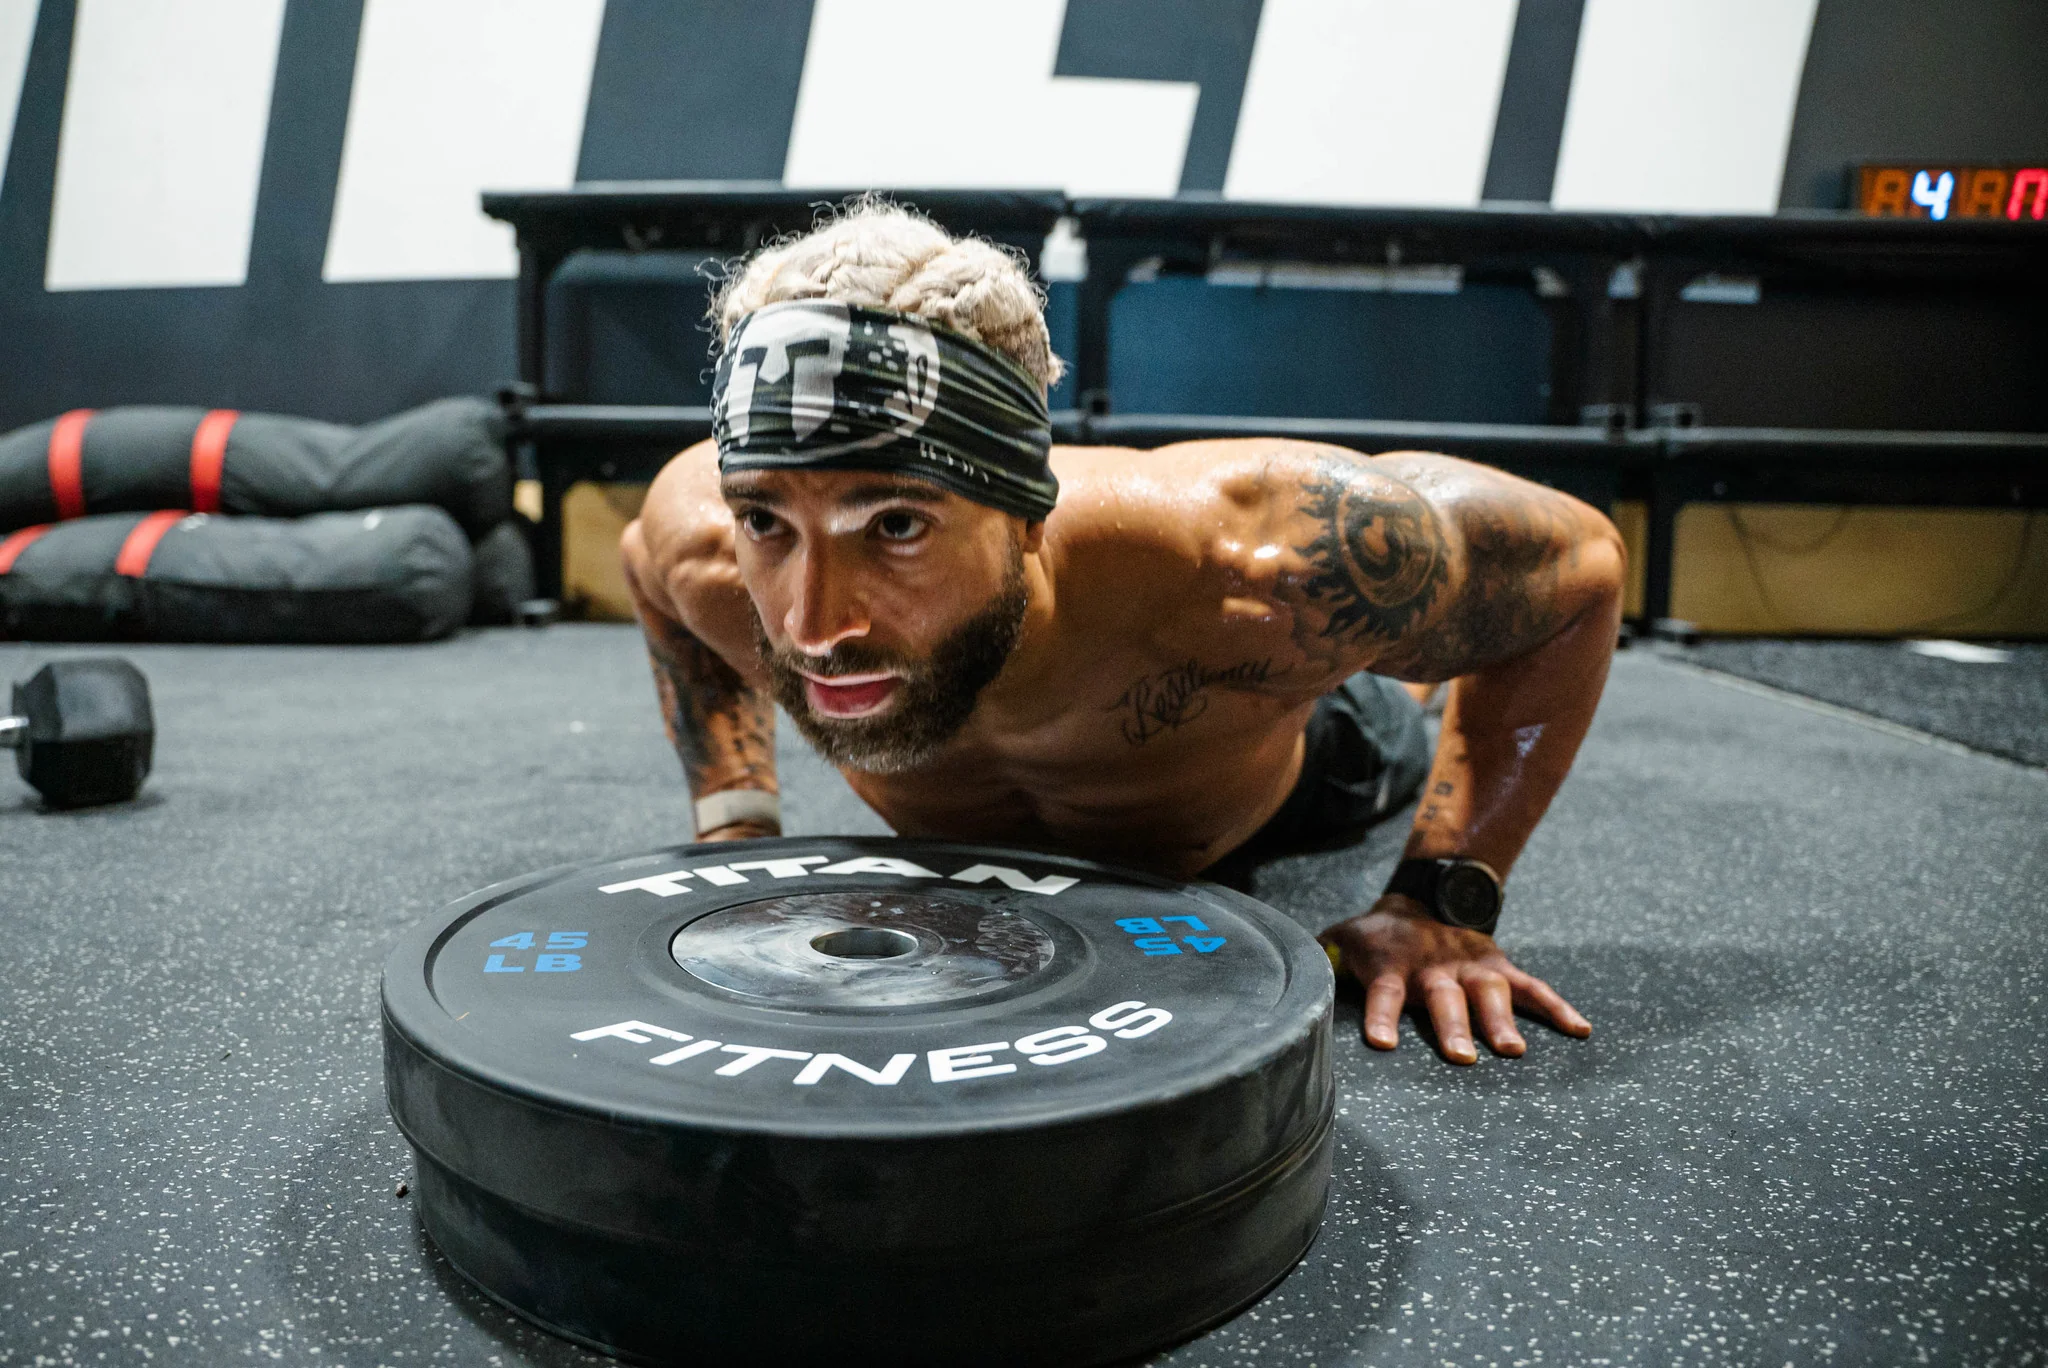
If triceps fatigue ends the set long before the chest feels challenged, assess whether the hands are too narrow or the elbows are pinned against the ribs. A comfortable moderate hand width and controlled descent may distribute the work more naturally. If the shoulders pinch, reduce load or depth and consider a slightly elevated-hand version. Pain is a reason to adjust or stop, not a signal to push harder through the next few reps. Ongoing discomfort deserves professional assessment.
Wrists can become the weak link when your chest has plenty left. Spread pressure evenly through the hands, build up the warm-up gradually or try secure neutral-grip parallettes. Do not trade wrist comfort for an uncontrolled extra-deep bottom position. A vest that hits the ground can also obscure your actual range, so note whether elevated handles were introduced between training weeks.
Weighted push-ups are an option within a larger chest programme, not an automatic replacement for every free-weight press. Dumbbells and machines can offer easier weight increments and may feel better when a vest is awkward or your body position limits the exercise. Bands suit fast changes between sets; a stable vest makes small, repeatable mass changes practical. Neither method is universally superior for muscle growth, and how hard you train, recover and progress matters more than an impressive loading prop.
Keep a log with the method, actual external mass where known, hand and foot elevation, sets, clean repetitions and effort. Add one sentence on shoulder comfort, depth and whether the band or vest shifted. Compare performance only when those conditions match. Ten shallow repetitions with a heavier vest are not necessarily progress over eight genuinely controlled reps with less load. The best weighted push-up programme makes the exercise more challenging while keeping the movement recognisably yours.
Calisthenics Shirts & Street Workout Gear
Calisthenics and bodyweight-training gear for pull-ups, dips, handstands and street-workout athletes.


Big Dip Energy Crewneck Pullover Sweater for Calistheni T-Shirt
Show some gym-day personality with “Big Dip Energy”.

Shirt – Calisthenics Heartbeat Gymbros & Meme Lovers T-Shirt
Bring “Calisthenics Heartbeat” humor to your next gym day.

Calisthenics Evolution
Show some lifting attitude with a playful “Calisthenics Evolution” tee.

Always Pull Yourself Up Funny Gym T
Heavy lifts, good laughs, and a little “Always Pull Yourself Up” energy.


Handstand Walk Tee
Bring “: The Handstand Walk Beatles Graphic” humor to your next gym day.

Lord of the Calisthenics Rings Gandalf | LOTR Workout P T-Shirt
Show some gym-day personality with “Lord of the Calisthenics Rings Gandalf”.

Be Stronger Than Your Excuses – Motivational T-Shirt
Rep “Be Stronger Than Your Excuses” humor in and out of the gym.