Advertising disclosure: This page includes affiliate product links that may earn us a commission, as well as products from our own store.
Push Press: Master the Dip, Leg Drive and Overhead Lockout
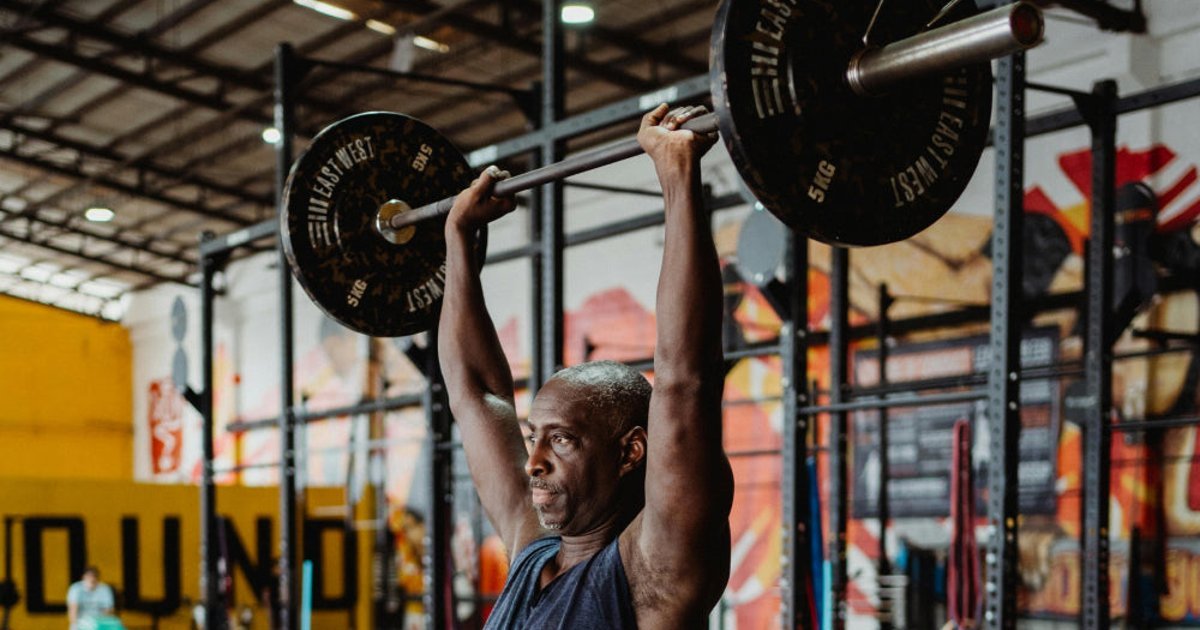
A push press is more than a shoulder press with a little knee bend. The lower body starts the movement, the torso transfers force and the arms finish a bar that is already travelling upward. When the sequence works, a lifter can move a heavier overhead load than with a strict press while still controlling the bar from the floor to lockout.
The difficult part is timing. Too much knee bend turns the dip into a slow squat. Press too early and your arms fight a load the legs should have launched. This guide focuses on the barbell version: rack setup, a repeatable dip, leg drive, overhead position and a six-week framework that lets you improve without turning every workout into a maximum attempt.
1. What makes the push press different from a strict press
A strict overhead press starts with the bar near the upper chest and uses the upper body to raise it without a deliberate knee-and-hip drive. In the push press, a short controlled dip is followed by forceful extension of the legs. That acceleration gives the bar momentum before the elbows finish extending. The shoulders and triceps still do meaningful work; the legs do not make this an arm-free lift.
The push press also differs from a jerk. A jerk adds a deliberate re-bend and catch under the rising bar. A push press does not: the feet stay planted, the legs extend and the arms finish the movement without another knee dip to receive the weight. If you dip again underneath, record it as a different lift rather than comparing the load with previous push press sessions.
This distinction matters for programming. A strict press is useful when your goal is pressing strength without leg assistance. A push press develops a coordinated leg-to-bar drive and can expose you to heavier overhead loads. A jerk develops a related but different receiving skill. None needs to replace the others; choose the movement whose result you actually want to train.
2. Set the rack and stance before the bar moves
Use a stable barbell and an unobstructed lifting space. Set J-hooks so you can unrack the bar by straightening your legs, not by standing on your toes or performing a quarter squat. Face forward, brace your abdomen and lift the bar clear of the hooks before stepping into your working stance. An area where you can safely lower the bar, with plates secured by collars, matters more than a stylish rack position.
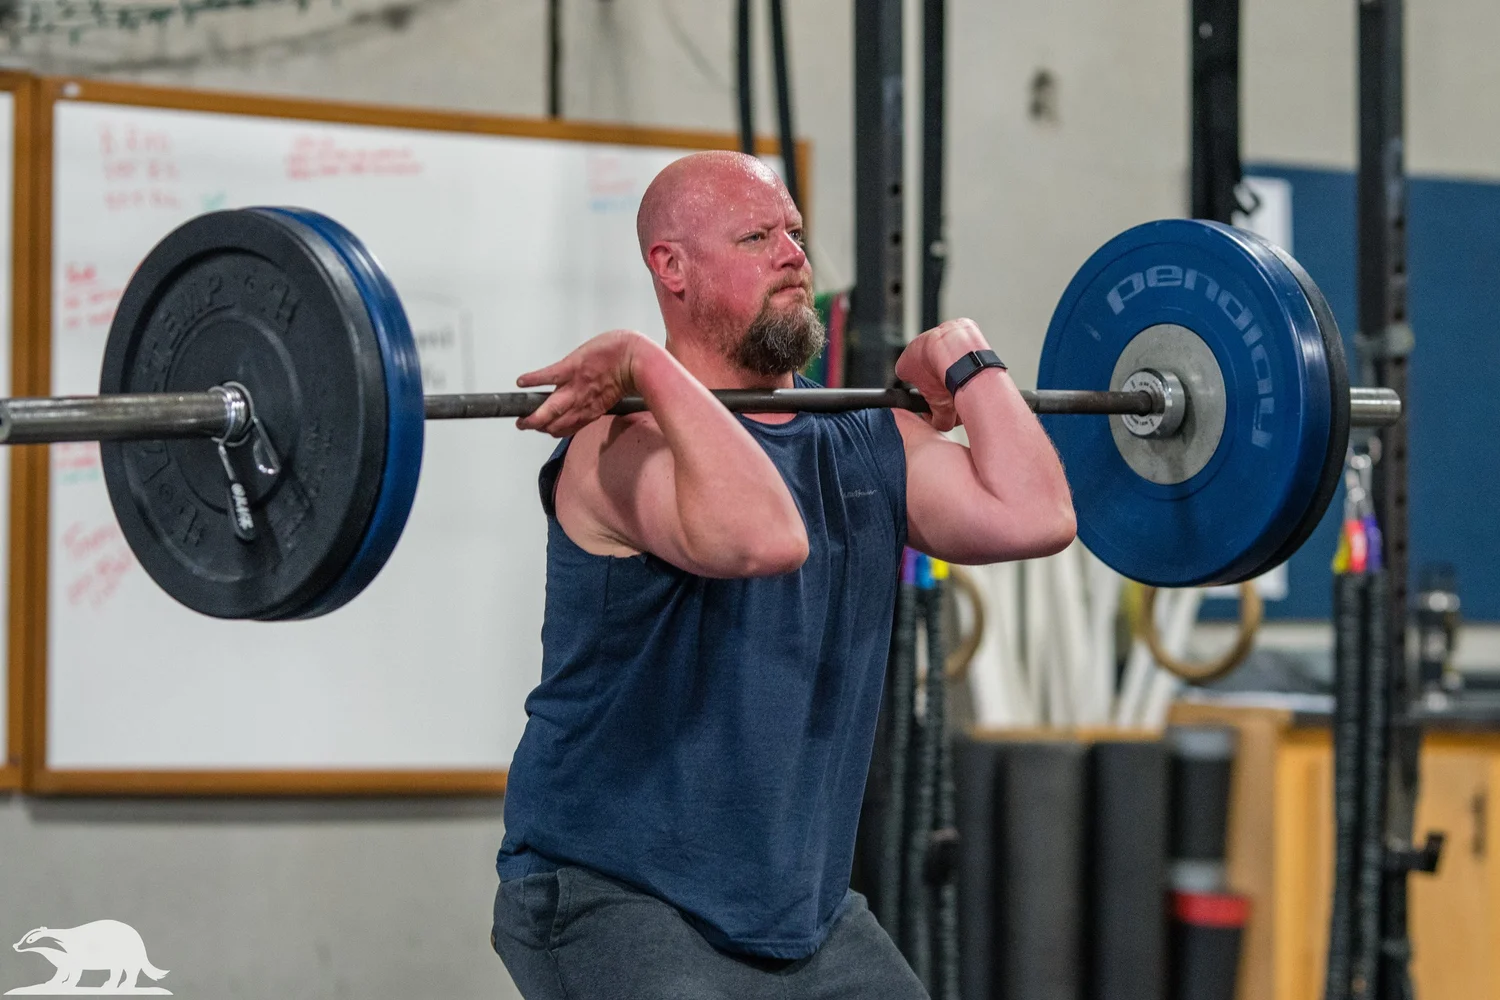
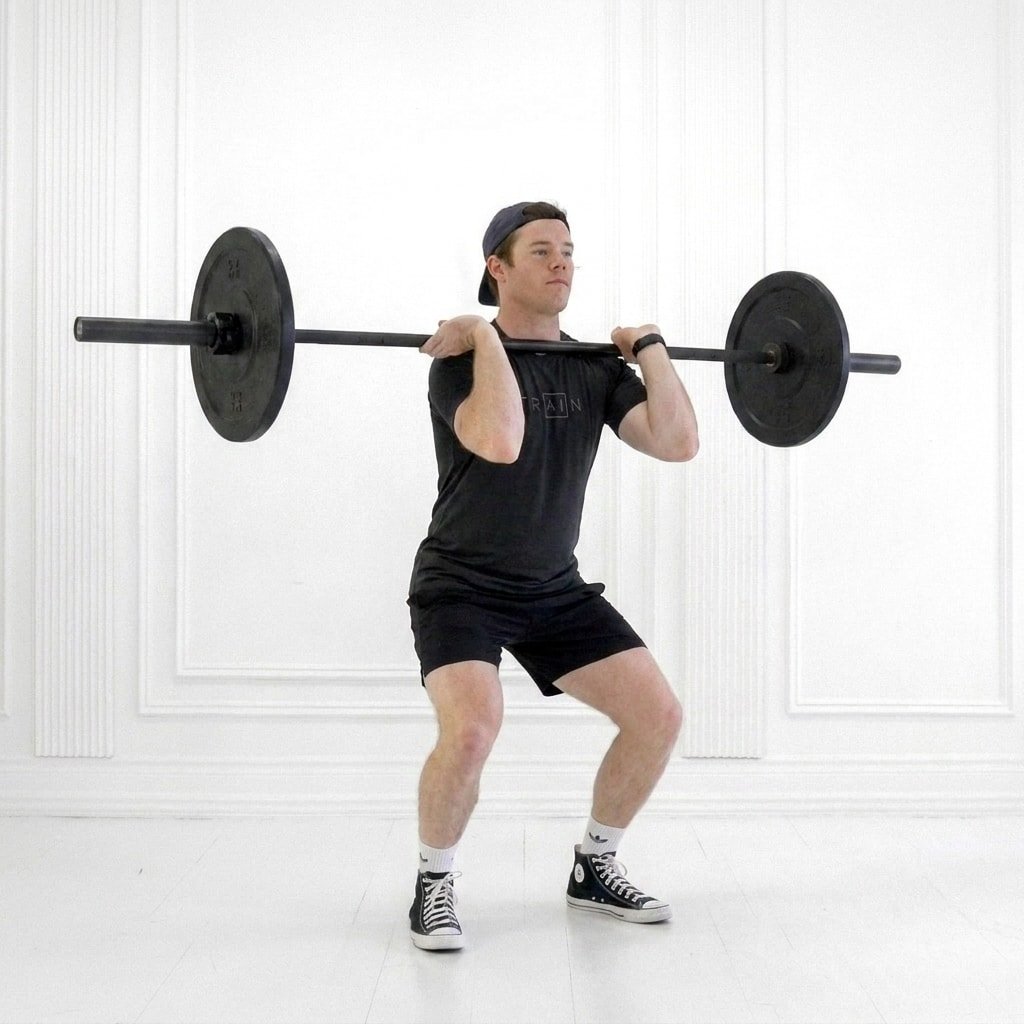
Stand around hip-to-shoulder width with the entire foot planted. Small stance variations are fine, but make your starting position repeatable. Set the bar across the front shoulders and upper chest rather than balancing all its weight in the wrists. Your hands stabilize the implement. Keep the elbows slightly in front of the bar, while leaving enough room for the elbows to extend as you drive. Wrist and shoulder mobility will influence the exact front-rack shape.
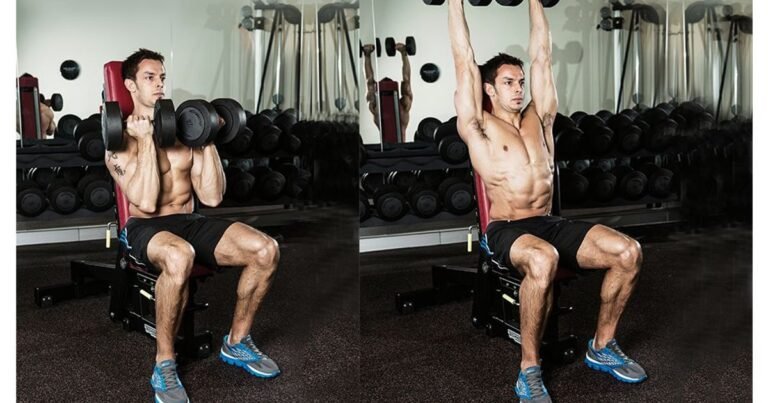
If a full clean-style rack is uncomfortable, do not force the wrists into an extreme angle. Adjust hand spacing, work with a lighter bar or use a controlled dumbbell push press while you develop a safe bar position. A dumbbell variation is not an exact barbell substitute: the independent implements demand different stabilization and may require different loads.
Before every set, look straight ahead, inhale into a firm trunk and make sure the bar is not drifting forward. This is the moment to correct an unstable rack. A sloppy start becomes a bigger problem once the legs accelerate the weight. The cue is simple: secure contact with the shoulders, a planted foot and room to drive upward.

Equipment Worth Exploring
Explore equipment, accessories and gear from our carefully selected range.


Foldable Wall Rack
Wall-mounted folding squat rack designed to save floor space between workouts.

Competition Plates
Competition-style bumper plates for Olympic lifts and loaded strength training.


Grip Plates
Rubber-coated weight plates with handholds for loading barbells and machines.


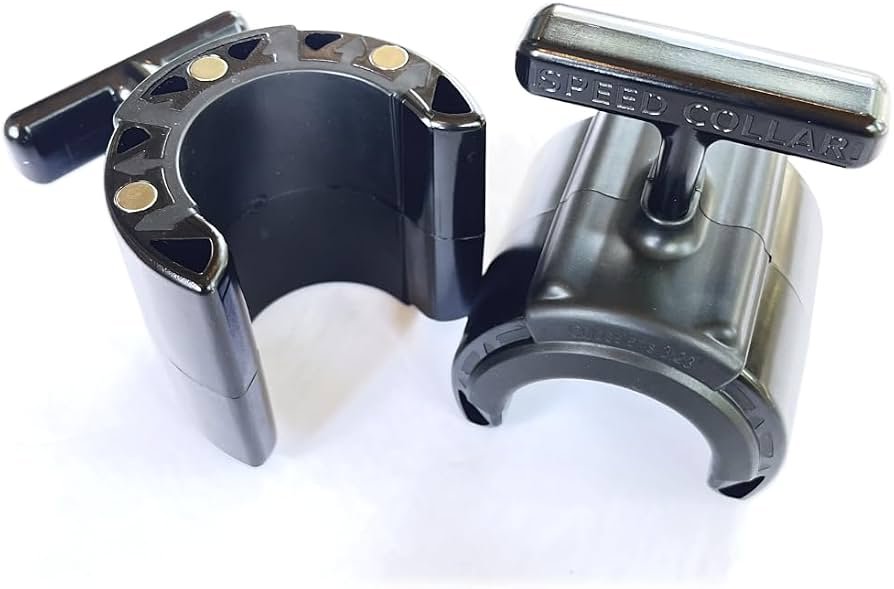
Speed Collar
Quick-release collars designed to secure weight plates on standard two-inch Olympic bars.

3. Dip vertically, drive with the legs and time the arms
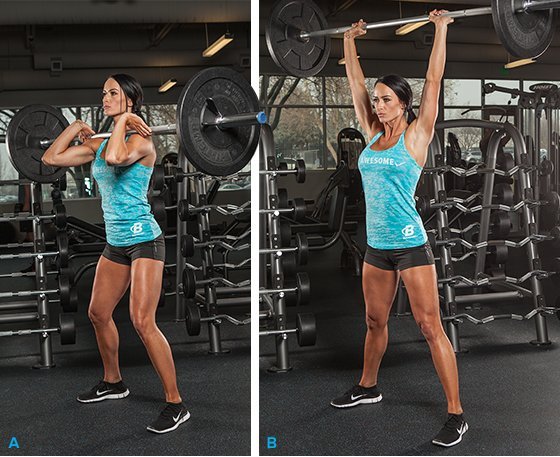
Begin the dip by bending knees and hips only enough to compress the legs for an explosive drive. Keep the torso upright and the pressure centered through the feet. If the chest collapses, the bar shifts forward, so you have to chase it with your shoulders. A short, nearly vertical dip usually allows a faster reversal than an unnecessarily deep knee bend.
At the bottom, reverse direction decisively. Push the floor away and extend the knees and hips hard. The bar should rise because the legs accelerated the shoulders underneath it. Let that initial drive develop before you finish with the arms. A common error is throwing the head backward or pressing so early that the lift becomes a wobbly strict press with leg movement added afterward.
Think about driving upward rather than leaning backward. The head moves out of the bar’s path briefly, then returns to a neutral position as the bar clears the forehead. The implement should finish over a balanced base, not out in front of the toes. Do not chase a dramatic heel rise; ankle extension may occur naturally, but the priority is upward force and balance, not an exaggerated jump.
Practice the sequence with an empty bar: settle in the rack, dip, drive, then finish overhead. Pause and reset between repetitions so each starts from the same position. If you cannot keep the bar near a vertical line, reduce the weight and slow the learning process rather than grinding through more uneven reps.
Laboratory comparisons have measured different force, power and velocity characteristics across loads and across push-press and jerk patterns. Those short testing sessions do not establish one universal loading percentage for muscle growth, sport performance or long-term strength. Technique, training history and the goal of the session still determine the practical working weight.
4. Lock out overhead, fix common errors and choose your variation
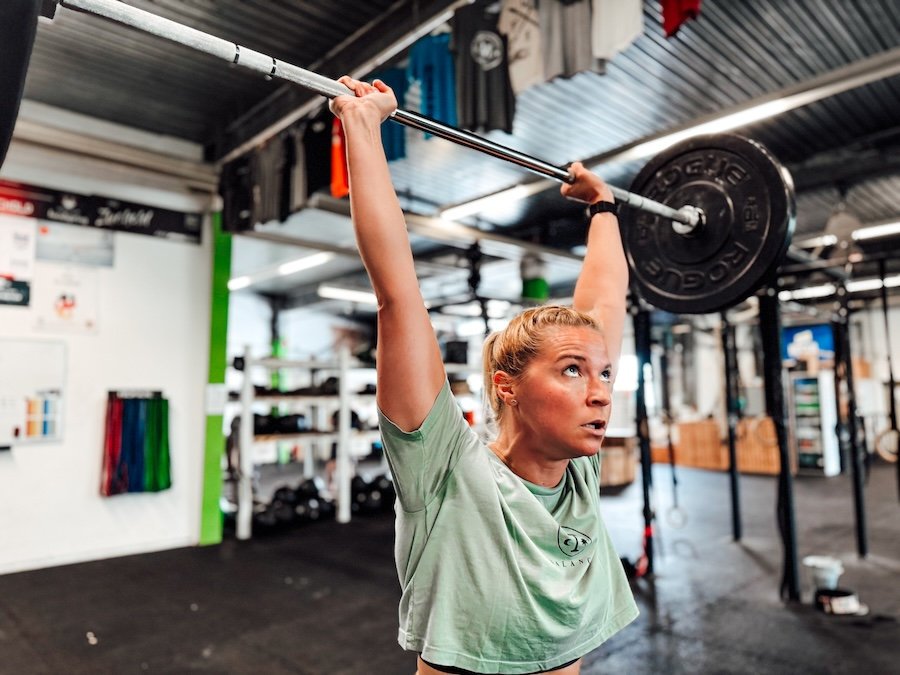
Finish by extending the elbows to a stable overhead position with the bar roughly above the middle of the foot. Allow the shoulders to rotate upward naturally and keep the ribs from flaring excessively. A firm abdomen and glutes help prevent the upper body from turning into a backward arch. The aim is a solid stacked finish you could briefly hold, not a precarious rescue of a drifting bar.
Lower the weight under control back to the front rack, bending the knees slightly if needed to soften the return. Keep the elbows and wrists prepared for contact. With heavier sets, it may be safer to use appropriately spaced singles, reset each repetition and follow your gym’s rules for dropping weights. Never lower an unstable bar toward the head or attempt a catch that exceeds your control.
When the bar travels forward, first inspect your dip. A forward knee-and-chest collapse often starts the problem before the arms press. When the lockout is slow, check whether you drove the legs fully before asking the shoulders to take over. If your heels move unpredictably, rehearse the same stance and foot pressure. Sharp shoulder, wrist or back pain is a reason to stop that variation and reassess rather than force a deeper range.
Equipment Worth Exploring
Explore equipment, accessories and gear from our carefully selected range.

Rubber Hex Dumbbells
Rubber-coated hex dumbbell pairs with a stable shape for home and commercial strength training.


Multi Pull Smith Rack MPHR-780
All-in-one rack with a Smith machine, functional trainer, lat pulldown and low row.

VForce 3IN1 Max
Six-post all-in-one rack with Smith machine, functional trainer, and variable-force cables.

VForce 2IN1
Half rack and pivot-arm functional trainer with switchable 1:1 and 2:1 pulley ratios.

Lever Arm Multi Press LMP-650
Multi-press with independent lever arms and an integrated adjustable bench for upper-body training.


5. A six-week push press progression you can repeat
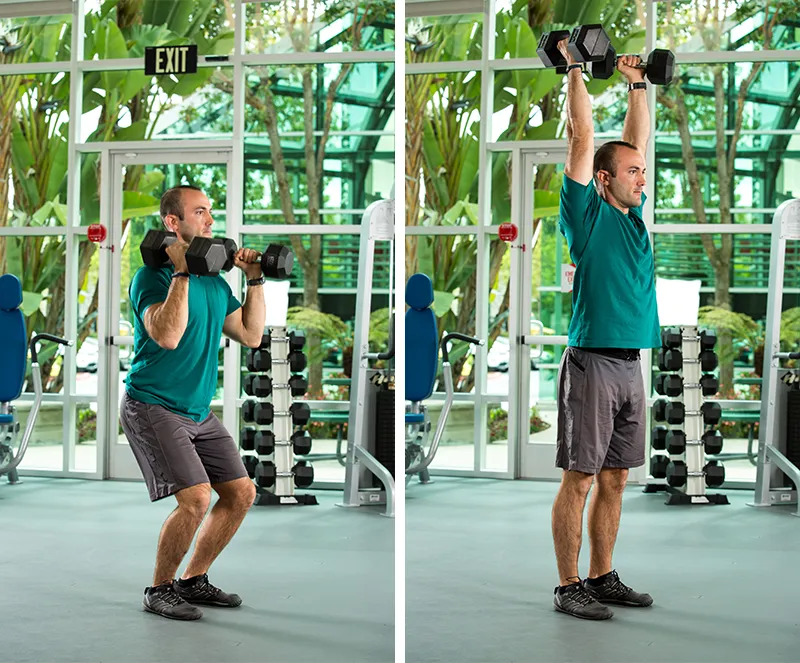
Train the barbell push press once or twice a week while learning. Keep it near the beginning of a session, after a brief warm-up and before fatiguing shoulder accessories. Use several warm-up sets with gradually increasing weight to verify that your dip and bar path still look consistent. For most noncompetitive lifters, leave some speed in reserve rather than taking every set to a grinding failure.
- Week 1: Perform three work sets of five controlled reps at an easy weight. Pause in the front rack before each dip and film one set from the side.
- Week 2: Keep the same weight for three sets of five. Aim for a faster reversal and steadier overhead finish rather than more repetitions.
- Week 3: If every rep is stable, increase the load by the smallest practical plate change and perform four sets of four.
- Week 4: Repeat four sets of four at the new weight. If the path is inconsistent, return to the last clean load instead.
- Week 5: Use four sets of three with a modest increase only when the previous week stayed crisp. Rest long enough for speed and balance to recover.
- Week 6: Compare three or four sets of three with your earlier logs. A smoother lockout or more consistent bar path at the same load counts as improvement.
These are coaching examples, not validated optimal doses. A useful starting point is roughly two to three minutes between harder sets, adjusted for recovery and bar speed. If you also do heavy benching, strict presses or Olympic lifting, account for total upper-body and overhead fatigue rather than piling extra push presses onto every session.
Log the load, successful reps, whether the bar stayed near vertical and whether you had to re-dip to finish. The best increase is one you can repeat without changing the exercise. Over six weeks, better timing can matter as much as the number on the plates: a solid leg drive followed by a controlled lockout is the standard worth chasing.

Funny Gym Shirts & Workout Gear
Funny gym shirts, tanks, hoodies and workout gear for lifters who like training hard.

Dost Thou Even Press Hoodie
Show off your medieval humor in a laid-back “Shoulder Press” hoodie.


Forged in the Gym Tee
Show some lifting attitude with a playful “Forged in the Gym: Hephaestus God of Fire” tee.

Bar Breaker Tee
Show some metalhead attitude with a playful “Bar Breaker Barbell Breaker” tee.

Platehead Powerlifting Tee
Heavy lifts, good laughs, and a little “Platehead Gym Skull” energy.

Weight Plates & Led Zeppelin Tee
Bring “Weight Plates & Led Zeppelin Meme” humor to your next gym day.

High Rocks Functional Fitness Tee
Show some lifting attitude with a playful “Hyrox High Rocks Gym Bro” tee.