Advertising disclosure: This page includes affiliate product links that may earn us a commission, as well as products from our own store.
Pin Squats: Set the Safeties, Own the Pause and Train Your Sticking Point
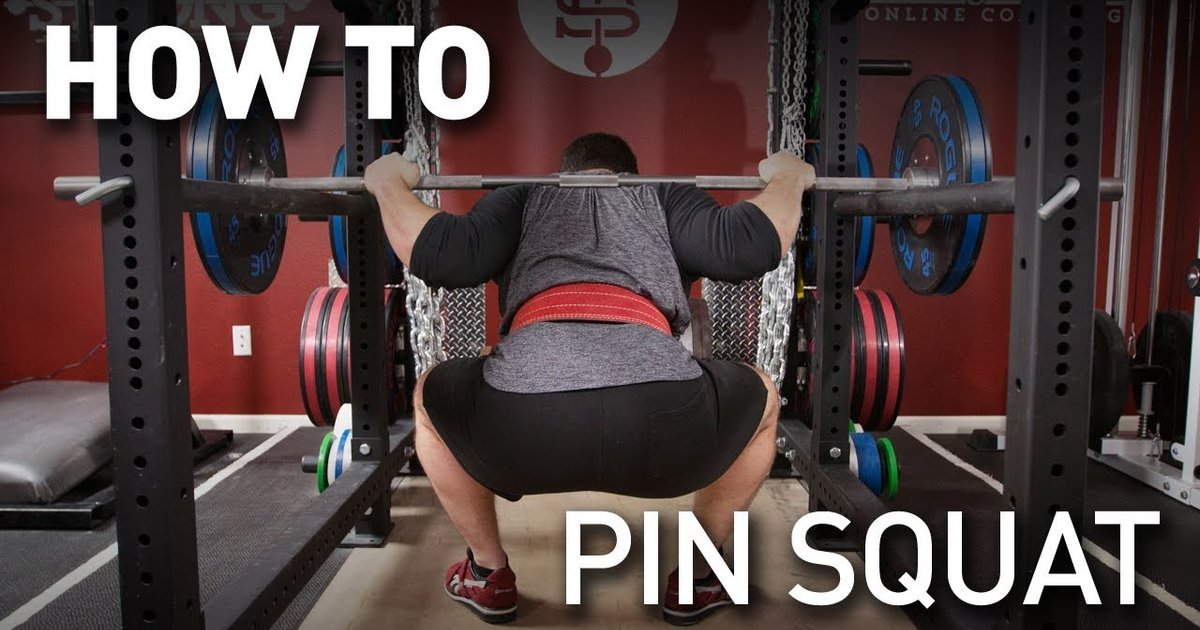
A pin squat looks like an ordinary barbell squat until the bar reaches a pair of carefully placed rack safeties. At that point the lifter can briefly interrupt the movement before driving upward. That interruption is useful because it makes you control the bottom position, rather than merely bounce out of it. But a pin squat is only as good as the rack setup and the intention behind the pause.
There are several lifts casually called pin squats. Some start standing, descend onto pins and then stand again. Others start with the loaded bar already resting on the pins and require a genuine dead-stop lift from the bottom. The two versions are related, not identical. Here is how to choose one, set it up safely and use it without confusing a harder variation with guaranteed progress.
1. Set both safeties before loading the bar
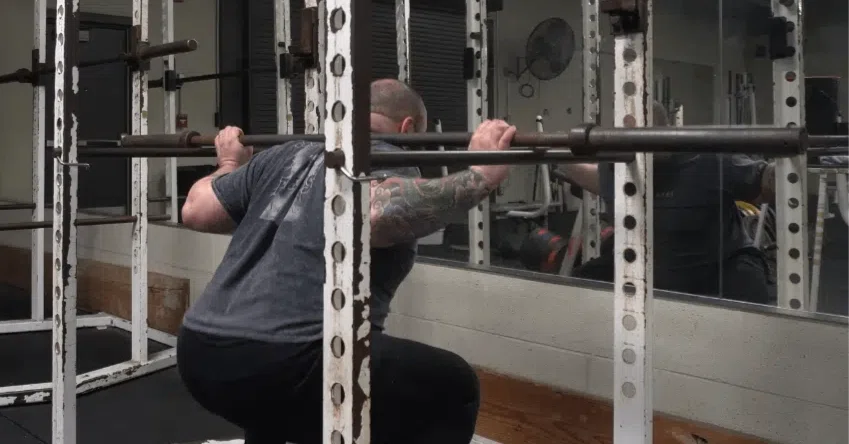
Choose a stable, properly assembled power rack with a rated pin-and-pipe or strap safety system. Set both sides to the same hole height, verify that the hardware is fully engaged and check the actual safe working load specified for your rack. A J-hook that holds a bar at shoulder height is not a substitute for a safety designed to catch it. A Smith machine with integrated stops is a different system; follow that machine’s instructions instead of improvising with loose supports.
To select the height, begin with an unloaded bar. Squat in your normal footwear, stance and bracing style while another person watches where the bar travels. Place the safeties near the point at which you intend to pause, normally around the region you struggle to accelerate through. They must leave enough room for a controlled descent without driving your neck or spine into an unsafe position. If the rails or rack geometry change your bar path, find another rack or exercise.
- Check that the bar contacts both safeties evenly rather than only one side.
- Keep sleeves and plates clear of uprights, brackets and nearby equipment.
- Test the intended pause and a safe exit using the empty bar before increasing load.
- Use collars and secure all weight plates; do not count on friction to hold the load.
Safeties protect against a failed repetition only when they are fitted correctly. They do not eliminate the risk of bad bracing, twisted positions or a collapsing bench or platform. If you cannot confidently reproduce the same bar-to-pin contact, reduce the weight and troubleshoot the setup first.
2. Decide what kind of pause you actually want
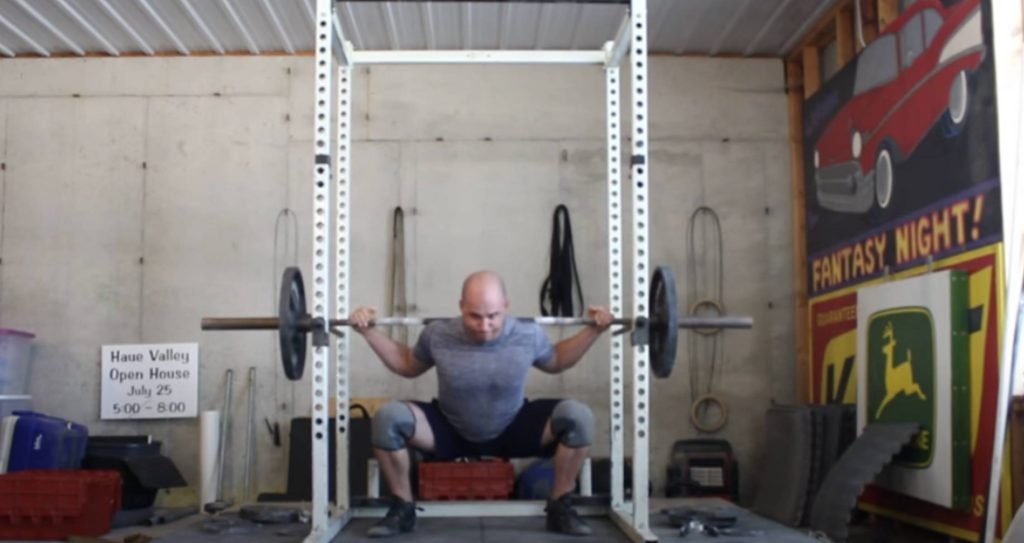
For a top-down pin squat, unrack normally, brace, descend under control and bring the bar to the pins without slamming it down. A light touch followed by an immediate reversal is closer to a controlled touch-and-go squat. Holding the bar against the pins for one or two deliberate seconds reduces momentum, but you may still maintain considerable muscular tension. Fully settling the bar on the supports and restarting from a near-motionless position changes the task again.
No single pause is automatically best. Pick the version that matches your goal and make it repeatable. A brief controlled contact is appropriate when you want a consistent depth reference; a dead stop emphasizes generating force after motion has been interrupted. The second is often more demanding at a given weight, so a lighter load is usually sensible. Avoid claiming that every rep is a dead stop if the bar is rebounding visibly from the metal.
Keep your upper back tight, ribs stacked over the pelvis and feet balanced through the floor. Before pushing up, think about driving the bar through your intended squat path rather than simply getting it off the pins by jerking the torso. If you tilt to one side or the bar contacts the rack asymmetrically, end the set. Metal-to-metal impact is not proof of intensity; it is more often a sign that the descent needs refinement.

Equipment Worth Exploring
Explore equipment, accessories and gear from our carefully selected range.

Multi Pull Smith Rack MPHR-780
All-in-one rack with a Smith machine, functional trainer, lat pulldown and low row.


Foldable Wall Rack
Wall-mounted folding squat rack designed to save floor space between workouts.


Safety Squat Handles
Barbell squat handles that reduce shoulder positioning demands during high-bar squats.


VForce 2IN1
Half rack and pivot-arm functional trainer with switchable 1:1 and 2:1 pulley ratios.

3. Use the pins to diagnose a problem, not hide it
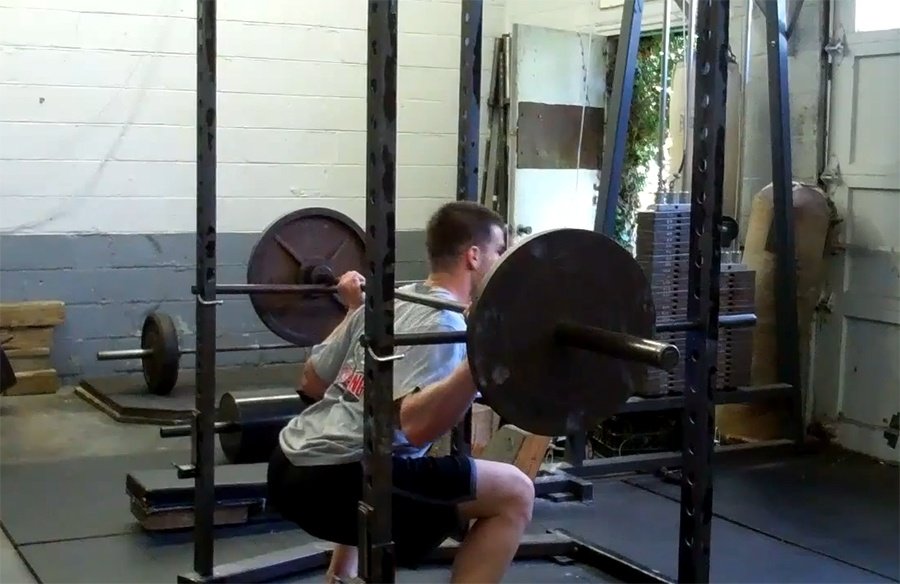
A sticking point is not merely the exact place where the bar visibly slows. Fatigue, changing joint leverage, prior bar speed and technique can all influence that slowdown. Setting pins near a weak region may help you practise force production there, but it is not a magic isolated muscle builder. Full-range squats, sensible progression and adequate recovery still do most of the work in a balanced strength plan.
Film a moderate set from the side if you can do so without compromising safety. Watch whether your hips shoot upward before the bar, your knees cave inward, your heels shift or your chest collapses at the pause. Those errors might also occur in regular squats; the stop simply makes them easier to observe. Do not treat any single knee angle as a universal rule: bar placement, limb proportions and squat style change how a good repetition looks.
Use a load that lets you maintain the same torso angle and even pin contact across all planned repetitions. Start with fewer total reps than your regular back-squat session because each restart can be demanding. If you feel sharp joint pain, unusual back pain or dizziness, stop and reassess. A training variation is not worth forcing merely because you planned to hit a specific weight.
The pins can also tempt lifters to cut depth short, especially when heavier plates make the bar move slowly. If a higher pin position allows much heavier loading, label it honestly as a partial-range variation rather than pretending it replaces your ordinary squat depth. Match the range to the purpose, and track that height along with your weight and reps.
4. Pin squat, Anderson squat, paused squat or box squat?
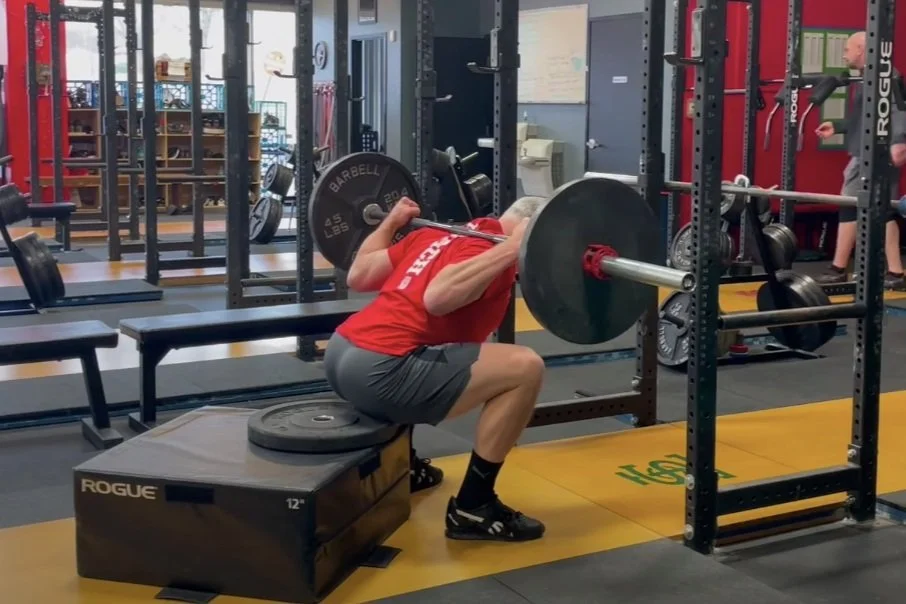
A top-down pin squat usually includes a descent before the bar reaches the supports. An Anderson-style squat starts with the bar resting on the pins; the lifter sets their body underneath, establishes tension and stands from a stationary position. A paused squat holds the bottom position while the lifter continues to support the load, without resting it on hardware. A box squat uses a box as a depth or positioning reference, but the box is not a barbell safety system.
These differences are practical, not semantic trivia. Starting from the pins demands precise body positioning before the first inch of travel. A paused squat gives you a quiet bottom position while preserving the full load in your muscles. A box can teach repeatable hip position when used well, but rocking backward or relaxing onto it can turn a controlled squat into a different movement. None of these choices has an automatic advantage for every lifter.
For most lifters who already squat confidently, the simplest useful experiment is to keep the primary squat in the program and add a modest amount of pin work as assistance. If you are unable to arrange sound safeties, choose paused squats with an appropriate spotter or a different supported exercise rather than building a precarious home-made catch. Record the exercise name precisely so the next block of training compares like with like.
Equipment Worth Exploring
Explore equipment, accessories and gear from our carefully selected range.

VForce 3IN1
All-in-one rack combining an adjustable Smith machine, functional trainer, and free-weight station.

Competition Plates
Competition-style bumper plates for Olympic lifts and loaded strength training.

Grip Plates
Rubber-coated weight plates with handholds for loading barbells and machines.

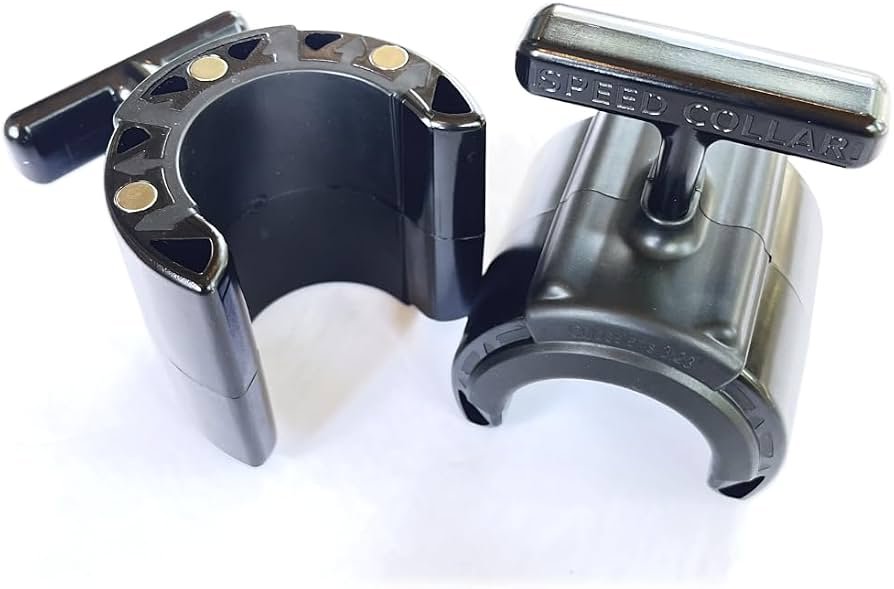
Speed Collar
Quick-release collars designed to secure weight plates on standard two-inch Olympic bars.
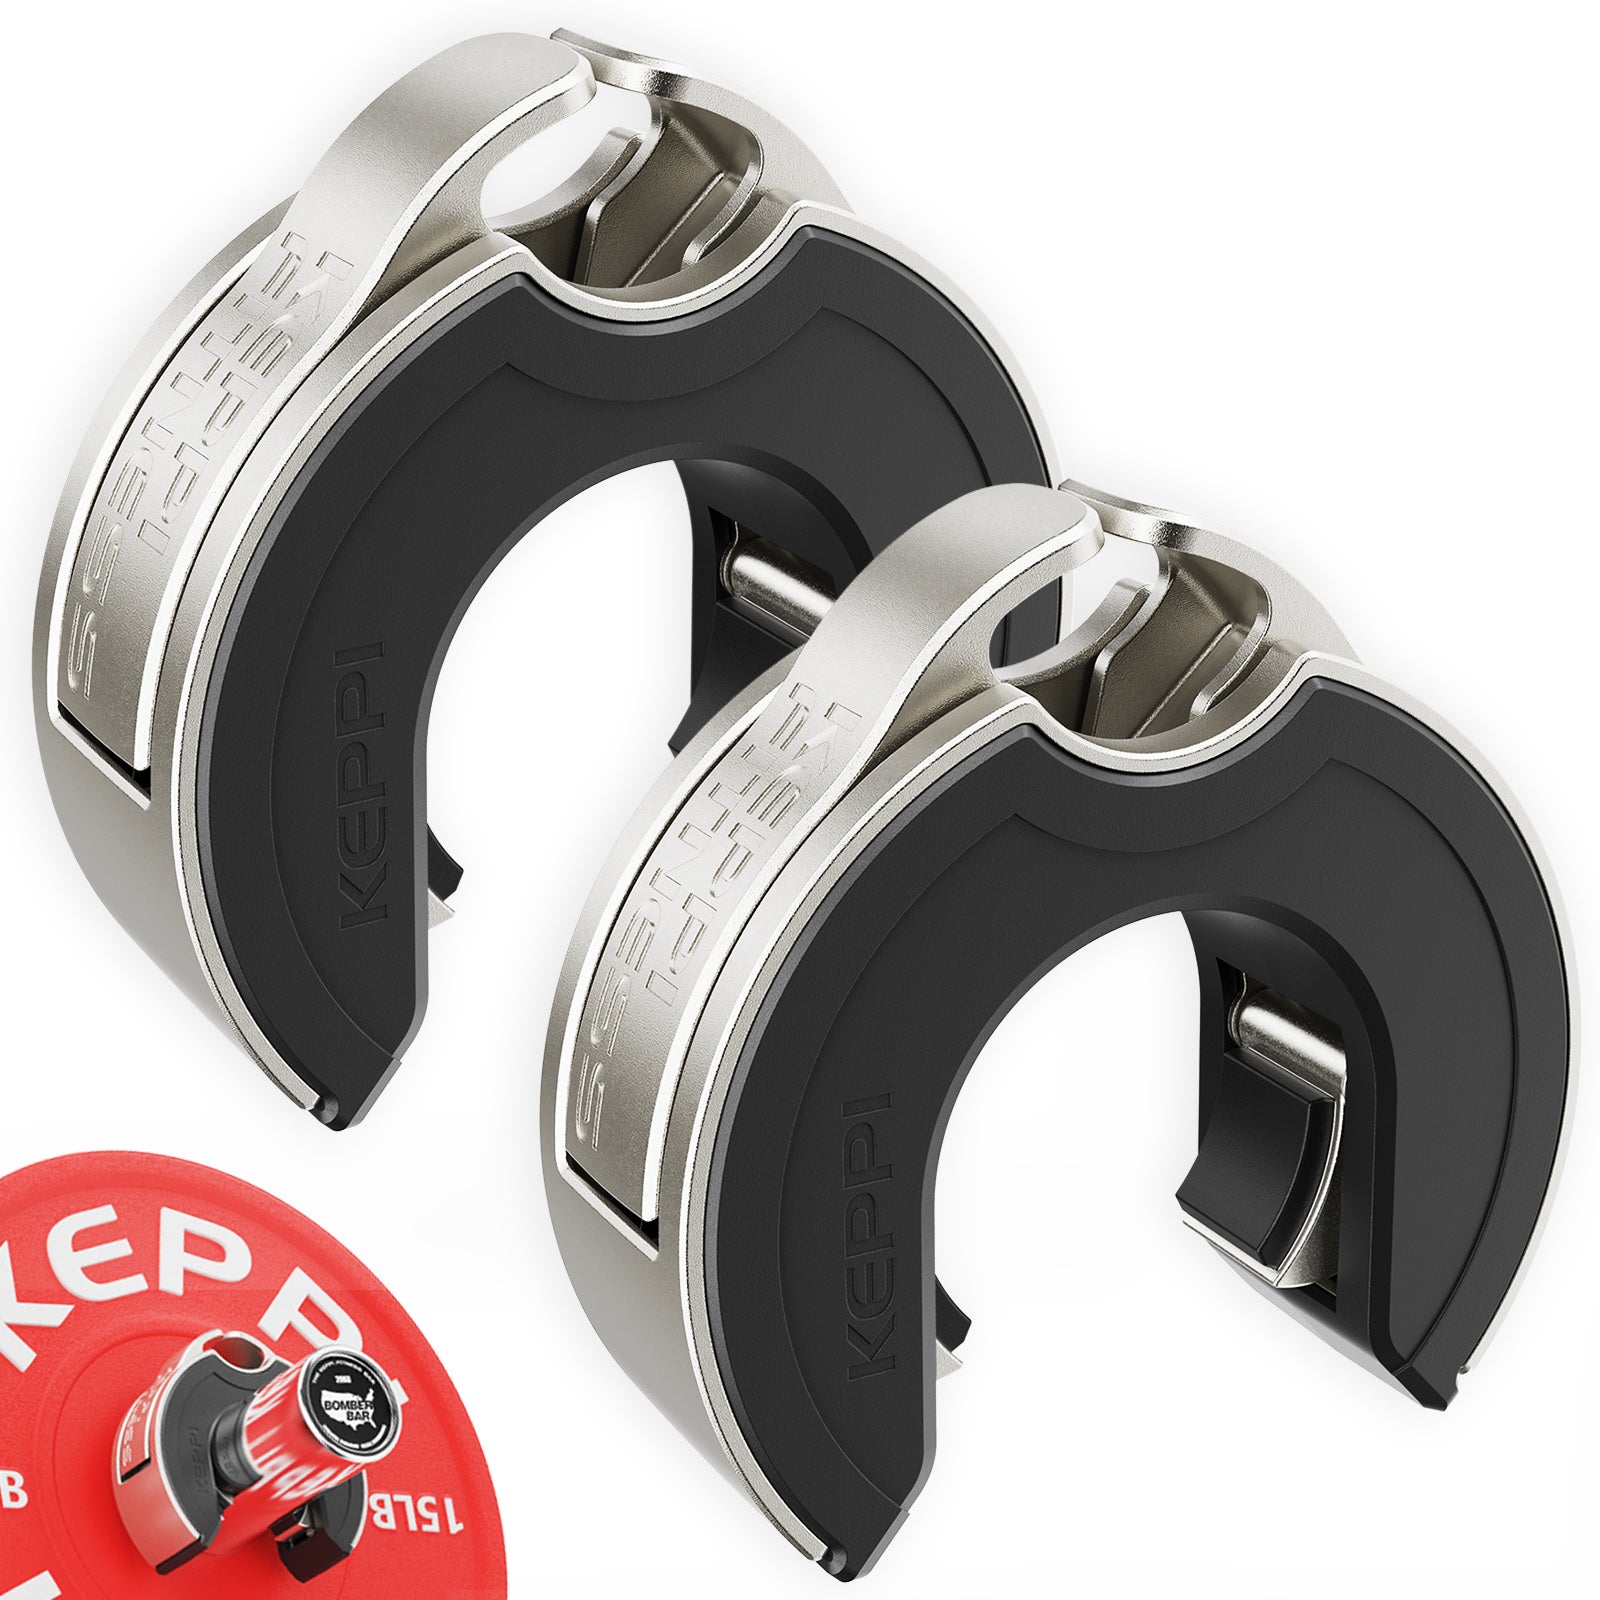
Keppi Open Collars
C-shaped magnetic Olympic barbell collars with a quick-lock mechanism and grippy lining.

GymPin Squat Wedges
Non-slip 15-degree squat wedges help elevate the heels for deeper quad-focused squats.


GymPin Mag Pin V2
Magnetic selector pin designed to secure weight selection on compatible pin-loaded machines.

FID Bench MAX
Adjustable bench offering flat, incline, and decline positions + adjustable headrest.
5. A six-week progression that respects the stop
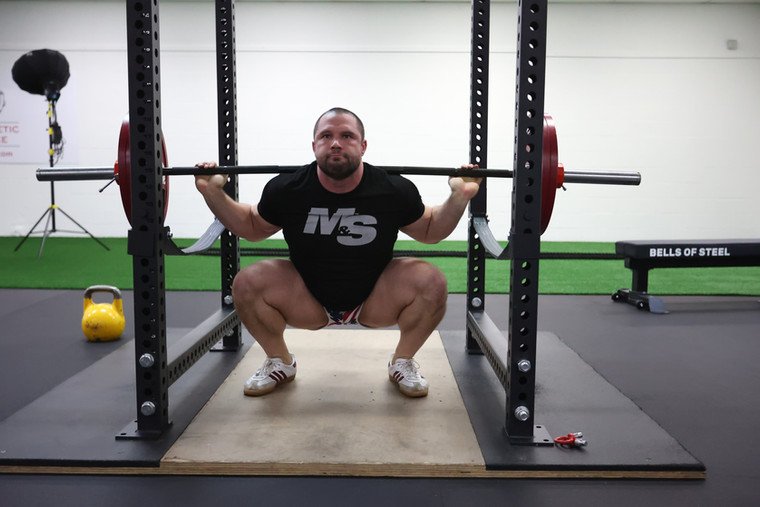
Keep one ordinary squat day as the main strength or hypertrophy stimulus. Add pin squats on a second, lighter squat-focused session, or replace a small amount of existing squat volume instead of stacking new fatigue blindly. Treat the following as an example for a healthy, experienced lifter, not a prescription for someone returning from injury. Warm up gradually, then choose a working weight that leaves roughly two to four good repetitions in reserve.
- Weeks 1–2: Practise the exact pin setting and a controlled one-second contact. Perform 3 sets of 4 repetitions, resting enough to reset the brace each time. Use a weight clearly lighter than your usual hard squat sets.
- Weeks 3–4: If bar contact, posture and rep speed stay stable, build to 3 sets of 5. Alternatively hold at 4 reps and increase the pause slightly. Change only one variable at a time.
- Weeks 5–6: Progress a small load increment or add a fourth set if recovery is good. Avoid combining a heavier bar, a lower pin height and additional volume in the same session.
Write down rack hole number, footwear, stance, pause style, load, repetitions and how difficult each set felt. If the bar bounces off a pin, your hips shift to escape the stop or soreness disrupts the following training day, reduce the demand. The aim is to practise strength through a consistent position, not to win a fight with the rack.
At the end of six weeks, compare your main squat at a similar effort and technique standard. Improvement in pin-squat numbers alone shows that you became better at pin squats; it does not prove superior full-range strength or muscle growth. Keep the variation if it improves control and fits your recovery. Otherwise, a pause squat, conventional squat or different accessory may be a better use of your training time.

Powerlifting Shirts & Lifting Gear
Powerlifting shirts and gym gear for squat, bench and deadlift lifters who live for heavy numbers.

1 Plate Squat Club Meme – Motivational Top T-Shirt
Bring “1 Plate Squat Club” humor to your next gym day.

Heavy Squatter Gym Wizards | Funny Harry Potter Workout Hoodie
Make your off-duty look more fun with “Heavy Squatter Gym Wizards”.

Leg Day Gains | LEGO Workout Sweater For Squats & Deadl T-Shirt
For laid-back days and leg-day humor: “Leg Day Gains”.

Superman Squats Decal for Water Bottles Laptops Gym Gea Sticker
Bring “Superman Squats” attitude to your water bottle or laptop.

I Want You To Squat Uncle Sam Patriotic – Funny 4th of Tank Top
Show some personality between sets with “I Want You To Squat Uncle Sam Patriotic”.


Stars Stripes & Squats Patriotic Eagle – 4th of July Ju T-Shirt
For laid-back days and leg-day humor: “Stars Stripes & Squats Patriotic Eagle”.

Quadzilla Massive Quads Decal Leg Day Squat Meme Sticker
Stick a little “Quadzilla” humor on your favorite gear.

Swolebob Squatpants Gym | Funny SpongeBob Leg Day Meme Hoodie
Show off your leg-day humor in a laid-back “Swolebob Squatpants” hoodie.

BootyBuilder Leg Day & Squats Barbie Meme Athletic Tank Top
Add some leg-day attitude to training with “BootyBuilder”.