Advertising disclosure: This page includes affiliate product links that may earn us a commission, as well as products from our own store.
An indoor rower rewards more than fast movement up and down the slide. A connected drive and an orderly recovery let you organise each stroke, understand the monitor and build a session you can repeat. Start with the sequence, then increase the conditioning demands without turning every pull into a scramble.
Set your feet and find a useful starting position
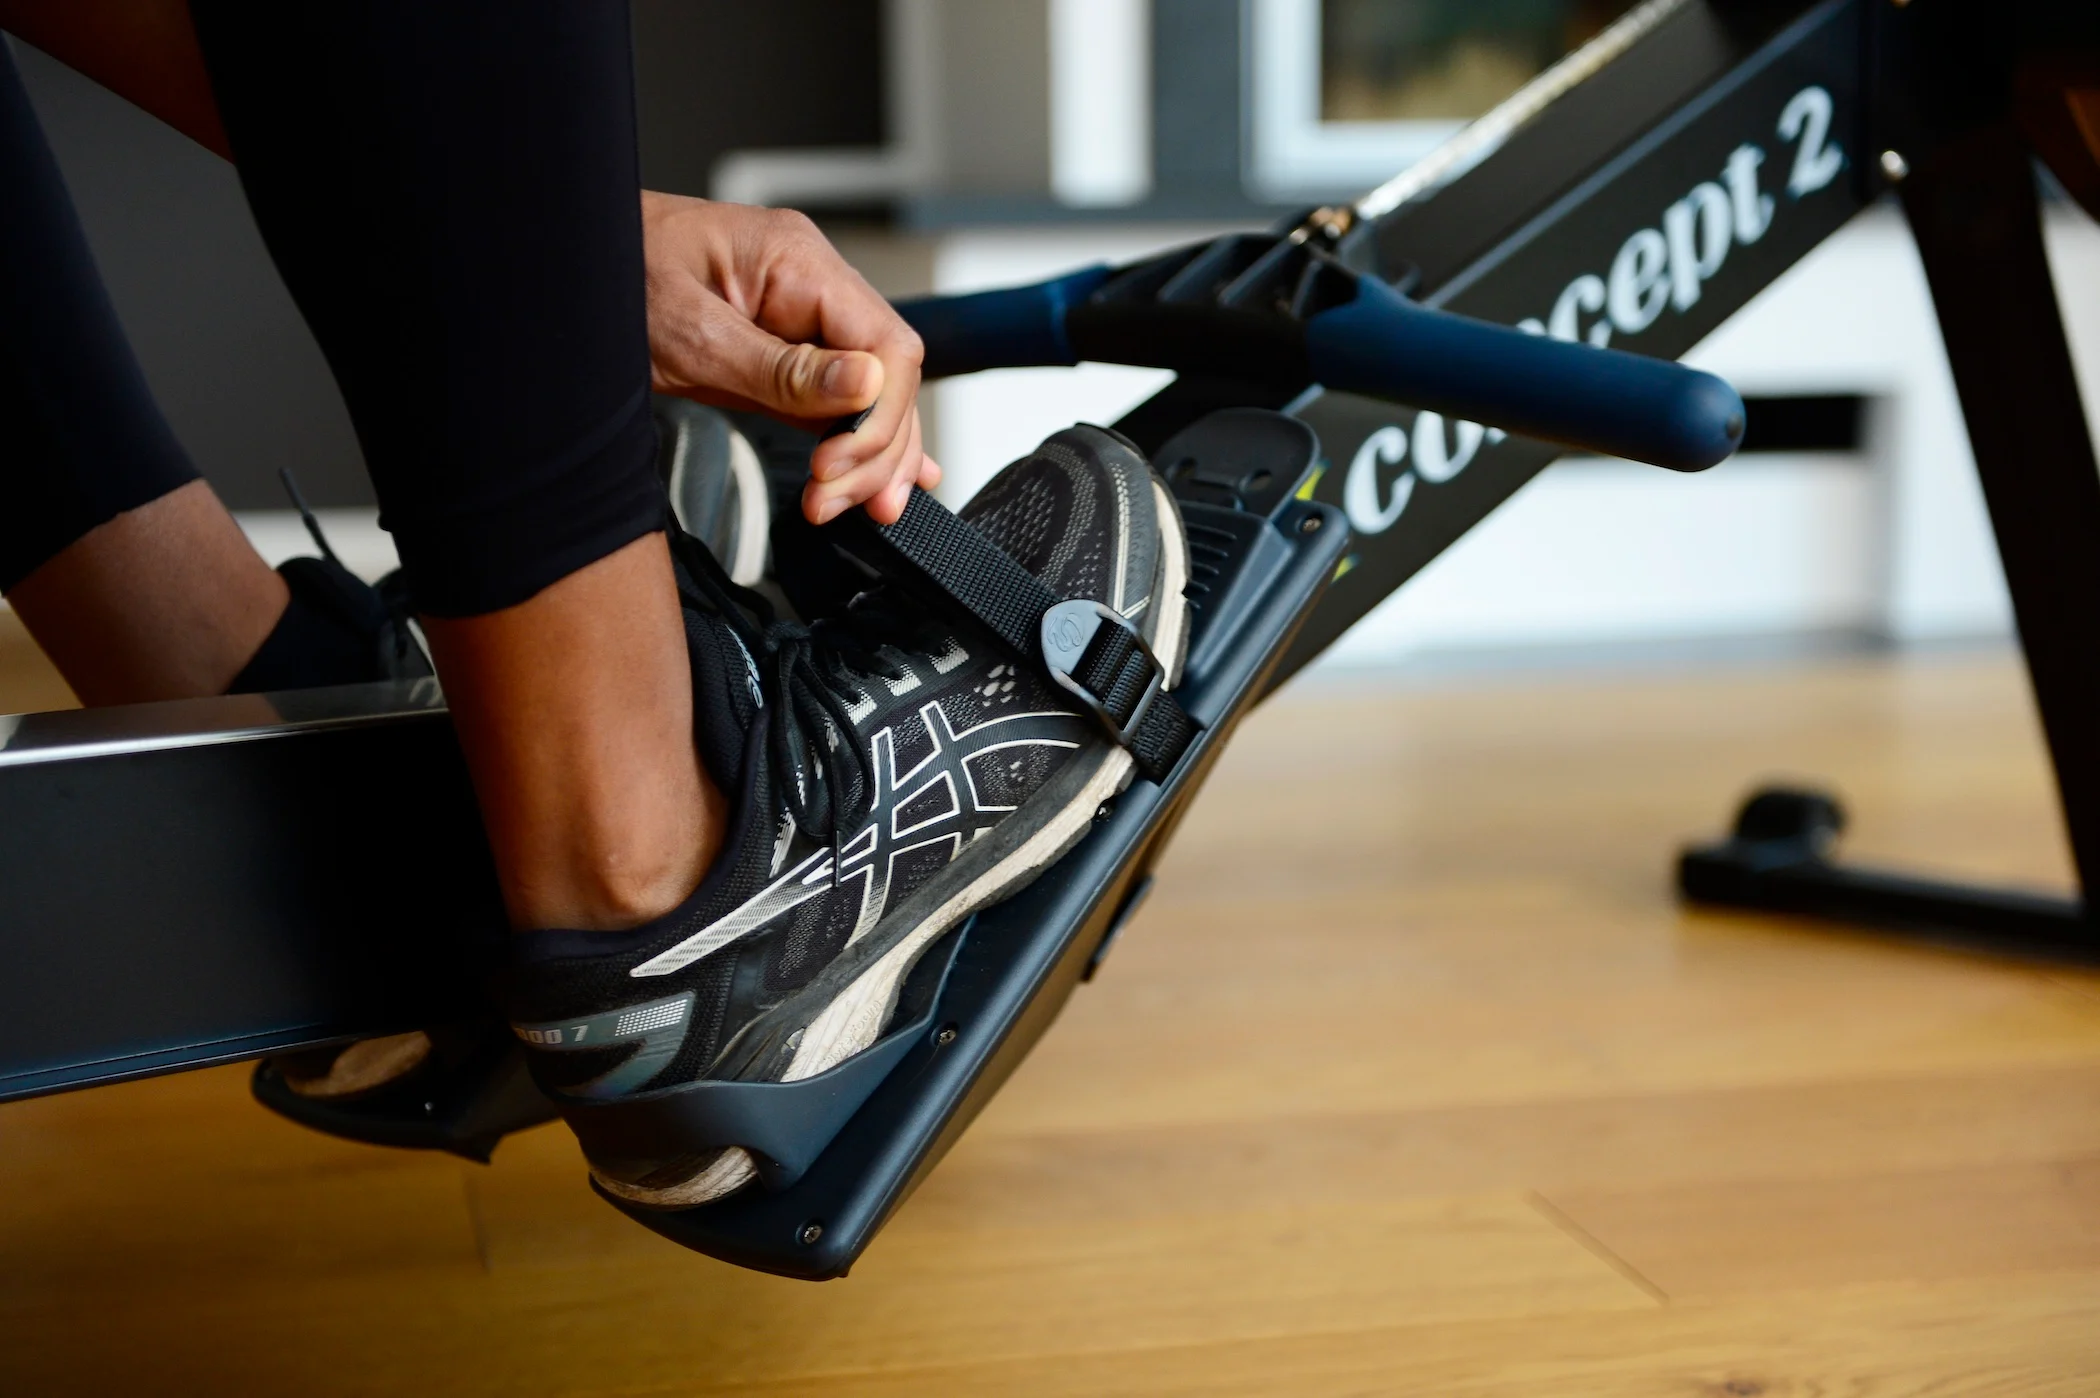
Before chasing pace, adjust the foot supports so the straps sit across the widest part of your feet. On a RowErg, foot size, shin length and shoe thickness all influence a comfortable setting. Aim for a catch position with your shins approximately vertical, arms reaching forward and enough space to move without folding yourself into the front of the machine.
Do a few gentle strokes and check the setting again. If the seat travels so far forward that your posture collapses, more compression is not helping the stroke. If your knees obstruct the handle path, investigate the foot-support position and your sequence rather than automatically reaching farther with your shoulders. Make one adjustment at a time so you can feel what changed.
The damper is a separate choice from technique and effort. Start with a manageable feel that lets you practise smoothly. Turning it up does not repair a rushed slide or an early arm pull. For a shared machine, record the foot setting and relevant resistance setting in your log, while recognising that the same damper number can feel different across machines.
A useful setup check is practical: can you reach the start comfortably, press through your feet and return without fighting the straps? You should understand how to release your feet before a hard session. Resolve an awkward adjustment while rowing easily rather than trying to compensate once you are tired.
Start the drive with your legs
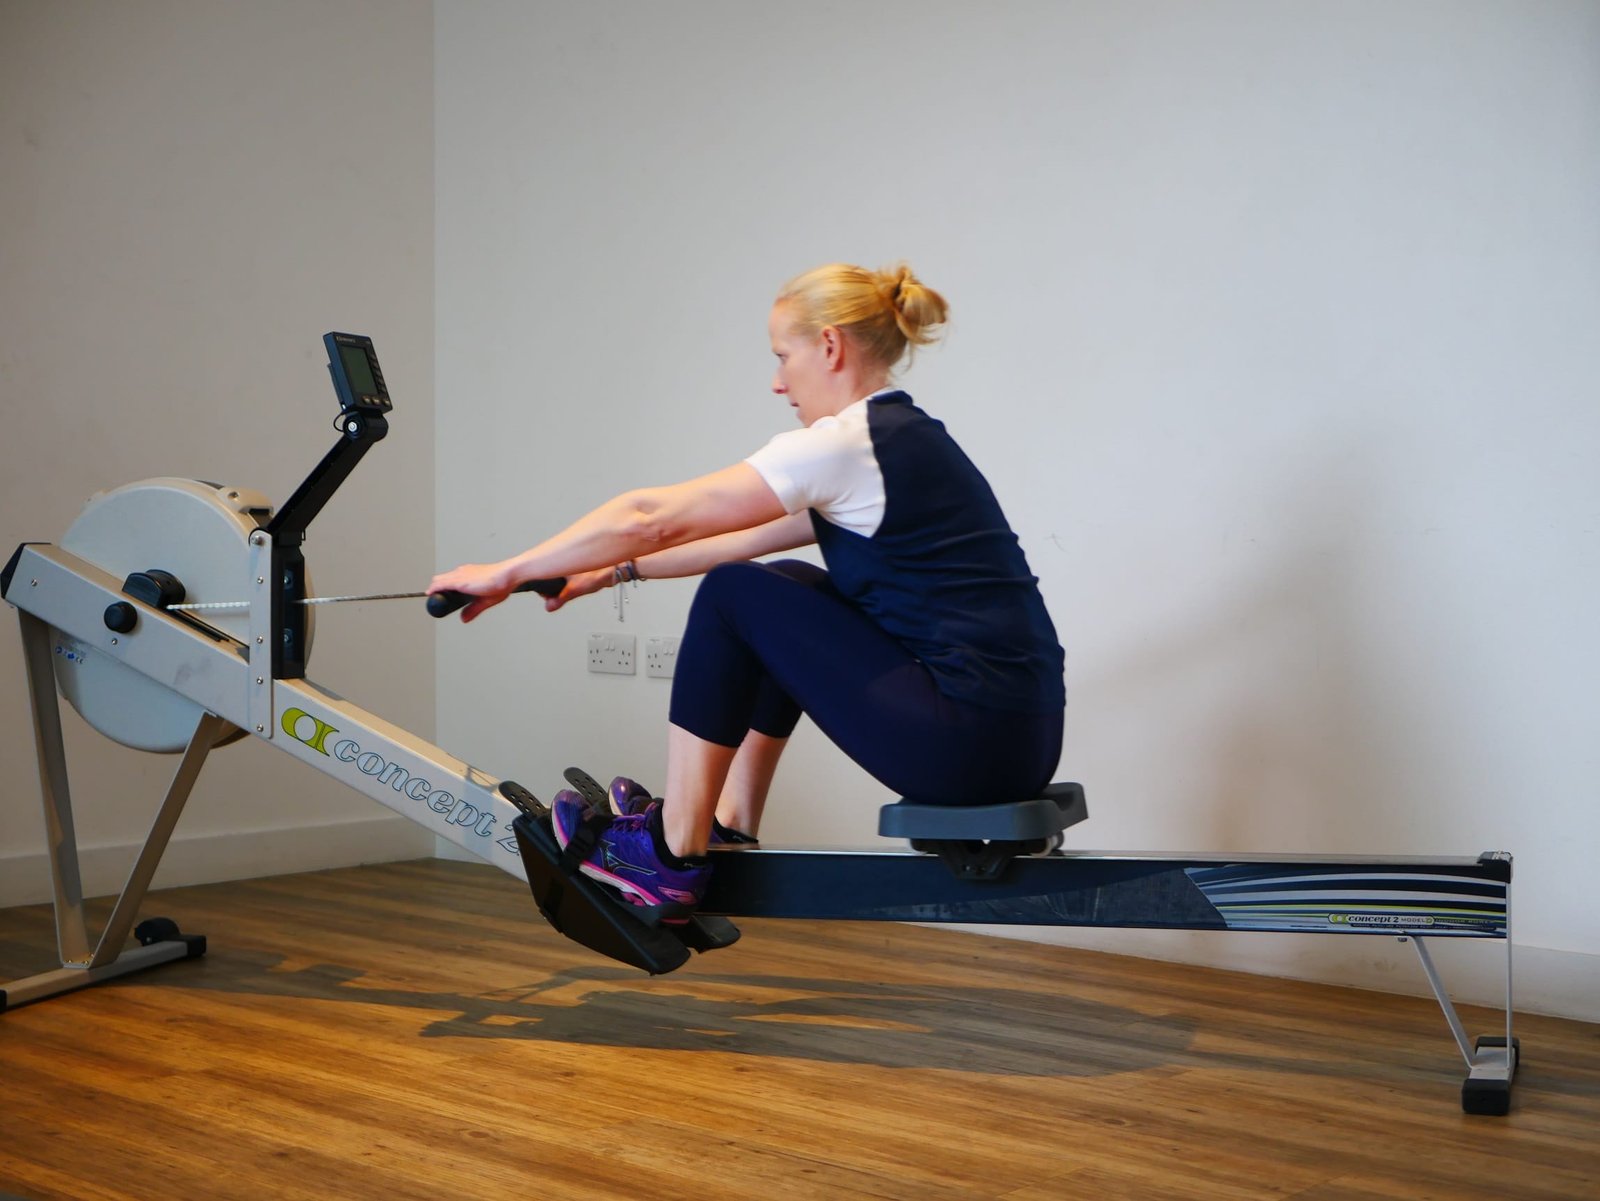
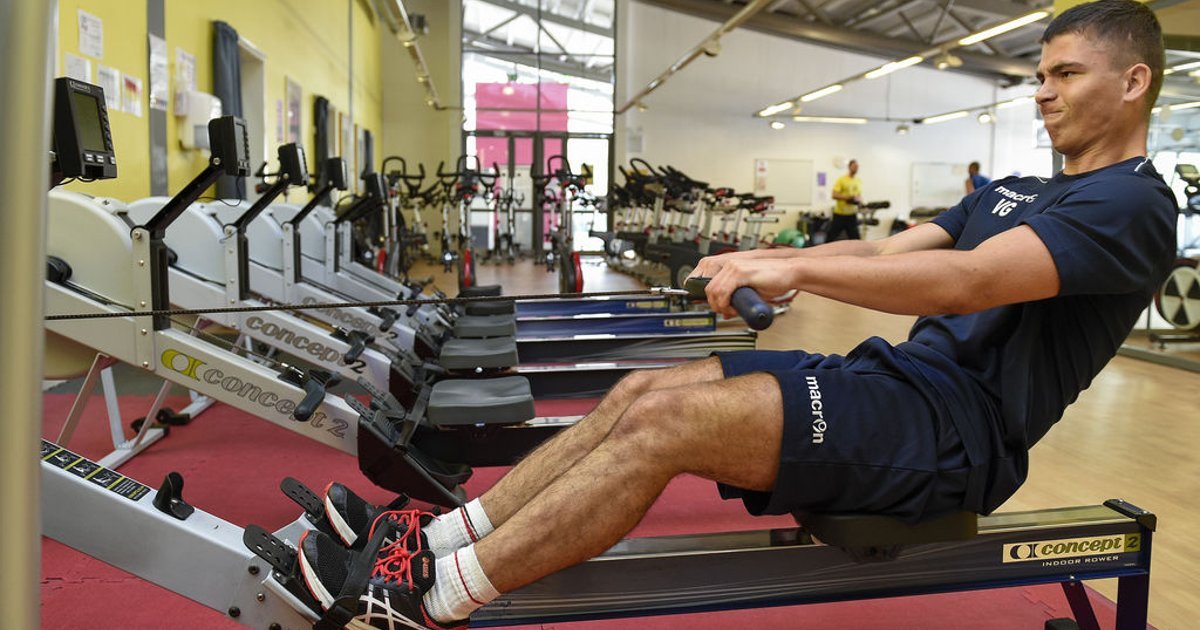
The drive sequence is legs, body, then arms. Begin by pressing through the feet while the arms remain long and the trunk supports your position. The handle and seat should move in a connected way. Think about moving the machine away with your legs rather than immediately hauling the handle towards your chest.
One common mistake is letting the seat shoot backwards while the handle barely moves. The legs straighten, but the upper body is left to recover the stroke. Another is bending the elbows as soon as the drive begins. Both make it harder to recognise the contribution of the legs and encourage you to rely on a small part of the movement.
For a low-effort practice drill, shorten the task and focus on the beginning of the leg push with straight arms. The purpose is to feel a connected movement, not to perform maximal pulls with a rigid body. Return to the full stroke after a few controlled repetitions. If a coach is available, a side view makes the sequence easier to assess than guessing from the monitor alone.
Keep the action smooth as you blend it together. Legs, body and arms are coaching stages, not three violent jerks separated by stops. Increase effort only as far as you can preserve that connection. A louder flywheel or a harder-looking facial expression is not evidence that the movement is working better.
Finish the stroke without an exaggerated lean

As the legs approach straight, open the body from the hips and complete the handle draw around the lower ribs. Keep your shoulders relaxed and wrists in line rather than curling the handle upwards. Finish supported through the trunk with a modest lean, then prepare to send the hands away again.
An excessive backward lean adds movement without automatically adding useful output. It can also make the next recovery awkward because you have farther to travel before the knees can bend. Likewise, pulling the handle high towards your neck changes the path you must reverse. Look for a finish that you can reproduce comfortably throughout the session.
A still photograph can show a position, but it cannot prove the timing that produced it. If you review a side-view video, watch the approach to the finish as well as the final frame. Notice whether the arms complete the stroke after the leg push, whether the shoulders rise, and whether you have to make an extra movement before starting the recovery.
Choose one correction rather than collecting a dozen cues. For example, spend an easy interval concentrating on relaxed shoulders and a consistent handle height. If another detail changes, reduce the effort and simplify the task. The aim is a repeatable rowing stroke, not a performance of every coaching instruction on every repetition.
Give the recovery an orderly path back
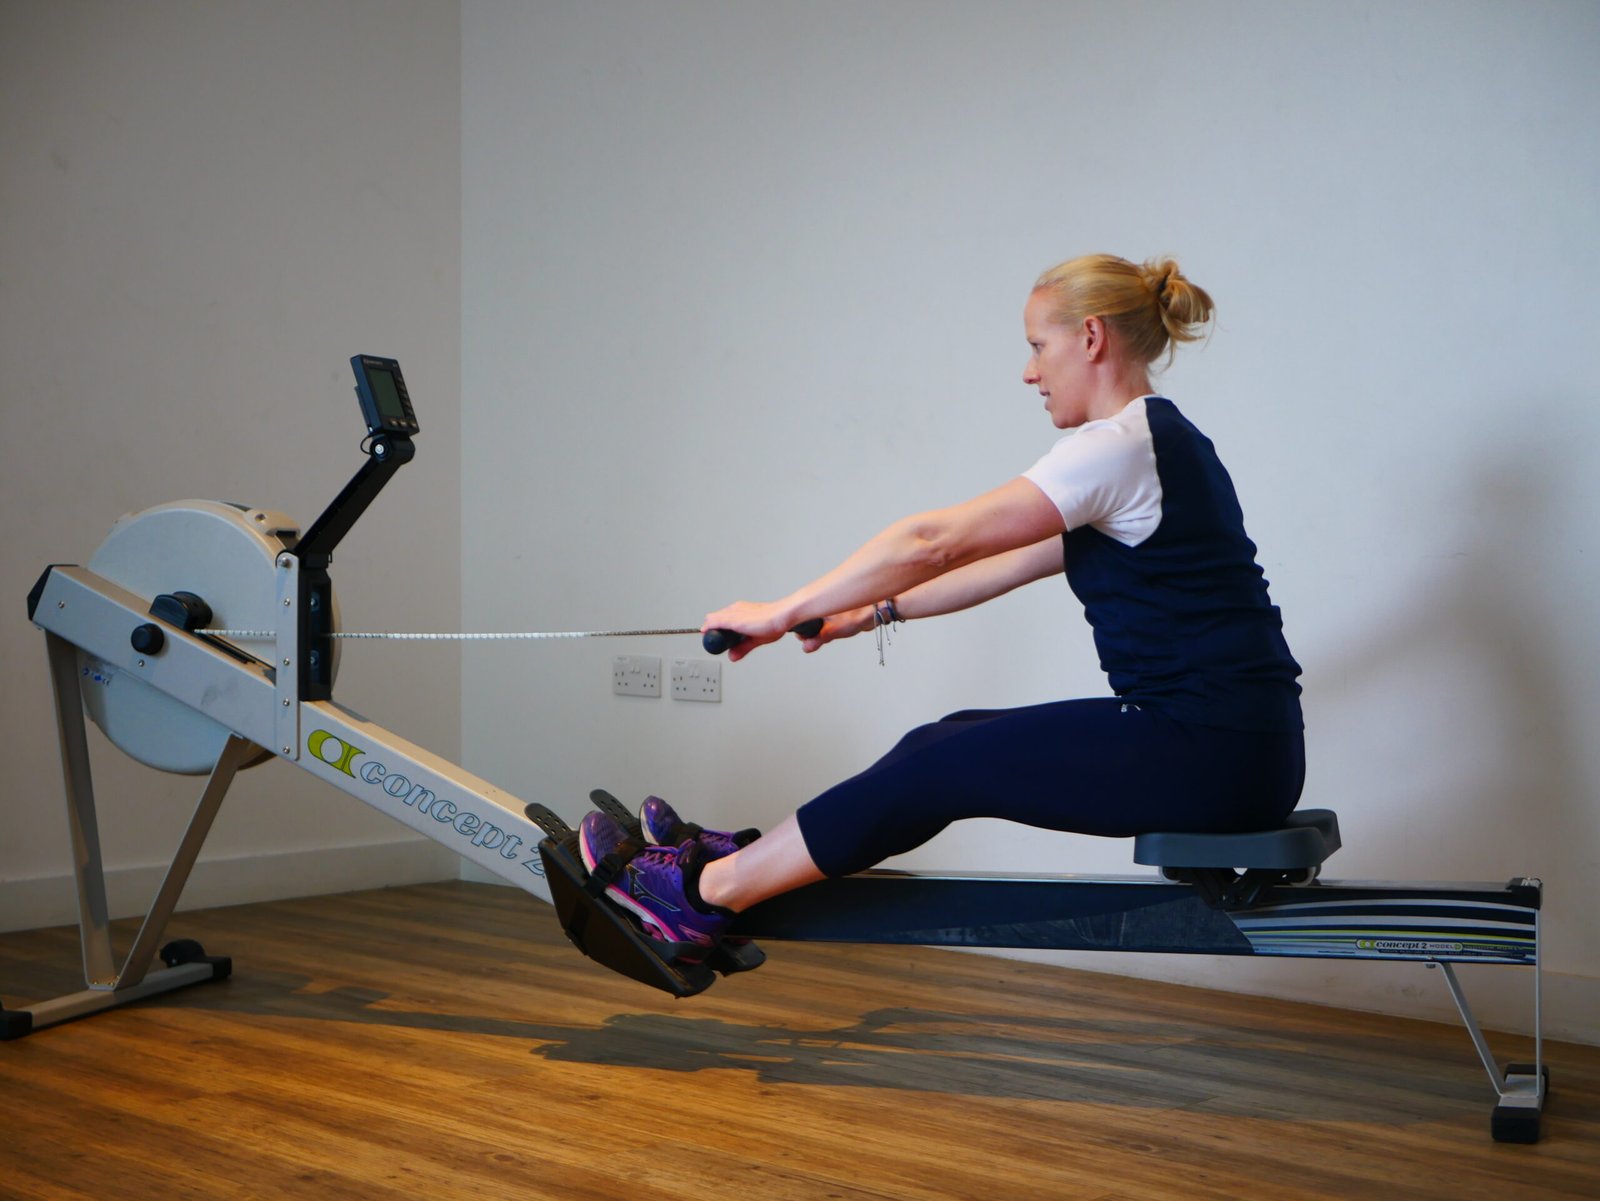
Reverse the sequence on the way forward: arms, body, then legs. Send the handle away, tip forwards from the hips and allow the knees to bend once the hands have cleared them. This gives the handle a clear route instead of forcing it to climb over rising knees.
Rushing the seat towards your heels can make the next catch feel crowded and abrupt. Recovery is an opportunity to prepare for another connected push. It should be controlled, with more time available than during the drive, while still blending naturally into the next stroke. Do not turn a rhythm cue into a requirement to hold your breath or stop at every position.
An easy pause drill can expose a sequencing problem. After moving the hands away and bringing the body forwards, briefly check that the legs are still extended before continuing up the slide. Then remove the pause and keep the same order. This is practice, not a hard interval; use sufficiently low effort that the drill remains deliberate.
If the handle repeatedly bumps around the knees, first check the order of movements. If you still feel cramped after that, revisit the foot setting and ask for help with your individual position. Trying to solve every problem by increasing flexibility or pulling harder can distract from a simple timing issue. A comfortable recovery makes the next drive easier to organise.
Read stroke rate and pace as different measurements
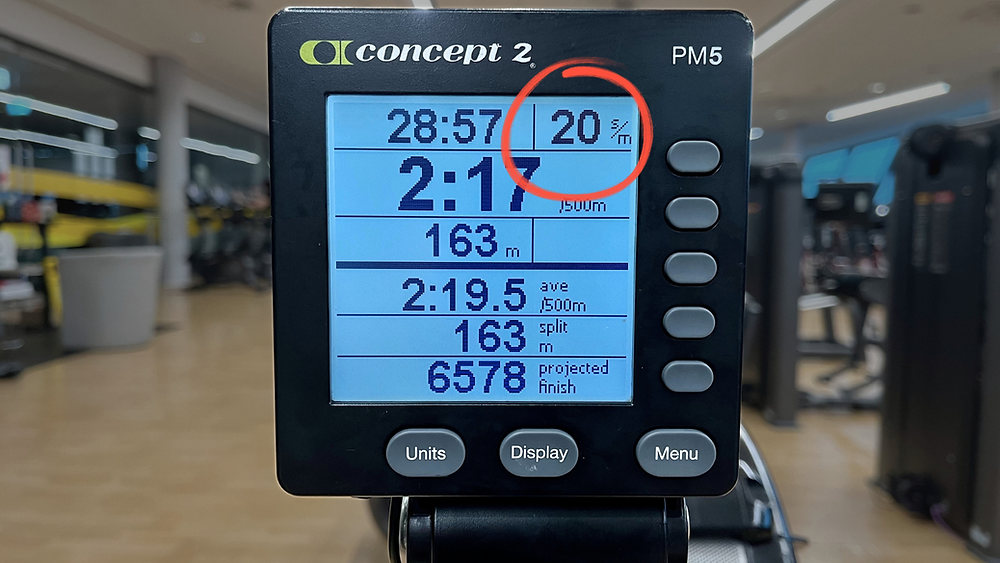
Stroke rate counts how many strokes you take per minute. Pace describes how quickly you cover distance; on a typical rowing monitor it is expressed as time per 500 metres. A lower pace number means a faster row. Watts describe power output, so that number rises as output increases. Avoid treating the stroke-rate display as a score that must always climb.
You can move back and forth faster while producing weaker or shorter strokes. You can also maintain a calm rate while applying more useful power during each drive. Higher rates have a place, particularly in racing and interval work, but they require coordination rather than a frantic return to the catch. Learn to distinguish the rhythm you are taking from the output you are producing.
A useful original practice comparison is two short, easy intervals at approximately the same comfortable rate. During the second, concentrate on a connected leg push and a patient recovery. Observe the pace and how the movement feels, without forcing a faster result. The exercise teaches you to read separate variables; it is not a promise that a technique cue will immediately improve your score.
Record the rate, average pace and session duration together. Include effort and any major setup change. Comparing an exhausted sprint with an easy technique row tells you little about whether your sequence has improved. First make sessions comparable, then decide whether you are ready to practise a slightly faster rhythm without shortening the stroke or losing control.

Cardio Shirts & Workout Gear
Cardio and conditioning gym gear for runners, endurance athletes and anyone who earns the sweat.


Anti Rowing Rowing Club Shirt – Meme & Top T-Shirt
Show some cardio attitude with a playful “Anti Rowing Rowing Club” tee.


Cardio Is Hardio – Workout Meme Decal for Water Bottles Sticker
Put “Cardio Is Hardio” gym humor on your laptop, bottle, or gym gear.

Negative Cardio Review Cardio Sucks 1 Star Vest Tank Top
Bring “Negative Cardio Review” humor to your next lifting session.

Cardio Is Calling Decline Sweater Meme T-Shirt
Bring “Cardio Is Calling” humor to your everyday gym style.

Exercise Your Demons | Cardio Workout From Hell Muscle Tank Top
Add some cardio attitude to training with “Exercise Your Demons”.

Hybrid Athlete – HYROX Training Crewneck for Strength & T-Shirt
Show some gym-day personality with “Hybrid Athlete”.

Your Mom Is My Cardio – Edgy Meme Hooded Pullover Hoodie
Bring “Your Mom Is My Cardio” gym humor to lazy days and post-workout plans.

Straight Outta Shape Hoodie
Stay casual and show some cardio attitude with “Straight Outta Shape”.
Build a practice session you can repeat
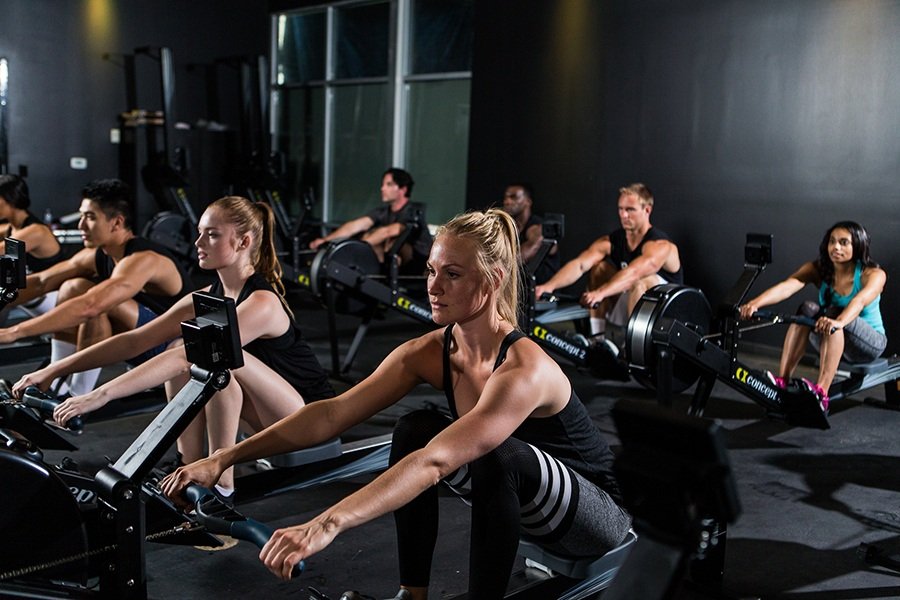
An original introductory session could begin with five easy minutes, followed by three two-minute technique intervals separated by one minute of relaxed rowing. Use one focus for each interval: connected leg drive, an uncomplicated finish, then hands clearing the knees during recovery. Finish with a few easy minutes. Adjust the duration to your current capacity; this is a practice example, not an official training plan or a race test.
Keep enough reserve to notice what you are doing. If the sequence falls apart, shorten the interval or reduce effort instead of treating deteriorating technique as a required finish. A class or coaching session can help you identify the most useful correction. The goal is to leave knowing what to repeat next time rather than remembering only that the workout was exhausting.
For lifters combining rowing with strength work, distinguish the two jobs. An easy technique session can sit beside a broader programme, whereas a demanding rowing workout adds fatigue that may affect lifting. If you use dumbbells, kettlebells or a bench for separate strength sessions, choose exercises and loads for that session's purpose. Those tools are not attachments for the rowing machine, and cable rows are a different movement from the rowing stroke.
For example, a separate full-body strength session might include a controlled squat pattern, a dumbbell press and a supported row, with the equipment chosen for your existing programme. Do not add a new circuit merely because you have started rowing. Keep the total workload manageable and note when tired legs or back muscles change how the rowing session feels.
Progress by changing one major variable at a time: duration, effort or stroke rate. Keep the setup and basic sequence understandable enough to repeat. Indoor rowing becomes easier to assess when the drive produces the work and the recovery prepares the next stroke. Start with that relationship, then build the conditioning demands around the technique you can sustain.

Equipment Worth Exploring
Explore equipment, accessories and gear from our carefully selected range.


Rubber Hex Dumbbells
Rubber-coated hex dumbbell pairs with a stable shape for home and commercial strength training.


Cast Iron Kettlebells
Textured cast-iron kettlebells for swings, squats, carries, and full-body training.
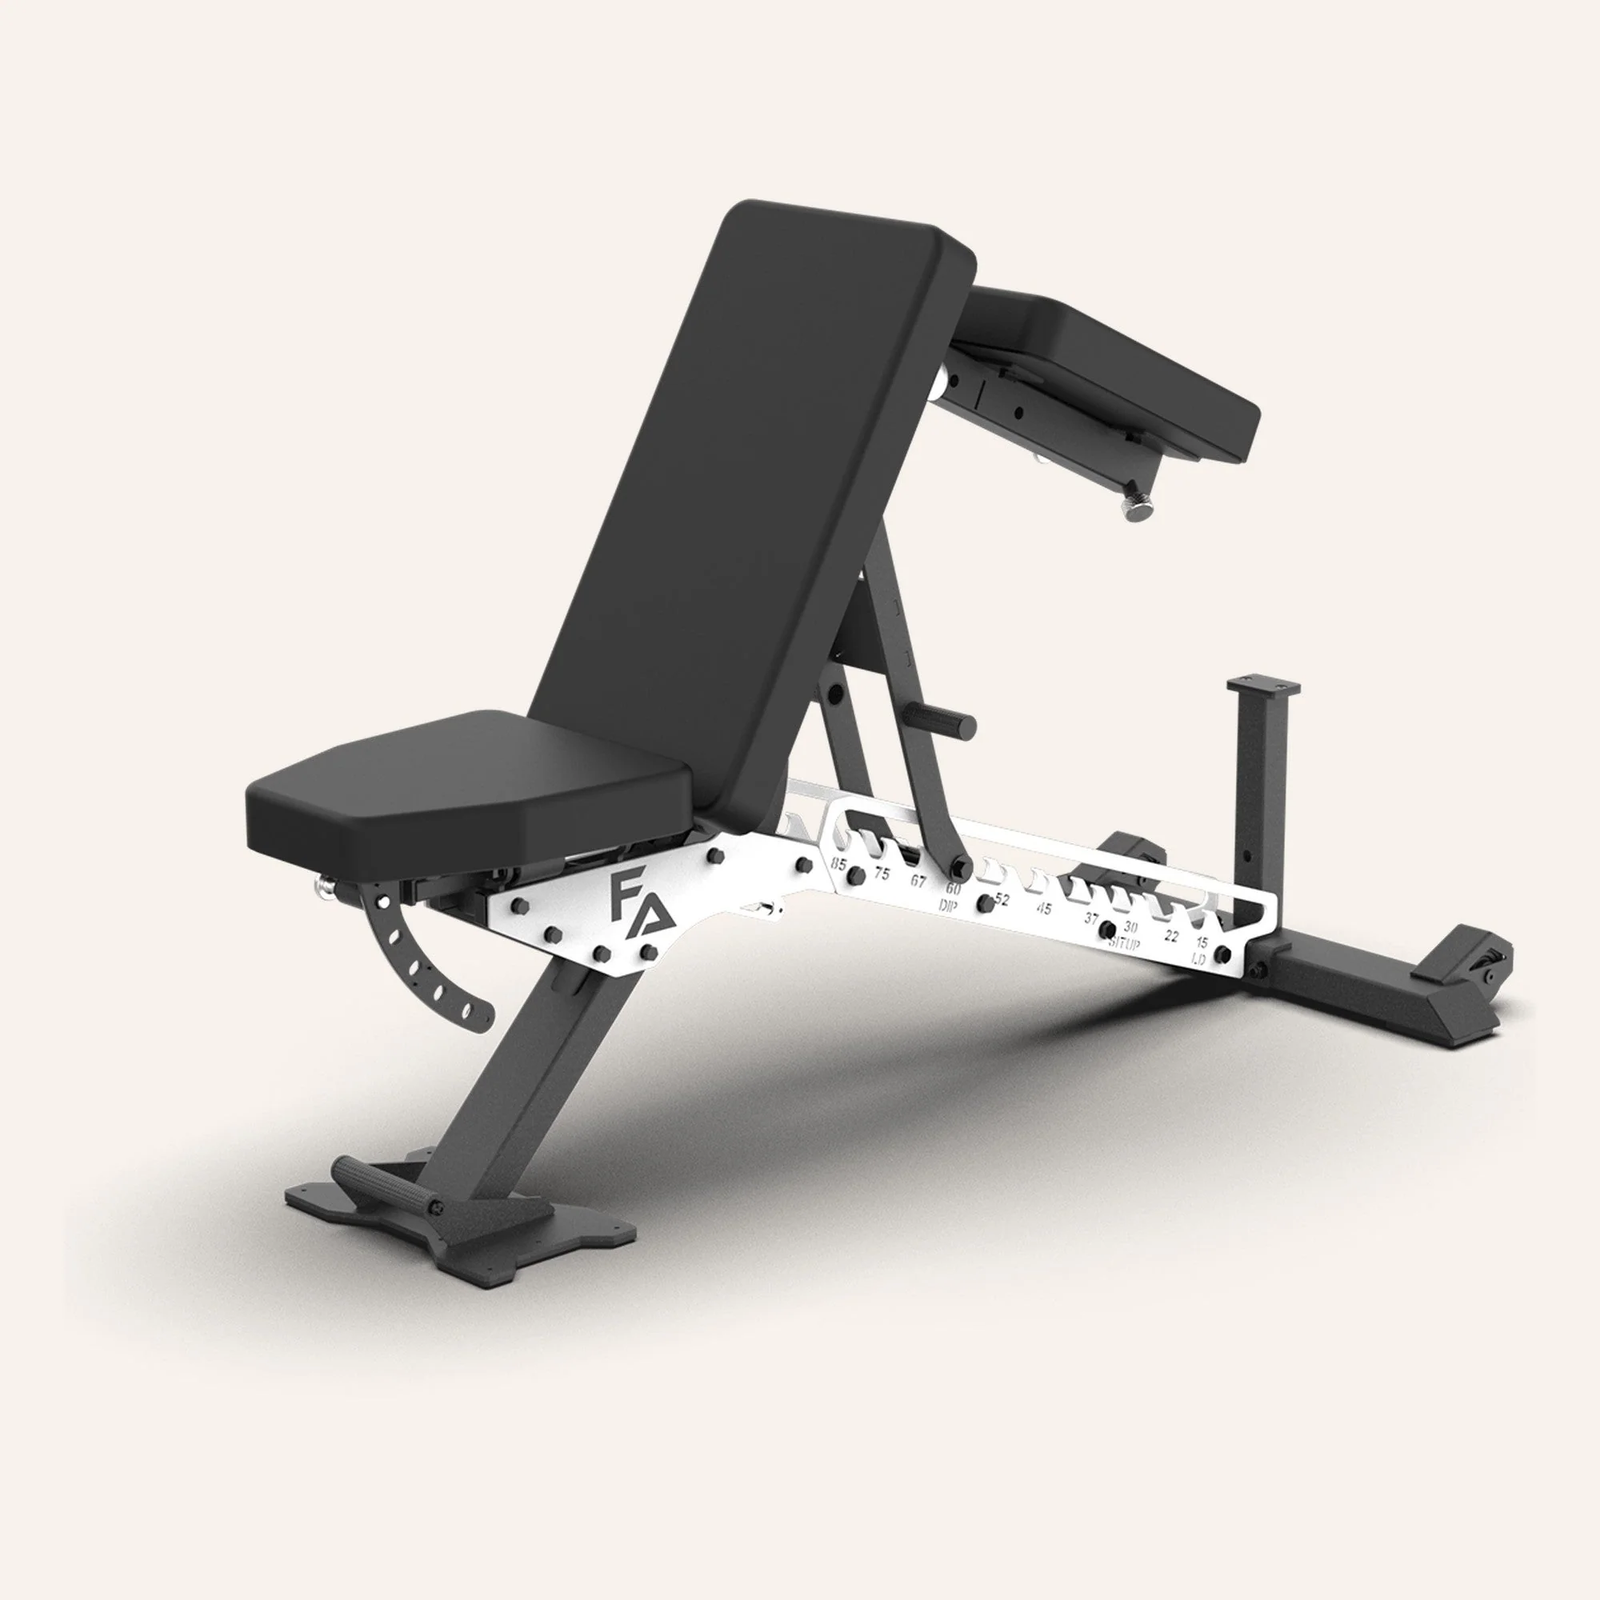

FID Bench MAX
Adjustable bench offering flat, incline, and decline positions + adjustable headrest.


Multi Bench MBX-650 2.0
Adjustable multi-bench with roller adjustment, 15 backrest positions and accessory mounts.