Advertising disclosure: This page includes affiliate product links that may earn us a commission, as well as products from our own store.
High bar or low bar? Narrow or wide stance? A new squat experiment measured muscle activity and joint angles under different setups. Here’s what the findings mean—and what they do not mean—for lifters who want stronger, more consistent squats.
What an 18-person squat experiment actually measured
Changing the bar from the upper traps to the rear delts, moving your feet a few inches, or loading three heavy reps instead of ten lighter ones can make a squat look and feel like a different exercise. But a different sensation is not automatically a better training outcome. The useful question is not which style wins on social media. It is which variation lets you squat consistently, safely, and progressively while training the muscles you care about.
An experiment involving 18 healthy adults—12 men and six women—compared high-bar and low-bar squats, wide and narrow stances, and two load-and-repetition combinations. Participants performed either three repetitions at approximately 80% of their maximum or ten at about 50%. Researchers tracked body motion and surface electrical signals from seven lower-body muscles: rectus femoris, vastus medialis, vastus lateralis, biceps femoris, semitendinosus, gastrocnemius, and gluteus maximus.
This design matters. It captured immediate movement and neuromuscular responses under controlled conditions, not six months of strength or muscle growth. The central finding was that certain variables changed specific muscles’ activity, but no single bar-placement, stance, and loading combination consistently dominated across the muscles measured.
Think of the numbers as clues about technique, not a recipe that forces everyone into an extreme stance. A lifter with long femurs, limited ankle motion, or a history of irritated shoulders may reasonably choose a different setup from another lifter with the same goal. An effective squat must be stable enough to repeat, allow adequate motion, and be loadable over time.
High bar versus low bar: what changes at the hips and knees
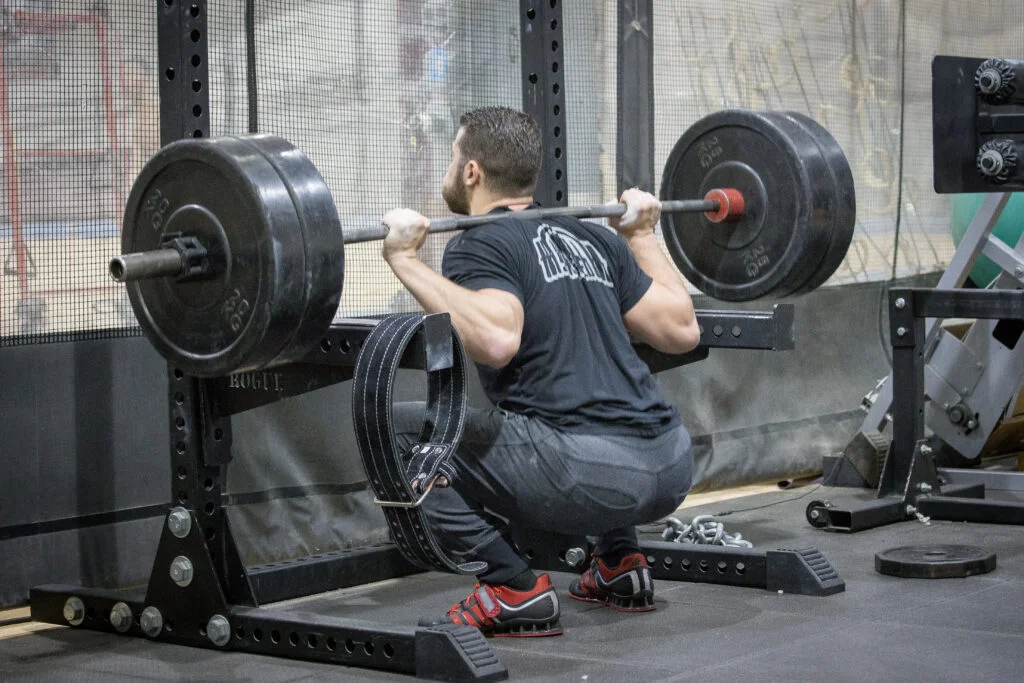
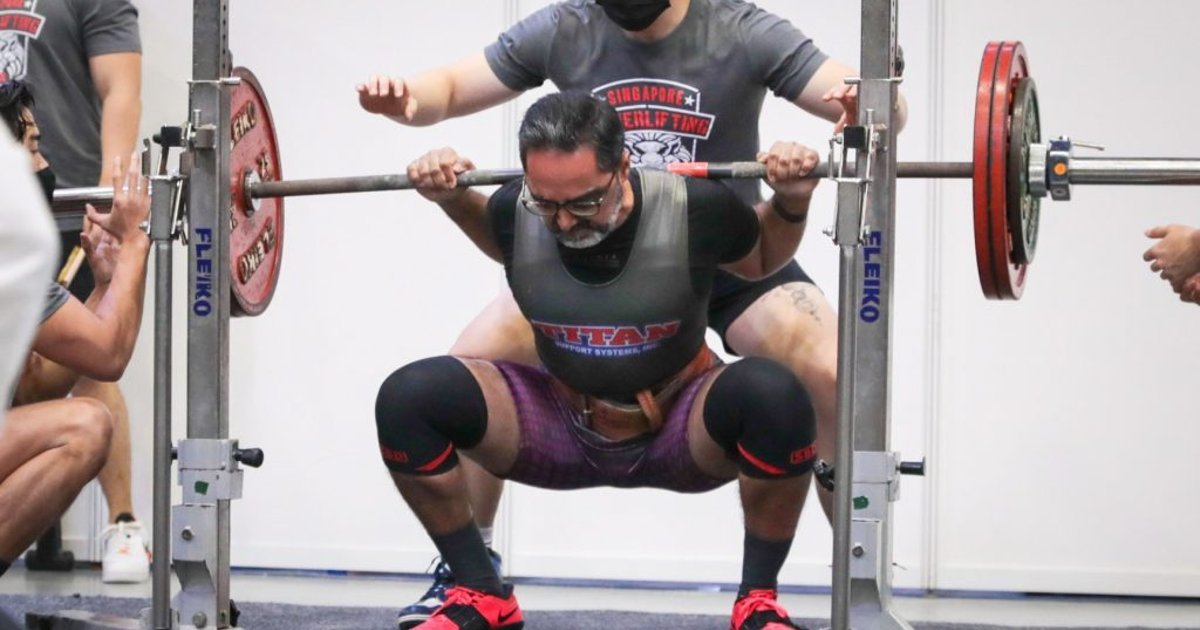
In a high-bar squat, the bar sits high on the upper traps and the torso commonly stays more upright. A low-bar squat places the bar farther down the back on the shelf made by the rear delts, usually requiring more forward torso inclination and a different shoulder position. Neither placement should rest on the neck; both need a secure muscular shelf and a braced trunk.
In the 18-person experiment, the low-bar position produced approximately 3.4° more hip flexion. That is a measurable shift in movement geometry, but not evidence that every low-bar squat grows the glutes or hamstrings faster. A separate comparison of 12 recreationally trained men using three-repetition maximum squats found no significant differences in estimated lower-body joint moments or muscle forces between high- and low-bar conditions when stance width was controlled. The two results together are a reminder that posture can change without creating a large universal difference in muscle loading.
- High bar: often convenient for lifters who prefer more knee travel, an upright trunk, and a weightlifting-style squat.
- Low bar: often useful when a lifter can build a comfortable shoulder shelf and wants a strength-focused technique that allows more torso lean.
- Either: keep the loaded bar balanced over the midfoot and maintain a repeatable depth rather than intentionally forcing a posture that your proportions resist.
If your wrists hurt badly in low bar, the bar may be carried in the hands rather than on the back. If high bar folds you forward, the real issue may be your bracing, ankle range, stance, or load rather than an inherently wrong bar placement. Film from the side and front-quarter angle to judge the bar’s balance and hip/knee coordination.

Equipment Worth Exploring
Explore equipment, accessories and gear from our carefully selected range.


Safety Squat Handles
Barbell squat handles that reduce shoulder positioning demands during high-bar squats.

GymPin Squat Wedges
Non-slip 15-degree squat wedges help elevate the heels for deeper quad-focused squats.


Competition Plates
Competition-style bumper plates for Olympic lifts and loaded strength training.

Studio V-Squat
Plate-loaded V-squat machine for supported lower-body strength training.

Leg Press/Hack Squat BPR-790
Convertible 45-degree leg press and hack squat machine with a broad footplate and band pegs.
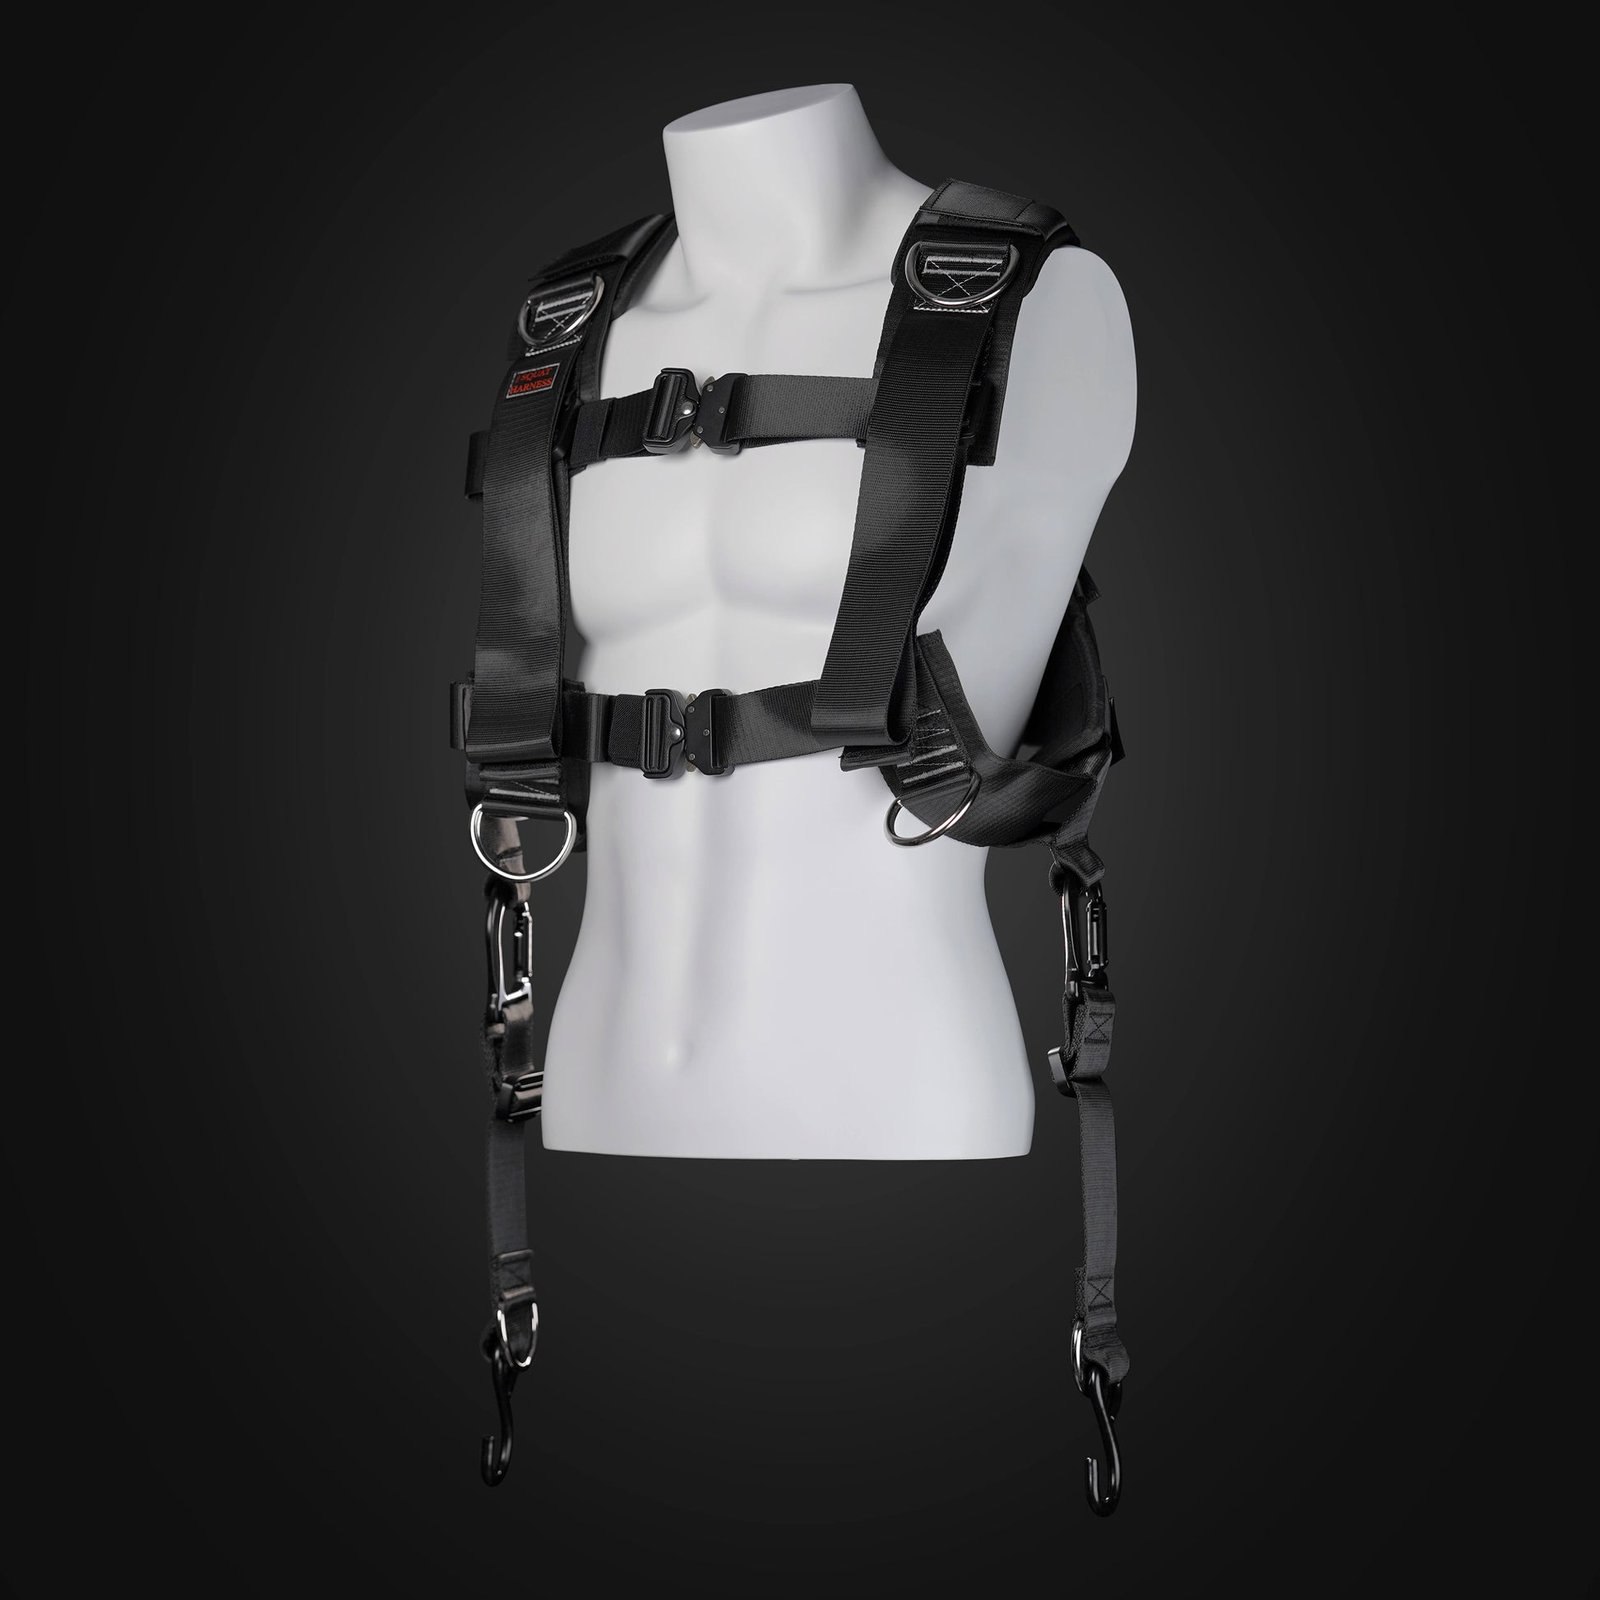
Squat Harness
Wearable harness for hands-free cable squats, sled work, and lower-body training.
Wide or narrow stance: what the quad signals really mean
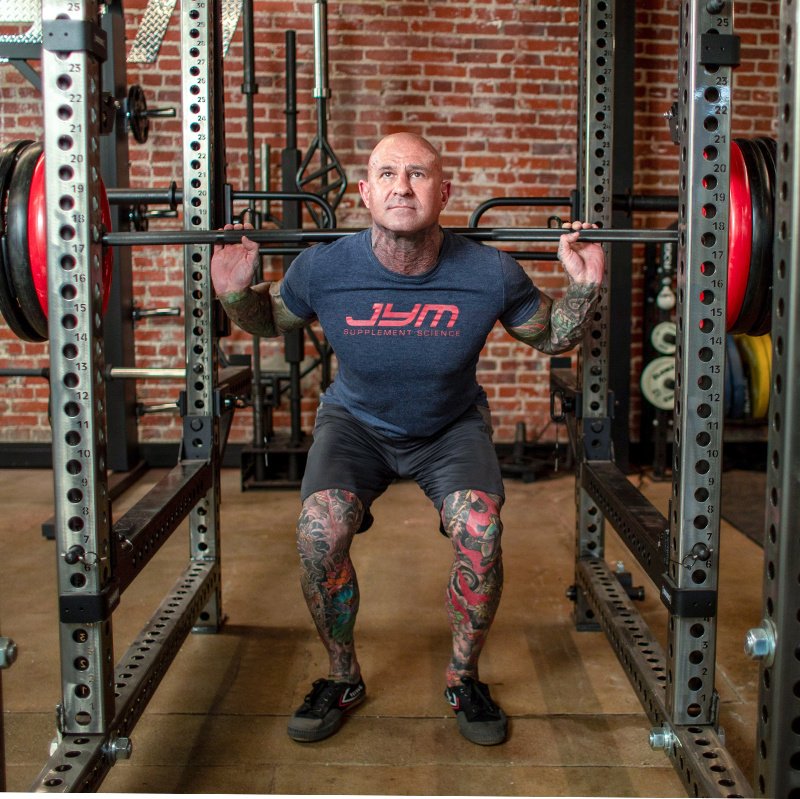
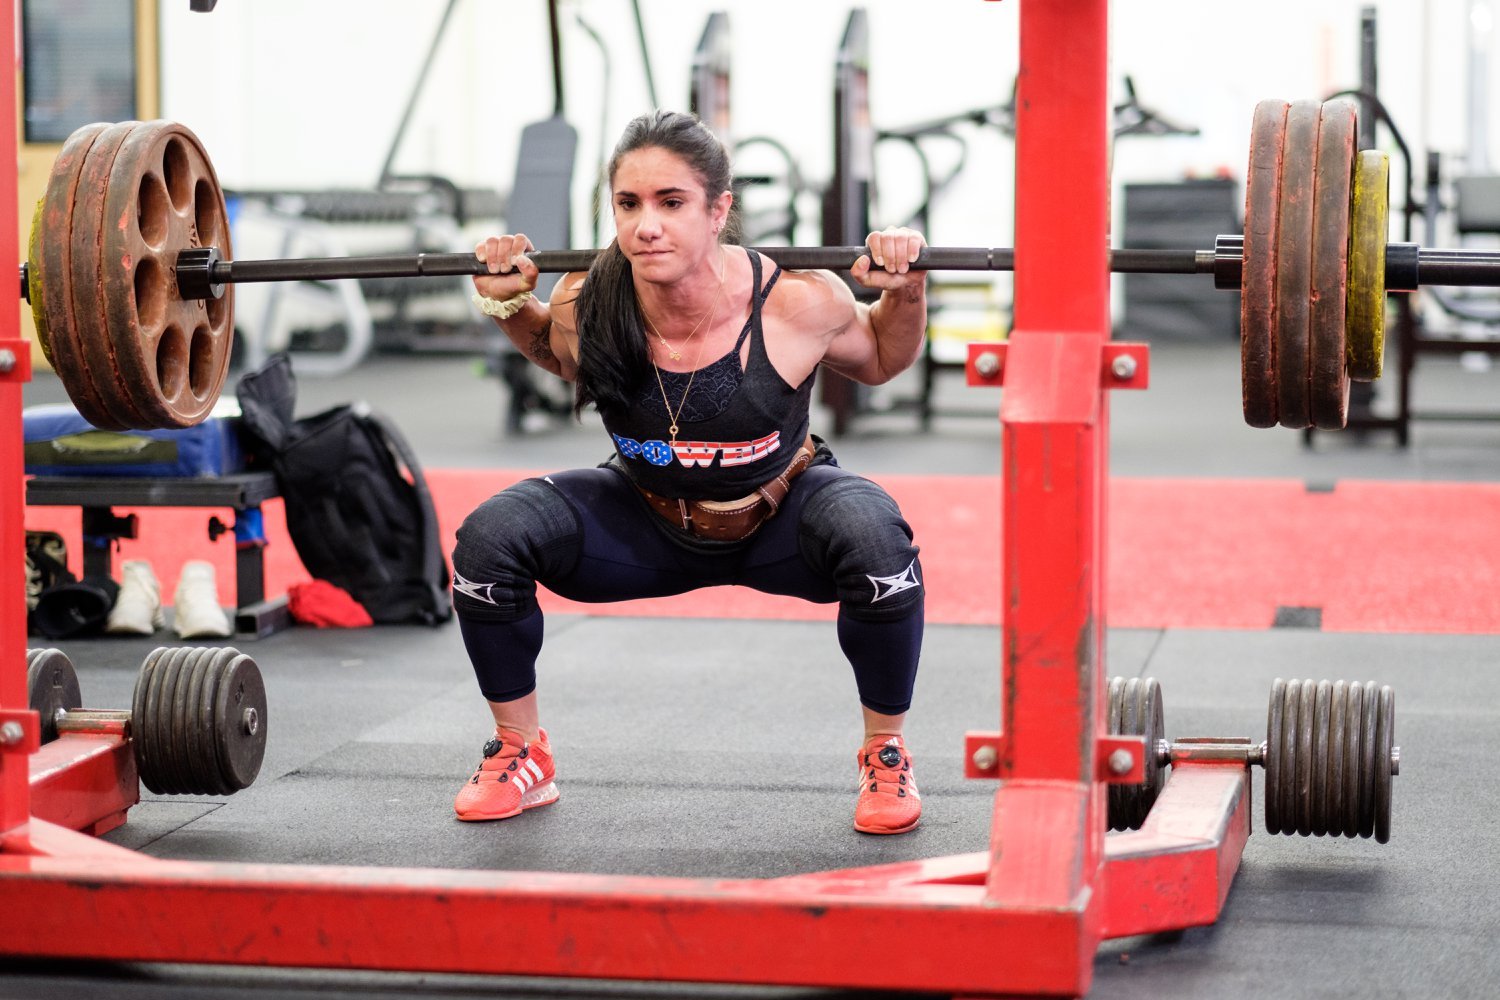
The headline stance result was surprisingly specific: a wider stance increased both peak and cumulative electrical activity of the vastus medialis, the quadriceps portion on the inner side of the thigh near the knee. The experiment also found that narrowing the stance produced about 3.7° more peak knee flexion and 8.2° less hip abduction. These are group averages, not exact targets to reproduce in the gym.
Does that mean everyone should squat very wide for bigger quads? No. One other maximum-load comparison found a narrower stance could create higher estimated forces in the vasti, while another analysis of 24 adults found wider squats increased hip extensor and lateral-rotator moment demands. These papers asked different questions and used different methods. Measured EMG, modeled muscle force, and external joint moments are related, but they are not interchangeable readouts of long-term hypertrophy.
A practical stance test begins near shoulder width. Try a small adjustment wider or narrower, turning the feet out enough for the knees to track in the same general direction as the toes. At a manageable load, compare three things: how far you can descend without losing your brace; whether your heels remain planted; and whether your hips and knees move comfortably without a sharp pinch. A moderate stance that checks all three boxes usually beats a theoretically perfect width that you cannot repeat.
If a wider stance shortens your usable range or causes hip pinching, it is a bad trade just to chase an electrical-activity number. If a narrow stance makes your heels lift and lower back round under load, broaden it slightly or work on ankle mobility. Keep the stance consistent during a training block so that rising weights and better depth actually reflect progress.

Leg Day Shirts & Workout Gear
Leg-day gym shirts and workout gear for lifters who never skip squats, lunges and lower-body punishment.

6 Plates Squat Club Meme Shirt – Motivational Leg T-Shirt
Bring “6 Plates Squat Club” humor to your next gym day.

Leg Day Is Calling You Squats & Deadlifts Meme Vest Tank Top
Your gym-day look, with a playful “Leg Day Is Calling You” twist.

Legendary Leg Day – Squat Meme Hooded Pullover Hoodie
Keep it laid-back with a little “Legendary Leg Day” attitude.

Leg Day Gains | LEGO Inspired Workout Sweater For Squat T-Shirt
Add a playful “Leg Day Gains” touch to your casual rotation.

Coffee Shots & Heavy Squats for Caffeine, Lifting and S Sticker
Put “Coffee Shots & Heavy Squats” gym humor on your laptop, bottle, or gym gear.


I Love Squats | Valentine's Leg Day Muscle Shirt Tank Top
Add some leg-day attitude to training with “I Love Squats”.

Motivation – Squats & Booty Builder Leg Day – Strong T-Shirt
Bring “Gym Motivation” humor to your next gym day.

Funny Squat Inspector Gym | Edgy Leg Day Meme Muscle Sh Tank Top
Show some personality between sets with “Squat Inspector”.

Squatbucks & Coffee Meme Leg Day, & Gains Top T-Shirt
Show some leg-day attitude with a playful “Squatbucks Gym & Coffee” tee.
Heavy triples versus lighter tens: interpreting muscle activity
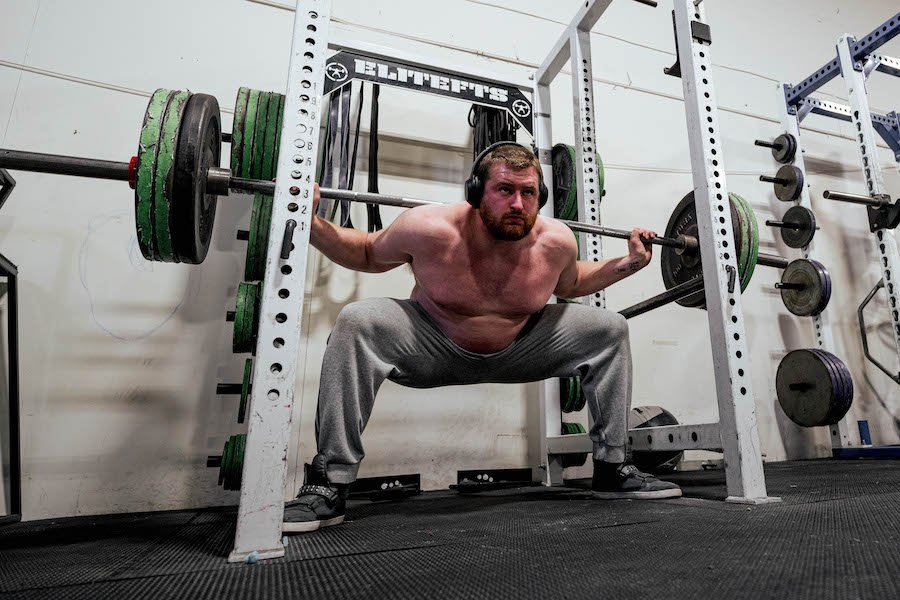
The heavier squats in the experiment—three repetitions at roughly 80% of maximum—produced greater cumulative activity in the vastus lateralis and semitendinosus compared with the lighter ten-repetition condition at roughly 50%. A high-bar, wide-stance, heavy condition also produced greater peak biceps femoris activity in one specific comparison. It would be a mistake to convert these findings into “triples build more muscle than sets of ten.”
Surface EMG depends on electrode placement, fatigue, movement timing, and the way activity is normalized. It tells us something about electrical excitation at that moment. It does not directly measure mechanical tension at every fiber, muscle-protein synthesis, recovered training volume, or the amount of muscle someone gains over a training cycle.
For strength, relatively heavy working sets make sense because they give repeated practice producing force with heavy weights. For muscle gain, a broader spectrum of repetition ranges can work when the sets create a sufficiently challenging stimulus and training volume is appropriate. In an actual week, a lifter might use heavy squats early in the session, then moderate-repetition accessory work where technique stays controlled.
- Skill/strength emphasis: use sets of roughly three to five with crisp reps, adequate rest and no unnecessary form breakdown.
- General size/work capacity: use moderate repetitions such as six to ten, while managing fatigue and maintaining full, controlled motion.
- Fatigue management: stop a set when bracing, balance, and bar speed have degraded substantially; treat extra repetitions with broken form as poor-quality volume.
The key variable is not whether you feel a certain quad head more on one rep. It is whether the chosen loading lets you recover and add useful training stimulus for weeks at a time.
Build a repeatable squat setup before chasing a new stance
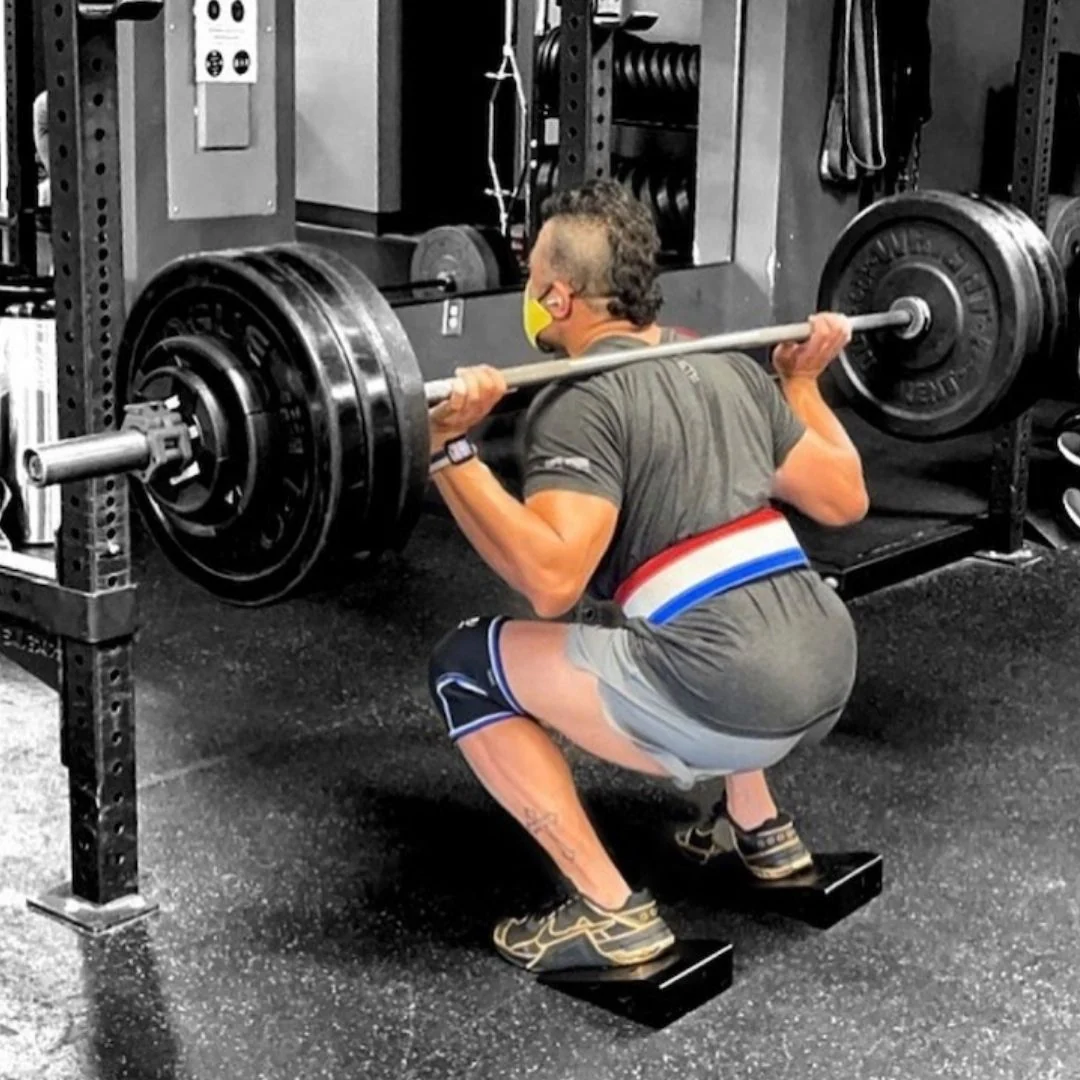
Rather than constantly switching stances, establish a squat you can reproduce. Set the rack hooks just below shoulder height so you do not tiptoe to unrack the weight. Position safeties slightly below your lowest intended depth. Step under the bar and pull the upper back tight before you lift it from the hooks. Take a controlled step or two backward instead of doing a long walkout under a heavy load.
Brace before the descent. Inhale into the torso, firm the abdominal wall in every direction, and keep the ribs and pelvis coordinated. Start by bending hips and knees together; allow the knees to travel as needed while keeping pressure spread across the heel, big-toe base, and little-toe base. Aim for a stable bottom position instead of bouncing into a depth you cannot own.
From the bottom, drive the floor away while keeping the bar traveling over the midfoot. The hips and chest do not need to rise at precisely the same rate on every rep, but an exaggerated good-morning pattern can suggest that the weight is too heavy, your brace has slipped, or your current stance is unstable. Use the same depth standard for your working sets so that a new personal record is genuinely comparable.
Assess your footage in this order: balance, depth, bracing, knee tracking, then bar speed. That order is more useful than becoming obsessed with an exact torso angle taken from someone else’s lift. If you have long thighs and a short torso, your natural squat may lean more than that of a shorter-femured lifter. An upright appearance is not the only sign of good technique.
A small heel elevation can help some lifters achieve adequate knee travel without the heels lifting. Test it first with light loads. It does not replace a controlled trunk, a suitable stance, or mobility work, and it is not mandatory for powerlifting-style squats.
Equipment Worth Exploring
Explore equipment, accessories and gear from our carefully selected range.

Multi Pull Smith Rack MPHR-780
All-in-one rack with a Smith machine, functional trainer, lat pulldown and low row.


Grip Plates
Rubber-coated weight plates with handholds for loading barbells and machines.

Foldable Wall Rack
Wall-mounted folding squat rack designed to save floor space between workouts.

Compact Leg Press CLP-700
Compact reverse-style leg press with a moving seat carriage and an adjustable footplate.


Belt Squat Collar
Heavy-duty collar adapter for compatible belt-squat and landmine bar setups.

VForce 3IN1 Max
Six-post all-in-one rack with Smith machine, functional trainer, and variable-force cables.

Multi Bench MBX-650 2.0
Adjustable multi-bench with roller adjustment, 15 backrest positions and accessory mounts.
Common technique errors, comfort trade-offs and useful gear
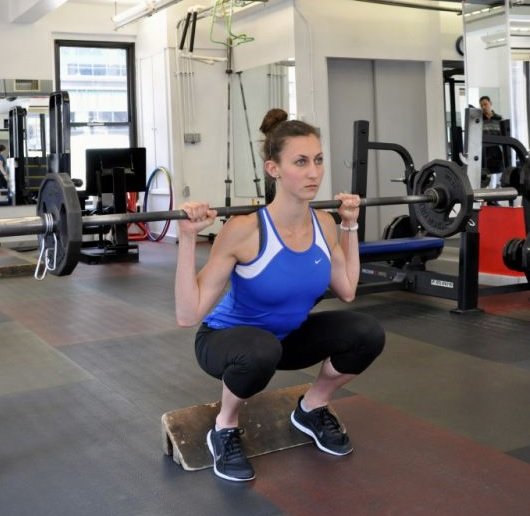
The most common squat mistakes are not exotic. They are inconsistent setups: changing foot width under fatigue, starting with a loose upper back, rushing the walkout, or adding plates when the previous set already lost depth. Simple, repeatable checks often improve training more than chasing a new stance every week.
- Bar slipping or wrists folding: rebuild the upper-back shelf, adjust grip width and reduce the temptation to support the bar entirely in the hands.
- Heels rising: test slightly more toe-out, a modest stance change or appropriately stable weightlifting shoes; make sure the bar is not drifting toward the toes.
- Knees collapsing inward unexpectedly: reduce the load, follow a consistent knee path and check whether the current stance is too wide or narrow for comfortable movement.
- Back rounds abruptly at depth: use the deepest position you can control, then gradually build range and strength instead of forcing an arbitrary depth at any cost.
- Sharp joint pain: stop the aggravating variation and seek qualified clinical advice rather than attempting to correct it by grinding through pain.
Equipment should solve an actual problem. A sound rack with correctly adjusted safeties, a straight bar with secure collars, and accurate plates are basic priorities. Knee sleeves may help some lifters feel warm and consistent, but they cannot correct unstable movement. A lifting belt can provide a surface to brace against for hard sets, but learning to create abdominal pressure comes first.
Accessories also deserve proportion. Squat wedges are a technique option, not a guarantee of quad growth. A specialty bar can make a shoulder-limited setup more tolerable but changes the mechanics. Leg presses and split squats add useful leg volume when your lower back or technique limits how many hard barbell squat sets you can recover from. Keep the exercise selection driven by the training goal.
Powerlifting Shirts & Lifting Gear
Powerlifting shirts and gym gear for squat, bench and deadlift lifters who live for heavy numbers.

Meme – Shhh I'm Doing Math Plate Math Weightlifting T-Shirt
Heavy lifts, good laughs, and a little “Shhh I'm Doing Math Plate Math” energy.

Big Boy Barbell Club Shirt Meme & Essential Top T-Shirt
Make gym days more fun with “Big Boy Barbell Club” style.

No Plates No Dates Gym Meme | Funny Workout Decal & Gym Sticker
A fun “No Plates No Dates Gym Meme” touch for bottles, laptops, and lockers.

Distressed Barbell Flag Patriotic Gym | Funny USA Worko Hoodie
Keep it laid-back with a little “Distressed Barbell Flag Patriotic” attitude.

Shirt – I'M Strong Barbell Heartbeat , Gymbro , & T-Shirt
Bring “I'm Strong Barbell Heartbeat” humor to your next gym day.

Shirt – Cookie Weight Plate Bros, & Cookie Lovers – T-Shirt
Heavy lifts, good laughs, and a little “Cookie Weight Plate” energy.

Pink Heart Weight Plate | I Love Gym Valentine's Workou Hoodie
Bring “Pink Heart Weight Plate” gym humor to lazy days and post-workout plans.

Thin Line Barbell Flag Decal | Patriotic Gym for Firefi Sticker
Put “Thin Line Barbell Flag” gym humor on your laptop, bottle, or gym gear.

Platehead Powerlifting Tee
Heavy lifts, good laughs, and a little “Platehead Gym Skull” energy.

Don'T Fart Squats Sweater & Leg Day Meme T-Shirt
Show some gym-day personality with “Don't Fart Squats”.
A six-week squat progression that does not chase EMG
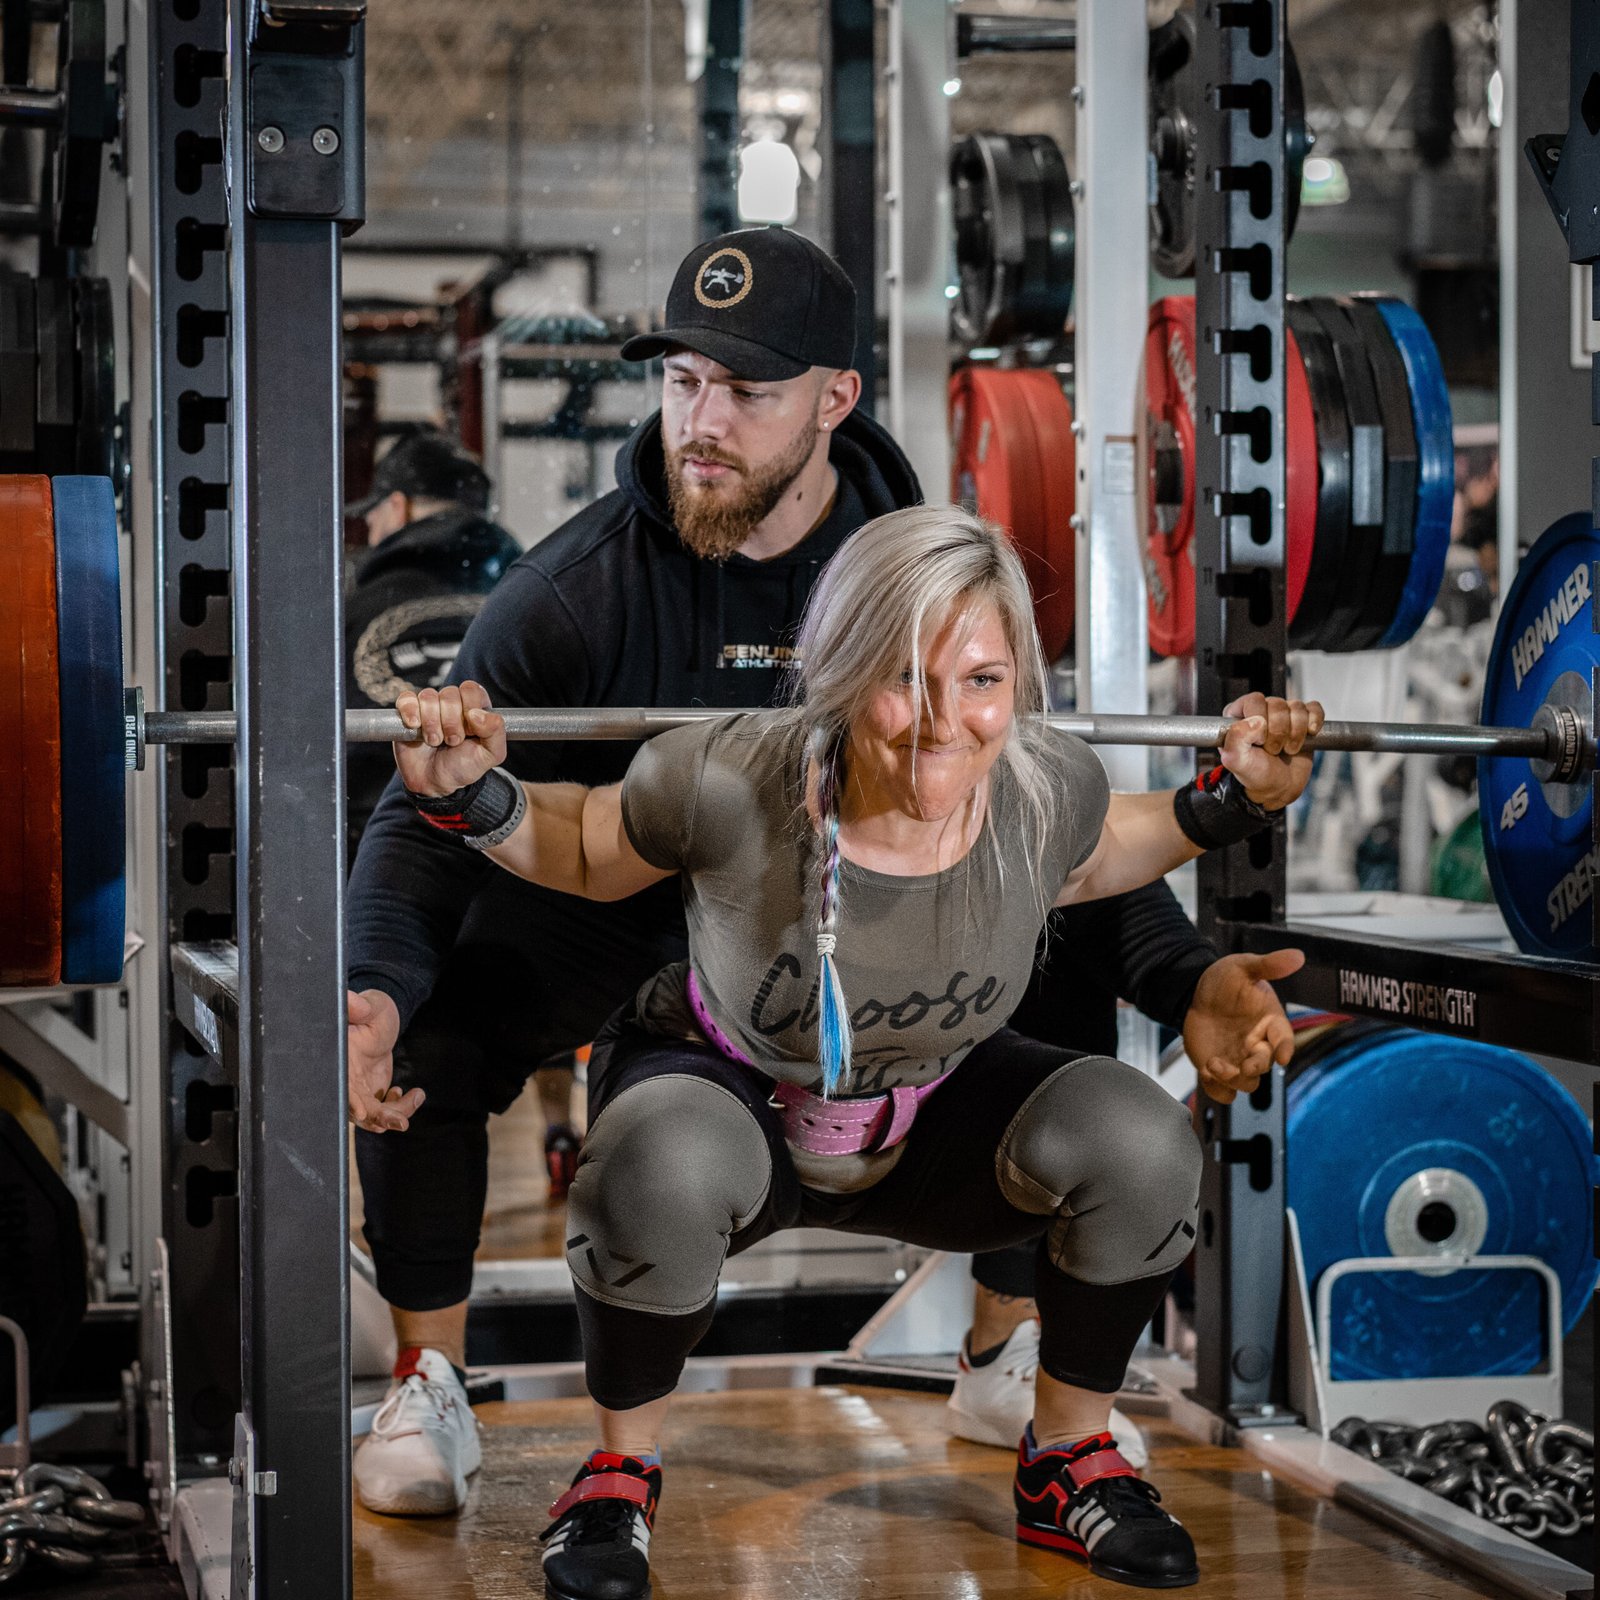
Use the next six weeks to build reliable squat skill while increasing productive work. Pick one main bar placement and one stance that feel stable. Keep them consistent for the block; change them only when there is a genuine comfort or technical reason. This makes the progress log interpretable.
| Weeks | Main squat | Secondary work | Focus |
|---|---|---|---|
| 1–2 | 3 × 6 at manageable effort | 2 × 8 split squats per leg | Repeatable stance, full brace and depth |
| 3–4 | 4 × 5, small load increase if clean | 2–3 × 8–10 leg press or single-leg work | Stable midfoot balance and progress |
| 5 | 4 × 4, heavier but no grinding | 2 × 8 easy-moderate accessories | Heavier strength practice |
| 6 | 3 × 3 at controlled hard effort | 1–2 easy accessory sets | Assess bar speed and technique |
Rest long enough between main squat sets to restore your brace and lift with intent—often two to four minutes, sometimes longer for heavy work. Reserve a repetition or two in most sets. Increase the load in the smallest practical increment only when the previous work matched your depth and technique standard. On a day with unusually poor sleep or stiffness, repeat the load rather than forcing the progression.
Take one short side-view video during the first week and another in week six at a similar load and camera position. Compare depth, bar path, heel contact, and whether the ascent stays controlled. Numbers on the bar matter, but cleaner repetitions at the same load are also progress.
Finally, remember the limit of the original experiment: it measured an acute response in 18 people, not months of muscle gain, injury rates, or the best style for every body. Its value is freedom from a false choice. High bar or low bar, moderately narrow or wider stance—choose the combination you can own, train hard enough to progress, and recover from consistently.