Advertising disclosure: This page includes affiliate product links that may earn us a commission, as well as products from our own store.
Seated Cable Flyes: Set the Bench, Control the Arc and Train Your Chest
A seated cable fly can be a smart chest accessory, but the exercise is easy to turn into an awkward press with too much weight. Slide a bench a little too far forward, let the shoulders roll at the deepest point, and the setup feels less stable than it should. The solution is not an exotic pulley angle. It is a repeatable seat position, an honest arm arc and a progression plan you can actually measure.
This guide covers the standard upright seated version with two cable handles. It explains what changes when you choose a bench instead of standing, which setup details matter for shoulder comfort, and how to progress without assuming that more stretch or more plates automatically means better chest training.
What the seated cable fly actually trains
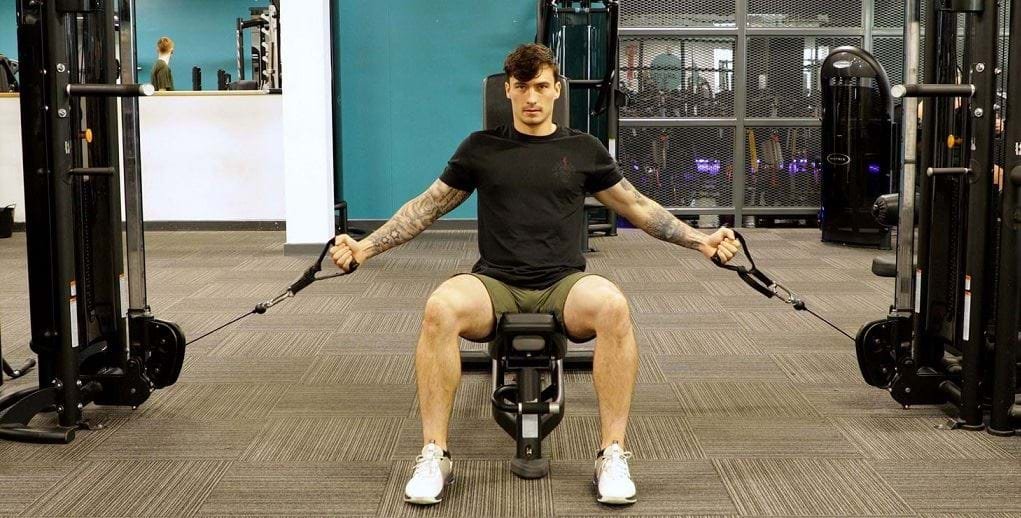
The seated cable chest fly trains the pectoralis major through horizontal adduction: the upper arms move inward across the chest while the elbows remain softly bent. The anterior deltoids help, and smaller muscles stabilize the shoulder and elbow. The task is different from pushing a heavy bar away from you. If your elbows repeatedly straighten as you bring the handles together, you are turning some of the work into a press.
Why sit down? An upright bench limits the torso swing and leg drive that can make a standing cable crossover look deceptively heavy. That support lets you judge the path of each repetition and change the resistance without hiding a loss of control. It is an isolation option, not a replacement for a competent bench press, push-up or machine press if total pressing strength matters to you.
Set the bench, pulleys and handles for your build
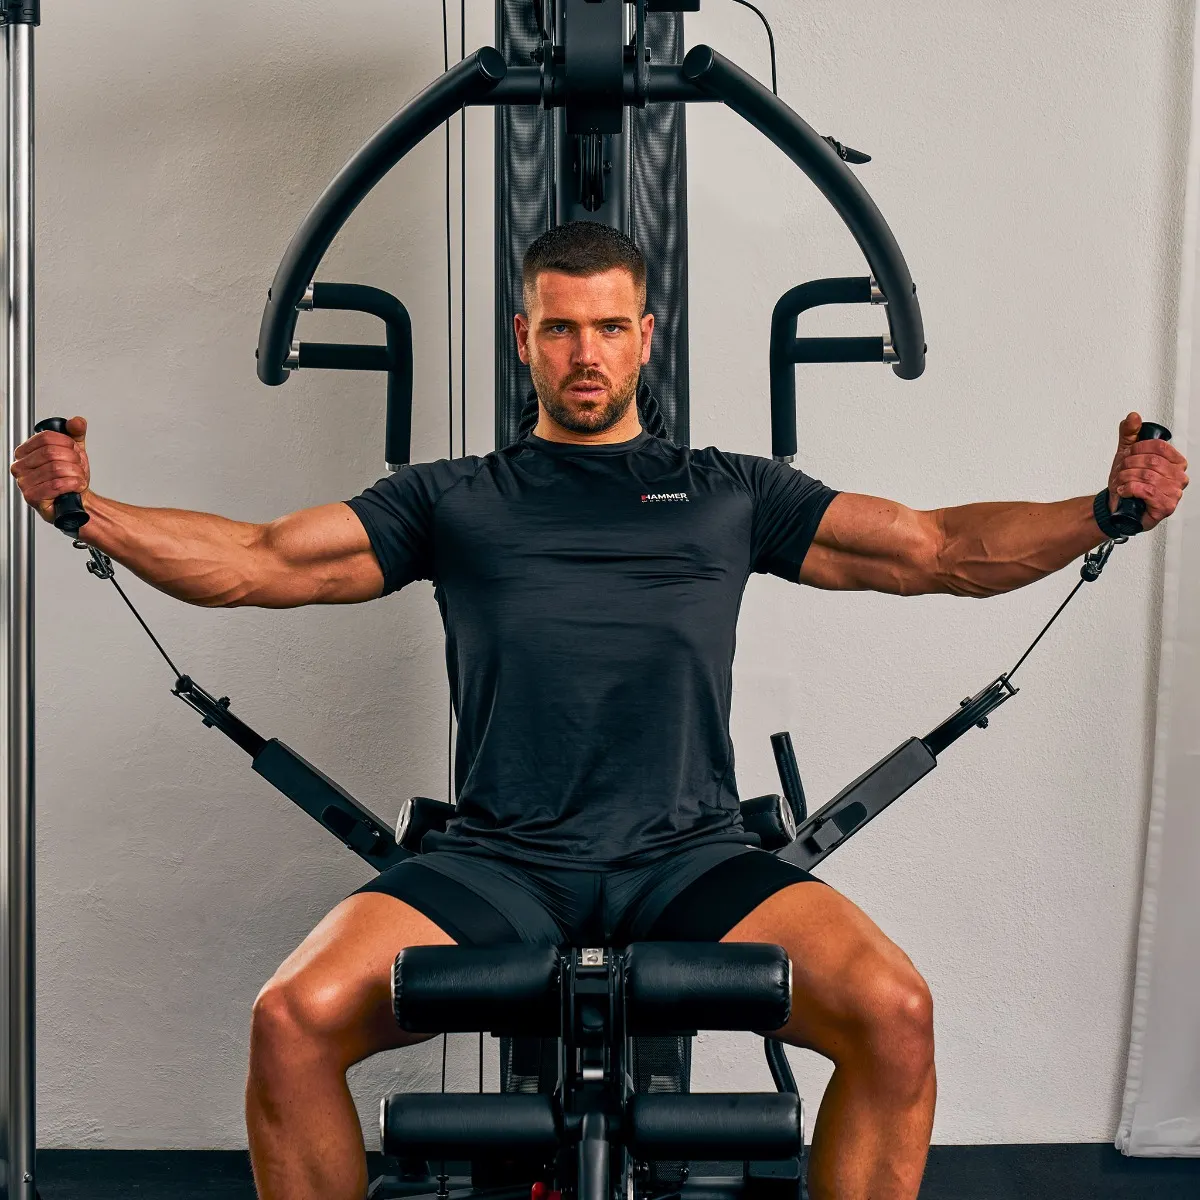
Start with a stable bench centered between two functioning cable columns. If the backrest adjusts, place it close to upright for the standard seated version and check that its feet cannot slide. Set each pulley around shoulder height when you are seated, not when you are standing. Keep both stacks at the same starting load and use individual handles that rotate comfortably. Inspect the handles and connections before the first rep.
Sit with your feet firmly planted, your hips and upper back supported, and enough space behind your elbows for the cables to travel without scraping the bench. A modest amount of forward bench placement can keep the lines of pull clear. You should be able to reach both handles without twisting or launching into an oversized stretch. If you cannot collect the handles safely, ask someone to pass them to you or move to a simpler station; fighting the starting position is not productive chest training.
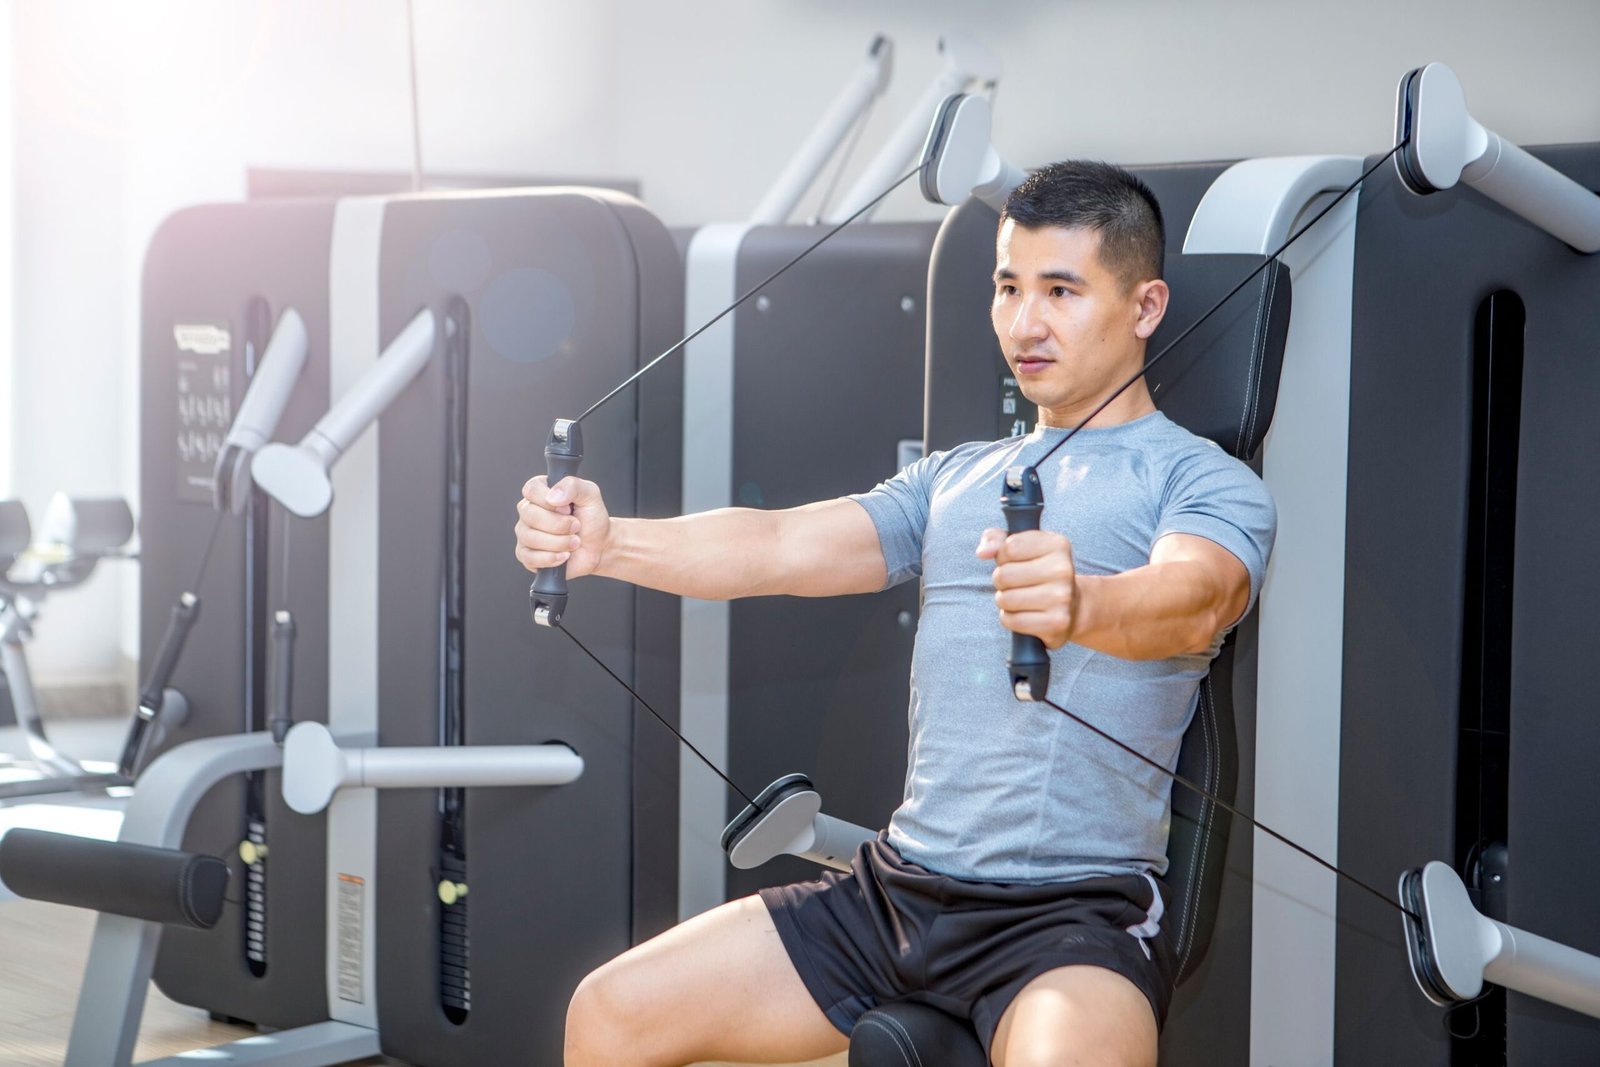
Your arms will open approximately out to the sides with a slight, comfortable bend at each elbow. Think of the forearm as a quiet passenger while the upper arm performs the arc. Keep your ribs down enough that the bench actually supports you. You do not need to clamp your shoulder blades into a rigid position; allow normal shoulder-blade movement while avoiding a shrug and an exaggerated chest flare.
A few inches of bench movement or one notch of pulley height can change the sensation significantly. Find a geometry where your hands meet roughly in front of the mid-chest, then record that bench position and pulley setting. This is more useful for progression than copying somebody else’s exact weight-stack number.

Equipment Worth Exploring
Explore equipment, accessories and gear from our carefully selected range.

VForce Wall Trainer
Space-saving wall-mounted functional trainer with pivoting cable arms and variable resistance ratios.

VForce 2IN1
Half rack and pivot-arm functional trainer with switchable 1:1 and 2:1 pulley ratios.
VOLTRA
Compact digital cable trainer with smooth, adjustable resistance.

Go-Tone Pro
Portable digital cable trainer with up to 66 lb (30 kg) of adjustable resistance.

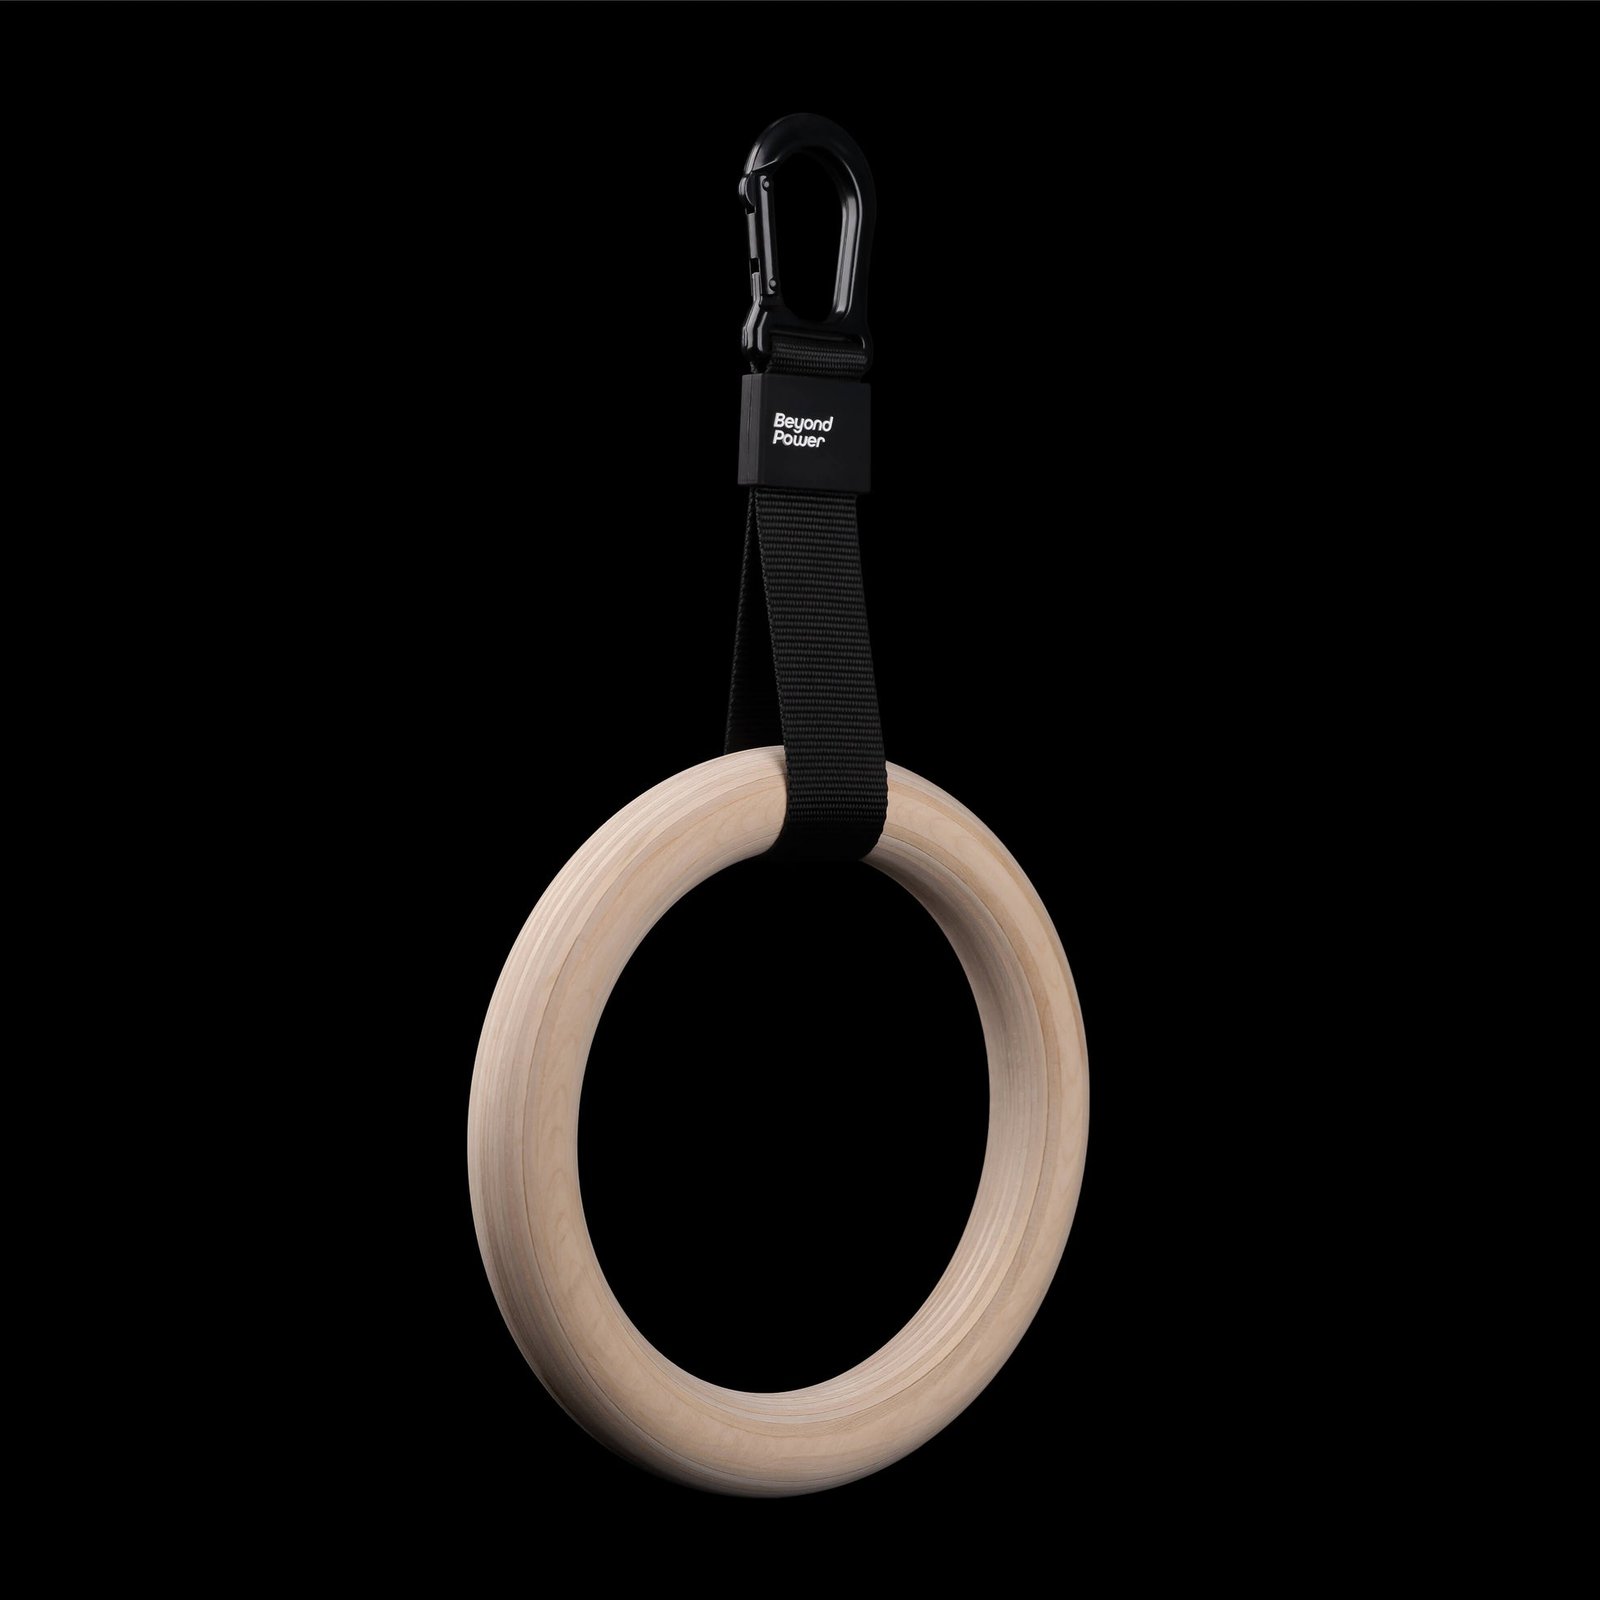
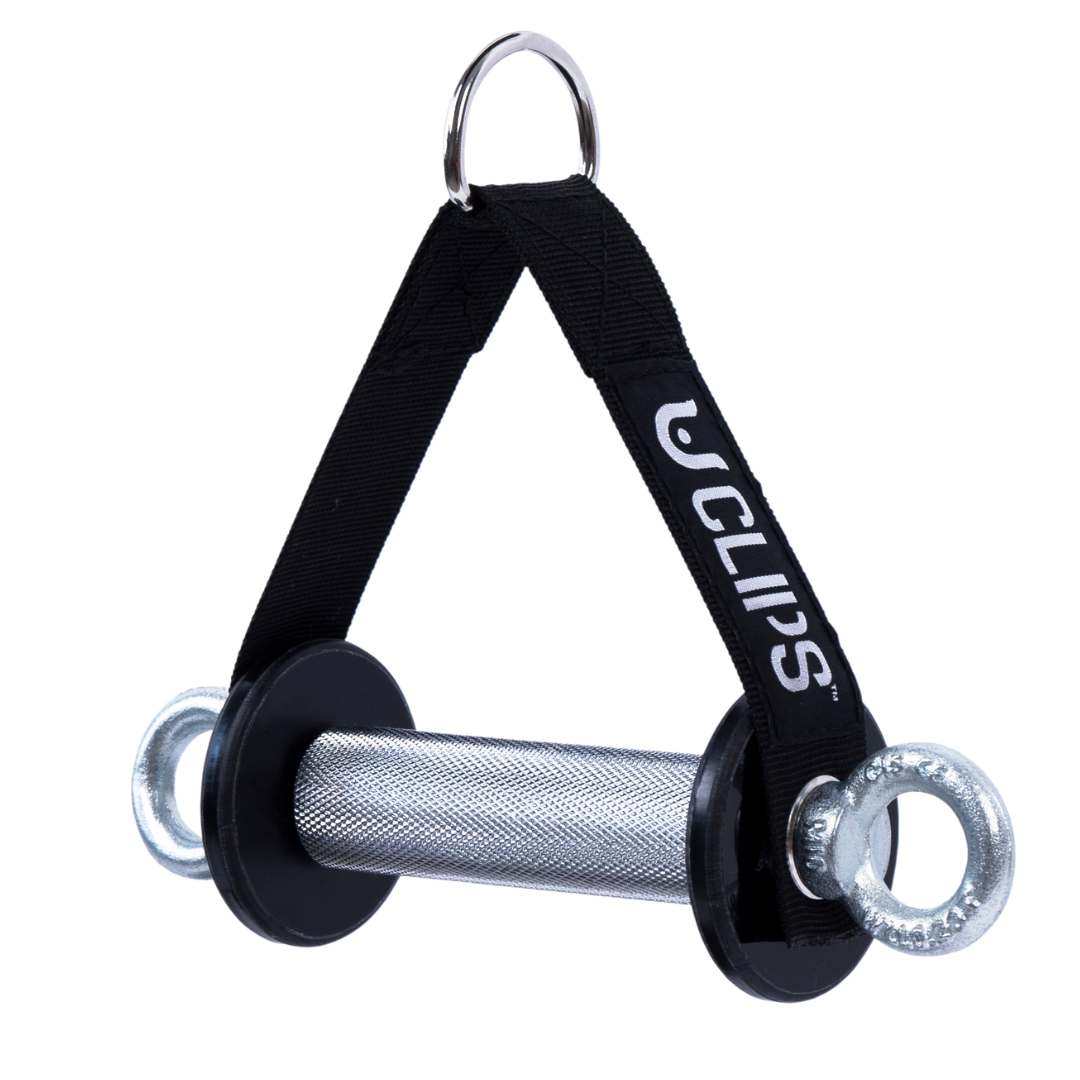
GymPin Ergo Handles
Pair of ergonomic cable handles shaped for comfortable triceps and pulling exercises.
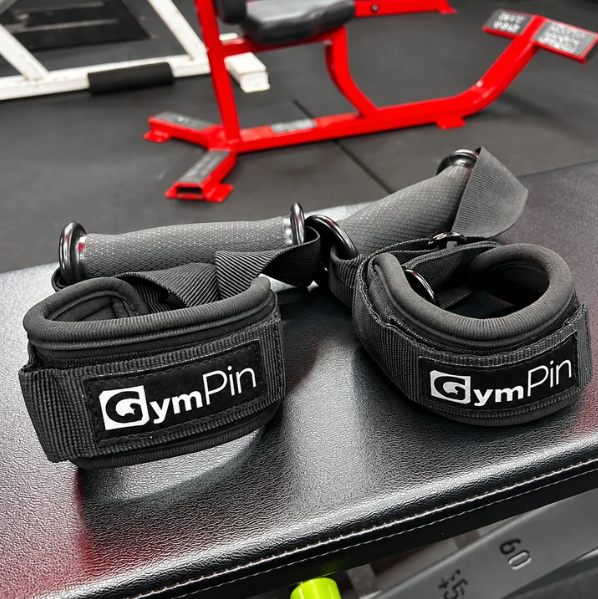
GymPin D Cuffs
Adjustable wrist cuffs with textured grips for supported cable-machine exercises.


VForce 3IN1
All-in-one rack combining an adjustable Smith machine, functional trainer, and free-weight station.
Make every rep a chest fly, not a cable press
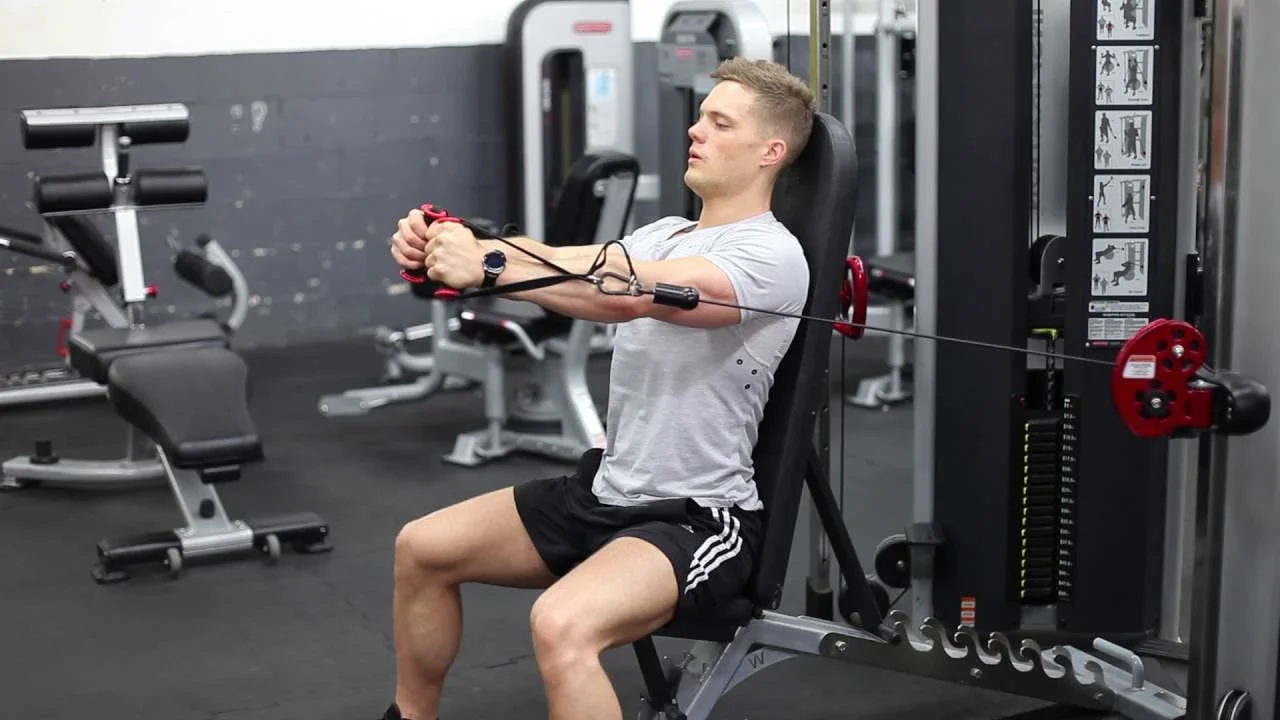
Begin with a lighter load than you would use for pressing. Bring both handles forward in a wide, hugging arc, imagining the upper arms sweeping inward rather than the hands punching ahead. Keep the elbow bend approximately fixed throughout the repetition. Finish when your hands are near one another in front of your chest; a slight pause can help you identify the position, but there is no reason to collide the handles or push beyond the point where your shoulders remain comfortable.
Reverse the same arc deliberately. Aim for a controlled two- to three-second return as an initial rhythm, not a law about the perfect tempo. Open until you feel a manageable chest stretch and can reverse direction without the shoulder drifting forward, the wrists bending sharply or the weights yanking you backward. The maximum possible range is not automatically the best training range. Your own shoulder mobility, bench geometry and load determine the end point.
To find an appropriate working weight, first complete several smooth warm-up reps. Then choose a resistance that makes roughly the last three reps of a ten- to fifteen-rep set noticeably demanding while keeping the same arc. On a dual-stack machine, compare the left and right sides; if one cable is longer or one pulley is misaligned, the path can become asymmetrical even with equal displayed weights.
Breathing is simple: exhale as the handles come inward, inhale as they open, and avoid holding a strained breath throughout a long isolation set. Keep your head neutral rather than craning toward the handles. If you can trace each repetition through the same start, middle and finish positions, the set is doing more useful work than a heavier set that shifts into a short, jerky press.
Solve common mistakes and choose useful variations
Too much weight: your back peels away from the pad, your elbows straighten forcefully or your body heaves forward. Reduce the stack and rebuild the arc. The weight shown on a cable station is not universally comparable between pulley ratios, so compare progression on the same machine rather than treating stack labels as free-weight equivalents.
Shoulders complaining at the back of the rep: shorten the opening range and try a slightly different pulley height or bench position. A stretch should be tolerable, not a sharp pinch. Stop if pain persists, especially if you have a previous shoulder problem; seek individual clinical advice instead of forcing a prescribed depth. You can also try a pec-deck machine whose starting angle is adjustable, or press within a comfortable range.
Uneven movement: check that the bench is centered, both handles are the same length and each cable runs freely. If one side still dominates, practise with a lighter weight and film a set from the front. A one-arm cable fly can be a useful alternative, but keep the torso steady and do not turn it into a twisting core exercise just to move more load.
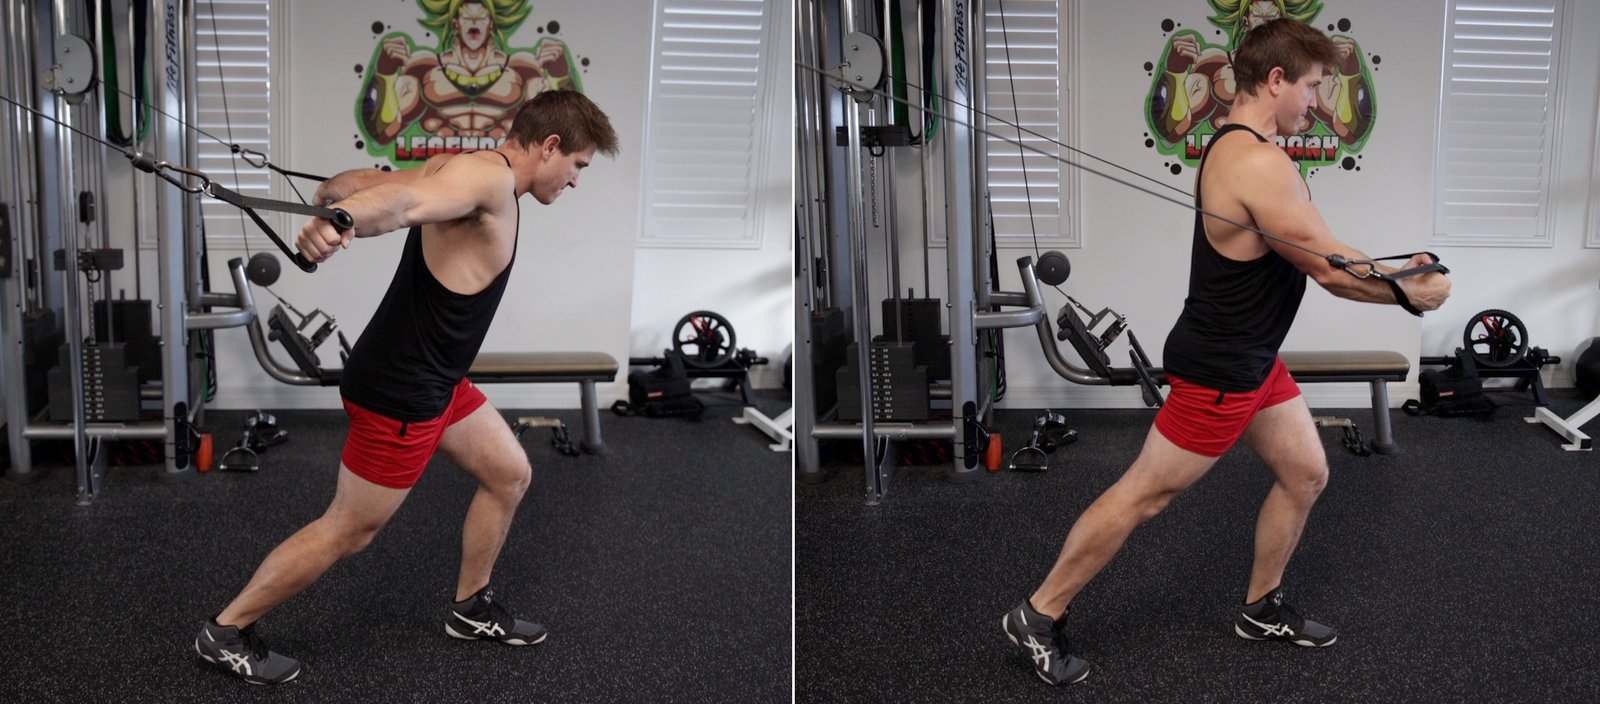
For comparison, a standing high-to-low crossover starts with pulleys above the shoulders and hands traveling down and inward. The photographed standing variation differs from this seated, chest-height version.
Equipment Worth Exploring
Explore equipment, accessories and gear from our carefully selected range.



FID Bench MAX
Adjustable bench offering flat, incline, and decline positions + adjustable headrest.

Multi Bench MBX-650 2.0
Adjustable multi-bench with roller adjustment, 15 backrest positions and accessory mounts.

Pec Fly/Rear Delt PEC-650
Combination machine with adjustable movement limits for chest fly and rear-delt exercises.

Standing Chest Press SCP-760
Standing chest-press machine with adjustable handle positions for chest and close-grip pressing.

Lever Arm Multi Press LMP-650
Multi-press with independent lever arms and an integrated adjustable bench for upper-body training.

Leather Wrist Grips
Padded leather lifting grips help support the hands and wrists on heavy pulling exercises.
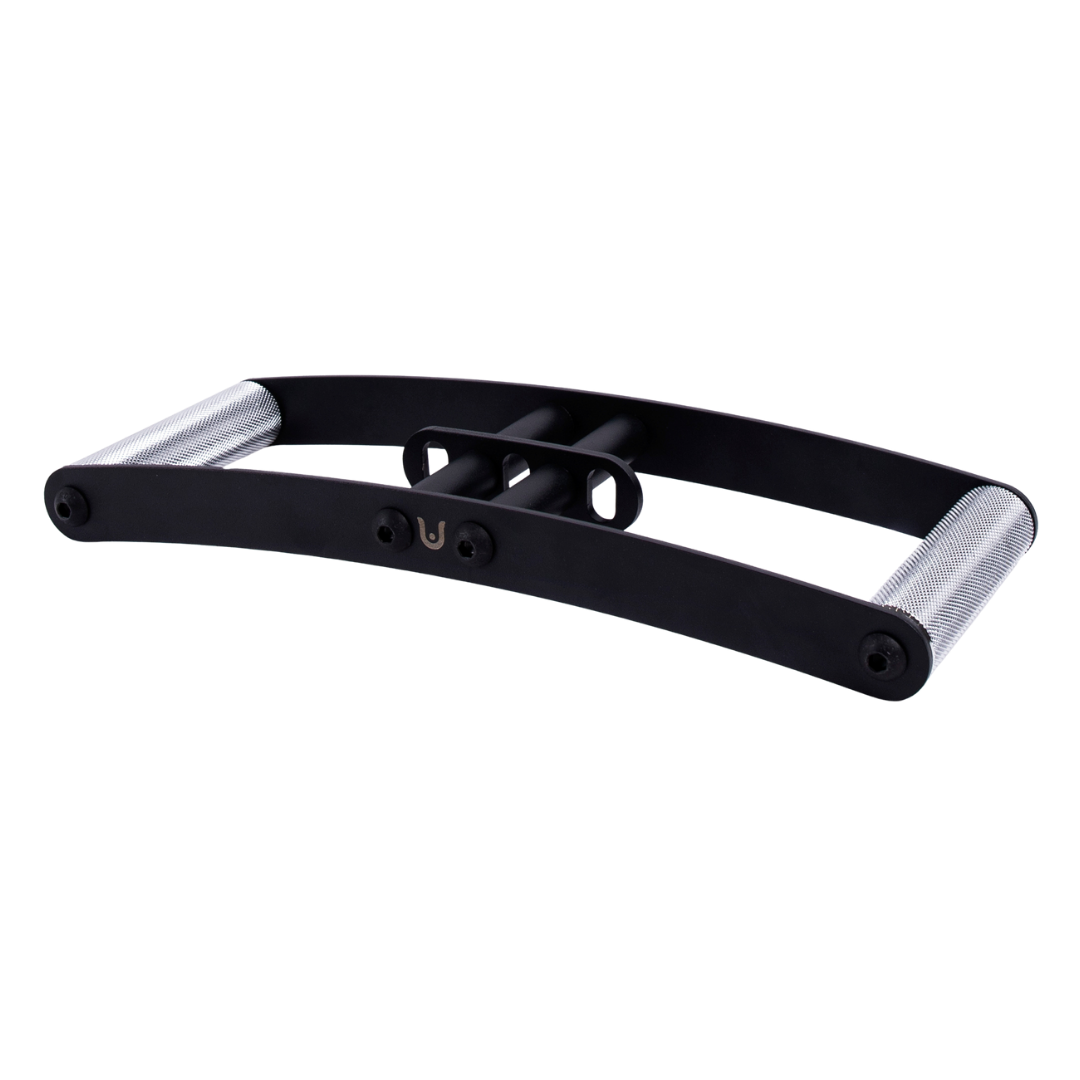
Horizon Grip
Ergonomic V-style cable grip for rows and back training.

VForce 3IN1 Max
Six-post all-in-one rack with Smith machine, functional trainer, and variable-force cables.
Build a six-week chest plan with clean cable flyes
Treat seated cable flyes as a controlled chest accessory. For most lifters, they fit after one or two heavier pressing exercises, when the shoulders are warm and high-skill strength work is complete. Start with two working sets of ten to fifteen reps once or twice weekly. Leave roughly two to three reps in reserve at first, using the same bench and pulley setting every session. Your existing presses already contribute to chest volume, so count those hard sets instead of adding fly volume as if it were free recovery.
Weeks 1–2: keep the load modest and make the bench position, elbow angle and return depth repeatable. Complete two sets in the ten-to-fifteen range on each planned chest day. Write down the weight-stack setting on both sides, actual reps and whether the last reps became a press. If the shoulders are not comfortable, shorten the range before increasing resistance.
Weeks 3–4: continue the same setup and move toward the top of the rep range. If all reps remain controlled, add a third set to one session only if your chest is recovering between sessions and pressing performance is stable. Rest long enough to start the next set without rushing your technique; roughly sixty to ninety seconds is a reasonable initial interval, but use longer if your form depends on it.
Weeks 5–6: once all working sets reach fifteen clean reps, add the machine’s smallest practical increment and return toward ten to twelve reps. Avoid increasing load and range in the same session. If progress stalls, keep the weight and improve the repeatability of the return before adding a fourth set. After six weeks, retain the fly if it is productive and comfortable; otherwise replace it with an alternative that you can track just as clearly.
The progress marker is not a dramatic chest pump or the biggest weight-stack number. It is more repetitions or a modest load increase through the same joint-friendly path, while presses and other training continue to move forward. That is how a simple cable exercise earns a lasting place in a program.

Bodybuilding Shirts & Workout Gear
Bodybuilding shirts, tanks and gym gear for lifters chasing muscle, size, symmetry and the pump.

Gym Dost Thou Even Fly Medieval Knight Chest Workout Cr T-Shirt
Show some gym-day personality with “Dost Thou Even Fly Medieval Knight Chest”.


The Chestfather Arnold – Big Chest , Meme Shirt, T-Shirt
Bring “The Chestfather Arnold” humor to your next gym day.

Kanye Chest | Bodybuilding Rap Music Parody Muscle Shir Tank Top
Train hard, laugh a little, and rep “Kanye Chest”.

If You're Reading This Its Chest Day | Drake Workout Me Sticker
Stick a little “If You're Reading This Its Chest Day” humor on your favorite gear.


I Love Bench Press Shirt | Red Heart Weight Plate Graph T-Shirt
Show some gym-girl attitude with a playful “I Love Bench Press” tee.

Gym Sir Swole of Benchalot Medieval Knight Bench Press Hoodie
Show off your medieval humor in a laid-back “Sir Swole of Benchalot Medieval Knight” hoodie.

Some product links may earn a commission for the site. Product placement does not replace careful exercise selection or medical advice.