Advertising disclosure: This page includes affiliate product links that may earn us a commission, as well as products from our own store.
A front lever rewards a position you can repeat. Start with a manageable tuck, learn to keep your elbows straight and make small changes in leverage before chasing a full horizontal hold. This guide explains how to judge the shape, use lowering drills and fit brief practice around ordinary back training.
What a front lever asks you to hold
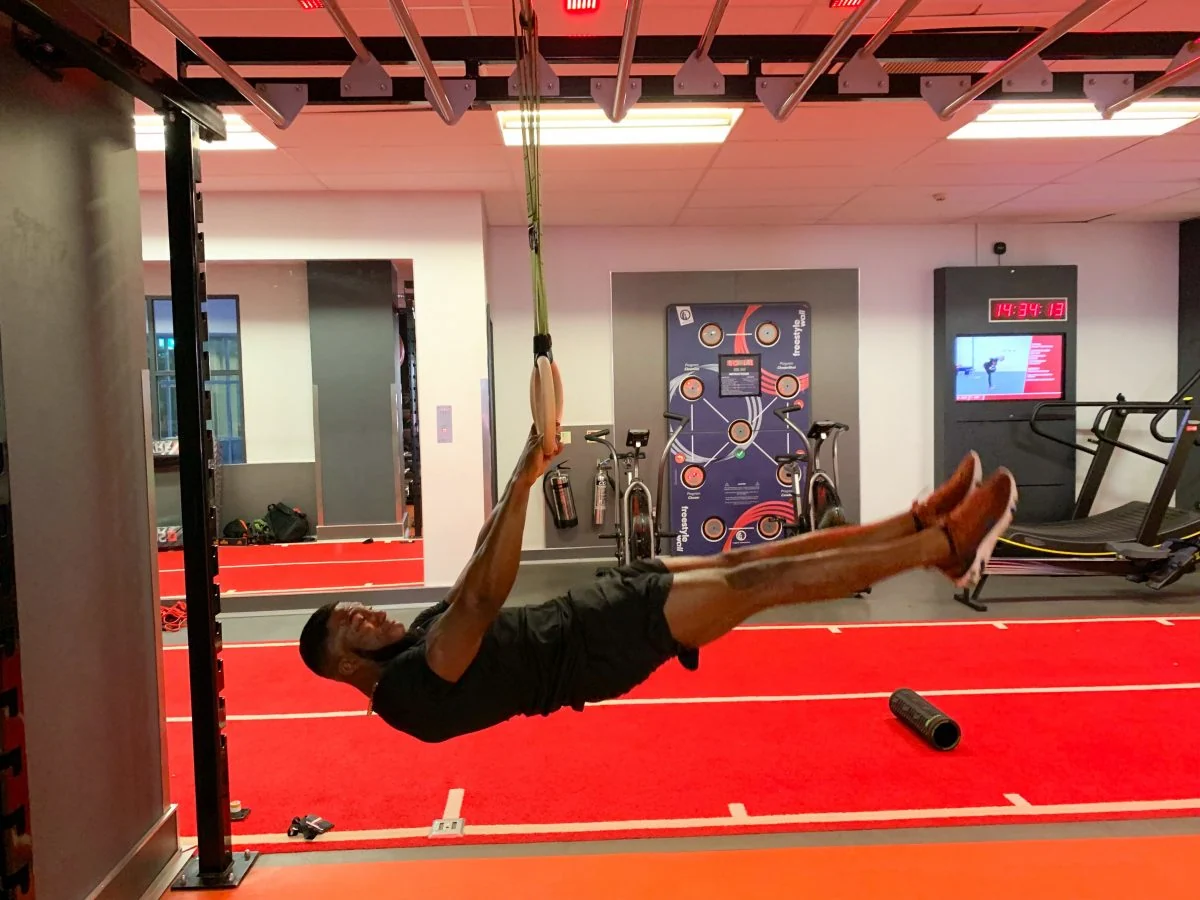
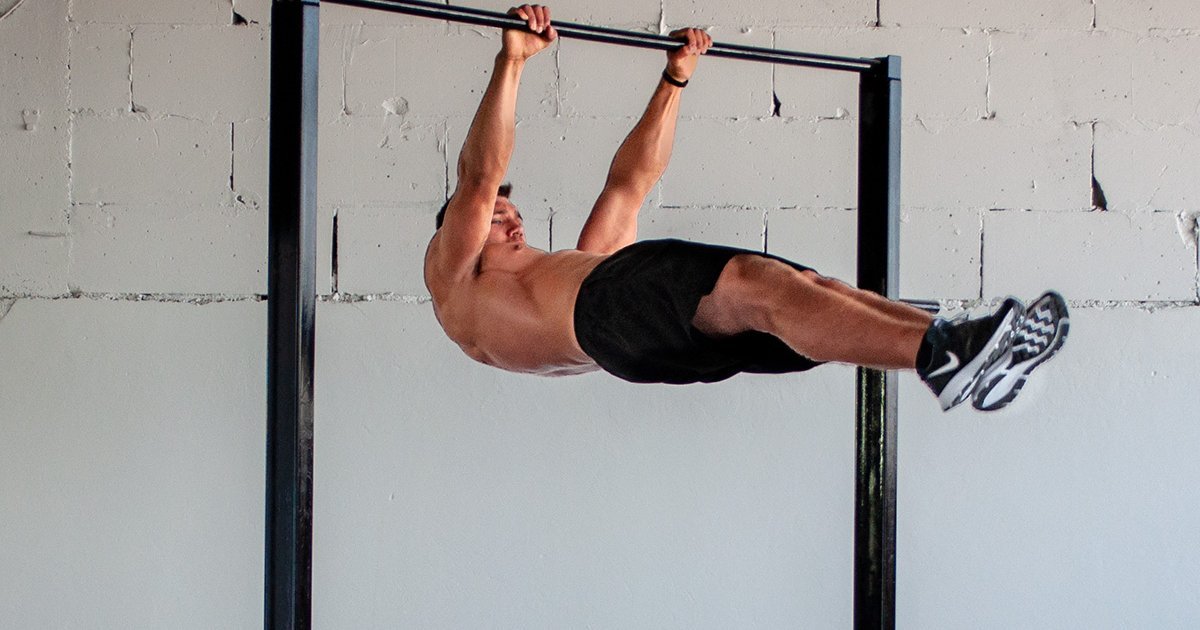
A front lever is a face-up horizontal hold beneath a bar or rings. Your hands support you, your elbows remain straight and your torso does not fold while your legs project away from your shoulders. It is different from a back lever, where you face the floor, and from a bent-arm horizontal row. Keep that distinction clear when comparing videos or logging a progression.
The difficult part is the distance between your shoulders and the mass you are holding away from them. Bringing your knees inward changes that demand without adding or removing a weight plate. Extending your legs changes it again. This is why a strong pull-up does not automatically produce a full lever: you still have to express strength with straight elbows and hold a particular body shape.
Use a side view to judge the position. Look at the height of your shoulders and hips, whether the elbows soften and whether your legs gradually sink. Do not chase an exaggerated chest lift or force your shoulder blades into one rigid squeeze. Your shoulder position should stay active and controlled while you create pressure through the bar or rings.
A taller or heavier athlete may find the same named variation considerably harder. Compare your own repeatable shape across sessions rather than treating someone else's hold time as a deadline. The full position is an optional skill goal, not a requirement for building a strong back.
Start with a tuck you can enter and exit cleanly
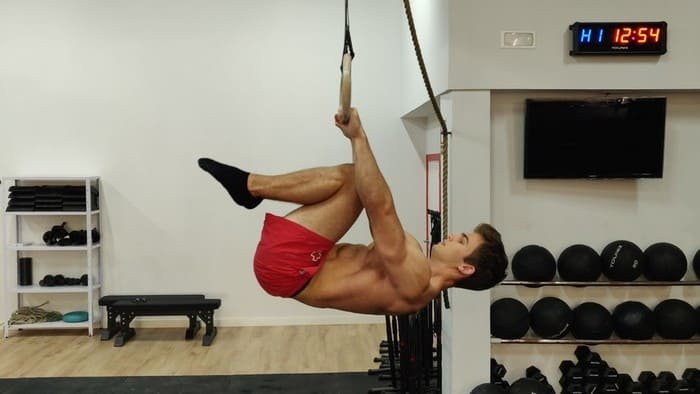
Before lever attempts, make sure ordinary hanging and basic pulling are comfortable. Use a secure setup with enough clearance for your head, hips and feet, and a clear landing area. A portable station that tolerates vertical pull-ups is not automatically approved for the different forces of lever work. Follow the equipment maker's instructions and get suitable coaching if the setup or entry is unfamiliar.
For the tuck, bring your knees toward your chest and lift your hips toward shoulder height while keeping your elbows straight. Use assistance or a suitably easier angle if you cannot arrive there without a large swing. The goal is a brief, deliberate position. Knees tucked tightly reduce the demand; they do not make it an effortless beginner exercise.
Start timing only when the body has settled. End the attempt when the hips drop, the arms bend or the position turns into a pendulum. If you can hold for three good seconds followed by five seconds of collapse, record three seconds. A shorter honest entry gives you a better training reference than a longer timer reading that includes the setup and exit.
Practise coming down as deliberately as you go up. Keep your grip and return toward a manageable hang or supported position. Inverted entries require their own control and clearance; they are not mandatory for your first sessions. If you cannot manage the transition safely, simplify the drill instead of using momentum to rescue it.
Open the shape a little at a time
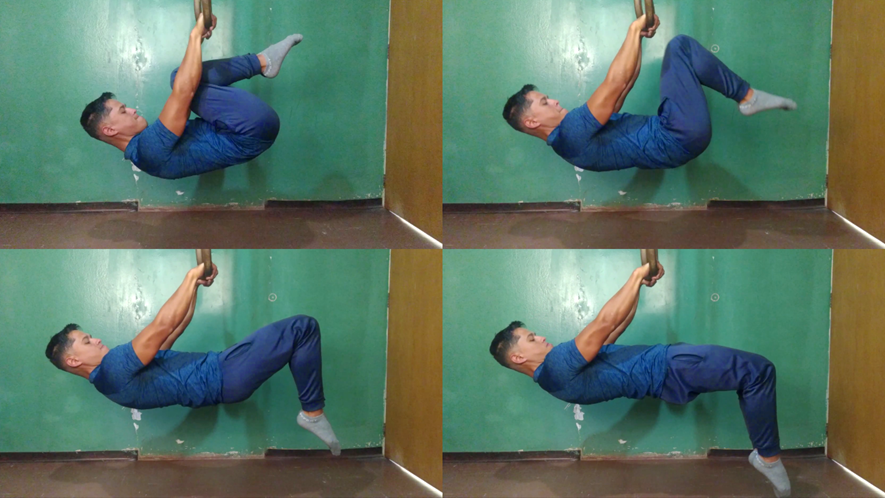
Once a tight tuck is repeatable, increase the challenge by moving the knees a little farther from the chest while keeping the hips up. This is often called an open or advanced tuck. The name matters less than the position you actually use. Film it, because a small change in hip angle can make two apparently identical sets very different.
Treat leg position as an adjustable load. You can move one knee slightly outward while keeping the other close, or gradually extend one leg rather than jumping straight to the finished single-leg shape. Alternate sides when using an asymmetric variation. A few controlled centimetres of change are a legitimate progression if the previous shape remains intact.
Straddle and bent-knee extended positions offer other intermediate options. Their relative difficulty depends partly on your proportions and the range you can comfortably use. Do not force a wide straddle solely because a progression chart puts it next. Choose the shape that offers a small, repeatable increase in demand without introducing a new flexibility struggle.
Change one variable at a time. If you extend the knees farther, keep the number of attempts and the hold target familiar. If you instead add a second of clean time, leave the shape alone. Your log should tell you whether you improved the hold, changed the leverage or simply spent more time trying. Those are different kinds of work.

Calisthenics Shirts & Street Workout Gear
Calisthenics and bodyweight-training gear for pull-ups, dips, handstands and street-workout athletes.


Always Pull Yourself Up Calisthenics Decal for Water Bo Sticker
A fun “Always Pull Yourself Up” touch for bottles, laptops, and lockers.

Calisthenics Heartbeat – Pullups & Handstands & T-Shirt
Show some lifting attitude with a playful “Calisthenics Heartbeat” tee.

Funny Calisthenics Gym Hooded Pullover for Bodyweight W Hoodie
Stay casual and show some lifting attitude with “Calisthenics”.

Turn Off Gravity Funny Calisthenics Gym Crewneck Pullov T-Shirt
Show some gym-day personality with “Turn Off Gravity Funny Calisthenics”.

Calisthenics Evolution Muscle Shirt Athletic Vest for B Tank Top
Add some lifting attitude to training with “Calisthenics Evolution”.

Human Flag Calisthenics Hooded Workout Gymbro Pullover Hoodie
Make your off-duty look more fun with “Human Flag”.

Funny Calisthenics Gym Crewneck Pullover Sweater for Bo T-Shirt
Keep things casual with a little “Calisthenics” attitude.

Calisthenics Hanging Out Decal for Water Bottles Laptop Sticker
A fun “Calisthenics Hanging Out” touch for bottles, laptops, and lockers.

Funny Calisthenics Gym Decal for Water Bottles Laptops Sticker
Bring “Calisthenics” attitude to your water bottle or laptop.
Use lowering drills without turning them into a fall
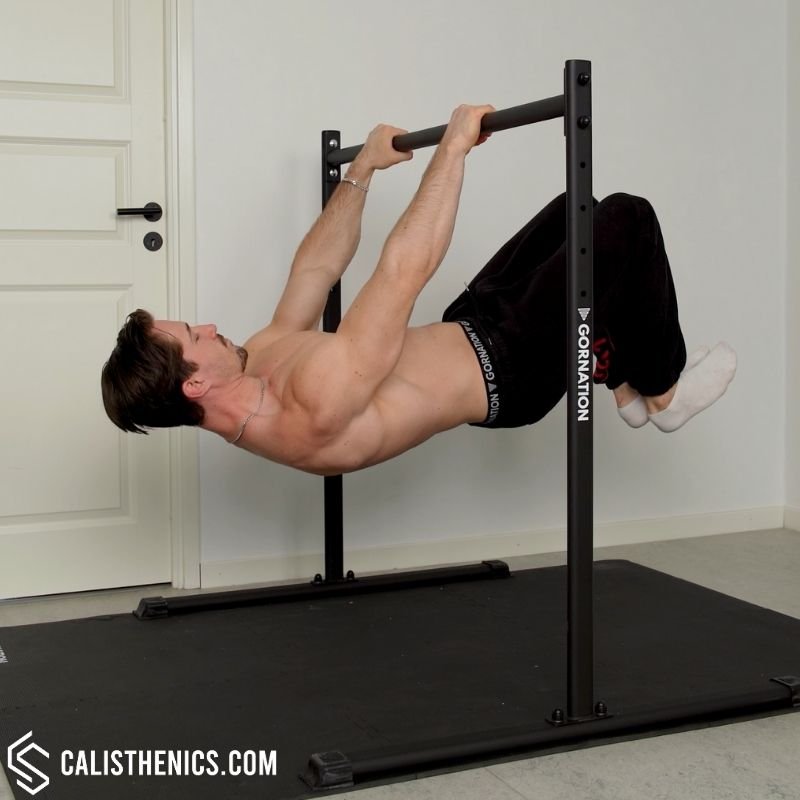
A controlled negative can expose you to a position that is difficult to enter from below. For someone already comfortable in an inverted hang, that means lowering toward horizontal while keeping the selected leg shape and straight arms. It is an option for prepared athletes, not permission to swing upside down on an unfamiliar bar.
Choose the tuck or partial range that lets you slow the movement. Stop or return to a supported position before you lose control. If the descent becomes an immediate drop, use less range or a shorter lever. Repeating a free fall does not demonstrate that you are training a full lever through a useful eccentric range.
Static holds and negatives also reveal different limitations. You might control a brief descent but be unable to pause at horizontal, or hold a tight tuck yet struggle to keep that shape while moving. Log them separately. A three-second negative is not the same result as a three-second stationary hold, even when both involve the same named progression.
Let a side-on recording answer a practical question: at what point does the shape change? If the elbows bend first, shorten the lever. If the hips fold during the final portion, reduce the range until that segment is controlled. Keep the head comfortable and look where you can maintain alignment rather than craning your neck to watch your feet.
Keep ordinary back training in the programme
Front-lever practice does not remove the value of pull-ups and rows. Those movements let you train pulling through a larger range and adjust the difficulty in familiar ways. Keep them at a level where you can control the repetitions. If basic pulling still needs substantial assistance, make that a major part of your training instead of spending every session on failed lever attempts.
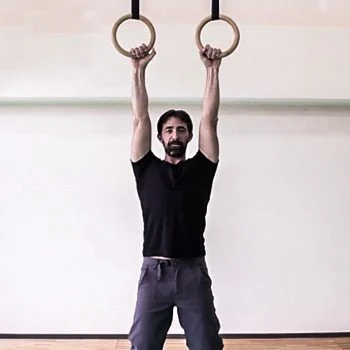
A useful preparation drill is a small shoulder-blade movement from a hang with straight elbows. Let the body move slightly through the shoulder girdle without turning it into a pull-up or swinging the legs. Use a supported version if a full hang is not comfortable. This helps you distinguish shoulder movement from bending the arms; it is preparation, not proof that you are ready for every lever variation.
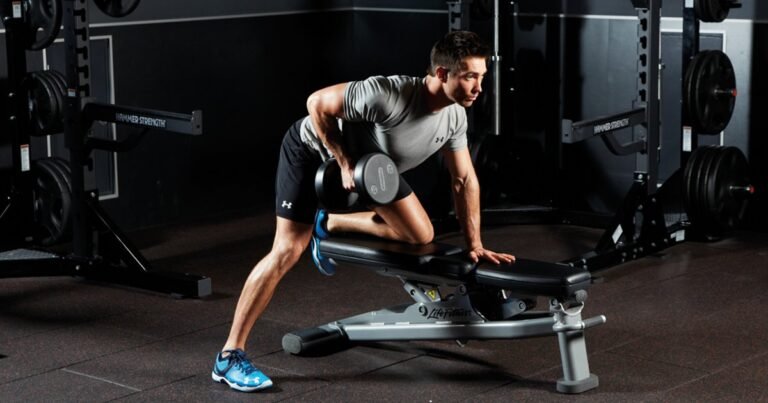
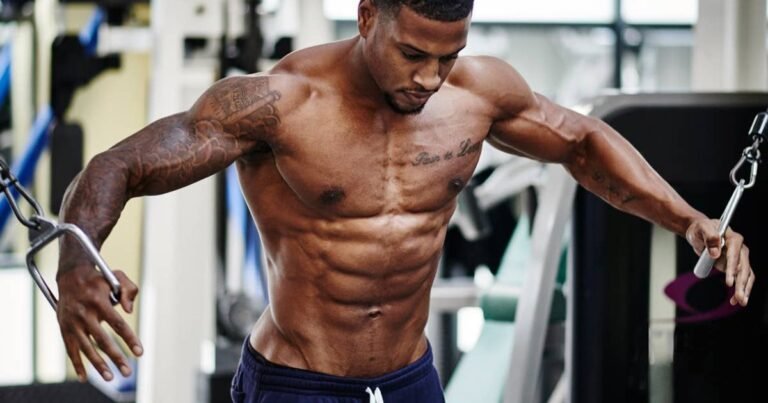
Cable work can provide a separate way to practise straight-arm shoulder extension with an adjustable load. Keep it controlled and avoid treating the cable stack setting as a predictor of your lever ability. A pulldown and a suspended body hold have different positions, leverage and stability demands. Accessories support the skill rather than replacing practice of the actual shape.
Rings, pull-up handles, weighted-pull-up equipment and cable options serve different jobs. Choose them for the ordinary pulling work they are designed to support, and verify their mounting and load limits. Do not add a belt or vest to a lever that already breaks down under bodyweight. Shortening the lever or adding appropriate assistance is usually the more useful adjustment at that stage.

Equipment Worth Exploring
Explore equipment, accessories and gear from our carefully selected range.


Power Tower
Freestanding pull-up and dip station with adjustable handles for bodyweight training.


VOLTRA
Compact digital cable trainer with smooth, adjustable resistance.

VForce Lat Tower
Wall-mounted cable tower with pivot arms and adjustable 1:1 or 2:1 pulley ratios.

Trinity Lat Machine LSW-850
Weight-stack pulldown tower offering three cable directions and adjustable seated support.

44in Dual Hook Bar
44-inch aluminum dual-hook straight bar for cable rows, pulldowns, and curls.
A modest practice block with clear progress checks
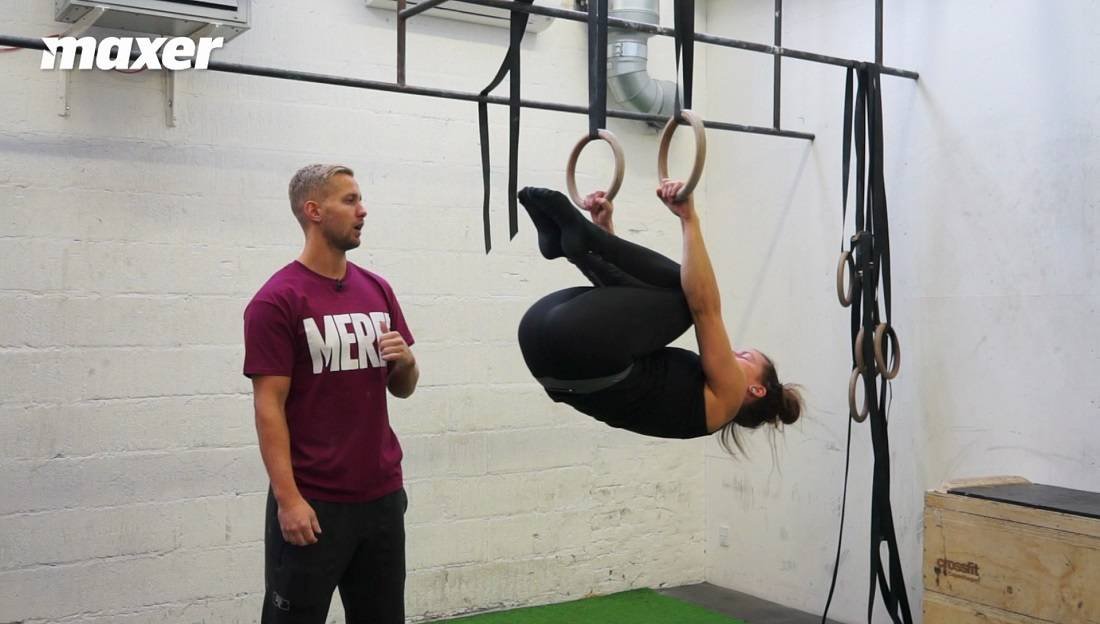
Here is an original starting framework, not a tested optimum: use two sessions per week with recovery between them. After a general warm-up and easy pulling preparation, perform three brief lever attempts in your current controllable shape. A target of roughly three to six clean seconds can keep the first block manageable; choose less if that is what you can actually repeat.
Rest until you can grip and position yourself deliberately again, initially allowing around two minutes between attempts. Keep some capacity in reserve rather than extending every hold to collapse. Follow with a manageable amount of your usual rows or pull-ups. If you already have demanding back sessions, replace some work with this practice instead of automatically stacking it on top.
For the first two weeks, repeat the same setup and record the shape, clean seconds for each set and any discomfort. In the next two weeks, consider a small increase in knee distance only if every attempt remains controlled and you can recover normally between sessions. Otherwise keep the same variation. This is a review point, not a promise that you should advance on a calendar.
If performance falls across sessions, first check sleep, total pulling work and whether the progression quietly became harder. Take an easier session or reduce attempts when needed. Stop the drill for shoulder or elbow pain, and seek qualified assessment if it persists. A useful outcome after a month could be steadier hips, a cleaner exit or more consistent short holds. All are progress even if a full front lever remains some distance away.