Advertising disclosure: This page includes affiliate product links that may earn us a commission, as well as products from our own store.
Hip Abduction Machine: Better Setup, Glute Form and a Six-Week Plan
A hip abduction machine looks simple: sit down, push the pads apart, bring them back. Yet the same weight can represent two very different workouts when the seat, start position, torso angle or return speed change. The goal is not to win a contest with the weight stack or chase the biggest burn. It is to train the side of the hips through a comfortable, repeatable range, understand what the evidence really says and progress without sacrificing the rest of your leg day.
1. Know what the machine trains and what the evidence cannot prove
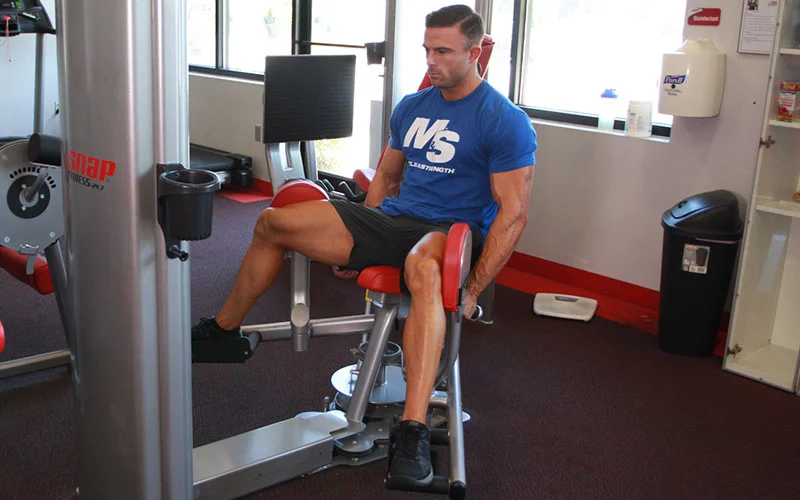
Hip abduction means moving a thigh away from the body’s midline. On the seated machine, both legs push outward against thigh pads. The gluteus medius and gluteus minimus help produce that movement, while the tensor fasciae latae and other surrounding muscles also contribute. These muscles help manage pelvis position in one-legged movement. That does not mean a machine is an automatic cure for knee pain, hip pain or a crooked squat. It is an isolation exercise with a specific role.
A small controlled laboratory study measured muscle electrical activity in eleven men during machine hip abductions, clamshells and side-lying abductions. The machine produced a higher gluteus-medius-to-tensor-fasciae-latae activation ratio than the other two tested exercises, without greater absolute gluteus medius activity across conditions. Electrical activity is not a measurement of long-term muscle growth. The experiment cannot establish that this machine always produces more hypertrophy or that any one torso angle is optimal for everyone.
Use it to add repeatable side-hip training around a broader leg plan. Squats, lunges, hinges and hip thrusts impose different demands that the abductor machine does not replace. The fact that the movement feels intense does not prove it is the best exercise for your specific goal. Consistent form, sensible progression and tolerance matter more than a marketing claim about targeting a single muscle.
2. Fit the seat, thigh pads and start position before adding weight
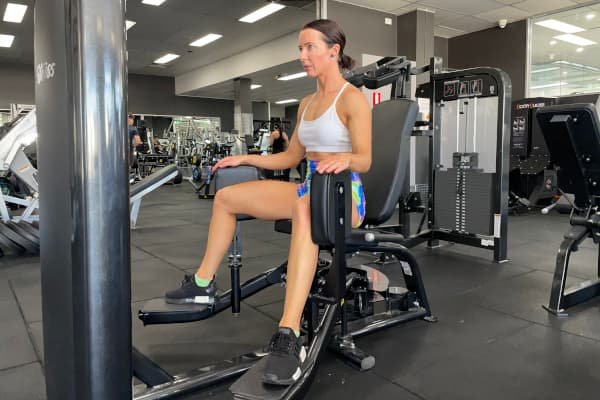
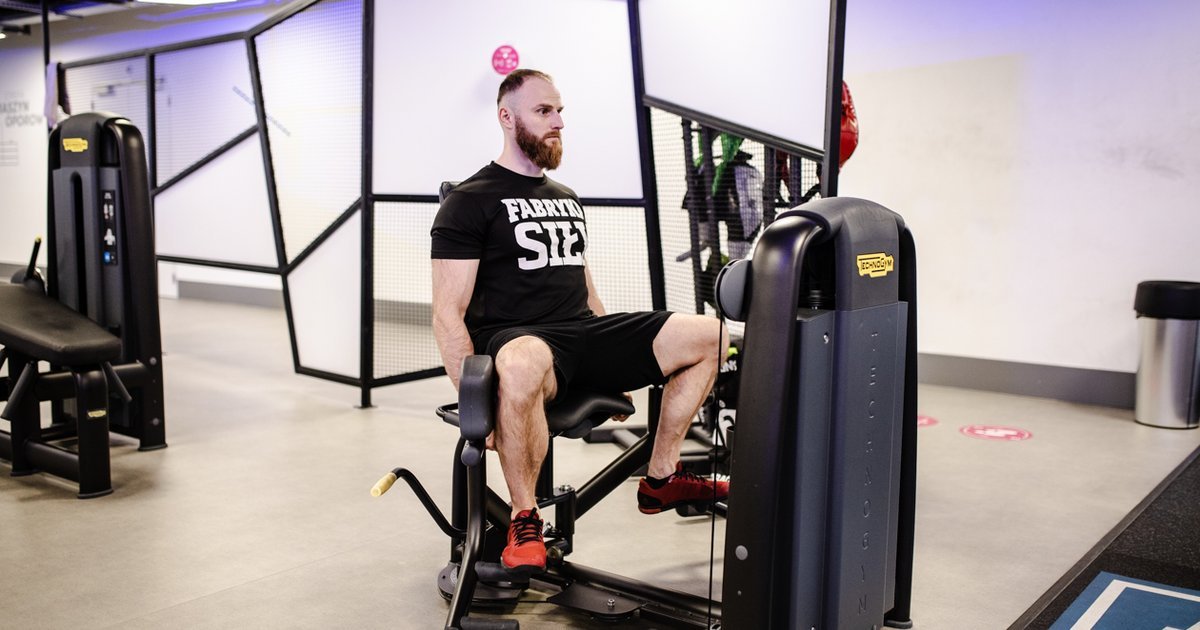
First make sure you are at a hip abductor station rather than the similar-looking adductor machine. The abductor pads resist the knees moving outward; the adductor station resists bringing them together. Sit against the backrest with both feet stable on the supports. Check that the left and right pads contact similar points on the outside of the thighs, without pressing directly into the kneecaps. If the machine has adjustable handles or seat depth, set those before inserting a heavy pin.
Choose a comfortable starting angle. Forcing the hips into their widest possible position before the first repetition can turn a useful exercise into a painful stretch. The start should allow an outward movement without a sudden whole-body heave. Fully seat the weight-stack selector pin, inspect the range for obstruction and try five light repetitions to confirm that the machine returns smoothly. Different commercial machines have different cams and lever arms, so the numbers on two weight stacks are not directly comparable.
Keep the pelvis stable. Some lifters prefer a slight forward torso lean, while others remain against the backrest. Neither posture is a universal glute activation shortcut. Pick a reproducible position that lets you move the pads without sliding on the seat or arching your back. Record the actual seat setting, start angle, torso position, load and repetitions. If the pads are too high or too low for your build, switching models may be smarter than compensating with an awkward position.
3. Open the legs smoothly and control the return
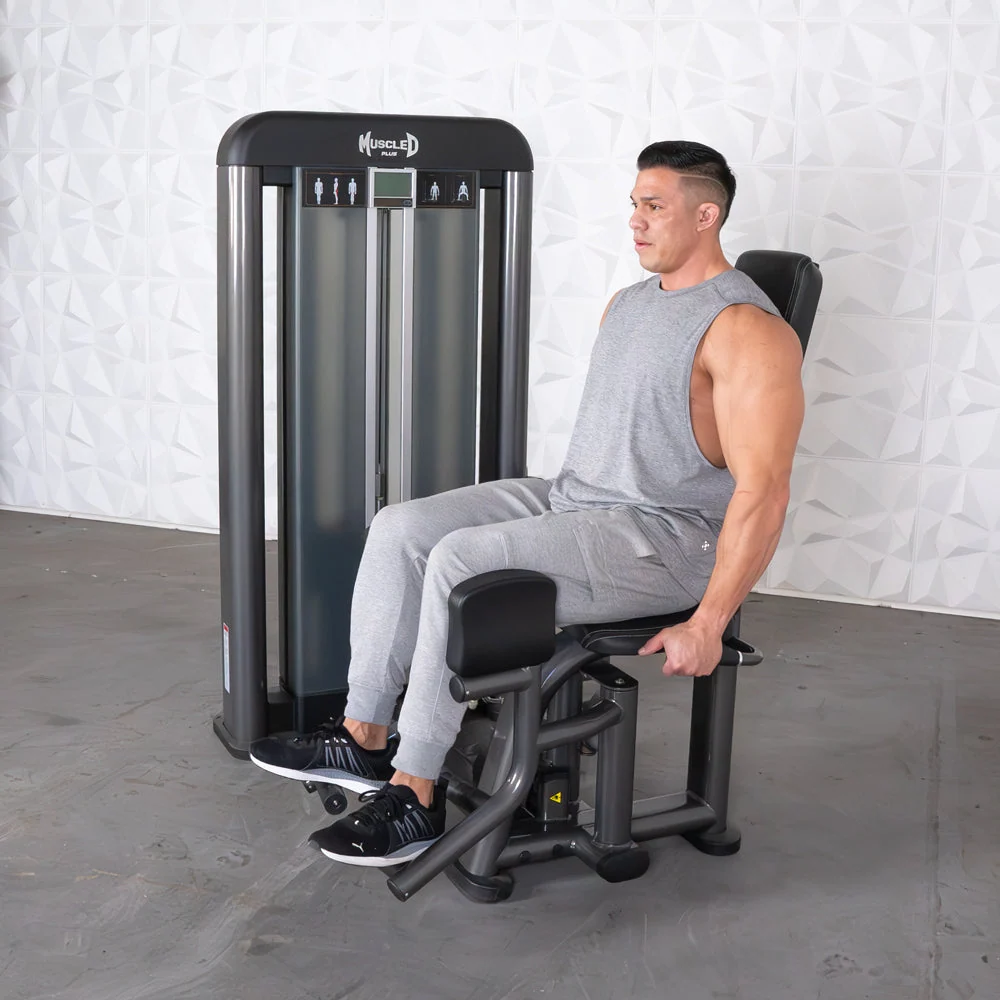
Grip the handles if provided, brace gently and push the knees outward against the pads. Keep the feet on their platforms, let the legs follow the machine’s arc and stop before the hips roll, the pelvis shifts or the range becomes painful. You should be able to pause briefly in the open position without turning the movement into a bouncing contest. Do not twist the feet into an extreme angle just because someone online claims that one toe position isolates a different glute muscle.
Bring the pads back slowly instead of letting the selected plates yank the knees inward. A useful starting cadence is one or two seconds outward and two or three seconds returning. This is a way to standardize reps, not a magical hypertrophy tempo. The stack should not crash between repetitions. Ten clean repetitions through a repeatable range provide better training information than twenty short, fast pulses at a heavier pin. If the machine’s resistance curve feels awkward at the ends, select a range you can actually control.
Common mistakes include rocking forward with every repetition, pulling hard on the handles to move the stack, bouncing against the stops and losing the last third of the range as fatigue arrives. Start with a load permitting roughly ten to twenty good reps with one to three repetitions still in reserve. If the weight requires a violent first rep, reduce it. Stop or modify the exercise if you feel sharp groin or front-of-hip pinching rather than ordinary muscular effort.

Equipment Worth Exploring
Explore equipment, accessories and gear from our carefully selected range.
VOLTRA
Compact digital cable trainer with smooth, adjustable resistance.

Go-Tone Pro
Portable digital cable trainer with up to 66 lb (30 kg) of adjustable resistance.
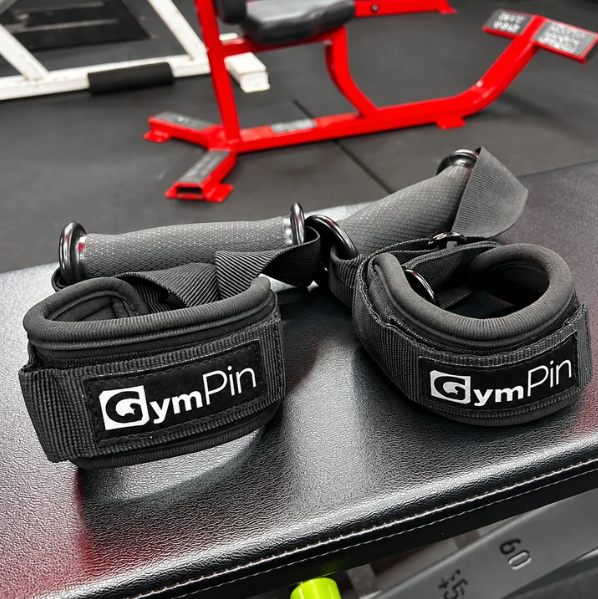
GymPin D Cuffs
Adjustable wrist cuffs with textured grips for supported cable-machine exercises.

VForce Wall Trainer
Space-saving wall-mounted functional trainer with pivoting cable arms and variable resistance ratios.

VForce 2IN1
Half rack and pivot-arm functional trainer with switchable 1:1 and 2:1 pulley ratios.

VForce 3IN1
All-in-one rack combining an adjustable Smith machine, functional trainer, and free-weight station.

VForce 3IN1 Max
Six-post all-in-one rack with Smith machine, functional trainer, and variable-force cables.

Original GymPin
Adds Olympic plates to compatible cable-machine weight stacks for extra resistance.

4. Choose between the machine, cables, bands and other leg exercises
The machine supports your torso and lets both legs work at once, making it useful for repeatable accessory sets. A standing low-cable abduction uses an ankle cuff, one leg at a time, and requires more balance. Hold a stable support, keep the cable clear of your planted foot and move sideways without tipping the whole pelvis. Cable loading is convenient when there is no dedicated abductor station, but it feels different and needs its own progression log.
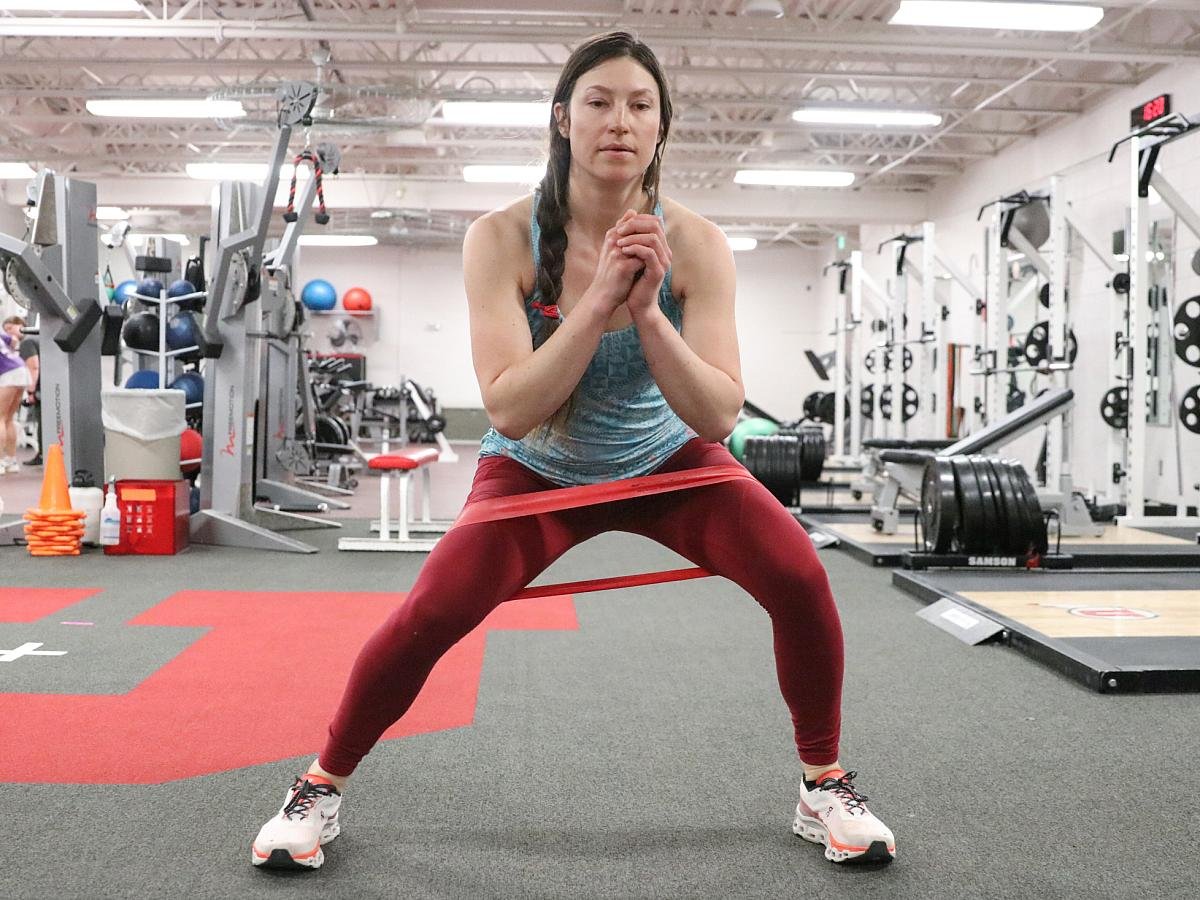
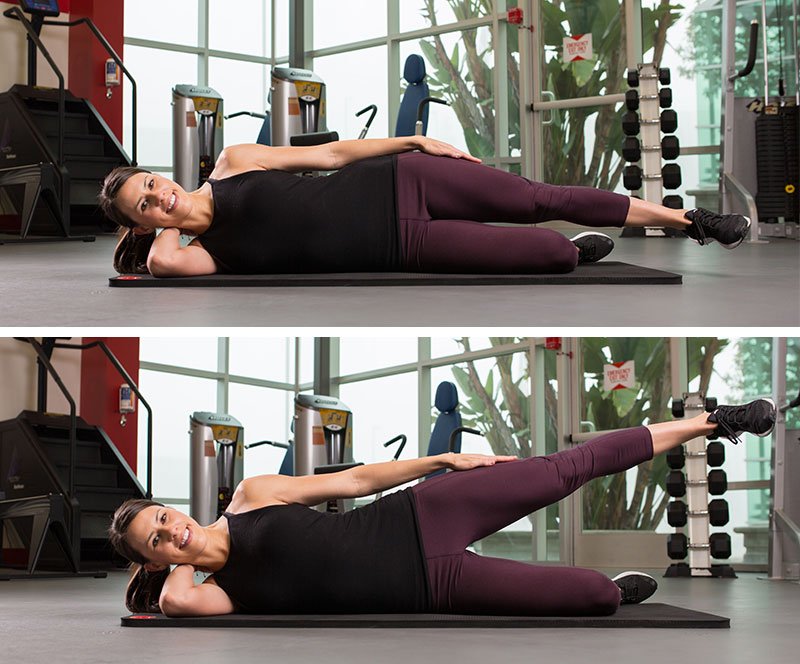
Lateral band walks make you resist elastic tension as you step. Bands are portable and inexpensive, yet their resistance changes with stretch length and can be difficult to quantify precisely. Side-lying hip abductions remove the need for a machine entirely and make technique easy to observe. However, adding resistance beyond bodyweight may take creativity. Choose based on which variation you can do without irritation, consistently challenge and fit into your equipment access. An unavailable machine should not stop productive hip training.
Do not confuse the side-hip role of abduction with the large hip-extension demands of squats, split squats, step-ups, deadlifts or hip thrusts. If overall glute development is the objective, these patterns may still deserve the largest share of your weekly lower-body training. Two deliberate isolation sets are often more useful than adding several sloppy extra sets after every lift. Cable machines, benches and leg-training gear can support your plan, but none substitutes for repeatable effort and progressive overload.
Equipment Worth Exploring
Explore equipment, accessories and gear from our carefully selected range.
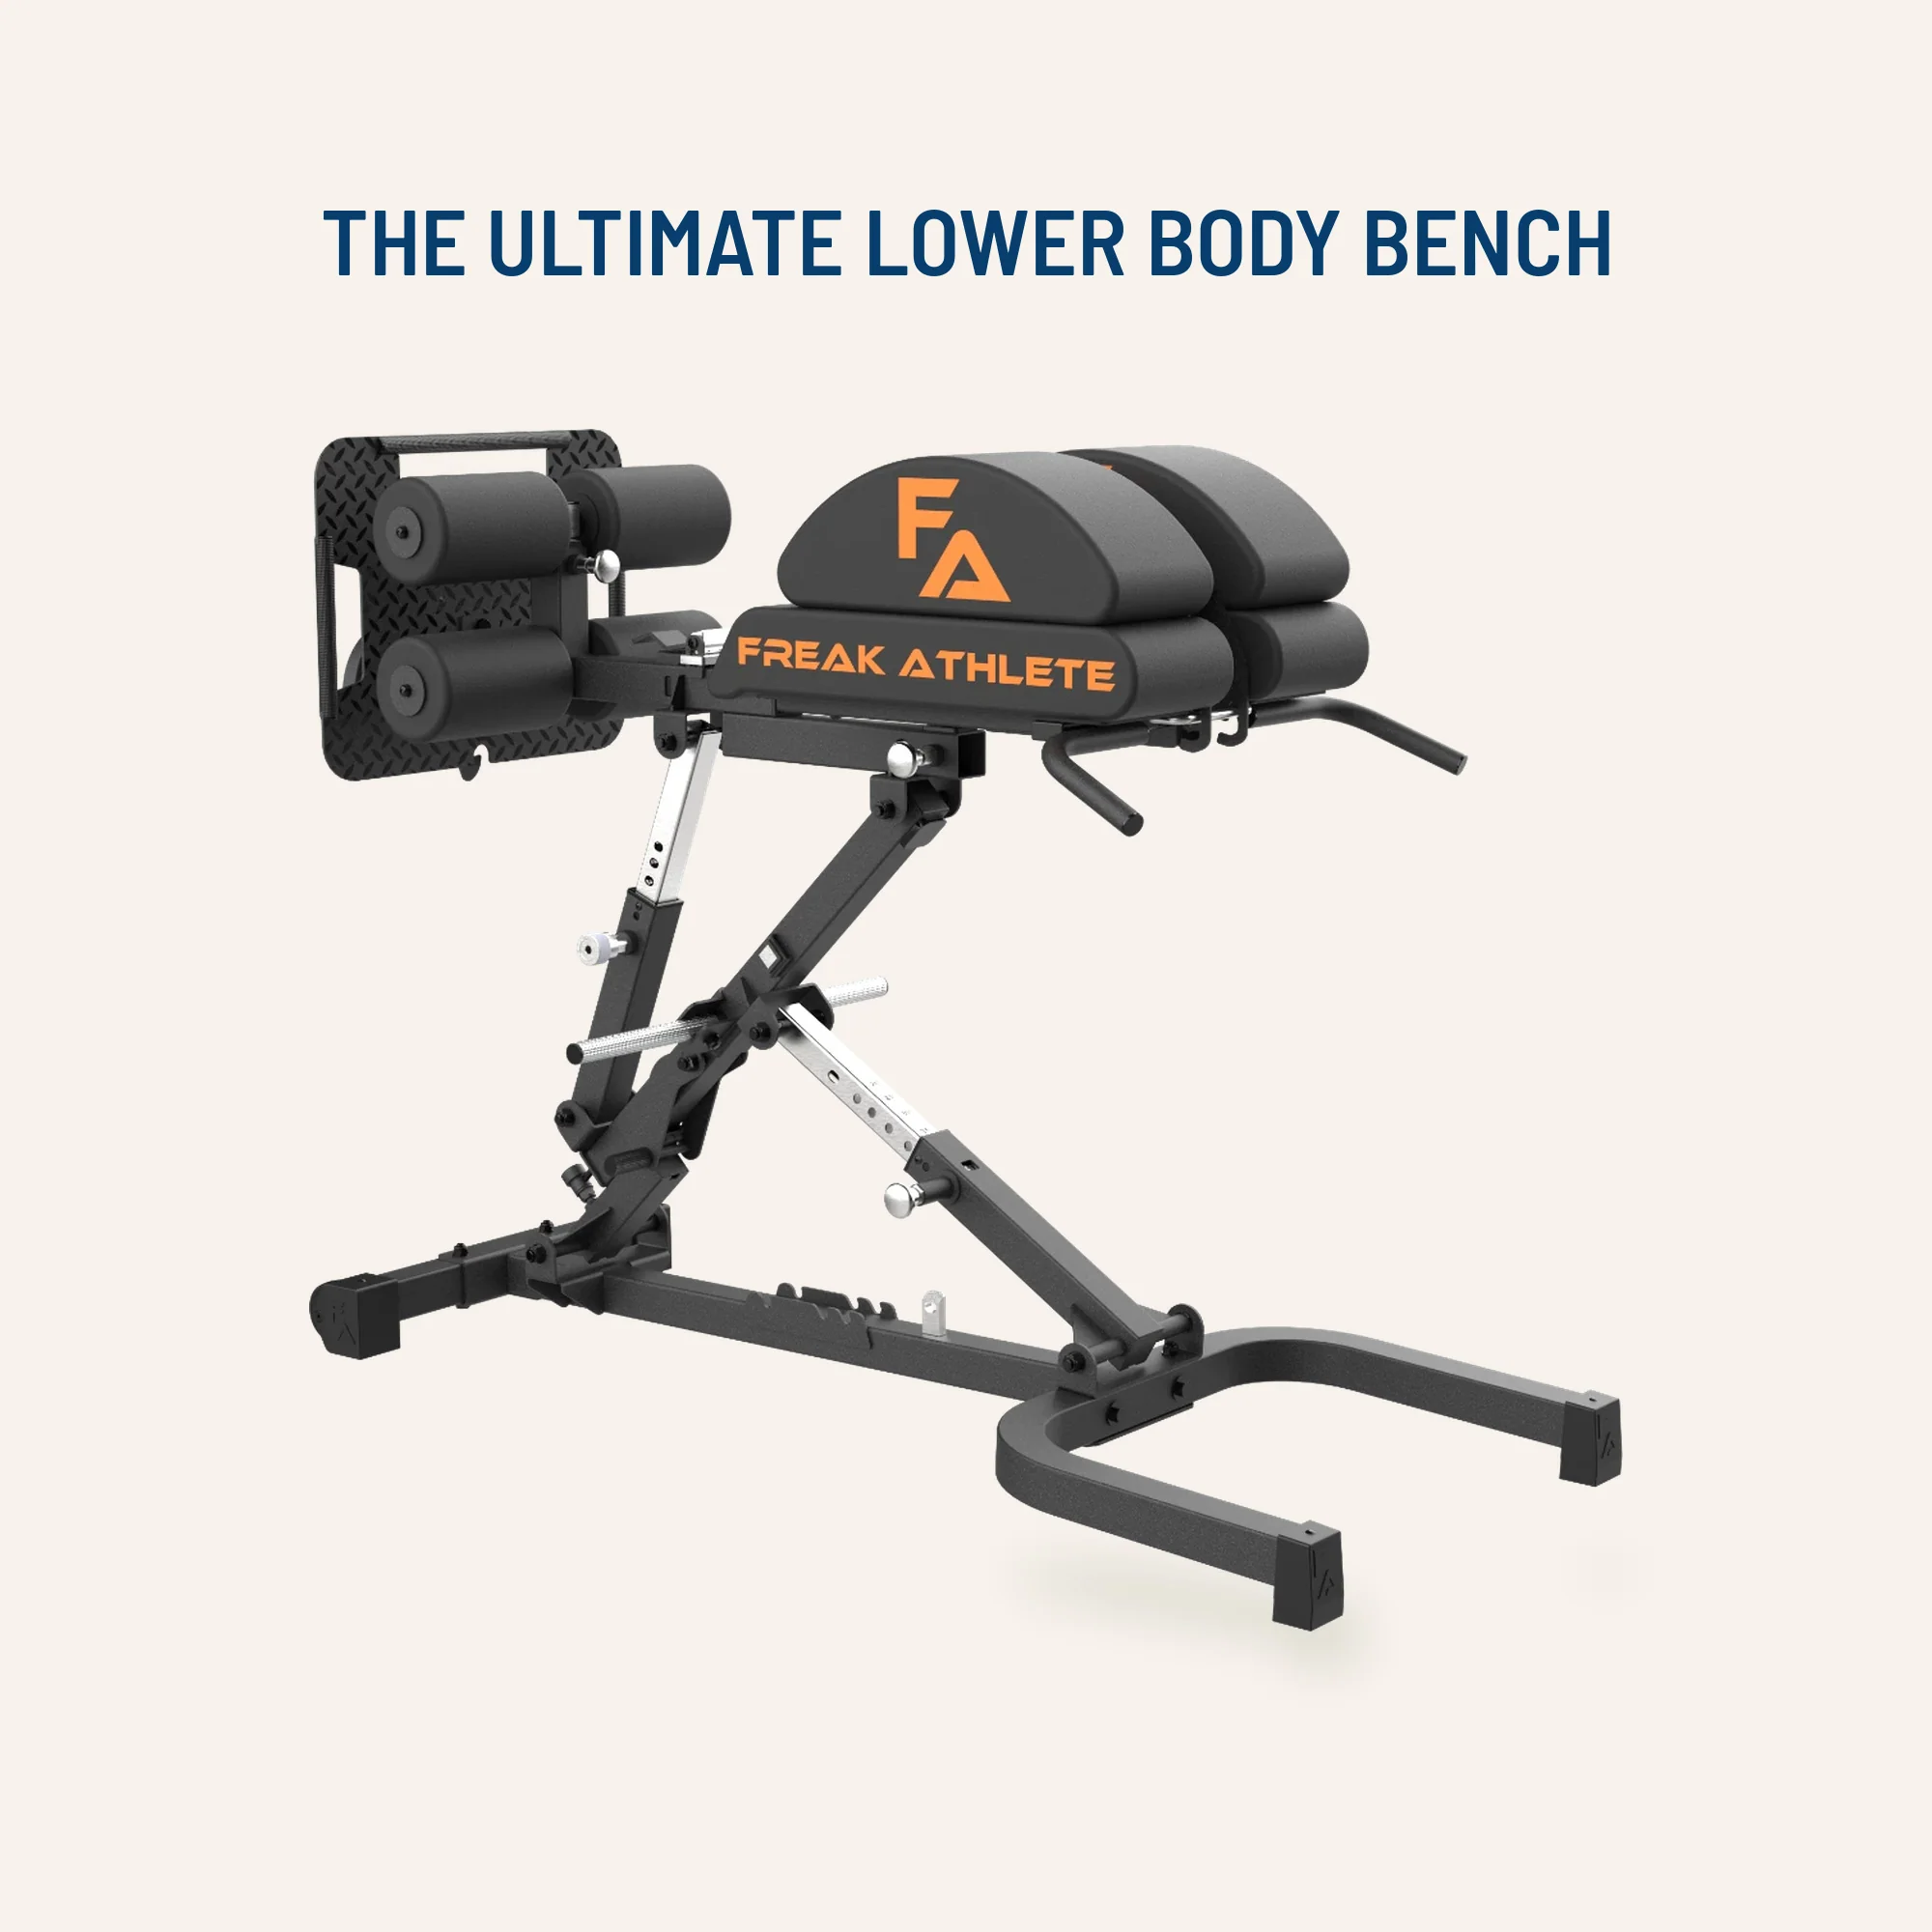

Leg Press/Hack Squat BPR-790
Convertible 45-degree leg press and hack squat machine with a broad footplate and band pegs.

Compact Leg Press CLP-700
Compact reverse-style leg press with a moving seat carriage and an adjustable footplate.

Glute Ham Developer GHD-820
Adjustable glute-ham developer with contoured pads and a fold-out knee support.



Pro Sled System
Heavy-duty push-pull training sled for loaded conditioning, speed, and strength work.

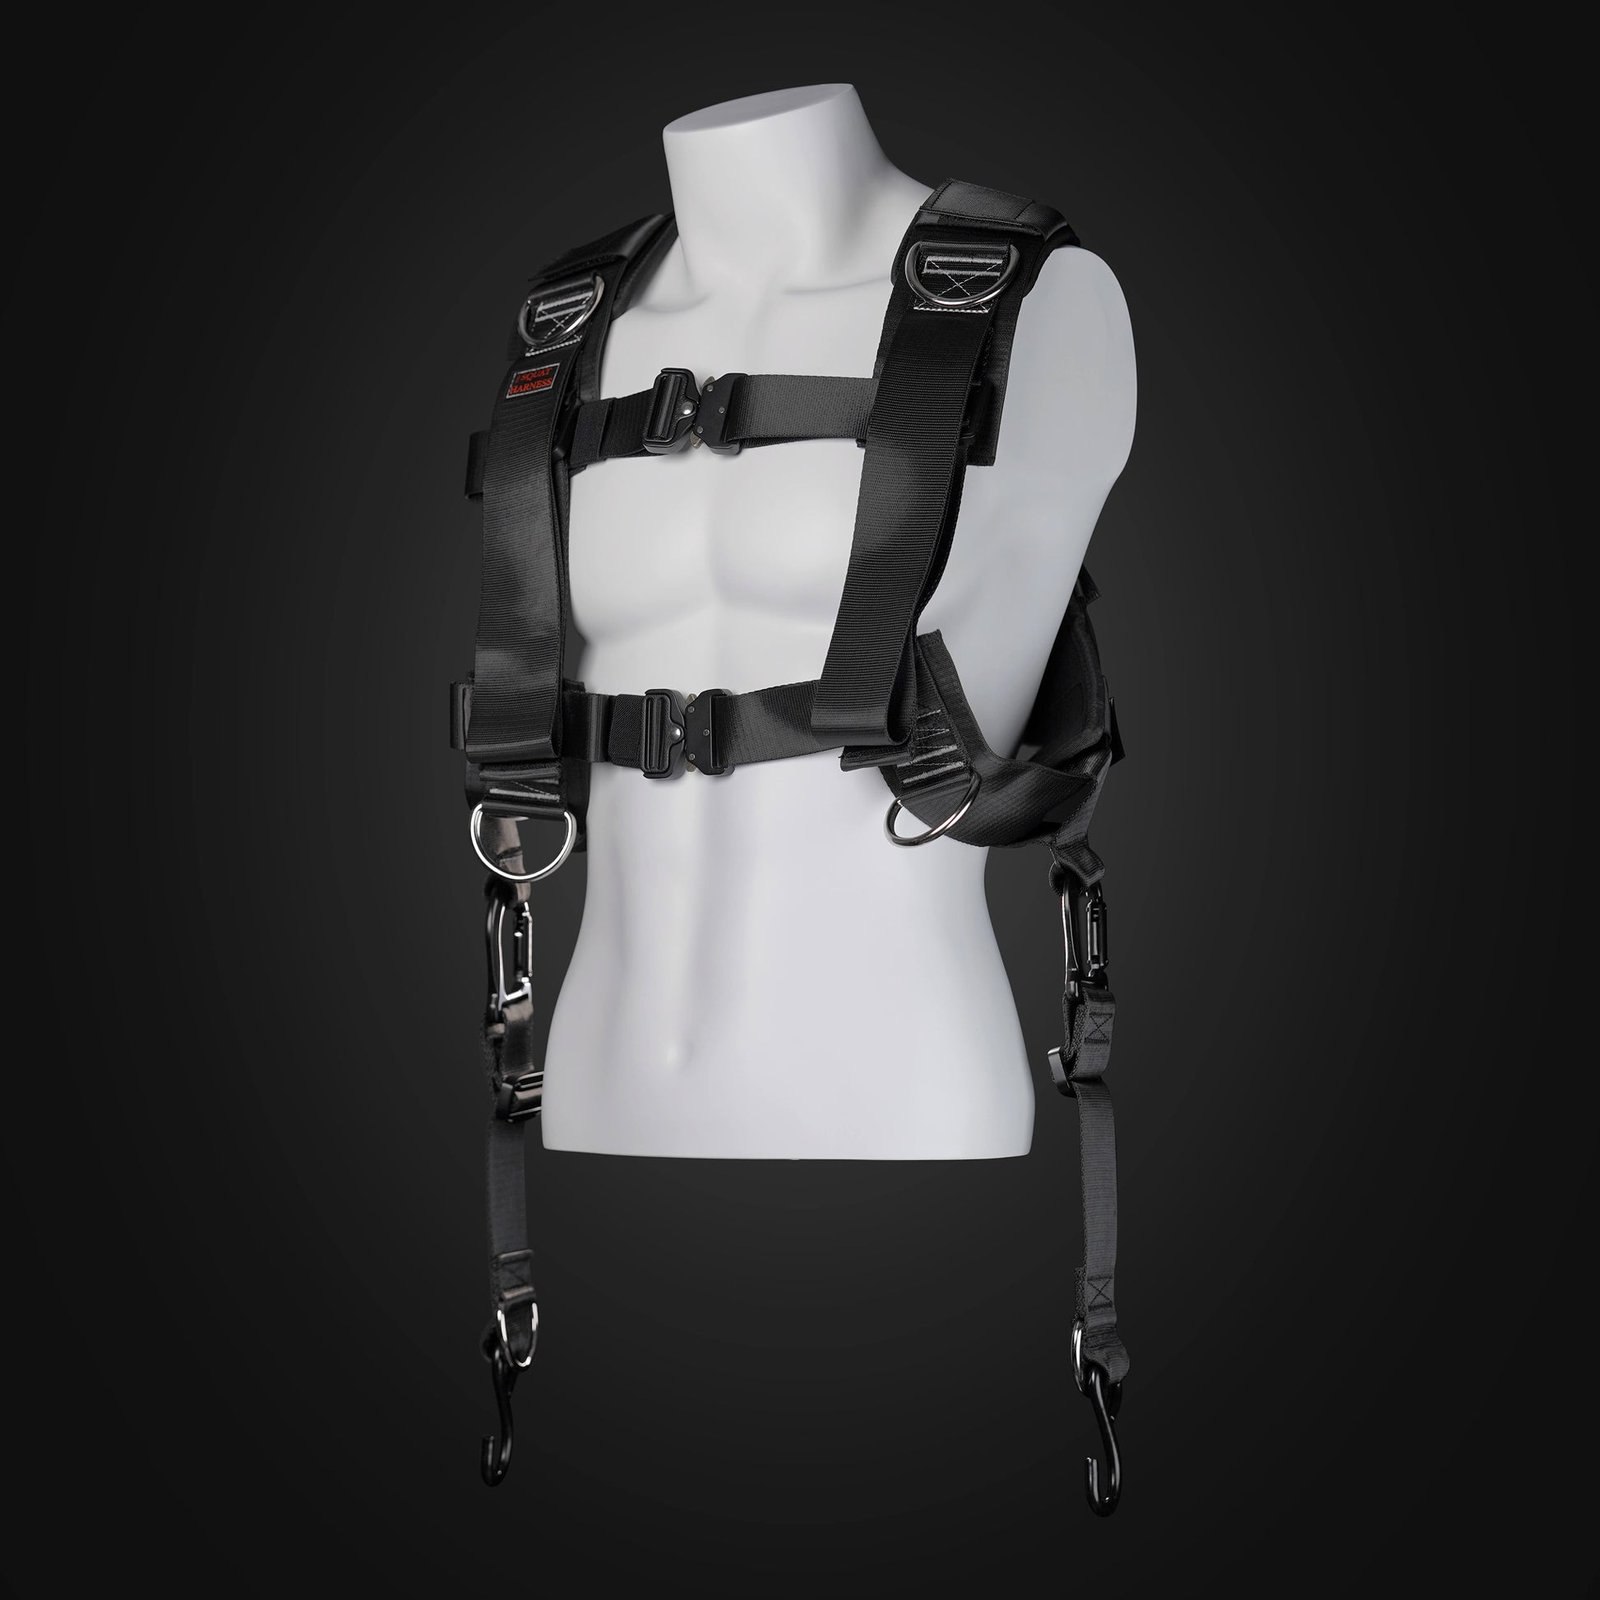
Squat Harness
Wearable harness for hands-free cable squats, sled work, and lower-body training.

Ultimate Power Seat
Rack-mounted power seat for lat pulldowns, leg extensions, and leg curls.
5. Build a six-week progression from honest repetitions
Train the abductor machine twice weekly, preferably after a larger lower-body movement. In weeks one and two, perform two sets of twelve to fifteen repetitions with about three good reps in reserve. Use the same seat and start settings on both days. In weeks three and four, keep two sets but build toward fifteen to twenty clean repetitions with the current load. Once both sets reach the top of that range with a controlled return, move the pin one small increment and allow the reps to drop back toward the lower end.
In weeks five and six, you can use three sets on one day and two on the other if recovery and your total glute workload permit. Work with ten to fifteen controlled reps at a slightly heavier load when the increased pin does not shorten your range. Rest around one or two minutes, longer if fatigue makes the next set messy. Going to failure on every set is unnecessary; choose a consistent effort target and let the numbers accumulate. If your squat or running performance suffers from unexpected soreness, reduce accessory sets before adding more.
Record the machine model, pin weight, setup, reps, rest, perceived effort and whether the left and right pads felt symmetrical. Review the six-week trend rather than judging a workout by how badly the last set burned. If one hip feels uncomfortable, reduce the range or swap to a comfortable cable, band or side-lying version and track that variation separately. The result you want is a modest improvement in range, control, repetitions or load while the rest of your leg program stays productive.

Leg Day Shirts & Workout Gear
Leg-day gym shirts and workout gear for lifters who never skip squats, lunges and lower-body punishment.

Thicc Booty Meme – Glute Lovers – T-Shirt
Rep “Thicc Booty Gym Meme” humor in and out of the gym.

Brains Beauty Booty – , Gains & Glutes T-Shirt
Heavy lifts, good laughs, and a little “Brains Beauty Booty” energy.

Juicy Booty – Bootybuilder Big Booty Gains – & T-Shirt
Make gym days more fun with “Juicy Booty” style.

Big Ass Energy – , & Booty Gains – T-Shirt
Show some lifting attitude with a playful “Big Ass Energy” tee.

Invisible Booty To Visible Booty Leg Day Motivation Tank Top
Show some personality between sets with “Invisible Booty To Visible Booty”.

Booty Building Mode Leg Day & Squat Meme Fans Tank Top
Bring “Booty Building Mode” humor to your next lifting session.

OnlyGains Hooded Leg Day & Booty Gains Meme Top Hoodie
Keep it laid-back with a little “OnlyGains” attitude.

Let It Grow Girl Booty Builder Sweater Hip Thrust T-Shirt
Add a playful “Let It Grow Gym Girl” touch to your casual rotation.

I Love Booty – Valentine's Day Peach Gains Meme Decal f Sticker
Bring “I Love Booty” attitude to your water bottle or laptop.

Booty Building Mode Decal Water Bottles & Gear Meme Sticker
Bring “Booty Building Mode” attitude to your water bottle or laptop.