Advertising disclosure: This page includes affiliate product links that may earn us a commission, as well as products from our own store.
Chest-Supported T-Bar Rows: Set the Pad, Choose a Grip and Build Your Back
A row is supposed to train your back, but plenty of sets end because your lower back, balance or grip gives out first. A chest-supported T-bar row gives you an angled pad to brace against while your arms pull a loaded lever. It is not a magical isolation exercise. It is a practical way to make the next repetition easier to judge: did your back perform the work, or did your torso move the weight?
The details matter more than the largest plate you can fit. Foot position changes how the pad contacts you; the handles change how naturally you can drive the elbows; and the machine’s lever changes how load feels through the arc. Here is a full setup, a useful error checklist and a progression that values repeatable back training over swinging.
Why chest support changes the rowing challenge
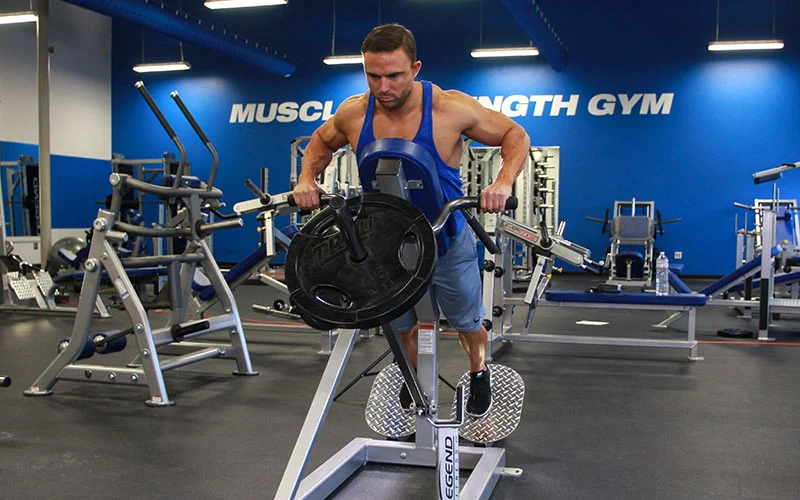
In a bent-over barbell row, your spinal erectors and hip extensors help hold the hinge while your upper body pulls. In a chest-supported row, the pad takes much of that sustained torso-positioning demand. Your lats, upper-back musculature, rear shoulders and elbow flexors still share the actual pull, but you have one less variable to manage. The support can be especially useful when heavy squats or hinges have already made another unsupported position uncomfortable to maintain.
That does not mean your core switches off or that chest support guarantees better growth. You still need enough torso tension to stay planted, enough shoulder movement to complete a useful range, and enough effort for the back muscles to adapt. The better comparison is between two movements you can execute consistently. If the barbell row lets you load and feel your back with good technique, keep it. If the pad lets you perform another productive set without your posture falling apart, use the supported version.
Get the footplate, chest pad and loading right
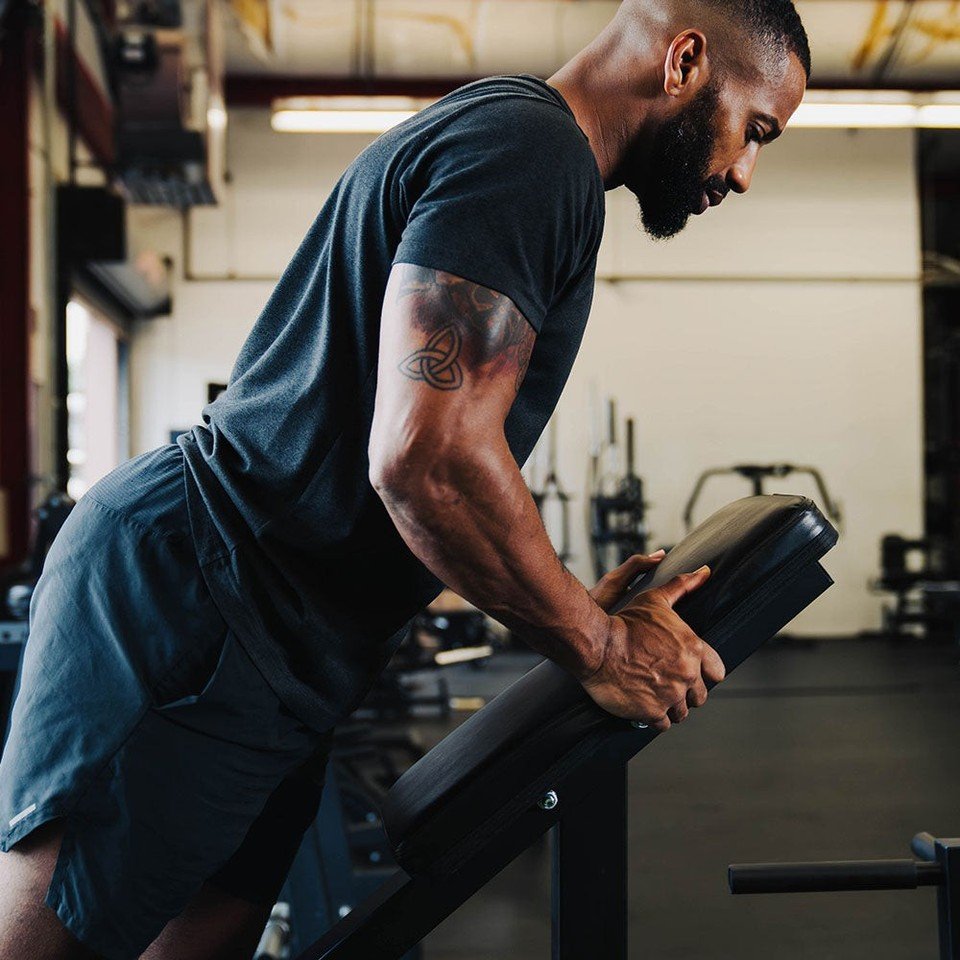
Begin with the carriage empty or lightly loaded. Step onto the machine, place your feet securely, and bring your sternum against the chest support without crushing the throat or jamming the shoulders forward. On machines with adjustable footplates, change the footplate height until you can reach the handles comfortably with almost straight arms. Your upper body should feel supported in both the stretched and contracted positions. The point is not to find one universal setting; it is to find one you can repeat.
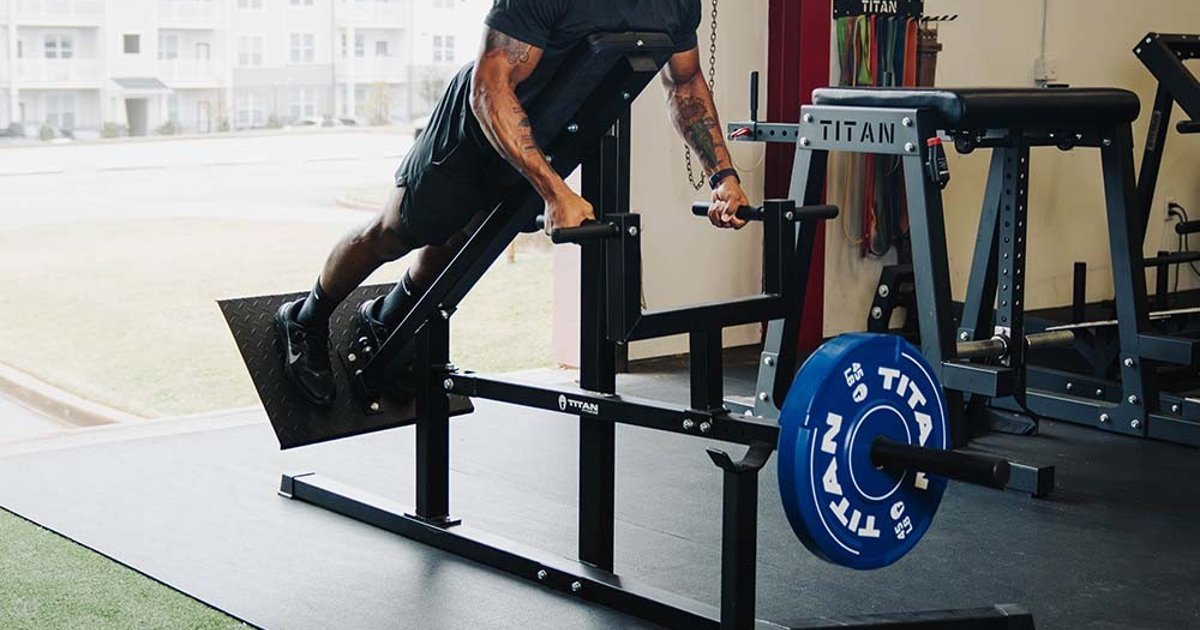
The Titan Fitness Chest-Supported T-Bar Row, for example, uses an adjustable diamond-textured footplate, a fixed inclined pad, and both vertical and horizontal handles. Its published product specifications list a 400-pound rowing capacity, a separate 265-pound user-weight capacity, and an intended user-height range of 4 feet 11 inches to 6 feet 6 inches. These are model-specific limits, not a challenge to exceed and not assumptions you can transfer to a different machine. Check the label on the actual equipment before loading it, especially if you are a taller or heavier lifter.
Set both feet with pressure through the platform, keep the neck neutral, and lift the handles only after checking that the lever is clear of the stops. Add plates symmetrically where the machine requires it. Do not confuse the number printed on your plates with a cable-stack equivalent: lever arm geometry, starting resistance and the handle path all affect perceived difficulty. Treat your first session as a technique baseline rather than a strength test. A weight that allows ten controlled reps is much more informative than a maximum load you cannot lower smoothly.

Equipment Worth Exploring
Explore equipment, accessories and gear from our carefully selected range.

Lateral Row Machine LRM-720
Rowing machine with independent lever arms, an adjustable seat and chest support.

Linear Row LRX-750
Dual-sided rowing machine for supported rows, bent-over rows and varied pulling movements.

T-Bar Row Attachment
Welded barbell attachment that connects a D-handle bar for landmine and T-bar rows.

GymPin Barbell Row Handle
Heavy-duty handle attachment for barbell, landmine and T-bar rows.


GymPin D Handle Bar
Multi-use steel D-handle bar for cable rows, pulldowns and other cable exercises.

GymPin Ergo Handles
Pair of ergonomic cable handles shaped for comfortable triceps and pulling exercises.

Angles 90 Grips
Flexible grip attachments that allow natural wrist movement during pulling exercises.

Trinity Lat Machine LSW-850
Weight-stack pulldown tower offering three cable directions and adjustable seated support.
Use elbow path and grip to guide the rep
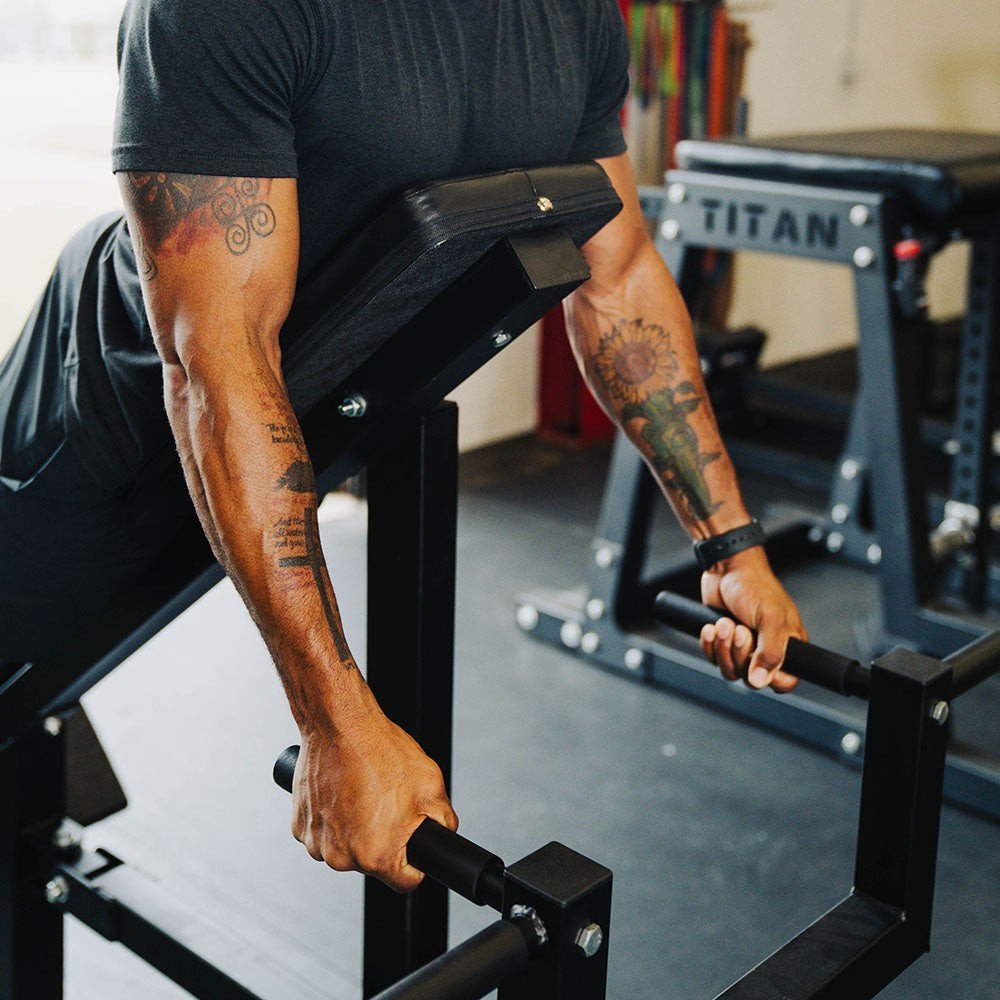
Start with a grip that lets your wrists stay comfortable. A close or neutral handle often makes it easier to keep the elbows nearer the ribs, while a wider, more flared path can shift the sensation toward the mid-back and rear shoulders. These are differences of emphasis, not switches that turn individual muscles on and off. Your torso angle, grip mechanics and your own shoulder mobility also change the result. Pick the version that feels solid before cycling through every available handle.
From the bottom, let your shoulders reach forward naturally without collapsing the chest off the pad. Initiate the pull by moving the upper arms back and drawing the handles toward the lower chest or upper abdomen as the machine allows. At the top, think about bringing the elbows behind the torso without exaggerating a spinal arch or driving the head forward. A brief controlled squeeze is useful; a forced over-pull that makes the chest pop off the pad is not.
Lower through the available range until the arms extend and the shoulder blades can move forward again. The negative should not be a drop onto the stops. A two-second lowering phase is a reasonable starting cue, but it is not a mandatory metronome. Keep pressure against the support from the first rep to the last. If one grip irritates your wrist or shoulder, try the other handle position, a lighter load, or a different row rather than assuming pain is the price of correct technique.
To compare grips fairly, alternate them across sessions rather than changing grip, weight and tempo all at once. Log the handle choice alongside your load and reps. The useful question is whether you can train the back hard with a stable, joint-friendly motion, not which handle produces the most dramatic pump in one set.
Fix the common mistakes and choose smart alternatives
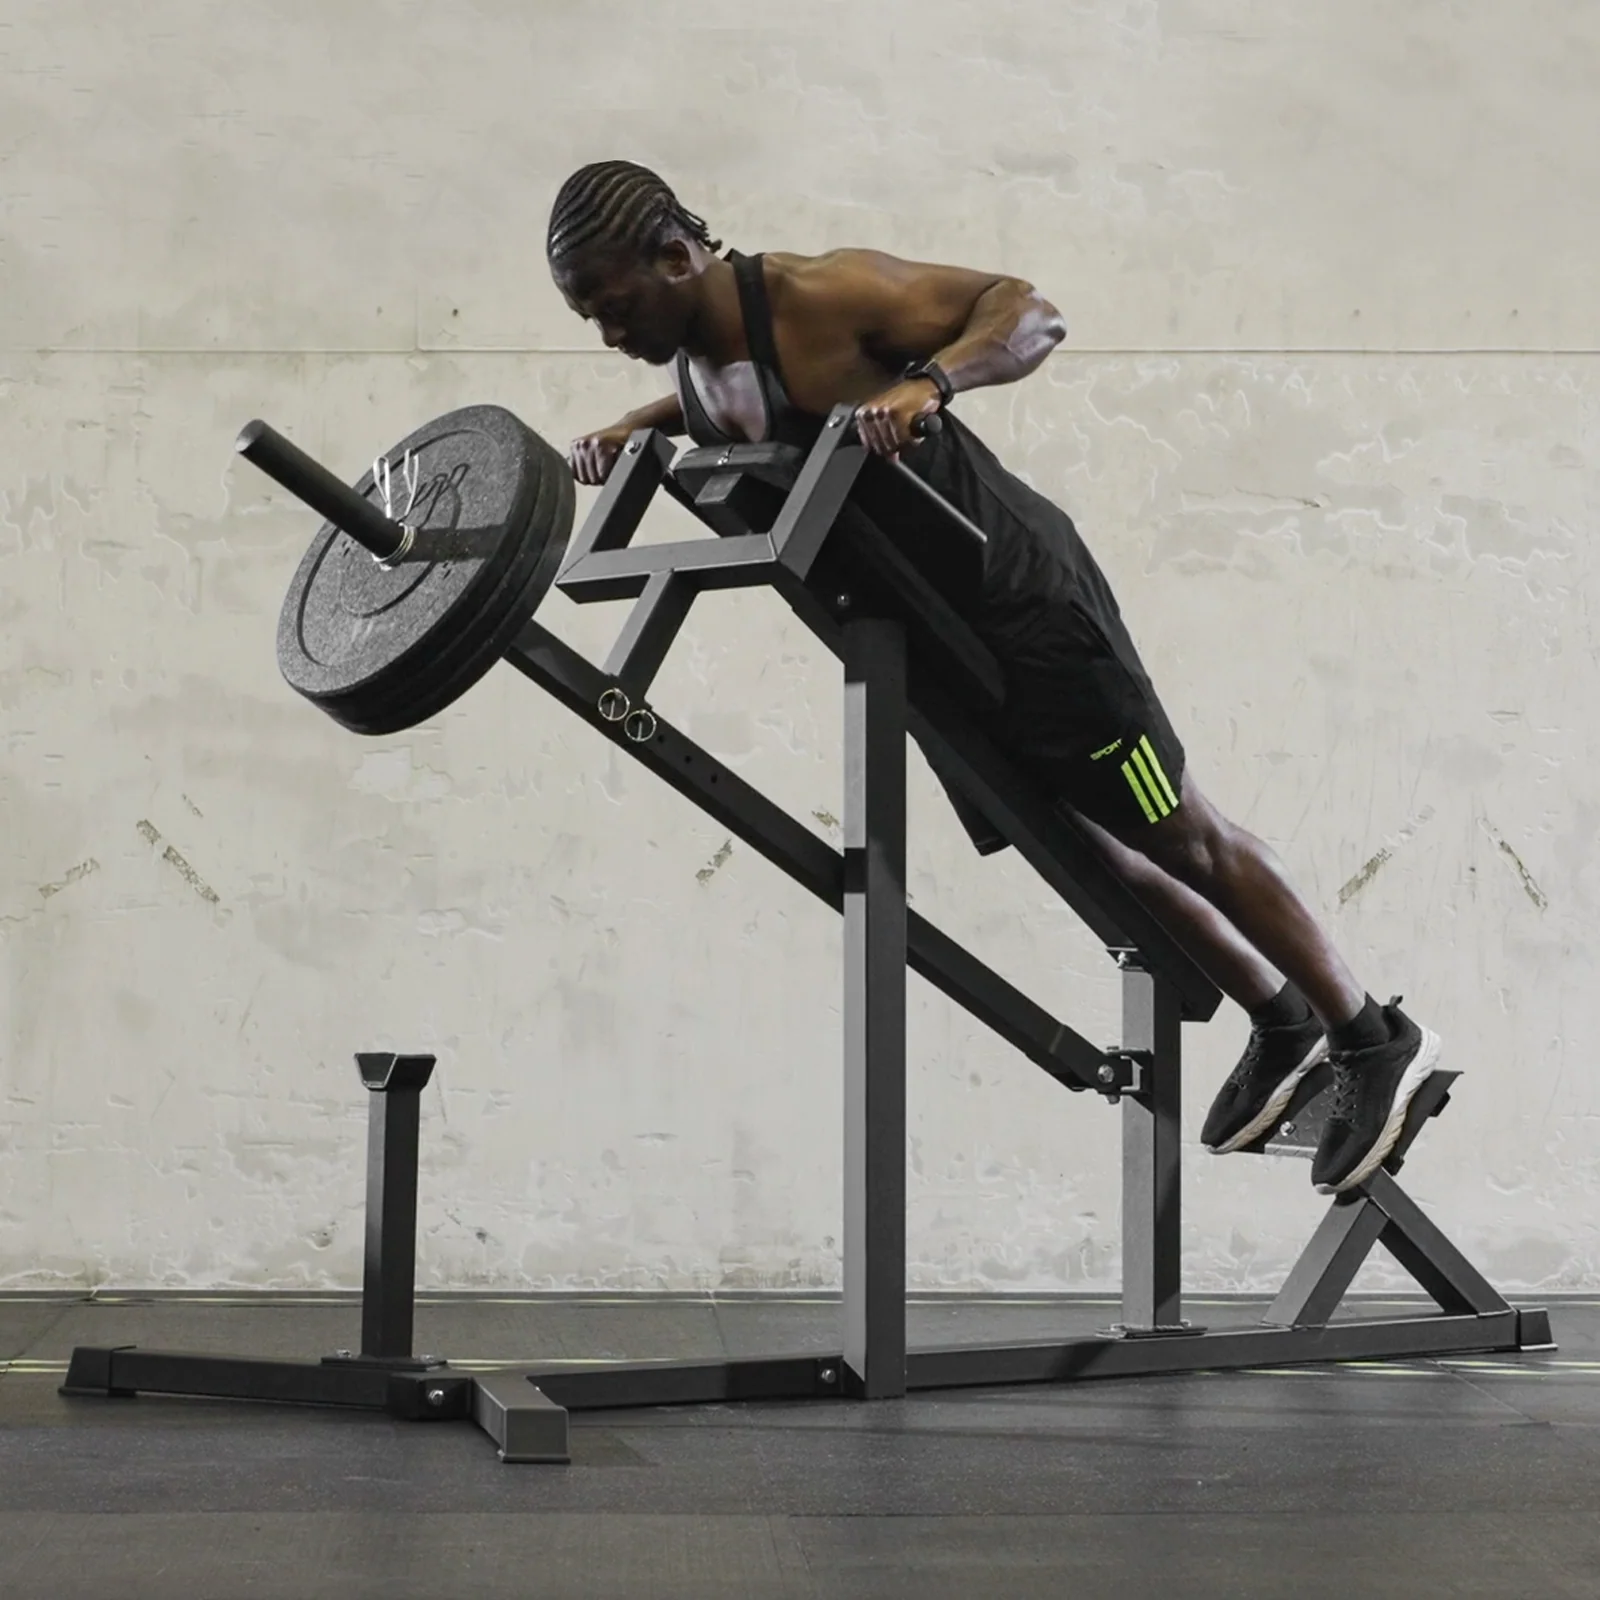
Several errors can make a chest-supported row look heavier without making it more productive. The most obvious is lifting the chest away from the pad to finish the pull. Next is cutting the eccentric short so the hands never travel forward into a controlled stretch. A third is turning the movement into a shrug, pulling the shoulders toward the ears as the elbows stop moving. Finally, some lifters accelerate the lever violently from the bottom, then let it slam down. All four make progression harder to interpret.
Use a diagnostic set: reduce the load, pause briefly at the top, lower deliberately and leave one or two clean repetitions in reserve. If the movement suddenly feels more difficult with much less weight, that is useful information. Resist the urge to add load back immediately. A limited but honest range is preferable to chasing a theoretical full range that forces painful shoulder positions. If the machine is poorly fitted to your body, use another exercise rather than fighting its geometry.
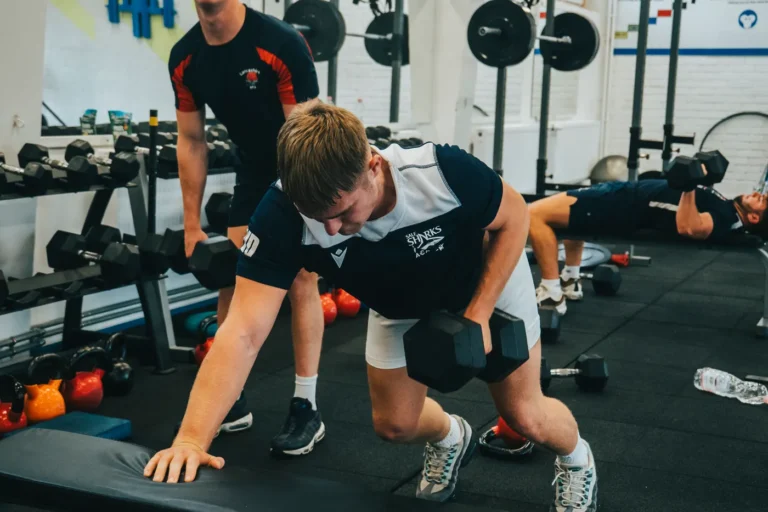
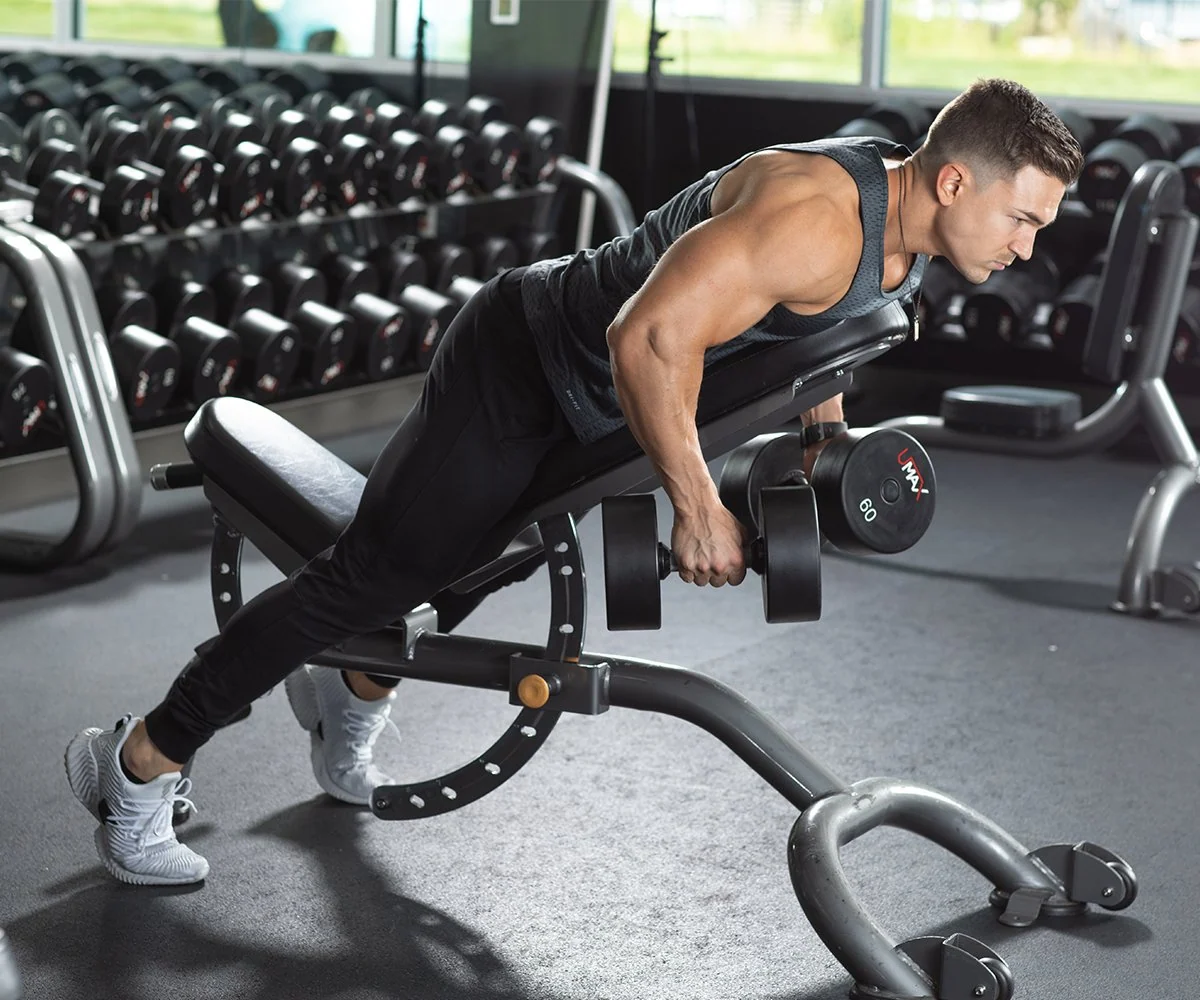
Alternatives depend on what you are trying to preserve. An incline-bench dumbbell row supports the torso and allows each arm its own path. A chest-supported cable or machine row may offer a different handle trajectory and resistance curve. A landmine T-bar row with a row handle keeps a similar pulling idea but requires more trunk support unless you add a suitable chest pad. A one-arm dumbbell row can be excellent when you need separate left-right work. None needs to be declared the universally superior substitute.
Build a six-week back progression with clean reps
For a straightforward six-week block, row once or twice weekly, depending on the rest of your back program. Keep the chosen grip, support height and range consistent for the block so progress is measurable. In weeks one and two, perform two or three sets of eight to twelve with roughly three good reps in reserve. Use these sessions to find a load that does not move your torso. Rest about two minutes between working sets, longer if your breathing or grip would otherwise limit the next set.
In weeks three and four, keep the movement quality and add repetitions within the same range. When every work set reaches twelve without jerking or losing the bottom position, make a modest plate increase and begin again near eight. Weeks five and six can add a third set if you began with two, or keep set count steady and work closer to one or two reps in reserve. Do not increase weight and total sets aggressively together. A small, repeatable improvement is a better training result than a large but sloppy number.
Place the row near the start of a back session when thicker upper-back work is a priority. Pair it with a vertical pull such as a pulldown or pull-up, then decide whether you need additional rear-delt or lower-trap work. If your week already includes plenty of heavy hinges and rows, two well-executed supported sets may be more useful than a marathon of overlapping exercises. If you lack a machine, repeat the same progression with an incline-bench dumbbell row and record each dumbbell’s weight separately.
Practical takeaway: Set the support for your body, let the elbows travel instead of swinging the torso, and progress only the repetitions you can reproduce. A chest-supported T-bar row earns its place by making back work clear, measurable and repeatable.
Equipment Worth Exploring
Explore equipment, accessories and gear from our carefully selected range.

Lat Pulldown Set
Multi-grip cable attachment set for pulldowns, rows, and varied upper-body training.

48in Aluminum Lat Bar
48-inch aluminum lat pulldown bar with knurled grip and rotating center swivel.


FID Bench MAX
Adjustable bench offering flat, incline, and decline positions + adjustable headrest.

Multi Bench MBX-650 2.0
Adjustable multi-bench with roller adjustment, 15 backrest positions and accessory mounts.

Rubber Hex Dumbbells
Rubber-coated hex dumbbell pairs with a stable shape for home and commercial strength training.


Grip Plates
Rubber-coated weight plates with handholds for loading barbells and machines.

Competition Plates
Competition-style bumper plates for Olympic lifts and loaded strength training.

VForce Lat Tower
Wall-mounted cable tower with pivot arms and adjustable 1:1 or 2:1 pulley ratios.

Bodybuilding Shirts & Workout Gear
Bodybuilding shirts, tanks and gym gear for lifters chasing muscle, size, symmetry and the pump.

Black Panther Big Back Hero – & Meme Fans T-Shirt
Make gym days more fun with “Black Panther Big Back Gym Hero” style.

Funny Yoda Gym | Train Back You Must Bodybuilding Meme T-Shirt
Bring “Funny Yoda Gym” humor to your everyday gym style.

Wide Privilege – Wide Back Meme Decal for Water Bottles Sticker
A fun “Wide Privilege” touch for bottles, laptops, and lockers.

Back Sabbath Back Day Heavy Metal Back Training Workout Tank Top
Train hard, laugh a little, and rep “Back Sabbath Back Day”.

Big Back SpongeBob Bodybuilders Back Day Hooded Hoodie
Make your off-duty look more fun with “Big Back”.

Demon Back Big Back Decal Weight Plates & Water Sticker
Bring “Demon Back” attitude to your water bottle or laptop.

Lat Man Big Back – Decal With Huge Lats – Meme Back Sticker
Bring “Lat Man Big Back” attitude to your water bottle or laptop.

Strong Back Bodybuilder | Meme Sweater | The Simpsons W T-Shirt
Keep things casual with a little “Strong Back Bodybuilder” attitude.

Gym Dost Thou Even Pull Medieval Knight Back Day Muscle Tank Top
Bring “Dost Thou Even Pull Medieval Knight Back” humor to your next lifting session.

Nice Traps Big Back Tee
Heavy lifts, good laughs, and a little “Nice Traps Big Back” energy.
Some equipment links on this page may earn a commission for the site. Training recommendations are based on the exercise, not commissions.