Advertising disclosure: This page includes affiliate product links that may earn us a commission, as well as products from our own store.
Archer Push-Ups: Shift Your Chest, Keep Your Hips Quiet and Build One-Arm Strength
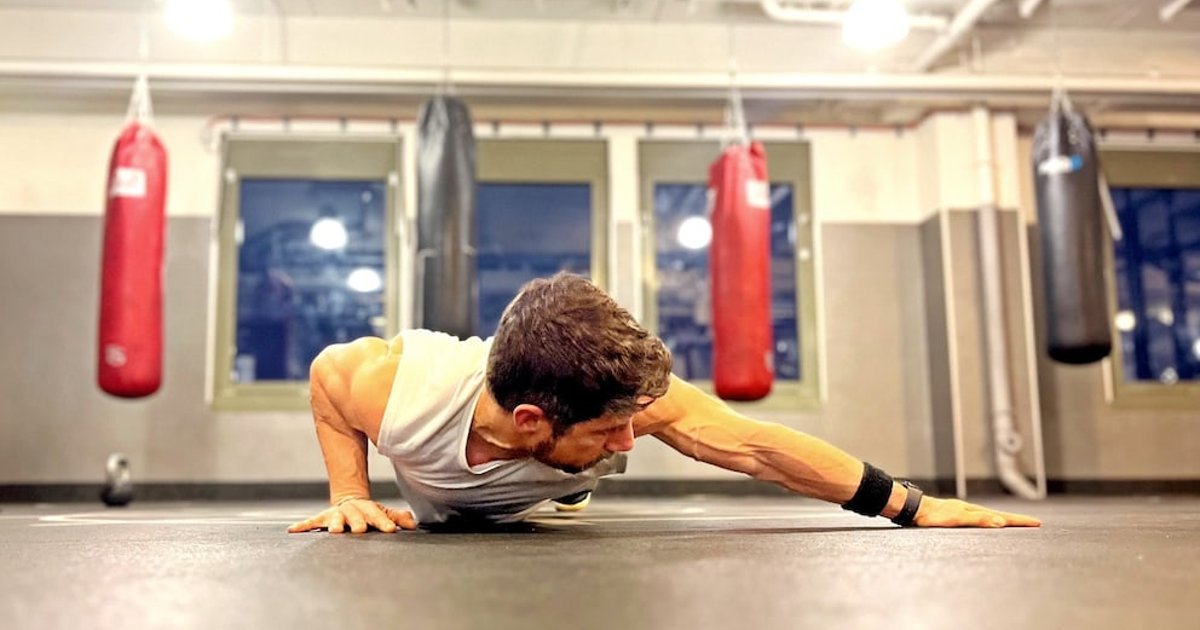
An archer push-up looks like an ordinary press-up stretched sideways: one arm bends under the chest while the other reaches long across the floor. The impressive part is not how far the arm extends. It is whether the working side can take more load without the trunk twisting to escape it.
Done well, archers develop one-sided pressing control and provide a useful step toward harder bodyweight skills. Done poorly, they become wide push-ups with wobbly hips and inconsistent depth. Here is a precise way to set the hands, steer the chest, choose a suitable regression and progress without guessing.
1. What an archer push-up actually loads
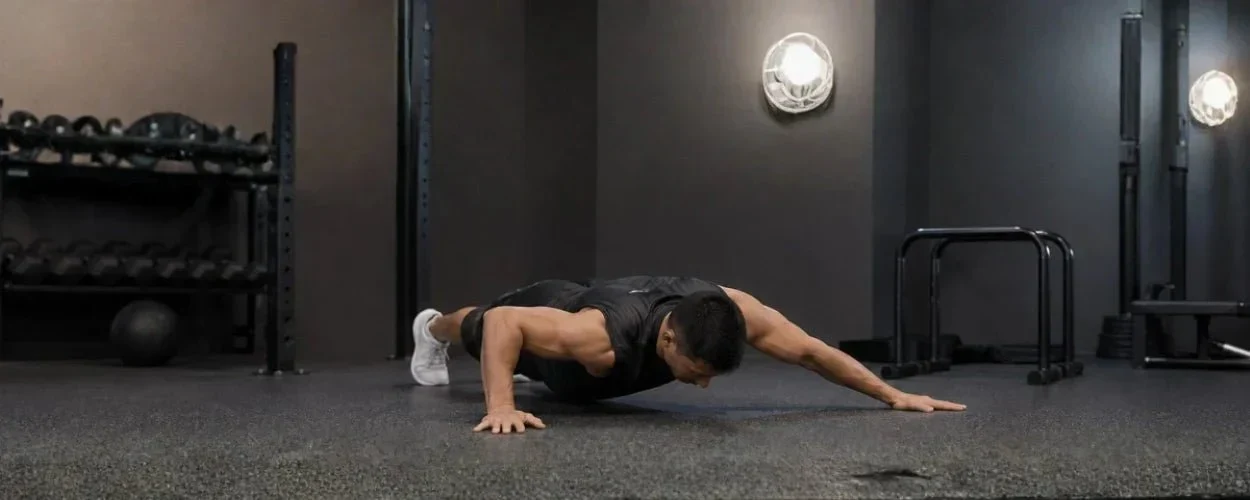
An archer push-up is not simply a wide-grip push-up with a dramatic arm position. The chest moves toward one hand as that elbow bends, while the other arm travels outward and stays relatively straight. That shift places more of the work on the bent-arm side. The assisting arm still contacts the floor, so it is a bridge toward single-arm pressing rather than a true one-arm push-up. How much assistance it provides depends on your width, range and position.
The main engines are the pectoralis major and triceps of the pressing side. Your front deltoid contributes to controlling the shoulder, your serratus anterior helps the shoulder blade move around the rib cage, and the trunk resists twisting as the support shifts. You do not need to invent a completely different chest muscle to justify the exercise. The difficult part is applying a larger share of your bodyweight through one arm while keeping the rest of the body organized.
The word unilateral can be misleading here. Both palms can apply force, and neither arm is completely passive. You can change the difficulty substantially without adding a plate: make the shift smaller, reduce the depth or use a higher surface. Conversely, reaching farther over the working hand and reducing help from the distant palm makes the repetition harder. That adjustment should be intentional, not a side effect of collapsing.
Think of the movement as a strength skill with a hypertrophy benefit, not as a proven magic chest builder. There is no good reason to promise that it grows the chest faster than every dumbbell or barbell press. Its practical advantage is the large range of bodyweight pressing challenges you can create on a floor with little or no equipment.
2. Find the right width before you shift
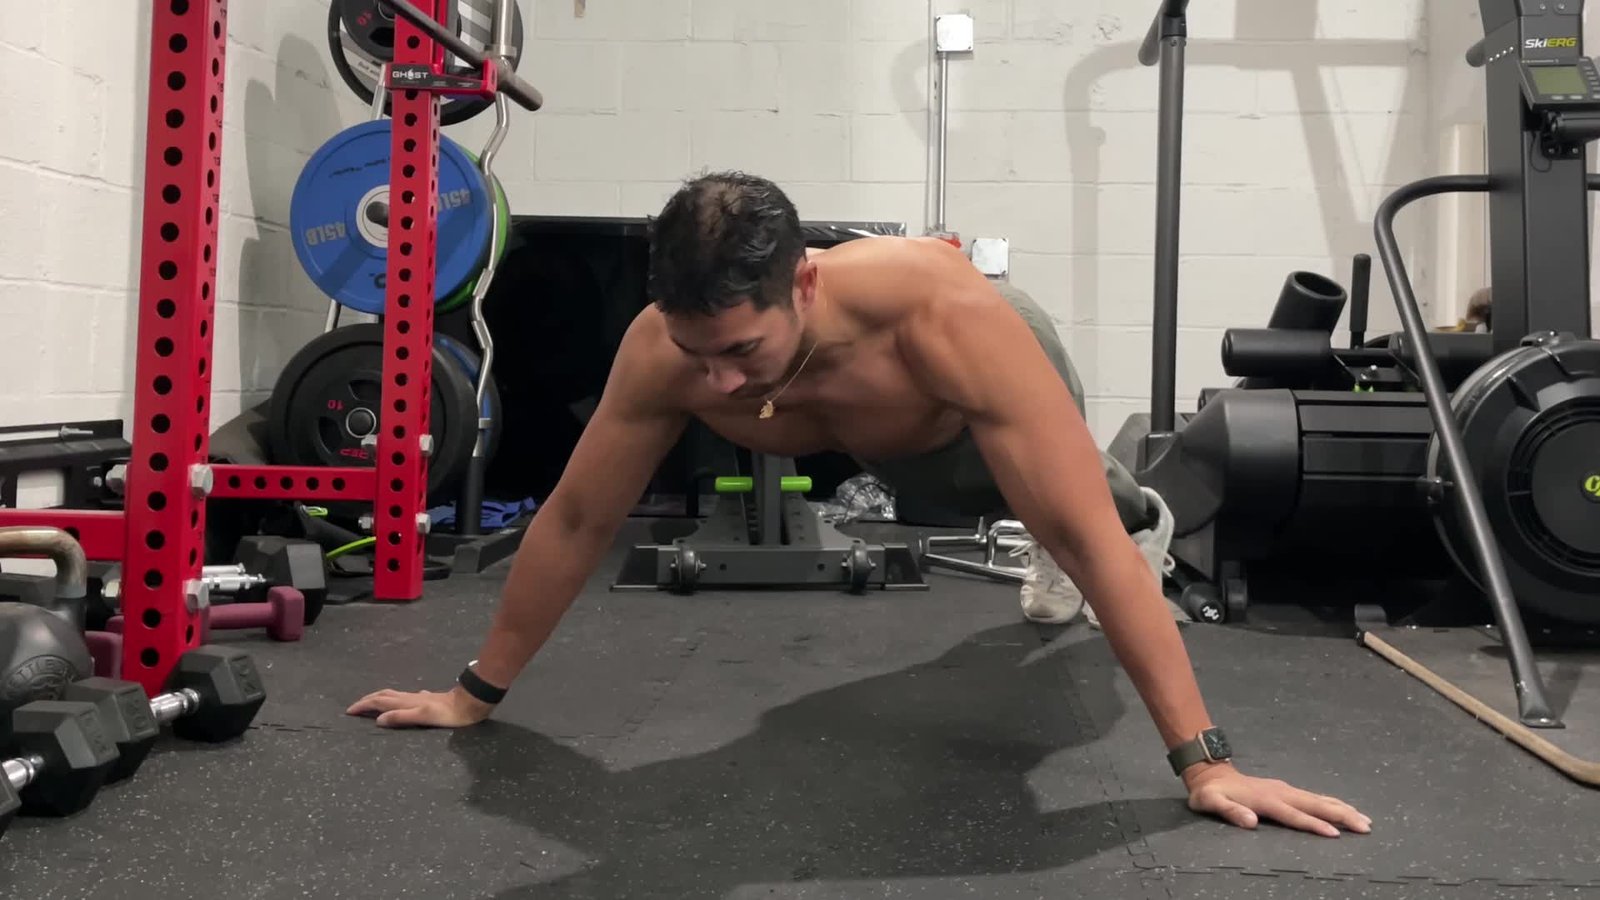
Begin in a straight-arm plank with the hands wider than your normal push-up width and the feet set far enough apart to give you balance. There is no single hand spacing that fits every shoulder and arm length. Choose a distance that lets your chest travel toward one hand while the other elbow approaches straight, without forcing a painful shoulder stretch. Test a few unloaded shifts at the top before attempting your first full descent.
Spread your fingers and press through the full palm rather than tipping onto the outer edge of the wrist. Point the hands generally forward or turn them slightly outward if that feels more comfortable. Keep shoulders away from your ears and let the shoulder blades move naturally; do not try to pin them rigidly together for the entire rep. Before lowering, exhale gently, tighten your abdomen and keep a straight line through ribs, pelvis and heels.
A wide foot stance makes it easier to resist rolling. Narrowing the feet can be a future progression, but it is a poor first test if the hips already twist. The legs should travel with the torso as one unit, not drag behind while the chest shifts. Video yourself from the front and slightly above: the easiest quality check is whether the hips stay approximately square and the chest genuinely travels toward the working hand.
Use a firm, nonslip surface. A slippery mat, moving hands or an unstable box turns the exercise into an unnecessary balance problem. If the palms dislike deep wrist extension, two securely planted parallettes with suitable grip height can provide a more neutral wrist; their bases must remain stable as weight moves sideways. The default floor version remains completely equipment-free.

Calisthenics Shirts & Street Workout Gear
Calisthenics and bodyweight-training gear for pull-ups, dips, handstands and street-workout athletes.


Shirt – Calisthenics Heartbeat Gymbros & Meme Lovers T-Shirt
Bring “Calisthenics Heartbeat” humor to your next gym day.

Turn Off Gravity Funny Calisthenics Gym Hooded for Huma Hoodie
Show off your lifting humor in a laid-back “Turn Off Gravity Funny Calisthenics” hoodie.

Stronger Than Excuses Tank
Show some personality between sets with “Be Stronger Than Your Excuses”.

Funny Calisthenics Gym Hooded Pullover for Bodyweight L Hoodie
Bring “Calisthenics” gym humor to lazy days and post-workout plans.

Human Flag Calisthenics Decal Workout for Water Bottles Sticker
A fun “Human Flag” touch for bottles, laptops, and lockers.

Funny Calisthenics Gym Muscle Shirt Athletic Vest for B Tank Top
Your gym-day look, with a playful “Calisthenics” twist.

Calisthenics Evolution Sticker
Stick a little “Calisthenics Evolution” humor on your favorite gear.

Funny Calisthenics Gym Decal for Water Bottles Laptops Sticker
Bring “Calisthenics” attitude to your water bottle or laptop.
3. Lower toward the working hand without rotating
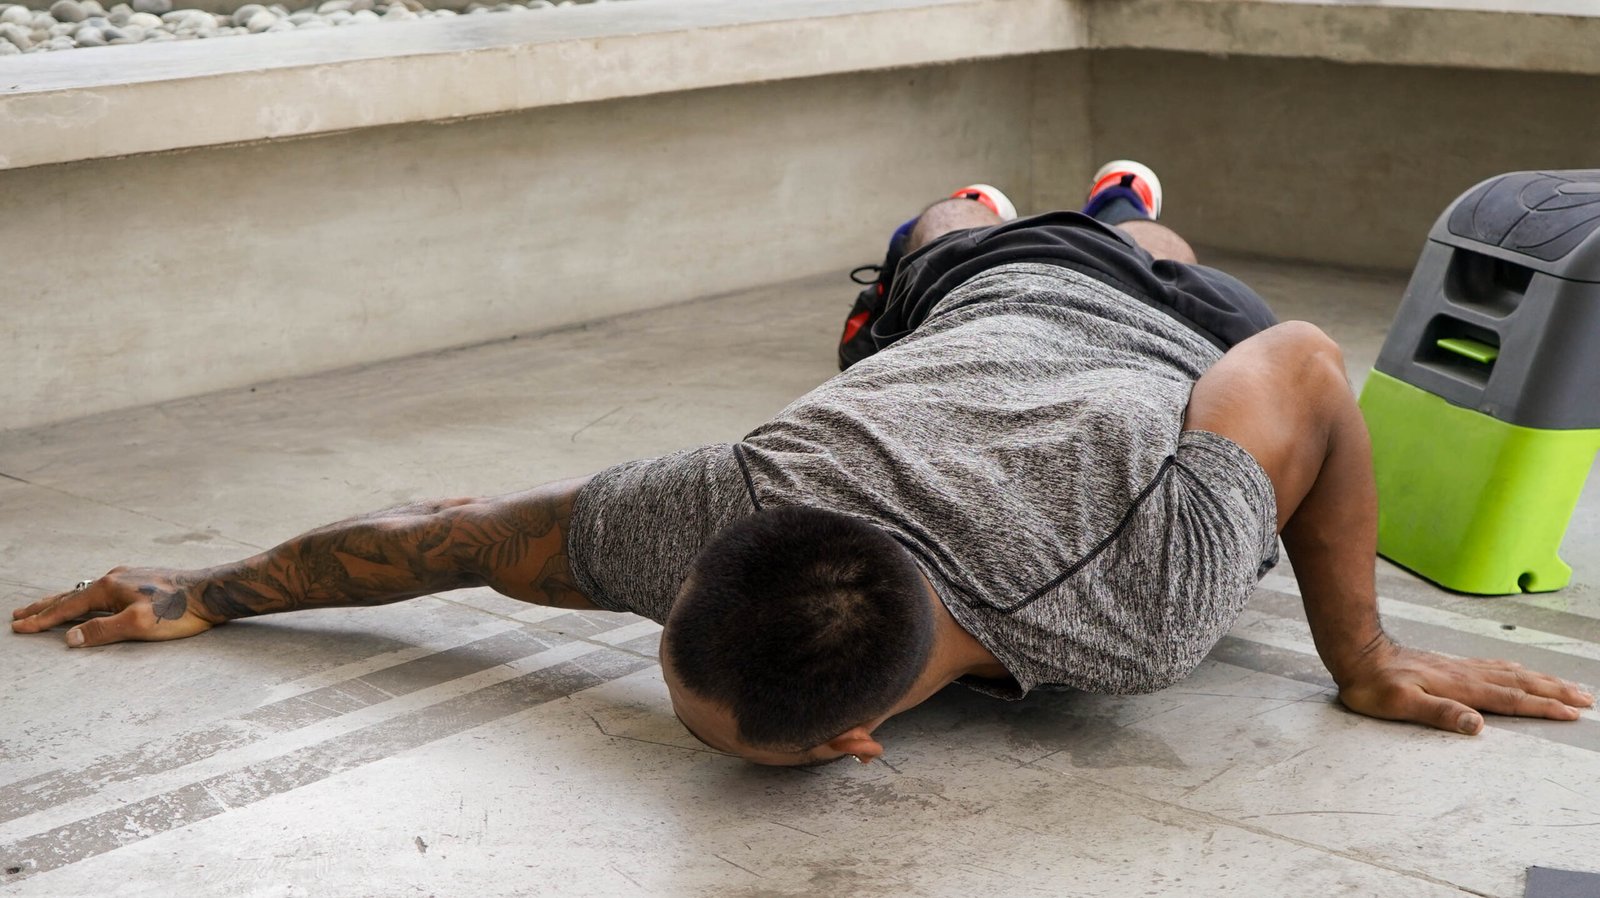
From the wide plank, begin bending the right elbow while shifting your breastbone toward your right palm. The left arm extends along the floor, serving as a support rather than doing an equal press. Lower in a controlled two- to three-second motion. Your head follows the torso, and the working elbow can angle diagonally back instead of flaring into a rigid ninety-degree line. Stop at the lowest position your shoulder can tolerate without pain or a twisting escape.
At the bottom, your working forearm should be reasonably stable under the body rather than the elbow shooting far behind or the wrist folding under pressure. The supporting arm need not be locked aggressively. The useful cue is to keep it long while allowing enough bend to protect the joint and maintain control. Do not try to force a textbook photograph if your own shoulder geometry disagrees.
Drive the working palm into the floor to press up, bringing your torso back toward the middle before switching sides. You can alternate left and right every rep, or finish one side and then the other. Alternating often makes fatigue easier to compare because neither side accumulates an entire set before the other starts. Either method works if the range, body angle and assistance stay comparable.
Three common cheats tell you the progression is too ambitious. First, the hips roll toward the working side while the chest hardly moves. Second, the torso drops between both hands as if performing an ordinary wide push-up. Third, you bounce off the bottom and lurch across to the other side. Fix all three by shortening the shift, raising the hands or doing fewer quality reps. A slightly smaller honest movement is more valuable than a large uncontrolled one.
4. Use the easiest variation that still trains the pattern
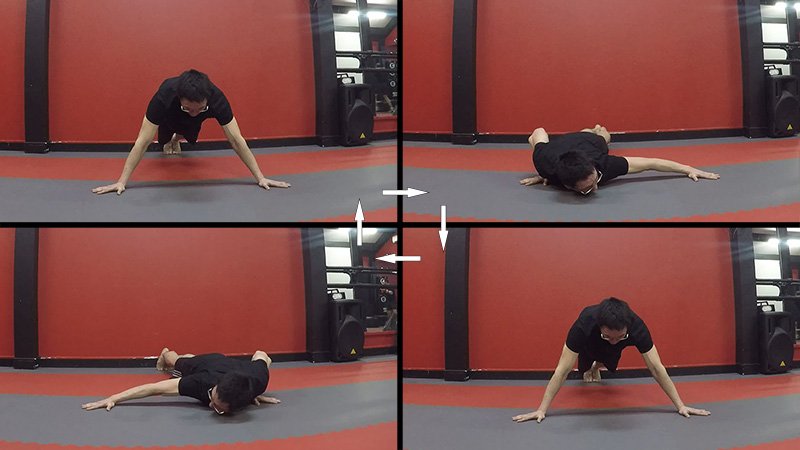
If you cannot complete three controlled archer reps on each side, do not keep failing at the floor version. Start with hands on a rigid bench or a secured bar at a height that reduces the load. Confirm that it will not slide or tip. Shift the chest over one hand, keep the opposite arm longer, and descend only as far as you can stay square. Raise the surface further if the working shoulder or elbow cannot manage the weight.
Another option is a smaller lateral shift while staying on the floor. Treat the movement like a wide push-up with a deliberate bias toward one side. As the repetitions improve, move the breastbone progressively closer to that hand. This gives you a clear progression variable without making the rep slower and slower merely to look difficult. A knee-supported archer can help too, although it changes the leverage and should be tracked as its own version.
Before either version, earn a basic pressing foundation. If ordinary push-ups are still a maximum-effort grind, build repeatable sets of standard or incline push-ups. Add controlled lowering and a brief pause before trying a wide position. You do not need a sacred number of standard reps to qualify; look for a stable torso, symmetrical elbow control and enough reserve to concentrate on positioning rather than survival.
If one arm is noticeably weaker, start each set on that side and match its honest repetitions with the stronger side. Do not chase the weaker side into painful depth. Small asymmetries are normal, and unilateral variations can reveal them, but an archer rep is not a diagnostic test for muscle imbalances or shoulder injury. If you have persistent joint pain, numbness or an unstable-feeling shoulder, choose a comfortable press and get appropriate individual guidance.
5. Rings, handles and added weight: which tools actually help?
Parallettes can change wrist position and give some extra clearance, but they do not automatically improve the archer pattern. If the handles are narrow, tall or prone to shifting, the sideways transfer may become more difficult to control than a floor rep. Check that both stands are stable and equally placed, and start with shallow shifts. A fixed pair of low, broad-handled bars can be preferable to improvising supports with loose dumbbells.
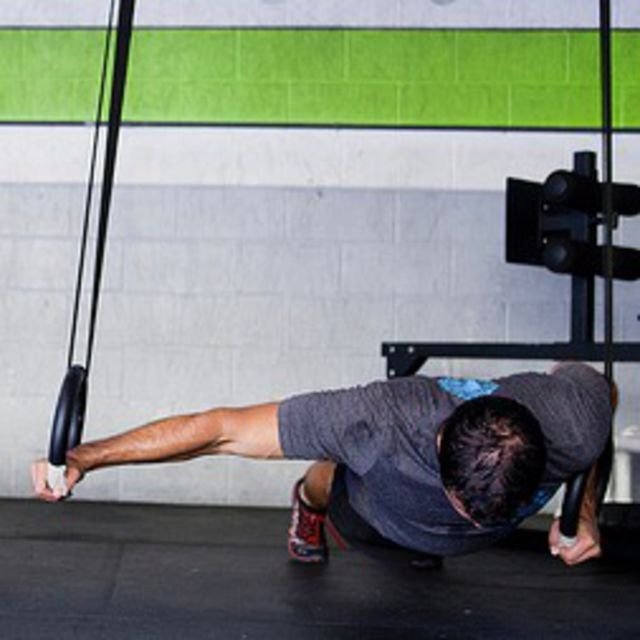
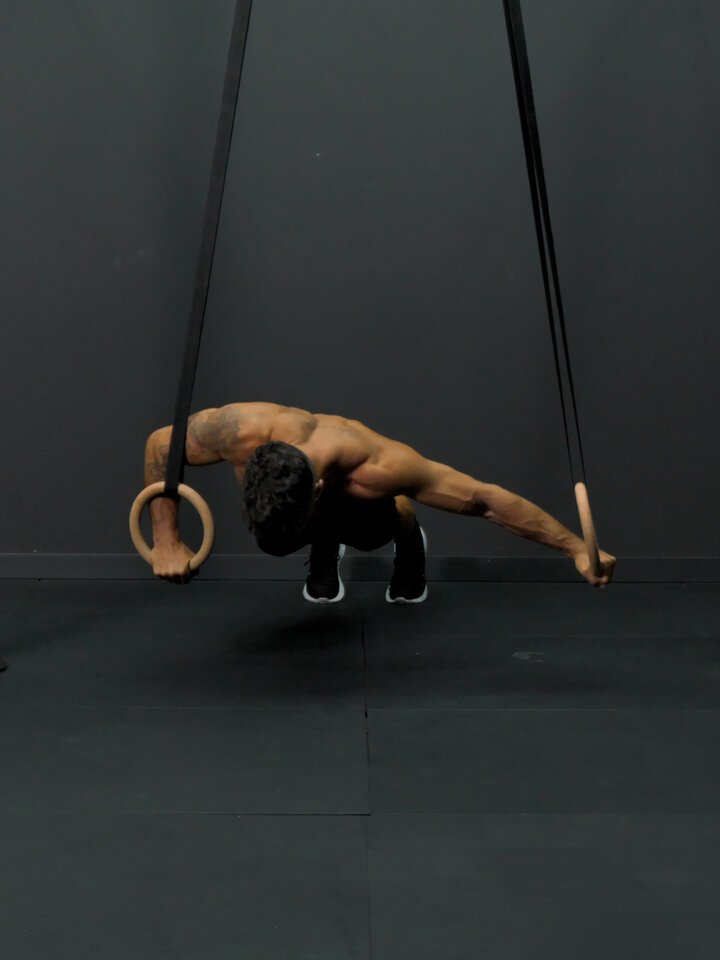
Gymnastic rings create a different challenge. They move independently, so the extended arm must resist the ring drifting away while the working side presses. Ring archers therefore usually demand substantially more shoulder stability and control than a corresponding floor version. Begin with rings high enough that your body is angled, perform simple ring push-ups first, and use modest lateral shifts. Never assume that the same rep count on the floor transfers directly to suspended rings.
A weight vest is not the first progression to buy. If your chest is failing to shift over the working palm, added bodyweight will usually reinforce the same mistake. First build controlled reps, then improve depth and leverage. When archer sets become comfortably repeatable, a well-secured vest may add resistance while preserving hand placement. Log vest weight separately from bodyweight and keep enough rep reserve to finish both sides with matching control.
Archer push-ups can sit alongside conventional chest pressing rather than replacing every press. A dumbbell or machine press makes it simpler to measure external load, while the archer emphasizes asymmetric coordination and trunk stiffness. Some lifters will prefer rings or a bench for variety, but none is mandatory. Buy an attachment because it solves a genuine training or comfort problem, not because a floor exercise suddenly needs an expensive setup.

Equipment Worth Exploring
Explore equipment, accessories and gear from our carefully selected range.


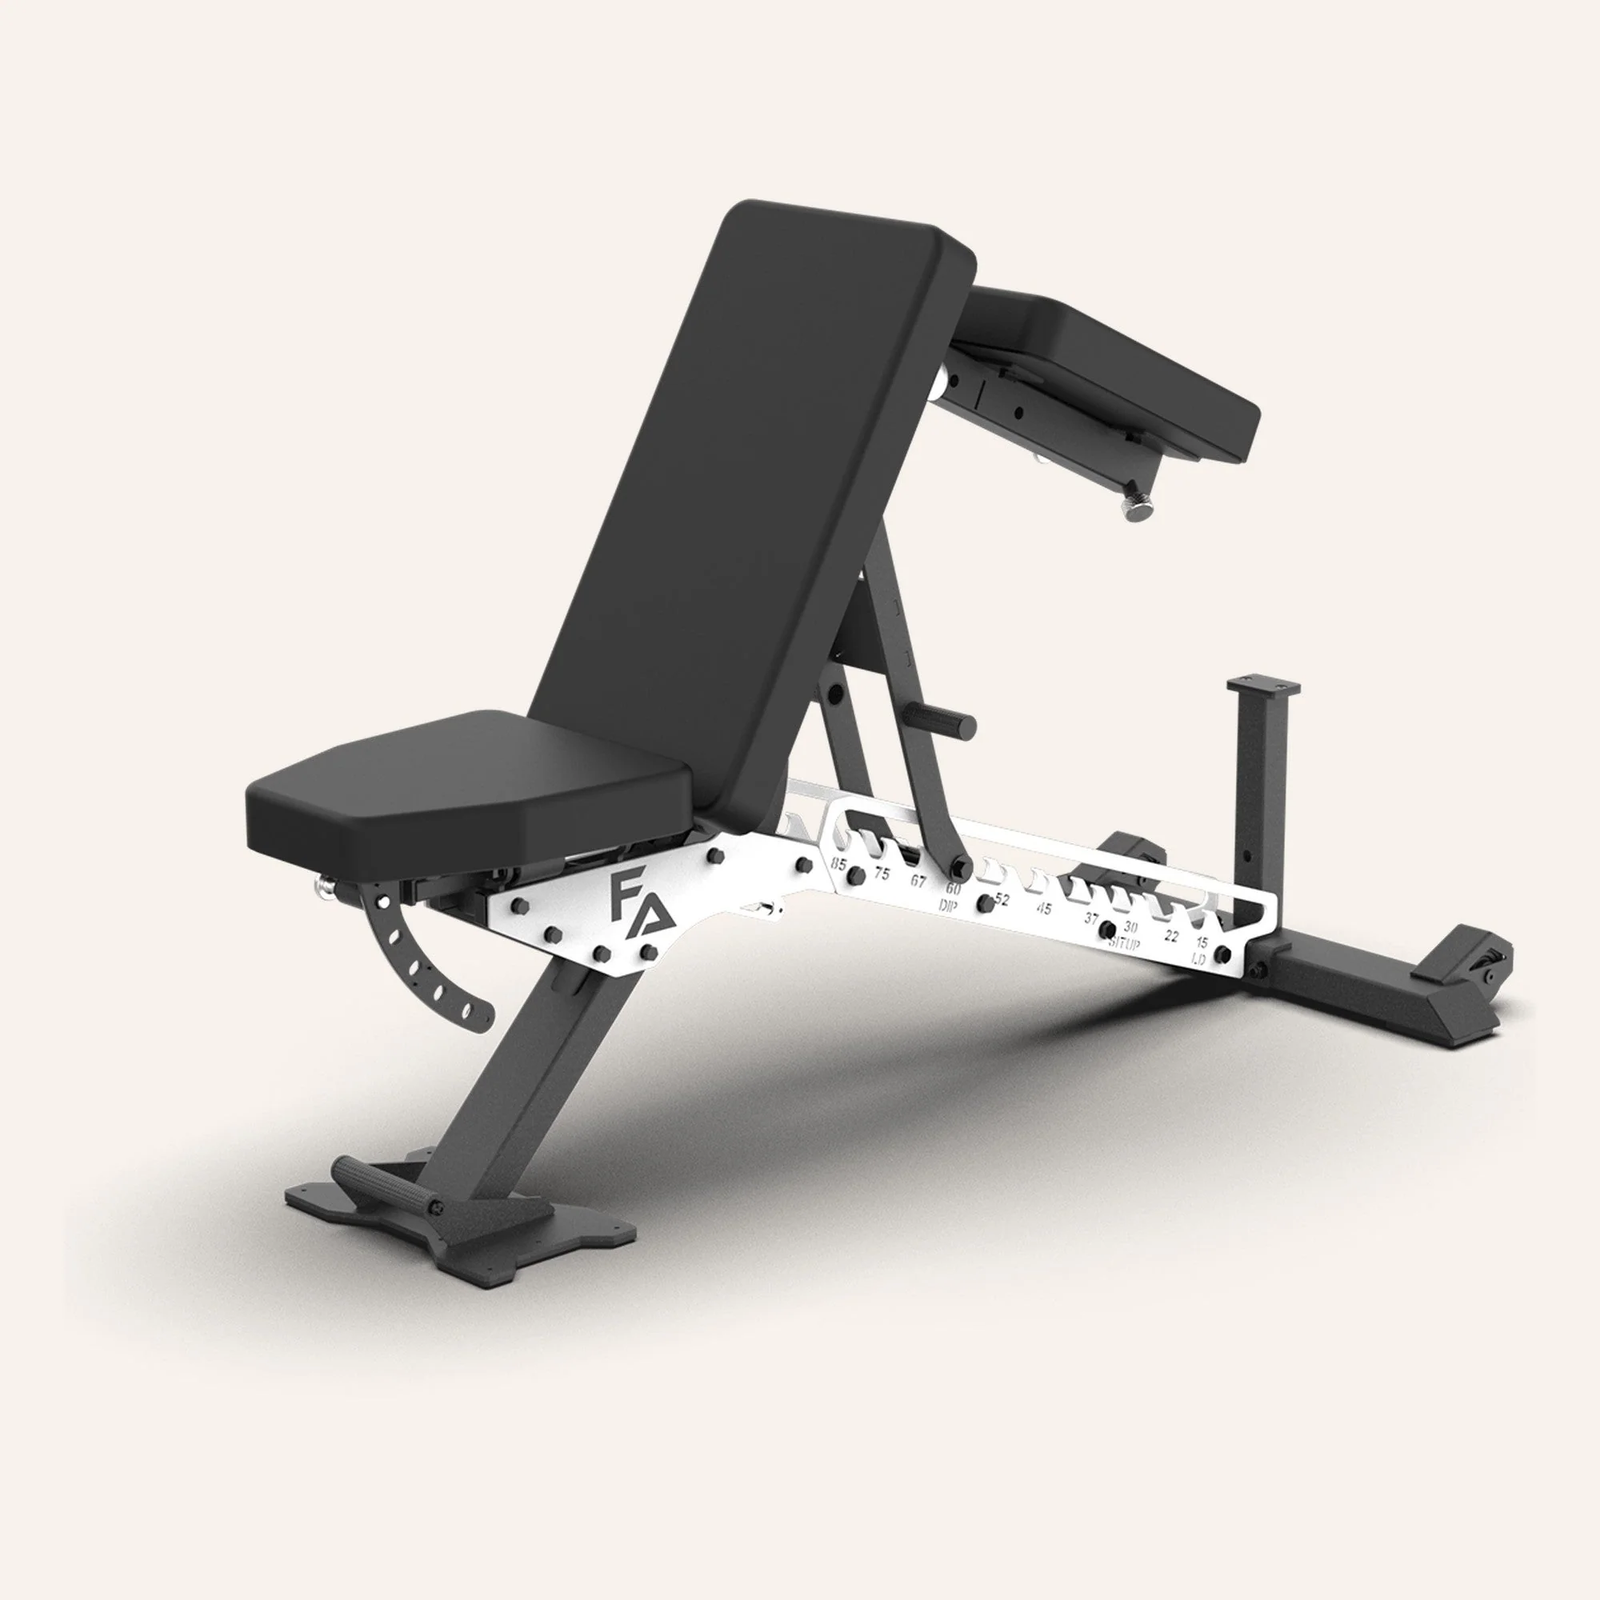


FID Bench MAX
Adjustable bench offering flat, incline, and decline positions + adjustable headrest.

Power Tower
Freestanding pull-up and dip station with adjustable handles for bodyweight training.

Foldable Wall Rack
Wall-mounted folding squat rack designed to save floor space between workouts.


Multi Bench MBX-650 2.0
Adjustable multi-bench with roller adjustment, 15 backrest positions and accessory mounts.
6. A four-week progression you can actually compare
Train the archer pattern twice a week after a general warm-up and a few easy standard push-ups. Use at least a day of recovery between demanding upper-body sessions. Start at an incline or with a small floor shift that allows four to six controlled repetitions per side while leaving roughly two good reps in reserve. Rest about ninety seconds to two minutes between sets, longer if your breathing and shoulder position have not recovered. This is a practical starting template, not a tested optimal prescription.
Week 1: Complete two sets per side of four to six reps, using the same surface height, hand width and depth at both sessions. Video one short set so you can see whether your pelvis rotates or your assisting elbow bends excessively. Do not count a crooked last repetition just to hit the planned number. If one side reaches only four clean reps, cap the other at four.
Week 2: Keep the same geometry and add one clean rep per side where possible. If both sessions are comfortable, add a third set only if quality holds and your other pressing work is not already excessive. Week 3: Progress one variable, not three: lower the incline a small amount or shift a little farther toward the bending arm. Return to the low end of the rep range. Stay with the easier version if the shoulders rotate or the hands slide.
Week 4: Try to bring the new leverage up to five or six equal-quality reps per side, then evaluate the record. If you cannot progress without twisting, repeat the previous week’s setting. If you can make eight clean reps with significant reserve, consider a more demanding shift or a low handle setup before extra weight. This four-week cycle is about owning the movement, not guaranteeing one-arm push-ups on a deadline.
Keep a simple log: surface height, hand spacing, foot width, reps left and right, controlled depth, and whether you stayed level. Those details matter more than calling a rep advanced. Follow your archer work with a rowing or pulling movement and the rest of your normal program; concentrated horizontal pressing should not crowd out balanced shoulder and back training.