Advertising disclosure: This page includes affiliate product links that may earn us a commission, as well as products from our own store.
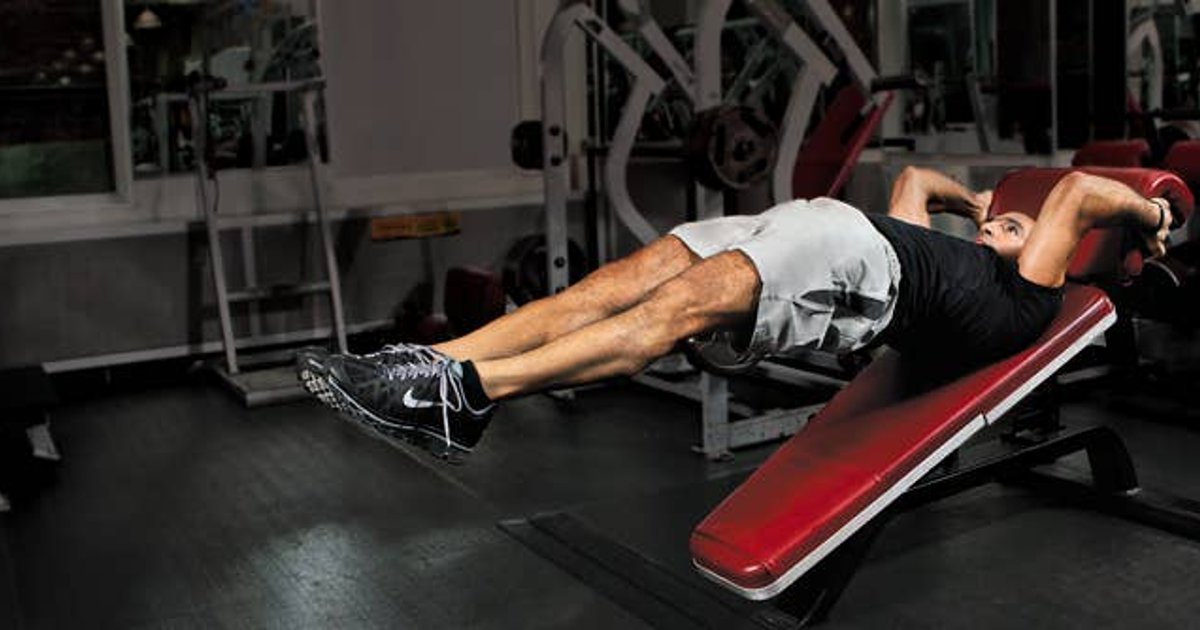
The dragon flag is one of those advanced core exercises that makes a strong lifter feel like a beginner. On a bench, the athlete appears to float with only the upper back supported. The challenging part is not getting the feet into the air. It is lowering the whole body without folding at the hips, arching the lower back or dragging the neck into the job.
You do not need to force a full straight-leg rep to train it productively. A stable bench, a genuinely secure handhold and an honest progression from tuck to long lever matter more than a dramatic final position. Here is a practical way to learn the skill while preserving the quality of your regular lifting.
1. The dragon flag is a whole-body anti-extension challenge
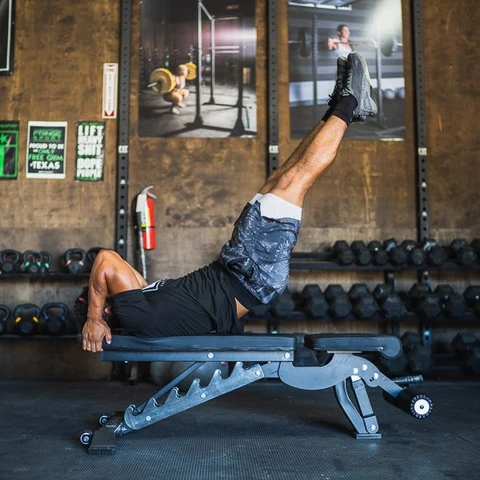
A dragon flag is not simply a lying leg raise performed with more confidence. You grip a fixed anchor behind your head, raise the torso and legs together, and lower them as one long lever while the upper back stays supported. The visible six-pack gets the attention, but the task requires coordinated tension from the abdominals, obliques, hip muscles, glutes and the upper-body muscles pulling against the anchor. It is hard because several joints must resist changing shape while gravity tries to pull the legs down.
The most important distinction is between moving the legs and controlling the body’s entire line. A traditional reverse crunch lets the pelvis roll up and down, which is useful core training in its own right. A clean straight-leg dragon flag keeps the shoulders-to-ankles position much more rigid. If the hips fold sharply during the descent, the movement becomes a different, shorter-lever variation. That can be a legitimate regression, but it should not be counted as a full straight-body repetition.
Think of the exercise as resisting spinal extension under an increasing lever demand. When your body is close to vertical, gravity produces a smaller rotational demand around the upper-back contact point. Near horizontal, that demand becomes much harder to counter. This explains why a lifter can look excellent at the top and still lose control in the final third. A deliberate partial lowering with a stable shape is a better training result than touching the bench after the trunk has sagged.
Before training it, ask a practical question: can you brace strongly in simpler movements, like dead bugs, hollow-body holds or controlled reverse crunches, without your rib cage flaring and low back extending? These are useful readiness signals, not mandatory universal tests. The dragon flag is a skill-strength exercise, not a compulsory benchmark for abdominal development.
2. Build an anchor that cannot move or tip
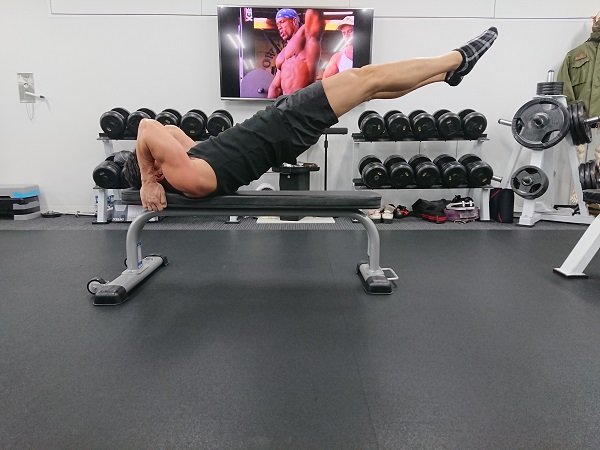
Equipment setup is the easiest place to underestimate the risk. A sturdy flat bench with a firm frame or fixed handles can work, but a light portable bench may move or tip when you pull hard behind your head. Test the anchor before you lift: grip the bench close to its head end, pull firmly while your body remains on the surface, and confirm nothing rises, slides or rotates. Do not assume a barbell, loose kettlebell or nearby furniture is fixed merely because it looks heavy.
Lie lengthwise with the head near the safe gripping point. Reach behind your head to hold a secure part of the frame, keeping hands comfortably spaced and shoulders able to work. Keep the contact around the upper back and back of the shoulders; the neck is not meant to be the pivot. Do not force your weight onto the back of your head, clamp your chin aggressively or wedge yourself against a hard edge. Choose a bench surface that lets you stay supported without slipping.
The setup should feel symmetrical. If one hand is pulling more strongly or one shoulder sits off-center, the body may twist even before the legs lower. Start with bent knees and a modest pelvic lift to test the position. Brace the ribs down and keep the elbows from flaring uncontrollably. A hard overhead grip is an anchor for the torso, not a license to yank on the neck.
Adjustable benches require extra care: confirm the back pad is locked, the legs are stable and the angle will not change under traction. A small pad can be useful for general comfort, but it must not shift the fulcrum to the neck. Where there is no truly secure anchor, practice floor-based hollow holds and reverse crunches rather than improvising a risky dragon-flag station.
3. Earn the long lever: tuck, open tuck, one leg, then straight
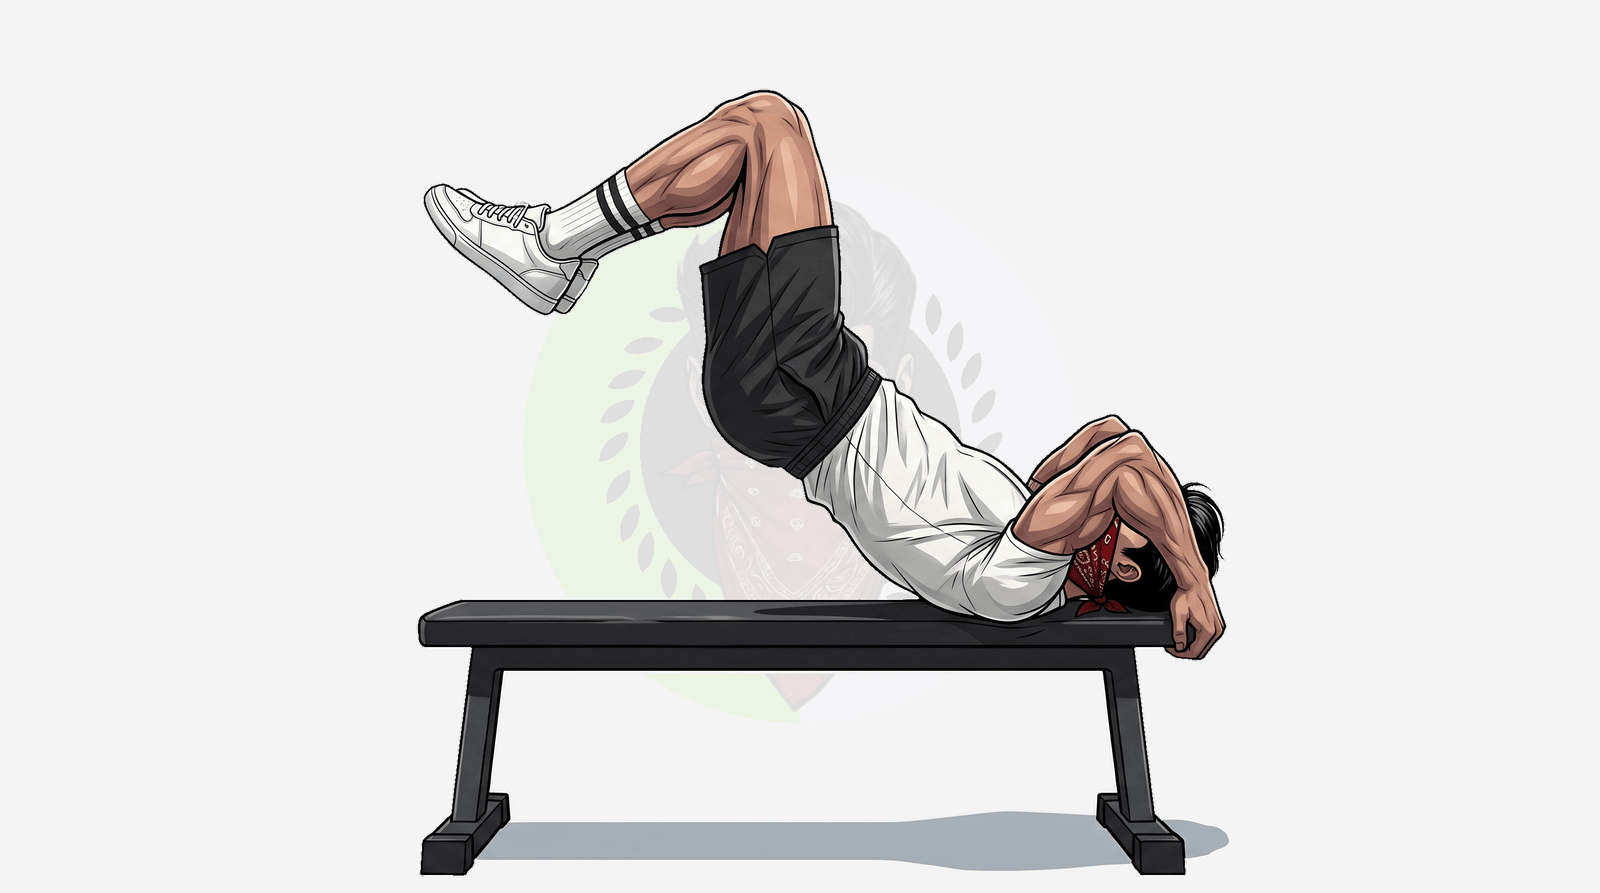
A progression should change the load enough to make excellent repetitions possible. Start with a tucked dragon flag: knees bent toward the chest, pelvis raised, and the upper back supported. Lower only as far as you can maintain control before resetting. The shortened lever makes the descent more manageable and teaches the important movement pattern: the trunk leads and the hips stay braced.
Next, use an open tuck. Move the knees farther from the chest while keeping them bent. This small change can make a surprisingly large difference. Progress to an uneven lever by extending one leg and keeping the other bent, alternating the long leg across sets. A wide straddle is another option for lifters who can hold a long torso position but cannot yet manage both straight legs together. None of these steps requires ankle weights.
Some lifters prefer to start with an eccentric-only negative. They use a tucked position to reach the top, lengthen the body to the chosen lever, and lower under control before placing the feet down and resetting. That removes the need to perform a difficult concentric return. Others progress more comfortably with short isometric holds at a particular angle. Both are useful tools; neither needs to be rushed into full-range repetitions.
Use a simple quality standard. Can you hold your chosen hip angle throughout, without losing the rib-to-pelvis relationship, jerking the legs, or transferring pressure to the neck? If the answer is no, shorten the lever or stop higher. The goal is repeatable positions across sets, not a dramatic shape you can survive once. Progression may take many weeks or months depending on training background. That is normal for an advanced bodyweight skill.

Equipment Worth Exploring
Explore equipment, accessories and gear from our carefully selected range.
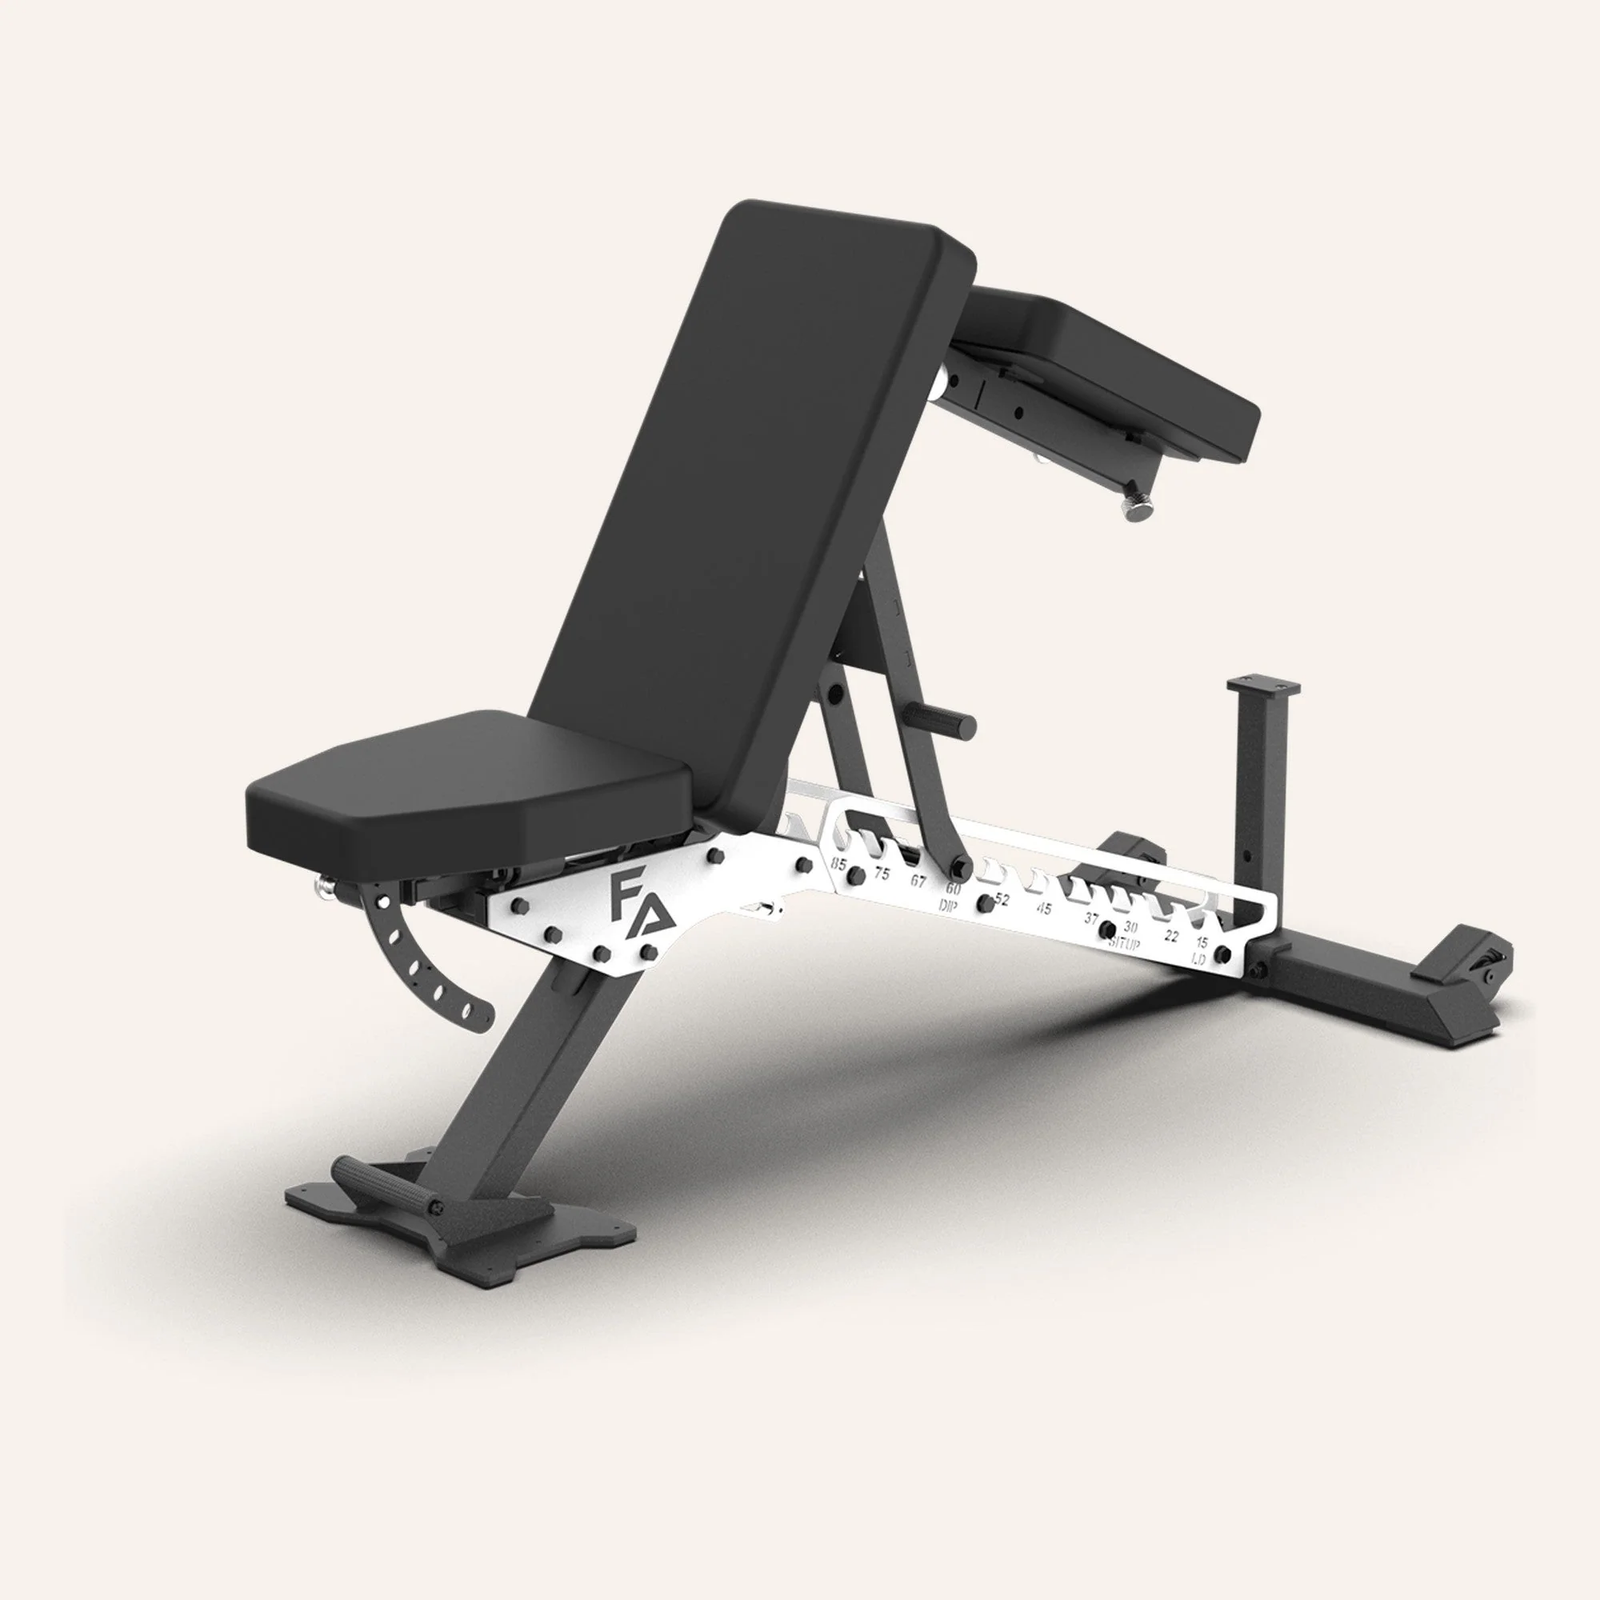

FID Bench MAX
Adjustable bench offering flat, incline, and decline positions + adjustable headrest.


Multi Bench MBX-650 2.0
Adjustable multi-bench with roller adjustment, 15 backrest positions and accessory mounts.


Foldable Wall Rack
Wall-mounted folding squat rack designed to save floor space between workouts.

Power Tower
Freestanding pull-up and dip station with adjustable handles for bodyweight training.

Multi Pull Smith Rack MPHR-780
All-in-one rack with a Smith machine, functional trainer, lat pulldown and low row.

4. Control the lowering instead of dropping through the hard part
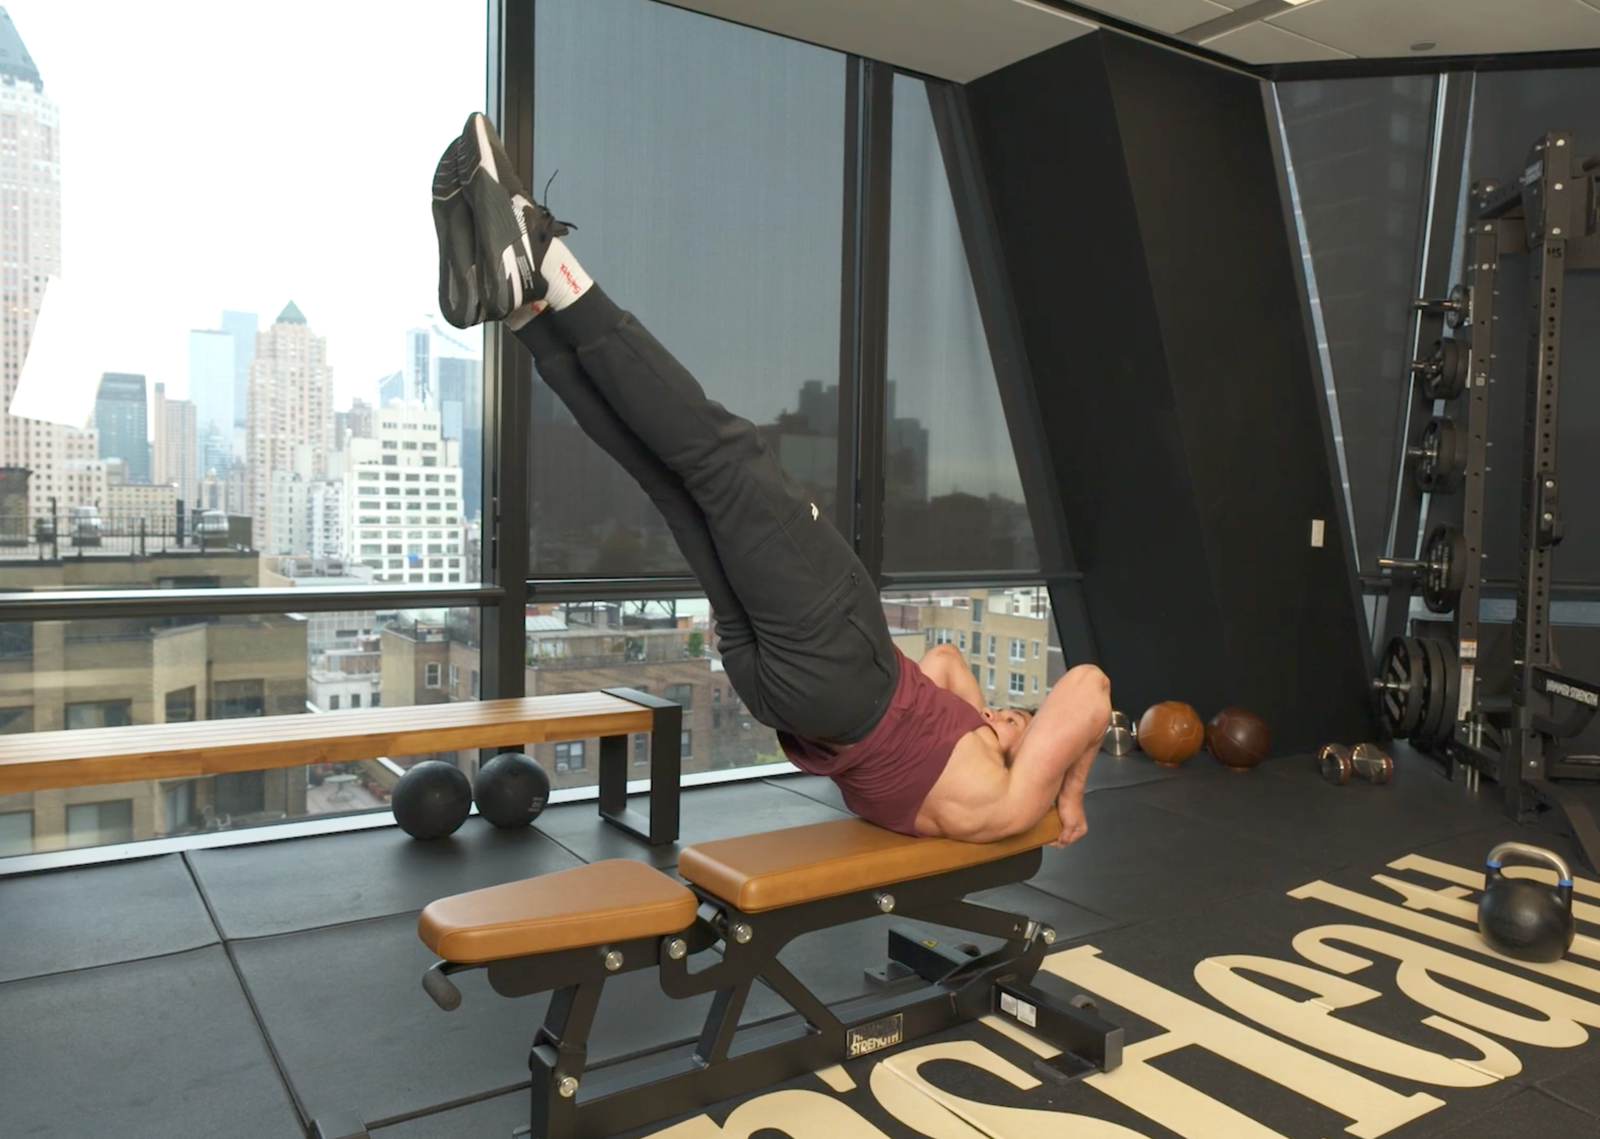
Set up with the knees tucked and lift the hips until the body reaches a comfortable angle. Then choose the longest lever you can genuinely control. Brace as if preparing for a heavy squat: exhale enough to bring the ribs down, tighten the glutes, and pull steadily against the anchor. Start the descent smoothly. Keep the pelvis and rib cage moving together rather than letting the legs swing away while the back caves.
A three- to five-second negative is a useful starting experiment, not a magic tempo. For a newer trainee, two seconds with stable alignment may be more productive than forcing a theatrical eight-second collapse. Count only the seconds during which the position actually remains controlled. When the hips begin to pike, the lower back arches, or the feet accelerate despite your effort, that repetition has reached its honest end point. Put the feet down or bend the knees to finish safely.
There is no requirement to reach an inch above the bench on day one. A short, excellent lowering arc can build the specific strength needed for a longer one. Keep your head comfortably resting rather than craning forward to watch your toes. If the hands slip or the bench shifts, stop immediately. Neck, back or shoulder pain is a reason to stop and choose a simpler alternative, not proof that the movement is working.
For coaching or self-review, a short video from the side can be informative. Look for three things: a stable upper-back contact point; hips staying in line with the trunk; and a speed that does not suddenly accelerate near the bottom. A front view can reveal side-to-side twisting. Avoid chasing exaggerated angles for social clips. You want a movement you can repeat with the same anchor, range and tempo.
5. A six-week progression that still leaves room for your main lifts
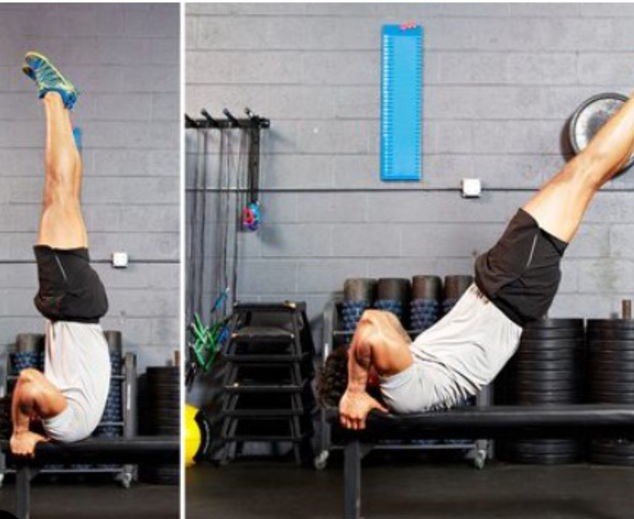
Two short dragon-flag sessions per week are enough for a practical starting structure. Put them early in the session, after a warm-up, when grip and trunk control are not already exhausted. Leave at least one day between practices. Rest around two minutes between challenging sets, longer if the next negative would otherwise be sloppy. These are sample training parameters rather than requirements proven superior for everyone.
Weeks 1–2: Practice two or three sets of three to five tucked negatives. Keep a modest range and aim for roughly three controlled seconds each. Pair them with one or two sets of a hollow-body hold or reverse crunch, only if the additional work does not degrade form. Record the lowest angle you can reach while holding your shape; do not chase failure.
Weeks 3–4: Extend the knees slightly, or use one-legged negatives for two or three reps per side. Keep two or three sets and treat side-to-side symmetry as more important than novelty. If alignment breaks immediately, return to the tuck for that day. On a fatigue-heavy week, repeat the prior variation rather than automatically adding difficulty.
Weeks 5–6: Attempt a longer controlled lowering range or a brief full-lever hold only if the previous level is consistent. Try two to four quality reps for two or three sets. Use a simple log of variation, controlled seconds, range and comfort. If the available range stalls, build consistency before adding reps. Extra load at the ankles belongs much later, after clean straight-body control is already established.
The dragon flag trains an advanced pattern of full-body tension. It does not replace rows, presses, carries, or a balanced core program. Reverse crunches allow more direct pelvic movement, ab-wheel rollouts challenge anti-extension in a different position, and hanging leg raises add grip and hip-flexor demands. Pick the exercise that matches the goal and the station you can safely set up. A shorter, controlled dragon-flag negative beats a longer rep that hangs off your neck.

Calisthenics Shirts & Street Workout Gear
Calisthenics and bodyweight-training gear for pull-ups, dips, handstands and street-workout athletes.

Pull Up Or Shut Up Hoodie
Bring “Pull Up Or Shut Up” gym humor to lazy days and post-workout plans.

Always Pull Yourself Up Tank
Show some personality between sets with “Always Pull Yourself Up”.

Turn Off Gravity Funny Calisthenics Gym Crewneck Pullov T-Shirt
Show some gym-day personality with “Turn Off Gravity Funny Calisthenics”.

Calisthenics Evolution
Show some lifting attitude with a playful “Calisthenics Evolution” tee.

Human Flag Crewneck Calisthenics Pullover Sweater Worko T-Shirt
Bring “Human Flag” humor to your everyday gym style.

Calisthenics Hanging Out Hoodie
Make your off-duty look more fun with “Calisthenics Hanging Out”.

Be Stronger Than Your Excuses Motivational Workout for Sticker
A fun “Be Stronger Than Your Excuses” touch for bottles, laptops, and lockers.

Shirt – Calisthenics Heartbeat Gymbros & Meme Lovers T-Shirt
Bring “Calisthenics Heartbeat” humor to your next gym day.

Funny Calisthenics Gym Crewneck Pullover Sweater for Bo T-Shirt
Add a playful “Calisthenics” touch to your casual rotation.