Advertising disclosure: This page includes affiliate product links that may earn us a commission, as well as products from our own store.
Snatch-Grip Deadlifts: Find Your Width, Brace and Build a Stronger Pull
The snatch-grip deadlift is a regular floor pull with one demanding twist: your hands are much farther apart. That changes how low you must reach, how hard your upper back works to stabilize the bar, and how easily your grip becomes the limiting factor. It is a useful training variation, but it is not a shortcut to a bigger conventional deadlift.
This guide breaks the movement into five practical decisions: what the wide grip changes, how to choose hand and foot positions, how to execute each repetition, which errors to correct, and how to progress over six weeks without chasing a maximal attempt.
1. Understand why the wider grip changes the lift
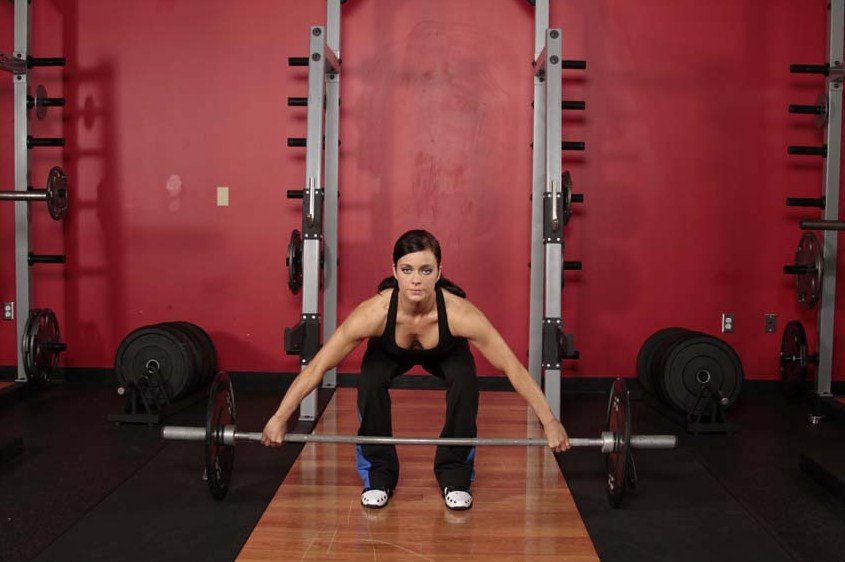
Moving the hands outward shortens the vertical reach of your arms. To grasp a bar resting on the same floor, most lifters must bend the hips and knees farther than they would in a conventional deadlift. That usually creates extra bar travel and a more demanding start. The precise difference depends on your proportions, chosen width and bar diameter; a fixed numerical claim about extra range would be misleading.
The hips, knees and trunk still extend the weight, but your lats, traps and other upper-back muscles have more work keeping a long arm position stable. The glutes and hamstrings contribute to hip extension and the quads help push through the initial knee extension. A stronger upper-back challenge is plausible, yet you cannot read an exact muscle recruitment percentage from a photograph or assume everyone will experience the exercise identically.
Use the lift for practising the first pull of a snatch, building tolerance to a different bar path, or adding varied pulling work without copying your conventional deadlift weights. Start much lighter than your usual floor pull, and do not assume the deeper position automatically protects your spine. If you cannot yet hinge and brace consistently in a normal deadlift, learn those skills first. There is no prize for forcing a width your shoulders cannot tolerate.
Watch the opening movement rather than the top of a maximal rep. A controlled first inch tells you more about whether the setup works than the most dramatic lockout.
2. Choose the grip width and prepare a repeatable start
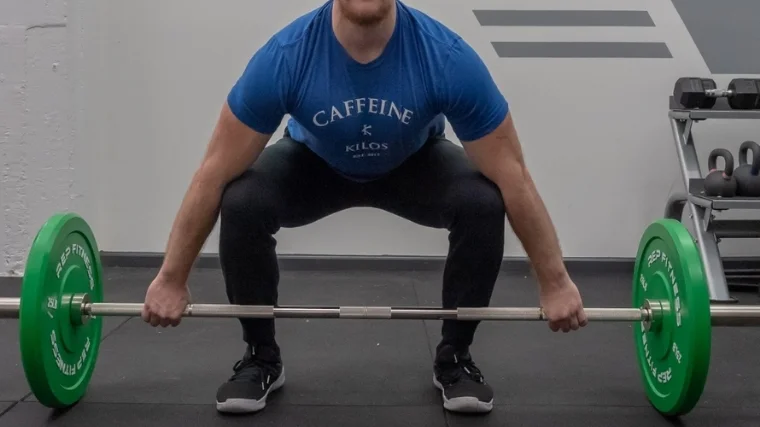
Place a barbell over approximately the middle of your feet on a flat, stable platform. Start with feet near hip width, and let your knees travel in line with your toes. Place your hands noticeably wider than a normal deadlift, then adjust in small steps. A useful snatch-grip reference is the hand spacing that would place the bar near your hip crease when standing tall. This is a starting point, not a rule that overrides comfort, limb length or knurl markings.
Check that every finger can grip the shaft securely and that the outside of your hand does not slide off the bar. For easy sets, double overhand is straightforward. Experienced Olympic lifters may choose a hook grip; wrist position and thumb comfort matter. You can practise secure hand placement without hanging from a heavy bar for prolonged periods.
Bend at the knees and hips to reach the bar. Keep your arms long, shoulders near or slightly ahead of the shaft, and your midsection braced. Pulling the shoulder blades as far back as possible is not necessary; think firm upper back and engaged lats, as though you are keeping the bar from rolling forward. Set your eyes on a neutral point rather than craning your neck upward.
Take a breath, create abdominal tension and gently remove slack from the system before driving upward. The plates should not leap off the floor with a sharp yank. If your hips shoot up while the bar stays down, reduce the load or adjust the starting position. Film one easy rep from the side to establish a reference.
Shoulder or wrist pain at the chosen width is information, not a hurdle to train through. Narrow your grip or switch to a different hinge if discomfort persists.

Equipment Worth Exploring
Explore equipment, accessories and gear from our carefully selected range.


Competition Plates
Competition-style bumper plates for Olympic lifts and loaded strength training.


Grip Plates
Rubber-coated weight plates with handholds for loading barbells and machines.


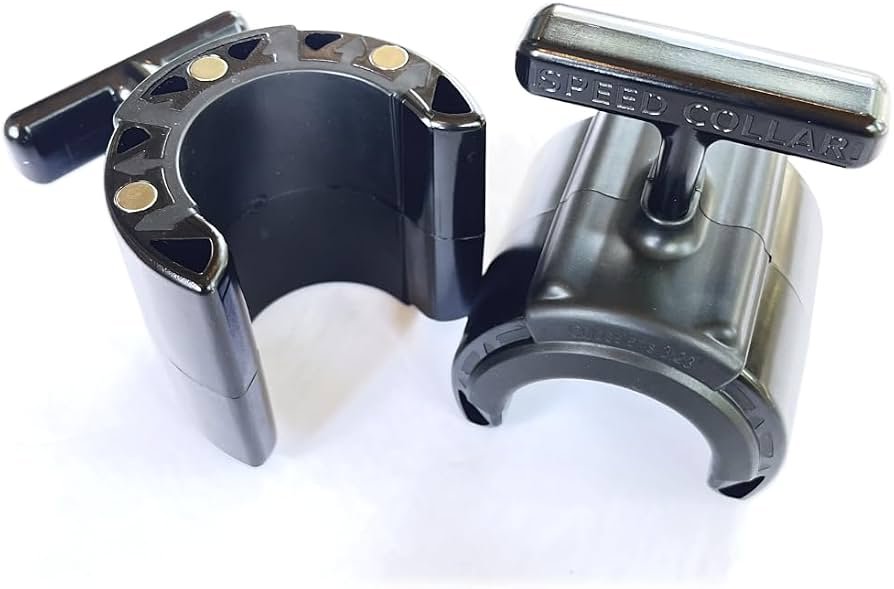
Speed Collar
Quick-release collars designed to secure weight plates on standard two-inch Olympic bars.
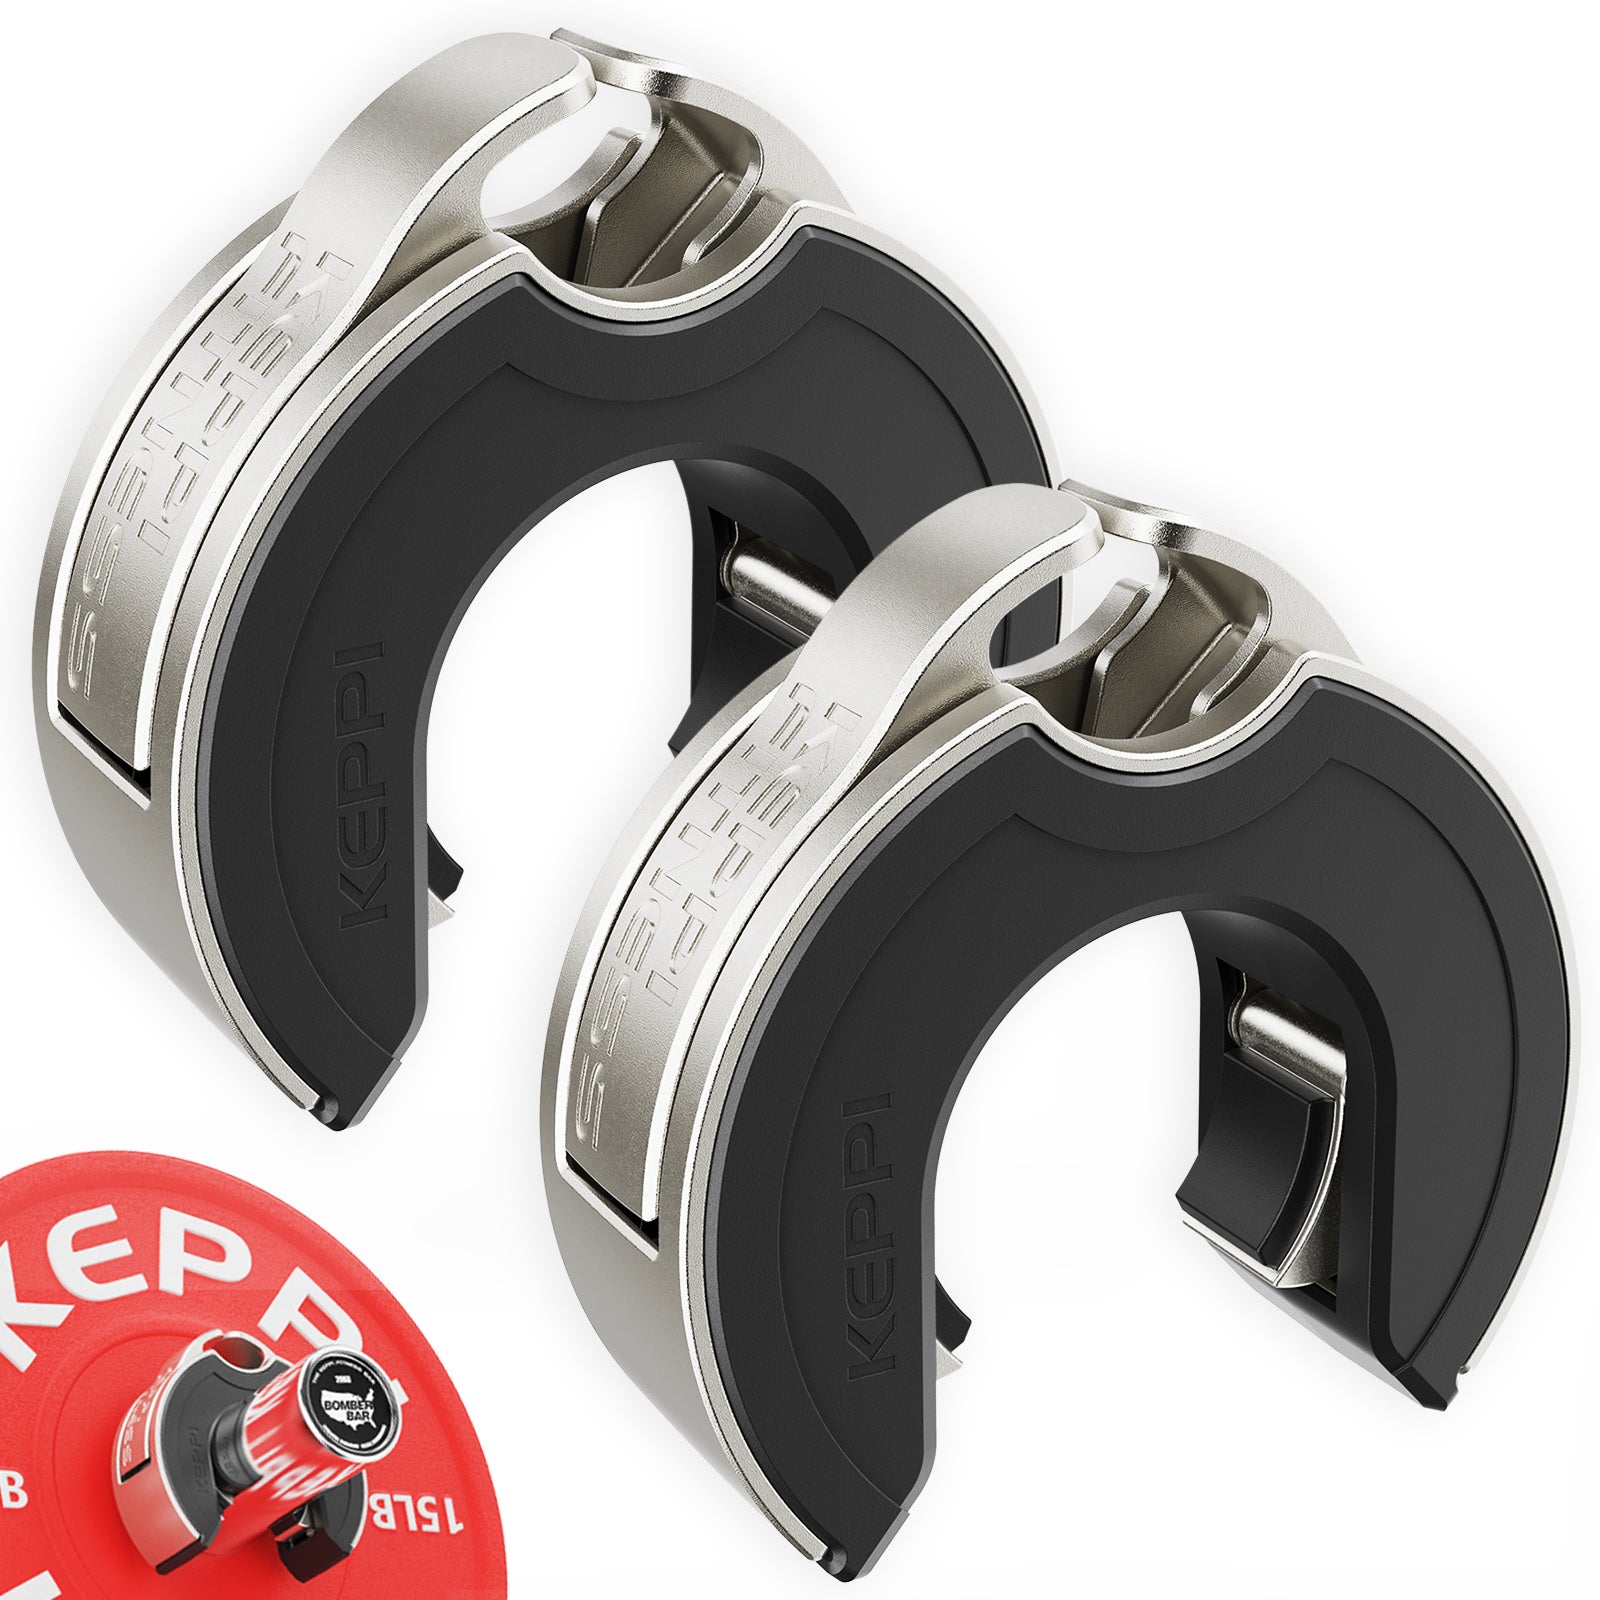
Keppi Open Collars
C-shaped magnetic Olympic barbell collars with a quick-lock mechanism and grippy lining.
3. Push through the floor and return to the same position
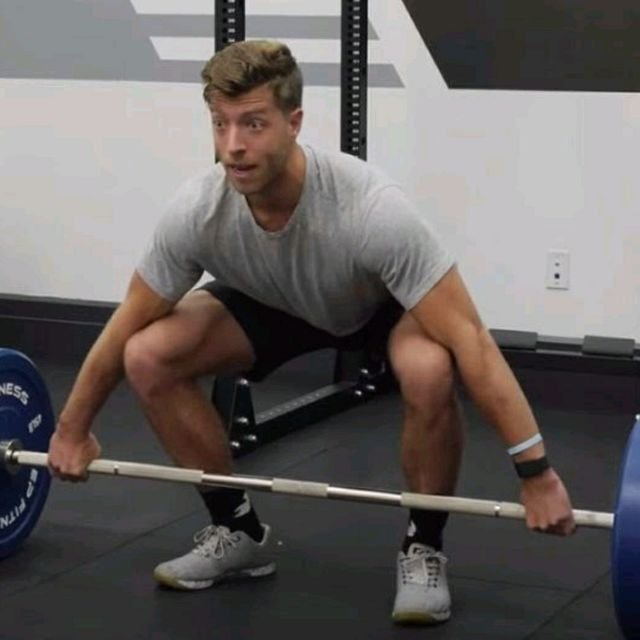
Begin the pull by pressing your whole foot into the floor. Hips and shoulders should rise together rather than having the hips shoot back immediately. Keep your elbows straight throughout: this is not a high pull, a power snatch or an upright row. The bar should climb close to the shins instead of swinging out in front. Think about keeping your upper arms connected to your torso without trying to curl or row the weight.
The first part may feel surprisingly slow with a wide grip. Let the legs do their job while your back maintains the position you established. Once the bar passes your knees, continue extending the hips until you stand upright. Finish with ribs stacked above the pelvis, not with a theatrical lean-back. Driving your hips forward does not require bending your lower back into an exaggerated arch.
Lower the bar by sending the hips back first. When the shaft clears the knees, bend them enough to return the plates to the platform. Keep the bar close to your body on the way down. A controlled return makes it easier to recreate the same start, while bouncing the plates can disguise a setup that becomes less stable with every repetition.
Reset your fingers, inhale and rebrace before pulling again. Dead-stop sets are especially useful while learning because every repetition starts from a deliberate position. Make the first and final repetition look similar. If a set ends in numb hands, a slipping grip or obvious spinal movement, stop rather than chasing the planned rep count.
Use rubber flooring or a proper lifting platform and keep bystanders clear of the bar ends. Technical consistency is more valuable than a noisy finish.
4. Fix grip, back position and equipment problems
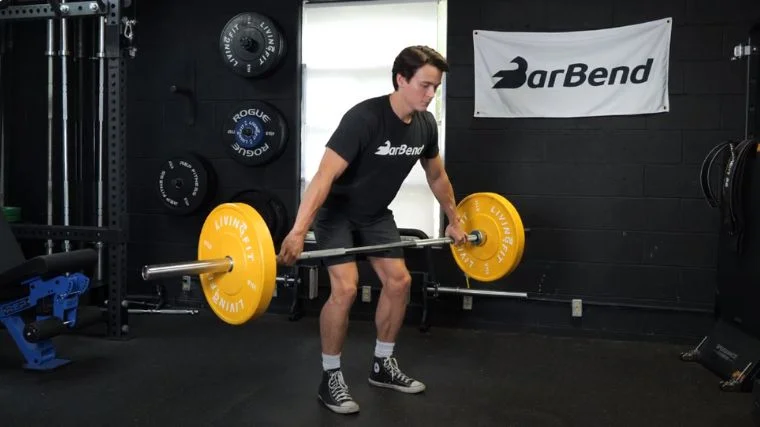
If the bar moves away from your shins, check where it starts relative to your midfoot. A few centimetres too far forward can change the whole pull. Practise a lighter set while actively keeping the bar close, and check your video before adding weight. If the bar hangs near your knees or catches your thighs, reconsider grip width and how you lower it.
If your hands fail before your legs and back, choose equipment based on the training goal. Light strapless practice can challenge the grip; lifting straps can help a back-focused session continue after finger strength would otherwise end the set. Straps do not repair a poor brace or make an uncomfortable wrist angle safe. Avoid choosing a wider grip simply because straps make holding it possible.
If your hips fly upward before the plates lift, try lowering the load and raising your chest just enough to maintain torso tension. If reaching the floor still requires a position you cannot hold, elevate the bar on appropriate lifting blocks. Shortening the range temporarily is better than repeating a collapsed pull. A deficit increases range and belongs much later, if at all.
If wide-grip pulling irritates the shoulders, use a moderate grip or switch to a Romanian deadlift. A trap bar can be a useful alternative when you want a hinge but prefer more neutral hand placement; it is not an equivalent snatch-start drill. Adjusting the exercise to your body is sensible training, not a concession.
Do not use a lift variation as treatment for persistent back, shoulder or wrist pain. For continuing symptoms, consult a qualified professional who can assess the issue individually.

Powerlifting Shirts & Lifting Gear
Powerlifting shirts and gym gear for squat, bench and deadlift lifters who live for heavy numbers.

Skeleton Deadlift Weightlifters & Deadlift Lovers Tank Top
Your gym-day look, with a playful “Skeleton Deadlift” twist.

Deadlift Pink Skull Pullover for Powerlifting Leg Day a Hoodie
Show off your metalhead humor in a laid-back “Deadlift” hoodie.

Deadlift Military Skull Crewneck for Powerlifters, Hard T-Shirt
For laid-back days and deadlift humor: “Deadlift”.

Deadlift Skull Cyberpunk Gym Decal for Powerlifting and Sticker
Give your everyday gear a playful “Deadlift Skull” twist.

Gym Thou Art Not Yet Ripped Medieval Knight Deadlift Wo T-Shirt
Make gym days more fun with “Thou Art Not Yet Ripped Medieval Knight” style.

I Love Deadlifts Gym | Funny Heart Plate Hooded for Dea Hoodie
Keep it laid-back with a little “I Love Deadlifts” attitude.

7 Plates Deadlift Club Meme Motivational T-Shirt
Rep “7 Plates Deadlift Club” humor in and out of the gym.

Deadlift PR or ER Bloody Skull Crewneck for Powerlifter T-Shirt
Keep things casual with a little “Deadlift” attitude.

Deadlift Electric Skull Graphic , Hardcore Leg Day Trai Tank Top
Bring “Deadlift” humor to your next lifting session.

Zombie Deadlift Lifting Dead Halloween T-Shirt
Add a playful “Zombie Deadlift” touch to your casual rotation.
5. Run a six-week progression with video and clear decisions
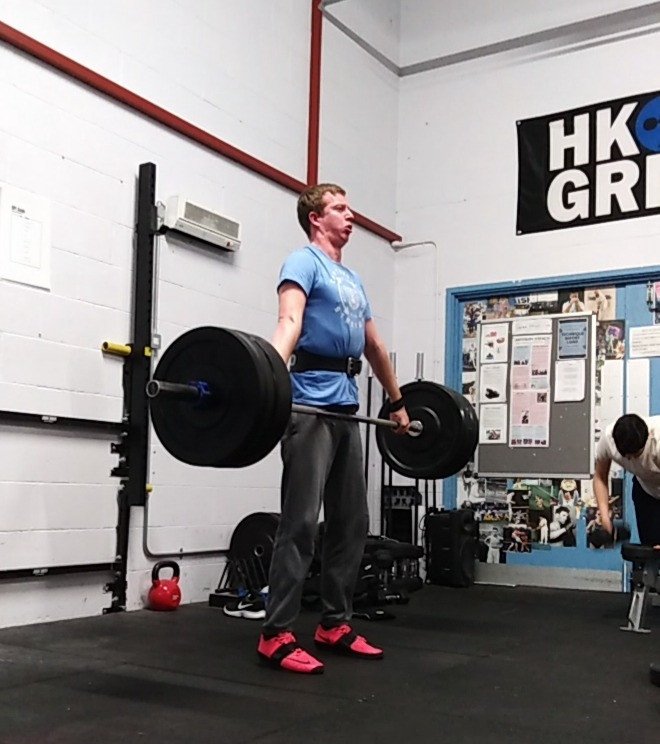
Schedule one snatch-grip session weekly, away from your hardest deadlift workout when possible. Begin with an empty bar and take several progressively heavier warm-up sets. Choose a working load that leaves at least two good repetitions in reserve and keeps each rep’s grip, brace and bar path stable. Avoid relying on a universal percentage of your conventional deadlift, since the change in leverage differs across lifters.
Week 1: Perform three sets of five easy dead-stop reps. Record a side view of one set and note your hand spacing. Week 2: Repeat three sets of five, raising the weight only when the first and last repetitions match. If not, stay at the same load and make the setup more consistent.
Week 3: Perform four sets of four with a small amount of weight added only if technique remains tidy. You can practise a momentary pause after the bar leaves the floor on lighter warm-ups. Week 4: Repeat four sets of four. If the floor start is still unstable, use blocks temporarily rather than turning the work sets into uncontrolled deficits.
Week 5: Use three or four sets of three at a comfortably challenging load. Maintain straight elbows and the same return to the floor. Week 6: Reduce total work to two or three sets of three. Then compare videos with your first session and, if the setup looks dependable, perform a technically comfortable set of five rather than an all-out one-rep maximum.
Write down load, repetitions, grip reference, whether straps were used and where a rep first began to break down. Pair the lift with one complementary exercise, such as a chest-supported row or hamstring curl, but avoid packing every session with heavy hinges. More strength is useful; a pull you can reproduce calmly is even better.
Powerlifting Shirts & Lifting Gear
Powerlifting shirts and gym gear for squat, bench and deadlift lifters who live for heavy numbers.

Deadlift Stone Skull Gym Shirt for Powerlifters, Hardco T-Shirt
Show some deadlift attitude with a playful “Deadlift” tee.

Deadlift Post-Apocalyptic Skull Graphic , Hardcore Leg T-Shirt
Show some leg-day attitude with a playful “Deadlift” tee.

Deadlift Frozen Skull Gym Pullover for Powerlifters, Ha Hoodie
Bring “Deadlift” gym humor to lazy days and post-workout plans.

Deadlift Purple Skull for Powerlifters Heavy Weight Leg Hoodie
Show off your leg-day humor in a laid-back “Deadlift” hoodie.

Deadlift Snake Skull – Hardcore Powerlifting Muscle Shi Tank Top
Bring “Deadlift Snake Skull” humor to your next lifting session.

Praise The Deadlift Holy Lifting Meme Fans Tank Top
Add some deadlift attitude to training with “Praise The Deadlift”.

Deadlift Skull Gym Gold Heavy Metal Muscle Shirt for Po Tank Top
Bring “Deadlift Skull” humor to your next lifting session.

Skeleton Deadlift Decal Water Bottles & Gear Meme Sticker
Put “Skeleton Deadlift” gym humor on your laptop, bottle, or gym gear.

2 Plates Deadlift Club Motivational Meme & Ultimate T-Shirt
Rep “2 Plates Deadlift Club” humor in and out of the gym.

The Walking Deadlift | Zombie Workout Sweater For Leg D T-Shirt
Bring “The Walking Deadlift” humor to your everyday gym style.
Equipment Worth Exploring
Explore equipment, accessories and gear from our carefully selected range.

Leather Lifting Straps
Padded leather straps support grip during heavy rows, deadlifts and pulling exercises.

Leather Wrist Grips
Padded leather lifting grips help support the hands and wrists on heavy pulling exercises.

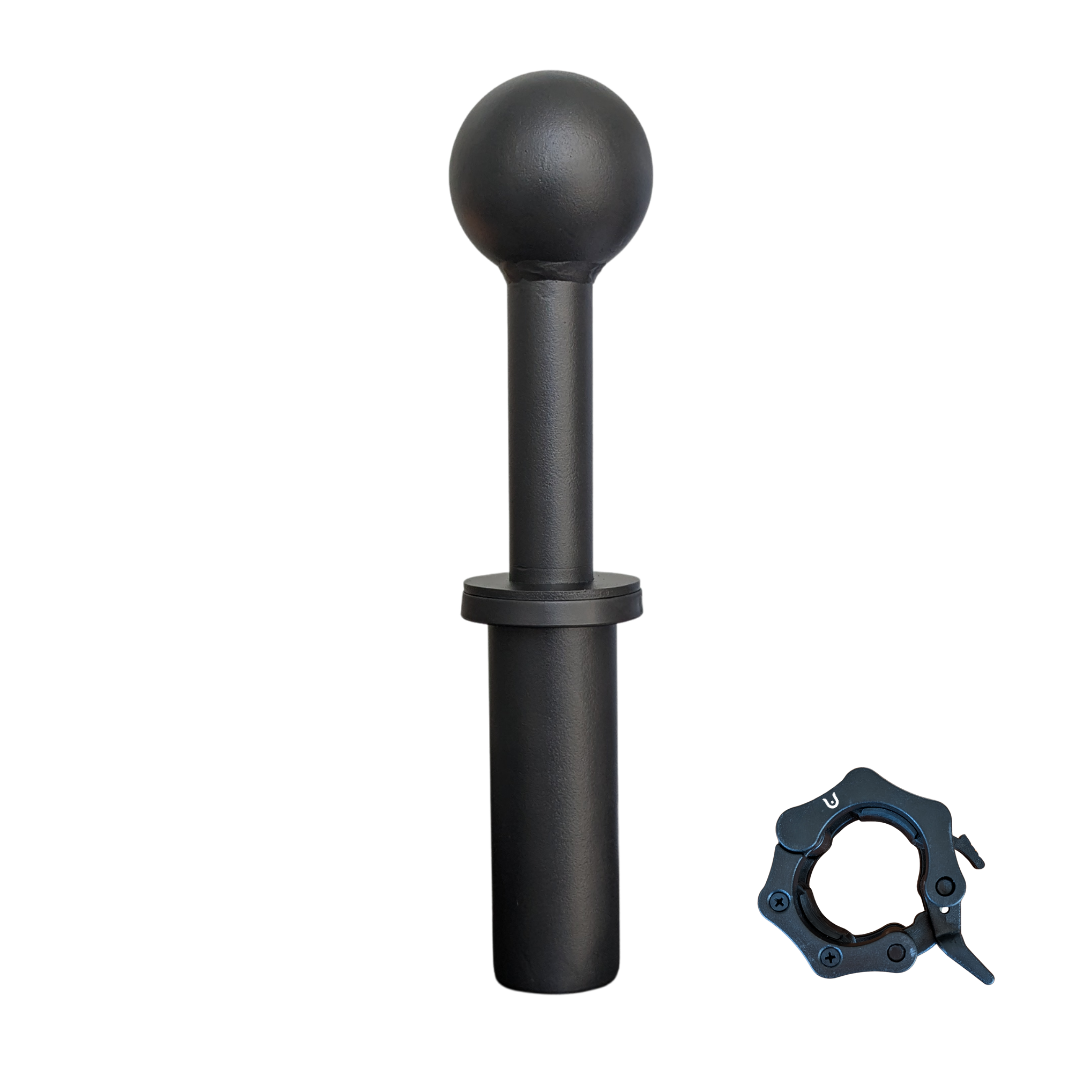


Foldable Wall Rack
Wall-mounted folding squat rack designed to save floor space between workouts.

Multi Pull Smith Rack MPHR-780
All-in-one rack with a Smith machine, functional trainer, lat pulldown and low row.

Open Hex Bar
Open-frame trap bar with multiple handles for deadlifts, carries, and lower-body training.


Glute Ham Developer GHD-820
Adjustable glute-ham developer with contoured pads and a fold-out knee support.