Advertising disclosure: This page includes affiliate product links that may earn us a commission, as well as products from our own store.
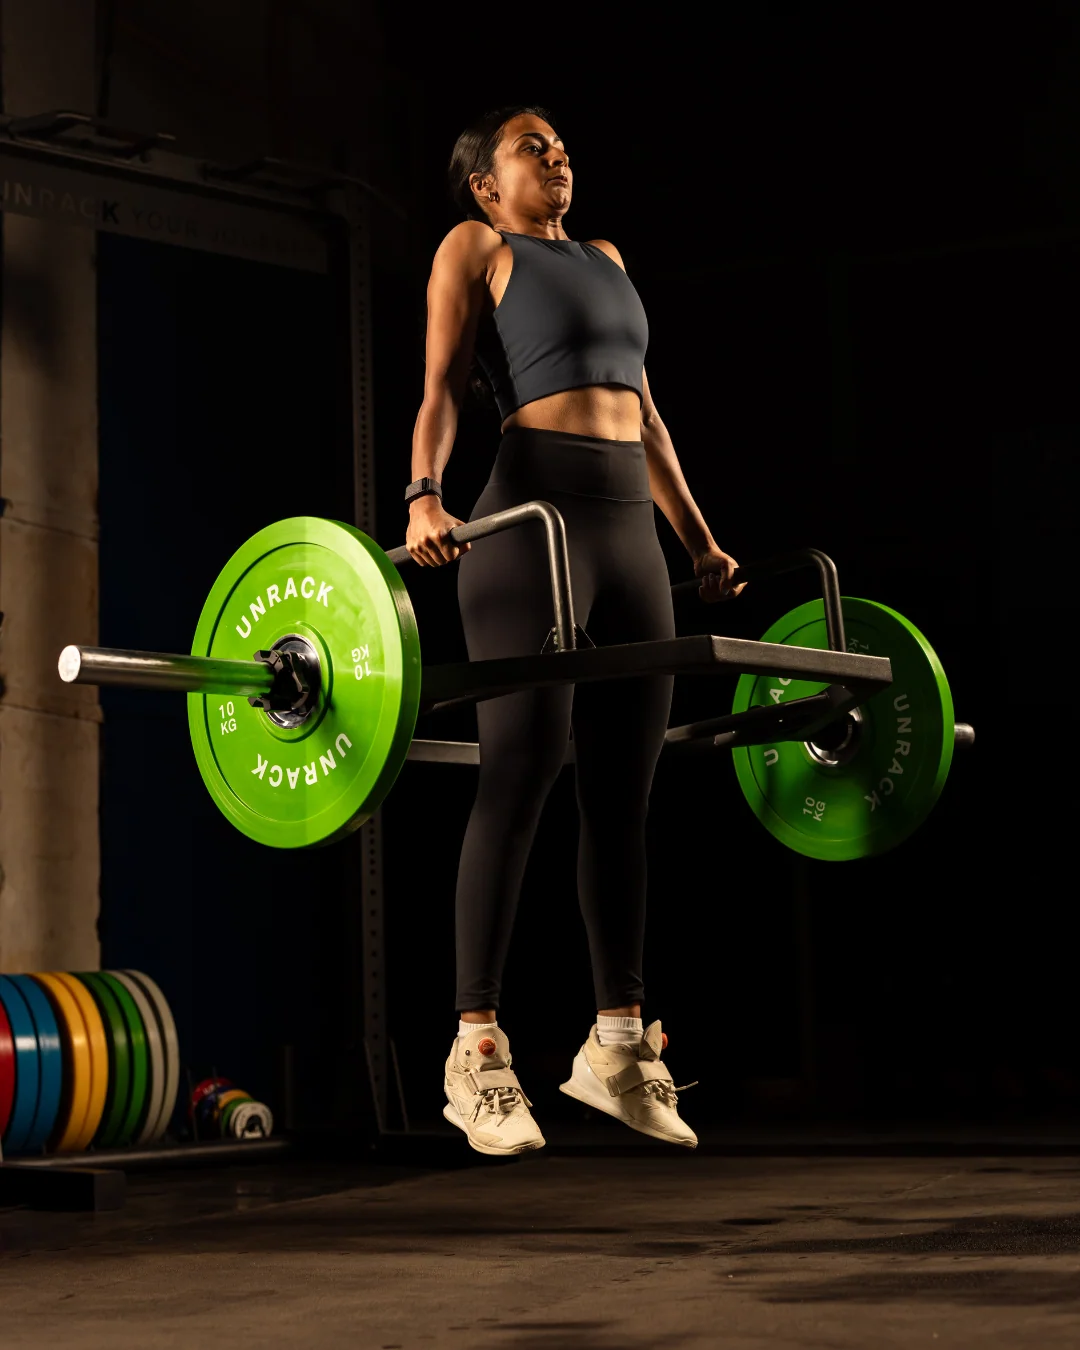
Trap bar jumps sit between a loaded strength exercise and a traditional plyometric drill. You stand inside a hexagonal bar, dip under control, drive explosively through the legs and—if the load permits—leave the floor before absorbing the landing. They can be a useful way to practice fast force production, but they stop being effective power work when the bar becomes so heavy that every repetition is a slow deadlift.
The appeal is practical. A neutral-grip frame keeps the hands beside the body, lets many lifters stay more upright than they would with a straight bar, and removes the need to catch a barbell on the shoulders. None of that eliminates impact, spinal loading or the risk of a poorly controlled landing. The movement still demands a sound setup, reliable grip and a load you can accelerate safely.
Here is how to perform trap bar power jumps, decide when to add plates, distinguish them from ordinary deadlifts and build a four-week practice plan that values speed and clean landings over bravado.
Build the setup: bar, handles, plates and floor space
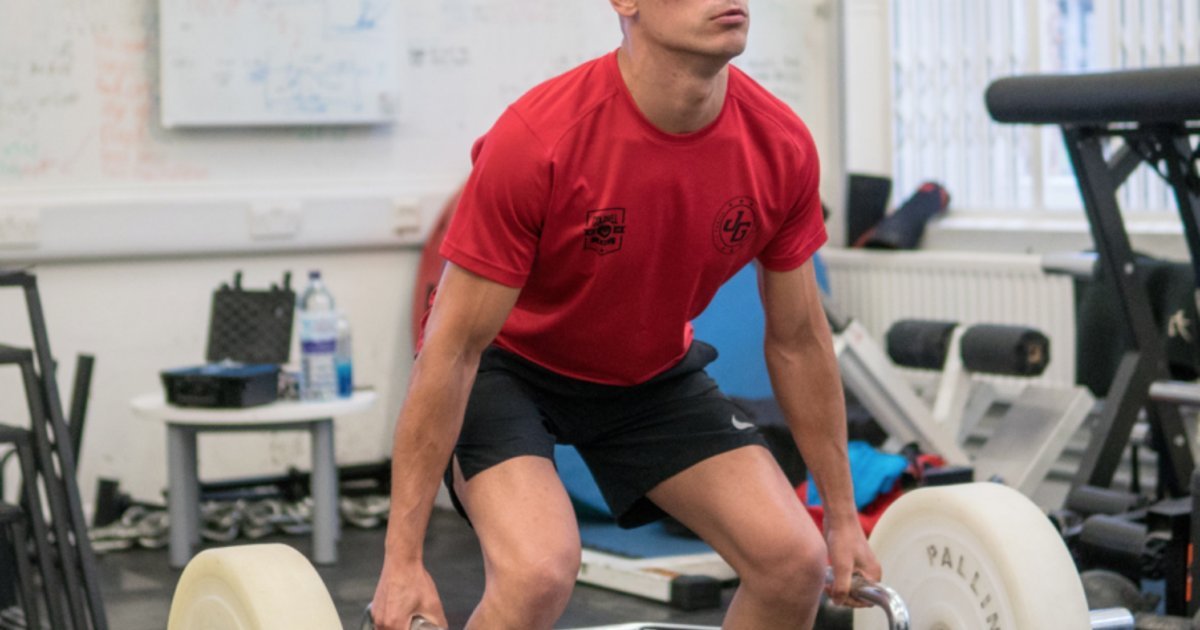
Trap bar power jumps work best when the equipment lets you move quickly without fighting the setup. Stand inside an appropriately rated hex bar with feet roughly hip-to-shoulder width apart and the handles centered beside your legs. The bar should have enough clearance that your knees, feet and thighs do not strike its frame on the way up or down. If the bar has high and low handles, use the version that permits a repeatable shallow dip without losing the brace. Handle height is a setup variable, not a competition for the deepest possible start.
Before loading anything, check the bar’s own weight, sleeve capacity, collar fit, plate security and the space around you. A trap bar can be much heavier or lighter than another model. Use the actual implement rather than assuming every empty hex bar weighs the same. All plates should sit securely and clear the floor in your start position; use collars when compatible with the bar and manufacturer instructions. Keep bystanders, benches and loose plates outside the landing zone.
Start with an unloaded or very lightly loaded pattern if jumping under load is new to you. Grip evenly, straighten your arms without yanking your shoulders upward, and keep the weight balanced through the midfoot. Bend your knees and hips into a controlled shallow dip, with the torso inclined only as much as needed to maintain a stable back. A rounded start, uneven loading or a bar that brushes your legs means the setup needs fixing before the first explosive repetition.
Choose a stable, non-slip training surface that tolerates dynamic loading. Avoid jumping with a damaged frame, unsecured collars or weights that shift as you accelerate. If you cannot demonstrate clean unloaded jumps, consistent landings and comfortable basic trap-bar deadlifts, develop those prerequisites first rather than relying on the hex bar to correct your mechanics.
Make the jump explosive without turning it into a heavy deadlift
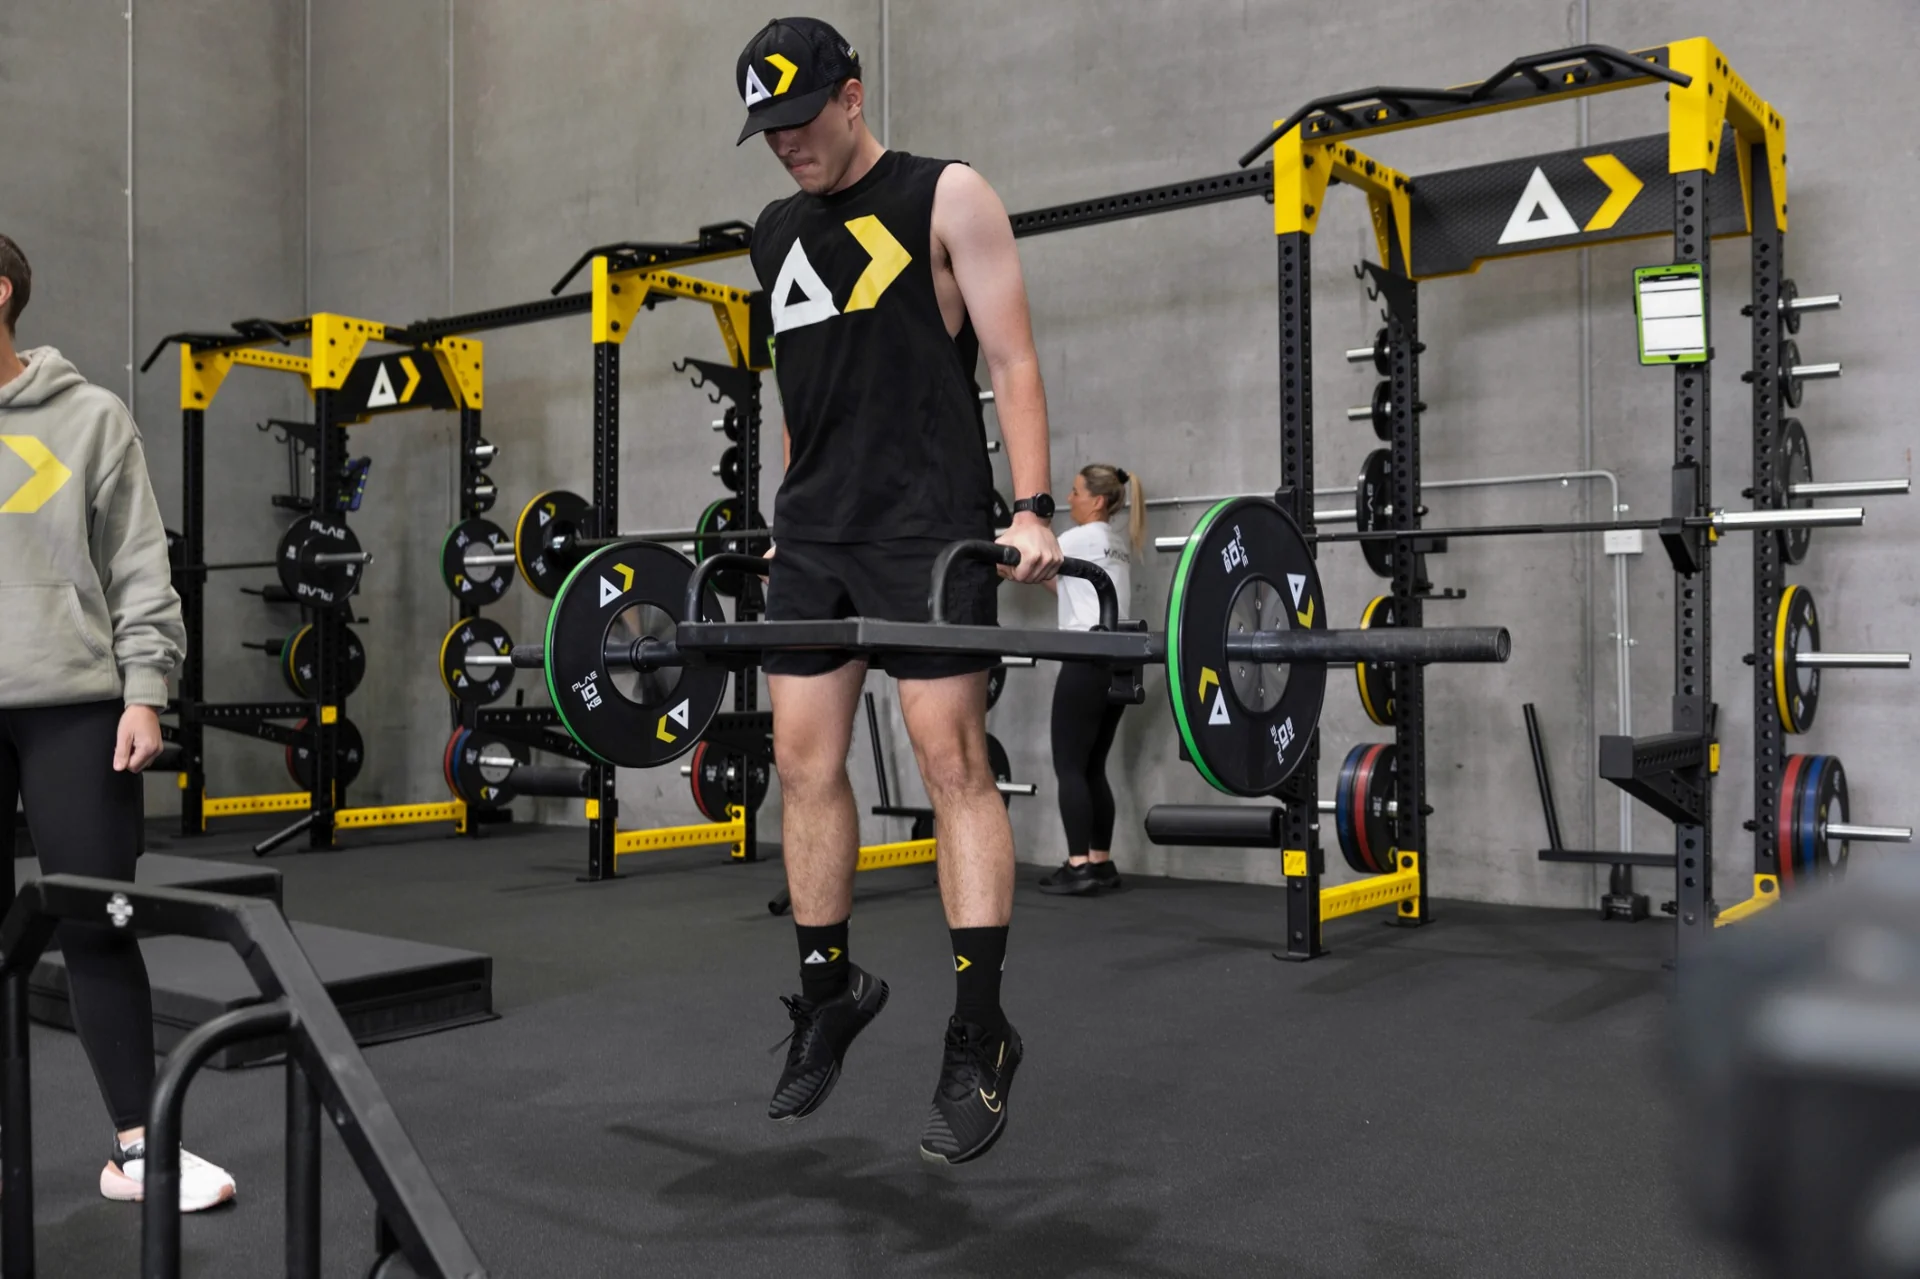
From the shallow preload, brace, push aggressively against the floor and drive the hips, knees and ankles toward extension together. Keep the arms long and the trap bar close to your center of mass. The movement should feel like a jump with a weight in the hands, not a slow deadlift followed by a shrug. Hips and shoulders should rise together during the initial drive instead of the hips shooting up while the bar lags behind.
Think fast intent rather than a dramatic airborne height. With an appropriately light bar and enough clearance, your feet may briefly leave the floor. Do not artificially pull with the biceps or bend the elbows to exaggerate the jump. The primary engine is lower-body extension. Aggressive arm pulling, excessive backward lean and an exaggerated shoulder shrug can redirect force or make the landing unstable without necessarily improving the training effect.
Repetitions should look similar. If the first jump is crisp and the fourth becomes a slow grind, you have turned power training into fatigue training. Set the bar down or pause between reps when necessary, then recreate your starting position. You can use a shallow countermovement on every repetition or reset from a static position; choose one style and keep it consistent while comparing progress.
Power is force expressed quickly. A very heavy bar may allow high force but limit velocity; a completely unloaded jump may maximize speed but provide little external resistance. Neither extreme is automatically best for every athlete. The appropriate loading range is the one that lets you accelerate decisively while maintaining a predictable bar path, clean body position and controlled landing. That is a better standard than copying somebody else’s plate count.

Equipment Worth Exploring
Explore equipment, accessories and gear from our carefully selected range.


Open Hex Bar
Open-frame trap bar with multiple handles for deadlifts, carries, and lower-body training.


Competition Plates
Competition-style bumper plates for Olympic lifts and loaded strength training.

Grip Plates
Rubber-coated weight plates with handholds for loading barbells and machines.

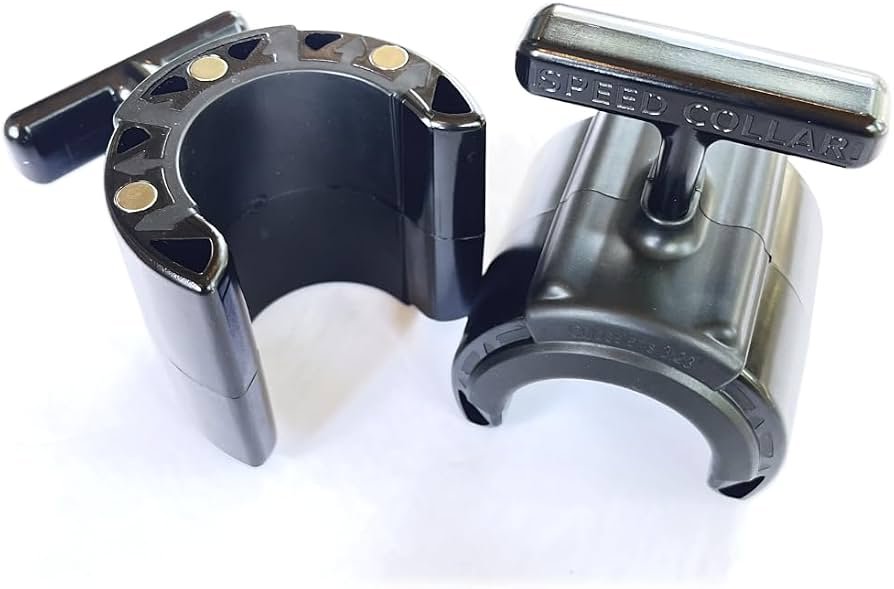
Speed Collar
Quick-release collars designed to secure weight plates on standard two-inch Olympic bars.
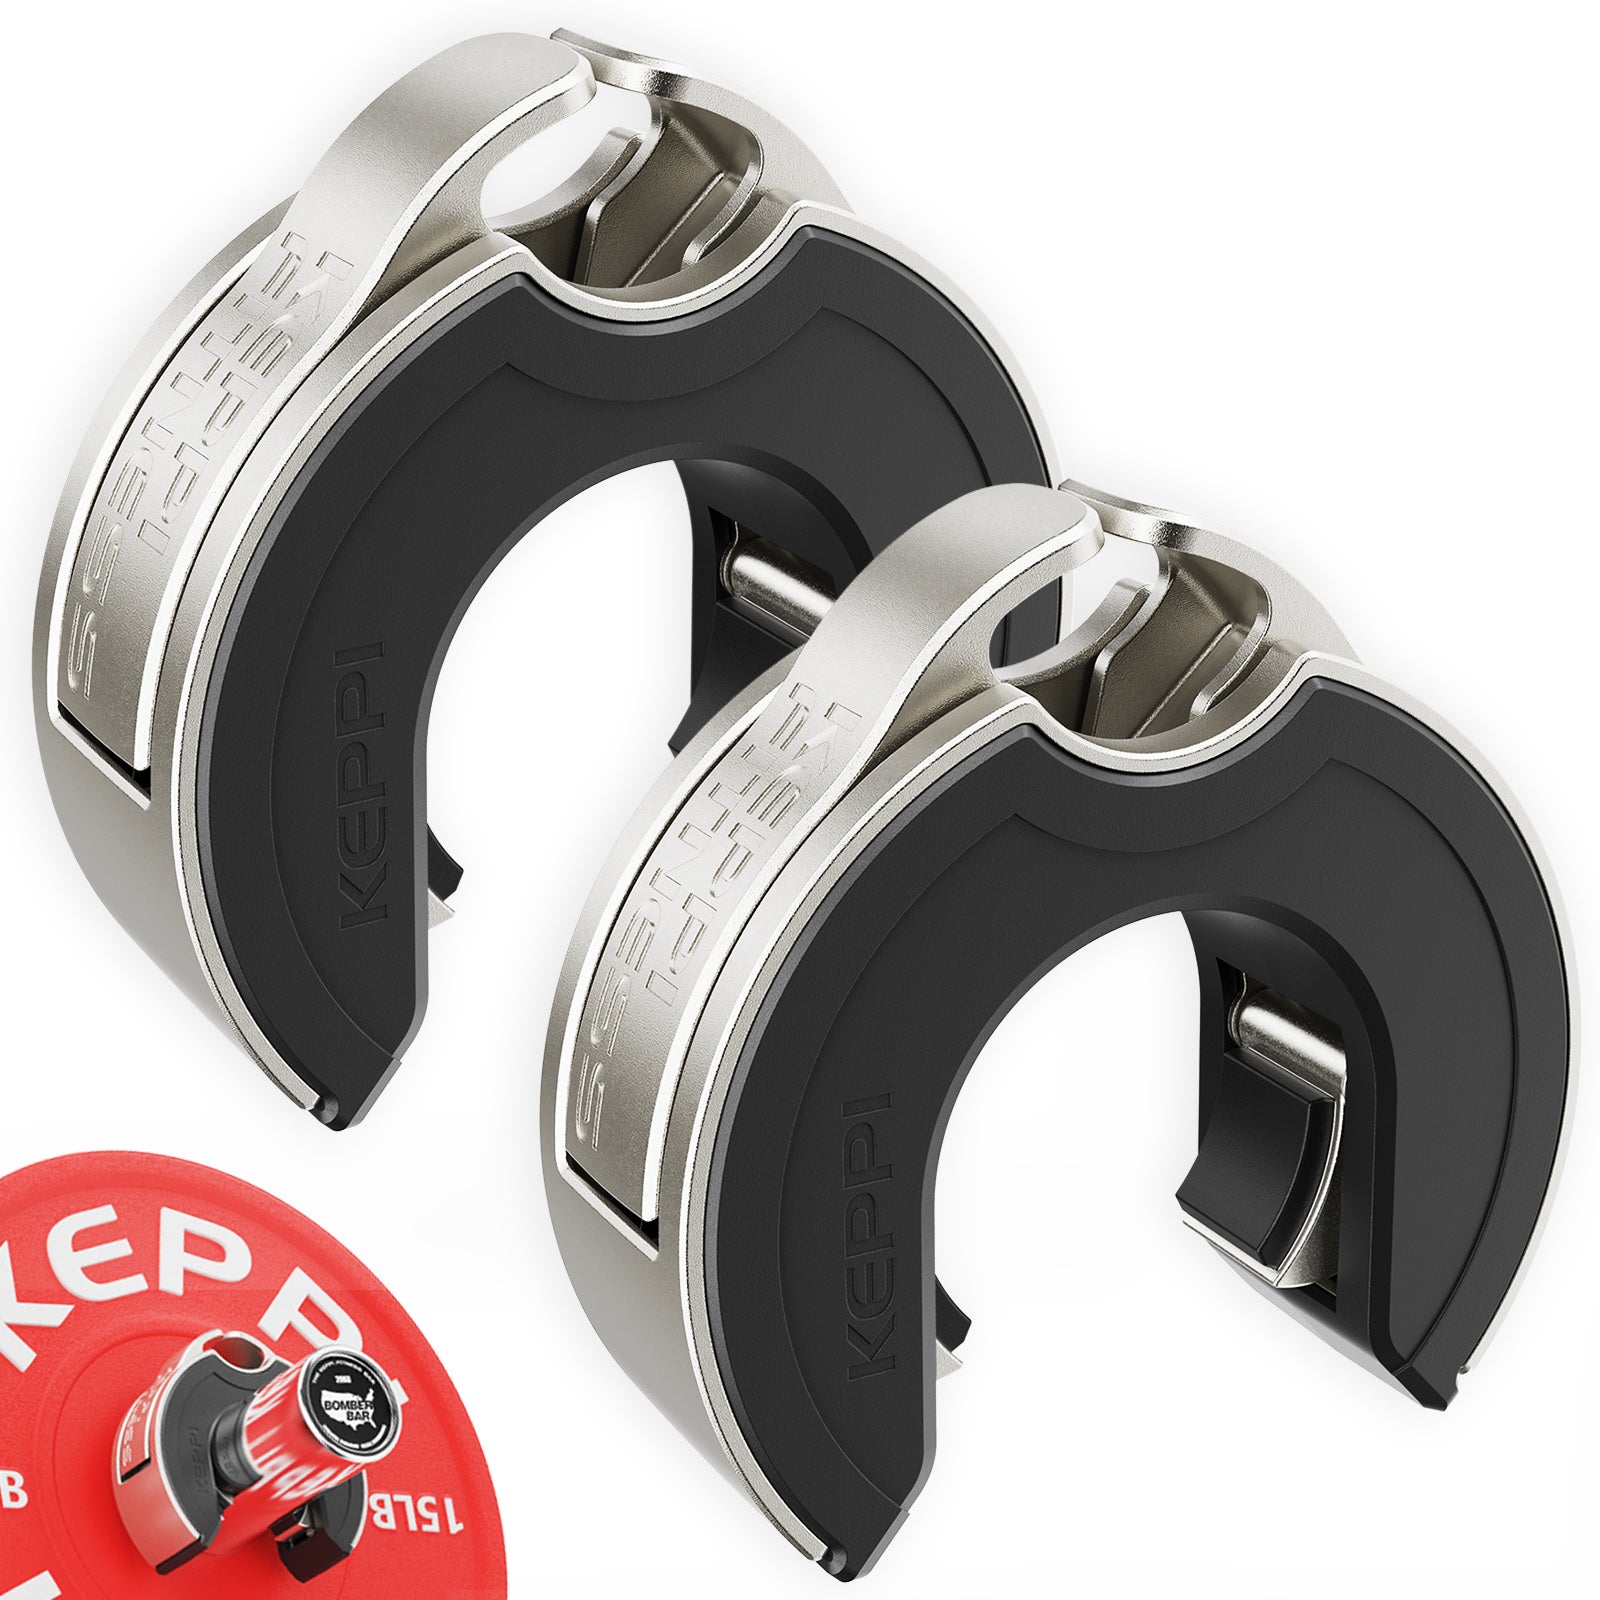
Keppi Open Collars
C-shaped magnetic Olympic barbell collars with a quick-lock mechanism and grippy lining.
Land quietly and reset instead of bouncing into the next rep
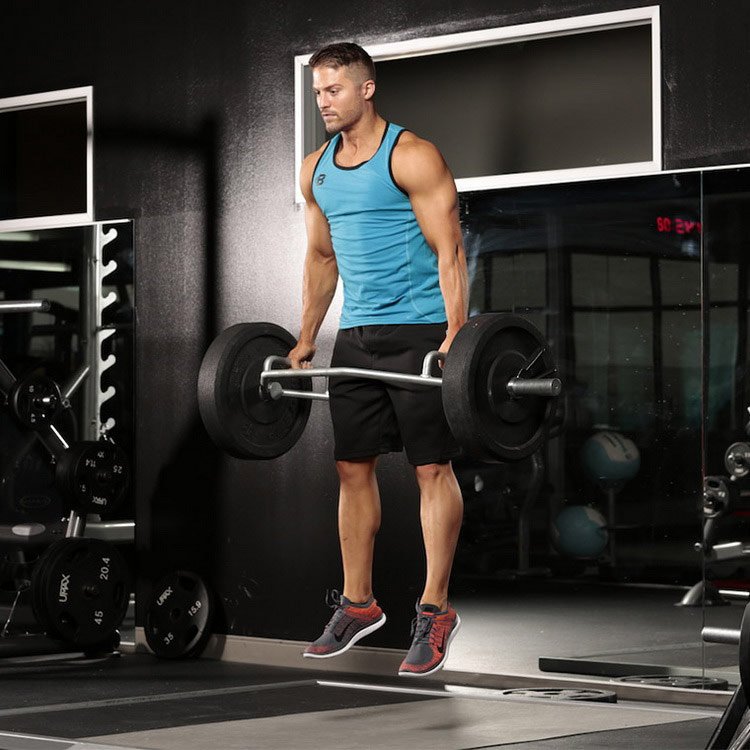
The landing matters as much as the takeoff. Reconnect with the floor on the whole foot, let the ankles, knees and hips flex naturally, and absorb the load in a partial squat. Your knees should travel in a comfortable line with the feet rather than suddenly collapsing inward. Keep your torso organized and avoid a sharp jolt that slams the bar downward as your feet touch.
A quiet landing does not mean trying to freeze your joints or landing only on the toes. It means the body decelerates smoothly enough that the movement stays under control. When the bar swings forward, your heels crash down hard or one foot lands noticeably before the other, reduce the load and reassess stance, dip depth and jump intent. Where necessary, return to regular jumps without the bar until the coordination improves.
Do not link every rep into a fast reactive bounce just to make the set feel athletic. These are often programmed as discrete power efforts. After each landing, stabilize the bar, reset your feet and breathing, and reproduce a high-quality takeoff. Repeating poor landings for the sake of completing a prescribed number of reps undermines the main purpose of the exercise.
If you notice sharp joint pain, loss of balance or a grip that is opening as you land, terminate the set. Pain should not be reinterpreted as evidence that the movement is effectively training the knees. An athlete recovering from surgery, dealing with a current lower-limb injury or unable to tolerate impact should seek appropriate professional guidance and use a non-jumping alternative when warranted.
Your goal is not the loudest barbell or highest visible leap. It is a powerful, repeatable extension followed by a controlled deceleration. Filming a short side-view or front-quarter set can help you see whether the bar hangs level, the feet leave the floor evenly and the landing stays consistent.
Choose loads and reps for power, not ego
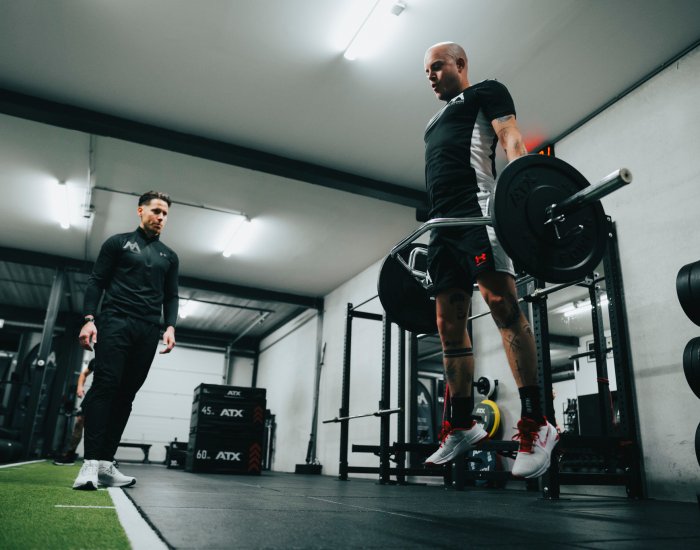
Start with the lightest implement that allows technically clean jumps. Some strength-and-conditioning observations have found high relative power with surprisingly light external resistance, including around 10–20% of squat one-repetition maximum for some rugby athletes. That does not mean every lifter should load a trap bar to that exact percentage. Squat 1RM and trap-bar working load are different reference points, and people differ in strength, skill, jumping ability and bar design.
In one small sample of 17 rugby players, the group-average power peak was in a low loading range, yet individual peaks varied. This is a reminder that a team average is not a personal prescription. Reported associations between jump-power tests and sprint or jump performance also do not prove that adding a specific exercise will improve those outcomes by a predictable amount. Think of the evidence as a reason to test useful options, not a promised sprint-speed shortcut.
For a practical starting session, try three to five sets of two to four controlled reps, leaving substantial recovery between sets. Choose a load that lets every takeoff stay visibly quick, and rest roughly two to three minutes when you need it. These are conservative starting heuristics, not laboratory-derived optimal volumes. A beginner may need only two sets of unweighted jumps; an experienced athlete can refine loading with bar-speed or jump-height measurements if available.
Track something more useful than soreness: bar weight, number of clean reps, relative jump height or distance from a consistent video reference, and whether the landings felt stable. If speed drops, technique deteriorates or impact grows louder, terminate the set rather than chasing an arbitrary rep count. Small increases are appropriate only when execution remains explosive. For many lifters the best progression is better consistency at the current weight.
Compare the work with your other explosive lifts. Squat jumps, kettlebell swings, medicine-ball throws and some Olympic-lift derivatives all train related but not identical qualities. The trap bar offers a neutral-grip weighted jump without requiring a front-rack catch; it does not make every clean, snatch or unweighted plyometric obsolete. Pick the variation that matches the physical skill and available coaching.

Leg Day Shirts & Workout Gear
Leg-day gym shirts and workout gear for lifters who never skip squats, lunges and lower-body punishment.


Legday Gains Squats & Deadlifts , Top & Bros T-Shirt
Bring “Legday Gains” humor to your next gym day.

2 Plates Squat Club Meme Shirt – Motivational Leg T-Shirt
Heavy lifts, good laughs, and a little “2 Plates Squat Club” energy.

My Leg Hurts Leg Day & Squat Meme Fans Vest Tank Top
Train hard, laugh a little, and rep “My Leg Hurts”.

Not Recommended Leg Day 1 Star Review Squats Hoodie
Bring “Not Recommended Leg Day” gym humor to lazy days and post-workout plans.

I Love Squats Gym | Funny Valentine's Workout Pullover T-Shirt
For laid-back days and leg-day humor: “I Love Squats”.

Deadlift Skull Explosion Graphic for Powerlifting Leg D T-Shirt
Make gym days more fun with “Deadlift Skull” style.


Squatbucks Gym | Funny Starbucks Parody Workout Decal | Sticker
Stick a little “Squatbucks” humor on your favorite gear.
A four-week progression and the mistakes to avoid
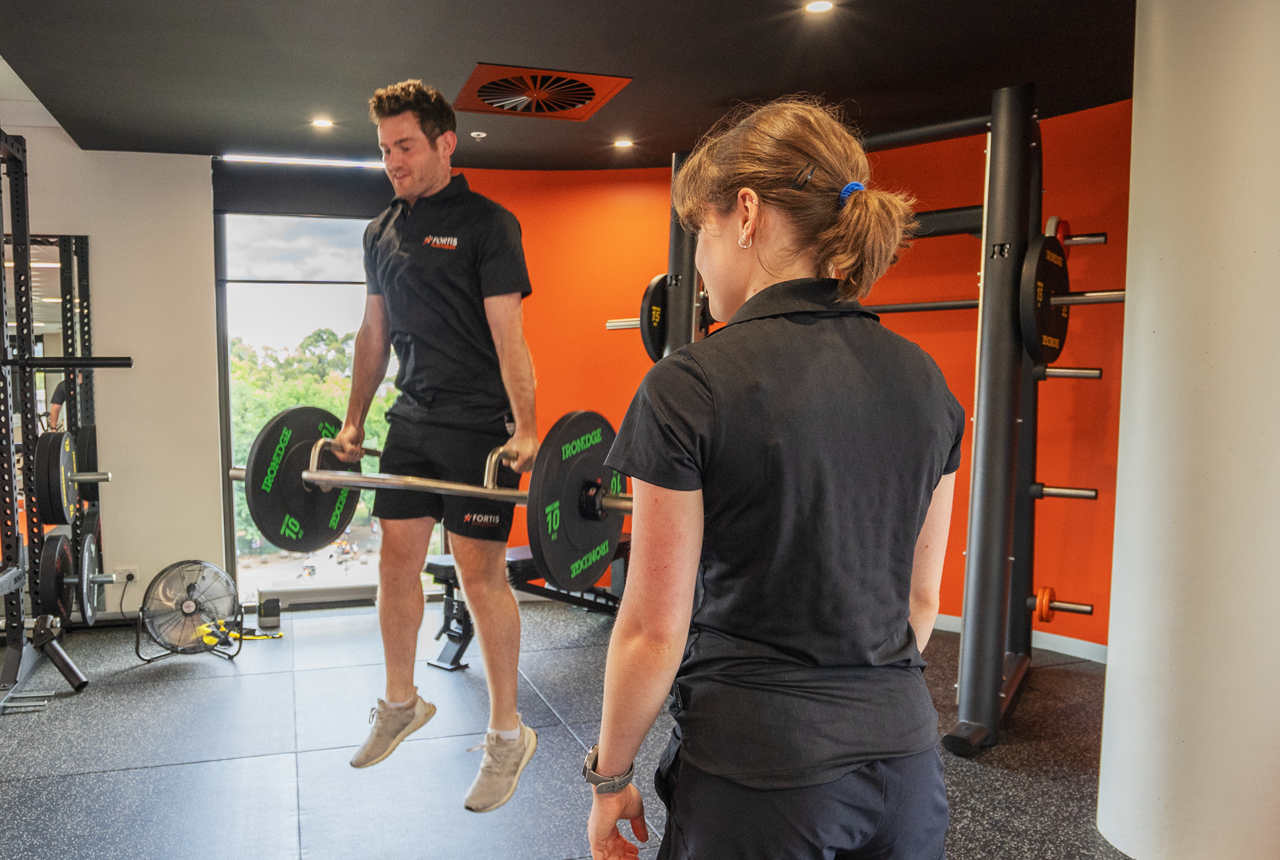
Week one is a technique audit. After a normal warm-up, perform two or three sets of three unloaded jumps, then—only if those are crisp—add very light trap-bar jumps for two or three sets of two. Film a set from the side. Pay attention to symmetry, bar clearance and whether your landing looks as controlled as the start. Leave the session feeling that you could easily do more.
In week two, use three or four sets of two or three reps with the same light load if quality holds. Develop a repeatable starting dip and pause long enough that each jump is a new effort. In week three, choose either a small load increase or slightly better speed at the same load, but not both a heavier bar and a higher volume target together. Retain substantial rest between sets. If jump height deteriorates or the movement gets noisy, return to the previous load.
Week four can be a comparison week: repeat the first week’s loading and inspect takeoff speed, control and consistency. An athlete with access to reliable jump-testing equipment may record objective power-related measures, but a simple side-by-side technique video is still useful. Avoid treating one good-looking session as proof of a long-term training adaptation; exercise progression is affected by sleep, fatigue and how you schedule other lower-body work.
The common errors are easy to identify: using a weight that turns the exercise into a partial deadlift, bending the elbows to lift the handles, shooting the hips up before the shoulders, landing stiff-legged, using a slippery surface or jumping too close to surrounding equipment. Another mistake is doing heavy squats, extensive sprinting and high-volume loaded jumps together when legs are already fatigued. Place the power work relatively early in the session, after an appropriate warm-up and before high-fatigue lower-body accessories.
Power jumps are an option, not a mandatory rite of passage. If you cannot tolerate landing impact, do not have a safe hex-bar setup or simply want a lower-skill power exercise, choose appropriate unloaded jumps, sled accelerations or throws instead. The successful version is the one you can execute decisively, recover from and progress without degrading movement quality.
Bottom line: choose an easy-to-control bar, accelerate with intent, land softly, stop when speed fades and let repeatable movement quality determine when the load goes up.