Advertising disclosure: This page includes affiliate product links that may earn us a commission, as well as products from our own store.
A trap-bar carry sounds simple: pick up a loaded frame and walk. But before adding another plate, you need to know whether the frame clears your legs, whether the pickup feels controlled, and whether grip or conditioning is the actual goal. An open trap bar and a closed hexagon are not interchangeable once you start taking steps. They have different clearance, handling and turning requirements, even when they weigh the same.
This guide covers the exercise as a practical strength-training tool rather than a shortcut to guaranteed core development. It explains how to assess your equipment, make the first steps repeatable, compare grip strategies and create a six-week progression. It also explains where trap-bar carries fit into fitness-race training, and where they fall short of using separate weights.
What a trap-bar carry trains, and what it cannot prove
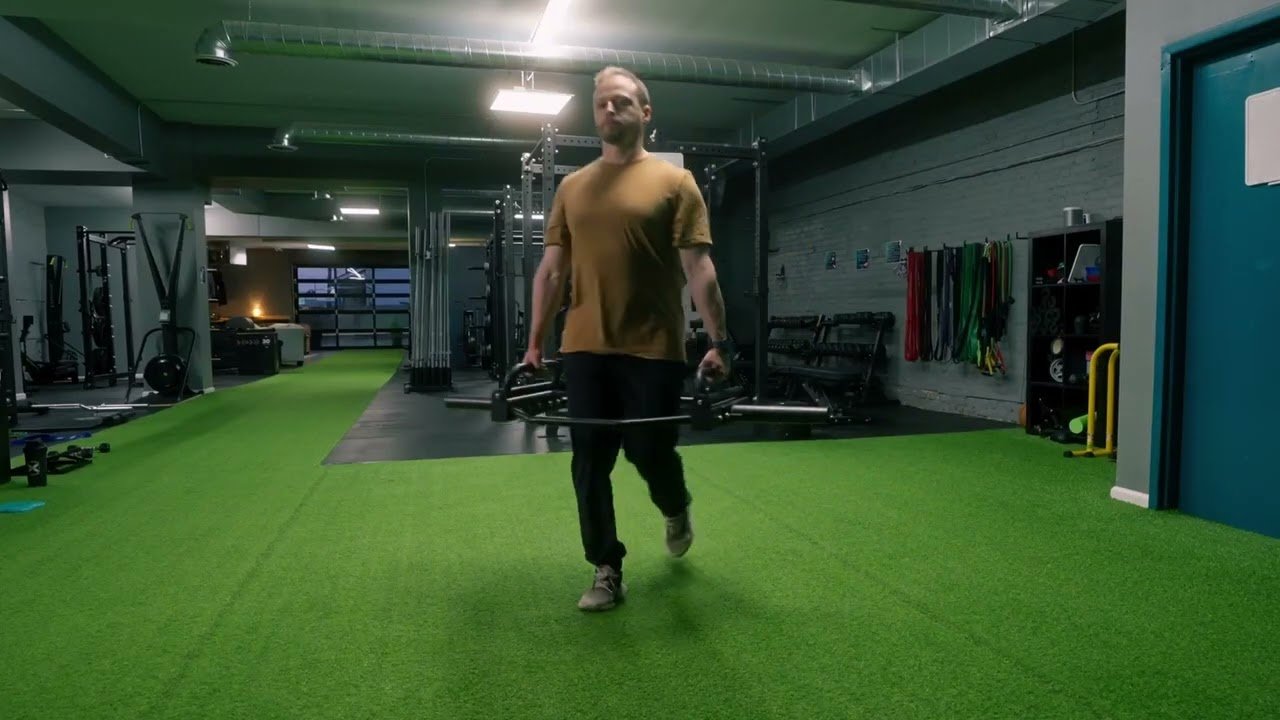
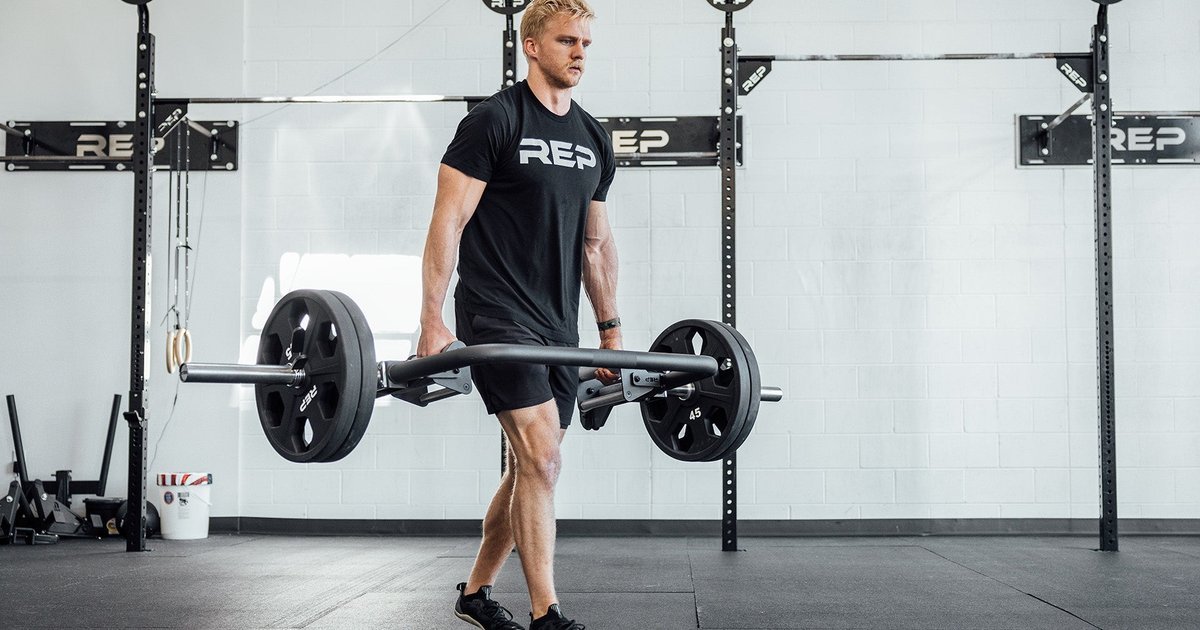
A carry takes the standing finish position of a trap-bar pull and adds locomotion. Your fingers and forearms secure the handles, the upper back keeps the shoulders organized, the trunk resists shifts as your feet alternate, and the legs produce each step. It is a straightforward way to add loaded movement to a strength session. A short carry can be limited by maximum grip tolerance; a longer moderate carry may challenge breathing and general work capacity.
The appeal is that you can choose what to emphasize. One lifter uses a fairly heavy load for a brief straight lane, resting enough to repeat the effort with similar steps. Another uses a lighter load to accumulate more controlled walking time. Neither is automatically superior. Those are different prescriptions, just as five heavy deadlifts are not interchangeable with a set of twenty lighter repetitions.
A trap bar joins the two grips to one rigid frame, so the load usually feels more centered than two separate dumbbells. However, that does not make the movement effortless to stabilize. Every foot strike can introduce small shifts, and a poor pickup or sudden stop can move the frame more than expected. Nor should a trap-bar carry be sold as an injury-proof alternative to every conventional lift. Studies comparing trap-bar and straight-bar deadlifts examine a different task; they cannot establish that walking with a trap bar prevents back pain or produces a special hypertrophy advantage.
Judge the exercise by what you can observe. A successful set includes a repeatable pickup, controlled steps, a stable grip and a deliberate setdown. If the hands are opening, log grip as the limit. If the stride shortens dramatically or the bar keeps striking the legs, consider the frame incompatible with the route or the weight too high. Those observations tell you what to train next rather than pushing blindly through a deteriorating rep.
Choose an open or closed frame before adding plates
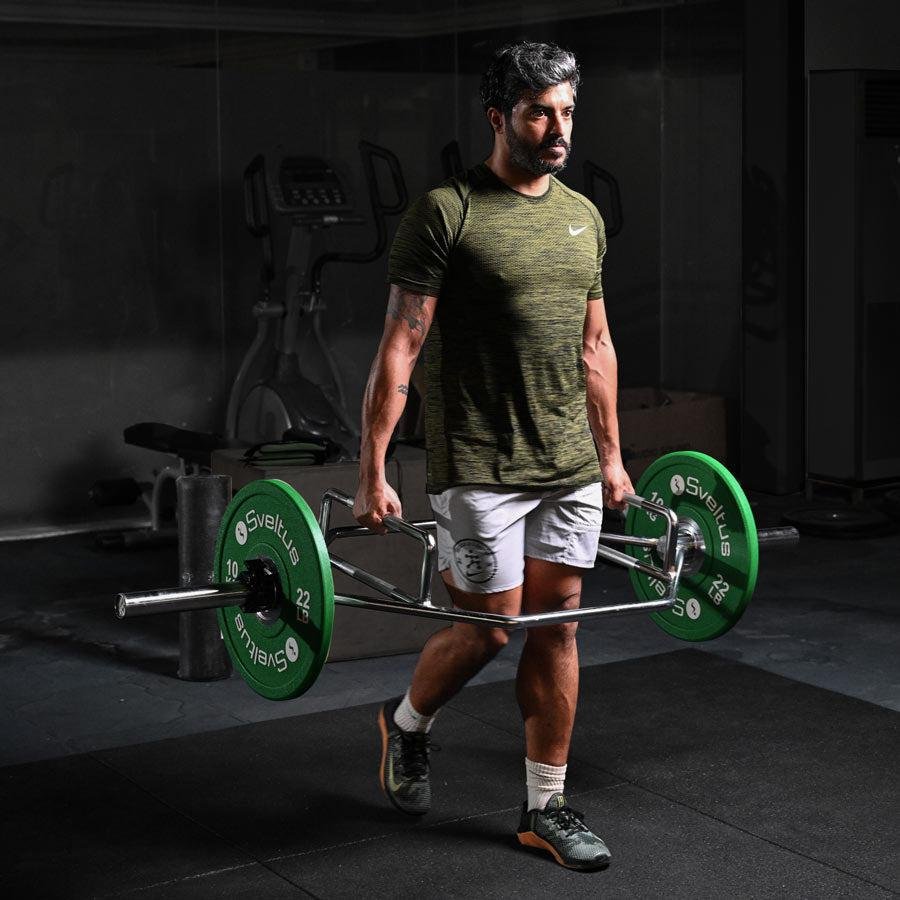
An open trap bar leaves a section of the frame clear. That opening can make a forward stride and a straightforward entrance or exit easier, especially for taller lifters or longer walking routes. Some open models also have useful storage or raised-handle options. The benefit for carries is practical clearance: a bar that does not obstruct the normal path of your knees is easier to use for walking distance.
A conventional closed hex bar surrounds the lifter. It can work very well for deadlifts, shrugs and static holds, but suitability for distance carries depends on its actual dimensions and your stride. Some designs allow a limited careful shuffle; others bump the lower legs almost immediately. Try a few unloaded steps and a modest test load first. Do not turn your natural gait into a series of awkward mini-steps merely to justify using the bar you already own.
Check the handle height and diameter too. High handles reduce the distance required for the initial pickup, but do not independently make the walking part easier. Low handles may require a deeper start position. Thick handles demand more from the fingers, while sharper knurling can improve purchase at the cost of skin comfort. When comparing models, keep the empty bar weight in your total load and note whether both sides can accept secure collars.
Clear a straight lane before you train. The sleeves extend outside the frame, and a heavy loaded bar needs more room than your shoulders. Allow space to stop well before a wall, rack or other person. Turning through a narrow corner with a connected frame can be more awkward than carrying two independent bells. For a compact home gym, five safe meters with a controlled setdown may be much better than ten meters that require colliding with equipment.
Equipment capacity is not a personal prescription. A bar’s rated load only tells you something about the hardware under specified conditions, not how much you can carry with balanced posture and secure grip. Start below the weight you think you could deadlift once. If you cannot lift, walk and put the bar down confidently, you have already found the immediate limit that matters.

Equipment Worth Exploring
Explore equipment, accessories and gear from our carefully selected range.


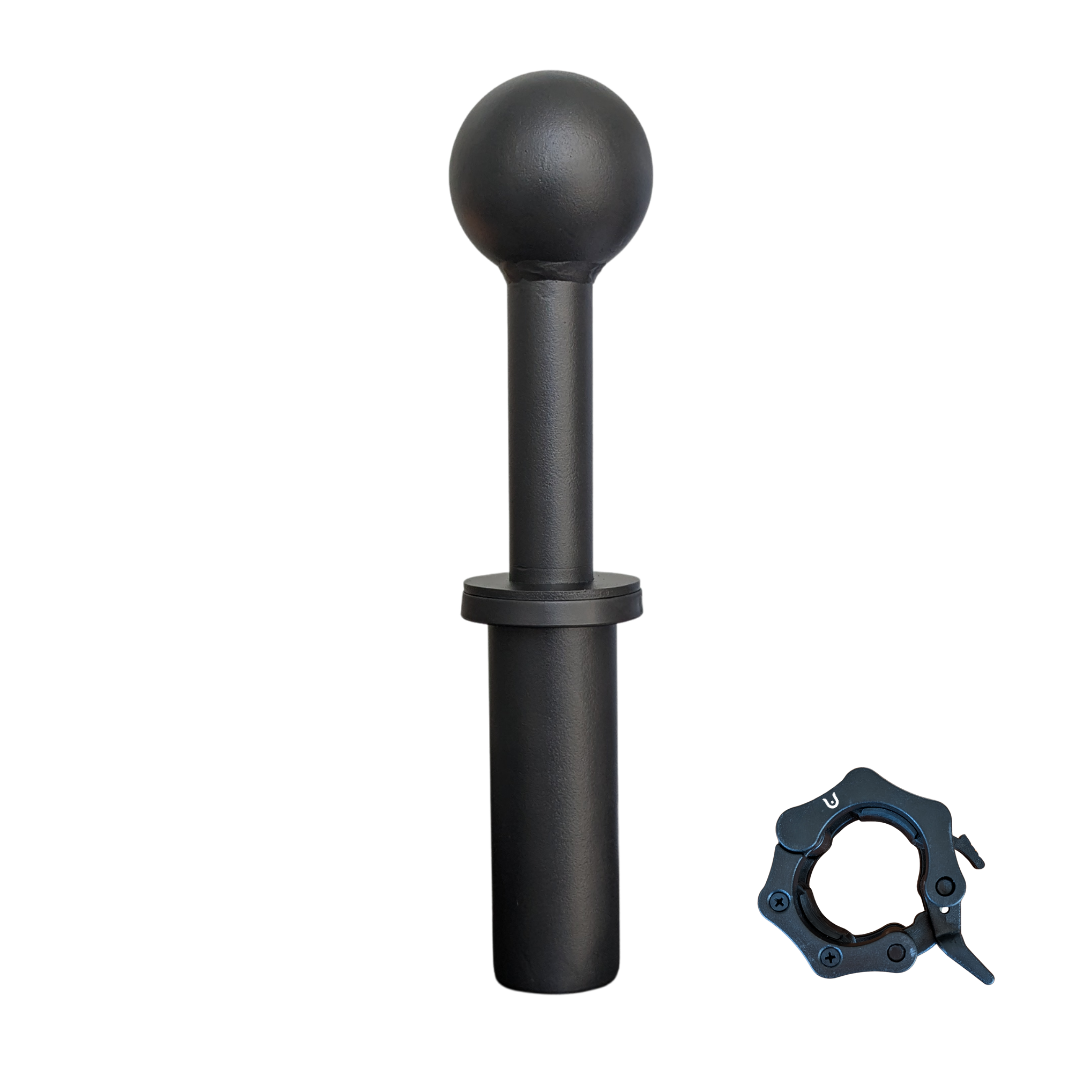
Open Hex Bar
Open-frame trap bar with multiple handles for deadlifts, carries, and lower-body training.


Competition Plates
Competition-style bumper plates for Olympic lifts and loaded strength training.


Grip Plates
Rubber-coated weight plates with handholds for loading barbells and machines.

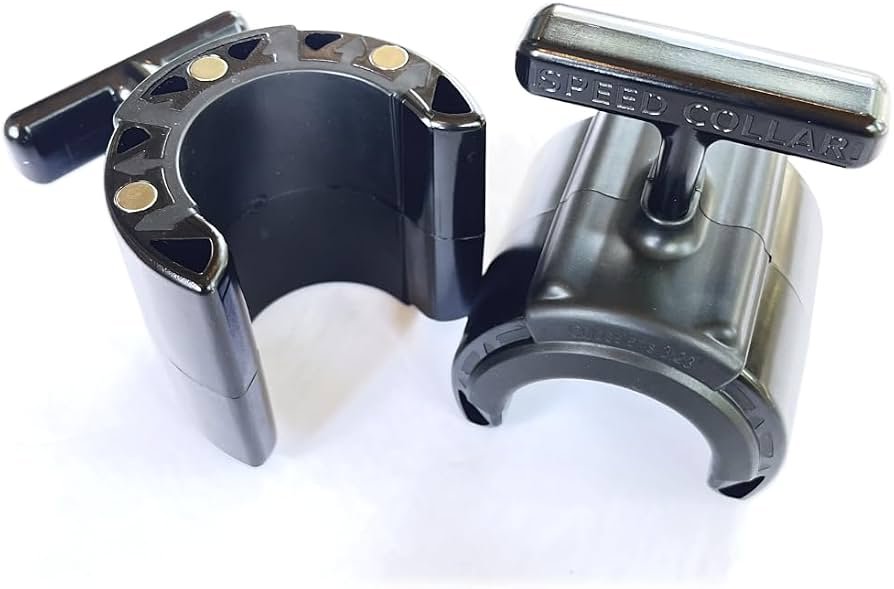
Speed Collar
Quick-release collars designed to secure weight plates on standard two-inch Olympic bars.
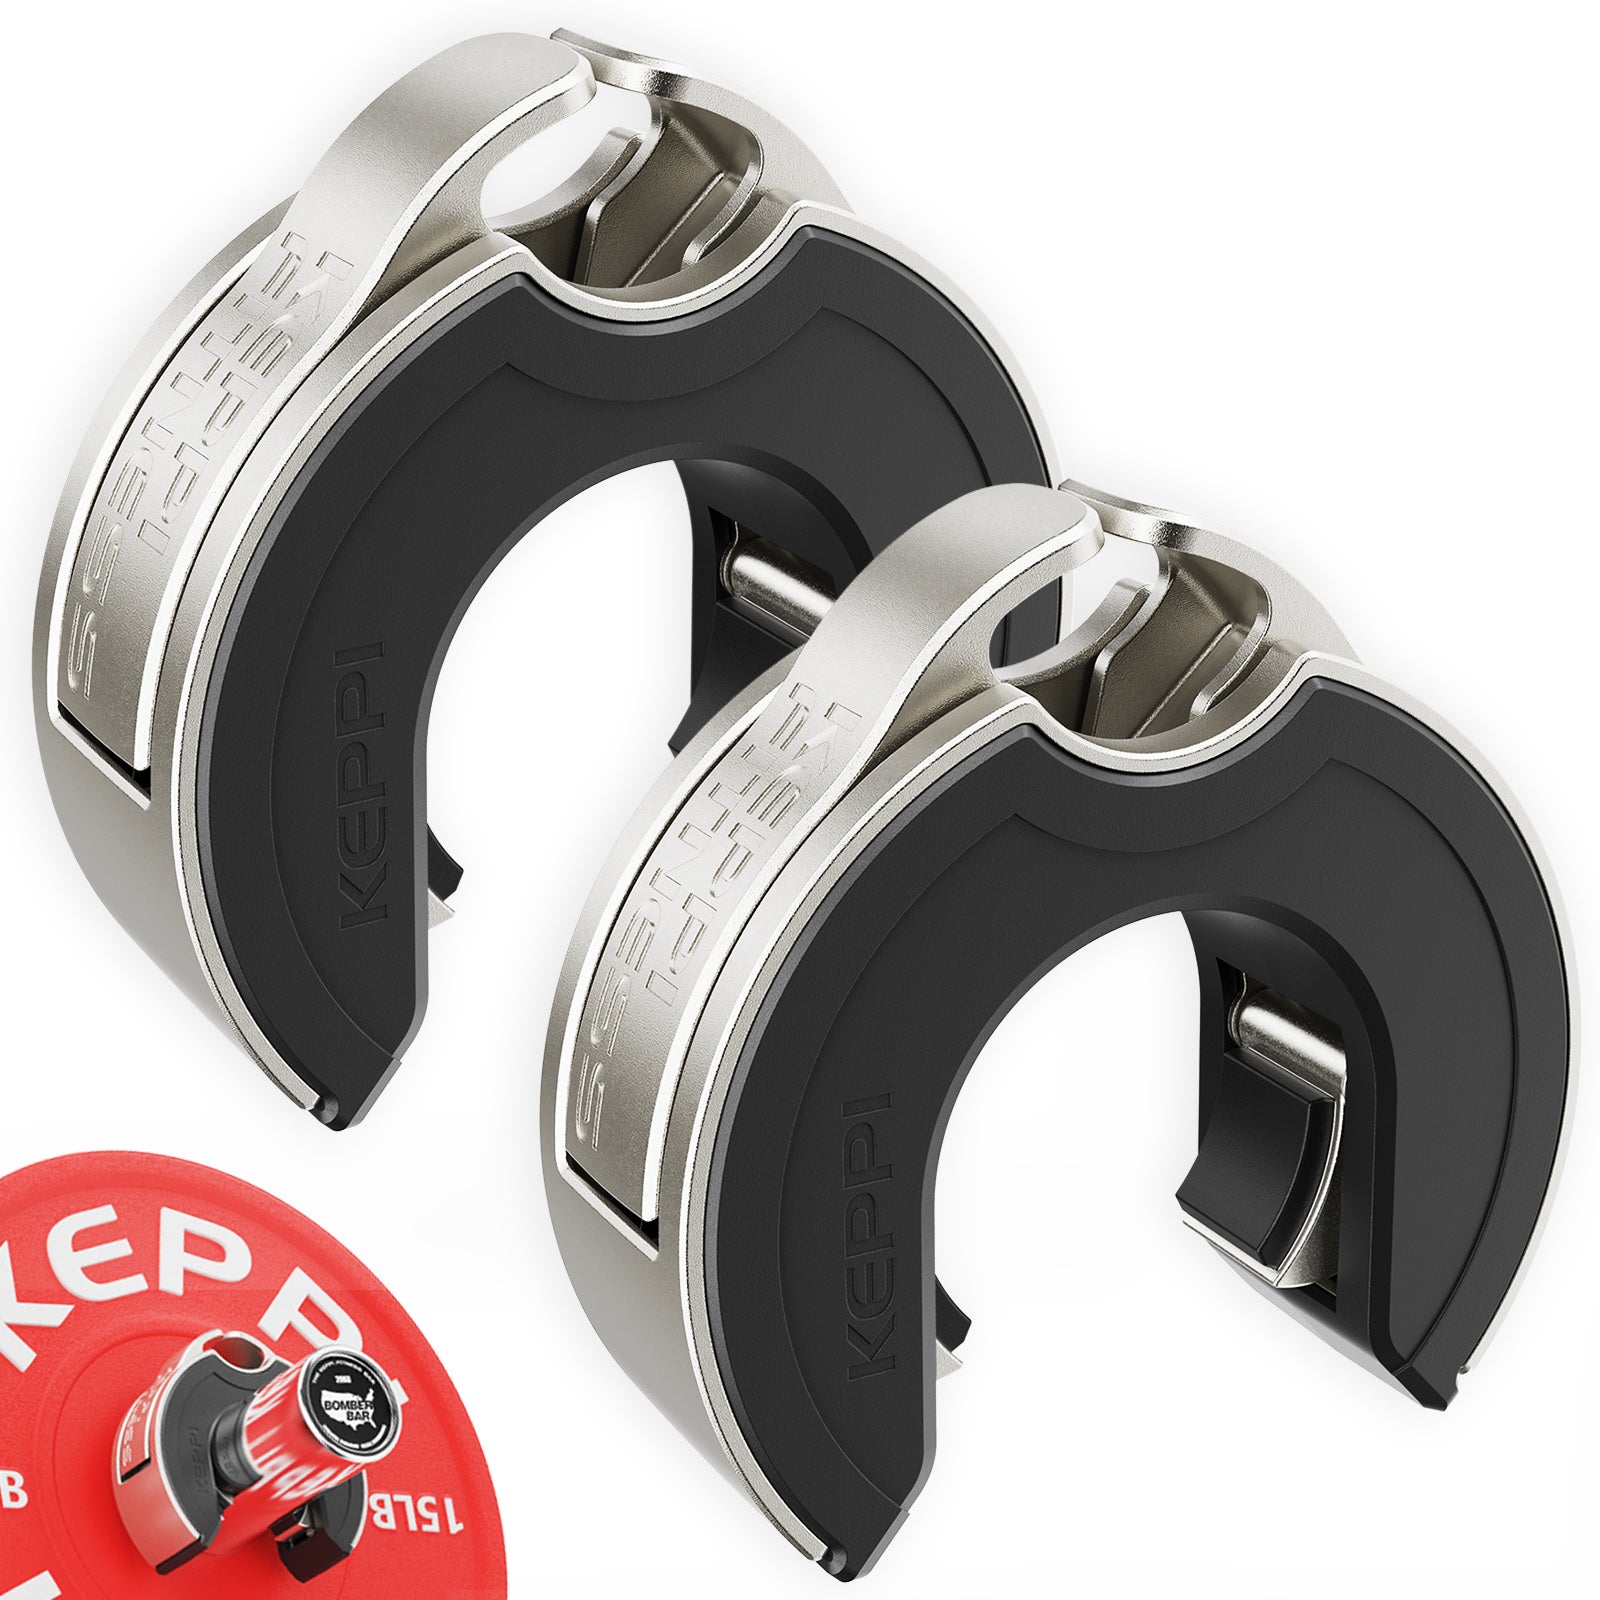
Keppi Open Collars
C-shaped magnetic Olympic barbell collars with a quick-lock mechanism and grippy lining.
Pick up the bar, brace and make the first steps boring
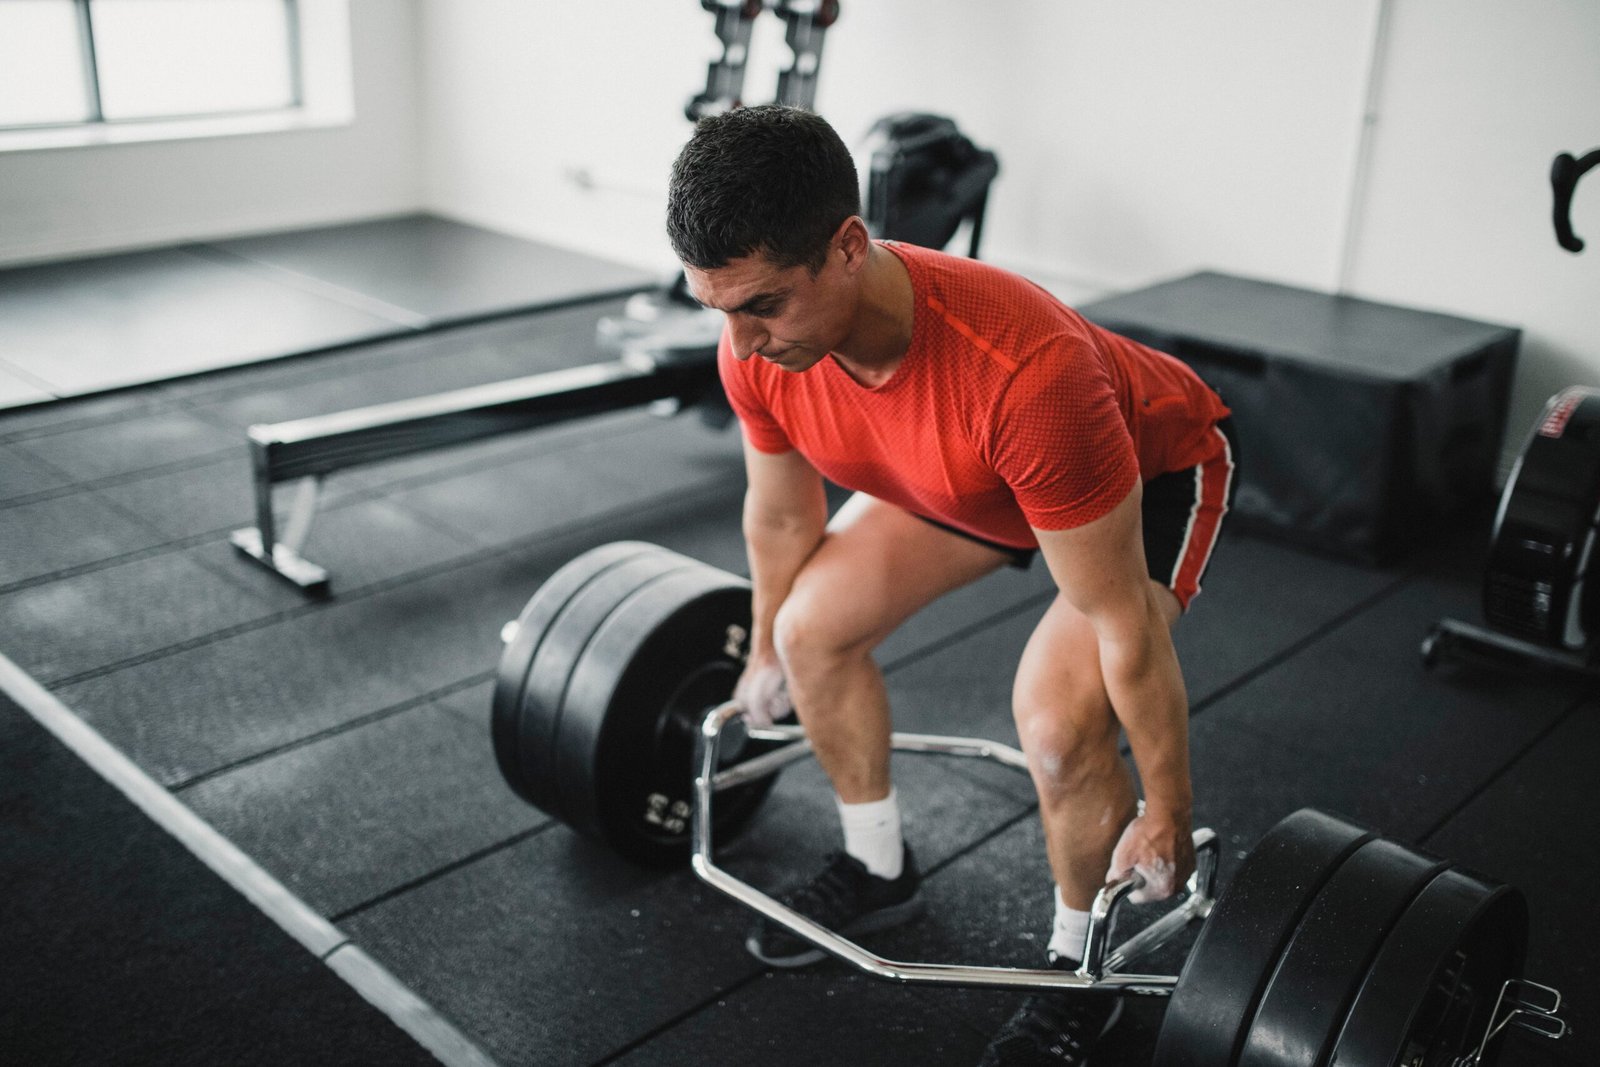
Begin on even flooring with matching plates on both sleeves. Step inside the frame and center your body between the handles, with the feet at a comfortable natural stance. Reach down by bending through the hips and knees as your mobility allows, then take a full, secure grip on both handles. Before lifting, create trunk tension and check that your hands are evenly placed. Your setup should feel like a controlled trap-bar pickup, not a rushed grab between walking intervals.
Stand by driving through the floor until your knees and hips are extended. Let the arms remain straight; do not intentionally jerk the bar upward or force your shoulders into a dramatic shrug. Once upright, settle the load for a moment. A slight sway is easier to control while stationary than during the first step. Look along the route rather than continually examining the plates.
Take a natural but slightly deliberate first stride. Keep the bar reasonably level, let your shoulders stay organized and maintain enough trunk tension to avoid excessive leaning. Your aim is not to march like a robot, but to prevent long overstrides and uncontrolled bouncing. If the frame clips a shin, stop the set and adjust your implement or route. Continuing to collide with the bar is not productive technique work.
Walk to the pre-marked stopping point, decelerate, and stand still before lowering the weight. Hinge, bend your knees and set both sides on the ground under control; release only after the plates settle. A rushed turn while still holding a heavy connected frame can be unnecessarily risky. When space is limited, setting it down, turning around and lifting again is a legitimate training choice, but log the two segments as separate efforts.
Film an easy practice set from the side if you want a quick form check. Did the pickup start evenly? Did the last step look as organized as the first? Could you stop and lower the bar without a drop? Was there obvious sleeve wobble or leg contact? Those checkpoints beat chasing a personal record that only exists because the final meters looked nothing like walking.

Powerlifting Shirts & Lifting Gear
Powerlifting shirts and gym gear for squat, bench and deadlift lifters who live for heavy numbers.

Deadlift Skull Cyberpunk Gym Crewneck for Powerlifting T-Shirt
Show some gym-day personality with “Deadlift Skull”.

Patriotic Eagle Deadlift Stars Stripes and Deadlifts Pu Hoodie
Show off your deadlift humor in a laid-back “Patriotic Eagle Deadlift” hoodie.

I Love Deadlifts Gym | Pink Heart Weight Plate Funny Wo Sticker
Put “I Love Deadlifts” gym humor on your laptop, bottle, or gym gear.

Defy Gravity Shirt Old School Weight Strongman Meme T-Shirt
Bring “Defy Gravity” humor to your next gym day.

Christian Gym Pray Heavy Lift Heavier Medieval Crewneck T-Shirt
Show some gym-day personality with “Christian”.

Skeleton Deadlift Weightlifters & Deadlift Lovers Tank Top
Your gym-day look, with a playful “Skeleton Deadlift” twist.

Flaming Skull Crewneck Gym Wear Strength Gift Uplift Ir T-Shirt
Keep things casual with a little “Sweatshirt Flaming Skull” attitude.

I’m Strong Barbell Heartbeat Crewneck Pullover for Powe T-Shirt
Bring “I’m Strong Barbell Heartbeat” humor to your everyday gym style.

9 Plates Deadlift Club Motivational Meme & Ultimate T-Shirt
Show some deadlift attitude with a playful “9 Plates Deadlift Club” tee.

45LB Metal Weight Plate Barbell Standard Lifting T-Shirt
For laid-back days and metalhead humor: “45LB Metal Weight Plate”.
Grip, straps, handle thickness and distance are linked
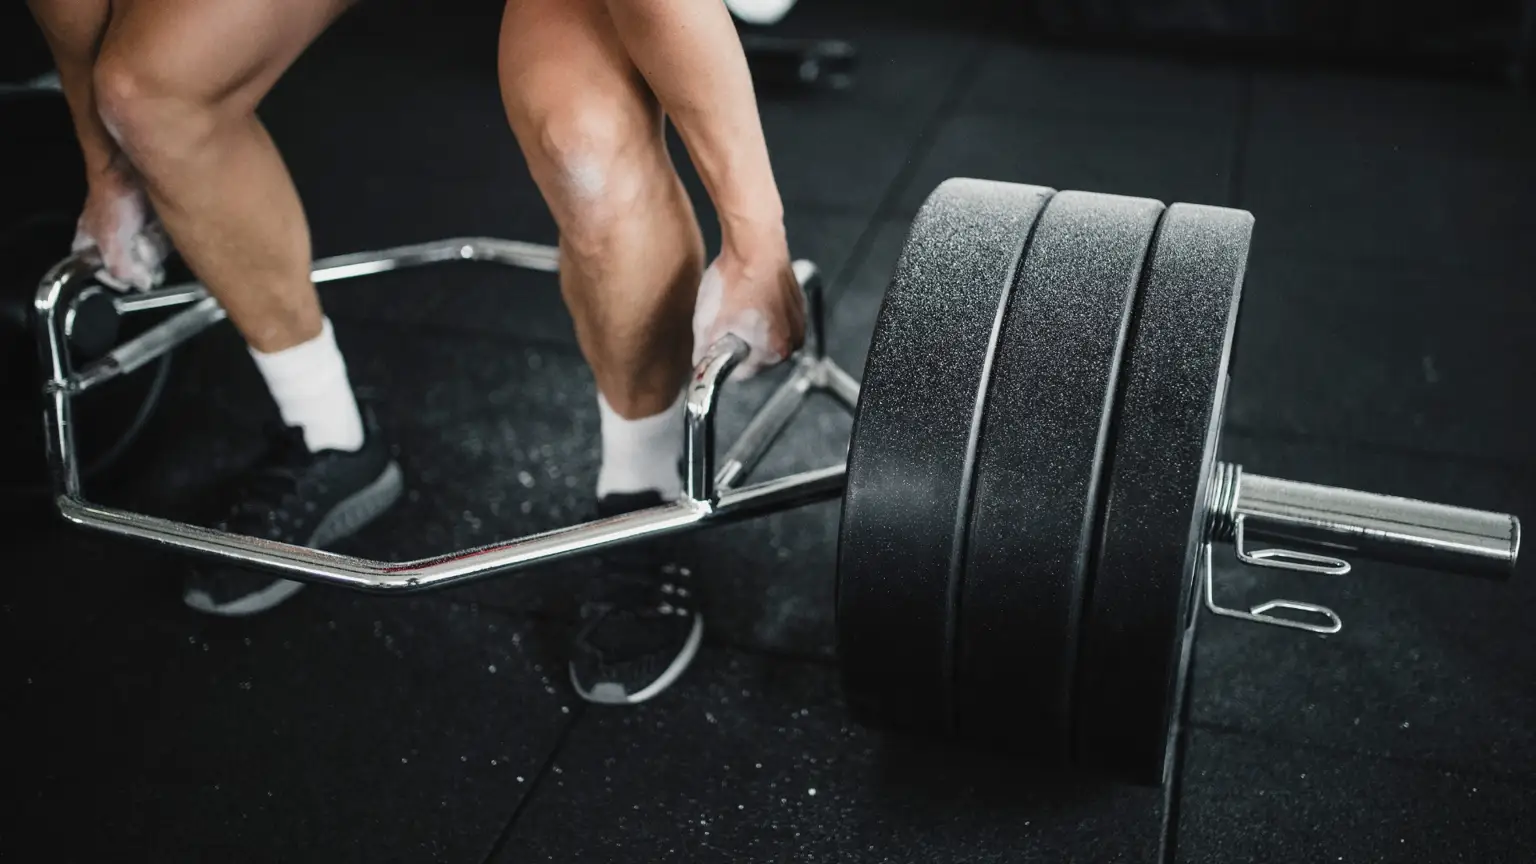
Grip is a frequent limit on carries, but you should distinguish grip training from simply losing your hold. If you choose a heavy twenty-meter walk, the hands might be the intended challenge. If you choose a long moderate walk for conditioning, you may want the legs and breathing to do more of the work. The same weight can feel very different with a thinner knurled handle, a thick smooth handle or a pair of independent kettlebells.
Keep your handle surfaces clean, and use chalk where permitted if sweat is the main problem. Do not assume that thicker always means better. Thick grips can make the hands fail sooner; that can be valuable for grip practice but counterproductive if the aim is to accumulate distance without compromised posture. If a rough handle tears up your skin before the targeted muscles are meaningfully trained, reduce the demand or change implements rather than treating damaged hands as a badge of honor.
Straps can have a role when the target is trunk, leg or conditioning work and the hands are the obvious bottleneck. But they change the exercise. They also alter how quickly you can release an unstable load, so use only a secure method you know how to exit. Skip straps for sets where unassisted grip development is the objective. Decide the purpose beforehand rather than adding assistance mid-program and calling the result a new grip record.
Distance, time and weight are separate progression levers. An eight-second heavy carry is not the same exposure as a thirty- or forty-second moderate carry. When your set is controlled, add a little distance before adding plates, or keep the distance fixed and increase load modestly. Do not raise both at once while shortening rest, then wonder which change caused your technique to decline.
Heavy carries can also interfere with the rest of your session. If your deadlift, row and pull-up performance matters, consider placing grip-intensive carries after those lifts or on another day. A hard carry before every back exercise is an easy way to make your fingers the limiting muscle for the whole workout. Maintain room for recovery and for the work you already prioritize.
Trap bar versus dumbbells, kettlebells and carry handles
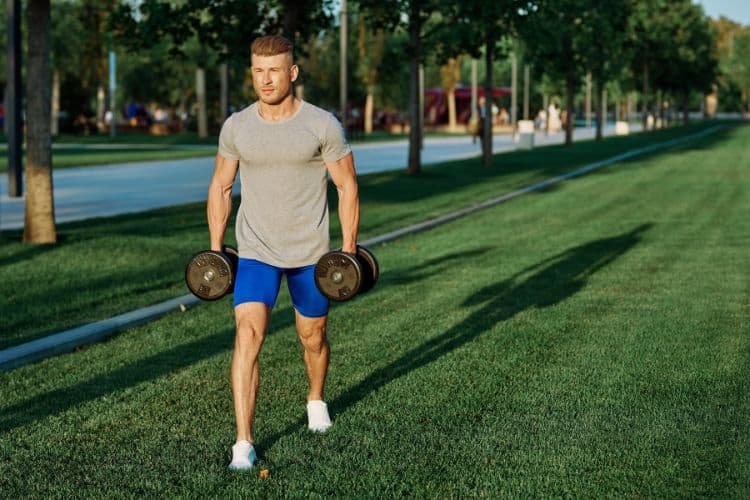
Dumbbells are often the simplest farmer’s-walk option. Select two appropriately heavy bells and walk. The hands hold separate implements, so each side can swing or shift independently. That independence is a useful coordination challenge, and most gyms already have dumbbells ready to use. Their limitation is the available load range: at some point the heaviest pair may not challenge short heavy carries, or the next size may be a larger jump than you would like.
Kettlebells offer similar independent-hand practice but hang differently because of their shape and handle. Some people find them comfortable for repeated moderate-distance walks. Dedicated farmer’s handles allow separate plate-loaded implements, though their pickup height and swing can require practice. An open trap bar, by contrast, links the handles, makes incremental plate loading straightforward and may feel more stable as a single frame, but requires additional clearance and a suitable turn strategy.
When space is restricted, separate dumbbells may be a smarter choice than a wide bar even if the trap bar supports more kilograms. When grip strength is the goal, the thick handle or independent-handle alternative might be useful. For a gym with a straight turf lane, an open frame can make heavier walks convenient. The word better has to refer to a particular task, not to the price or size of the implement.
Fitness-race preparation adds an important distinction. The official 2026/27 HYROX singles rules prescribe a 200-meter farmer’s carry using two separate kettlebells: 2 x 16 kg for Women Open, 2 x 24 kg for Women Pro and Men Open, and 2 x 32 kg for Men Pro. A trap bar cannot reproduce those two independent weights or the exact handling of turns and transitions. It can provide useful general loaded-walking work, but it is an accessory, not a competition-equivalent replacement. There is no validated conversion between trap-bar total mass and race kettlebell kilograms.
Before a race, practice with the same type of independent implements you will actually use, at the intended course length and with turns. For general lifting, you can choose on preference and setup practicality. You do not need a specialty bar to benefit from a carry, and a big load on a connected frame does not automatically mean your race-specific carrying skill is equally developed.
Equipment Worth Exploring
Explore equipment, accessories and gear from our carefully selected range.


Rubber Hex Dumbbells
Rubber-coated hex dumbbell pairs with a stable shape for home and commercial strength training.


Cast Iron Kettlebells
Textured cast-iron kettlebells for swings, squats, carries, and full-body training.


Leather Lifting Straps
Padded leather straps support grip during heavy rows, deadlifts and pulling exercises.
A six-week trap-bar carry progression you can measure
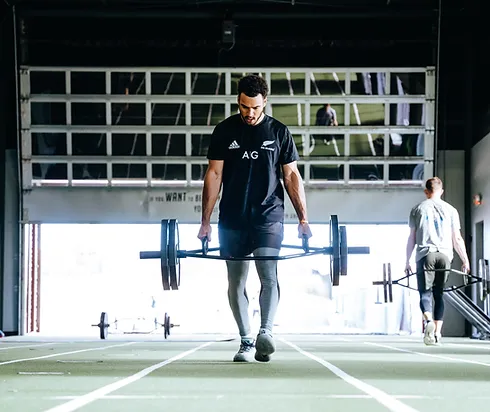
Begin with one or two carry sessions per week, placed where they will not undermine your main strength work. The following schedule is a conservative coaching example, not an experimentally proven optimal protocol. It assumes a safe straight lane, competent pickup technique, manageable grip demand and no medical restriction that makes loaded carries inappropriate. If any of those conditions is missing, adjust the task first.
| Weeks | Example prescription | Main checkpoint |
|---|---|---|
| 1–2 | 3 x 10–15 m, light to moderate, resting 90–150 seconds | Frame clearance, secure grip and smooth setdown |
| 3–4 | 3–4 x 15–20 m at the same load when every set is steady | Similar stride and pace from first to last set |
| 5 | 4 x 20 m; consider one small load increase if technique is unchanged | No leg contact or uncontrolled frame swing |
| 6 | Retest week-one distance with slightly more load, or extend distance without raising weight | One clear measurable improvement, not three confounded changes |
Record the empty bar plus plates as total weight, the handle height, distance per uninterrupted segment, rest interval and whether straps were used. Note whether grip, breathing, posture or the route itself ended the set. This will tell you which part of the task improved. If you put the bar down halfway, log two segments instead of silently counting an unbroken trip.
You can organize the week as one heavier, shorter session and one lighter, longer one. Keep the first focused on a clean pickup and repeatable distance; keep the second at a weight that lets the walking quality remain steady even when you are breathing harder. Neither needs to end with open fingers and a collapsing posture. If your regular back work suffers, lower the carry volume before assuming you need another specialized accessory.
In a very small home gym, repeated straight lengths with controlled setdowns may be more practical than turning in place with the bar. You can also use a lighter pair of dumbbells, kettlebells or a static trap-bar hold. A static hold is legitimate training for grip and upright tension, but it is not identical to walking, so log it separately. Do not invent a distance equivalence.
At the end of six weeks, use the limiting factor to choose the next step. If the fingers failed before your target distance, keep the load modest and build unassisted hold time. If the legs and breathing were the challenge, extend moderate-distance work. If the bar repeatedly touched the body, stop trying to force distance carries with that shape and switch implements. Progress is a controlled repeatable task, not a load that looks impressive on a photograph.
Trap-bar carries reward plain decisions: choose a frame that clears your stride, find a safe lane, walk with intent and advance one measurable variable at a time. They can complement a strength program without requiring either a special scientific claim or an unnecessarily heroic final step.
Functional Fitness Shirts & Workout Gear
Functional-fitness shirts, tanks and workout gear for athletes who train strength, conditioning and everything in between.

Hybrid Athlete Strength Tee
Show some lifting attitude with a playful “Hybrid Athlete” tee.


Gym Equation Kettlebell Makes Me Happy Meme Crewneck an T-Shirt
Bring “Gym Equation” humor to your everyday gym style.

Hybrid Athlete – Built Different Gym Pullover for HYROX Hoodie
Show off your lifting humor in a laid-back “Hybrid Athlete” hoodie.

Kettlebell Heartbeat Decal for Water Bottles Laptops Wo Sticker
Put “Kettlebell Heartbeat” gym humor on your laptop, bottle, or gym gear.

Lift Together Grow Stronger for Gym Buddies and Lifting Tank Top
Bring “Lift Together Grow Stronger” humor to your next lifting session.

Hybrid Athlete – HYROX Workout Checklist Gym Decal for Sticker
Give your everyday gear a playful “Hybrid Athlete” twist.

Happy Kettlebell Emoji Smiley Kettlebell Fitness Decal Sticker
Give your everyday gear a playful “Happy Kettlebell Emoji” twist.

Atlas Kettlebell Earth Lifting – Meme Top T-Shirt
Rep “Atlas Kettlebell Earth Lifting Graphic” humor in and out of the gym.

Dost Thou Even Pedal Medieval Air Bike CrossFit Parody Sticker
Give your everyday gear a playful “Dost Thou Even Pedal” twist.
Some product links may be affiliate links, which can support Mind Muscle Perfection at no additional cost to you.