Advertising disclosure: This page includes affiliate product links that may earn us a commission, as well as products from our own store.
Sumo Deadlifts: Set Your Stance, Wedge the Bar and Pull Cleanly
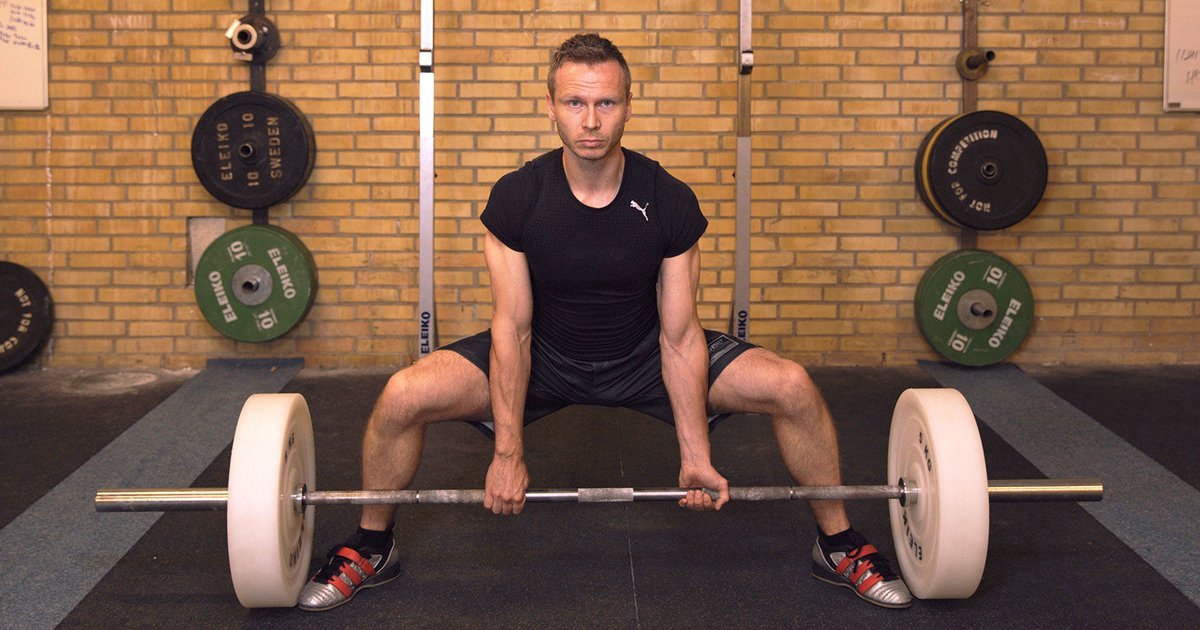
A sumo deadlift is not a conventional deadlift with your feet moved arbitrarily far apart. The wider stance changes where the hips start, how the knees travel and where the hands grip the bar. A good repetition begins before the plates leave the floor: the feet stay planted, the arms hang inside the legs and the trunk is braced against the effort.
Sumo is a useful strength-training option, not a guaranteed shortcut to a bigger deadlift or a pain-free back. This guide covers a workable stance, a controlled wedge, a close bar path, common faults and a six-week practice progression that does not require maximal attempts.
1. Find a stance that lets your knees track
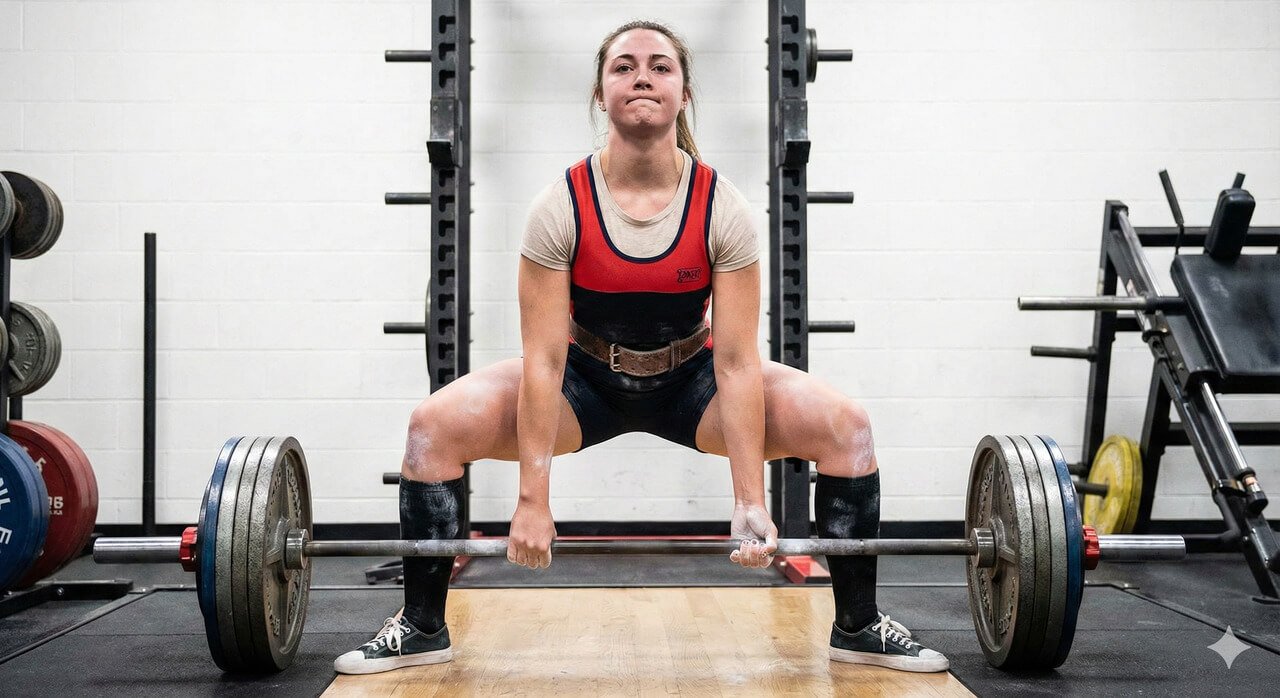
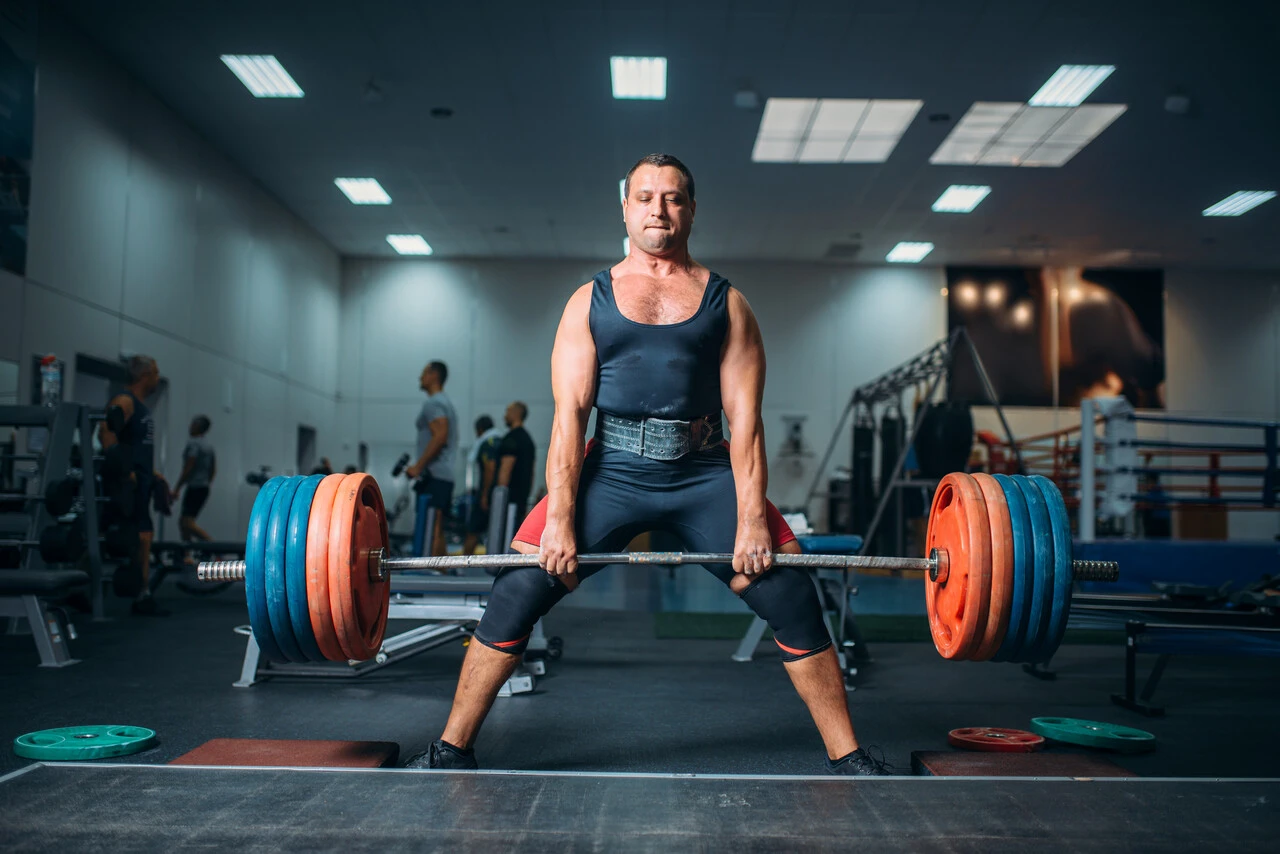
Begin with a barbell resting on a stable, level surface. Stand wider than your conventional stance and turn the toes outward. The goal is to create room for your knees to travel over your feet while the hands can hang between the thighs. Hip anatomy, limb lengths and available mobility determine which exact width feels secure; there is no universal foot position.
Place the bar over the middle of your feet, then bend the hips and knees to reach it. From the front, the lower legs should be relatively upright and the knees should point in the same broad direction as the toes. The pressure under each foot should feel balanced, not exclusively on the inside edge or the ball of the foot.
Walking farther outward can shorten the vertical bar path, but the price may be a position you cannot control. If the groin feels pinched, the knees collapse or the stance forces you to shift sideways during the setup, bring the feet slightly closer together. More width is not automatically more strength, and a shorter range does not guarantee better muscle growth.
Try several light repetitions at two different widths and film each from the front. Check knee tracking and whether either foot turns under load. A second view from the side helps confirm that the bar starts over the balance point rather than in front of the toes. Choose the stance you can reproduce without several seconds of shuffling.
2. Connect grip, brace and wedge before the bar moves
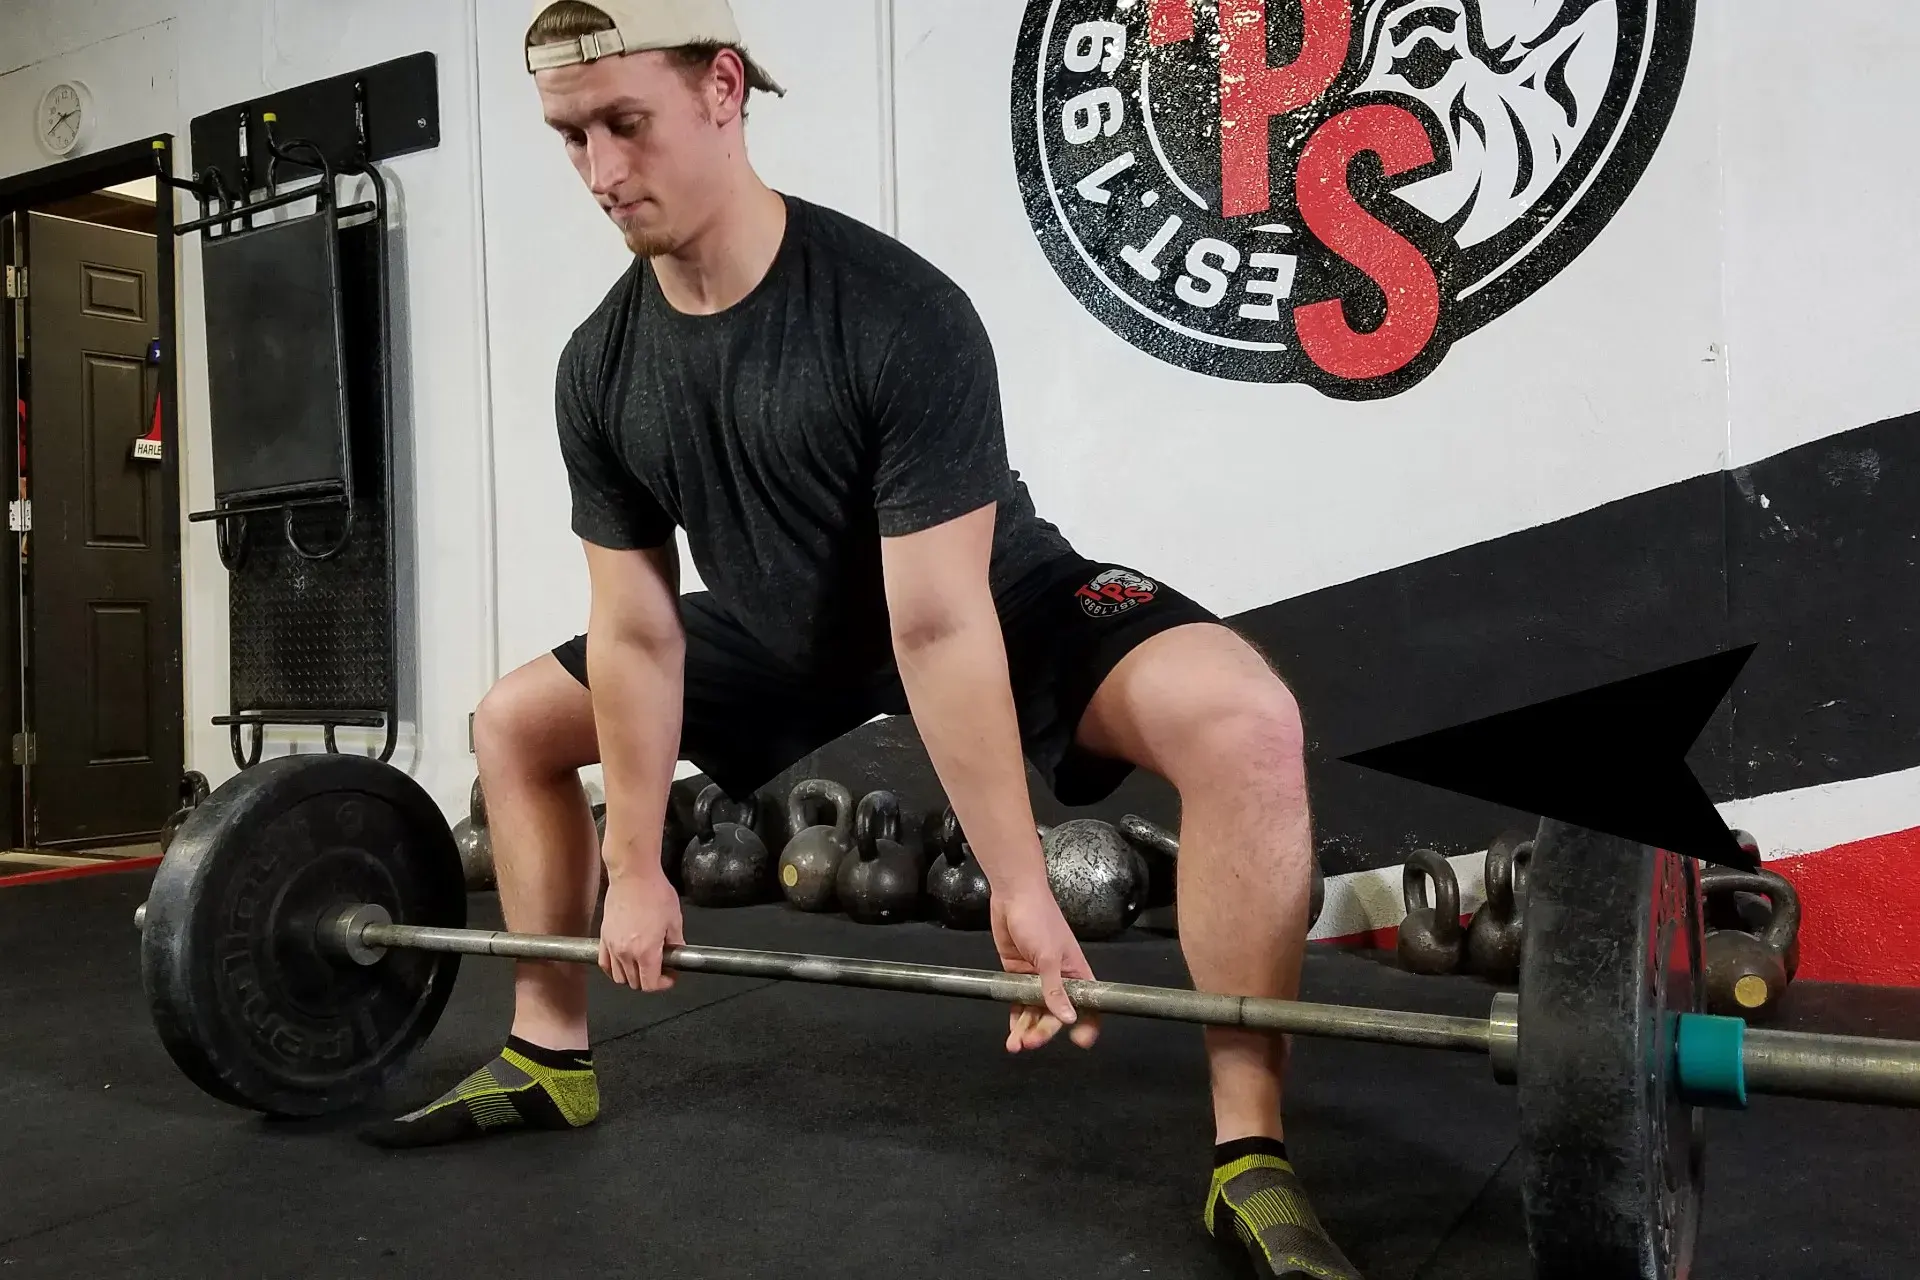
Reach down and grip the bar with both hands inside the knees. Your arms should hang straight, without your elbows pressing awkwardly into the legs. Start with a secure double-overhand grip while it supports the load. Alternative grips or straps may become useful later, but they should solve a real grip limitation rather than compensate for rushed technique.
Before pulling, inhale, set the ribs over the pelvis and brace around the abdomen. Keep the arms long and establish tension between the shoulders and trunk. You can think of the upper arms reaching toward the pockets. That cue helps keep the bar close without trying to curl it from the floor, which is neither efficient nor safe for the elbows.
To wedge into the lift, gradually draw the slack out of the bar while pushing the knees toward the toes and the feet into the ground. The chest and hips should find a connected pulling position. Dropping the hips into a very deep squat often creates the illusion of a stronger start, only for the hips to rise sharply before the plates move.
Rehearse with a light bar: stance, grip, breath, brace, tension and then a smooth lift. If a rep begins with a sudden jerk, reset before repeating it. The point of the wedge is to make the first centimetre predictable, not to turn every warm-up into an exhausting isometric struggle.
Use a short checklist instead of ten competing instructions: feet planted, knees aligned, arms straight, trunk firm, slack removed. Film one set from the side and notice whether the bar stays close when tension increases. If it rolls forward before the lift, the setup has changed even if your feet have not moved.

Equipment Worth Exploring
Explore equipment, accessories and gear from our carefully selected range.


Competition Plates
Competition-style bumper plates for Olympic lifts and loaded strength training.


Grip Plates
Rubber-coated weight plates with handholds for loading barbells and machines.


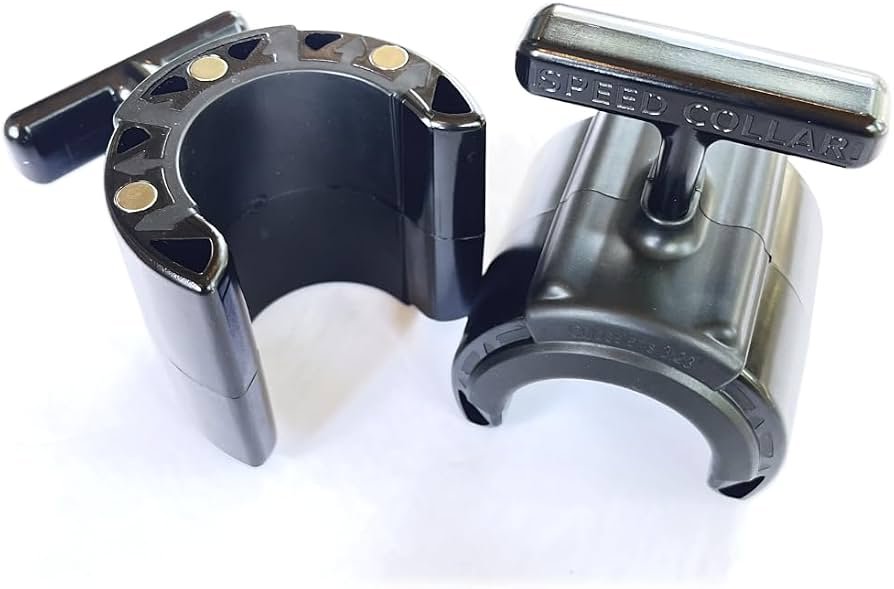
Speed Collar
Quick-release collars designed to secure weight plates on standard two-inch Olympic bars.
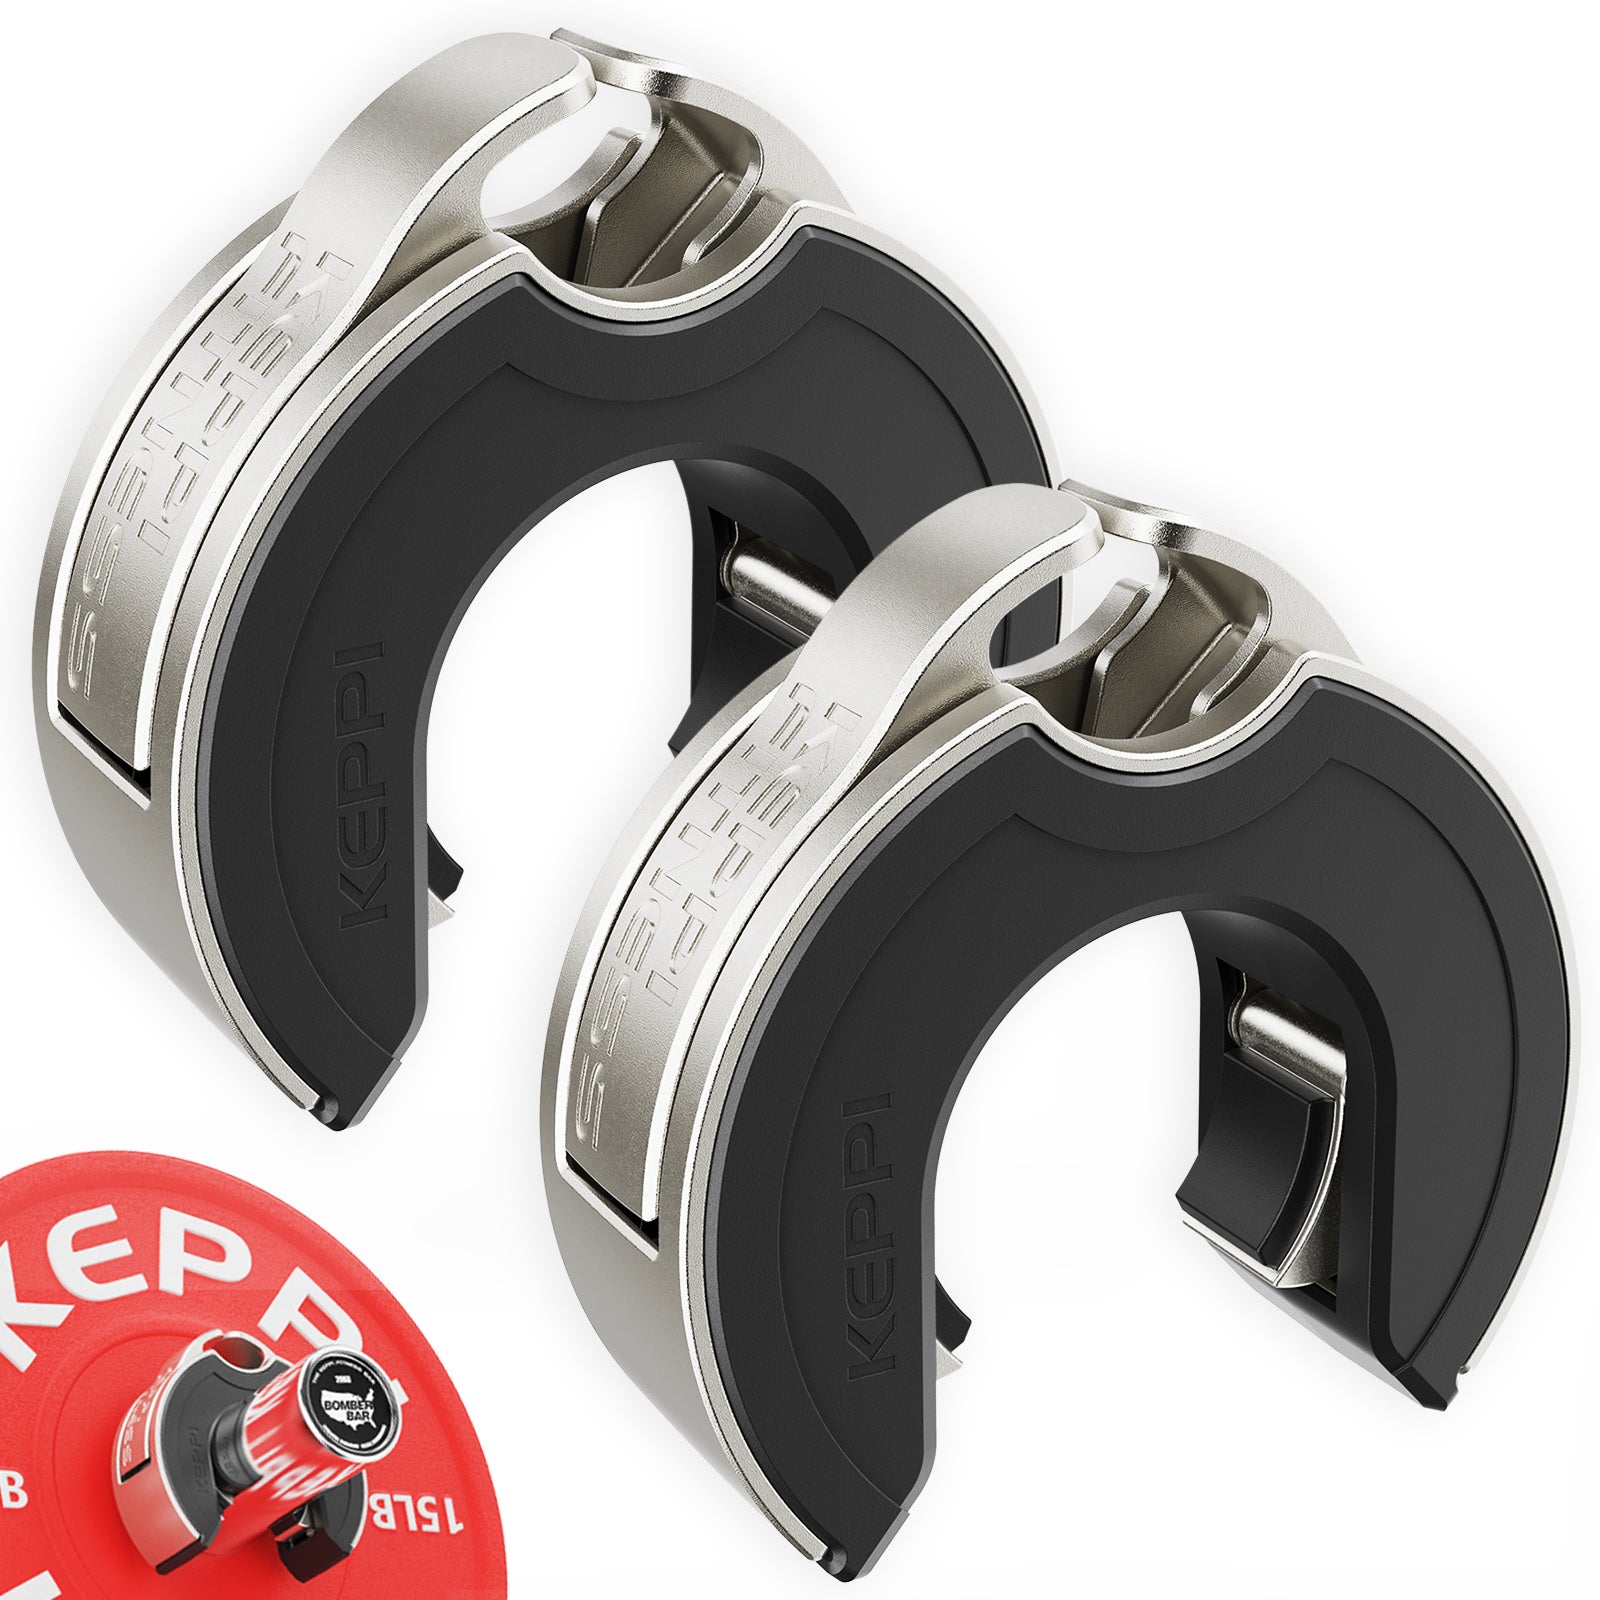
Keppi Open Collars
C-shaped magnetic Olympic barbell collars with a quick-lock mechanism and grippy lining.
3. Drive through the floor and finish tall
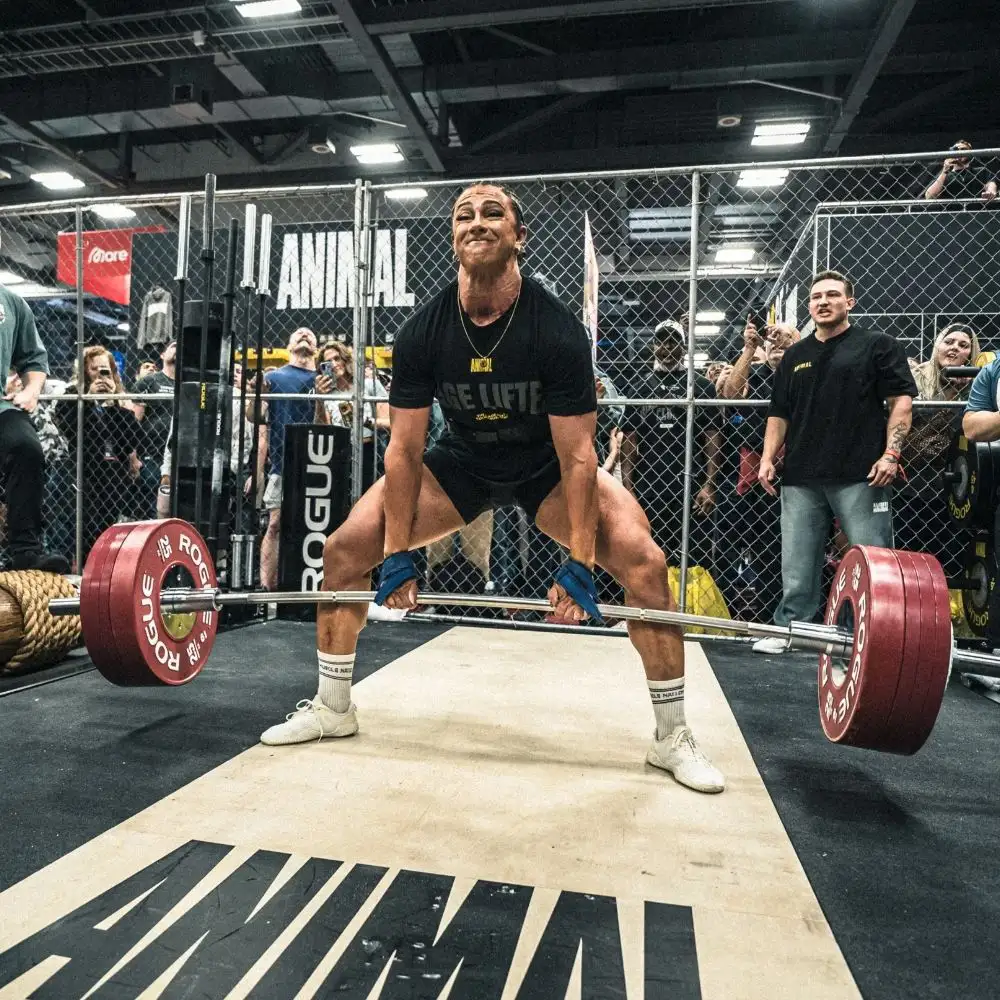
When the bar is connected to your hands and your brace is in place, drive the floor away. The legs begin to straighten while the torso maintains its position. Hips and shoulders should rise in a coordinated way rather than the hips shooting up first. The initial part of a sumo pull can feel slow even when the technique is sound, so distinguish patience from a genuine loss of position.
Keep the bar travelling near the shins and thighs. There is no need to grind it against the skin, but a large forward loop means the weight moves farther from your balance point. If the bar swings out, look for an early shift onto the toes, knees that move unexpectedly or an attempt to pull around the legs instead of extending them.
As the bar passes the knees, continue extending the hips and knees until you stand upright. The finish is tall with the ribs over the pelvis, not a dramatic backward lean. Keep the arms straight and the weight balanced. A stable lockout shows control; hyperextending the lower back does not add anything useful to the repetition.
Lower by guiding the bar back down, sending the hips rearward and bending the knees when they have room. Return the plates to the ground, allow a real dead stop and rebuild the setup. Touch-and-go repetitions can obscure a start position you cannot find without a rebound, so deliberate resets are the better learning tool.
4. Troubleshoot what changes under load
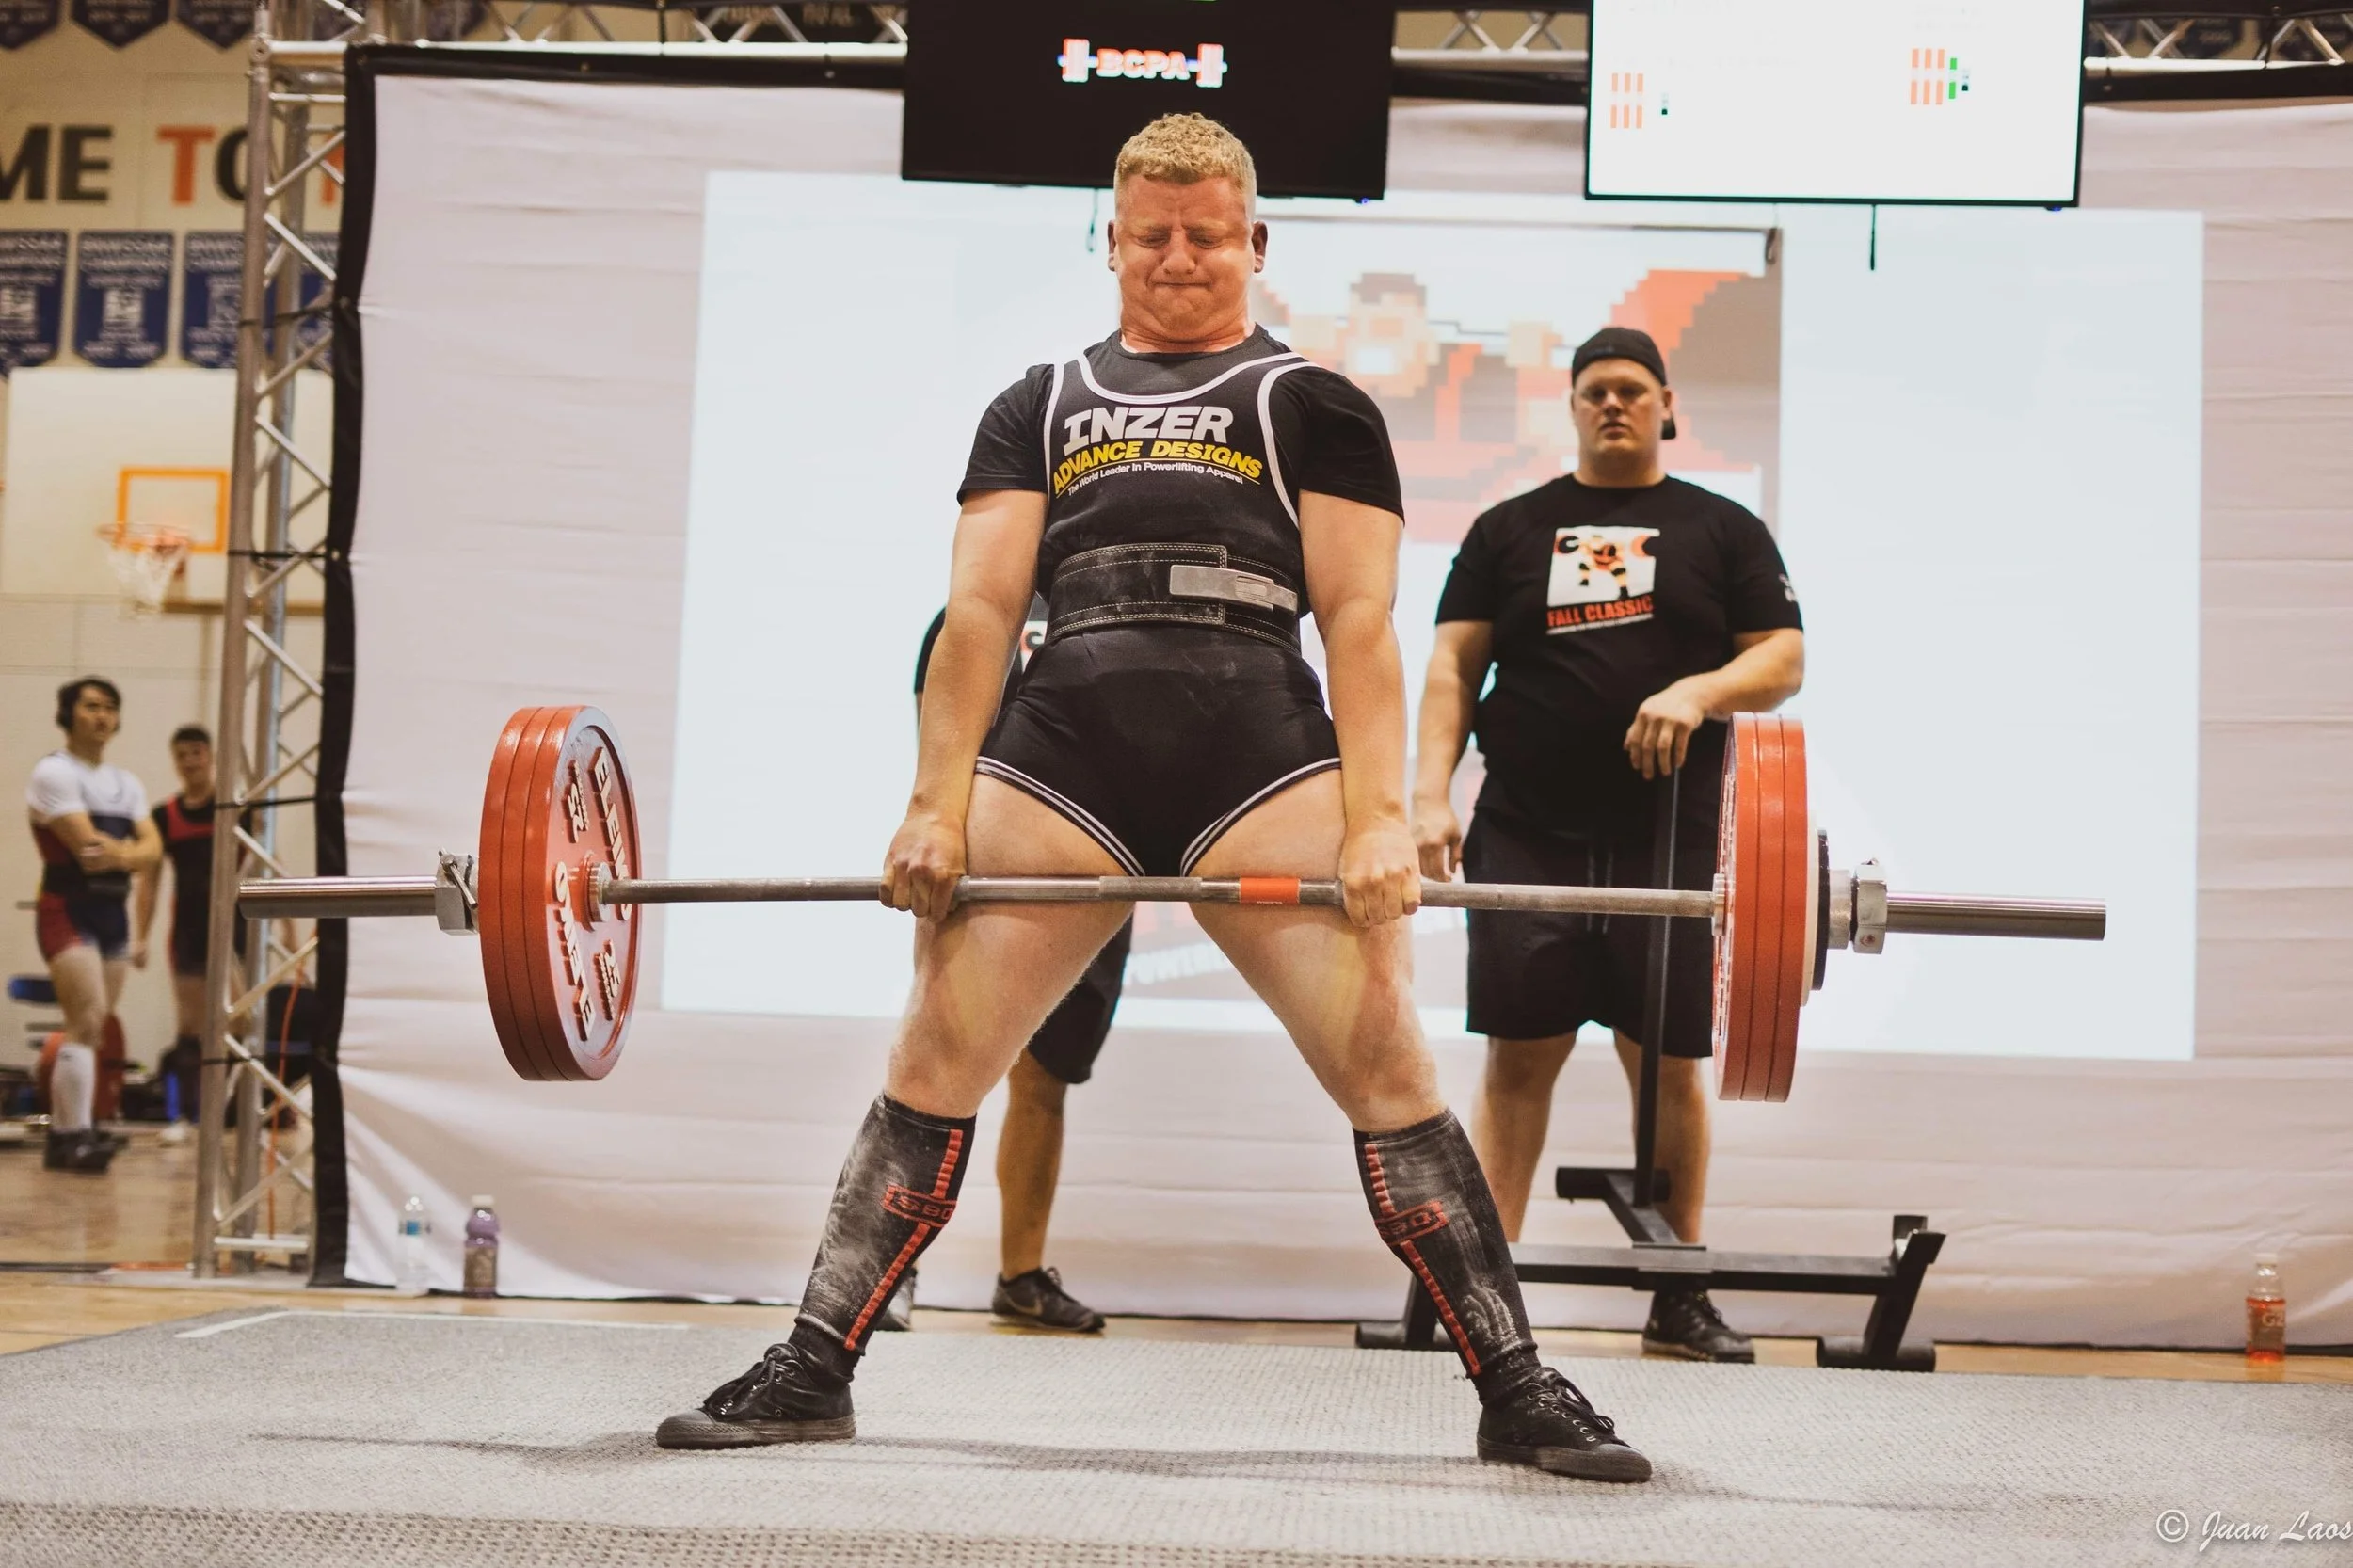
When knees collapse inward, first lower the weight and check whether the stance exceeds your present control. Turning the toes farther out is not always the answer. Practise directing knee movement over the feet and maintaining full-foot pressure. Controlled lateral lunges or adductor exercises may support the wide stance, but they cannot replace practising the deadlift itself.
If the hips shoot up before the bar breaks contact, they may be starting too low. Try beginning slightly higher while keeping the knees over the feet and the arms long. If the bar rolls forward, bring it back toward the midfoot before lifting. Correct one visible error at a time instead of rebuilding the entire movement on every rep.
If your grip slips, keep hands dry and use the secure part of the knurling. Suitable straps can help during accessory work if the training goal is not grip strength, although competition rules may differ. Do not let any grip choice lead to bent arms or an uncontrolled descent.
Hip or groin discomfort is a reason to reduce load, narrow the stance or choose a more comfortable hinge. Sumo alters joint angles and usually shortens the vertical bar path relative to a conventional stance, but it is not universally safer. Romanian deadlifts, conventional pulls or a trap-bar variation can be good choices if a very wide stance does not suit you.

Powerlifting Shirts & Lifting Gear
Powerlifting shirts and gym gear for squat, bench and deadlift lifters who live for heavy numbers.

1 Plate Deadlift Club Meme – Motivational Top T-Shirt
Bring “1 Plate Deadlift Club” humor to your next gym day.

Heavy Metal Deadlift – Gymbro Leg Day & Gains T-Shirt
Make gym days more fun with “Heavy Metal Deadlift” style.

Powerlift Deadlifts Powerage Album Parody AC/DC Heavy M T-Shirt
For laid-back days and metalhead humor: “Powerlift Deadlifts”.

PR or ER – Horror Deadlift Gym Crewneck and Powerliftin T-Shirt
Show some gym-day personality with “PR or ER”.

Heavy Metal Deadlift – Skeleton Gym for Powerlifters an Hoodie
Stay casual and show some metalhead attitude with “Heavy Metal Deadlift”.

Deadlift Skull Gym Gold Heavy Metal Pullover for Powerl Hoodie
Show off your metalhead humor in a laid-back “Deadlift Skull” hoodie.

I Love Deadlifts Gym | Valentine's Heart Weight Plate F Tank Top
Add some deadlift attitude to training with “I Love Deadlifts”.

Deadlift Pink Skull Muscle Shirt for Powerlifting Leg D Tank Top
Bring “Deadlift” humor to your next lifting session.

Deadlift Frozen Skull Gym Decal for Powerlifters, Winte Sticker
Stick a little “Deadlift” humor on your favorite gear.

Deadlift Skull Explosion Gym Decal for Powerlifting Hea Sticker
Give your everyday gear a playful “Deadlift Skull” twist.
5. A six-week progression for consistent pulls
Begin with a load that leaves roughly two to four repetitions in reserve. Put the demanding deadlift session before tiring accessories and rest long enough that grip and breathing recover. One extra technique session can be helpful when recovery allows, but it should not become another maximal workout. Reuse the same stance and bar setup while you learn.
Weeks 1–2: Perform three sets of five at a manageable weight on the main day and three sets of three with a lighter load later in the week. Film one set from the front and one from the side. Make consistent foot position and a smooth first centimetre the immediate goals rather than testing new records.
Weeks 3–4: Complete three main sets of four, adding the smallest practical amount only when the previous weight produces clean reps. Keep the second session light with three deliberate sets of three. If the hips begin rising early or the knees change direction, repeat the previous load and focus on that specific error.
Week 5: Use three sets of three on the main day, challenging but below the point where form unravels. Keep the practice day shorter. Week 6: Reduce total work, then check a technically comfortable heavy triple or set of five rather than forcing a one-rep maximum. Compare your new videos with week one, including the start position.
Use one or two accessories such as Romanian deadlifts, rows or controlled split squats to support the main goal without consuming all your recovery. If groin or back discomfort persists, change the exercise and seek appropriate professional advice. The best result after six weeks is a pull you can repeat confidently. There is no need to force sumo if another hinge suits you better.
Equipment Worth Exploring
Explore equipment, accessories and gear from our carefully selected range.

Leather Lifting Straps
Padded leather straps support grip during heavy rows, deadlifts and pulling exercises.

Leather Wrist Grips
Padded leather lifting grips help support the hands and wrists on heavy pulling exercises.


Foldable Wall Rack
Wall-mounted folding squat rack designed to save floor space between workouts.


Multi Pull Smith Rack MPHR-780
All-in-one rack with a Smith machine, functional trainer, lat pulldown and low row.

Open Hex Bar
Open-frame trap bar with multiple handles for deadlifts, carries, and lower-body training.


Rubber Hex Dumbbells
Rubber-coated hex dumbbell pairs with a stable shape for home and commercial strength training.