Advertising disclosure: This page includes affiliate product links that may earn us a commission, as well as products from our own store.
Face pulls look simple: take a rope, pull toward your face and repeat. Yet small differences in pulley height, elbow travel and the finish position determine whether the set becomes useful rear-shoulder work or just another awkward row.
A repeatable face pull combines an upper-arm pull with a controlled outward rotation near the finish. That makes it a practical accessory for lifters who already press, row and train their shoulders, without pretending that one light exercise can correct every posture problem or prevent injury. Here is how to set it up, feel the intended muscles and make progress.
Know which muscles the face pull trains
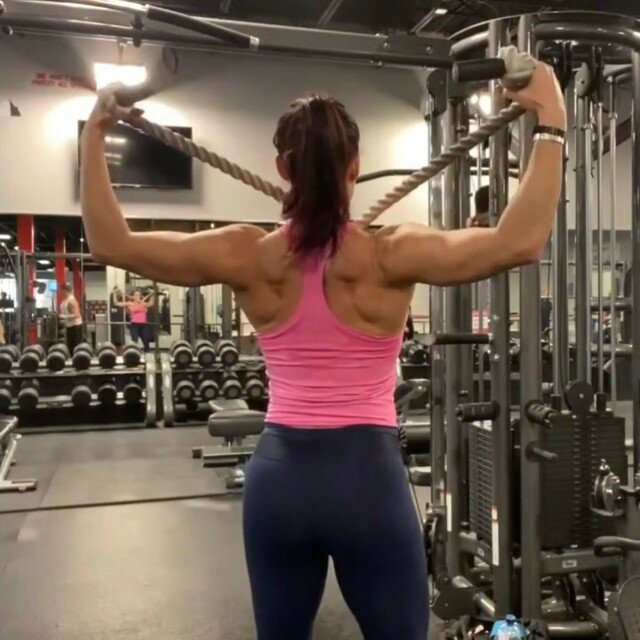
The rear deltoids draw the upper arms backward and outward. Your middle trapezius and rhomboids help move and steady the shoulder blades, while the smaller external rotators of the shoulder contribute when the hands move apart near the finish. The exercise also asks your trunk and legs to prevent the cable from pulling you forward.
Think about the motion rather than chasing a particular sensation. You are not doing a narrow row into your stomach, nor a straight-arm reverse fly. Your hands begin in front of you, the elbows travel out and backward, and the rope separates toward the sides of your face. Several muscles share the job.
Face pulls can complement pressing because a press emphasizes different shoulder actions and often receives more weekly training attention. That does not mean a face pull automatically repairs rounded shoulders, cures discomfort or substitutes for a complete back program. Its clearest role is trainable rear-shoulder and upper-back work with an external-rotation component.
A reverse pec deck is a useful comparison. It can make rear-delt loading easier to standardize because the torso stays fixed and the hand path is guided, while the face pull invites more coordination at the shoulder. Neither exercise needs to beat the other; they can occupy different accessory slots in the same program.
For tracking, judge the set by a consistent pulley position, controlled finish and ability to repeat the same path. Treat the face pull as an accessory you can measure and improve.

Equipment Worth Exploring
Explore equipment, accessories and gear from our carefully selected range.

Long Tricep ERGO Ropes
Extended triceps ropes with ergonomic grips for cable pressdowns and overhead extensions.
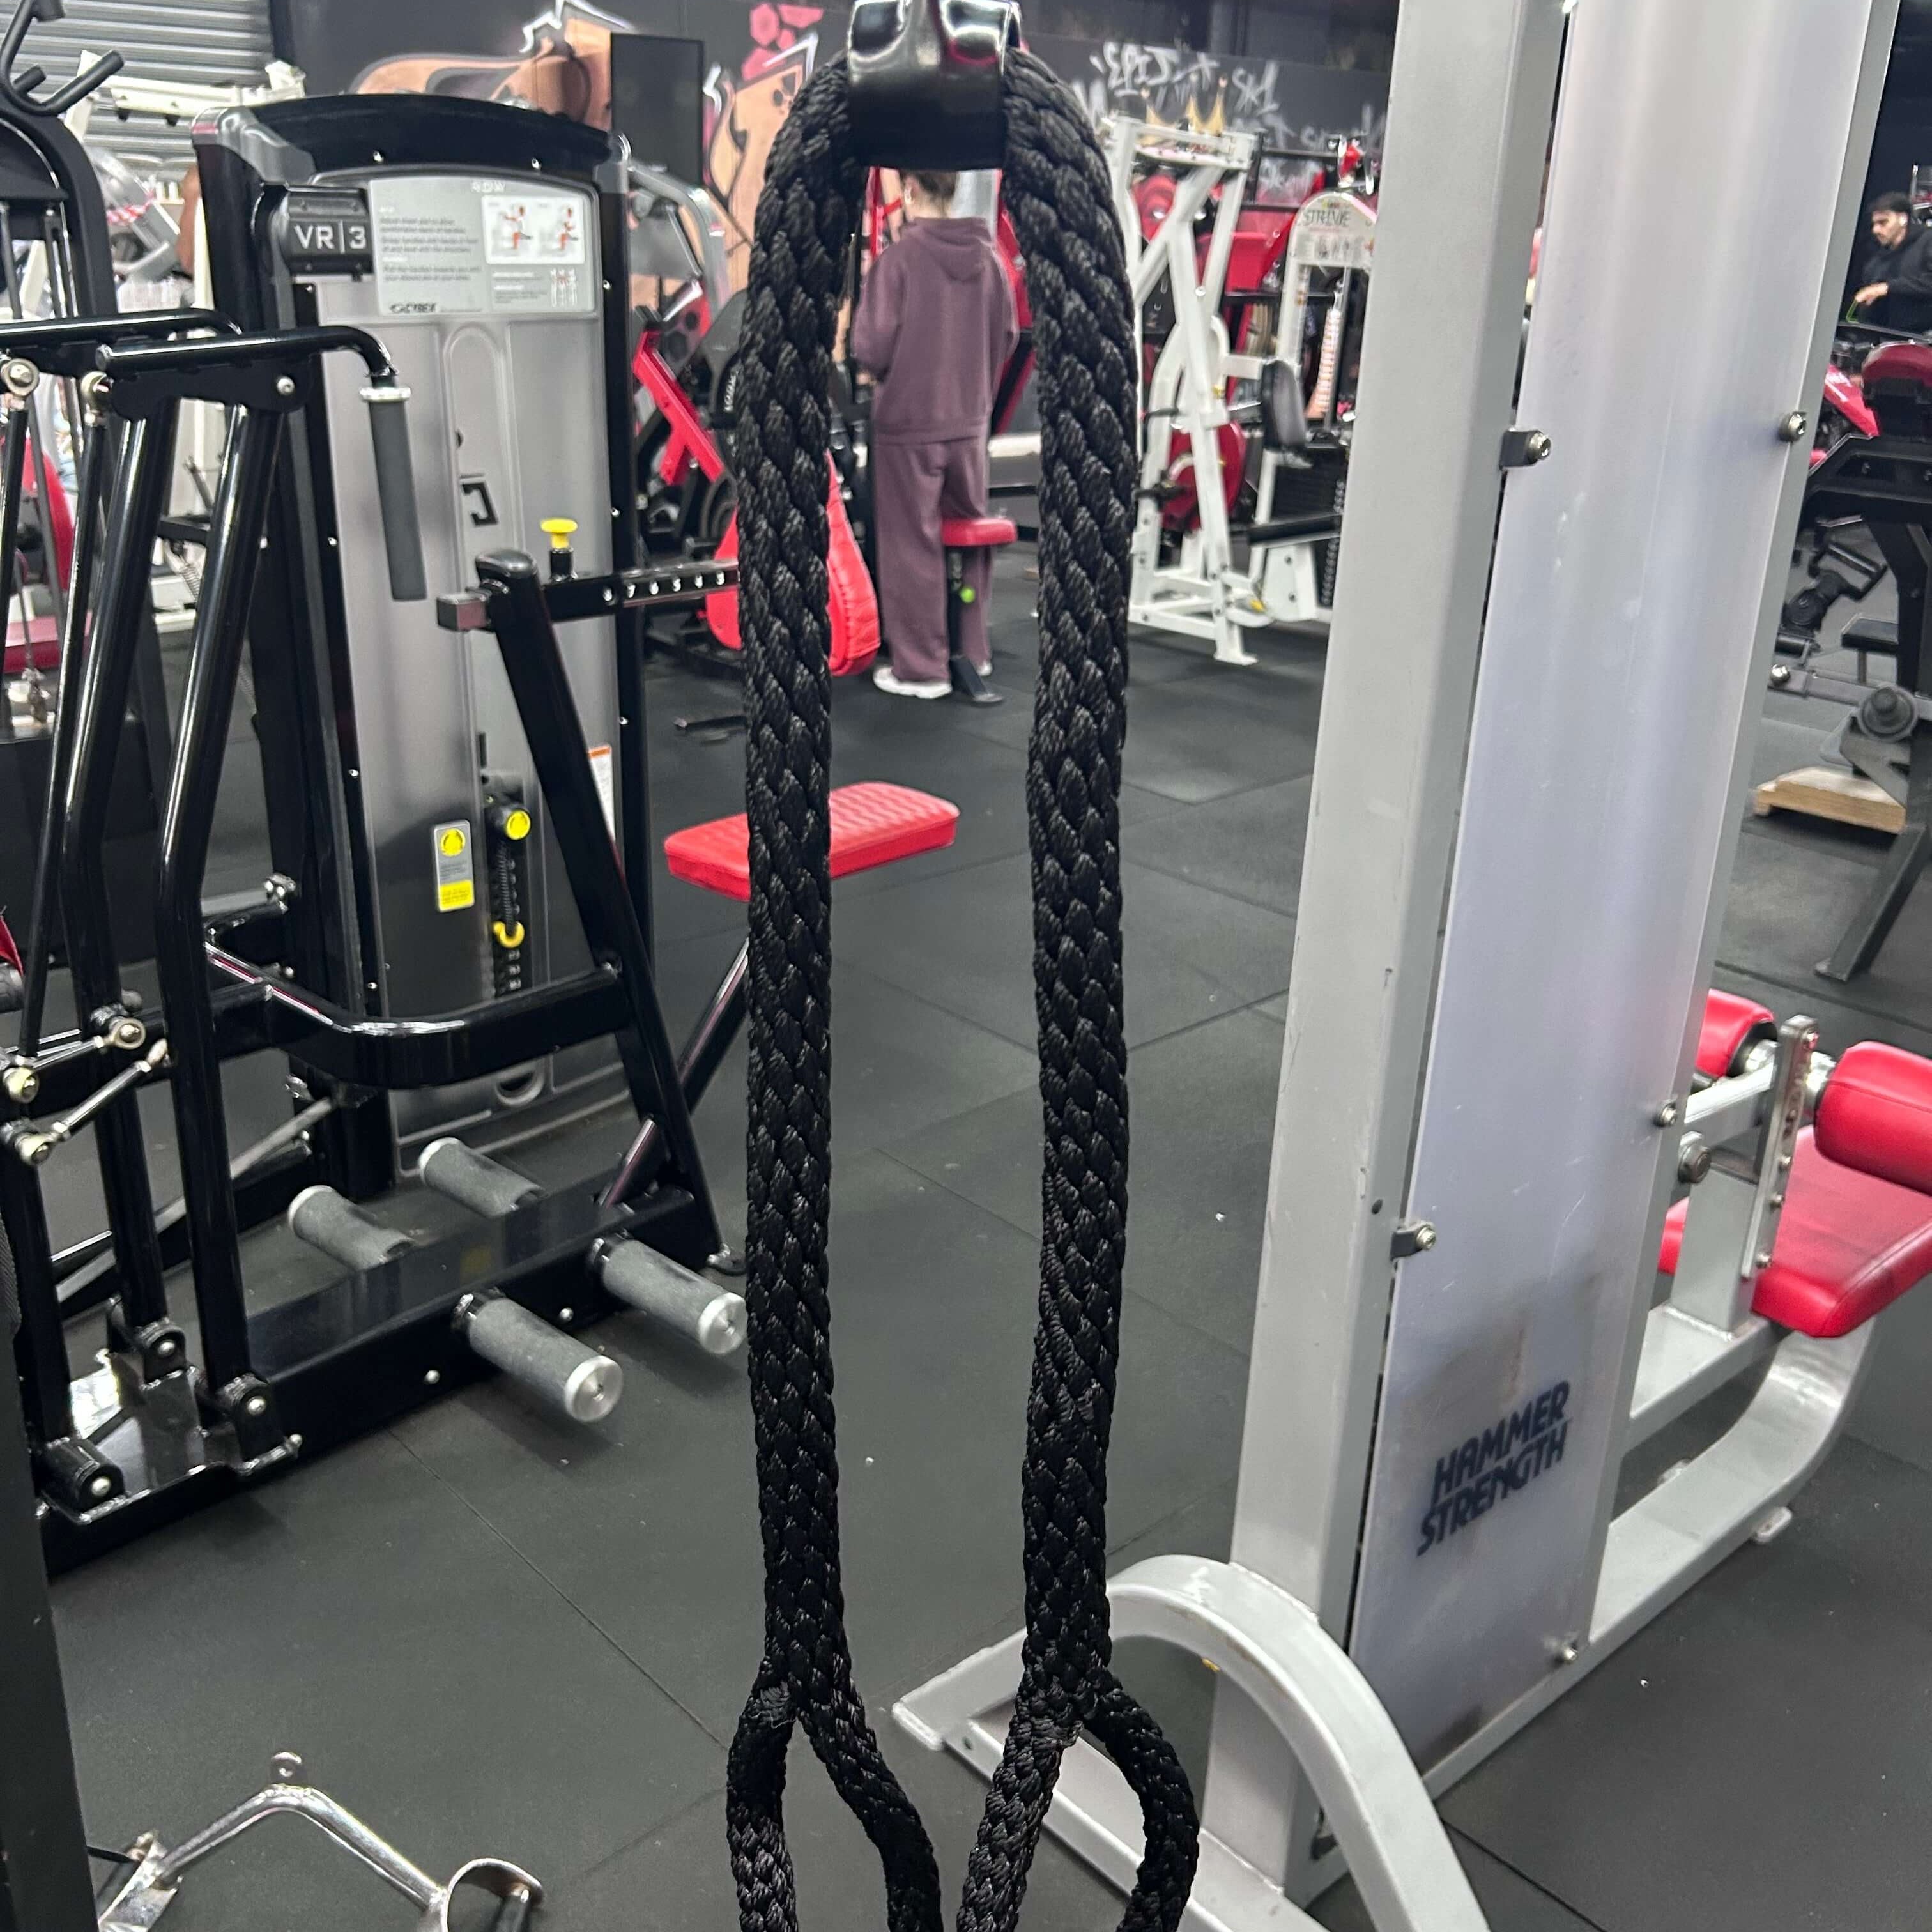
Super Long Tricep Rope
Extra-long looped cable rope for triceps pressdowns and overhead extensions.
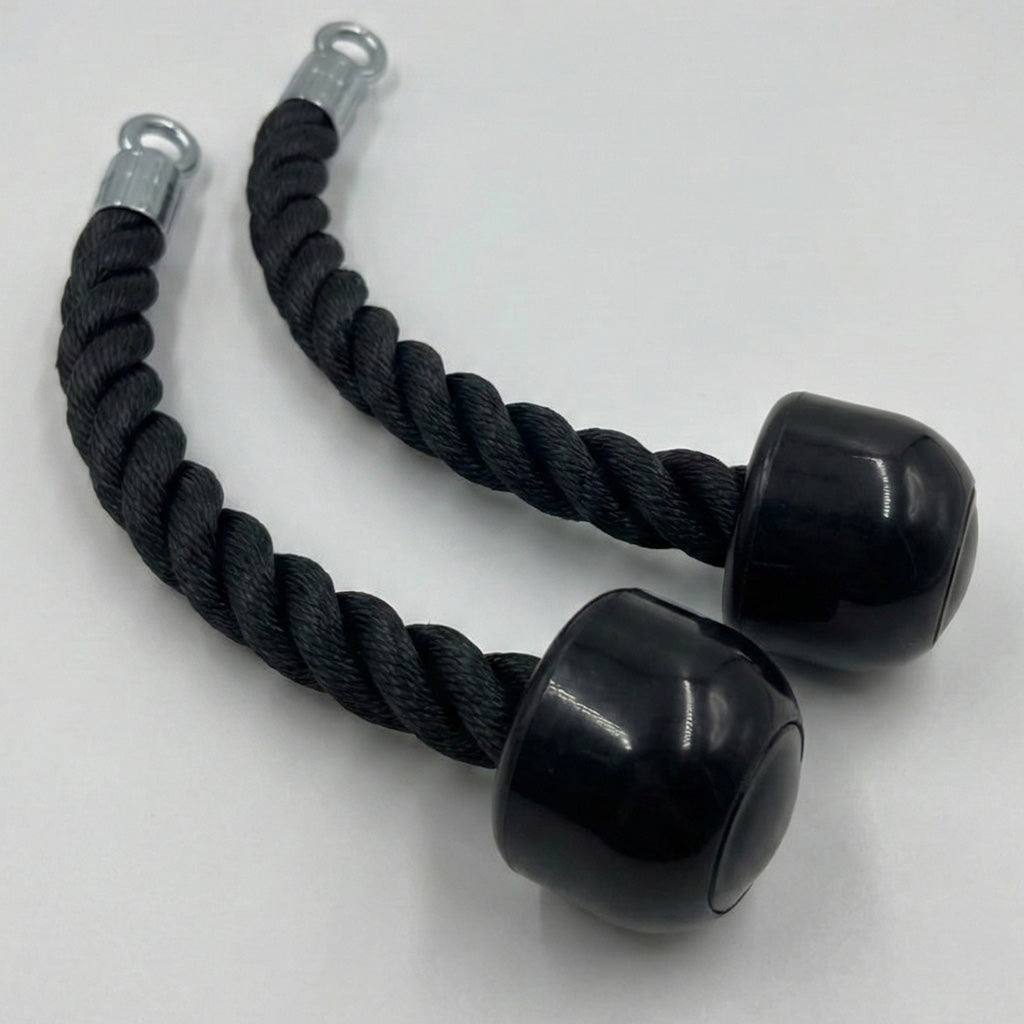
Individual Tricep Ropes
Pair of individual cable ropes for triceps pressdowns and cable hammer curls.

GymPin Ergo Handles
Pair of ergonomic cable handles shaped for comfortable triceps and pulling exercises.

Angles 90 Grips
Flexible grip attachments that allow natural wrist movement during pulling exercises.

Multi-Length Tricep Strap
Adjustable-length cable strap for triceps, biceps and upper-body cable exercises.
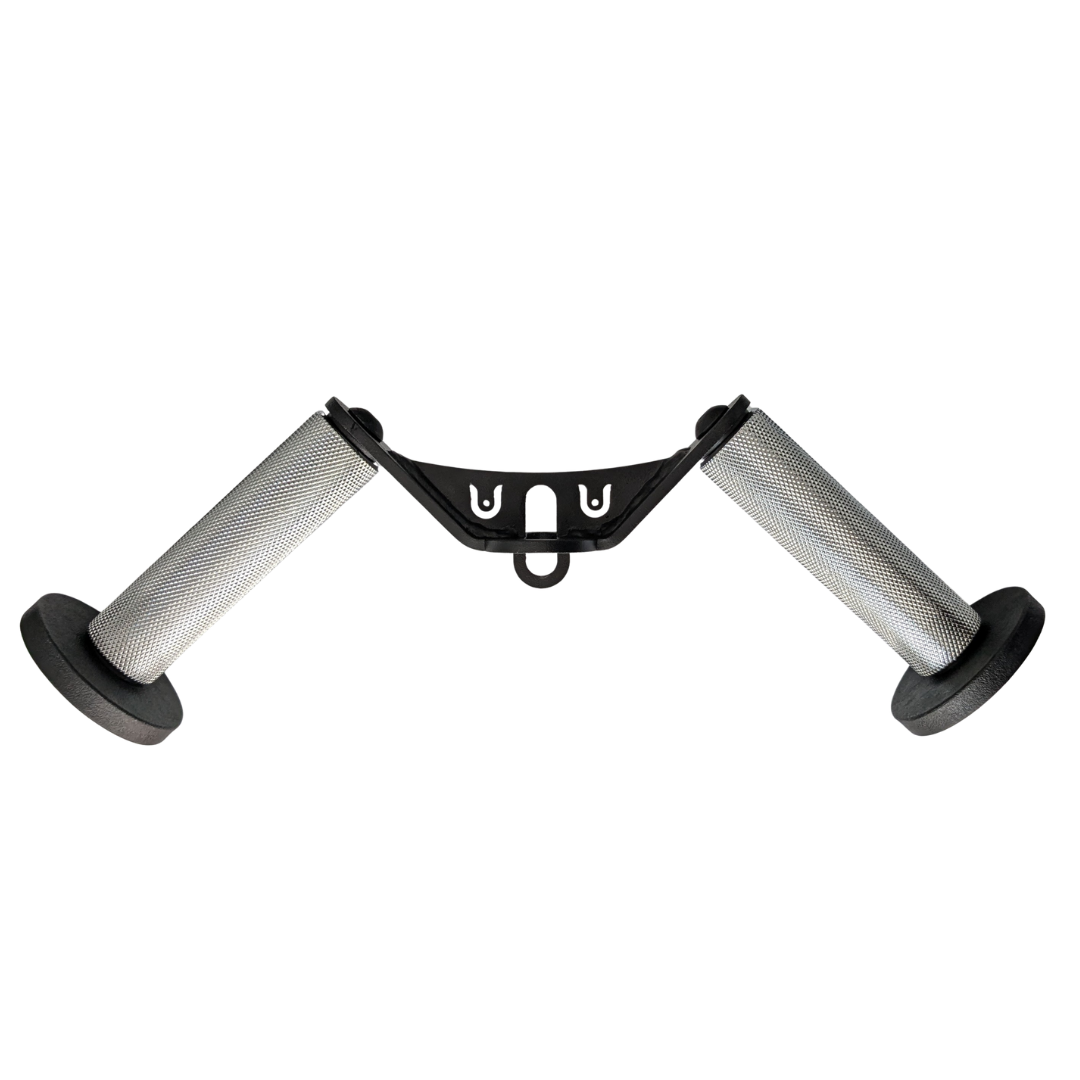
W Grip
Angled cable grip for comfortable rows, pushdowns, and curls.
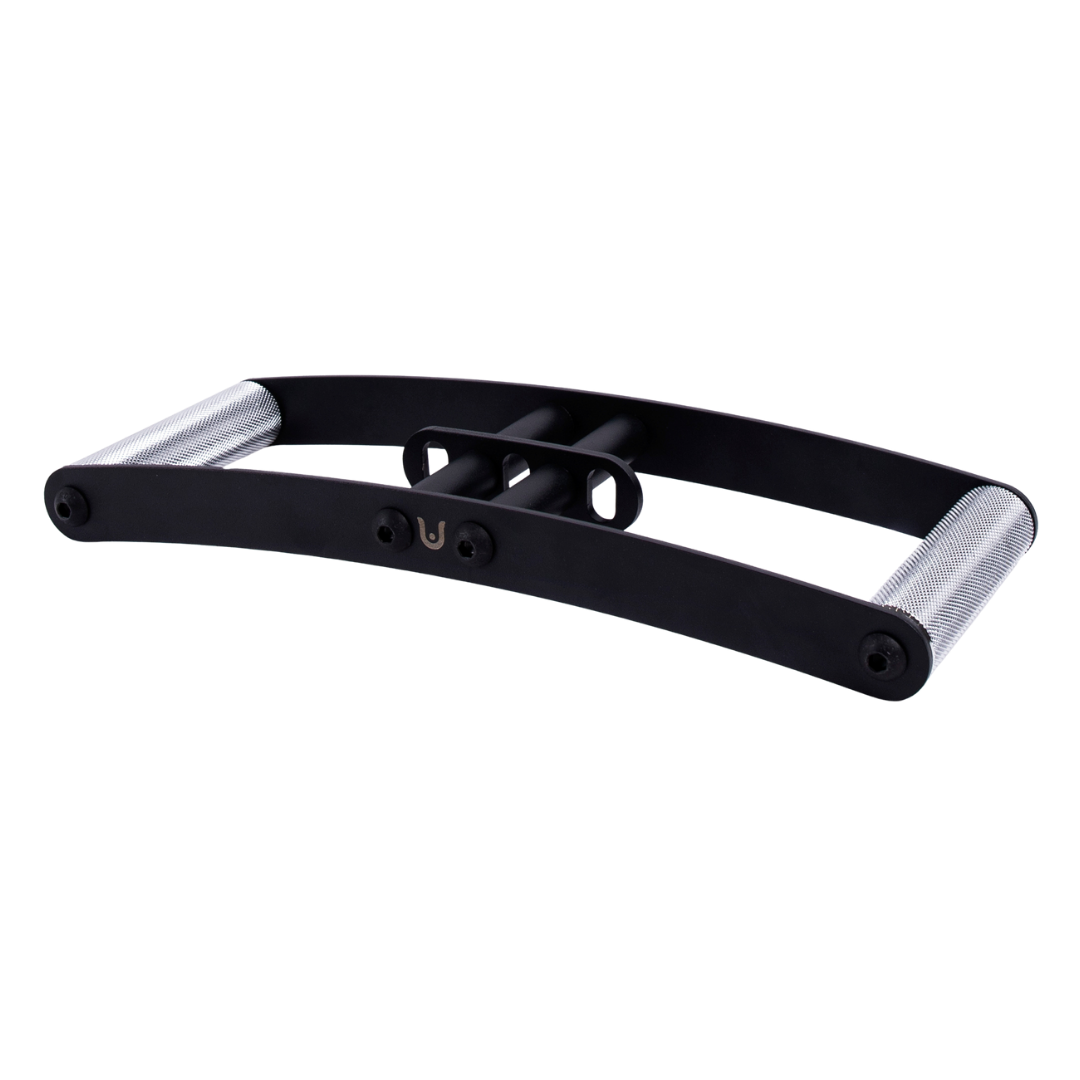
Horizon Grip
Ergonomic V-style cable grip for rows and back training.
Set the cable height, rope and stance
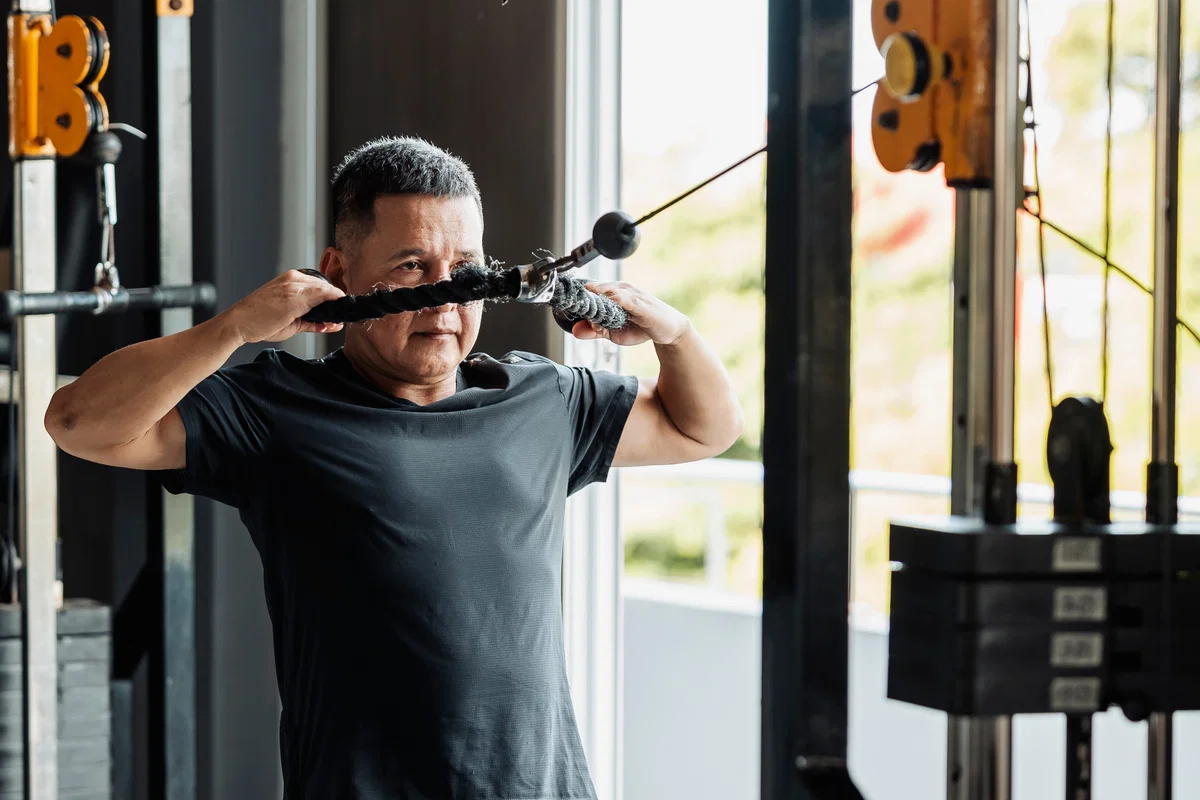
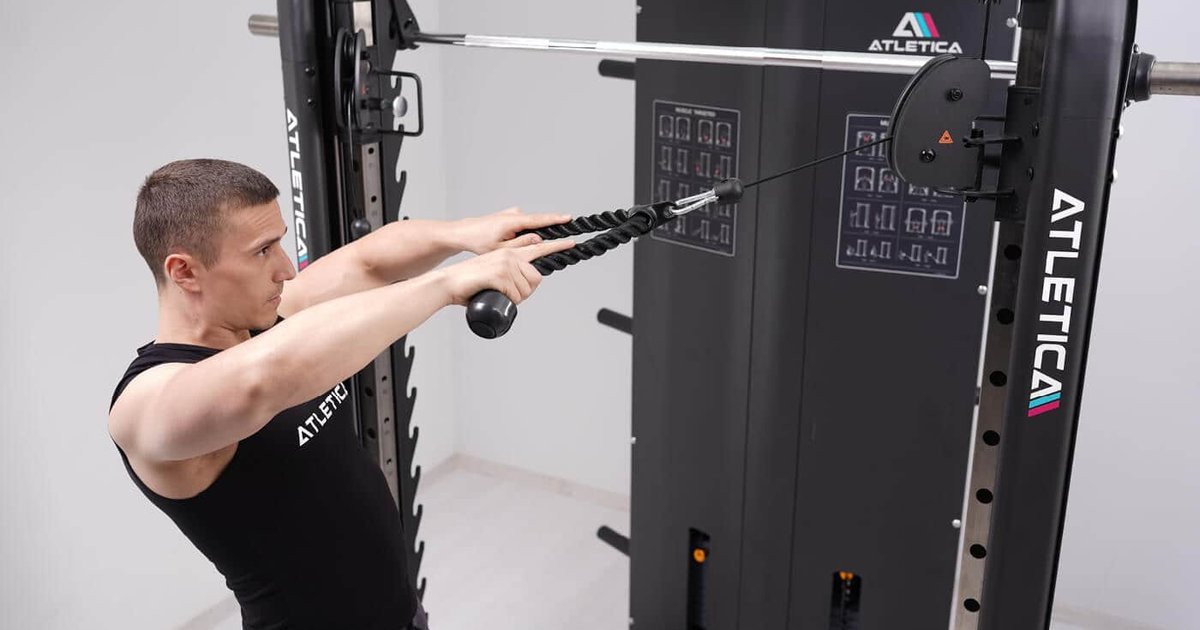
Attach a two-ended rope to a pulley around eye height as a dependable starting point. A slightly higher anchor may suit some shoulders and machines, but changing the angle changes the line of pull, so test it with light resistance before committing to a load. Check that the attachment and carabiner are fully secured.
Take one rope end in each hand using a comfortable neutral grip. Step back until the cable is taut while your arms extend in front of you. Place your feet roughly hip width apart or use a small staggered stance; bend the knees softly and brace the abdomen. You should not need to hang your entire body weight backward.
Stand far enough away that the stack does not bottom out at the start and the rope does not hit the pulley at the finish. The cable should pull in a clean line without rubbing your skin. A very short rope can restrict hand separation, whereas a longer rope may let you finish more naturally beside your ears.
Begin with less resistance than you would use for a row. If the first repetition jerks your torso forward, the stack is too heavy for the current stance. If you must walk backward with every rep or the plates smash together when you return, adjust your position and slow the movement before increasing weight.
Pulley machines differ in stack ratios and friction, so the printed number is not a universal comparison. Record the station, pin setting and attachment.
Pull toward the forehead and finish with control
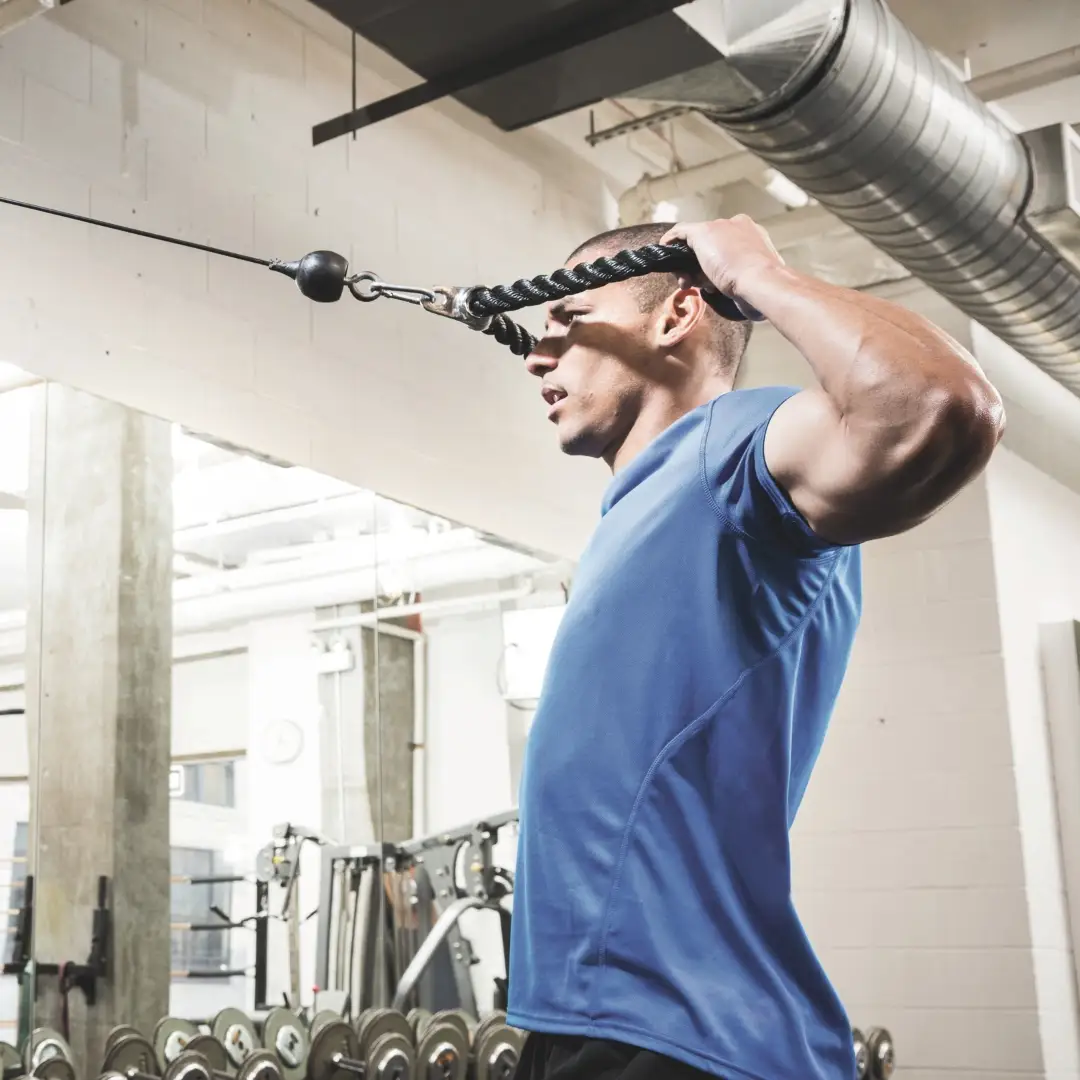
Start with the arms reaching forward, chest quiet and neck neutral. Pull the elbows outward and backward as you draw the rope toward upper-face level. Rather than bending the wrists to force a dramatic finish, allow the hands to move apart naturally. At the end, the rope ends should be close to the sides of the head, not pressed into your nose.
Imagine showing a loose double-biceps pose, but make the motion smooth and small enough for your shoulders to control. Keep the elbows broadly around shoulder height without aggressively lifting them as high as possible. Some lifters will finish with the hands slightly below the ears; a repeatable pain-free path matters more than an exact photograph.
Pause briefly when the upper back is working without wrenching the shoulders into extra range. Then guide the rope forward for roughly two seconds until the arms are extended again. Do not let the pulley haul your hands forward or allow the torso to fold toward the machine to reach the start.
A useful self-check is to film one light set from the side. If the cable stops near your chin with the elbows glued to your ribs, you have drifted toward a row. If your torso swings back sharply or your head juts forward to meet the rope, reduce load and shorten the motion to the portion you can control.
Try ten deliberate repetitions before thinking about fatigue. A consistent elbow path, stable trunk and quiet return are more valuable than the heaviest pin you can move for five ugly reps. Once the pattern is reliable, build harder sets by adding reps and small load increments while protecting the same technique.

Bodybuilding Shirts & Workout Gear
Bodybuilding shirts, tanks and gym gear for lifters chasing muscle, size, symmetry and the pump.


Lat Man Big Back – Jumper With Huge Lats – Back Day T-Shirt
Add a playful “Lat Man Big Back” touch to your casual rotation.

Gym Dost Thou Even Pull Medieval Knight Back Day Muscle Tank Top
Bring “Dost Thou Even Pull Medieval Knight Back” humor to your next lifting session.


Chasing Gains Nevermind Sweatshirt
Show some gym-day personality with “Chasing Gains Nevermind”.

Shirt Pull Day – Back & Biceps Meme Top T-Shirt
Heavy lifts, good laughs, and a little “Pull Day Graphic” energy.

Correct common mistakes without chasing a perfect pose
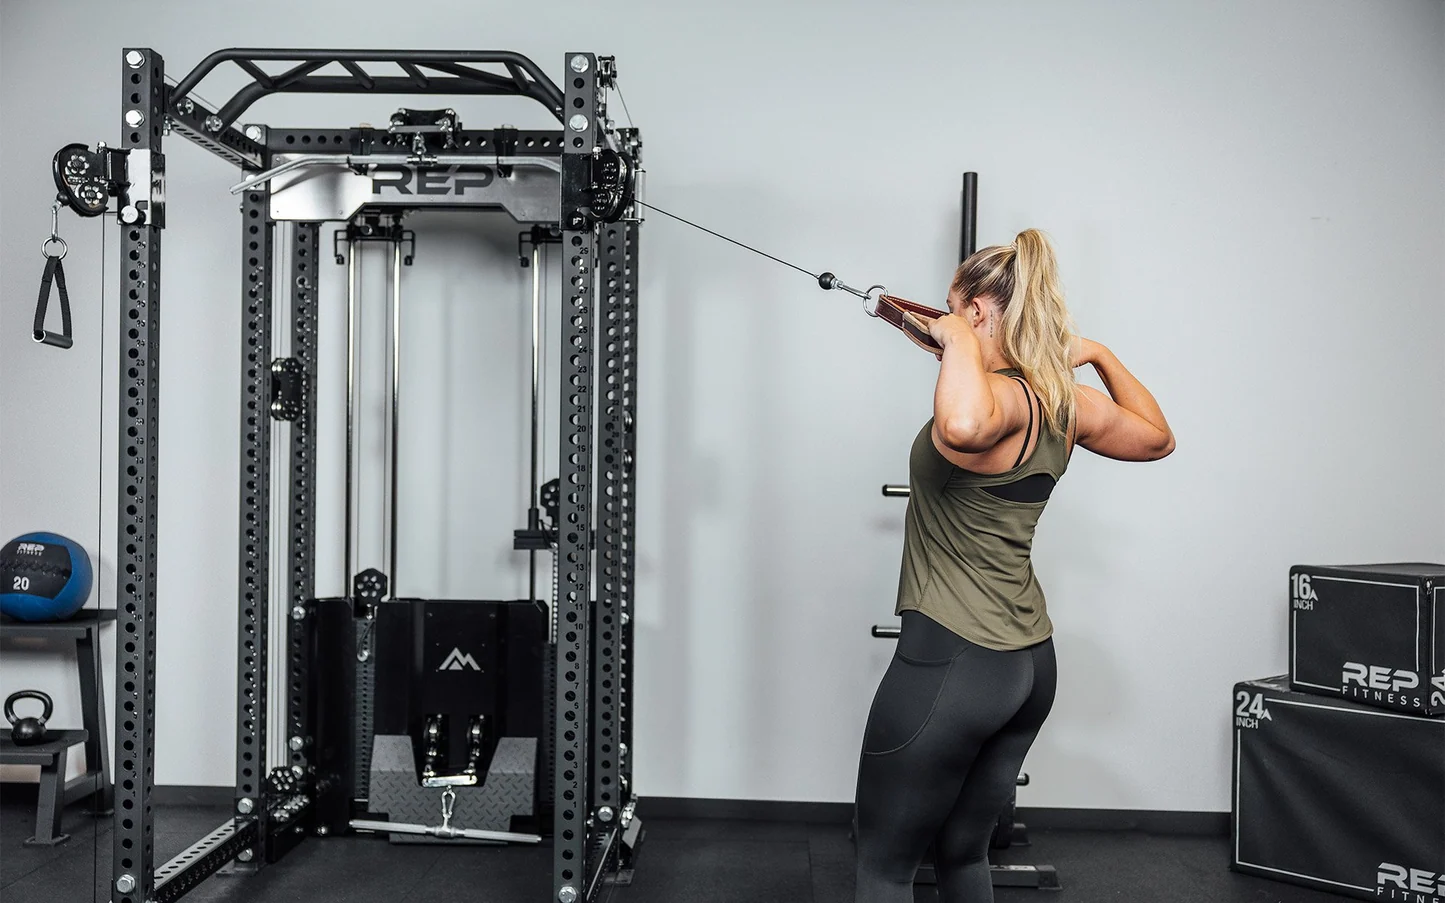
The most common error is loading the cable so heavily that the hands never separate. The shoulders shrug, the elbows collapse and the movement becomes a hybrid row and backward lean. Drop the pin one or two steps and compare the finish positions. If you can restore a smooth end range, the lighter selection is doing its job.
A second mistake is forcing the hands too far backward. Shoulder mobility and arm proportions vary, so the final centimeters may offer little useful training and a lot of irritation. Stop where you can maintain the upper-arm path and comfortable rotation. Sharp pinching, tingling or persistent pain is a reason to stop and seek appropriate clinical guidance.
Do not confuse scapular motion with clamping the shoulder blades together as hard as possible for the entire rep. Let them move naturally around the rib cage while you pull and return. A rigid, exaggerated squeeze can make the movement look artificial and may encourage your neck muscles to take over.
If balance is the limiting factor, switch to a half-kneeling stance, reduce the load or sit at a suitable cable station. These options remove some of the temptation to use momentum. Keep enough distance for full cable travel and avoid selecting a position in which the handle can strike your face when the weight returns.
Attachment choice matters less than a repeatable path. A long rope, two independent cable handles or a comfortable strap can work, but the two-ended rope is the easiest baseline. Do not buy a dozen grips to fix a technique issue; first adjust the pulley, load, foot position and the direction of the pull.
Equipment Worth Exploring
Explore equipment, accessories and gear from our carefully selected range.
VOLTRA
Compact digital cable trainer with smooth, adjustable resistance.

Go-Tone Pro
Portable digital cable trainer with up to 66 lb (30 kg) of adjustable resistance.

VForce Wall Trainer
Space-saving wall-mounted functional trainer with pivoting cable arms and variable resistance ratios.

VForce Lat Tower
Wall-mounted cable tower with pivot arms and adjustable 1:1 or 2:1 pulley ratios.

VForce 2IN1
Half rack and pivot-arm functional trainer with switchable 1:1 and 2:1 pulley ratios.

VForce 3IN1
All-in-one rack combining an adjustable Smith machine, functional trainer, and free-weight station.

VForce 3IN1 Max
Six-post all-in-one rack with Smith machine, functional trainer, and variable-force cables.

Trinity Lat Machine LSW-850
Weight-stack pulldown tower offering three cable directions and adjustable seated support.

Pec Fly/Rear Delt PEC-650
Combination machine with adjustable movement limits for chest fly and rear-delt exercises.

Multi Pull Smith Rack MPHR-780
All-in-one rack with a Smith machine, functional trainer, lat pulldown and low row.
Program face pulls for six weeks and use a band when needed
Use two sessions per week as a starting point. After your heavier pressing or pulling work, perform two sets of 12–20 controlled repetitions, leaving roughly two or three clean reps in reserve. Rest about one minute, longer if breathing or grip makes the next set sloppy. Add a third set only if recovery and technique remain good.
During weeks one and two, establish the pulley height and an honest baseline: two sets in the 12–15 range with a brief pause at the finish. In weeks three and four, work toward 16–20 repetitions at the same load. In weeks five and six, add the smallest useful weight increase and return to the lower end of the rep range.
This is a progression framework, not a prescription that forces you to add load every fortnight. If the next stack plate is a large jump, accumulate clean reps or use a more controlled tempo instead. Stop a set when the rope path or trunk position changes; there is little benefit to buying three extra repetitions with a row-shaped movement.
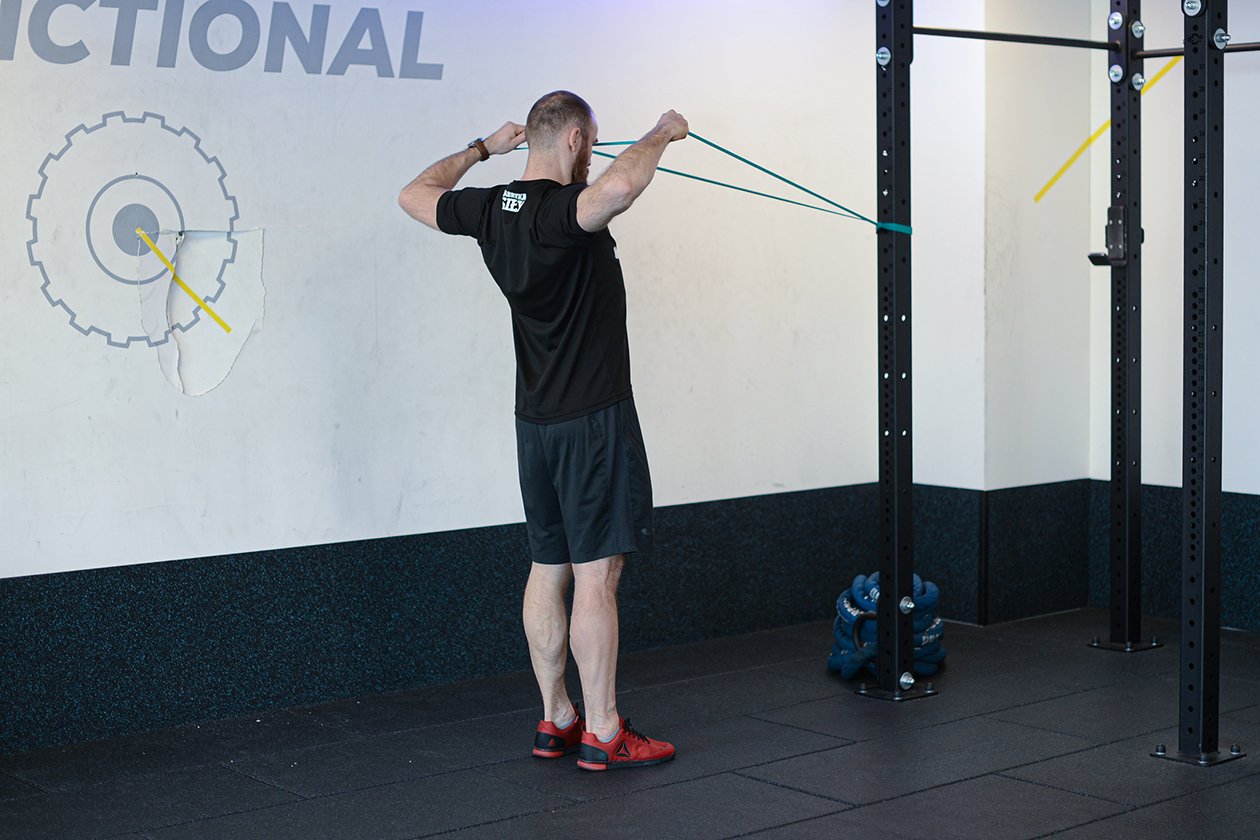
A resistance-band face pull is a practical substitute when cable access is limited. Anchor the band securely at face height to something that cannot move, keep it away from sharp edges and inspect it for wear. Step back to set resistance and pull the ends toward the sides of your head. Unlike a cable, the band becomes harder as it stretches.
Pair face pulls with rows, pulldowns, rear-delt raises and pressing according to your weekly needs rather than counting the face pull as an entire shoulder routine. Log the variation, reps and effort. Six weeks later, the useful result is more controlled work in the same movement, not merely a larger number beside the exercise name.