Advertising disclosure: This page includes affiliate product links that may earn us a commission, as well as products from our own store.
Without a dedicated seated calf machine, a flat bench, a Smith machine and a stable calf block can provide a useful substitute. But the bench, thigh pad and forefoot platform have to line up before you load the bar. Here is how to build a secure setup, make the ankles perform the work and track progress without treating bouncing heel raises as clean repetitions.
Build the station around the bench and thigh pad
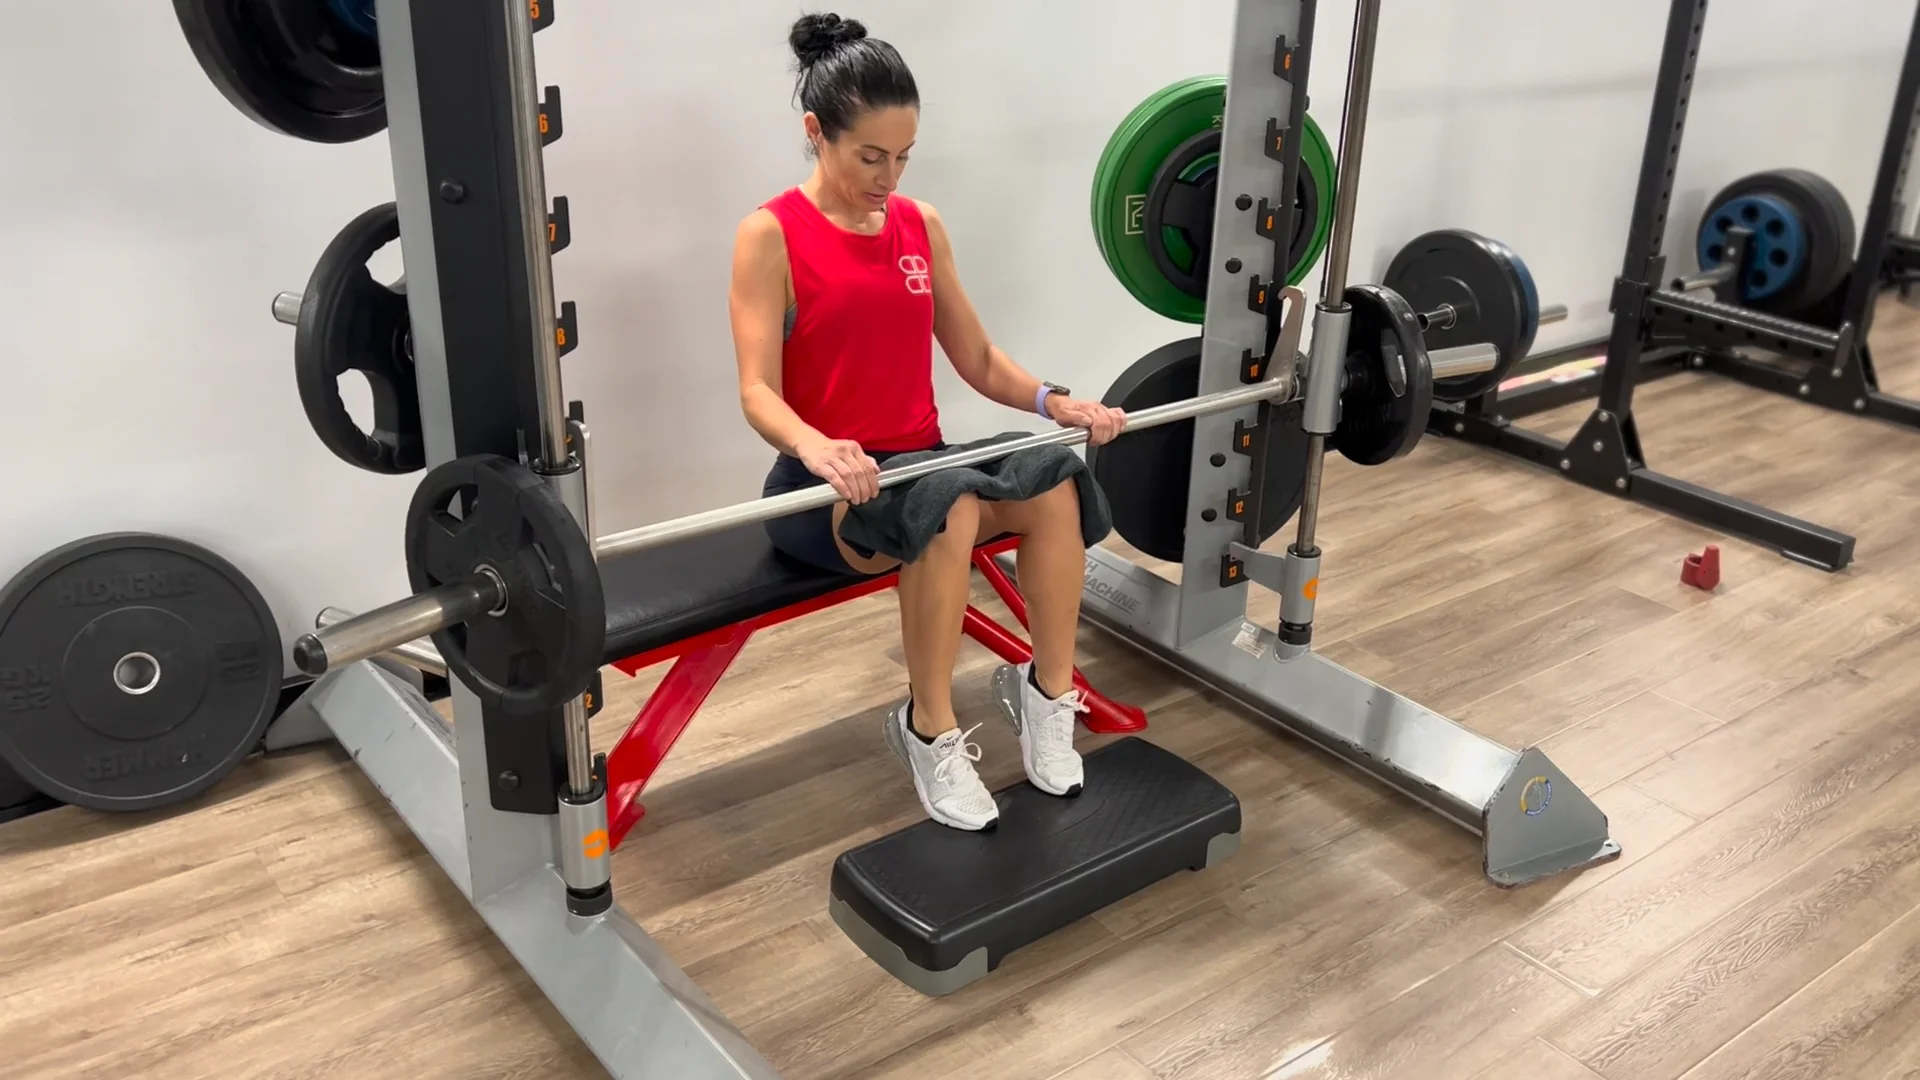
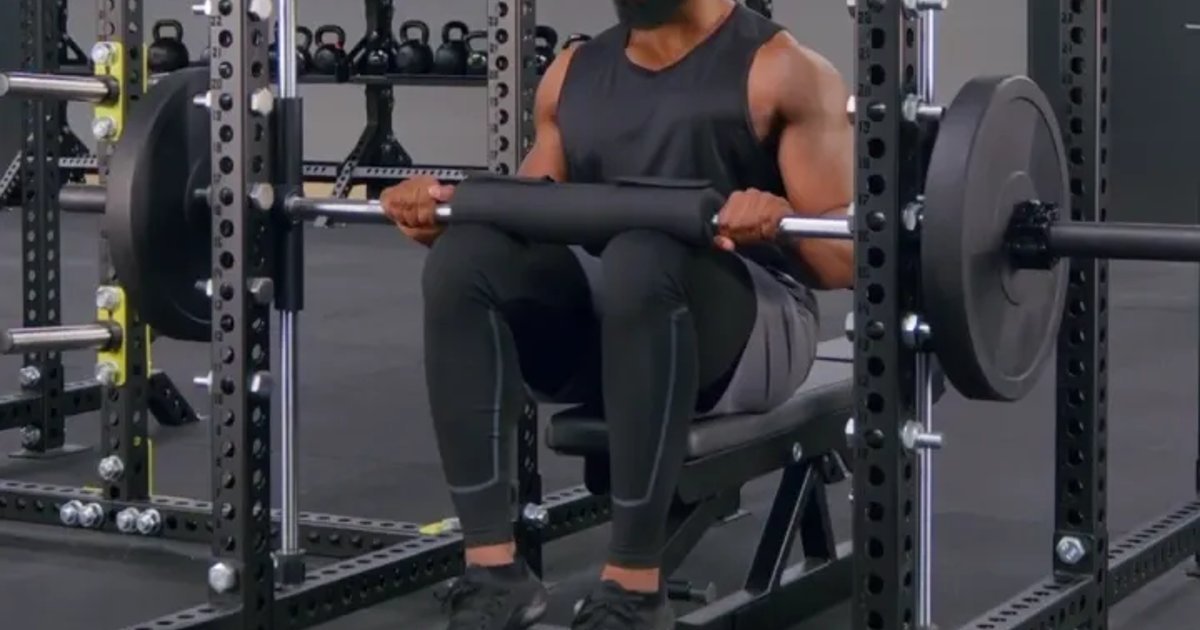
A seated calf raise in a Smith machine is not simply a bench pushed underneath a loaded bar. Start with the unloaded bar and put a flat, stable bench under its track. You need room for a solid calf block in front of the bench, with your knees bent and feet placed under the bar. If you are forced to lean back, perch on the edge of the seat or reach forward to touch the bar, move the bench before picking up a plate.
Place the Smith bar across the lower thighs just above the knees, not on the kneecaps. A dense pad can spread the pressure; check that it does not roll as you move. Your hands steady the bar but should not have to rescue an uncontrolled load. Before the working set, test the Smith hooks and safety stops with an empty bar. A setup that cannot be safely reracked at the bottom of the motion is not ready to use.
Choose a solid platform that cannot slide or tip. Do not balance your toes on a loose stack of small plates or a rocking aerobic step. Make sure the knee angle feels comfortable when the bar is set onto the thighs. With some Smith machines the rails are angled; check that the bar follows a path that stays comfortable against the padding rather than scraping along the legs. A stable, repeatable starting position is the first step in training the calves rather than managing the equipment.
Find a secure forefoot position and usable heel drop
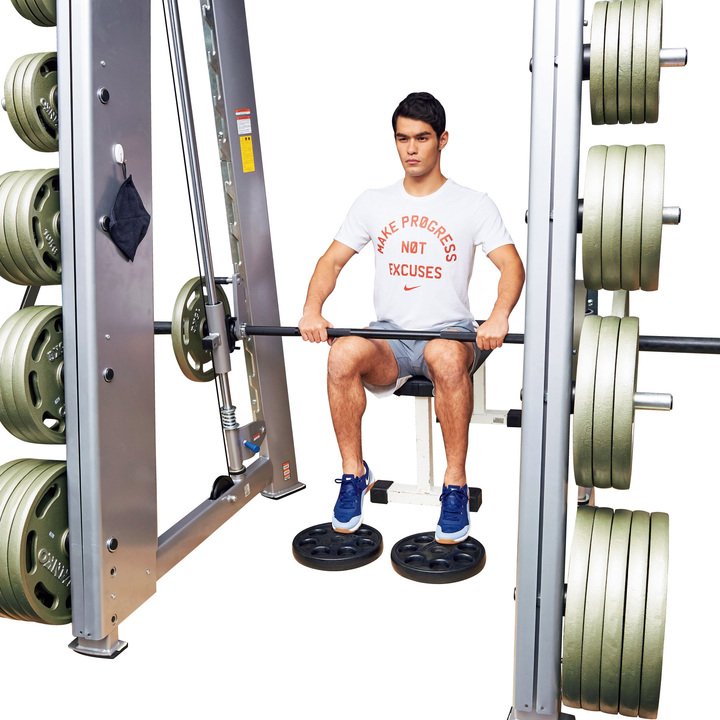
Put the balls of the feet on the front portion of the calf block so that both heels can rise and lower without hitting the floor. Too much of the foot on the block limits ankle range; too little contact invites slipping. Find a position where the forefoot has firm traction and you can easily keep the toes pointing approximately forward. Set the feet around hip width initially, then make small adjustments for comfort.
When the heels drop, do not let the ankles collapse onto their inner or outer edges. Think of keeping pressure across the forefoot rather than balancing on the little-toe side. Your knees should remain bent and relatively still, with the hips staying on the bench. If the knees open and close or the pelvis rocks on every repetition, adjust your load and your seat-to-block distance before worrying about how high you can rise.
Start with an unloaded range-of-motion rehearsal. Lower the heels gradually until you feel a controlled calf stretch, then rise without bouncing. Do not force the heel deep below the platform if the ankle or Achilles tendon feels pinched. Ankle mobility, footwear and the geometry of the block change how much range is available. A smaller smooth arc you can repeat on every rep will tell you more than a dramatic first repetition followed by half reps.
The Smith rails make the bar predictable, but they do not automatically make the foot contact secure. Check that shoes do not slide and that the platform stays put when you lift. If either shifts, stop and repair the setup instead of loading through the instability.
Make the ankle do the work through deliberate repetitions
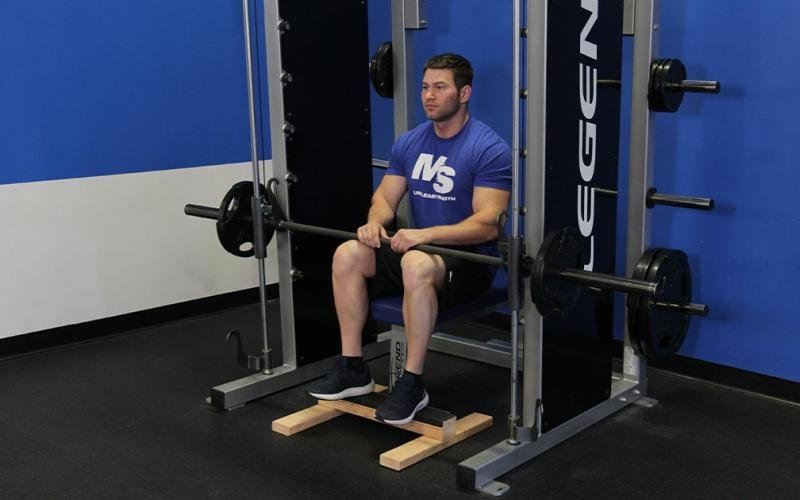
Unrack the bar with the calves after you have confirmed how the hooks release. Begin from a comfortable bottom position, not from a springy bounce. Press the balls of the feet into the block and raise the heels while keeping the thighs underneath the pad. Hold the top briefly, then lower the heels over roughly two seconds. The upper and lower limits should remain recognizable throughout the set.
Do not use the knees to kick the bar upward. It is an ankle movement, not a short leg press. The torso should not rock forward and backward to help the bar rise, and the hips should stay on the bench. If the bar starts traveling across the thighs, the bench position or pad is wrong, or the load is becoming too heavy. Stop the set and correct that rather than pretending an unstable repetition counts as a clean one.
Heavy partials can have a place in some programs, but they are a poor substitute for consistent full-range practice when you are establishing this variation. Sets of about 10–20 controlled reps are a reasonable starting window. Choose a resistance that lets you use the same heel path, pause and tempo on the last rep as on the first. If the heel barely rises, reduce the load; if the calf raises are effortless, increase the repetitions or resistance gradually.
Look for three recurring mistakes: rebounding at the bottom, lifting through the knees, and shifting the entire foot forward until almost nothing hangs off the block. Each makes the displayed weight look more impressive while making the exercise harder to compare across sessions. A few excellent sets beat a pile of unrepeatable numbers.

Equipment Worth Exploring
Explore equipment, accessories and gear from our carefully selected range.

Multi Pull Smith Rack MPHR-780
All-in-one rack with a Smith machine, functional trainer, lat pulldown and low row.

Multi Bench MBX-650 2.0
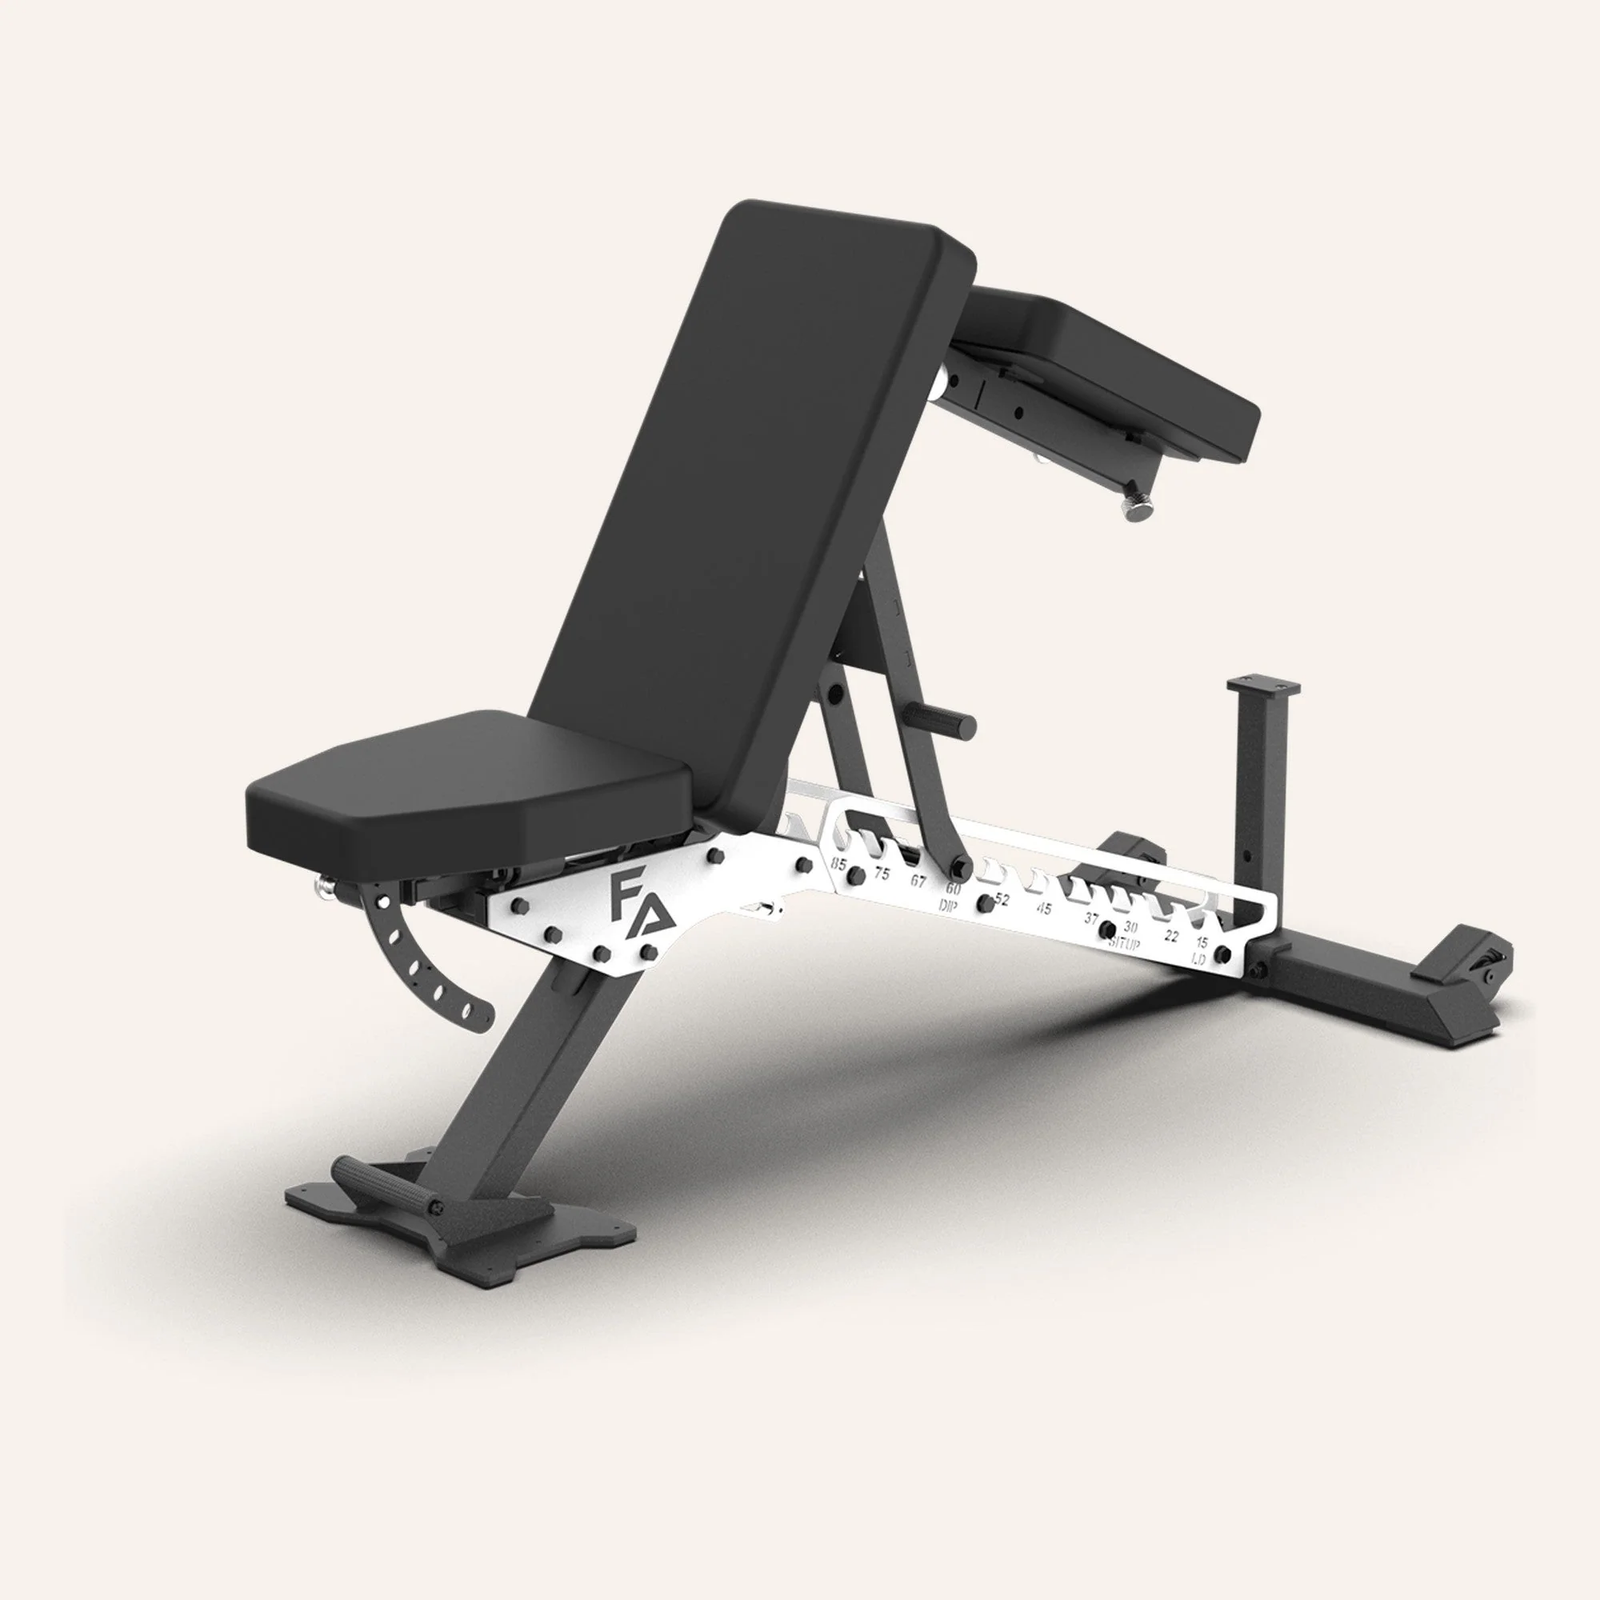
Adjustable multi-bench with roller adjustment, 15 backrest positions and accessory mounts.

FID Bench MAX
Adjustable bench offering flat, incline, and decline positions + adjustable headrest.


Compact Leg Press CLP-700
Compact reverse-style leg press with a moving seat carriage and an adjustable footplate.

Leg Press/Hack Squat BPR-790
Convertible 45-degree leg press and hack squat machine with a broad footplate and band pegs.

Know what bent-knee calf training does—and cannot establish
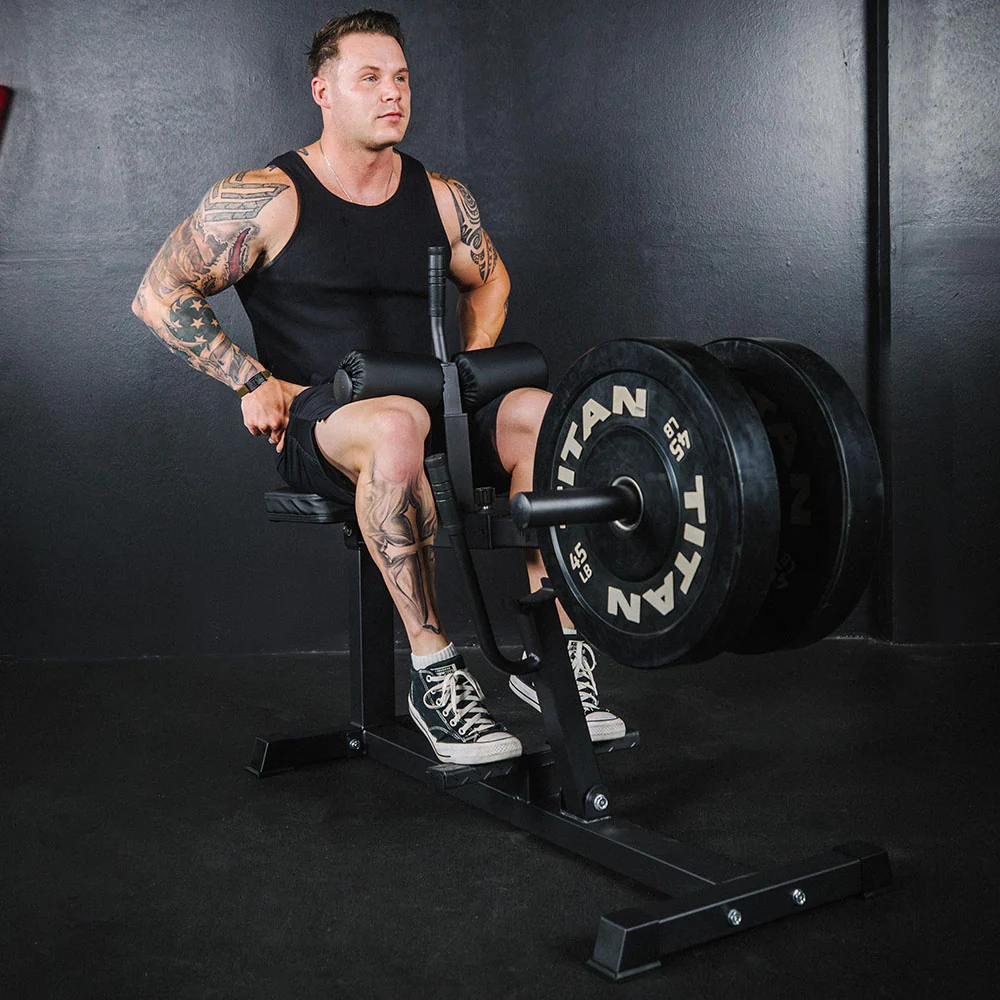
The gastrocnemius crosses both the knee and the ankle. The deeper soleus acts across the ankle without crossing the knee. Bending the knee shortens the gastrocnemius at its upper attachment, changing its ability to contribute to ankle plantarflexion. This is why seated calf raises are commonly used when a lifter wants to place more relative emphasis on the soleus. That does not mean the gastrocnemius switches off or that the soleus is somehow isolated.
In a small twelve-week training comparison, fourteen previously untrained adults used one leg for knee-extended calf raises and the other for seated knee-flexed raises. The standing condition produced larger measured growth in the two gastrocnemius heads, while soleus size changes were modest and statistically similar between conditions. That helps explain why combining bent-knee and straight-knee variations can be sensible. It does not prove an ideal ratio, and it did not directly test the exact improvised Smith-machine station described here.
That distinction is easy to lose when a simple exercise becomes a dramatic science headline. Muscle measurements depend on the participants, duration and specific training conditions. The study did not compare every possible calf machine, nor did it measure how much injury risk a certain foot block eliminates. Treat these results as useful context for exercise selection, not as a guarantee that one machine will make every trainee’s calves grow at the same rate.
For your own session, the controllable factors remain plain: bar contact on the lower thighs, stable forefoot support, and the same deliberate heel travel under load. Those details make the exercise trainable and give you a practical way to evaluate whether it is progressing.
Compare the Smith version with a dedicated machine and standing work
A dedicated seated calf machine removes some of the improvisation. Its thigh pad, footplate and lever are designed around a seated ankle movement, often making the start and finish easier to manage under fatigue. If a Smith bench arrangement keeps pinching the legs or cannot be secured with suitable safety catches, there is no reason to insist on using it instead of the purpose-built machine.
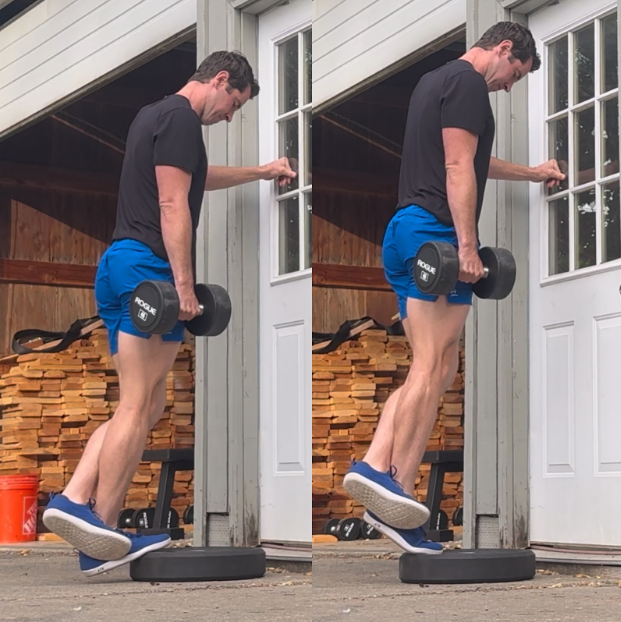
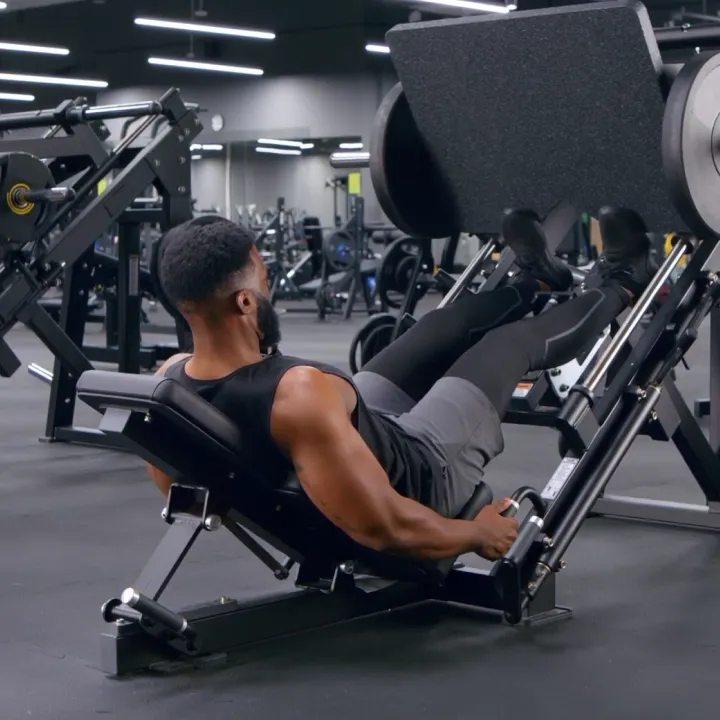
Other options challenge the calf muscles from different positions. A single-leg standing dumbbell calf raise places more demand on balance while the knee remains largely extended. Holding a rack or a fixed support with the free hand can reduce the balance limitation. A calf press on a leg-press sled supports the torso, though the platform angle, sled stops and safe knee position still need attention. Do not let the sled descend into an uncontrolled deep knee bend simply because the target exercise is for the calves.
The strongest practical reason to choose the Smith setup may be convenience: the gym has a Smith machine, a stable bench and block, and no seated calf machine. It can be loaded in small increments if those pieces fit. The weakest reason is to keep forcing the setup after discovering that the bench slides, the bar rolls off the pad or the thigh pressure becomes painful.
When using several calf variations in a week, count all the hard sets together. More exercises are not automatically better if the additional volume simply leaves the ankles sore and the next session worse. Select one or two that you can execute consistently rather than changing machines every time the pump feels different.

Leg Day Shirts & Workout Gear
Leg-day gym shirts and workout gear for lifters who never skip squats, lunges and lower-body punishment.

Freedom To Skip Leg Day – Patriotic Statue of Liberty H Hoodie
Show off your leg-day humor in a laid-back “Freedom To Skip Leg Day” hoodie.

Dont Skip Leg Day Muscle Shirt Athletic Vest Deadpool F Tank Top
Add some leg-day attitude to training with “Dont Skip Leg Day”.

Leg Press Dost Thou Even Press Medieval Knight Gym Deca Sticker
Give your everyday gear a playful “Leg Press” twist.

Shirt Never Skip Leg Day NSLD Meme – Chicken Legs & T-Shirt
Show some leg-day attitude with a playful “Never Skip Leg Day NSLD Meme” tee.

Shirt Never Skip Leg Day Flamingo Meme – Gymbros, & T-Shirt
Rep “Never Skip Leg Day Flamingo Meme” humor in and out of the gym.

Leg Day No Thanks Skip Leg Day Meme Decal Water Sticker
Give your everyday gear a playful “Leg Day No Thanks” twist.

Never Skip Leg Day – NSLD Fried Chicken Meme Hooded Pul Hoodie
Stay casual and show some leg-day attitude with “Never Skip Leg Day”.

Leg Day Thou Shalt Not Skip Leg Day Medieval Knight Gym T-Shirt
Make gym days more fun with “Leg Day” style.

Heavy Metal Leg Day – Shirt Squats & Gains – & T-Shirt
Show some metalhead attitude with a playful “Heavy Metal Leg Day” tee.

My Leg Hurts Leg Day Squat Lovers & Meme Fans Hoodie
Bring “My Leg Hurts” gym humor to lazy days and post-workout plans.
Use a four-week progression that protects your rep standard
For a healthy lifter introducing this variation, two calf sessions per week with at least a day between them make a workable starting structure. People already running, jumping or playing sport may need less isolation volume initially. The four-week example below is a progression template, not a promised result or an instruction to push through ankle pain.
Week 1: Complete two sets of 12–15 repetitions in each session. Use a load that lets you pause briefly at both ends of your comfortable ankle range. Record the platform, bench setting and machine used along with the plates, so you can recreate the workout. Week 2: Work toward three sets if you are recovering normally. Let repetition quality and the full heel path determine whether you add a set.
Week 3: Once every set reaches the upper end of the range with the same form, add the smallest useful resistance and return toward 10–12 reps. A different Smith machine may have a different effective bar weight, so comparing plate numbers between gyms is unreliable. Week 4: Build the clean reps back up or hold the weight constant if the extra resistance shortens your heel travel.
If you also include standing or single-leg calf work, put it after a short rest or on a separate day and track the combined hard work. Calves do not need to be hammered every day to make progress. Sharp pain in the Achilles tendon, foot or knee is a reason to stop and change the exercise rather than chasing another repetition.
At the end of week four, compare the starting and final sessions: could you use the same foot contact, heel depth, top position and smooth lowering with more repetitions or a little more resistance? If yes, you have a meaningful training improvement even if the absolute load is modest. That is the kind of progress worth repeating.