Advertising disclosure: This page includes affiliate product links that may earn us a commission, as well as products from our own store.
Single-arm lat pulldowns turn an ordinary high cable into a useful back-training option. Working one side at a time makes elbow path, torso movement and side-to-side control easier to notice. The exercise is only as effective as its setup: sit or kneel securely, give the shoulder a comfortable overhead reach, and use a load that does not turn every repetition into a lean-back row.
Fit the cable and seat before you pull
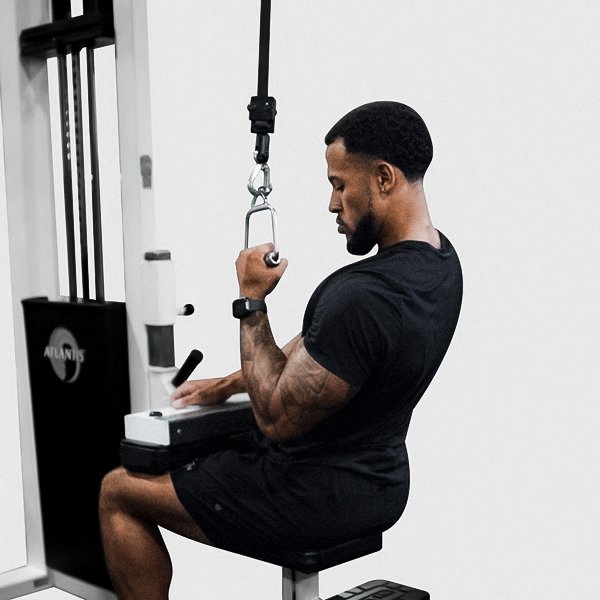
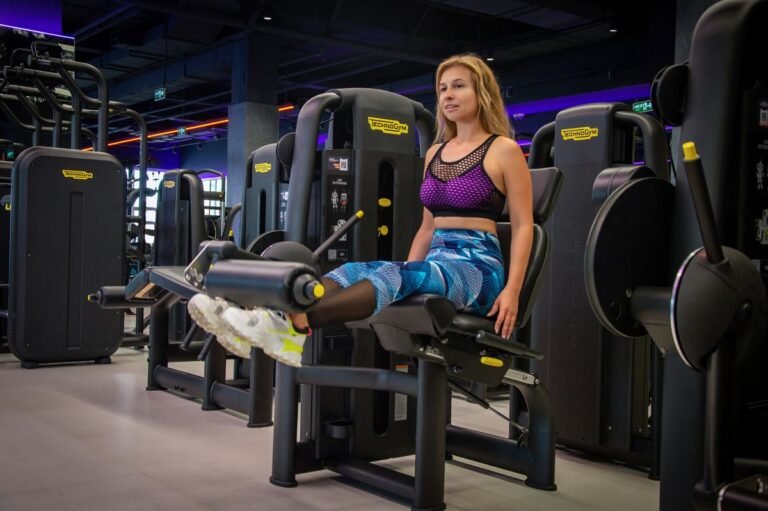
A good one-arm lat pulldown starts with the machine, not the working arm. Connect a secure single handle to a high pulley and check that the carabiner gate is closed. Choose a light load for the first test reps. On a seated lat station, move the thigh pad until it holds your legs without forcing you to slouch or wedge painfully against the cushion. Put both feet on the floor, sit tall and place the free hand on your thigh or on a sturdy part of the seat.
From the top, your hand should be able to reach comfortably overhead while the cable stays under tension. It should not drag against the frame, rub your neck or pull the arm sideways into a position your shoulder dislikes. Sit under a sensible line of pull rather than twisting your entire body to chase the handle. A neutral, palm-in grip is often a convenient starting position, but an underhand or slightly pronated grip can also work when it feels natural.
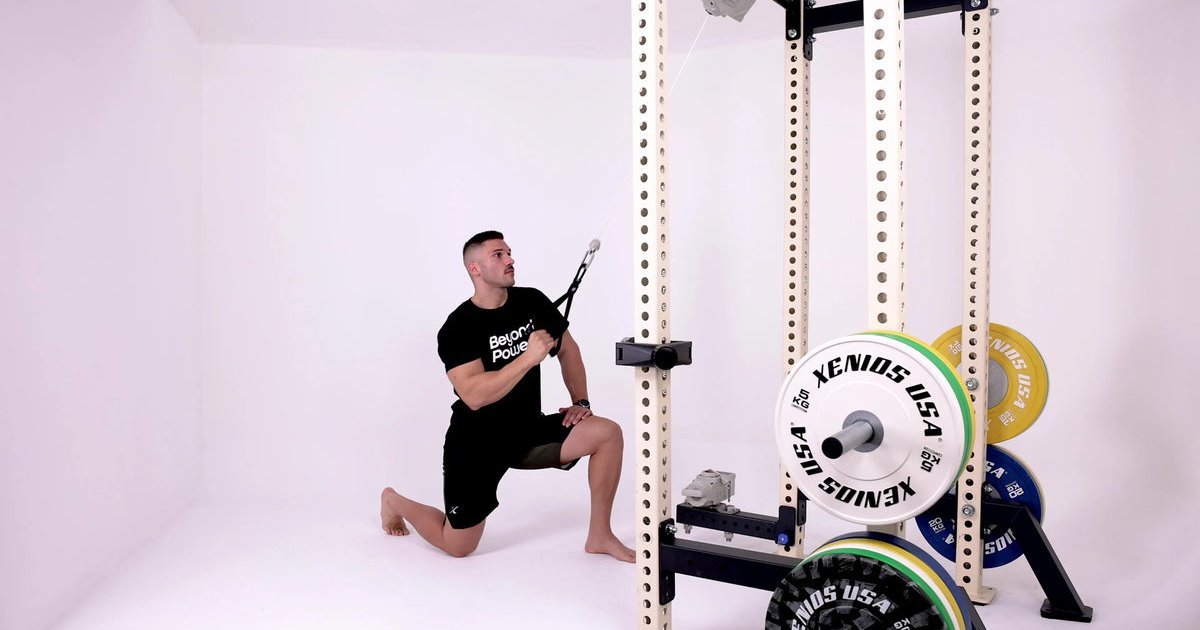
If there is no seated pulldown station, a high cable tower and stable bench can supply a similar setup. A half-kneeling version is possible too, provided the cable is safely anchored and the working arm has clearance. The pulley height, handle length and your body position should determine the range; a random seat location should not dictate a strained shoulder angle. Set the machine the same way each session so changing leverage does not masquerade as strength progress.
Drive the elbow down without turning it into a row
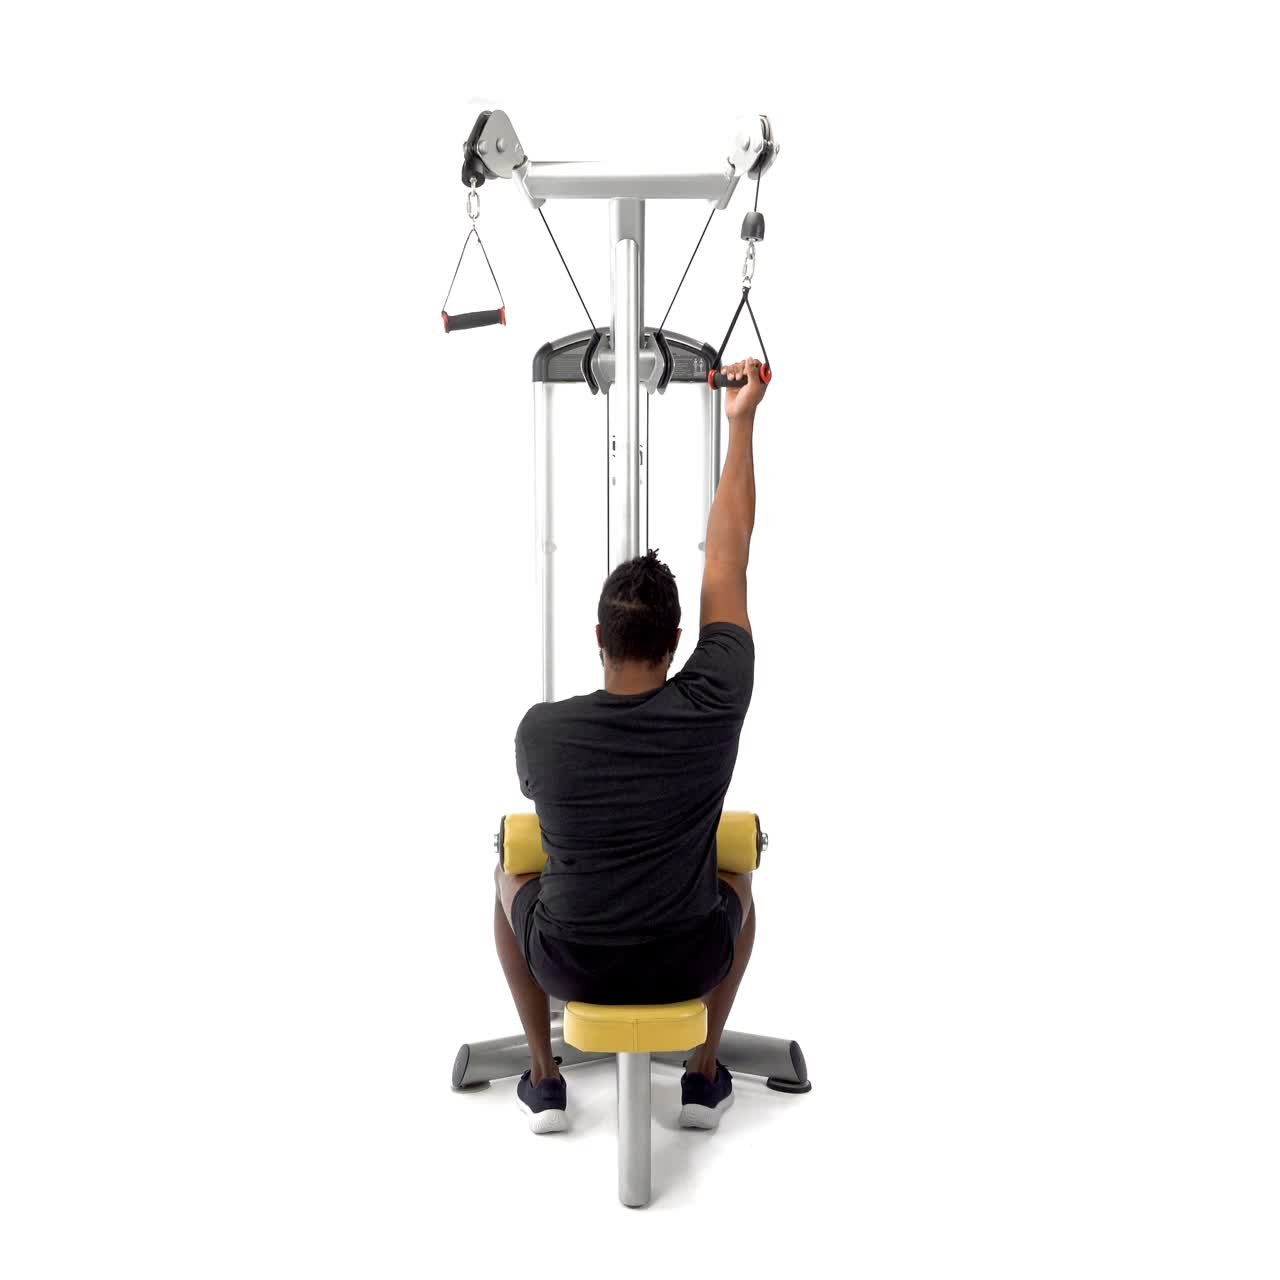
Reach upward with the working arm and let the shoulder blade move naturally, then begin the pull by bringing the upper arm down toward your side. A useful cue is to direct the elbow toward the back pocket rather than trying to curl the handle to your chest. The hand is simply the connection between the cable and the upper arm. It follows the elbow, and the elbow follows the path your shoulder can control.
The latissimus dorsi helps move the upper arm toward the torso. Teres major, elbow flexors and muscles supporting the shoulder blade also contribute. This is not an isolated movement where every other muscle switches off. To make the lat contribution easier to feel, keep your ribs mostly stacked above your pelvis, brace lightly and resist the urge to throw your sternum upward. Your torso may have a small, consistent lean; that is different from reclining farther with each heavy rep.
End the pull when the elbow is beside your ribs and the upper arm is near the torso. The handle might finish around shoulder or upper-chest level depending on the machine and your proportions. There is no need to drive your elbow behind the body, rotate your whole chest toward the stack or crank the wrist inward for a theatrical squeeze. Those movements can change the exercise rather than improve it.
Film a light set from the front quarter. If your shoulder and torso stay roughly in the same places while the upper arm travels down, the setup is probably repeatable. If your chest swings across the cable, lower the load and reposition before judging whether the exercise suits you.
Own the stretch and controlled return
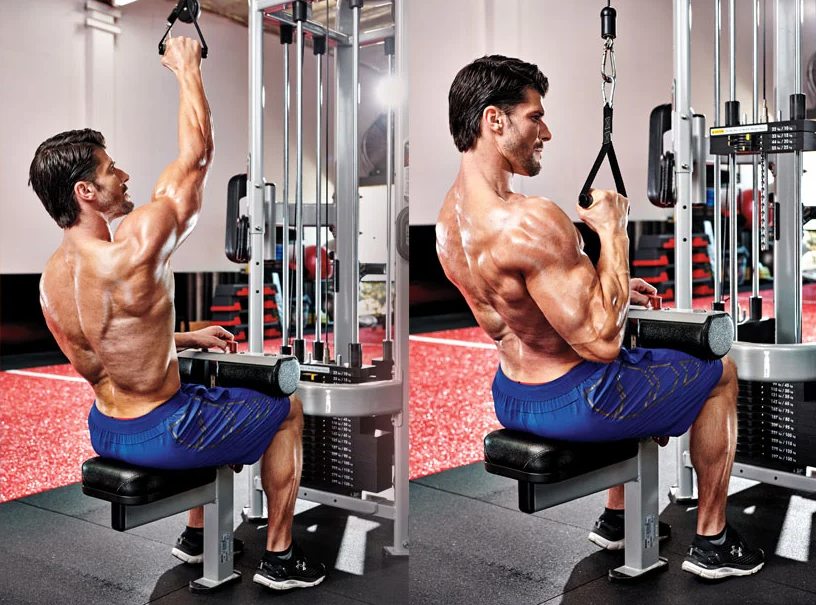
The top of the repetition matters as much as the downward pull. Allow the arm to travel upward gradually until you reach a comfortable overhead position and feel lengthening along the working side of the back. Your shoulder blade is allowed to rotate and elevate as the arm returns. Holding it forcibly pinned down for the entire repetition can make the reach awkward and unnecessarily restrict motion.
Start each rep with the weight stack still under control. Pull smoothly for about one to two seconds, pause briefly in a solid bottom position if that helps remove momentum, and spend roughly two to three seconds returning the handle. The timing is a coaching tool, not an immutable physiological rule. You can use a different tempo provided you avoid throwing the weight up and catching it with a loose shoulder.
Stop the overhead reach short of pinching, tingling or a sharp sensation. A longer range is useful only when it is controlled and pain-free. Some lifters will feel a broad stretch under the armpit; others will notice the upper arm and elbow more. Neither sensation alone proves that a rep was productive. Repeatable joint positions, reasonable loading and progressive training are stronger practical markers.
Watch the stack between reps. If plates slam down at the top, you may have moved beyond the cable’s useful tension range or released the return too quickly. If your torso tilts as the arm rises, the load may be dragging you out of position. Ease the weight and establish a full, consistent range before adding plates. Do not sacrifice the controlled stretch to claim a heavier number.

Equipment Worth Exploring
Explore equipment, accessories and gear from our carefully selected range.

Trinity Lat Machine LSW-850
Weight-stack pulldown tower offering three cable directions and adjustable seated support.

Lat Pulldown Set
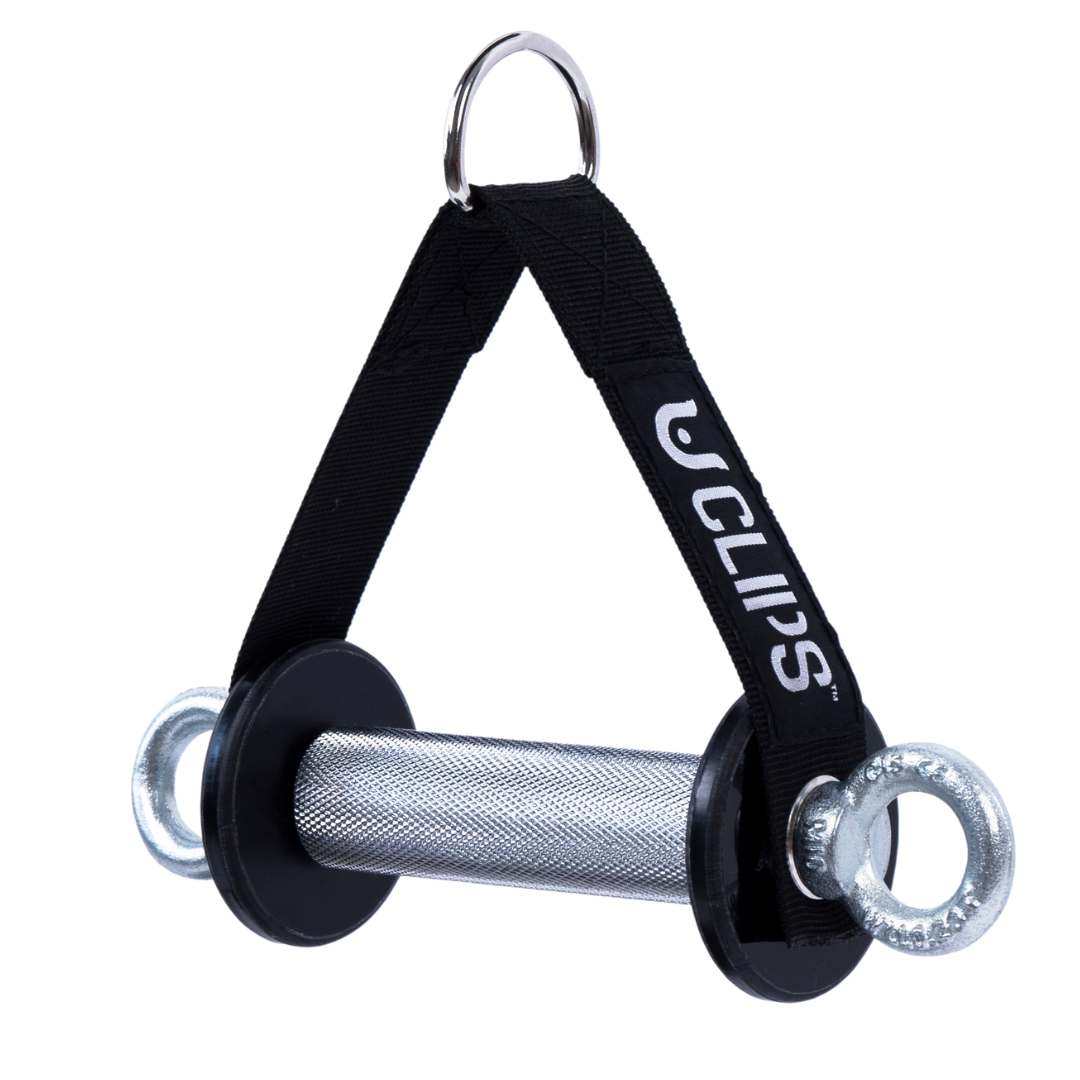
Multi-grip cable attachment set for pulldowns, rows, and varied upper-body training.

VForce Lat Tower
Wall-mounted cable tower with pivot arms and adjustable 1:1 or 2:1 pulley ratios.

VForce Lat Seat
Rack-mounted seat attachment for supported lat pulldowns and seated cable exercises.

GymPin Ergo Handles
Pair of ergonomic cable handles shaped for comfortable triceps and pulling exercises.
GymPin D Cuffs
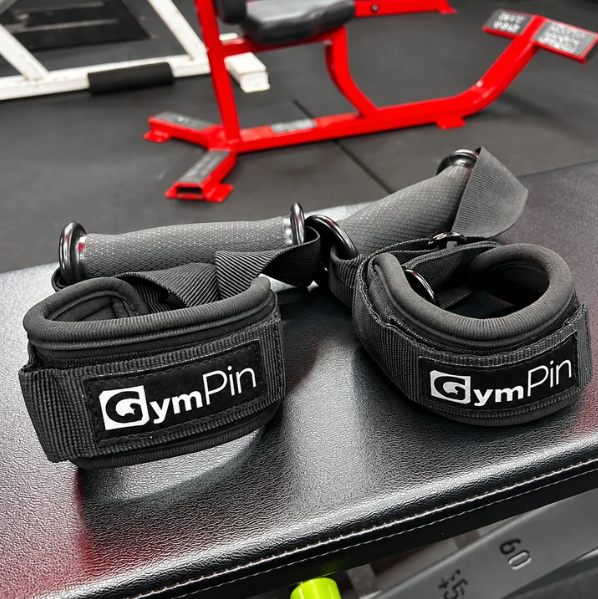
Adjustable wrist cuffs with textured grips for supported cable-machine exercises.

Multi Pull Smith Rack MPHR-780
All-in-one rack with a Smith machine, functional trainer, lat pulldown and low row.
VOLTRA
Compact digital cable trainer with smooth, adjustable resistance.
Troubleshoot swinging, shrugging and grip takeover
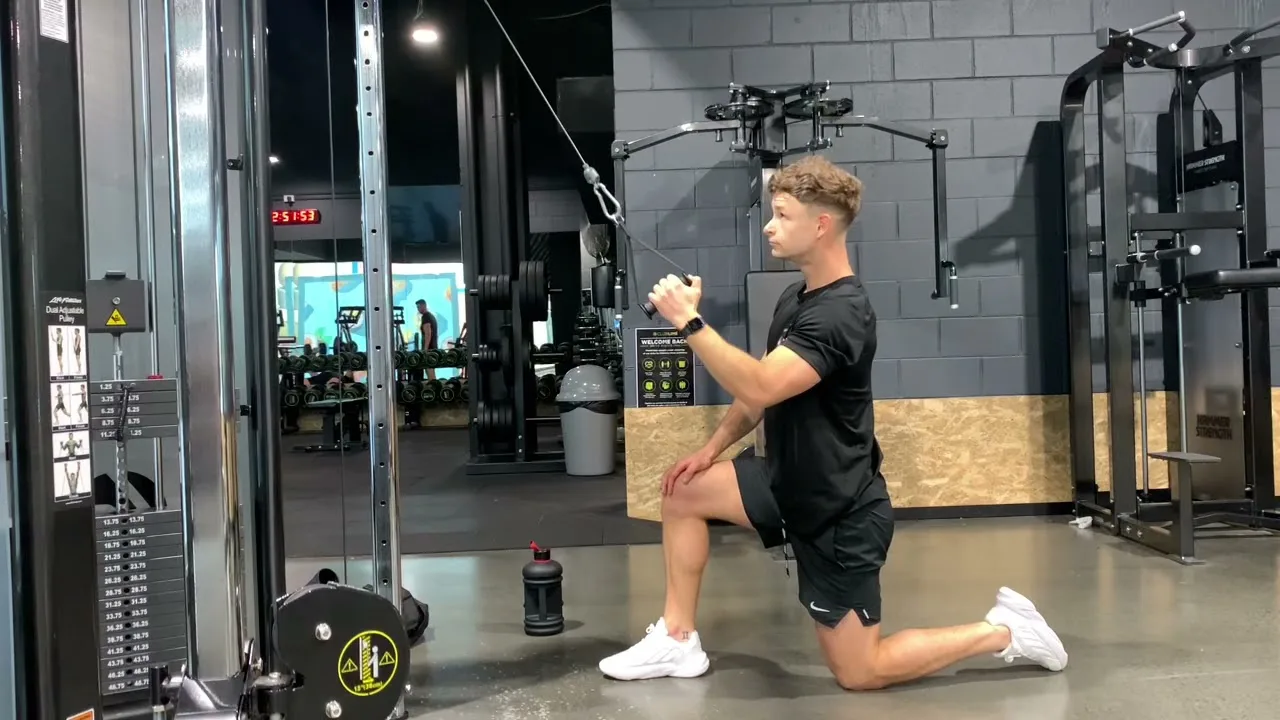
If the cable keeps pulling you sideways, check the relationship between your body and the pulley. Moving the seat slightly, spreading your feet for support or using the free hand to brace against the station can make the exercise immediately more stable. The goal is not to eliminate all trunk activity; it is to keep the torso from becoming the main source of movement.
Another common error is shrugging and bending the elbow first. The arm still needs to bend, but actively think about moving the upper arm toward the ribs as the elbow flexes. A neutral handle may let the wrist remain comfortable and reduce attention spent squeezing an awkward bar. If grip fatigue ends the set before the back gets useful work, reassess the handle, reduce weight or consider appropriate straps; do not use straps to conceal an unstable machine connection.
If you feel mainly biceps, do not assume the exercise is broken. Elbow flexors always help with pulldowns. Instead, test whether the load allows the upper arm to move through a consistent arc. Try a lighter set with a smoother return and a short pause. Compare that with your heavier version on video. The better version is the one you can repeat without bouncing, not necessarily the one that produces the strongest burning sensation.
Shoulder discomfort deserves a different response from ordinary muscular effort. Stop a painful range, try another grip or line of pull, and avoid yanking overhead through symptoms. Consider a qualified clinician if pain persists. Also avoid an unstable half-kneeling position when the pulley is mounted too low or the load draws the body toward the machine. Stability should come first, before intensity techniques or long sets.
Choose seated, half-kneeling or machine variations deliberately
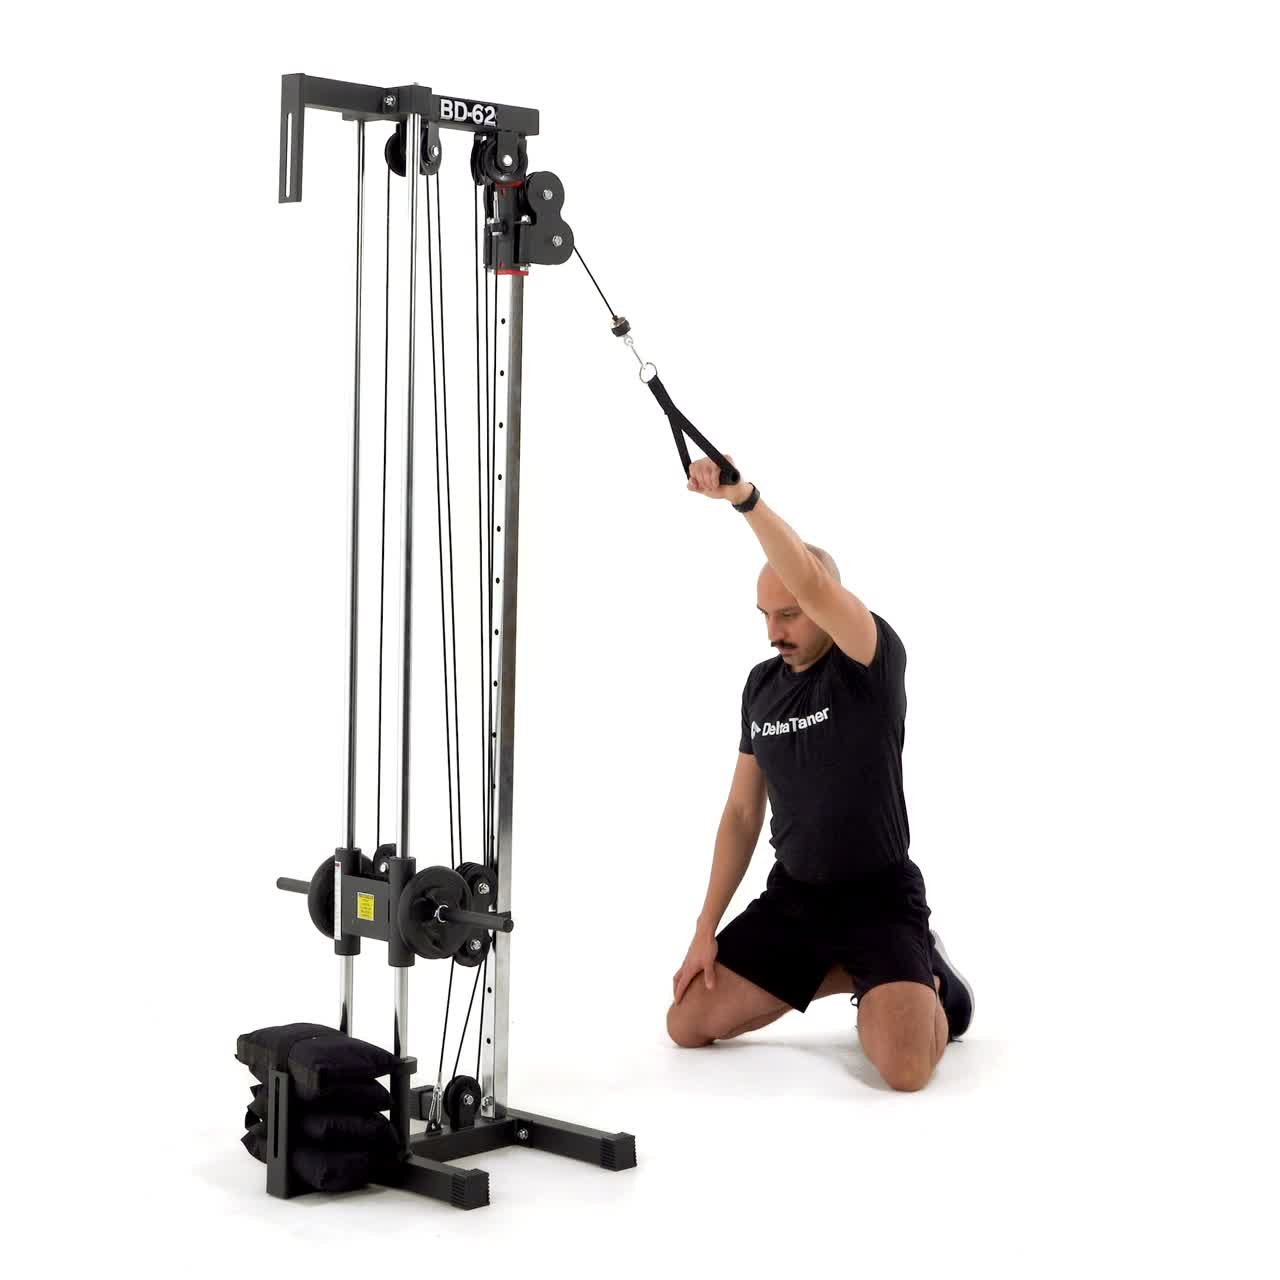
Seated unilateral pulldowns are straightforward to load and compare because the bench, thigh pad and feet provide a stable base. They suit lifters who want focused back work without turning every rep into a balance test. Half-kneeling high-cable pulldowns allow slightly different positioning and may be convenient at a functional trainer, but they require deliberate knee placement and torso control. Neither version automatically builds more lat muscle merely because one feels harder to balance.
A machine with independent handles can make the right and left sides easier to train separately, although its fixed lever path may not fit every person’s shoulder comfortably. A regular two-arm pulldown is efficient for high total loading when both arms work together. Pull-ups add bodyweight demands and require suitable strength. Horizontal rows emphasize a different shoulder movement: the upper arm travels back relative to the torso rather than chiefly downward from overhead.
Use these differences to build a complete program instead of declaring a universal winner. A heavy bilateral pulldown or pull-up can establish the main vertical-pulling load. One-arm pulldowns then add controlled volume where you can observe the elbow path and compare sides. A row variation supplies complementary horizontal pulling. You do not need five attachments and four nearly identical pulldowns in the same workout to develop your back.
For one-arm work, keep the same handle, cable height and body position on both sides when practical. You may find that one shoulder prefers a slightly different angle; comfort still outranks forced symmetry. What matters for comparisons is that each side gets a fair, repeatable attempt under similar conditions.

Bodybuilding Shirts & Workout Gear
Bodybuilding shirts, tanks and gym gear for lifters chasing muscle, size, symmetry and the pump.


Lat Man Big Back – With Huge Lats – Vest Back Day Tank Top
Your gym-day look, with a playful “Lat Man Big Back” twist.


Shirt Pull Day – Back & Biceps Meme Top T-Shirt
Heavy lifts, good laughs, and a little “Pull Day Graphic” energy.

Demon Back Big Back & Lat Workouts Vest Tank Top
Your gym-day look, with a playful “Demon Back” twist.

Back Sabbath Back Day Funny Gym Hoodie
Bring “Back Sabbath Back Day” gym humor to lazy days and post-workout plans.

Hardcore Gains Gym | Funny No Pain No Gain Workout Swea T-Shirt
For laid-back days and lifting humor: “Hardcore Gains”.

Gym Dost Thou Even Pull Medieval Knight Back Day Muscle Tank Top
Bring “Dost Thou Even Pull Medieval Knight Back” humor to your next lifting session.

Program both sides and progress for four weeks
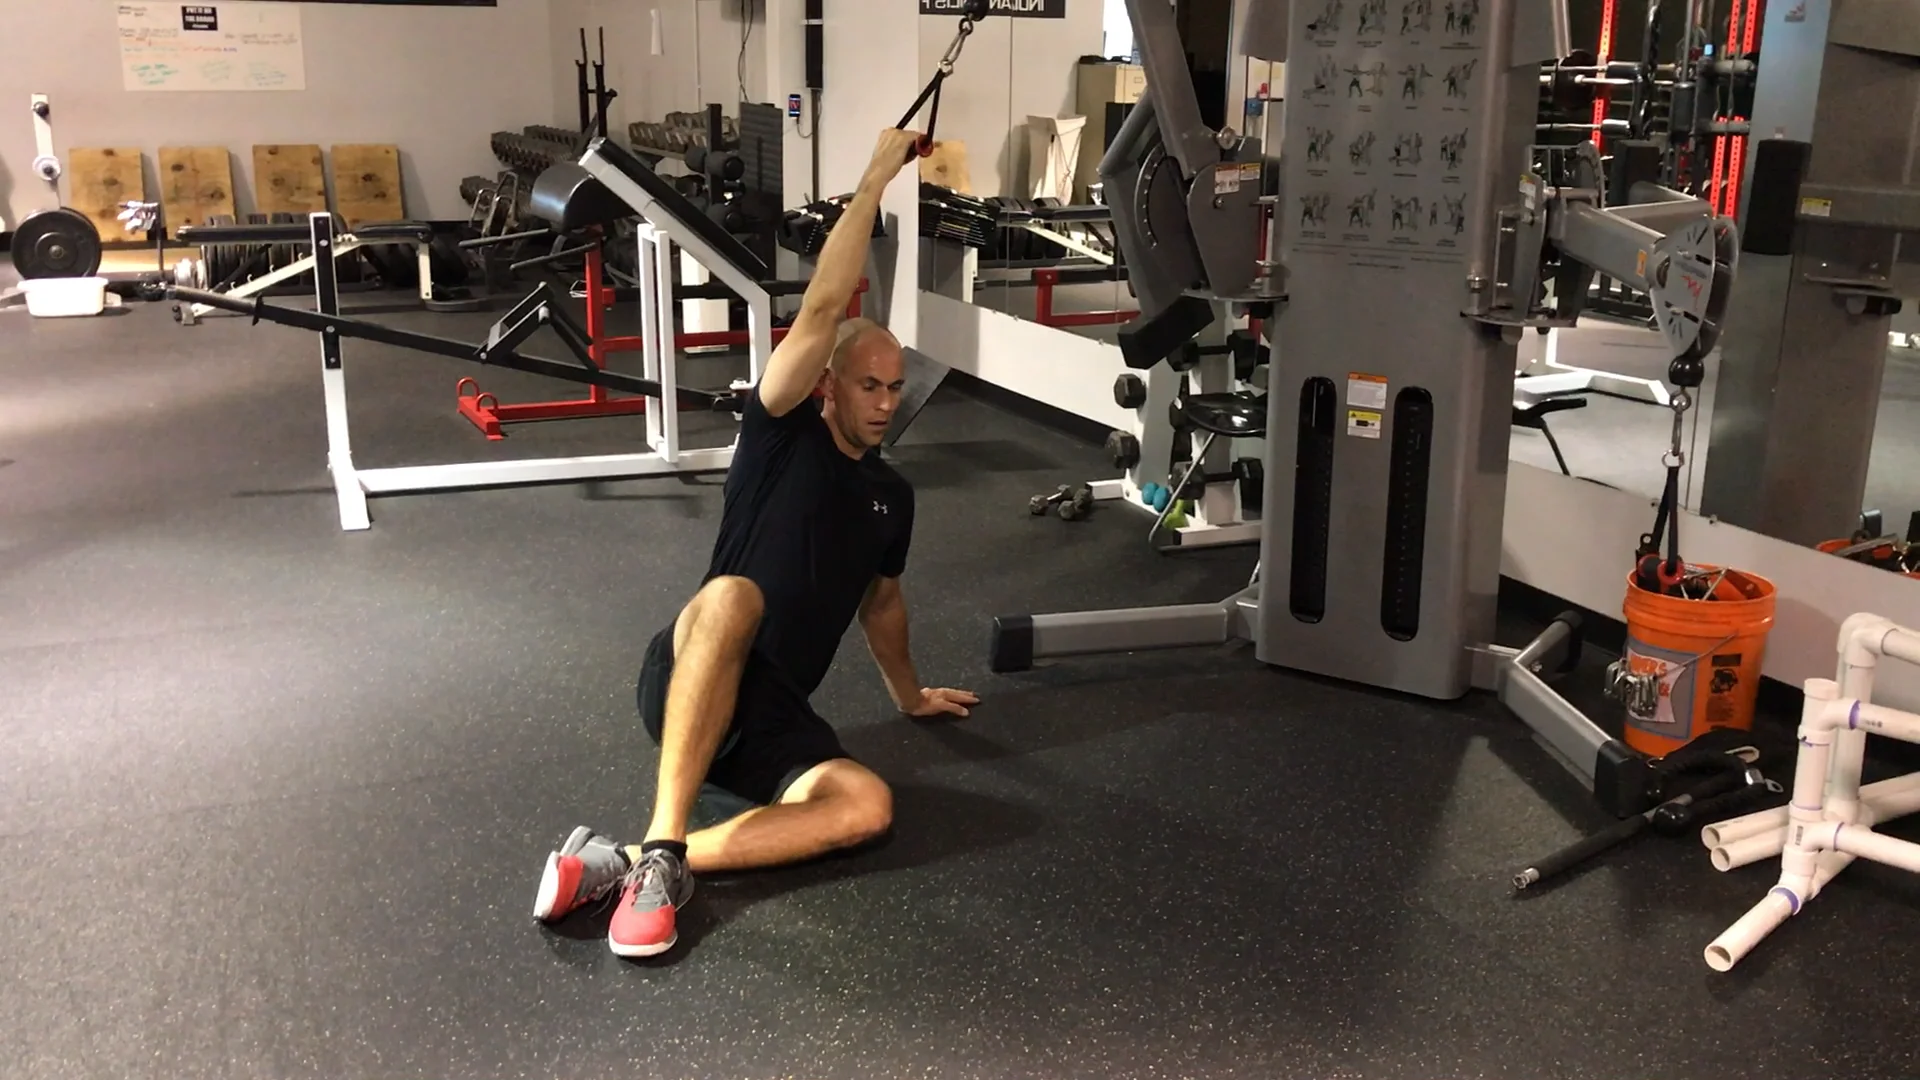
Start with two sets of eight to twelve controlled repetitions per arm, once or twice weekly as part of your normal back training. Keep about two or three repetitions in reserve during the first week while you learn a repeatable path. If the exercise feels stable and the next session arrives without unusual joint irritation, add a third set or work closer to a challenging but controlled effort. The exact dose depends on how many pull-ups, rows and other back sets your program already includes.
In week one, find the seat position, grip and range and record a load you can repeat. In week two, try to add a repetition or two with the same form. In week three, when every set reaches the upper end of your rep range without leaning or slamming the stack, increase the load by the smallest sensible increment and return toward the lower end of the range. In week four, consolidate: match the cleaner technique and total work rather than rushing another increase. If fatigue is building elsewhere, hold the load and reduce one set instead of forcing progress.
Begin with whichever side you can control less confidently, then match its completed clean repetitions with the other. Do not make the stronger side’s bigger number the assignment for the weaker side. This keeps training volume similar while letting differences gradually narrow. A one-sided imbalance is a reason to assess technique and history, not a guarantee that unilateral exercises will erase it.
A practical session might pair three sets of a two-arm pulldown with two sets per side of this movement and two or three sets of a supported row. Spread demanding back work across the week with recovery that fits your schedule. Track the cable station and actual handle along with the weight: a pulley ratio or stack label can differ between machines. Your goal is more high-quality work through the same useful motion over time, not a dramatic single repetition.