A loaded sled looks simple: grab the handles and push. In practice, your body angle, stride length, footwear and the friction beneath the skis can change the effort dramatically. Get those details right and sled pushes become a versatile way to train leg drive, short acceleration and demanding conditioning.
The trick is to choose a load and technique for the outcome you actually want. This guide explains the mechanics, what the evidence does and does not support, how to avoid common errors and how to structure sled sessions for strength or HYROX-style fitness without treating every push like a maximal test.
1. Why sled pushes feel different from ordinary lifting
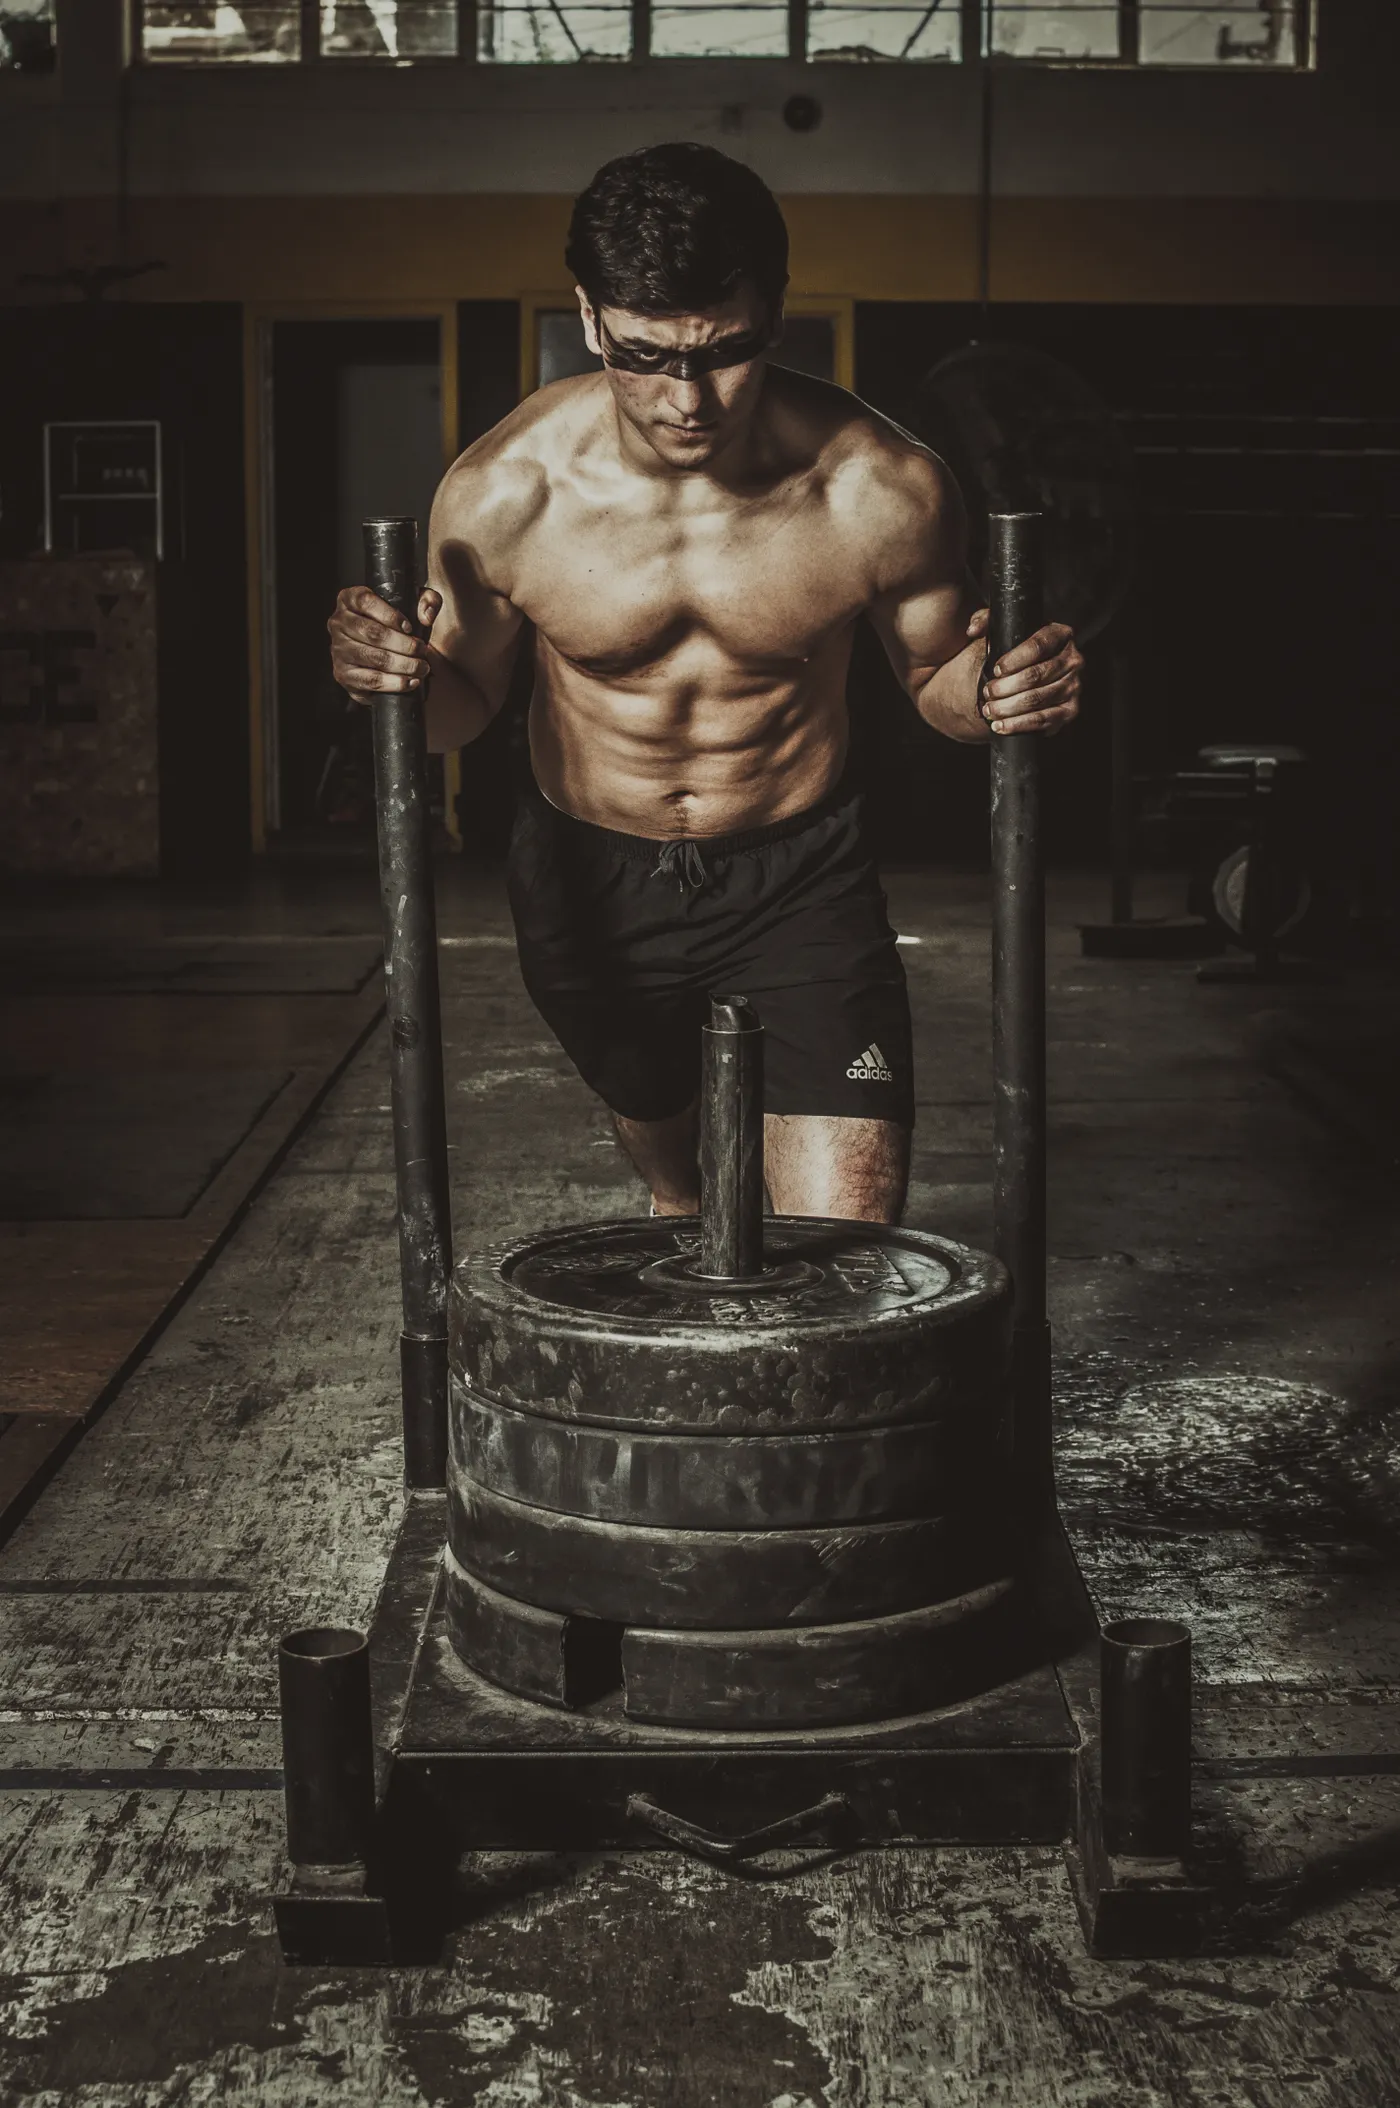
A push sled turns each step into a horizontal force task. You lean into the frame, apply force through your feet and move the load across the floor. Unlike a squat, there is no separate controlled lowering phase of the sled itself; most of the muscular work is concentric. That difference is one reason sled work can feel brutally demanding during the effort yet sometimes produce less next-day soreness than an unfamiliar eccentric-heavy workout.
The movement is not just a leg press on wheels. Your shoes must grip the surface, your torso must transfer force to the handles, and your stride has to keep the sled moving. A heavier sled changes the required body angle and usually shortens your steps. A lighter sled lets you move faster, which makes the exercise useful for both acceleration practice and conditioning.
The sled does not make squats, sprinting or cycling obsolete. It is another tool for training the ability to apply force repeatedly against resistance. It also provides a measurable task: distance, time, load, rest and surface. Recording those details makes progression more meaningful than simply adding plates until a push becomes a grinding struggle.
2. Set your body angle and hands before the first step
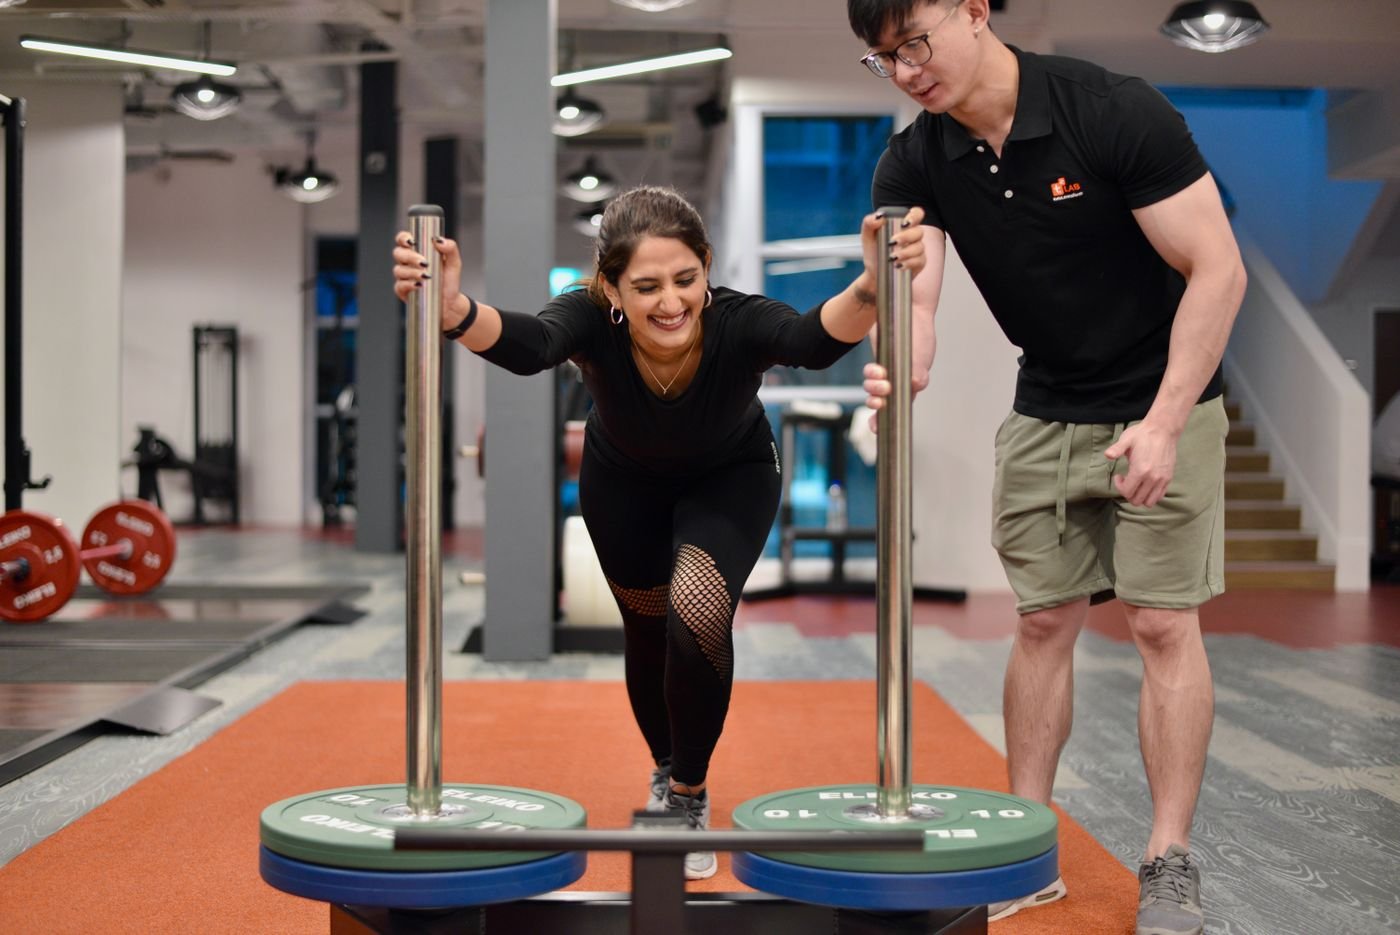
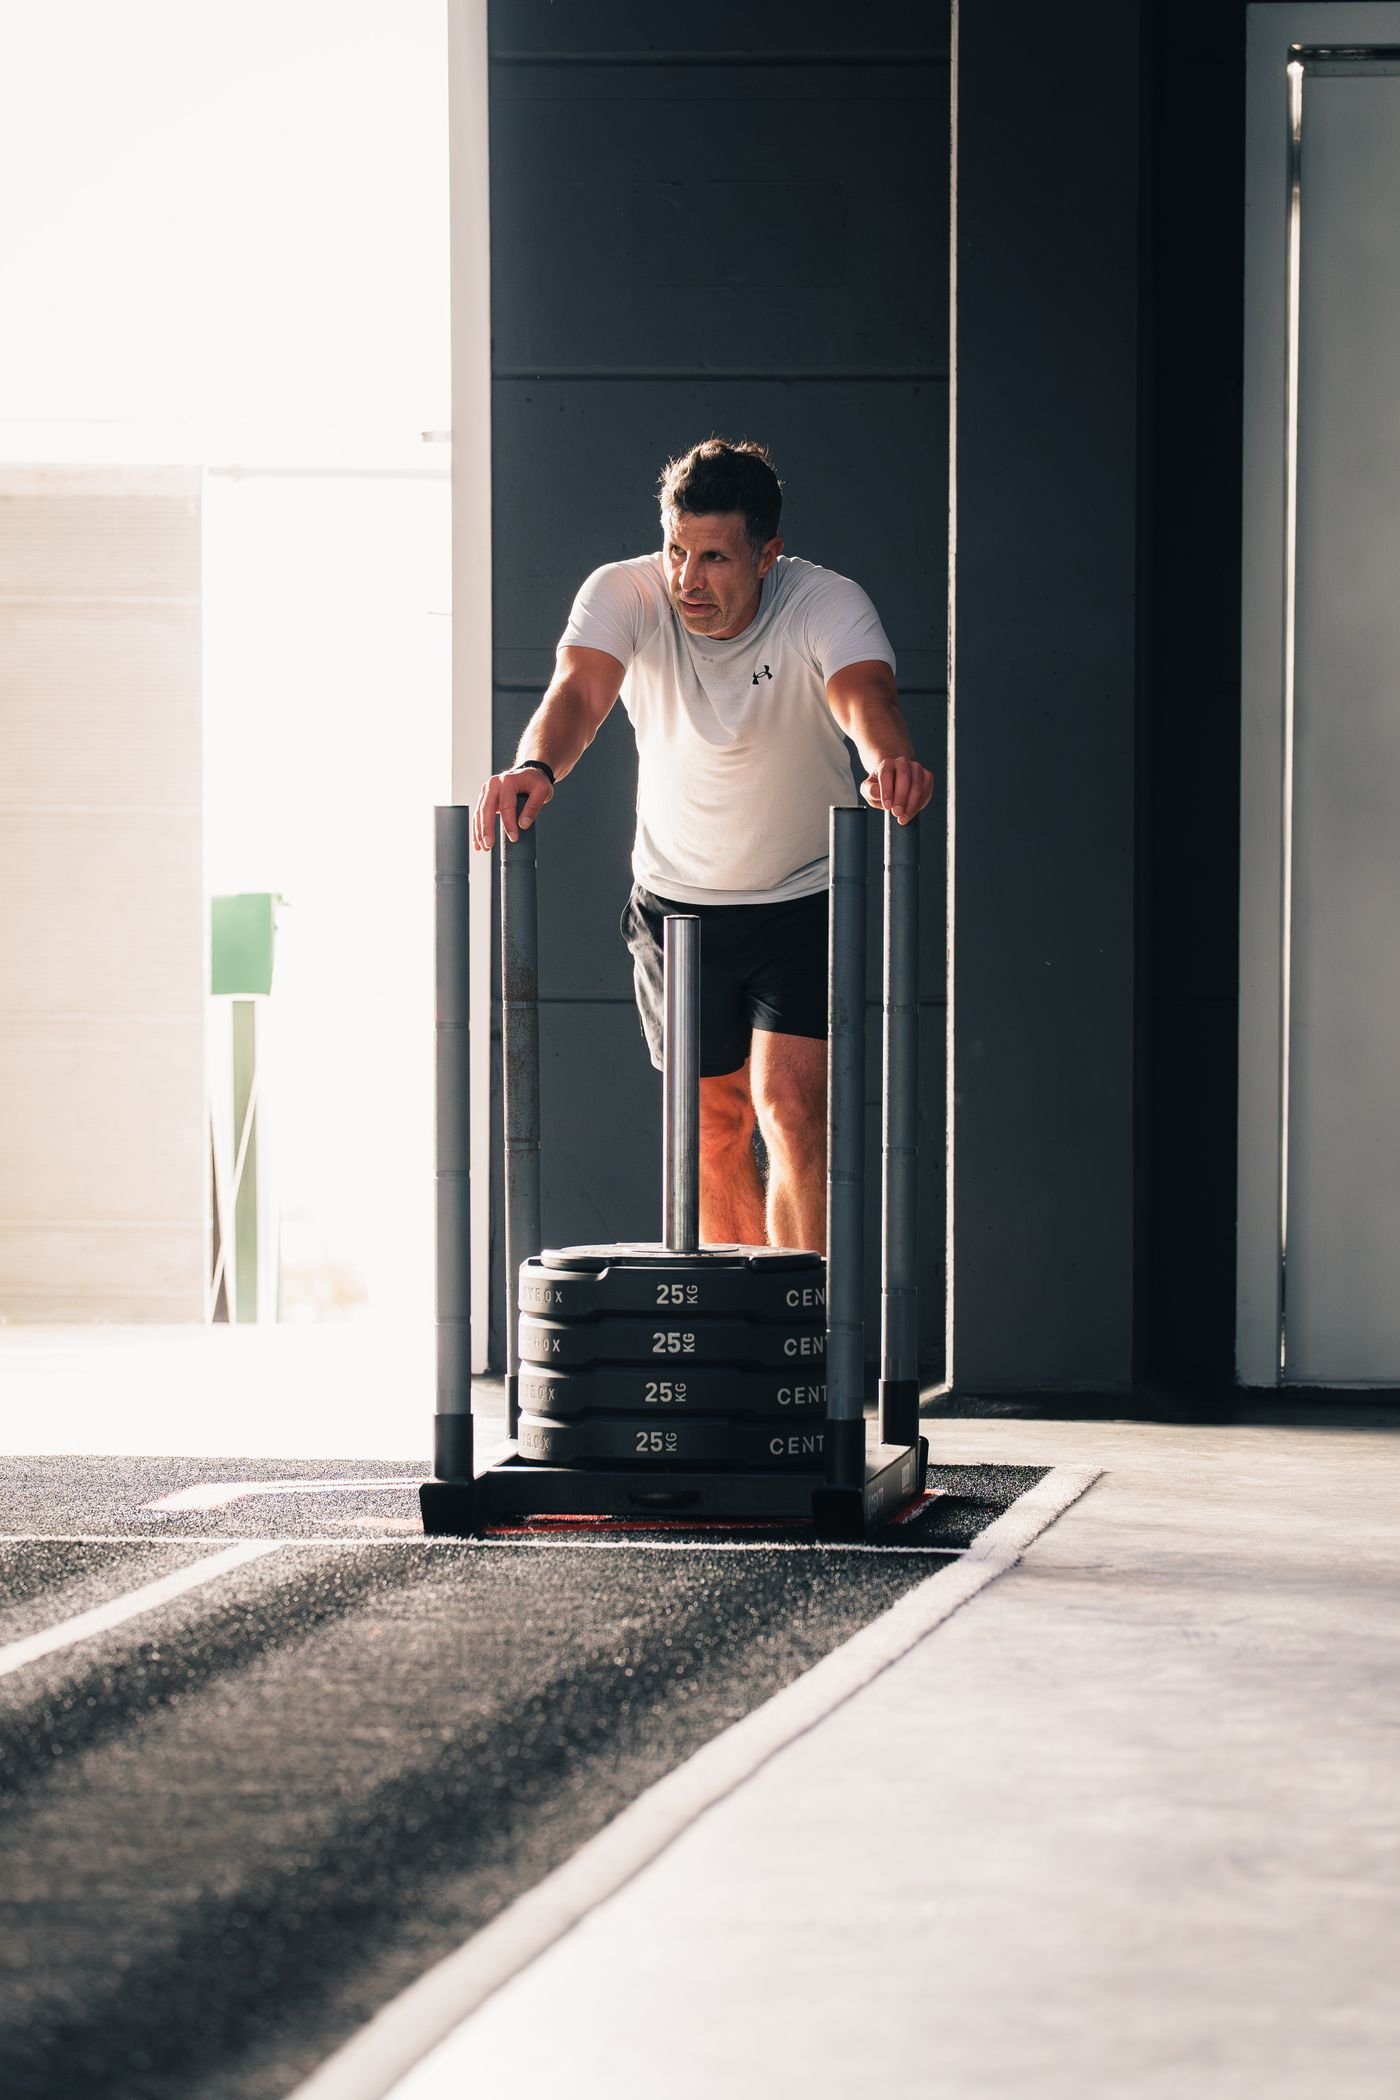
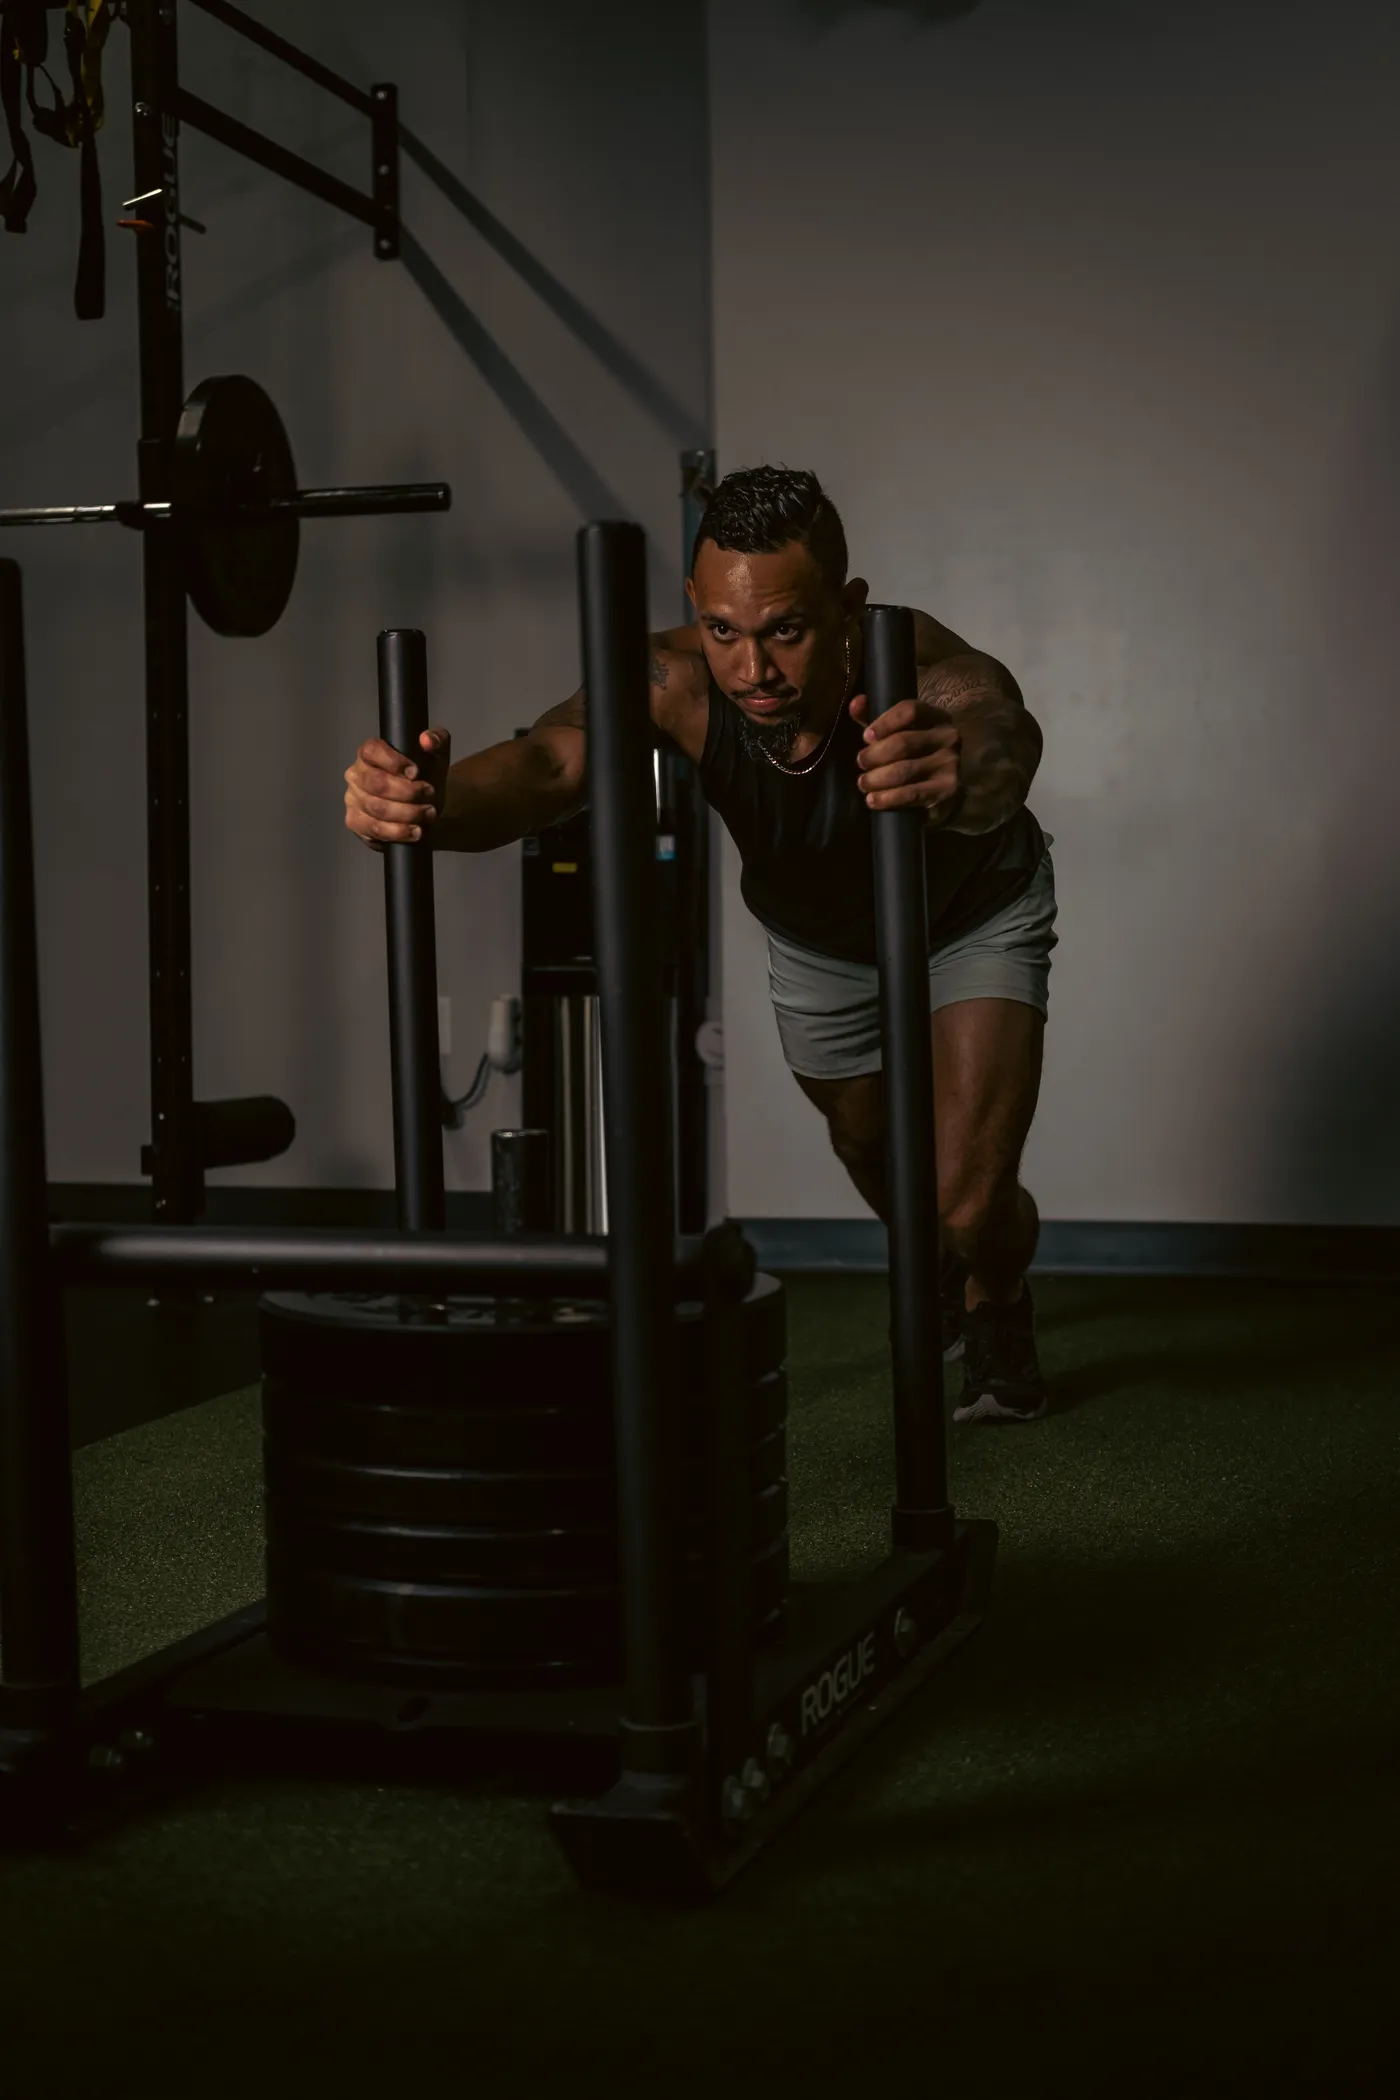
Start with a relatively light sled on a clear, level lane. Put both hands on the upright handles at a comfortable height and walk your feet backward until your body leans forward. Brace your trunk, keep your neck aligned with your torso and aim your gaze a short distance ahead on the floor. The right lean is the one that allows you to drive through the ground without collapsing at the hips or rounding your back.
High handles generally allow a more upright position and can suit learning the movement or moving lighter loads. Lower handles often make a deeper lean easier for heavier efforts. Neither grip is automatically correct for everyone. If your wrists, shoulders or back feel uncomfortable, adjust hand height and the load rather than forcing a fixed textbook angle.
Begin with small, deliberate steps. Push the floor backward and let the sled move forward; do not try to shove it along using only your arms. Once the sled moves, maintain a steady rhythm. If it stops, reset your posture and restart rather than twisting or wrenching it into motion. Keep breathing instead of holding your breath through an entire long push.
3. Short steps, traction and the surface change everything
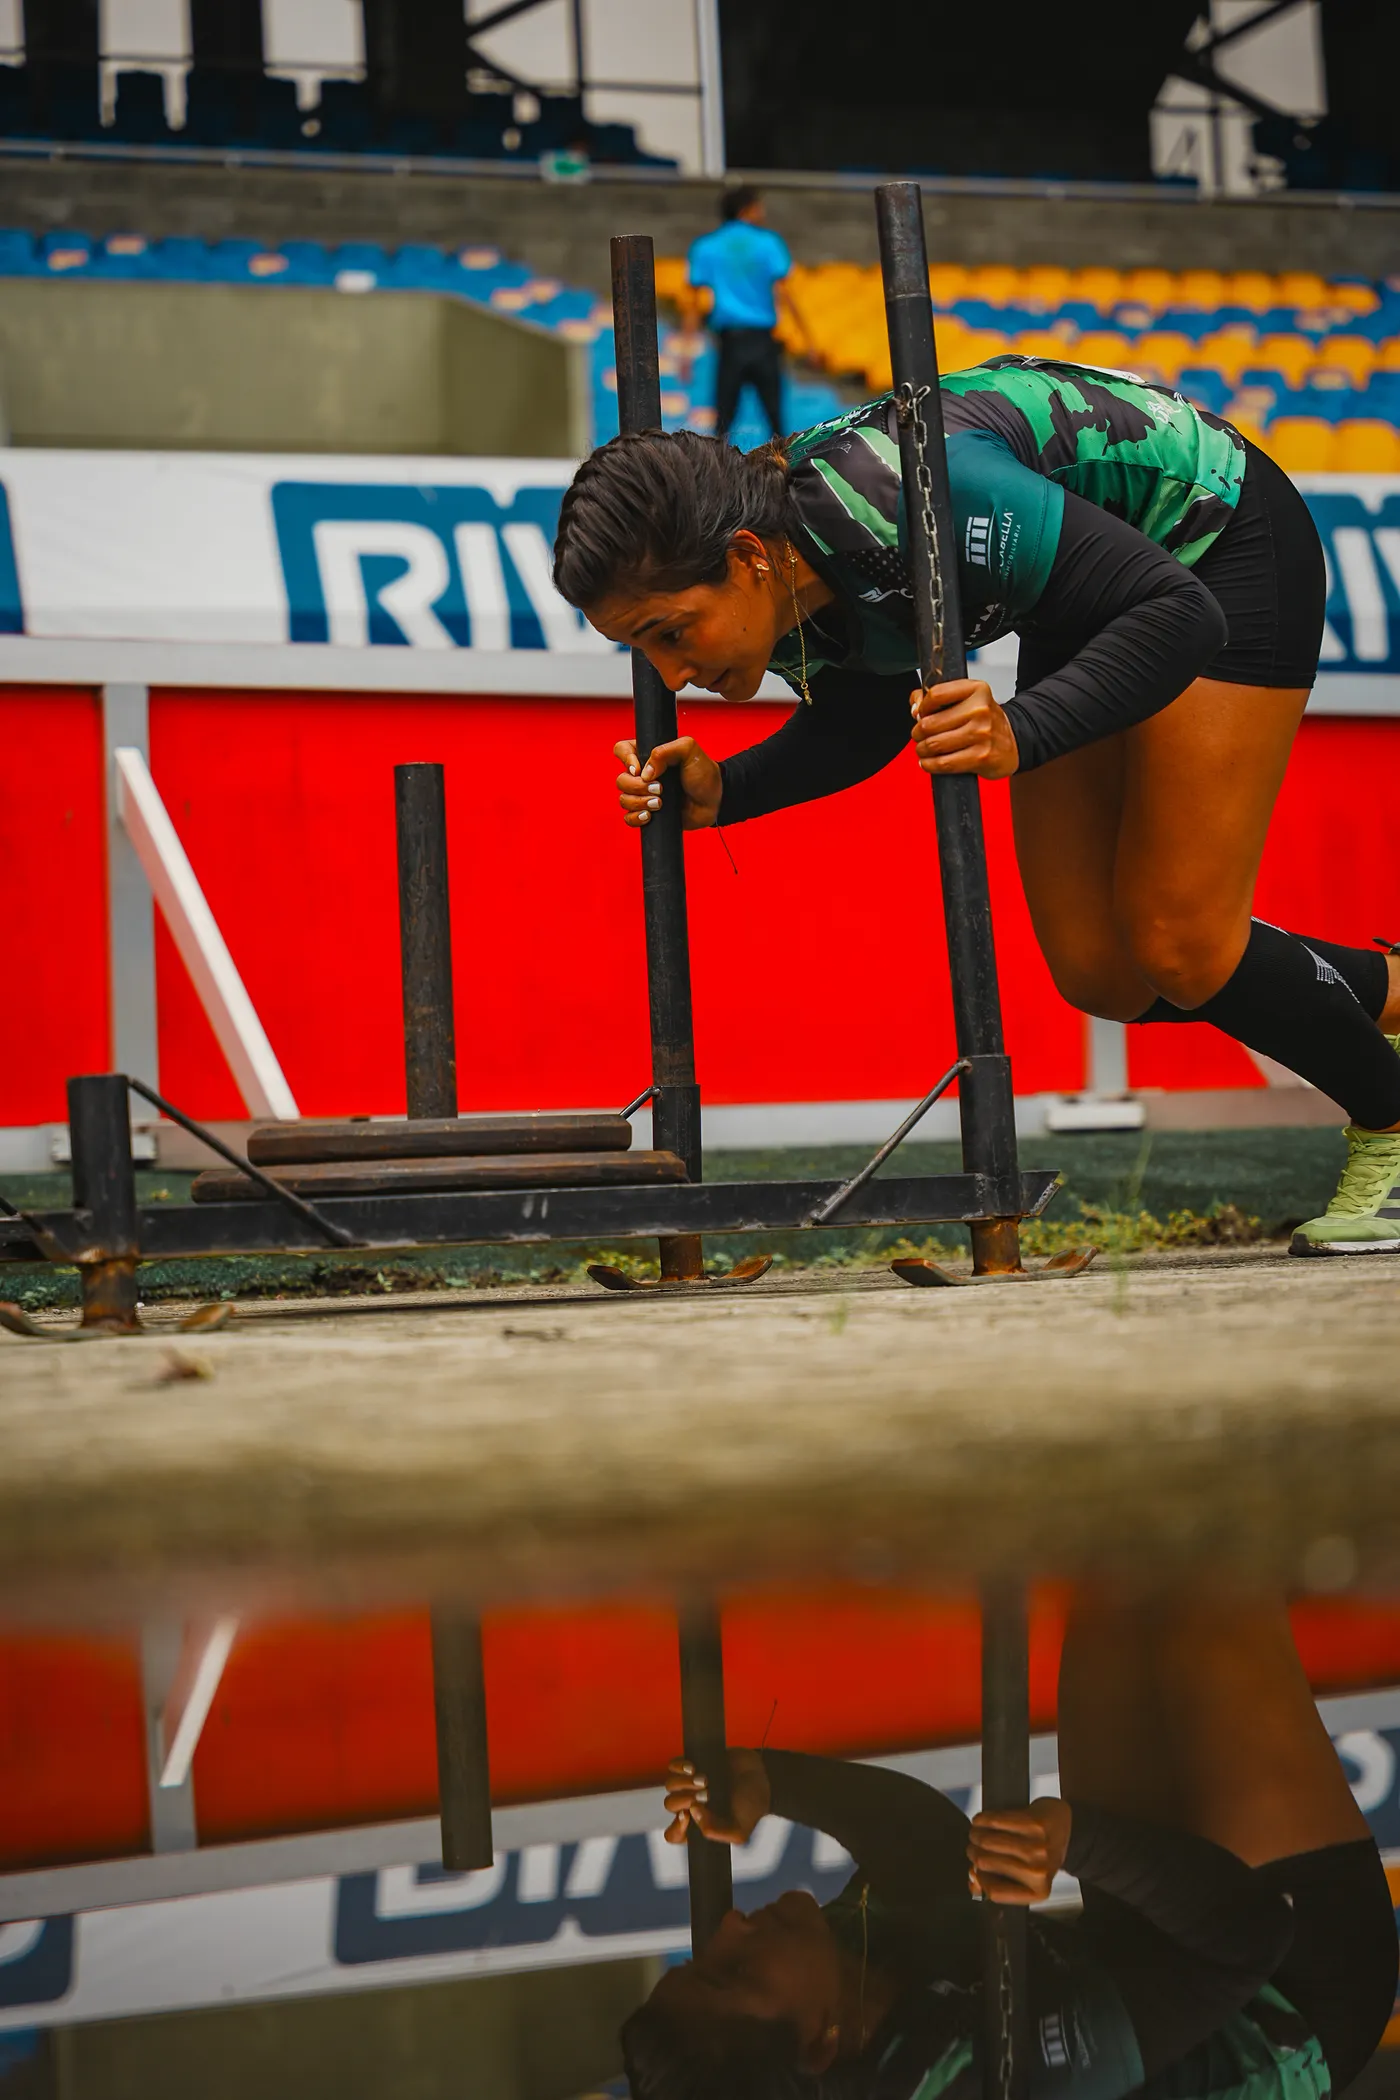
A common error is trying to take long running strides against a load that will not move quickly. The foot lands too far ahead, the body rises, and momentum disappears. With a moderately heavy sled, shorter steps usually let you keep pressure against the ground and maintain forward drive. With a light speed sled, your steps can lengthen naturally as acceleration improves.
Floor friction is an enormous variable. A sled that glides on one strip of turf may crawl on a rougher lane, carpet or rubber flooring. That is why a plate count alone does not tell another athlete how hard your push was. Record the surface and distance with the load. If you change venues, rebuild your reference point rather than assuming the same kilograms will feel identical.
Footwear matters too. Clean, grippy training shoes can improve traction; slick soles can turn a reasonable session into a frustrating slip. Keep the path free of people and equipment, check that plates are secure and confirm the sled has a safe stopping area. For beginners, two or three unloaded practice lengths often teach more than an ambitious first working set.

Equipment Worth Exploring
Explore equipment, accessories and gear from our carefully selected range.


VOLTRA
Compact digital cable trainer with smooth, adjustable resistance.

Go-Tone Pro
Portable digital cable trainer with up to 66 lb (30 kg) of adjustable resistance.
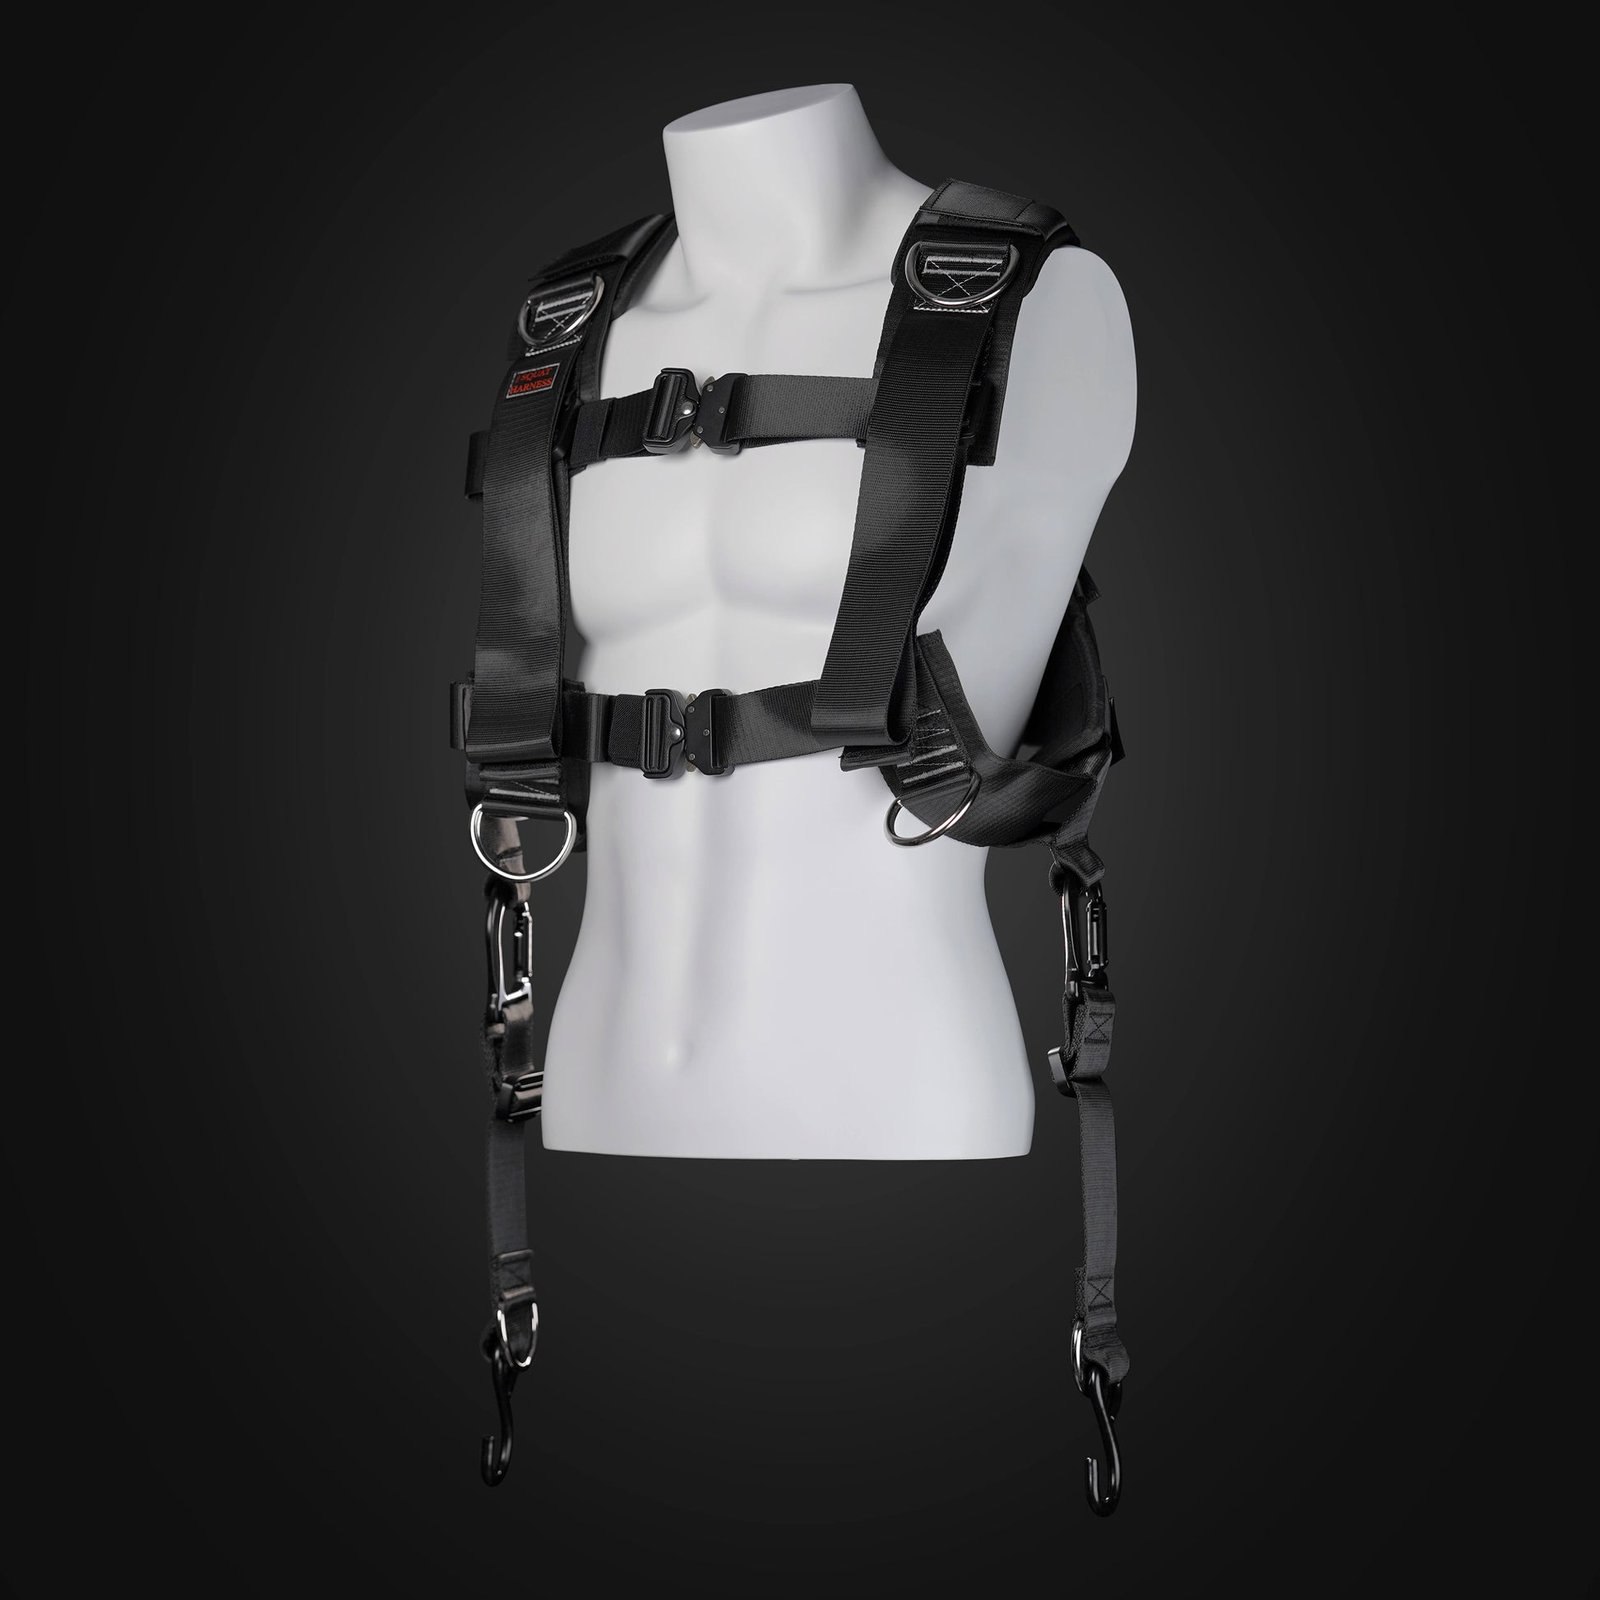
Squat Harness
Wearable harness for hands-free cable squats, sled work, and lower-body training.

4. Choose load by speed, strength or conditioning goals
For acceleration training, use a load that lets you preserve a recognizable forward-driving sprint pattern. A very heavy sled can improve horizontal force application, but it will slow the movement substantially. A 2025 synthesis of 49 resisted-sprint studies reported benefits for early acceleration, with load effects depending on training status and how resistance was prescribed. Those findings are about structured resisted sprint training, not a guarantee that any heavy prowler push will make everyone faster.
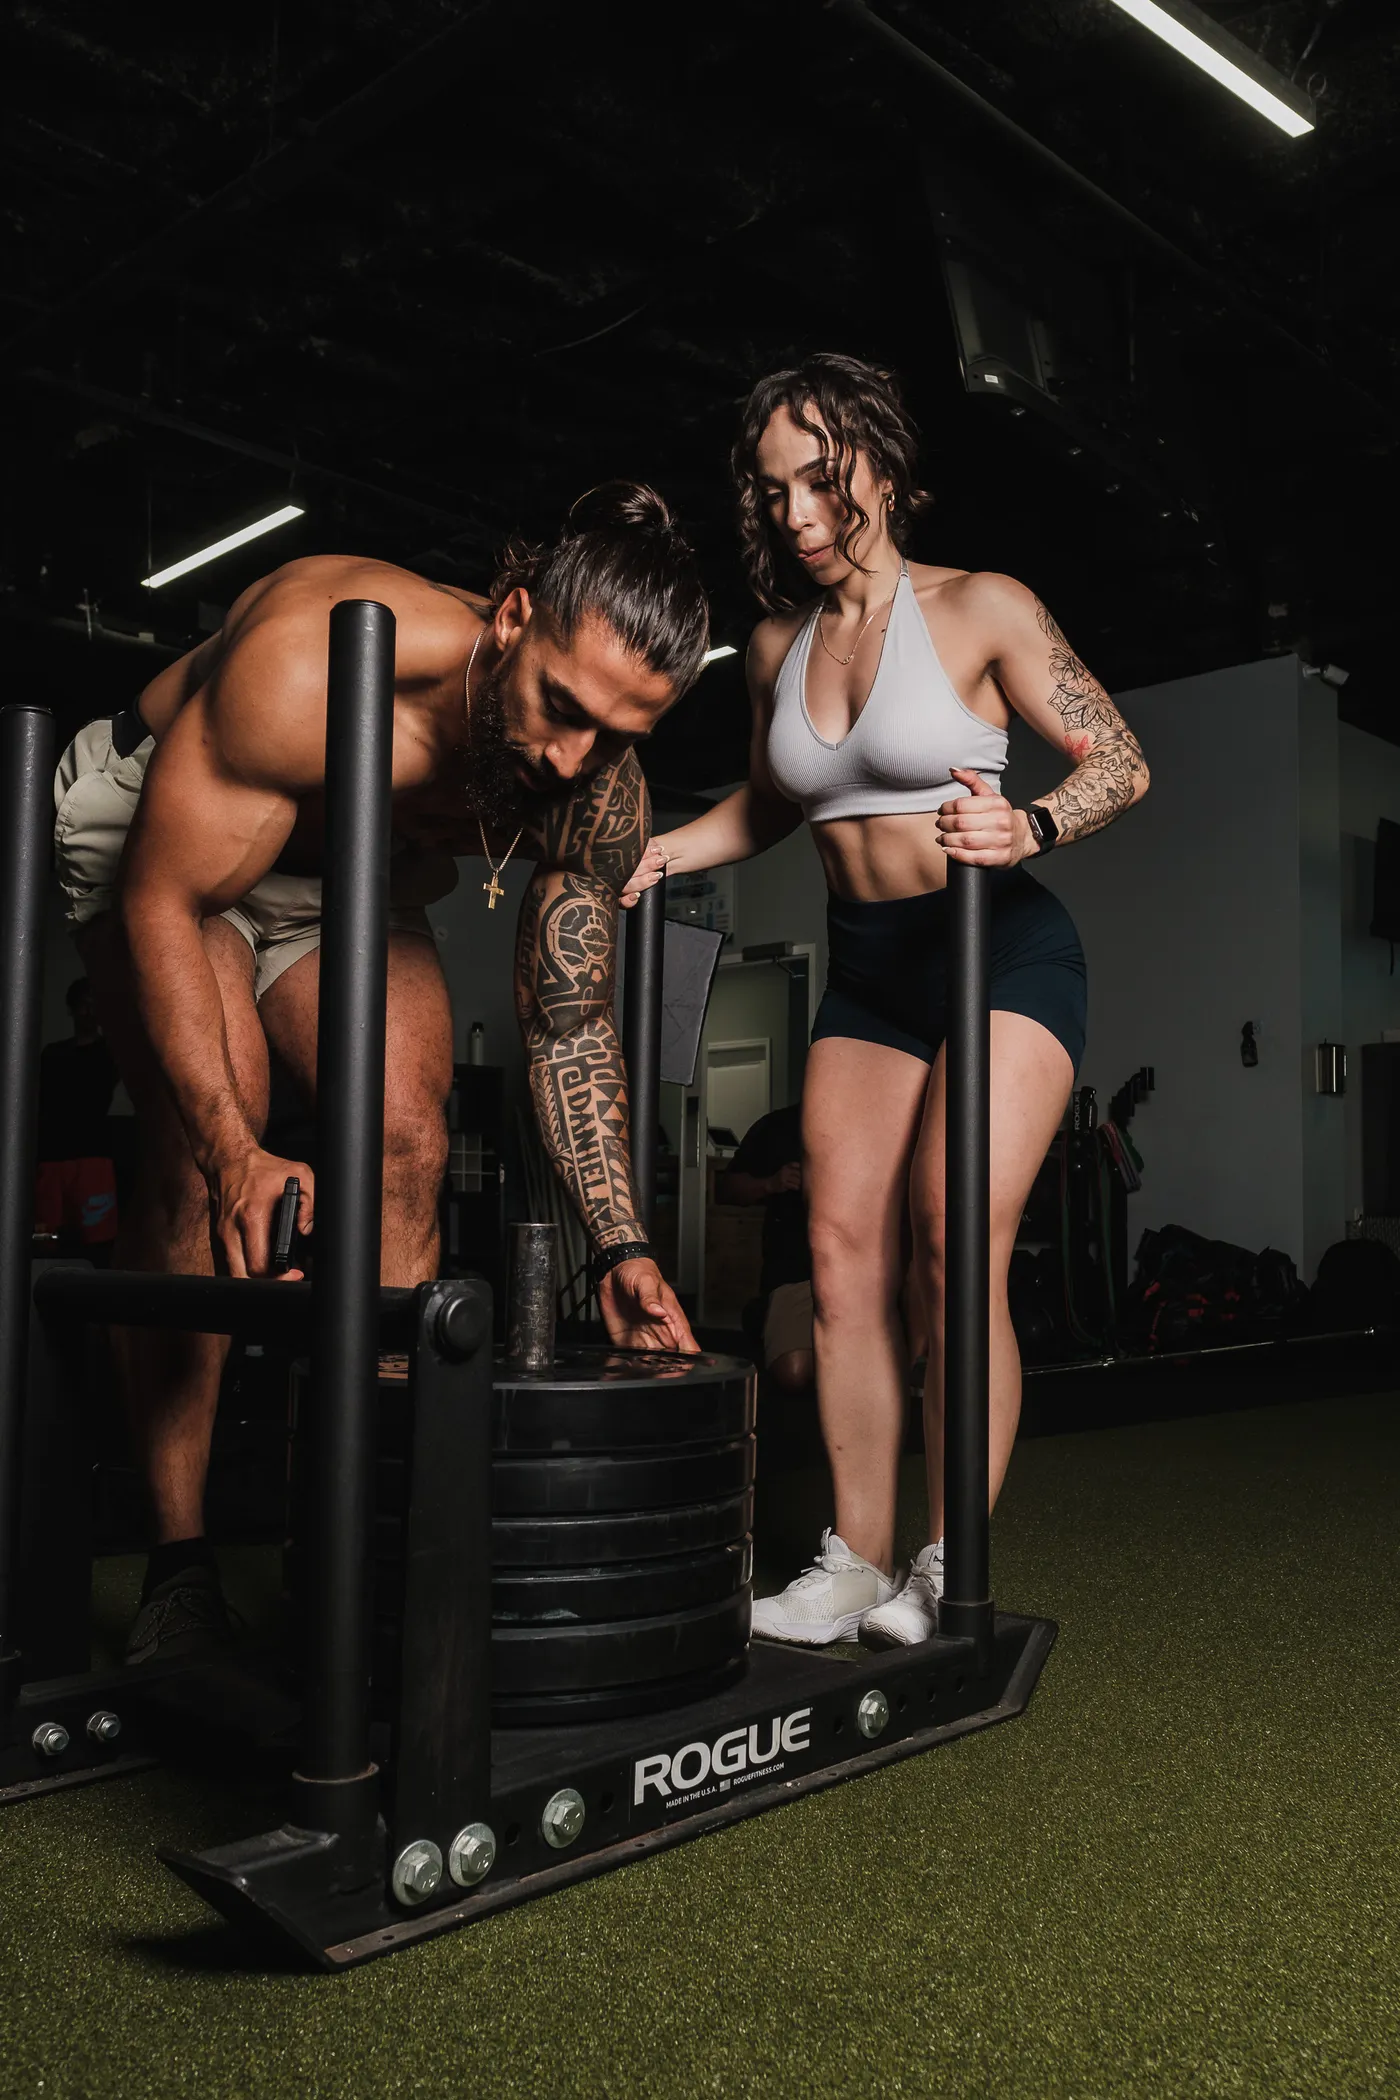
For strength-oriented pushes, select a resistance that makes ten to twenty meters challenging while keeping steps smooth. For conditioning, use a lighter or moderate load you can move for repeated lengths with controlled breathing and repeatable times. Beginners can use the empty sled first because the frame itself may be heavy. Avoid copying elite athletes’ plate stacks or a percentage of body weight without accounting for surface drag.
A useful progression is to keep distance and rest constant, then add a small amount of load only after your times and technique become consistent. Another option is to keep the load stable and gradually reduce the time needed to complete the same distance. Change one variable at a time. The most impressive-looking sled is not necessarily the most productive training load.

Functional Fitness Shirts & Workout Gear
Functional-fitness shirts, tanks and workout gear for athletes who train strength, conditioning and everything in between.

HYROX High Rocks Sweater Functional Fans Meme T-Shirt
Add a playful “HYROX High Rocks” touch to your casual rotation.

Battle Ropes Training Tank
Add some superhero attitude to training with “Wonder Woman Battle Ropes”.

Vive Le Resistance Bands – Resistance Bands Warmup Reha T-Shirt
Add a playful “Vive Le Resistance Bands” touch to your casual rotation.

Hybrid Athlete – Built Different Gym Decal for HYROX, C Sticker
Give your everyday gear a playful “Hybrid Athlete” twist.

Super Kettlebell Hero Superman & Gymbros Meme Top T-Shirt
Show some superhero attitude with a playful “Super Kettlebell Gym Hero” tee.

Heavy Metal Gym – Funny Kettlebell Rock Music Decal for Sticker
Put “Heavy Metal” gym humor on your laptop, bottle, or gym gear.

Kettlebell Heart X-Ray – Valentine's Workout Hooded Hoodie
Bring “Kettlebell Heart X-Ray” gym humor to lazy days and post-workout plans.

Slim Shady Kettlebell Tee
Bring “Slim Shady Kettlebell Rap God” humor to your next gym day.

Donut Kettlebell – Bakery Gains Meme Vest Muscle Shirt Tank Top
Show some personality between sets with “Donut Kettlebell”.

Happy Kettlebell Emoji Smiley Kettlebell Workout Shirt Tank Top
Bring “Happy Kettlebell Emoji” humor to your next lifting session.
5. What the research says about acceleration and power
Resisted sprint training has a stronger evidence base for short acceleration than for top-speed running. A meta-analysis of 14 studies involving 344 team-sport athletes found improvements over five and ten meters, while the pooled twenty-meter effect was not statistically clear. Another recent review found benefits concentrated in the early acceleration phase and cautioned that load, distance and surface effects were not consistently distinguishable.
That matters for programming. A football player trying to improve the first few steps may benefit from short resisted accelerations alongside ordinary sprint practice. A distance runner, recreational lifter or HYROX competitor has different priorities. Sled pushes can train force production and tolerance for repeated efforts, but they are not a replacement for actual running mechanics or sport-specific conditioning.
Some studies investigate sled towing with a harness rather than upright prowler pushing, and those tasks are not mechanically identical. The weight, friction, body posture and direction of force can differ. Treat the findings as guidance about resisted horizontal movement, not as proof that every prowler configuration produces the same speed gains. Consistent technique and appropriate total training volume still matter.
6. Sled push versus sled drag, squats and carries
A forward sled push emphasizes repeated leg drive while the arms and torso stabilize the frame. Pulling a sled backward changes the direction of resistance and can make the quadriceps work through a different movement pattern. Forward harness drags resemble resisted running more closely, while rope pulls shift more work toward the upper body. None of these movements is inherently safer for every knee or back; choose the one that you can perform comfortably with control.
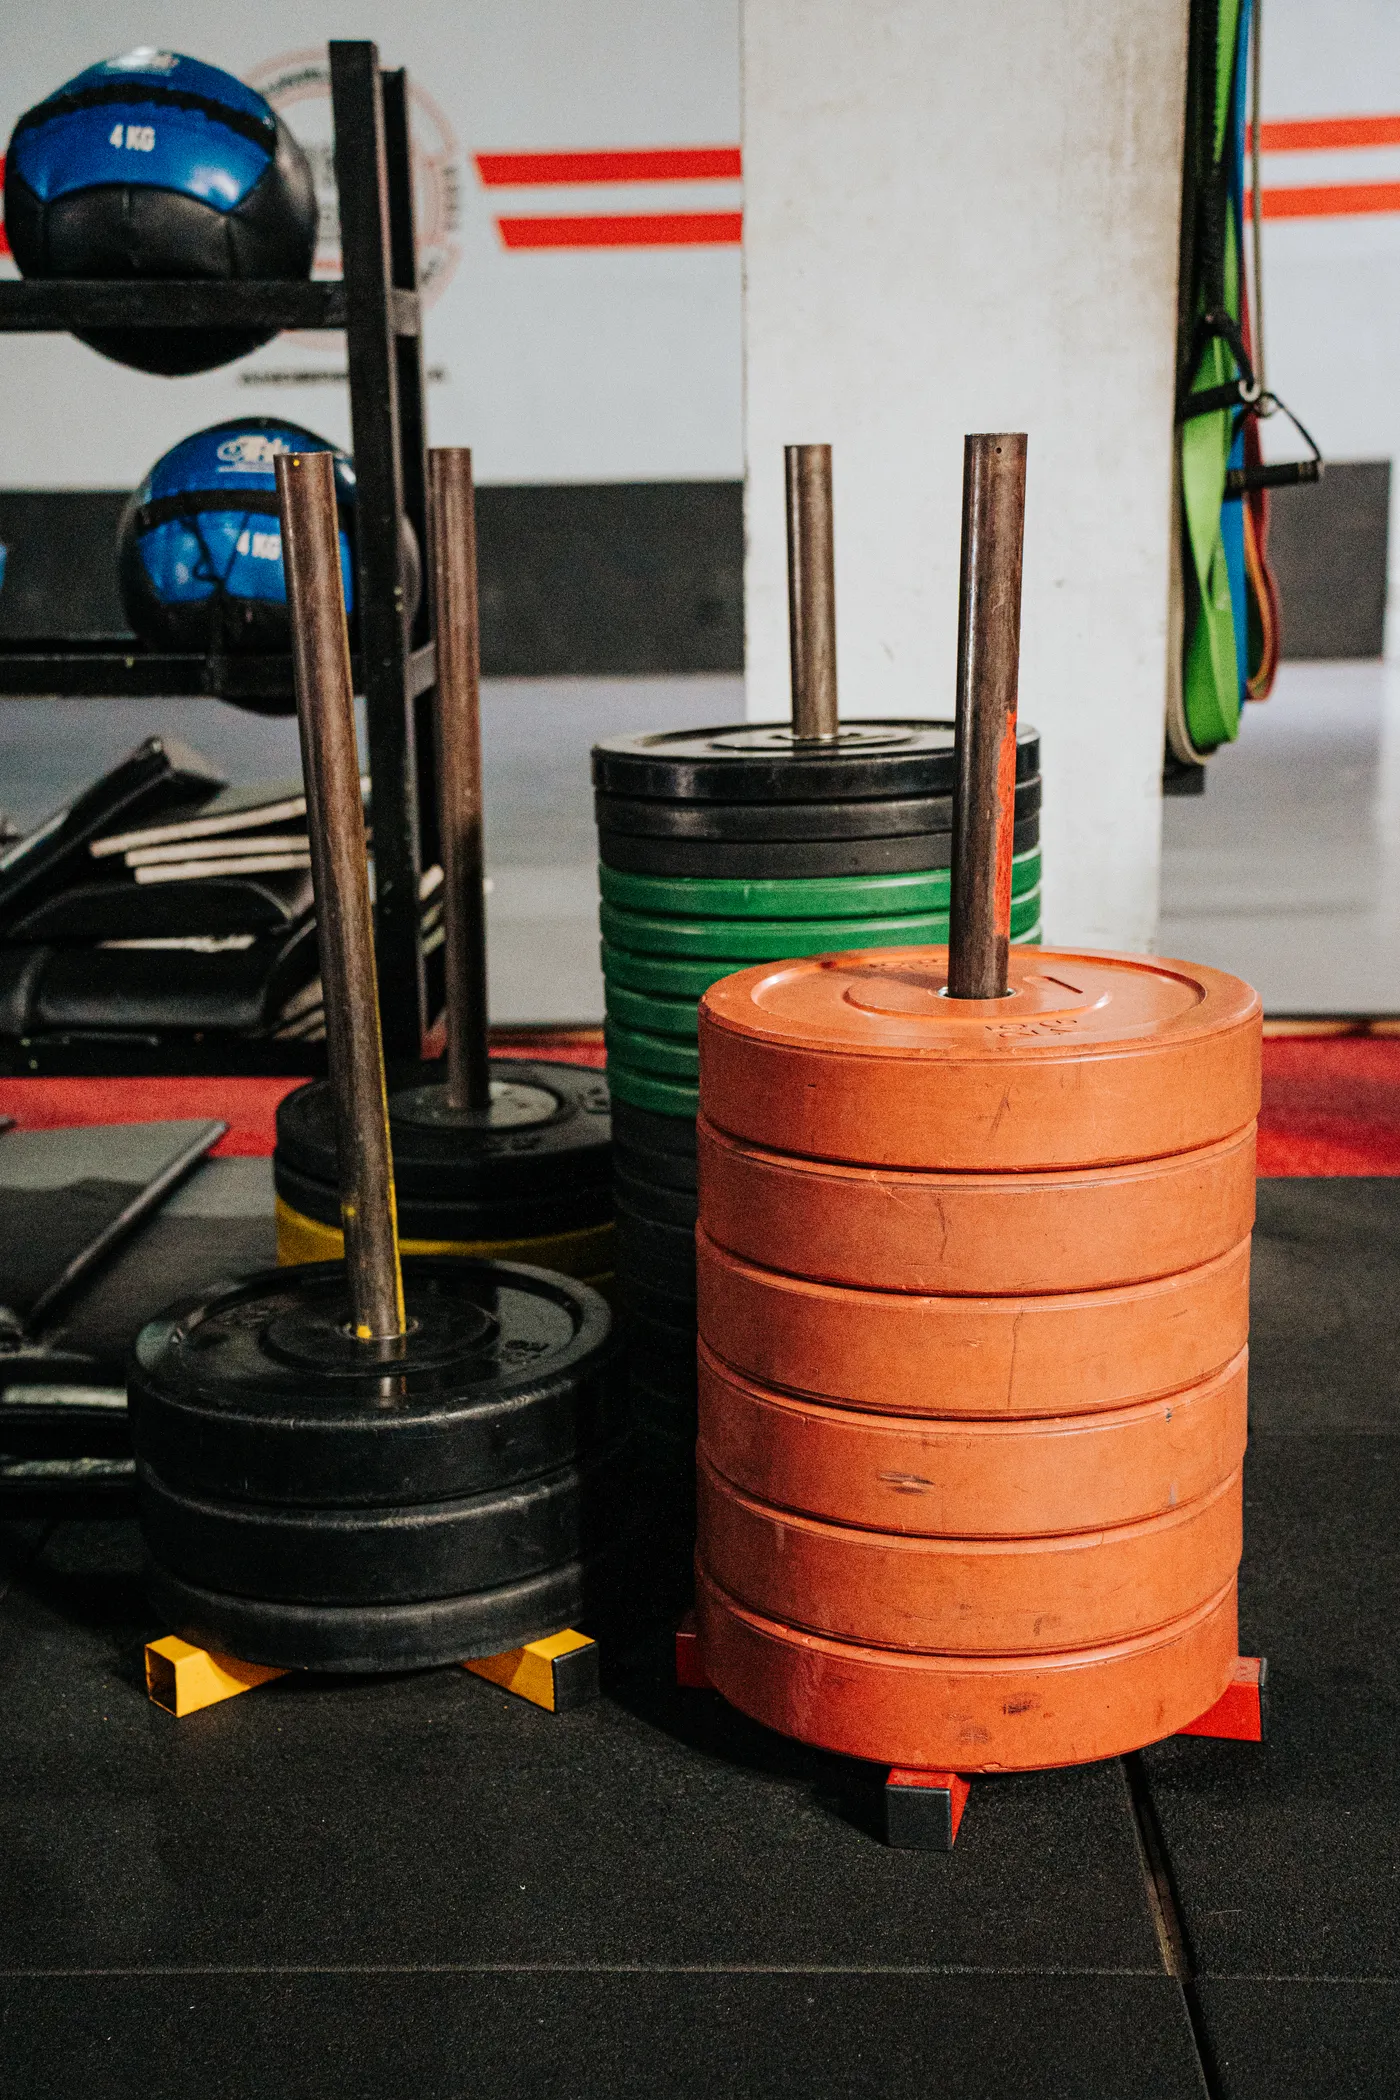
Squats and lunges train through a larger controlled range of motion and include an eccentric lowering phase. They remain useful when the goal is muscle growth or maximal strength. Sled work complements them with horizontal force and conditioning rather than replacing them. Carries add a different challenge: maintaining posture while moving a load instead of driving a weighted frame.
If you do not have access to a sled, hill walking, uphill sprints, step-ups and loaded carries can train overlapping qualities. They are alternatives, not exact mechanical replicas. Pick based on your available space, training history and goal. A sensible program can include a few sled lengths after lower-body lifting or reserve sled conditioning for a separate day.
Equipment Worth Exploring
Explore equipment, accessories and gear from our carefully selected range.


FID Bench MAX
Adjustable bench offering flat, incline, and decline positions + adjustable headrest.



T-Bar Row Attachment
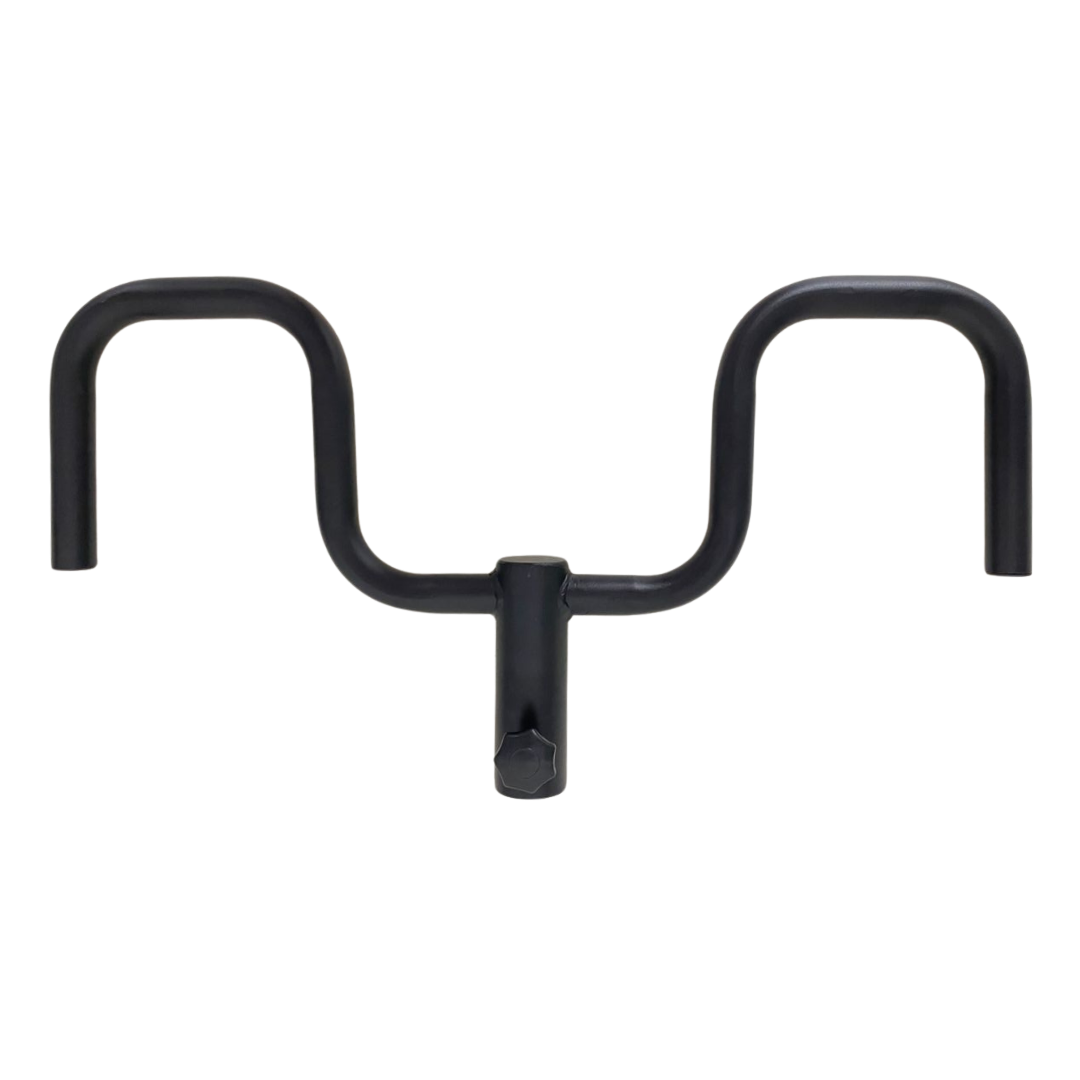
Welded barbell attachment that connects a D-handle bar for landmine and T-bar rows.
7. A practical two-day sled program for strength and HYROX
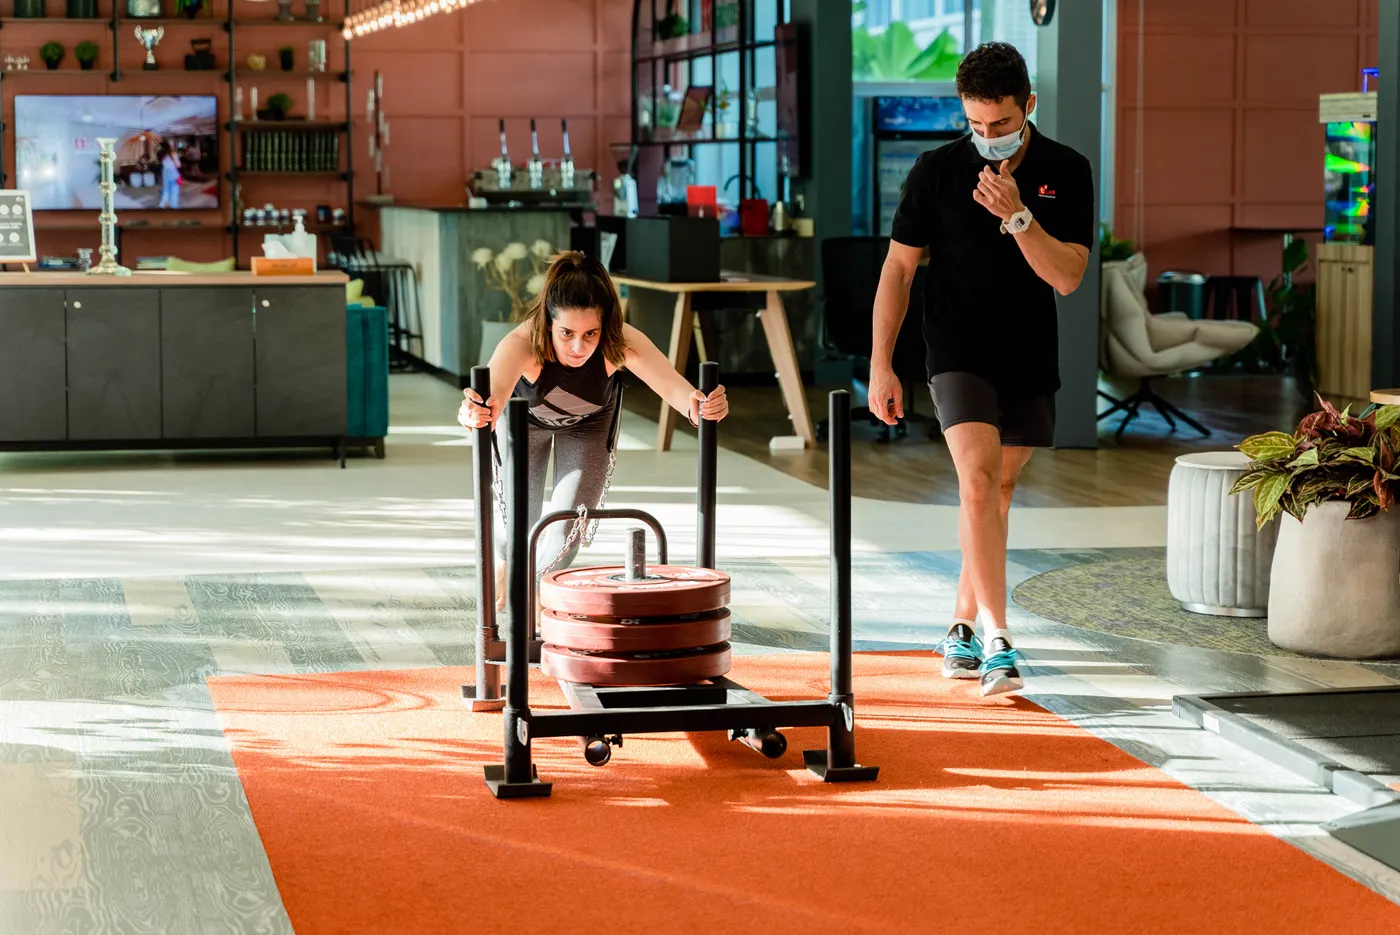
Day one is technique and force. Warm up with five minutes of easy movement, ankle and hip preparation, then two light sled lengths. Perform five pushes of ten to fifteen meters with a challenging but controlled load. Rest ninety seconds to two minutes between efforts. Stop a set when the torso position deteriorates or the sled barely moves. If you are also squatting heavily that day, reduce sled volume so it does not compromise the main lift.
Day two is repeatable conditioning. After warming up, complete six rounds of twenty meters at a moderate load with forty-five to ninety seconds of recovery. Record each time and aim for similar performance from the first repetition to the last. For a HYROX-style session, occasionally place a short easy run before the sled work to practice the transition, but build this gradually rather than making every session a race simulation.
After three weeks, review your records. Can you push the same load faster with stable posture? Can you complete the conditioning lengths without a steep drop-off? If so, add a little resistance or another round. Keep one or two easier days around the hardest sessions and adjust if leg fatigue affects running or lifting. Progress comes from repeatable quality work, not from proving you can suffer through the heaviest sled in the room.
Cardio Shirts & Workout Gear
Cardio and conditioning gym gear for runners, endurance athletes and anyone who earns the sweat.

We Don't Need No Cardio Sweatshirt
Add a playful “We Don't Need No Cardio” touch to your casual rotation.

Cardio Speed Superhero Treadmill Running Decal Workout Sticker
A fun “Cardio Speed Superhero” touch for bottles, laptops, and lockers.

Wonder Woman Jump Rope Gym | Funny Superhero Cardio Wor Tank Top
Add some superhero attitude to training with “Wonder Woman Jump Rope”.

Freedom To Skip Cardio Patriotic Gym – Funny Statue of T-Shirt
For laid-back days and cardio humor: “Freedom To Skip Cardio Patriotic”.
Exercise I Thought You Said Extra Fries Retro Fitness C T-Shirt
A t-shirt featuring the Exercise I Thought You Said Extra Fries Retro Fitness Cartoon Shirt artwork, bringing lifting-inspired humor and distinctive gym graphics to your everyday gear.

Jigsaw'S Spin Bike Horror Killer Cardio T-Shirt
Make gym days more fun with “Jigsaw's Spin Bike Horror” style.

Don't Skip Spin Class Horror | Funny Chucky Cardio Meme Hoodie
Keep it laid-back with a little “Don't Skip Spin Class Horror” attitude.

Your Mom Is My Cardio – Edgy Meme Decal for Gym Bottles Sticker
Stick a little “Your Mom Is My Cardio” humor on your favorite gear.

Hero Jump Rope Cardio Speed Flash Inspired Gym Pullover T-Shirt
For laid-back days and cardio humor: “Gym Hero Jump Rope Cardio Speed”.

Cardio Is Calling You , Meme Top Answer Or Decline? T-Shirt
Make gym days more fun with “Cardio Is Calling You” style.