Advertising disclosure: This page includes affiliate product links that may earn us a commission, as well as products from our own store.
The sandbag-to-shoulder looks primitive: get a heavy, awkward bag from the floor onto one shoulder. Yet a clean rep depends on three different skills: securing an object without a comfortable barbell grip, moving its weight to the lap, and then using the legs and hips to roll the mass into a stable shoulder catch. The strongest repetition is rarely the one with the biggest arm pull. It is the one that keeps the bag close, uses a deliberate transition and ends under control.
Strongman sandbags shift, fold and resist neat movement patterns. That can make them excellent training implements, but it also makes the right starting weight harder to predict. Whether you are preparing for a timed strongman event or just adding odd-object strength work, start with repeatable positions before trying heavy singles.
Choose a bag and a safe landing zone
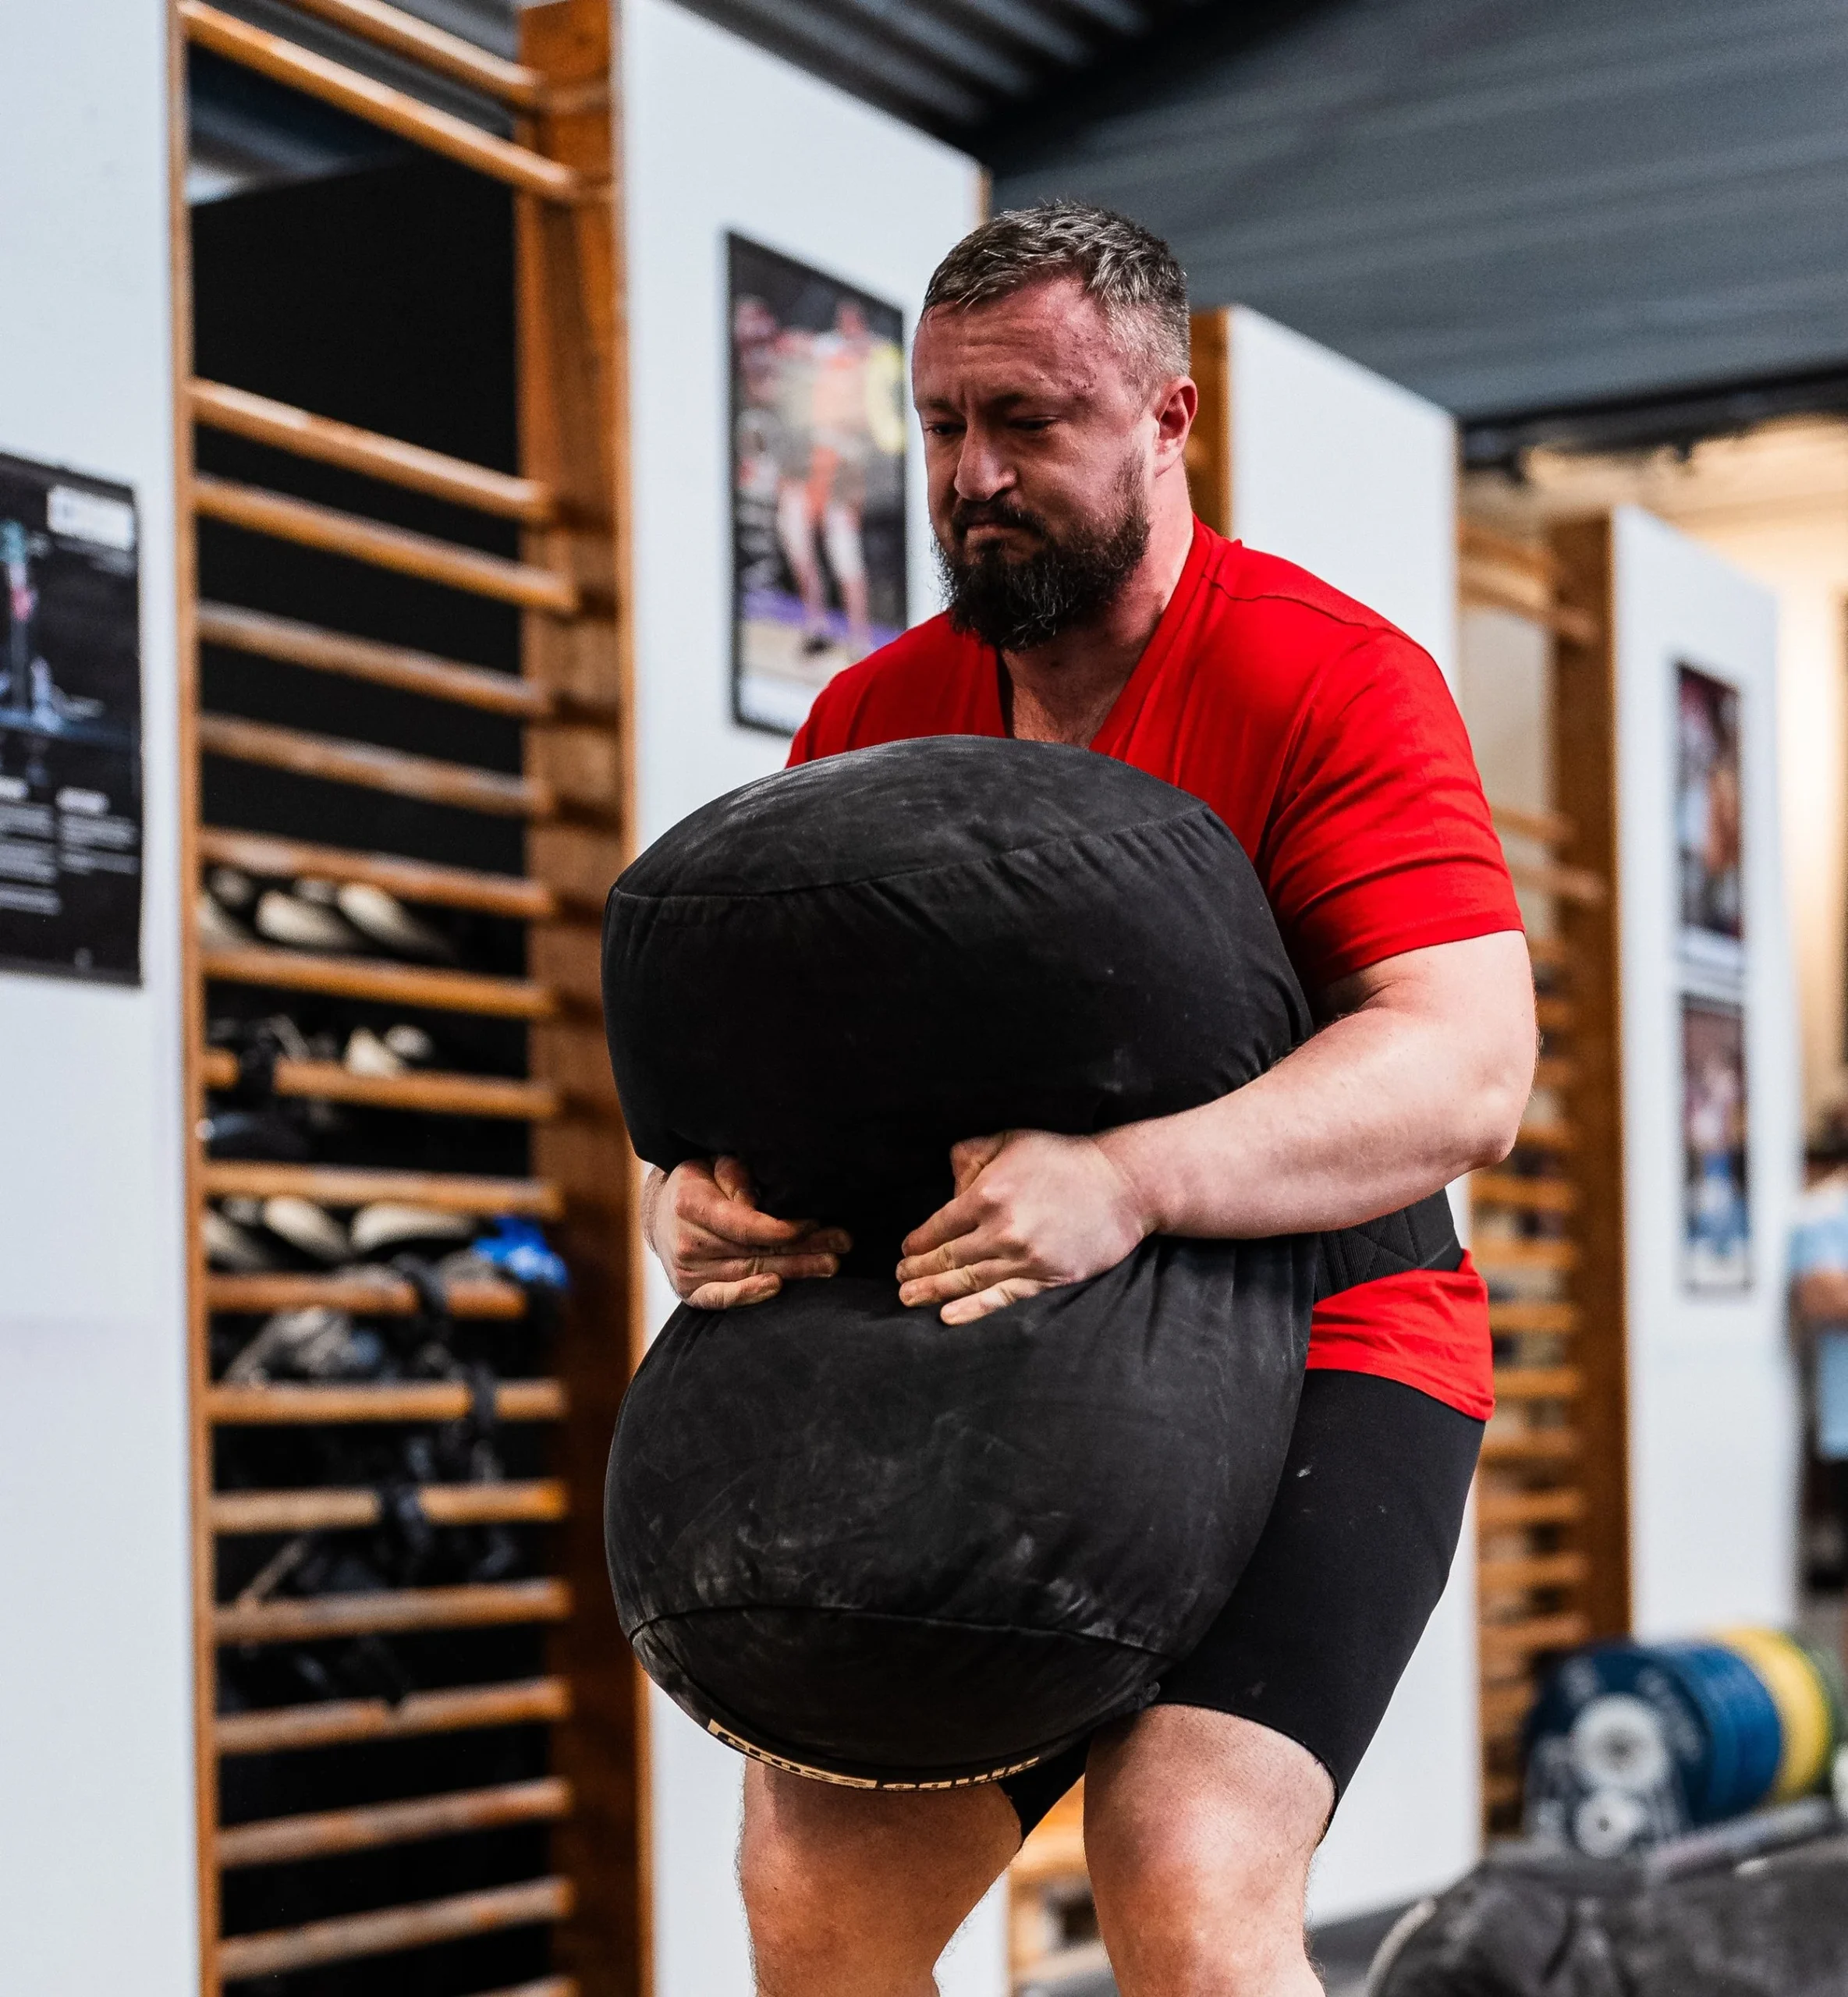
A purpose-made strongman sandbag is easier to load consistently than a poorly closed, leaking bag. Look for strong seams, a secure inner liner and a shell appropriate for its intended weight. A long, cylindrical bag may offer different gripping options from a wide, tightly filled round bag. The shape matters: an underfilled bag can sag around the forearms, while a densely packed one behaves more like a stubborn stone. Neither means the stated weight will feel like the same number on a barbell.
Give yourself clear floor space in front and on both sides. A rubber lifting surface that can tolerate the bag landing is preferable to slippery tile or a platform surrounded by equipment. Keep bystanders outside the drop area. If you cannot safely bring the bag down under control, establish a safe release area and use a weight you can manage without catching it with your foot. Check the bag for loose closures or damaged stitching between heavy sets.
For the starting position, straddle or face the bag according to its shape and your reach. Put your feet on a stable base, usually around hip to shoulder width, and place the load near your midfoot. Before lifting, brace the trunk as you would for another heavy floor pickup. Think about keeping the bag close to the shins and torso rather than reaching far forward. Your spine does not need to look artificially vertical at every instant; the key is a position you can keep organized while applying force through the floor.
Break the floor-to-lap pickup into two jobs
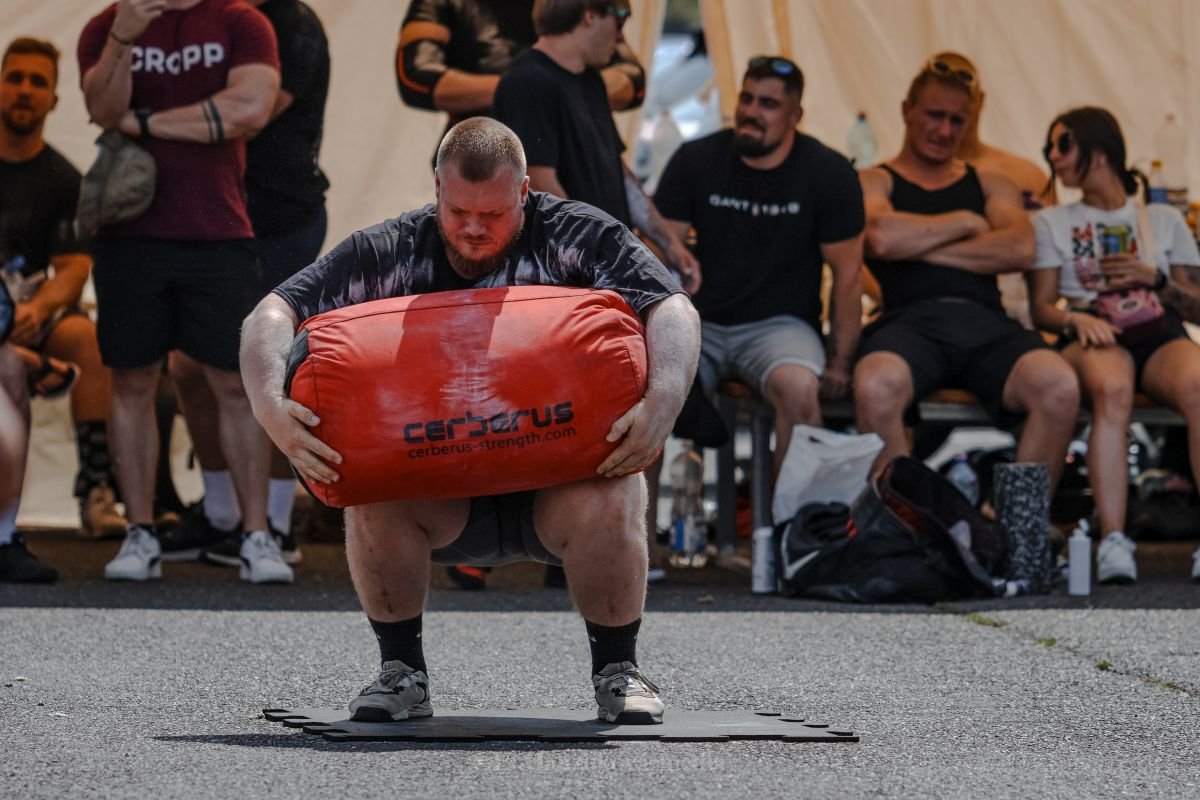
The floor-to-lap phase deserves its own practice. Squat or hinge down far enough to wrap the arms around the underside of the bag. For a tightly packed cylindrical model, you may be able to hook the edges with the fingers; for a soft bag, scoop deeply enough to catch the material without pulling at a weak closure. Keep your weight balanced, then push through the feet as the bag breaks contact with the floor.
Instead of insisting on one continuous heroic curl from ankle height to shoulder height, bring the bag into your lap. Many strongman athletes use a brief squat to create a shelf on the upper thighs while the bag is brought up between the chest and knees. This is a transition position, not a place to collapse into a rounded, motionless fold. Reposition your hands if necessary and pull the top edge of the bag higher against the chest.
A successful lap usually feels less like holding the bag out in front and more like trapping it between thighs, forearms and torso. If the bag slides away, reset the grip and reduce the load rather than turning the next phase into a desperate biceps lift. Practice several controlled floor-to-lap reps with the same bag before asking it to travel to the shoulder. This isolates the initial pickup and teaches you how the filling moves.
There is no single perfect lap depth. A shorter athlete with a tall bag may need a different squat position than a taller athlete using a compact round bag. Choose the depth that gives you room to drive upward without the bag becoming wedged behind the knees. The goal is an efficient transfer of load, not a posed bottom position.
Turn the lap position into a powerful shoulder load
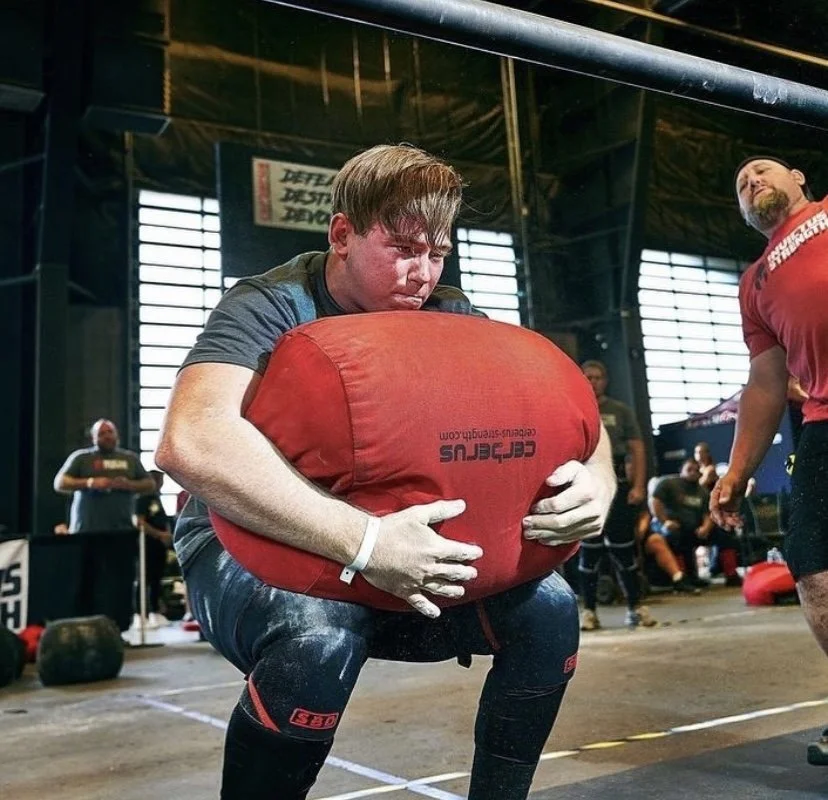
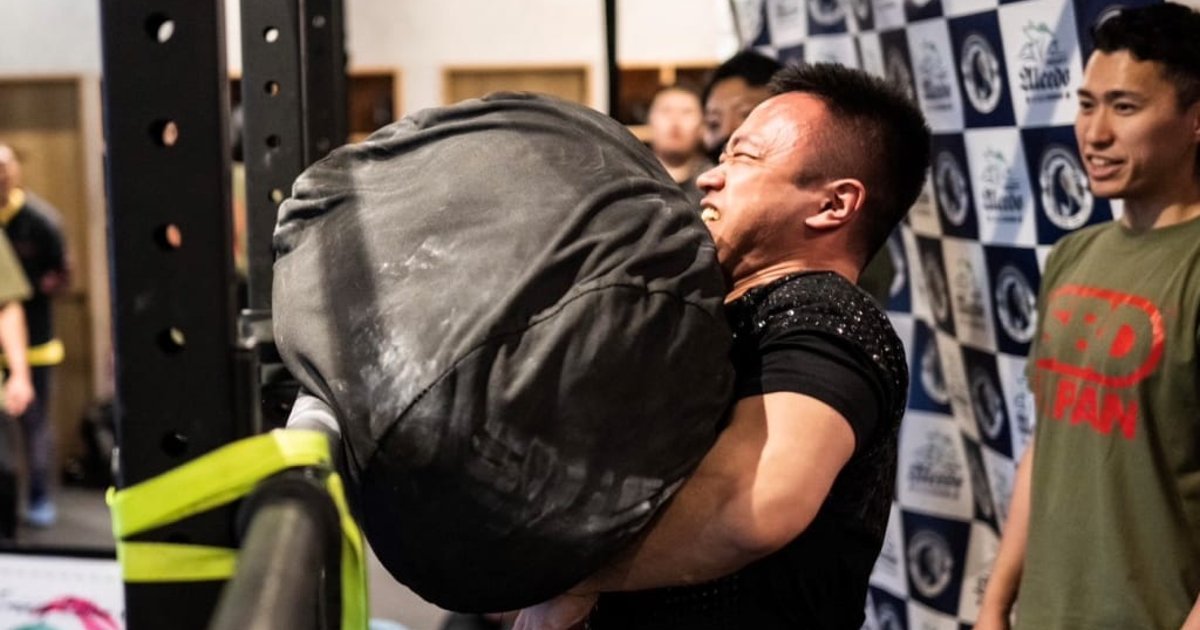
From the lap, hug the bag close and tighten your brace. Aim the upper edge toward the shoulder you intend to use. The upward movement starts with the legs and hips: extend hard enough to float the bag while guiding it with the arms. Think of the arms as steering the load and keeping it attached to you; they should not be expected to lift the whole thing through a long, isolated curl.
As the bag rises toward sternum height, move the shoulder underneath the leading side. A small torso rotation or shoulder dip can help redirect the bag onto the upper trapezius and shoulder rather than throwing it away from the body. Let the bag roll into place, not shoot over your shoulder. Staying close reduces the lever arm you must control when the bag is most unstable.
Do not imitate the dramatic back lean sometimes seen in maximal strongman attempts as if it were a mandatory technique cue. A modest change of torso angle to clear the bag is different from throwing the lumbar spine into unchecked extension. If the bag stalls at the chest, evaluate the quality of the lap, the grip and the drive before adding more body English. A lighter bag should let you feel the transition without a frantic catch.
Practice singles to both sides. Alternating shoulders can distribute training exposure, but there is no rule that a contest always requires left-right alternation. Follow your event’s standards if you compete. Outside competition, work both sides across a session while respecting comfort and control, particularly if one shoulder has a history of irritation.

Equipment Worth Exploring
Explore equipment, accessories and gear from our carefully selected range.

Slam Ball
Low-bounce weighted slam ball for explosive throws and high-intensity conditioning.


Pro Sled System
Heavy-duty push-pull training sled for loaded conditioning, speed, and strength work.

Cast Iron Kettlebells
Textured cast-iron kettlebells for swings, squats, carries, and full-body training.


Open Hex Bar
Open-frame trap bar with multiple handles for deadlifts, carries, and lower-body training.


Leather Lifting Straps
Padded leather straps support grip during heavy rows, deadlifts and pulling exercises.

Leather Wrist Grips
Padded leather lifting grips help support the hands and wrists on heavy pulling exercises.
Make the catch controlled, then reset the next rep
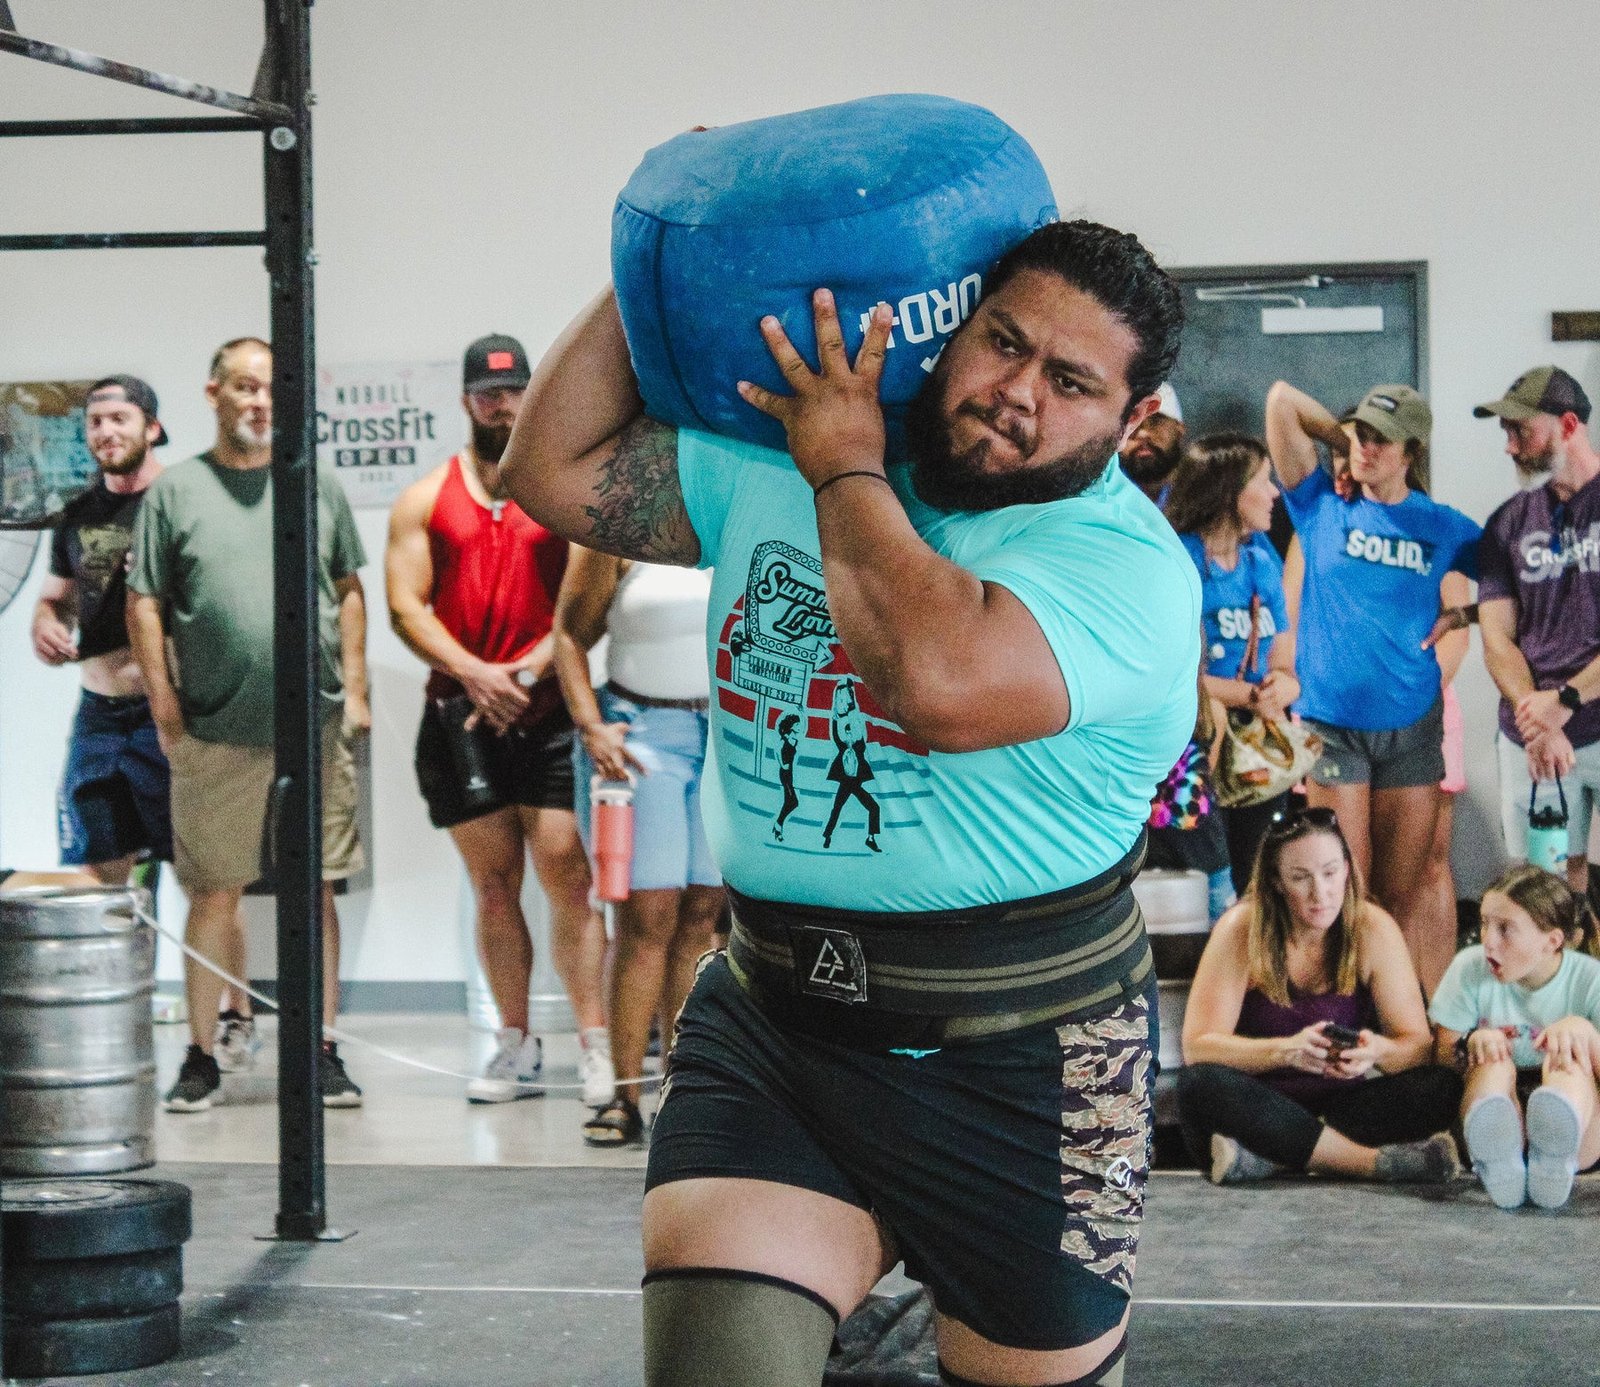
At the top, stand tall enough to demonstrate ownership of the weight, with your feet planted and the bag supported by your shoulder and upper body. You should be able to stop briefly without stumbling sideways. Avoid turning the catch into a sprint across the room or allowing a loose bag to slip behind your neck. If a judge is involved, read the specific event rules: a controlled shoulder position and a signal may be required before a rep counts.
Lowering rules depend on context. In a designated competition area, a bag may be dropped safely after the down command. In ordinary training, guide it to the floor when you can do so without compromising your grip or forcing an awkward spinal position. For heavy bags, a safe release onto a suitable surface can be more sensible than pretending every descent must be a slow eccentric. Never try to arrest a falling bag with your knee or foot.
Reset before the next pickup. Recheck the bag’s orientation, your foot position and your brace. Touch-and-go repetitions reward speed, but they are a poor choice if the bag repeatedly rolls into a new place and makes every grip unpredictable. For early technique work, separate your reps with a full reset, then add pace only after the movement stays consistent.
The catch is also a useful self-test: if your shoulders are level enough to stand steady and you can breathe again without the bag sliding away, the previous steps probably positioned it well. If you must shuffle several steps and wrestle the filling into place, you are not necessarily training strength as effectively as you think.
Fix the five mistakes that waste the most energy
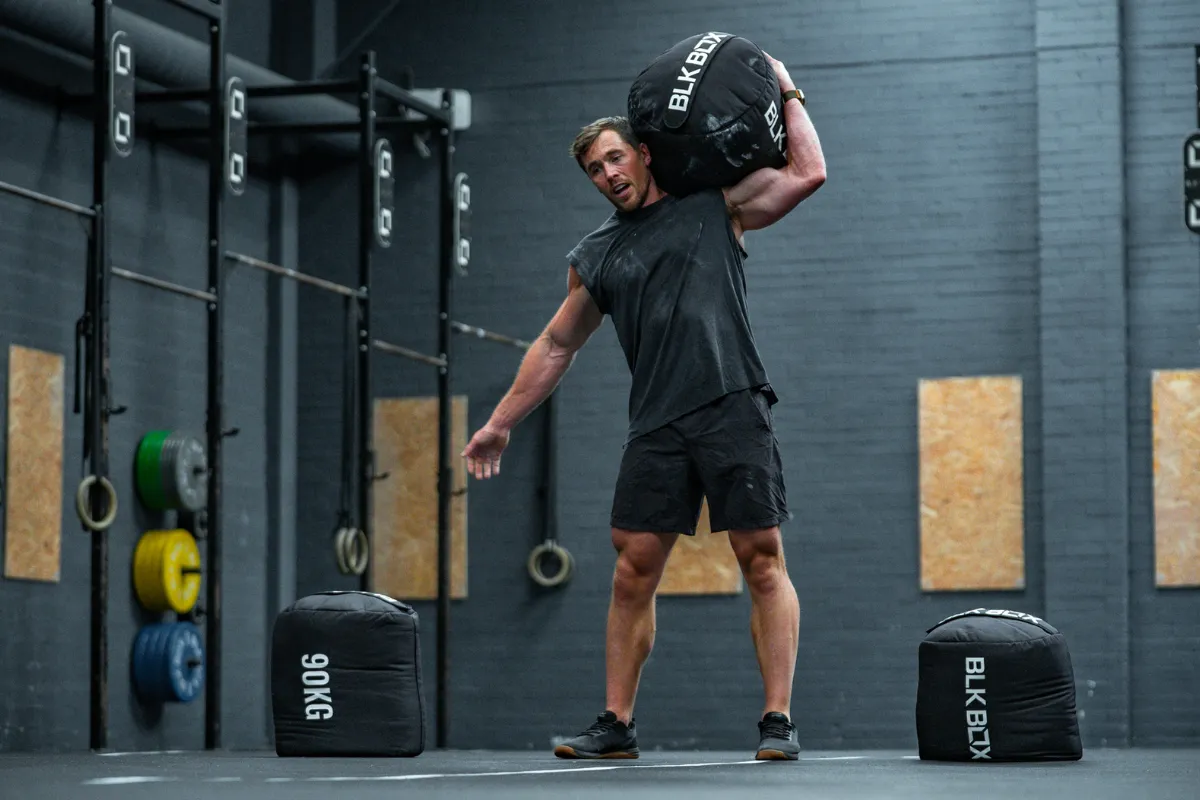
1. The bag hangs a foot away from the body. A long, sagging lever can make the next phase feel impossible. Get closer at the floor, wrap the bag more securely and bring its mass to the lap before extending again. Do not respond by jerking harder with a rounded, outstretched back.
2. Every rep becomes an arm curl. The hands are there to hold and steer; the hips and knees should supply much of the upward movement. Use a smaller bag and pause at the lap to find the foot drive. If grip fatigue arrives before you can feel the leg drive, simplify the weight and the pickup.
3. The bag reaches the chest but never clears it. Often there is no time or space for the shoulder to move under the load. Reposition the hands higher in the lap, stand explosively and practice the shoulder-turn timing with a lighter bag. Do not just twist faster when the weight is already falling.
4. The catch turns into a sideways chase. Drive upward rather than heaving the bag across the room. A controlled catch ends with both feet beneath you and minimal unnecessary travel. If the bag is consistently flying past the far shoulder, focus on staying close and ending the hip extension sooner.
5. You rush straight into the next pickup. A loose bag changes shape after every drop. Make the next rep deliberate by rotating it back into a workable position and resetting the brace. For a beginner, six clean singles are more useful than twelve fast attempts with increasingly poor contact and control.
Painful pulling in the back, elbow or shoulder is not a technique challenge to push through. Stop, lower the load, and choose a simpler sandbag pickup or other strength exercise. Technique quality should improve as skill develops; there is no prize for turning every practice set into a maximum effort.
Program four weeks without racing the technique
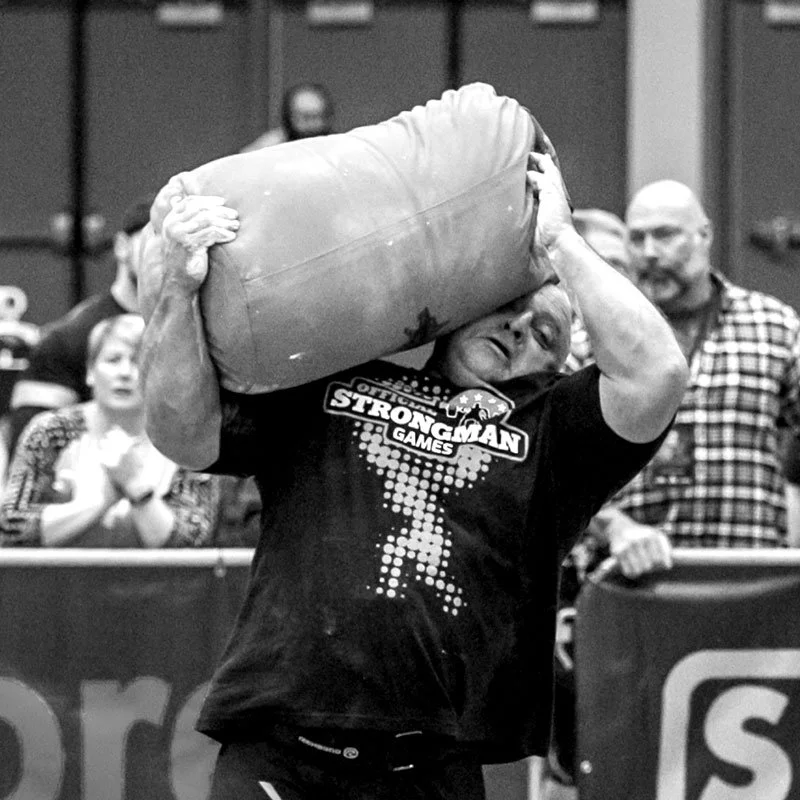
Start with one or two sandbag-to-shoulder sessions per week, separated enough to recover from the unfamiliar gripping and trunk demands. The first goal is to make every phase recognizable: floor pickup, lap, drive, shoulder catch and controlled reset. Use a bag that allows several clean reps without breathless grinding, and progress only one variable at a time: weight, reps, density or speed.
- Week 1 – Learn the positions: three or four sets of three singles, alternating shoulders across sets. Reset every repetition. If you cannot lap the bag with a steady back and feet, substitute floor-to-lap practice.
- Week 2 – Repeat clean work: four sets of three or four singles with comfortable rest. Keep the same load unless every catch is stable. Emphasize the transition out of the lap and a quiet finish.
- Week 3 – Build controlled volume: four or five sets of four singles, still with full resets. You can shorten the pause between reps slightly, but do not turn the session into a race if the shoulder position starts to deteriorate.
- Week 4 – Choose one progression: either move to a modestly heavier bag for three to five sets of two to three singles, or retain the current load and run an easy six-to-eight-minute quality-rep clock. Preserve the same stable shoulder catches.
For a strength-focused session, perform the shoulder work before fatiguing loaded carries or hard conditioning. Two to three minutes of rest between demanding sets is a reasonable starting point, adjusted to breathing and grip recovery. For conditioning, use a substantially lighter bag so each repetition remains deliberate. An every-minute set might consist of one or two clean singles rather than trying to squeeze in maximal-effort reps.
Complementary movements can help: trap-bar deadlifts teach a forceful floor pickup, kettlebell hinges develop repeated hip extension, and sled work challenges the legs and lungs without reproducing the awkward shoulder catch. These are accessories, not direct substitutes for handling a real sandbag. The most important progression is technical: a bag that moves smoothly from floor to lap to shoulder with fewer wasted steps.
Finish the block by assessing control, not merely the heaviest bag. Can you use both shoulders comfortably? Can you move the bag from the same floor position on consecutive reps? Can you finish without chasing the weight or straining an elbow? If those answers are yes, you have something useful to build on.

Strongman Shirts & Strength Gear
Strongman gym shirts and strength gear for lifters who train stones, carries, presses and brutally heavy objects.

Mystery Strongman Shirt T-Shirt
Show some lifting attitude with a playful “Mystery Strongman” tee.

Atlas Greek Mythology The Power Within Top & Gymbros T-Shirt
Show some bodybuilding attitude with a playful “Atlas Greek Mythology” tee.

The Original Atlas Stone Shirt – Greek Mythology T-Shirt
Heavy lifts, good laughs, and a little “The Original Atlas Stone” energy.

Mount Liftmore Strongman Brian Shaw & Eddie Hall T-Shirt
Rep “Mount Liftmore Strongman” humor in and out of the gym.

Strongman Metallica Heavy Metal – Meme Shirt & Gains T-Shirt
Rep “Strongman Metallica Heavy Metal Graphic” humor in and out of the gym.

Enter Strongman Enter Sandman Parody Strongman Atlas St Tank Top
Your gym-day look, with a playful “Enter Strongman” twist.

Avengers Strongman Hooded Pullover Superhero Workout Fa Hoodie
Bring “Avengers Strongman” gym humor to lazy days and post-workout plans.

Strongman Superman Muscle Shirt Athletic Vest Gymbros C Tank Top
Train hard, laugh a little, and rep “Strongman Superman”.


Sisyphus Gains Tee
Show some lifting attitude with a playful “Sisyphus Gains Eternal Struggle Greek” tee.