Advertising disclosure: This page includes affiliate product links that may earn us a commission, as well as products from our own store.
One-Arm Lat Pulldowns: Set the Cable, Drive the Elbow and Build Your Back
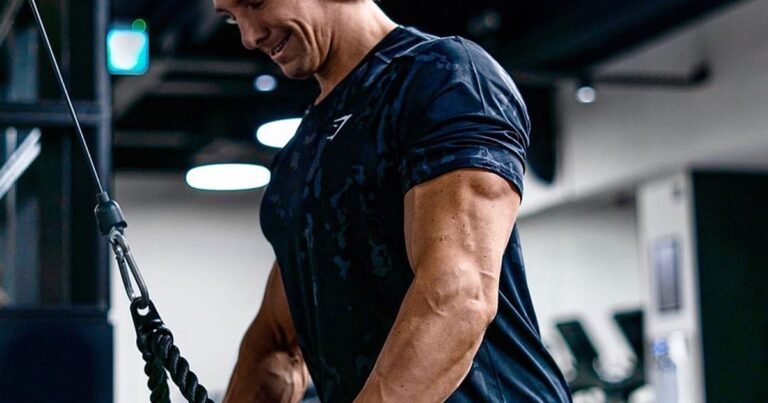
A one-arm lat pulldown makes each side of your back do its own work. You can adjust the cable line and handle to suit your shoulder instead of being locked into the width of a long bar. The useful advantage is not some magic ability to isolate one muscle; it is the opportunity to hold the setup steady, watch the working elbow and compare honest repetitions from side to side.
Set the high cable, seat and handle for stable single-arm pulling
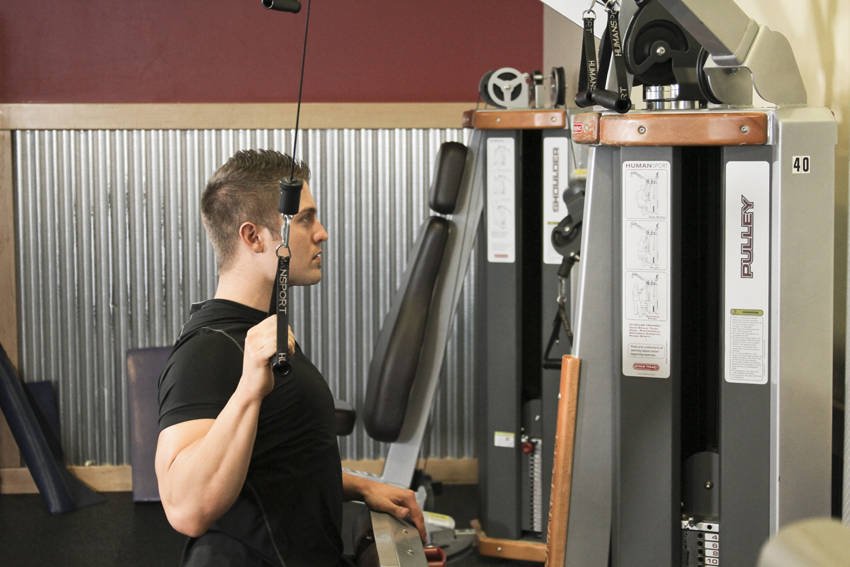
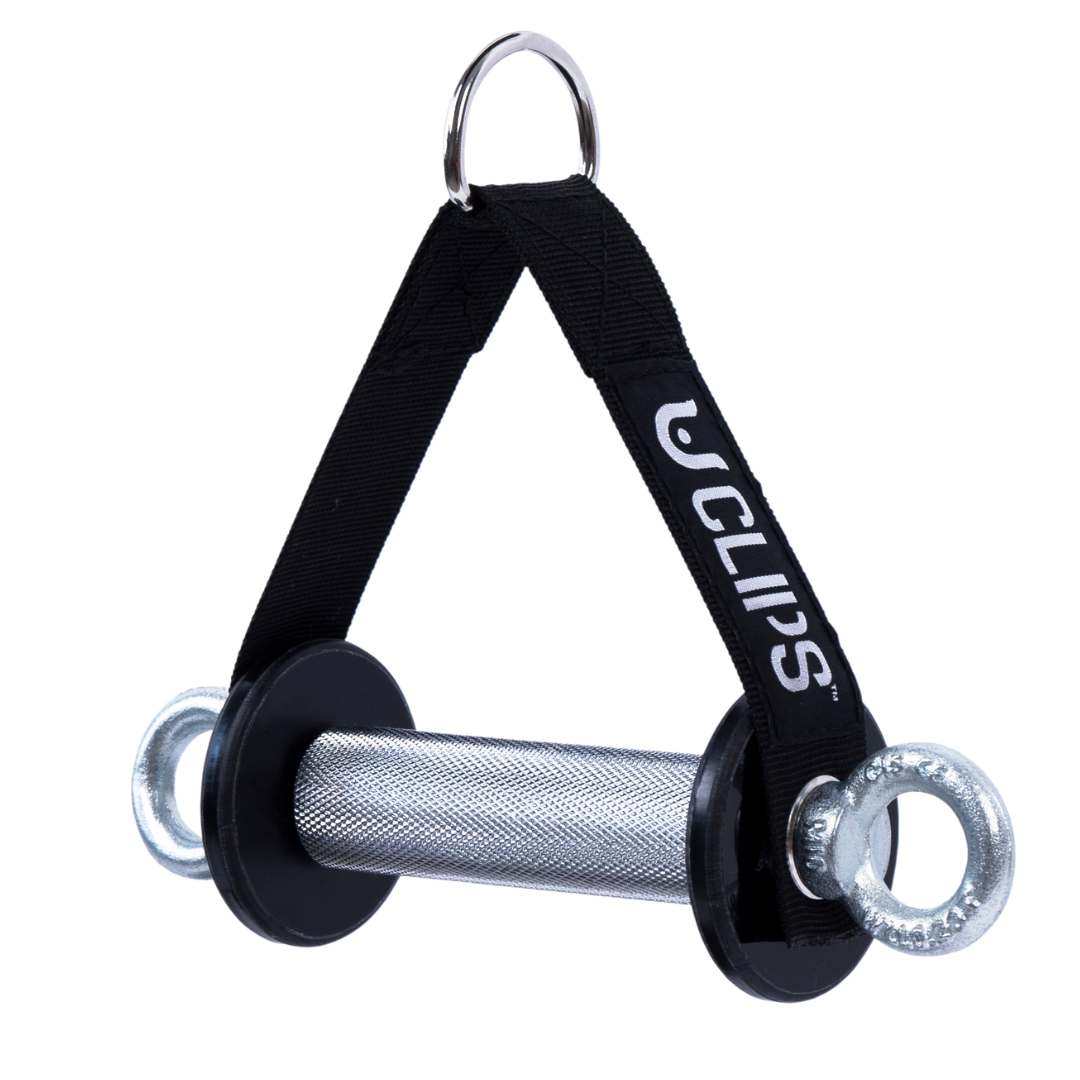
Start with a high pulley and a secure single-hand attachment. A D-handle is a straightforward choice; a rotating or neutral-grip handle may feel comfortable as well. Check the carabiner and handle connection before loading. Put the pin into a modest weight, then sit or kneel where the cable can travel toward your working shoulder without rubbing an upright or swinging into another machine.
On a lat-pulldown station, slide your thighs beneath the restraint and plant your feet. The pad should stop you rising with the cable, not squeeze your legs so painfully that you cannot concentrate. If you use an adjustable bench beneath a functional trainer, make sure it cannot roll or slide. Keep your free hand on a fixed support or your thigh rather than grabbing the working cable.
Sit roughly tall with your chest facing the machine. Your shoulder can reach overhead, but you should not need to rotate your entire body just to find the handle. If the pulley is too far behind you, move the bench or yourself. If it sits directly to the side, change the angle until the line of pull feels smooth and repeatable.
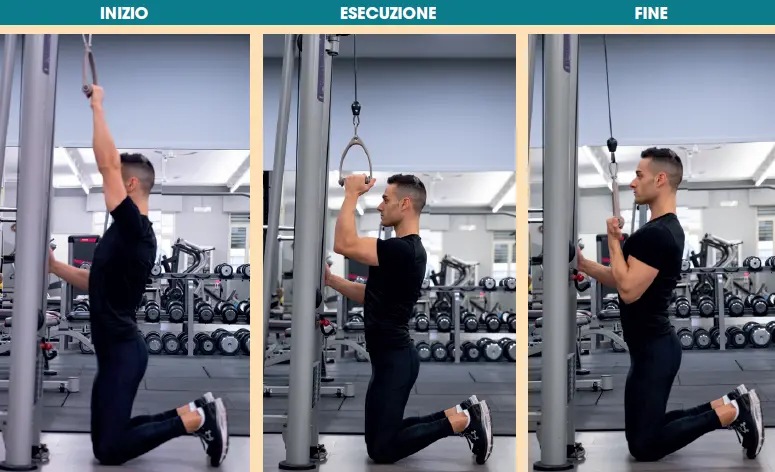
For a half-kneeling version, place the knee opposite the pulling arm on a pad and use your front leg to stabilize. The torso should still be quiet. Half-kneeling can solve awkward seat height or cable positioning, but it is not automatically more effective. Choose the station that lets you brace without turning the set into a balance challenge.
Before the first working set, make two or three light repetitions while looking at the cable path. Confirm that the weight stack returns freely and that the handle can move up without a shoulder pinch. The correct setup is the one you can reproduce next week, not the one that looks dramatic in a video.
Reach overhead, then bring the working elbow toward your hip
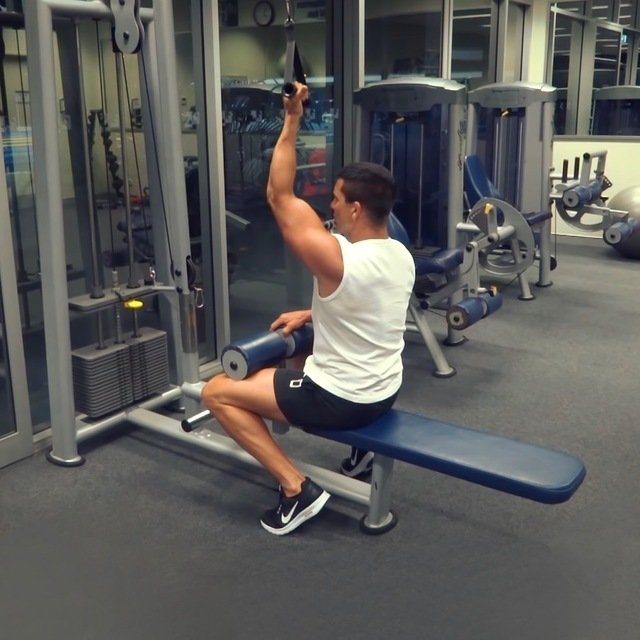
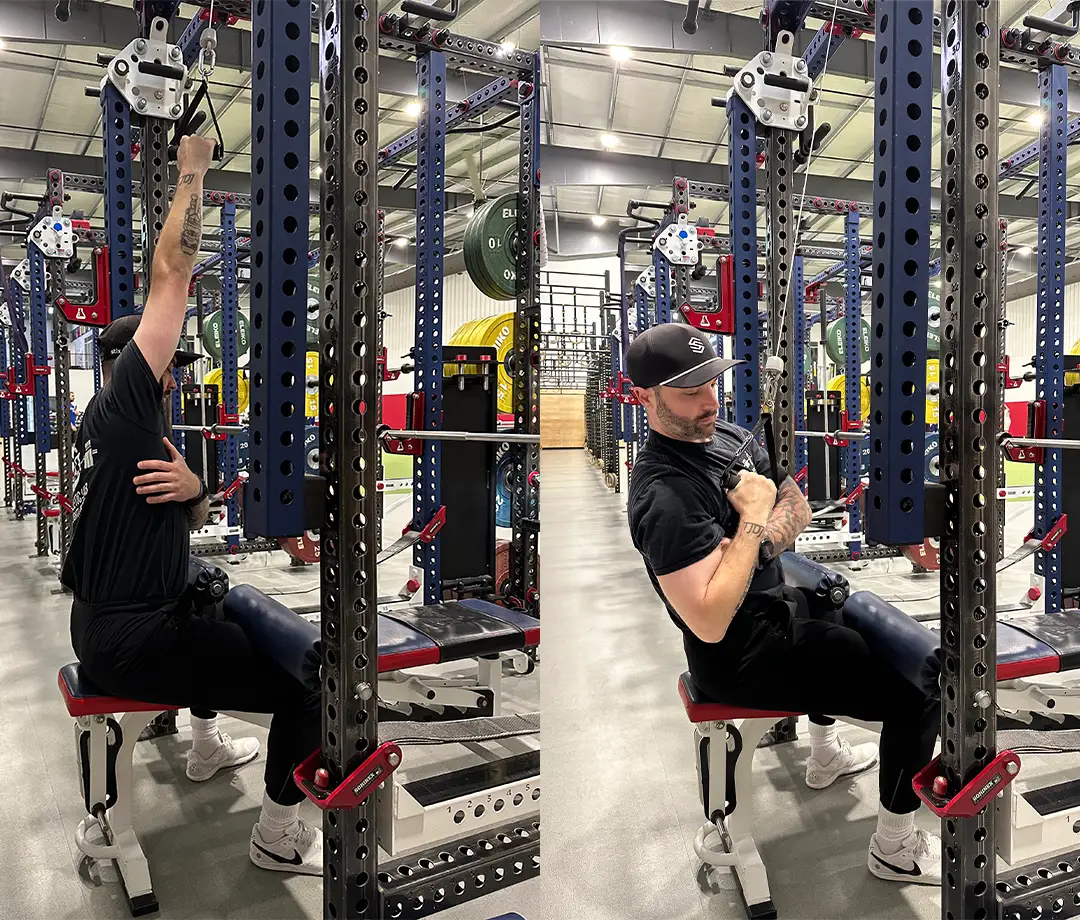
Begin with your working arm overhead and let the shoulder blade move naturally upward rather than pinning it down. You should feel a comfortable lengthening through the side of the back, not a forced tug at the front of the shoulder. Brace lightly through the abdomen and keep your ribs stacked over the pelvis before pulling.
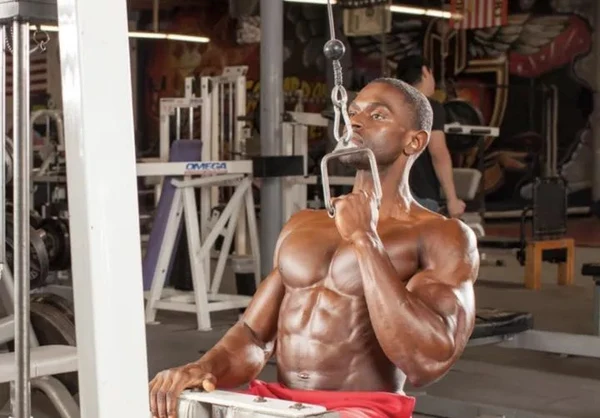
Think about bringing your upper arm down alongside the torso. Your hand and the handle follow, but the elbow provides the clearer cue. A smooth arc toward your side or back pocket usually keeps the movement recognizably vertical. The finish may put the elbow near your ribs and the handle around shoulder or upper-chest height; exact positions differ with handle length and body proportions.
A small amount of shoulder-blade depression is part of the pull, but you do not need to perform an elaborate isolated shrug before every rep. Let the shoulder and elbow cooperate. Avoid yanking the elbow far behind the torso: that commonly encourages twisting or an awkward shoulder position without making the lat work meaningfully better.
At the bottom, stop when the elbow is comfortably by your side and the torso has not shifted. A brief pause can expose whether momentum produced the last few centimeters. Return the handle deliberately until your arm is long overhead again, allowing the shoulder blade to rise under control instead of stopping every rep short of the top.
Breathe normally during lighter sets; for challenging sets, set your trunk before the pull and exhale through the effort. Keep the non-working side steady. This is still a compound shoulder-and-elbow exercise: the lats are important, but the elbow flexors and other upper-back muscles contribute too. Do not promise yourself complete muscle isolation.

Equipment Worth Exploring
Explore equipment, accessories and gear from our carefully selected range.

VForce Lat Tower
Wall-mounted cable tower with pivot arms and adjustable 1:1 or 2:1 pulley ratios.

Trinity Lat Machine LSW-850
Weight-stack pulldown tower offering three cable directions and adjustable seated support.
VOLTRA
Compact digital cable trainer with smooth, adjustable resistance.

Go-Tone Pro
Portable digital cable trainer with up to 66 lb (30 kg) of adjustable resistance.

VForce Wall Trainer
Space-saving wall-mounted functional trainer with pivoting cable arms and variable resistance ratios.

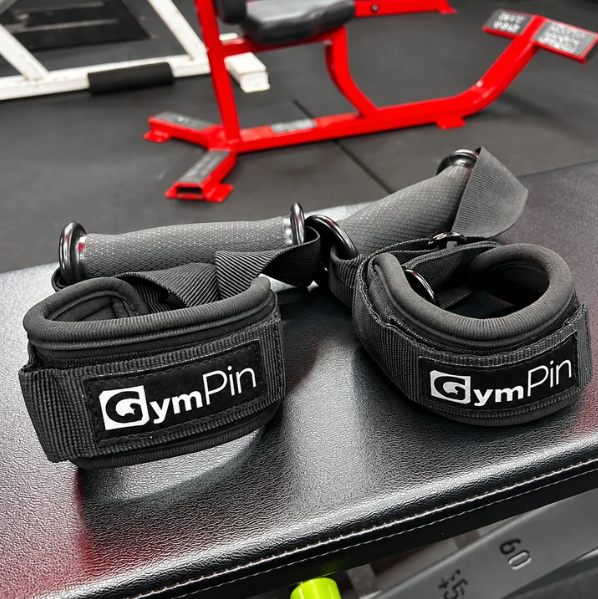
GymPin Ergo Handles
Pair of ergonomic cable handles shaped for comfortable triceps and pulling exercises.
GymPin D Cuffs
Adjustable wrist cuffs with textured grips for supported cable-machine exercises.

Fix the technique errors that hide behind heavier weights
The easiest mistake to miss is turning the exercise into a side bend. If your ribs swing toward the working elbow and your shoulders rotate dramatically on every repetition, the load may be doing more to move your torso than to challenge the intended pulling pattern. Reduce the stack until you can make the elbow move while your chest remains mostly forward.
Another common shortcut is leaning so far backward that the cable becomes a row. A slight natural torso angle is fine; a deliberate recline on every hard rep changes the task. Choose whether you want a vertical pulldown or a horizontal row and use a separate exercise for each. Film from the front if you cannot tell whether you are twisting.
Be cautious with pulling the handle toward the face or curling the wrist aggressively. Your biceps will help, but the elbow should move downward rather than simply folding toward the chest. Keep the wrist reasonably aligned with the forearm and use a handle that rotates freely when needed. If grip fatigue ends sets well before your back does, straps can be a practical accessory.
Do not chase an exaggerated top stretch through pain. Full comfortable overhead reach is useful, but the shoulder should not be wrenched upward by a heavy stack. Slow down as the arm extends, and let the weights settle rather than bouncing the plates. If an old shoulder problem makes overhead cable work unpleasant, reduce the range or choose a more comfortable back exercise.
Your best repetition standard has four visible features: a fixed support, a comfortable overhead reach, an elbow traveling toward your side and a controlled return. When the last reps lose two or three of those features, the weight has probably become too heavy for the purpose. That is a more helpful signal than the number printed beside the pin.
Use single-arm and bilateral pulldowns for different jobs
A standard two-arm pulldown allows both sides to work simultaneously and often saves time. It also gives you a fixed bar and a simple way to progress heavier combined loads. The single-arm version costs more time because you repeat the set on each side, but it can make asymmetries obvious and allow the hand path to vary independently.
If one side is consistently weaker or less coordinated, start there and match the repetitions and load with the stronger side. Do not automatically add extra failure sets for the weaker side. More volume is not always the answer: practice, stable technique and a repeatable range may matter just as much. Track side-to-side differences over several sessions, not one unusually tired day.
Compare cable rows with pulldowns carefully. A row generally drives the upper arm backward through a more horizontal line and can emphasize a different mix of back musculature. A pulldown moves the upper arm downward from overhead. Neither makes the other unnecessary, and a complete back routine can include both without endless minor handle variations.
Single-arm pulldowns can be placed after pull-ups or a heavier bilateral pulldown, or can serve as the main vertical pulling movement when you value control. If you already perform plenty of rows and assisted pull-ups, consider swapping an existing vertical pulling slot instead of adding three more sets to an already crowded workout.
Changing attachment shape every session makes progress hard to interpret. Neutral grip, supinated grip and cuff variations may all work, but they alter comfort and occasionally the path. Keep one version as your reference for at least several weeks. Use the alternative as a deliberate experiment, not a way to claim a new personal record with a different exercise.
Equipment Worth Exploring
Explore equipment, accessories and gear from our carefully selected range.

VForce 2IN1
Half rack and pivot-arm functional trainer with switchable 1:1 and 2:1 pulley ratios.

Multi Pull Smith Rack MPHR-780
All-in-one rack with a Smith machine, functional trainer, lat pulldown and low row.

VForce 3IN1
All-in-one rack combining an adjustable Smith machine, functional trainer, and free-weight station.
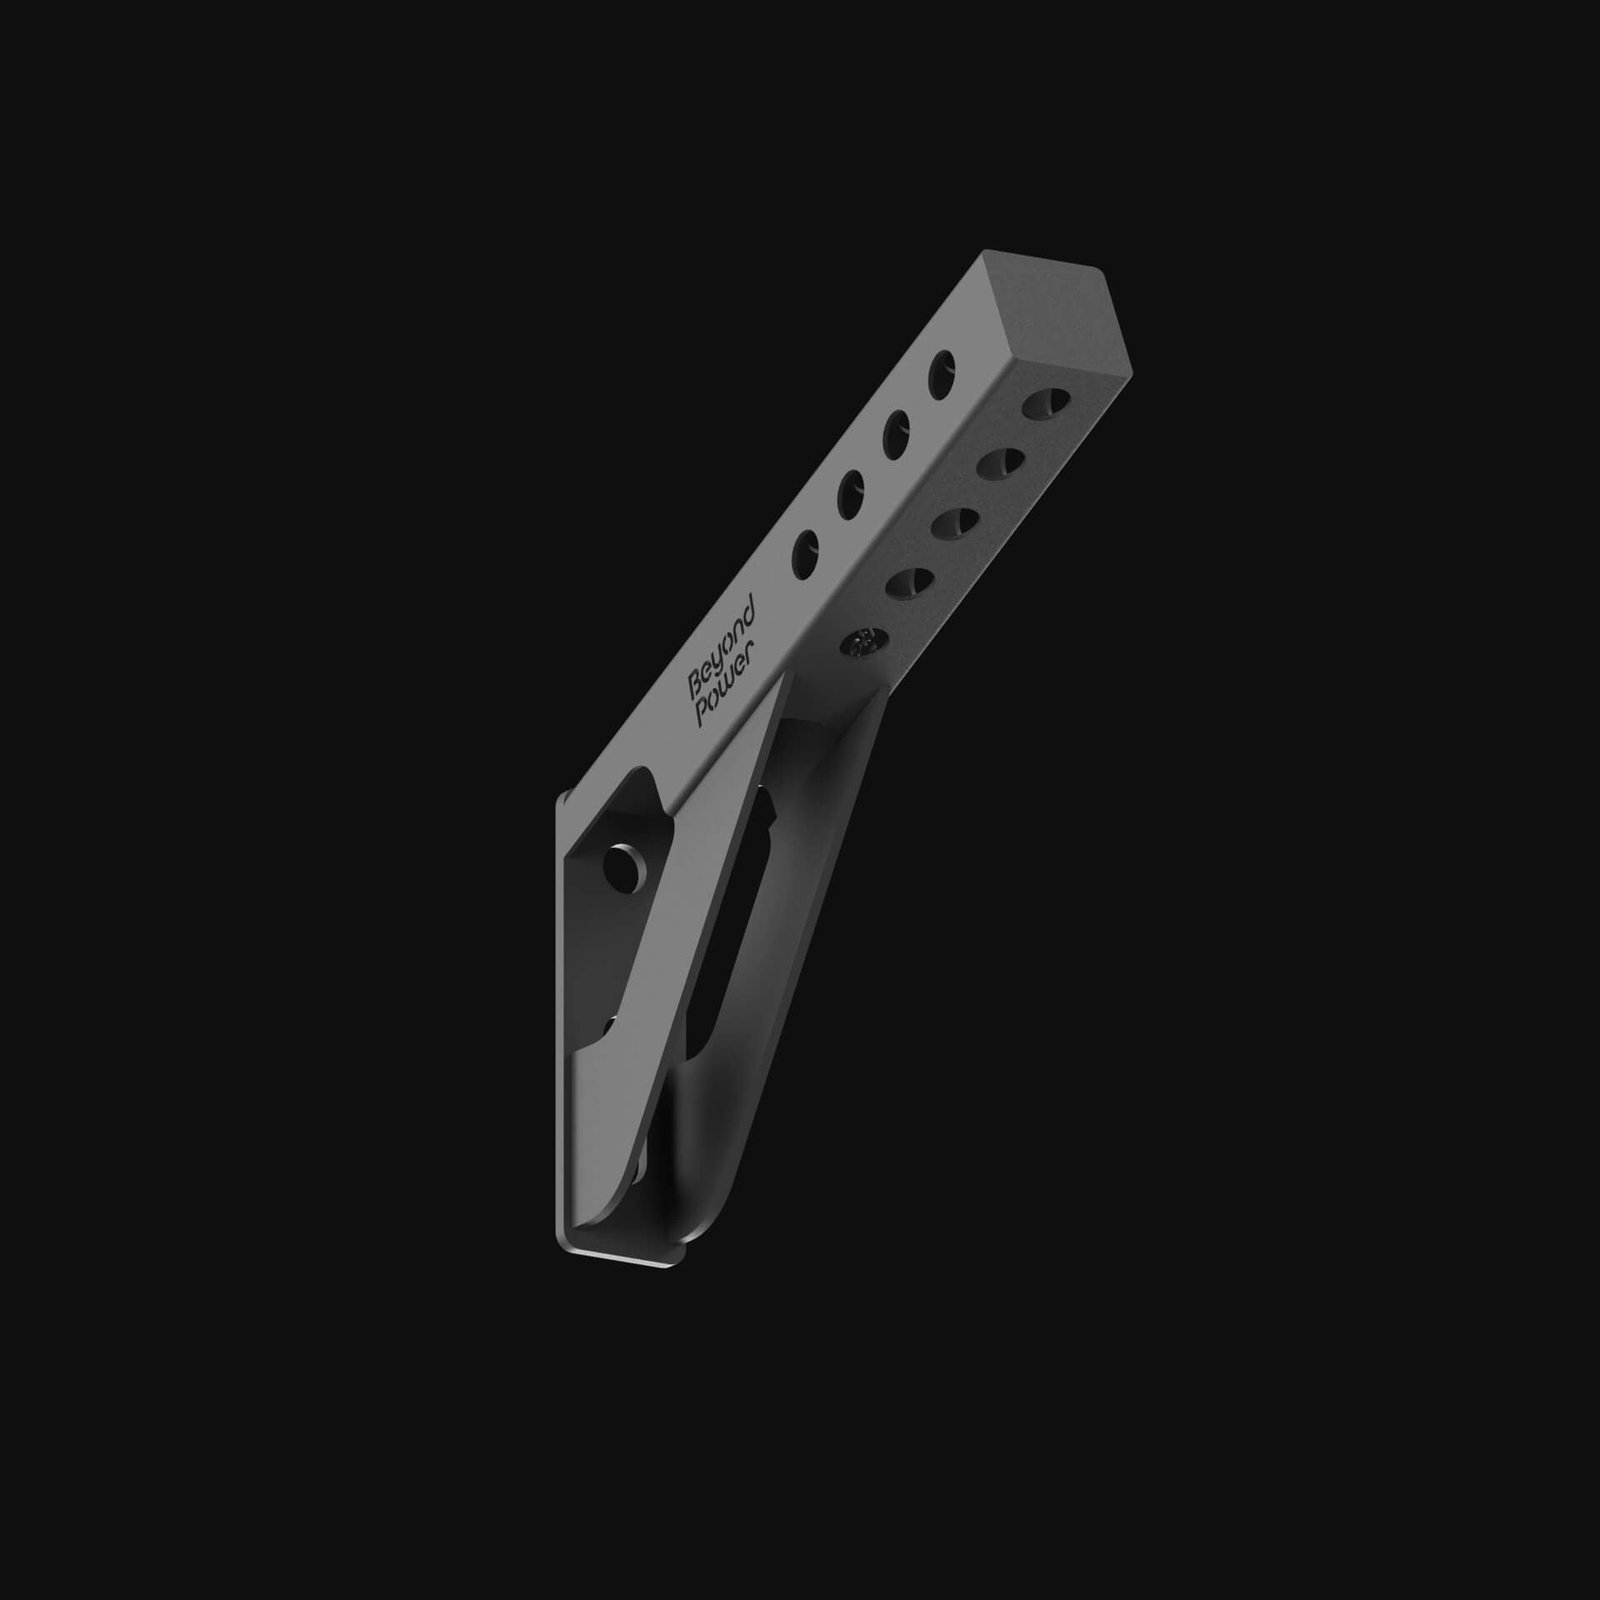

VForce Lat Seat
Rack-mounted seat attachment for supported lat pulldowns and seated cable exercises.

Lat Pulldown Set
Multi-grip cable attachment set for pulldowns, rows, and varied upper-body training.

48in Aluminum Lat Bar
48-inch aluminum lat pulldown bar with knurled grip and rotating center swivel.

Angles 90 Grips
Flexible grip attachments that allow natural wrist movement during pulling exercises.
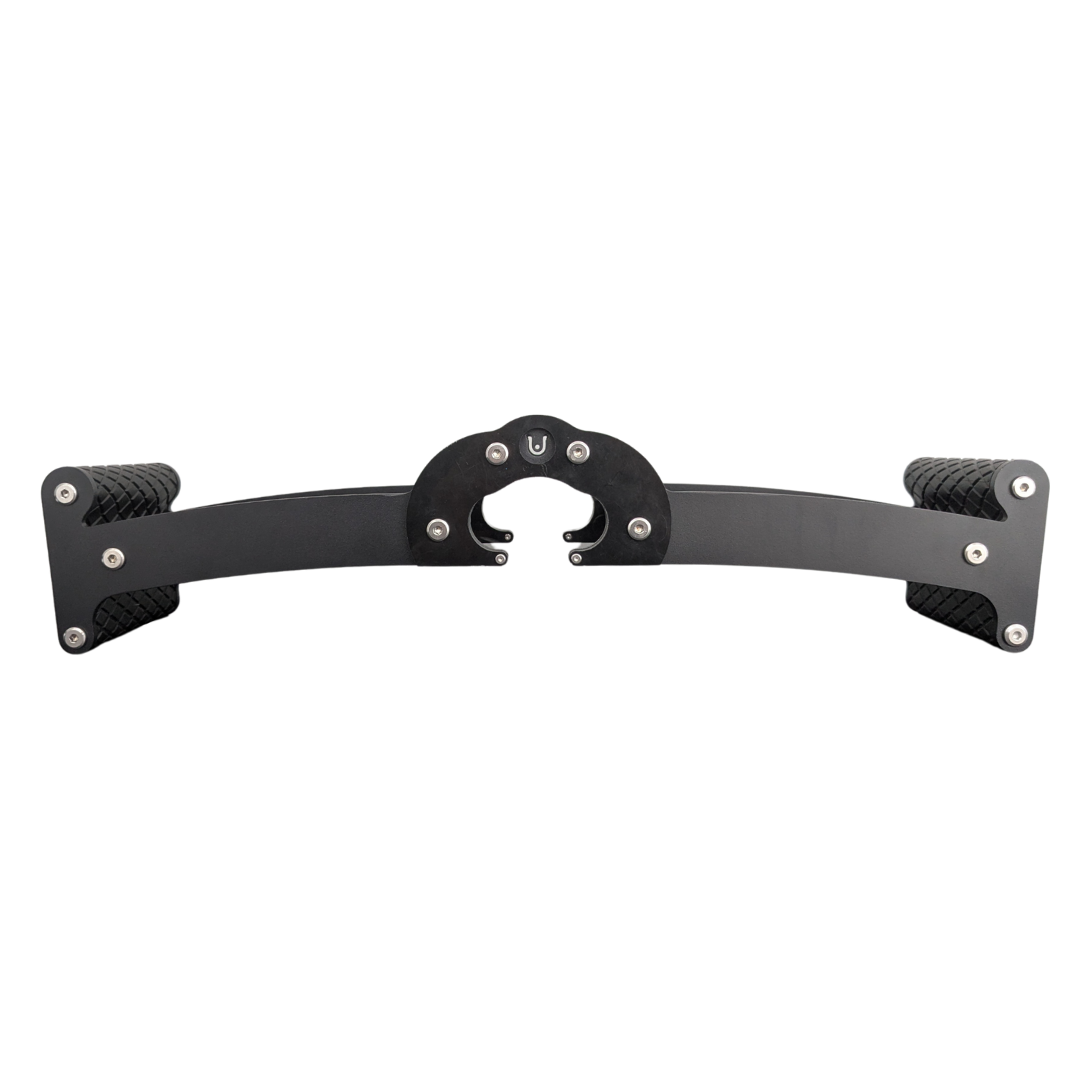
Back Bar
Multi-grip cable and landmine bar with a built-in deadlift jack.

Leather Lifting Straps
Padded leather straps support grip during heavy rows, deadlifts and pulling exercises.
Progress for six weeks without sacrificing the shoulder or the rep
For a practical starting point, perform two or three working sets per side in the eight-to-twelve-repetition range once or twice per week. Choose a weight that leaves about two or three technically sound repetitions in reserve. Rest long enough to keep the second side honest; alternating arms does not automatically mean each side has recovered fully.
In weeks one and two, establish your baseline. Write down the cable station, handle, body position, load and reps for each arm. Perform a consistent overhead reach and allow a controlled return. If the weaker side achieves ten clean reps and the stronger side could reach fourteen, use ten for both rather than training the stronger side through sloppy extras.
In weeks three and four, try to add one good repetition per set while maintaining the same torso position and elbow path. Once all prescribed sets reach the upper limit with comparable control on both sides, make the smallest sensible weight increase. You might need to return to eight or nine reps after increasing the pin, and that is normal.
In weeks five and six, keep the same attachment and aim to consolidate the heavier weight. Only add a fourth set if your total back volume, recovery and shoulder comfort justify it. If form deteriorates, reduce the load or finish one repetition earlier. A brief hold by your side may help concentration, but it is an option rather than a mandatory intensity trick.
Pair the movement with a row or a pull-up variation elsewhere in the week, then assess progress from stable training logs. Back growth depends on sustained productive work, sufficient recovery and nutrition, not on choosing a uniquely superior single-arm cue. The real win is six weeks of comparable repetitions you can trust.

Bodybuilding Shirts & Workout Gear
Bodybuilding shirts, tanks and gym gear for lifters chasing muscle, size, symmetry and the pump.

Dost Thou Even Pull Tee
Make gym days more fun with “Dost Thou Even Pull Medieval Knight Lat” style.


Strong Back Bodybuilder Tee
Show some lifting attitude with a playful “Strong Back Bodybuilder” tee.

Pull Up Or Shut Up Sticker
Put “Pull Up or Shut Up” gym humor on your laptop, bottle, or gym gear.

Pull Up Not Out Hoodie
Show off your bodybuilding humor in a laid-back “Pull Up Not Out” hoodie.

Always Pull Yourself Up Funny Gym T
Heavy lifts, good laughs, and a little “Always Pull Yourself Up” energy.