Mobility work is easy to postpone. It rarely feels as productive as a heavy set, yet a short, well-chosen sequence can make the first working sets feel more coordinated. The useful goal is not to perform an impressive stretch for a photograph. It is to move your hips, shoulders and trunk through the ranges your training actually requires, with control and without pain.
These five drills combine hip opening, gentle rotation, shoulder-blade movement and active upper-back work. You can perform the complete sequence in about 15 minutes, or select two or three drills that match the demands of your next session. None requires a special machine, and the optional loaded variation uses only a light kettlebell or dumbbell.
Mobility means owning a range, not merely reaching it
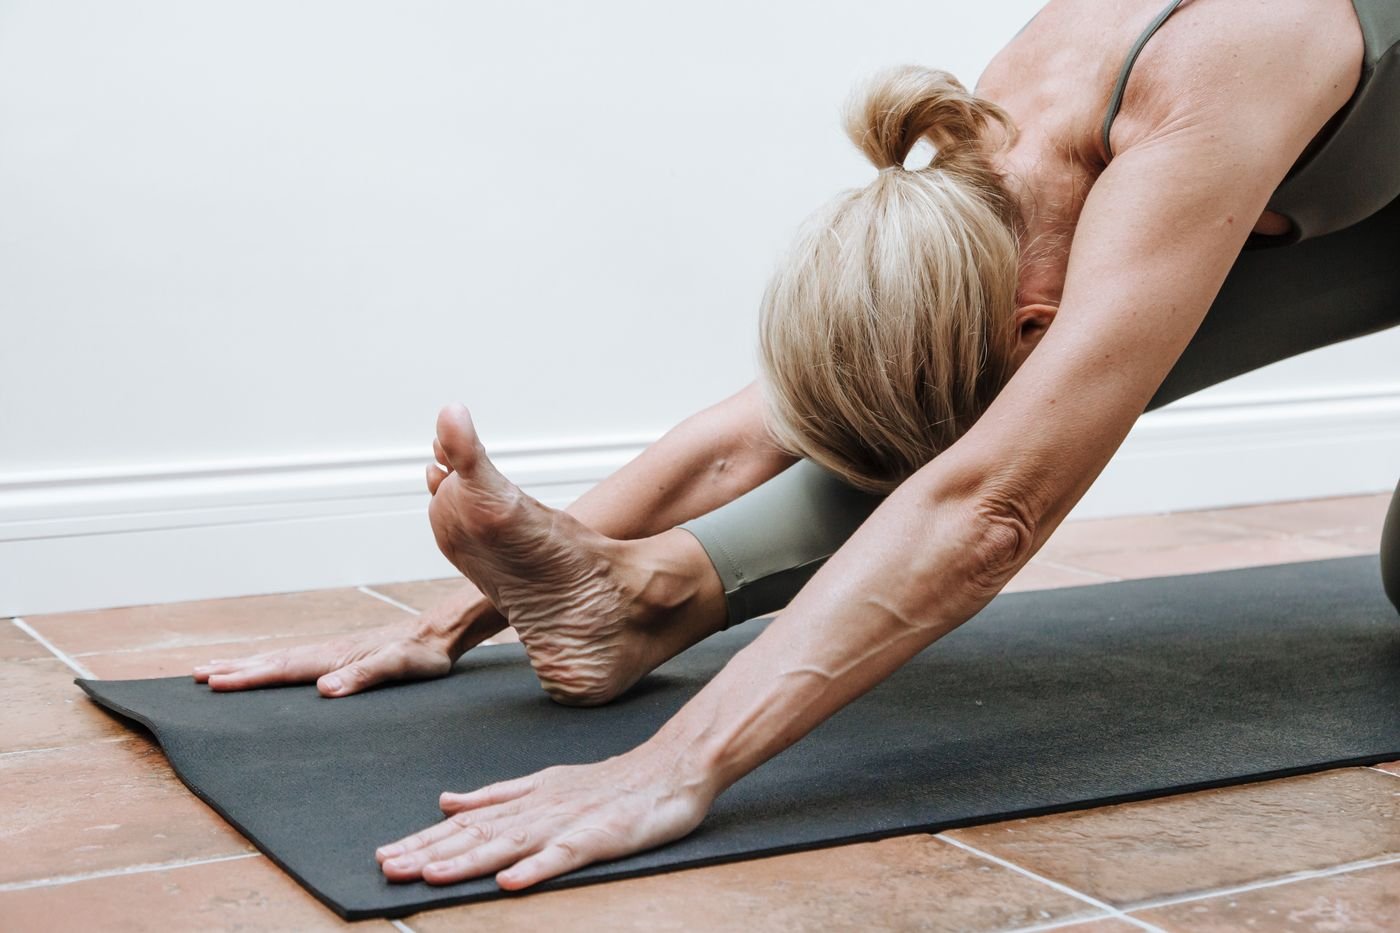
Flexibility describes how far a joint or muscle can be moved; mobility adds the ability to control movement within that available range. A person might be able to pull a knee toward the chest while lying down yet struggle to maintain pelvic control during a deep squat. Those are related but different tasks. The answer is not always more passive stretching. Sometimes it is learning to produce and resist force in a position that already exists.
Consider the difference between touching your toes and hinging with a neutral, braced torso. The first can reveal a useful range-of-motion snapshot. The second also asks the hips, trunk and upper back to coordinate under load. Neither test tells the whole story, and no single mobility score determines whether a person is ready to lift.
Start by identifying the movement that feels restricted. Is the front hip pinching in a lunge, the shoulder unable to reach overhead without the ribs flaring, or the trunk rotating only when the lower back twists aggressively? Choose a drill for that limitation and retest the same movement afterward. A small, repeatable improvement is more informative than forcing a deeper pose once.
Move slowly enough to notice compensation. Keep breathing rather than holding your breath, and use a comfortable range. Stretching sensation is acceptable; sharp pain, tingling, joint catching or worsening symptoms are signals to stop and seek individualized guidance. Mobility is training, not a test of pain tolerance.
Adductor rocks and a loaded variation for better hip control
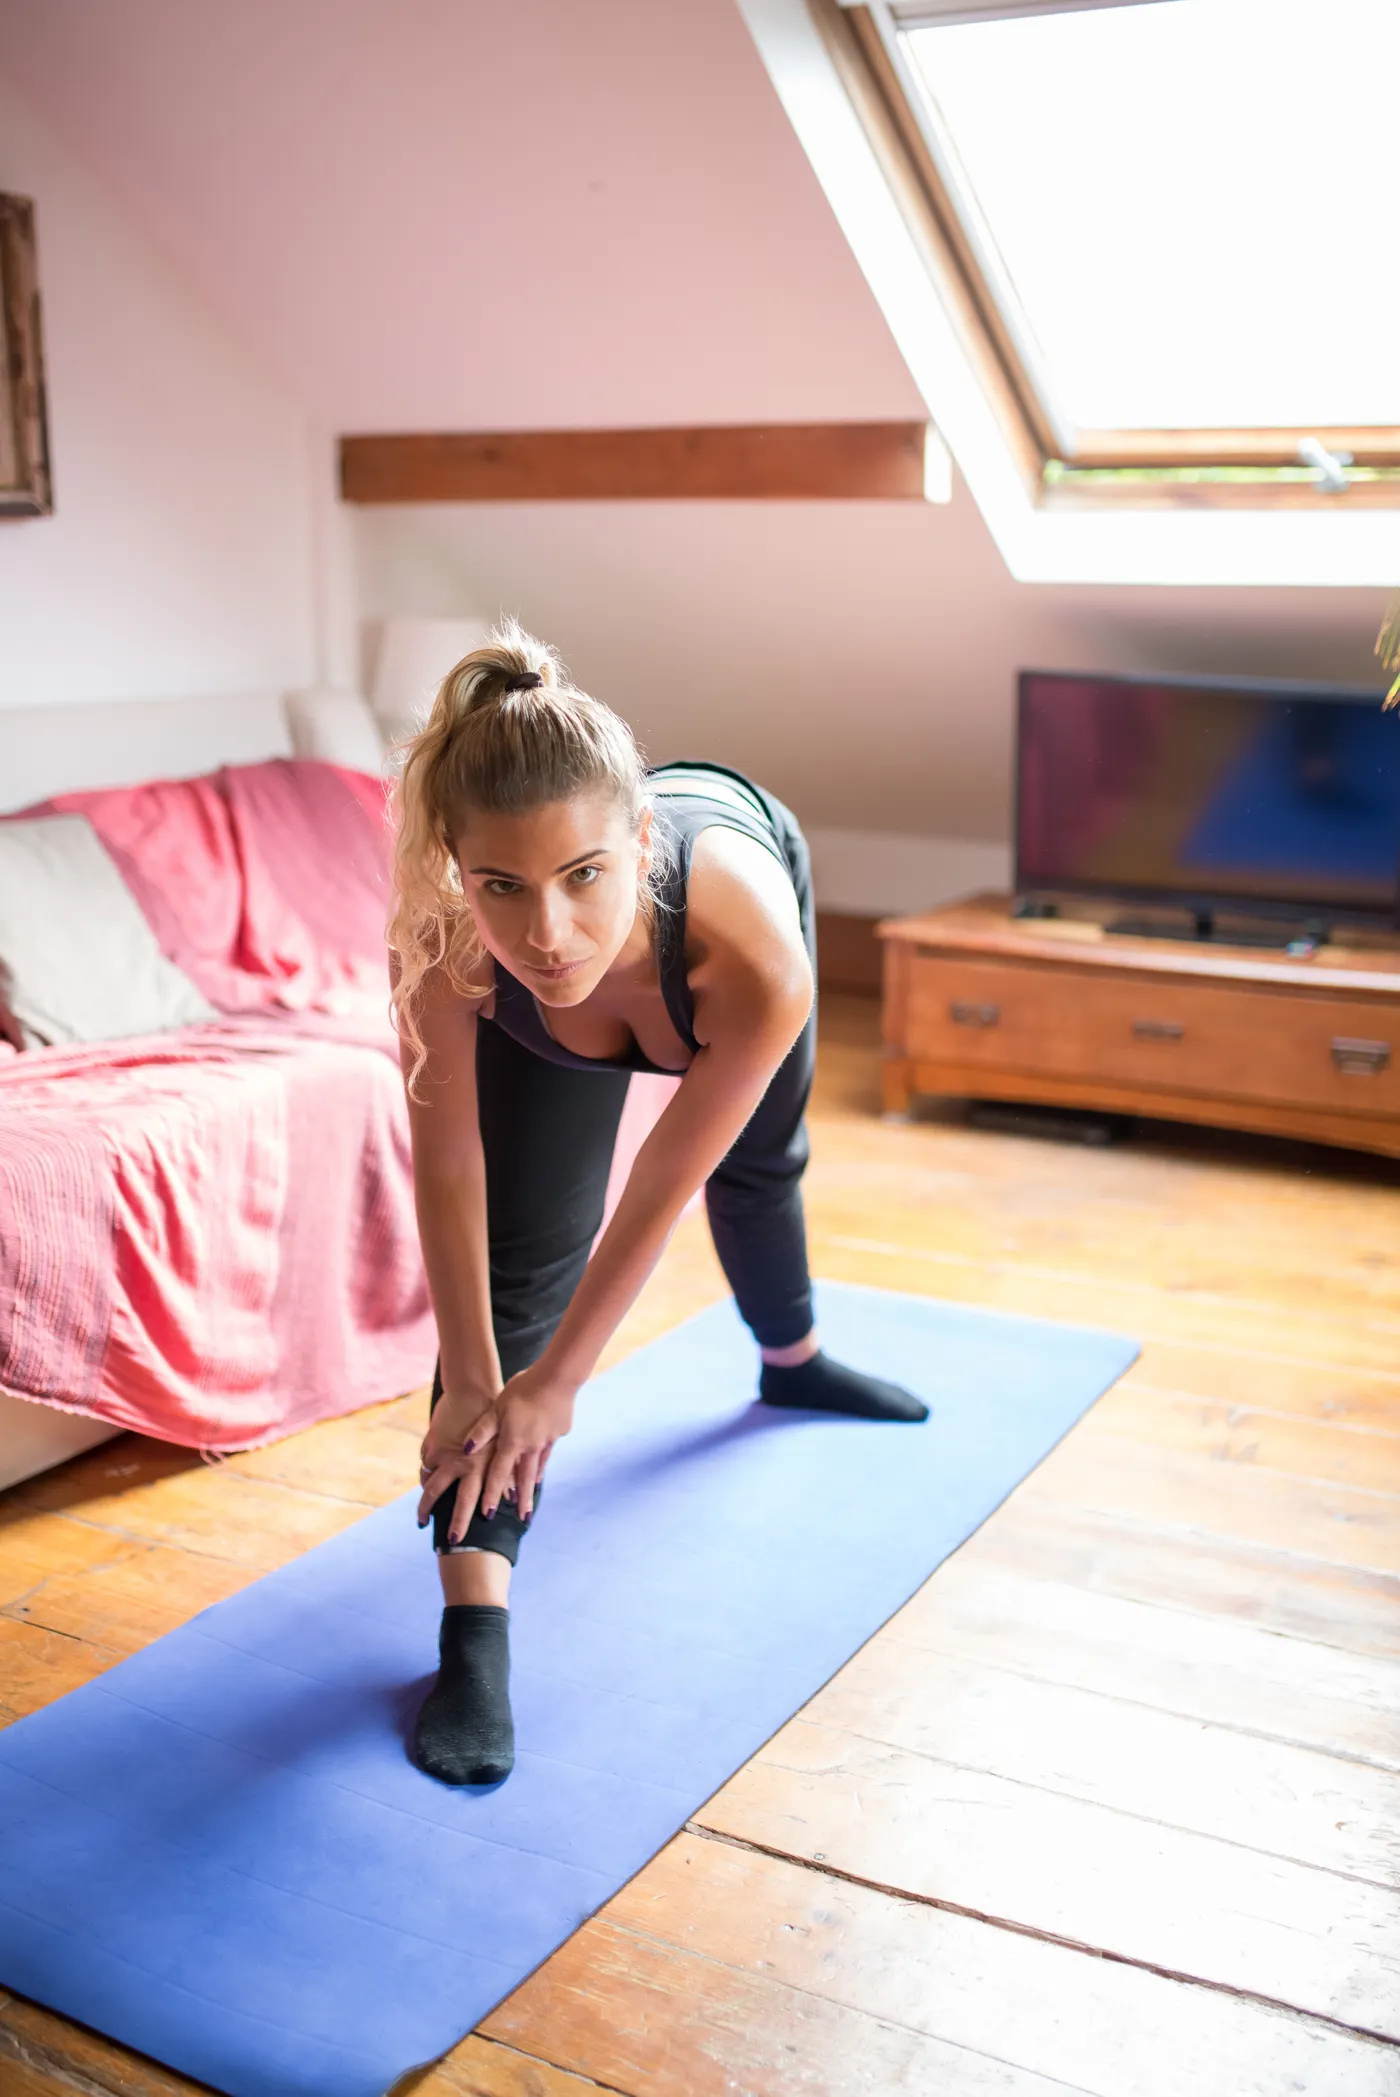
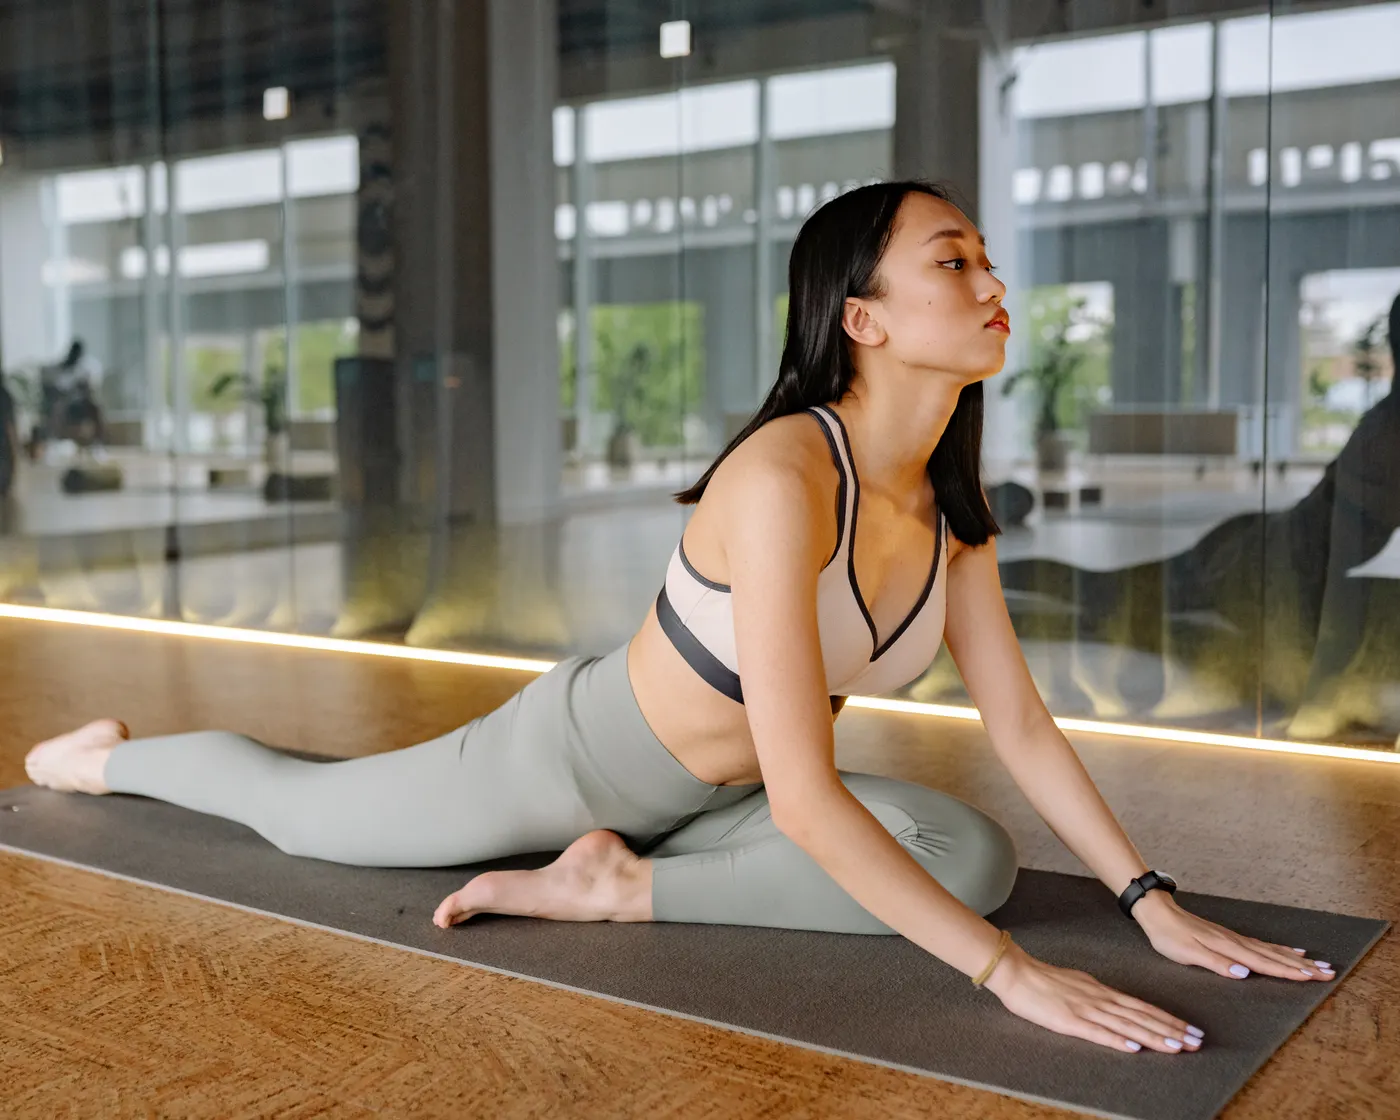
The adductors run along the inner thigh and help stabilize the pelvis as well as move the leg. They matter when you step sideways, lower into a squat, shift weight during a lunge or catch yourself on one leg. Two related rocking drills let you explore this area without pretending that every tight-feeling hip needs the same stretch.
Drill one: quadruped adductor rock. Begin on hands and knees. Slide one leg out to the side, keeping the foot in comfortable contact with the floor. Brace gently, keep your spine long and move your hips back toward the supporting heel. Return forward without bouncing. Try six to eight controlled repetitions on each side. Adjust the foot angle and width until the movement feels smooth rather than pinchy.
Drill two: half-kneeling adductor rock with a light counterweight. Kneel on one knee and extend the other leg to the side. Hold a very light kettlebell or dumbbell close to the chest only if it helps balance. Shift the hips back and forward through a smaller, controlled arc. Perform five or six repetitions per side. The load is a counterbalance, not a challenge to your maximum strength; bodyweight is an entirely valid starting point.
These drills should not require a dramatic depth. Keep the knee and foot comfortable, avoid collapsing onto the supporting hip, and do not chase a stretch by rounding the lower back. If kneeling bothers your knees, use a folded mat or substitute a supported standing lateral weight shift.
Retest an unloaded squat or lateral step. You are looking for smoother control, not proof that the adductors have permanently lengthened after a minute. Lasting change comes from repeated exposure, suitable strength work and gradual progression.
Equipment Worth Exploring
Explore equipment, accessories and gear from our carefully selected range.


GymPin Squat Wedges
Non-slip 15-degree squat wedges help elevate the heels for deeper quad-focused squats.


FID Bench MAX
Adjustable bench offering flat, incline, and decline positions + adjustable headrest.


Power Tower
Freestanding pull-up and dip station with adjustable handles for bodyweight training.
Scorpion rotations: rotate gently instead of wrenching the back
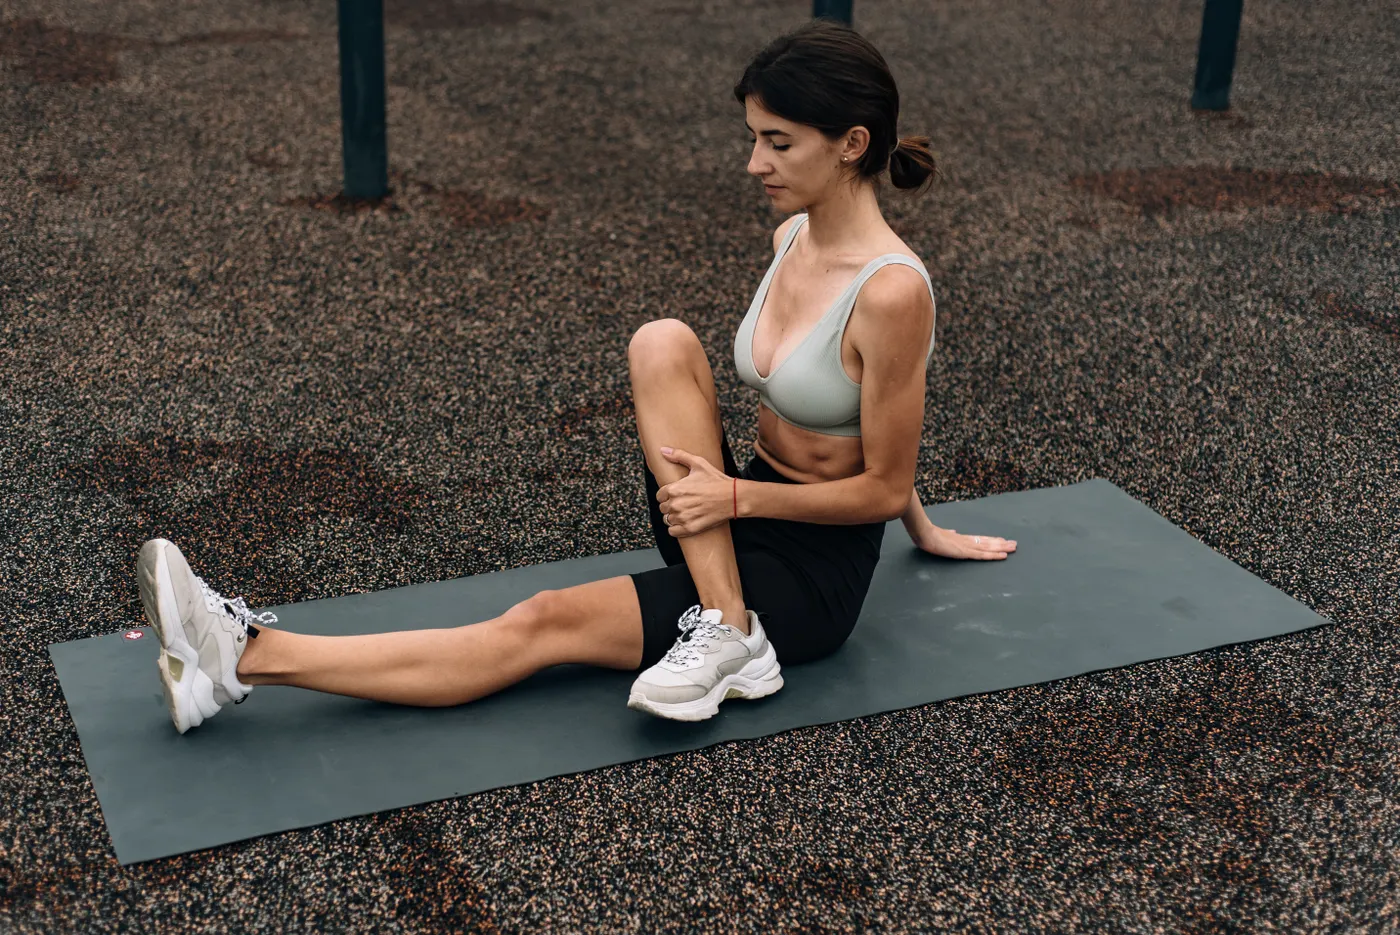
A scorpion rotation introduces trunk rotation while the body is supported on the floor. Lie face down with the arms spread comfortably to the sides. Bend one knee and slowly bring that foot toward the opposite side of the body, allowing the pelvis to turn only as far as feels easy. Return to center, then alternate sides. Start with four to six repetitions per side, breathing out as you rotate.
The movement is not a competition to touch the foot to the ground. If the shoulders lift aggressively, the neck twists, or the lumbar spine feels compressed, reduce the arc. You can also perform a gentler open-book rotation while lying on your side with the knees supported. Both variations allow you to explore rotation without requiring the same end position from everyone.
For lifters, rotational control matters even in exercises that look purely straight-line. A stable rib cage helps you press without unnecessary torso twisting; controlled rotation can make it easier to reach and change direction in sport. But a floor rotation is not a substitute for building strength and skill in the actual task. It is preparation and practice, not a magic correction.
Pay attention to where the movement comes from. The upper back should contribute rather than letting the low back do all the work. Keep the pace slow, especially on the return. If you have a known spinal injury, new radiating pain or symptoms aggravated by rotation, skip this drill and obtain appropriate advice rather than forcing a generic routine.
After a few rounds, try a gentle standing torso turn with the hips facing forward. The useful change is an easier, more controlled movement. You do not need to feel a dramatic release for the drill to have served its purpose.

Functional Fitness Shirts & Workout Gear
Functional-fitness shirts, tanks and workout gear for athletes who train strength, conditioning and everything in between.

Anti Stretching Stretching Club Meme Shirt – T-Shirt
Bring “Anti Stretching Stretching Club” humor to your next gym day.


Viva La Resistance Bands , Meme Shirt, Top T-Shirt
Make gym days more fun with “Viva La Resistance Bands” style.

Vive La Resistance Bands – Resistance Bands Warmup Reha Tank Top
Your gym-day look, with a playful “Vive La Resistance Bands” twist.

Vive La Resistance Bands Painting Meme – Resistance Ban T-Shirt
Add a playful “Vive La Resistance Bands” touch to your casual rotation.

Vitruvian Kettlebell Tee
Heavy lifts, good laughs, and a little “Vitruvian Man With Kettlebells” energy.

Handstand Walk Tee
Bring “: The Handstand Walk Beatles Graphic” humor to your next gym day.


Break The Stereotype Gym | Feminist Muscle Shirt For St Tank Top
Add some lifting attitude to training with “Break The Stereotype”.

Wall clocks: teach the shoulder blade to travel with the arm

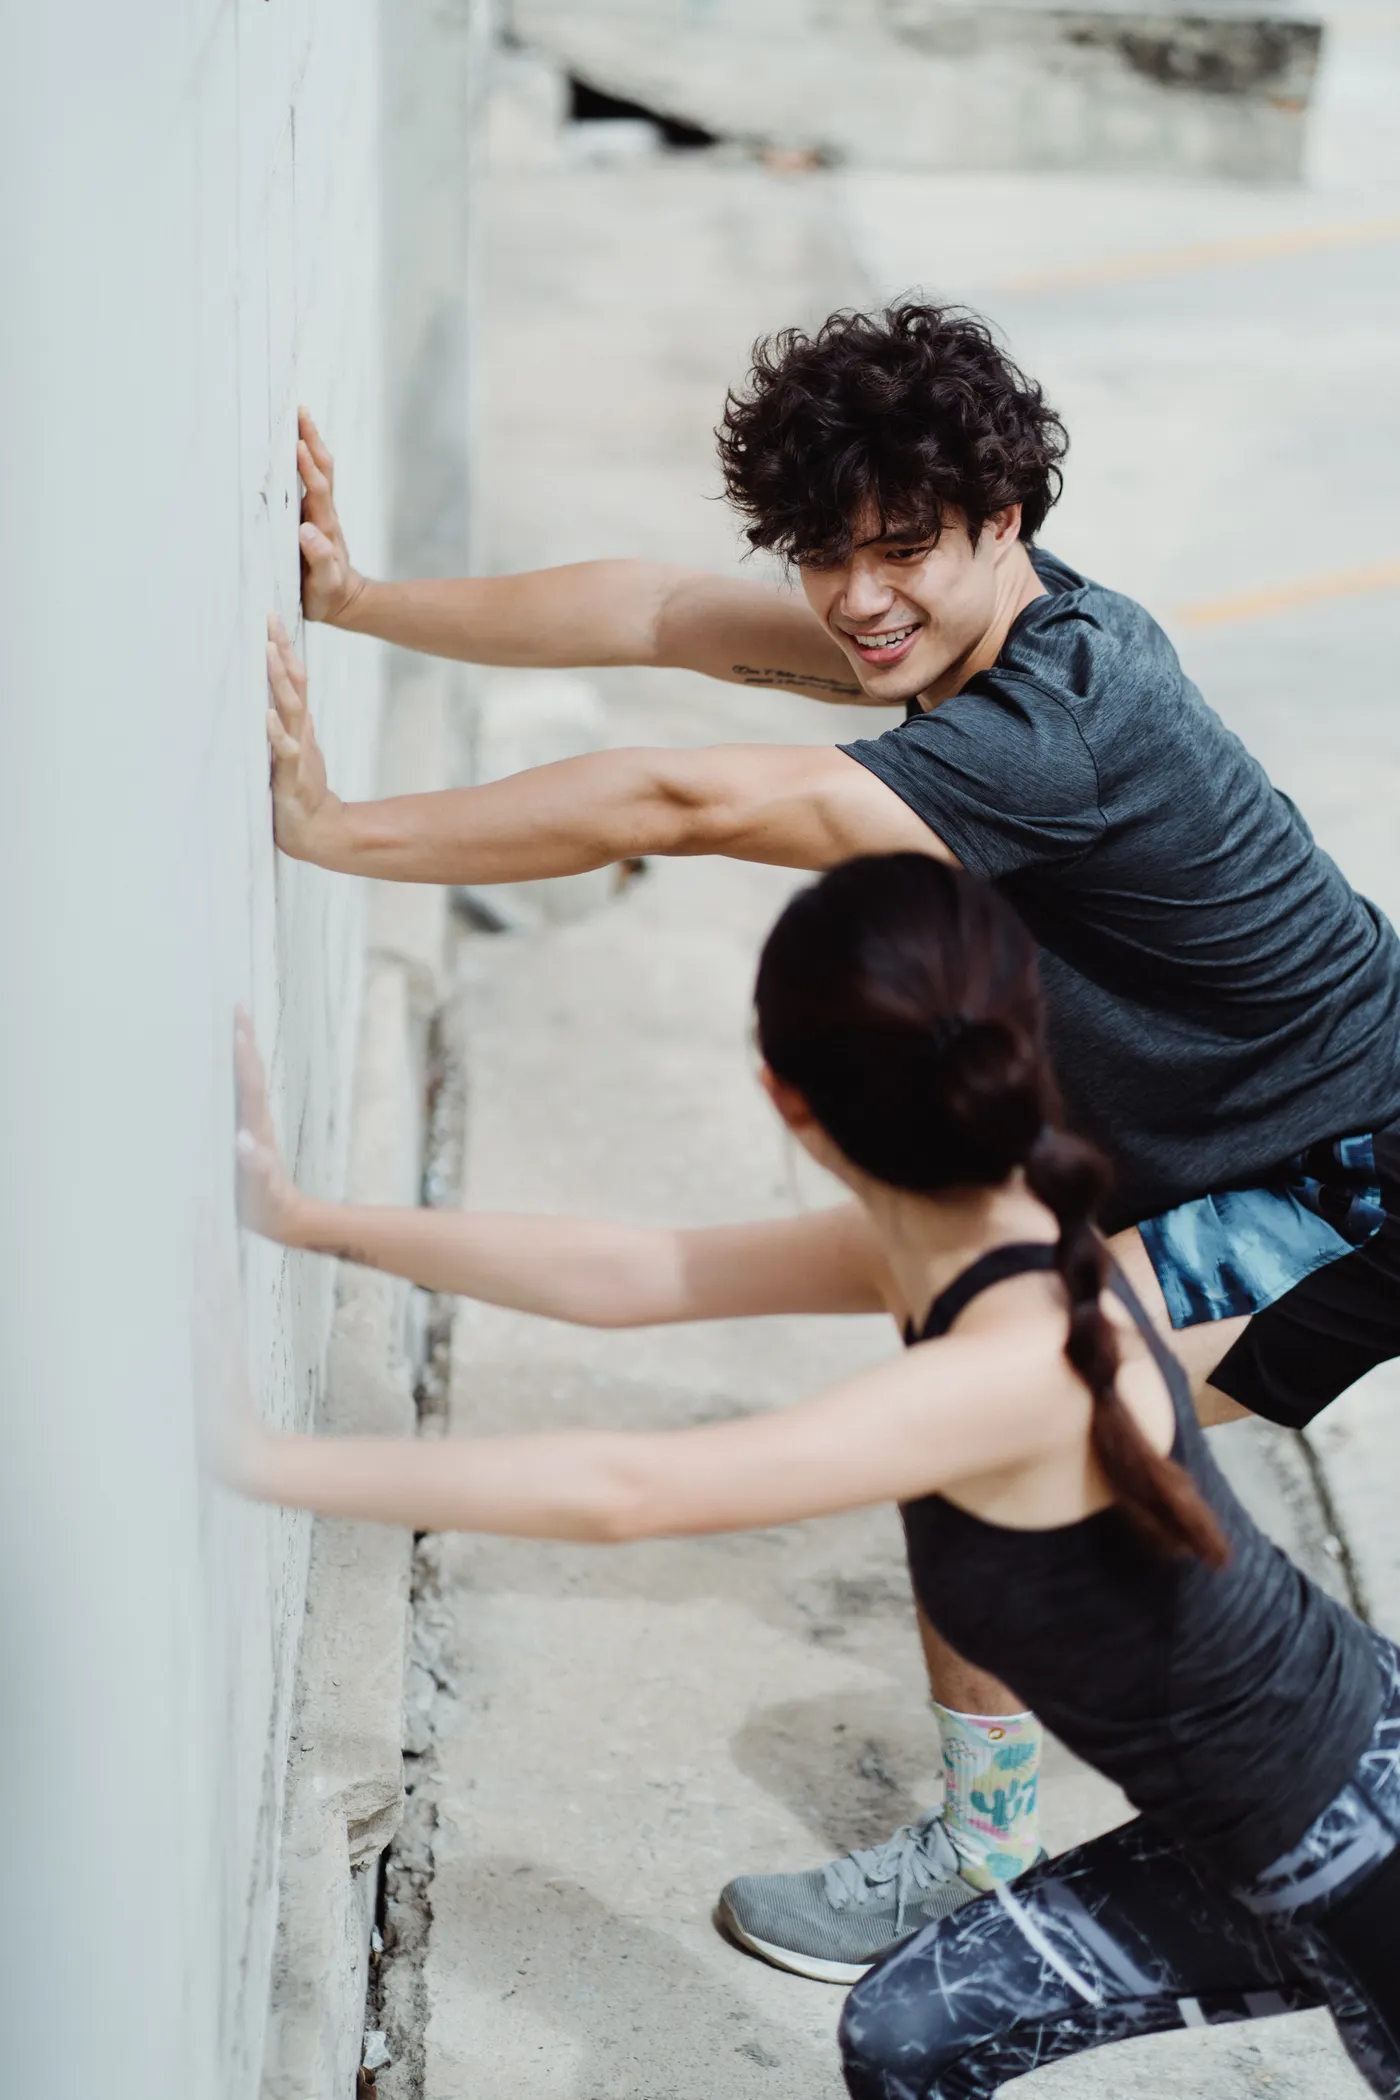
Overhead movement involves more than the ball-and-socket shoulder joint. The shoulder blade must rotate and glide on the rib cage, while the upper back and trunk provide a useful base. A wall clock gives you a low-load way to practice this coordination before pressing, pulling or throwing.
Stand beside a wall with one hand or forearm lightly touching it. Trace a slow arc upward and backward as though following the edge of a clock. Let the shoulder blade move naturally while keeping the neck relaxed and the ribs from flaring dramatically. Complete five or six small arcs on each side. The range can be tiny at first. Do not pin the shoulder blade down or force the elbow into an awkward angle.
Compare that with a strict overhead press. If you can only raise the arm by arching the lower back, a shoulder drill may help you become more aware of the compensation. It does not diagnose why the restriction exists. Limited motion can involve strength, motor control, anatomy, training history or pain sensitivity, and these possibilities call for different solutions.
A useful progression is to perform the wall arc with a slow exhale and then try a light overhead reach away from the wall. Keep the arm in a comfortable plane rather than insisting on a textbook straight line. People with shoulder irritation may prefer a lower arc or a pain-free wall slide; they should not force the highest position just to complete the clock.
For a pressing workout, finish with one or two easy sets of the actual press pattern using very light resistance. The wall drill prepares coordination; progressively loaded pressing develops the strength to use it. Both belong in a sensible program.
Prone swimmers: active control for the upper back
Prone swimmers look simple but can expose how difficult it is to move the arms while keeping the trunk steady. Lie face down on a mat, with the forehead resting on a folded towel if needed. Reach the arms overhead, then sweep them slowly toward the sides and hips through a comfortable arc. Some versions alternate the arms and legs in small fluttering movements; either way, the purpose is controlled shoulder and upper-back activity, not a huge backbend.
Start with four to six slow repetitions or 20 to 30 seconds of gentle alternating movement. Keep the glutes and abdomen lightly engaged, the neck neutral and the ribs close to the mat. If lifting both arms produces a large lumbar arch, leave the arms lower, shorten the arc or practice one arm at a time. The shoulders should move more than the lower back.
Think about the difference between moving the arms through space and maintaining the torso position while doing so. That skill is relevant to rows, overhead work and many daily reaching tasks. It can also reveal left-right differences that deserve patient practice, though one awkward repetition is not evidence of an injury or structural imbalance.
Do not confuse fatigue with effectiveness. If the shoulders shrug, the neck strains or the arms stop moving smoothly, the set is over. A smaller range performed with attention is more useful than forcing a full sweep with compensations. You can later add a very light resistance band to related standing shoulder exercises, but there is no need to load the floor drill heavily.
As with the other movements, assess the result in a real task. A comfortable reach or easier warm-up row is a useful sign; a promise that a single exercise will permanently fix posture or prevent injury would go beyond what the evidence can support.
Equipment Worth Exploring
Explore equipment, accessories and gear from our carefully selected range.
VOLTRA
Compact digital cable trainer with smooth, adjustable resistance.

Go-Tone Pro
Portable digital cable trainer with up to 66 lb (30 kg) of adjustable resistance.


Angles 90 Grips
Flexible grip attachments that allow natural wrist movement during pulling exercises.

GymPin Ergo Handles
Pair of ergonomic cable handles shaped for comfortable triceps and pulling exercises.


Build the five drills into a practical 15-minute warm-up
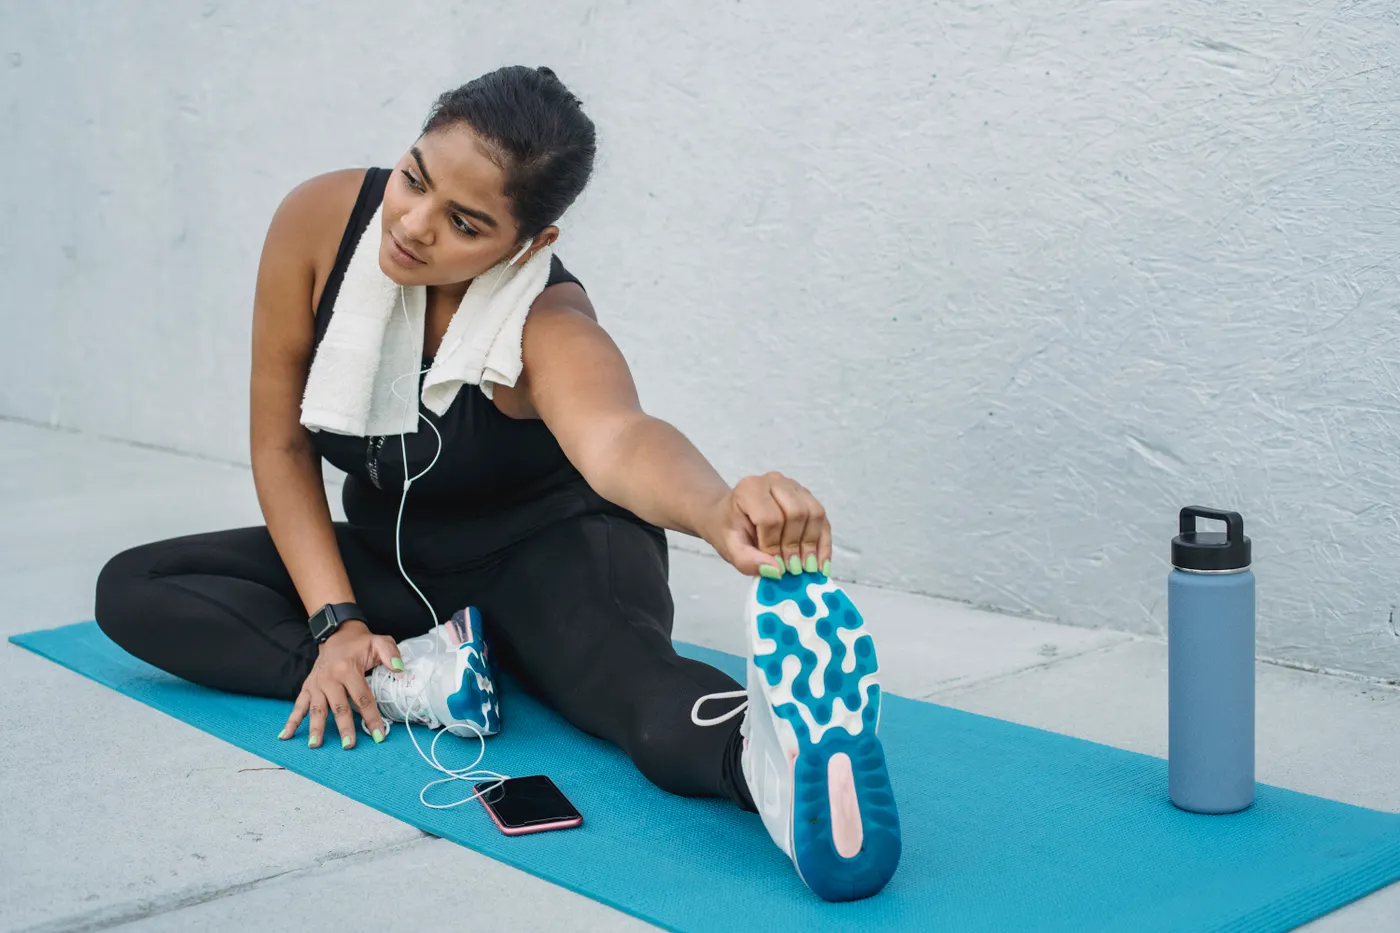
The best mobility routine is short enough to repeat and specific enough to prepare the workout that follows. Here is a simple sequence that can precede strength training or stand alone on a lighter day. Use an easy effort throughout: you should finish feeling more ready to move, not exhausted before your first set.
- Minutes 0-2: Walk, cycle gently or march in place to raise body temperature. This is preparation, not conditioning.
- Minutes 2-5: Quadruped adductor rocks, six to eight repetitions each side, followed by five half-kneeling rocks per side. Keep the counterweight optional.
- Minutes 5-7: Scorpion rotations, four to six gentle repetitions per side, with a pause if the trunk feels rushed.
- Minutes 7-10: Wall clocks, five or six arcs per arm, then a few unloaded overhead reaches.
- Minutes 10-12: Prone swimmers, two short sets of four to six smooth repetitions.
- Minutes 12-15: Rehearse the first exercise of the workout with progressively more specific but still easy movement.
For lower-body training, spend more of the optional time on hip rocks and unloaded squats. Before an upper-body session, prioritize wall clocks and controlled shoulder reaches. Before running, use a shorter version and add leg swings, calf raises or a few easy strides that resemble the upcoming activity.
Mobility work is not meant to replace a proper ramp-up to heavy weights. A lifter planning challenging squats still needs progressively heavier warm-up sets. A runner preparing for speed work still needs running-specific acceleration. Use the drills to remove unnecessary friction from the warm-up, not to replace the skill and load progression that follow.
When time is limited, two minutes of the most relevant drill plus a gradual exercise-specific warm-up is better than skipping movement entirely because the full routine cannot fit.
Funny Gym Shirts & Workout Gear
Funny gym shirts, tanks, hoodies and workout gear for lifters who like training hard.

Anti Yoga Yoga Club Meme Shirt Gymbro T-Shirt
Heavy lifts, good laughs, and a little “Anti Yoga Yoga Club” energy.

Shirt Trying To Find My Center Donut Yoga Meme Top T-Shirt
Show some donut-loving attitude with a playful “Trying To Find My Center Donut Yoga Meme” tee.


Big Flex Theory Tee
Bring “The Big Flex Theory Science-Based Lifting” humor to your next gym day.

Motivation – Squats & Booty Builder Leg Day – Strong T-Shirt
Bring “Gym Motivation” humor to your next gym day.

Gym Equation Kettlebell Makes Me Happy Workout Decal Sticker
A fun “Gym Equation” touch for bottles, laptops, and lockers.

Gym Is My Happy Place Happy Kettlebell Emoji Hoodie
Show off your gym-girl humor in a laid-back “Gym Is My Happy Place” hoodie.

Hybrid Athlete – Strength & Endurance Crewneck for Func T-Shirt
For laid-back days and lifting humor: “Hybrid Athlete”.

Live Love Lift – Gymbro Meme & Gains – Shirt T-Shirt
Rep “Live Love Lift” humor in and out of the gym.
A four-week progression, and what mobility research can actually tell us
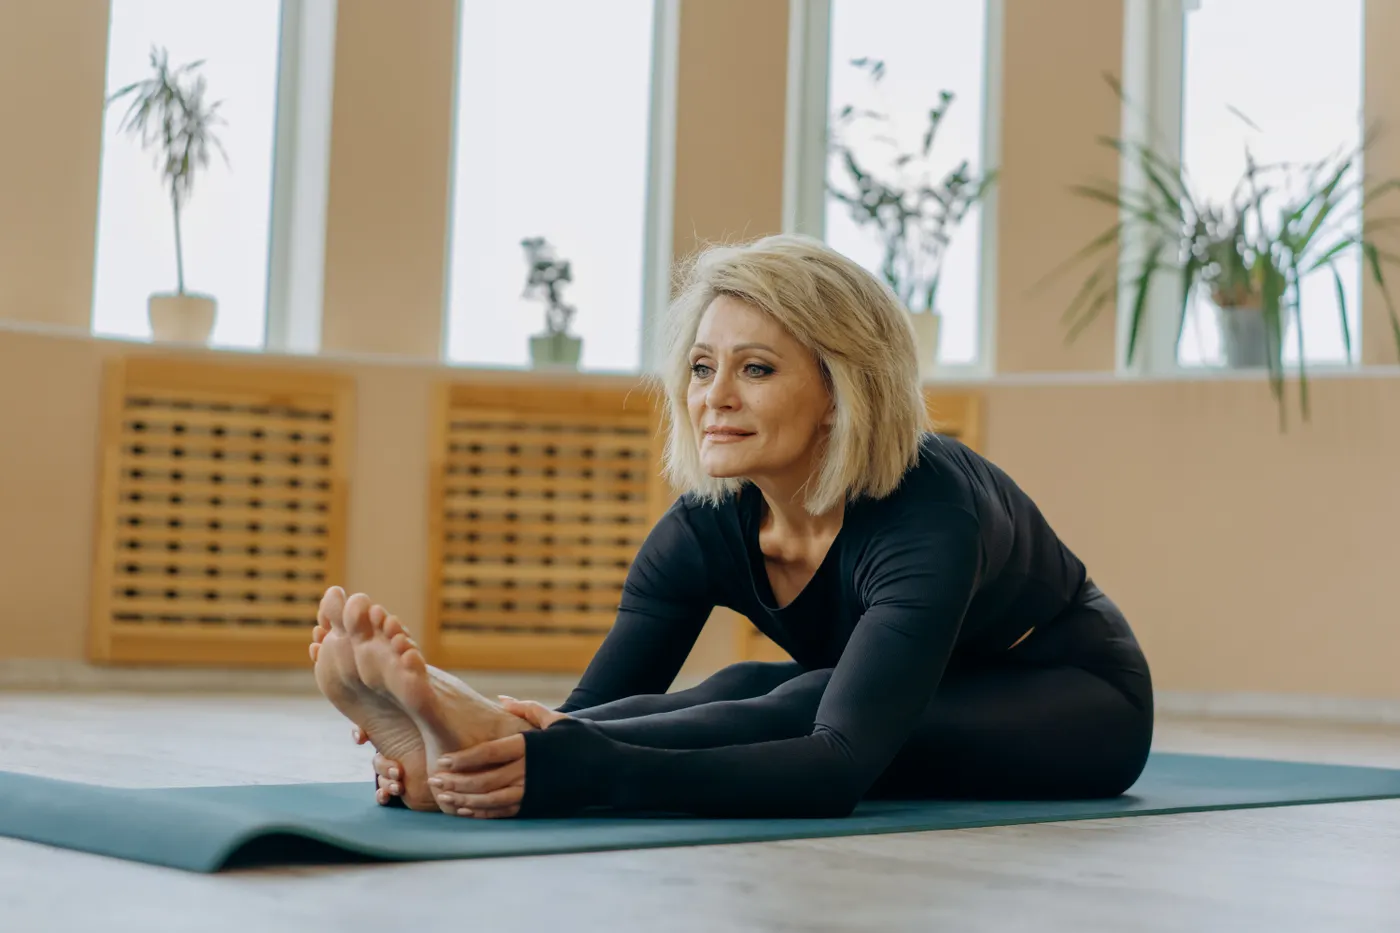
Research supports the general idea that repeated stretching and appropriately loaded strength training can improve joint range of motion. A synthesis of 55 controlled studies found that resistance training increased range of motion, with no clear overall advantage for stretching over resistance training in the comparisons examined. Another synthesis of 41 randomized trials examined different ankle flexibility methods and found that the ranking depended on the outcome and technique. Neither result establishes one perfect mobility routine for every joint or person.
Short dynamic movements are a reasonable warm-up choice because they rehearse motion without the prolonged holds sometimes associated with small temporary performance reductions immediately before explosive tasks. That does not make static stretching useless. Longer holds can be useful when flexibility itself is the goal, especially away from a maximal strength or power attempt. The choice depends on what you are preparing to do.
Week one: Learn the five drills with small, comfortable ranges. Practice three days, record which motions feel restricted and note whether your first exercise feels smoother afterward. Week two: Add a repetition or a slightly longer pause only where control remains good. Week three: Introduce a very light counterweight for the half-kneeling rock if balance and technique justify it; keep other drills easy. Week four: Retest the same squat, overhead reach or controlled trunk rotation you assessed initially, using similar conditions.
Track simple measures: whether you can keep the heel down in a squat, reach overhead without flaring the ribs, or rotate smoothly without discomfort. Do not claim millimeter-level precision from a casual mirror check. If nothing changes, reconsider the drill selection, consistency, technique and the strength demands of the task. More stretching time is not automatically the answer.
Most importantly, mobility training should expand useful options rather than impose one ideal posture. Different bodies can move effectively with different comfortable ranges. Persistent pain, loss of strength, numbness or a sudden restriction deserves professional assessment, not an increasingly aggressive routine. Fifteen minutes is enough to build a repeatable habit; the real payoff comes from practicing controlled movement over weeks and carrying it into training.