Advertising disclosure: This page includes affiliate product links that may earn us a commission, as well as products from our own store.
A machine chest press can be an excellent way to train the pecs, but the machine only works well when it fits your body. Learn how to set the seat and handles, choose a comfortable pressing path, avoid common mistakes and progress for six weeks without chasing meaningless stack numbers.
What the Machine Chest Press Actually Trains
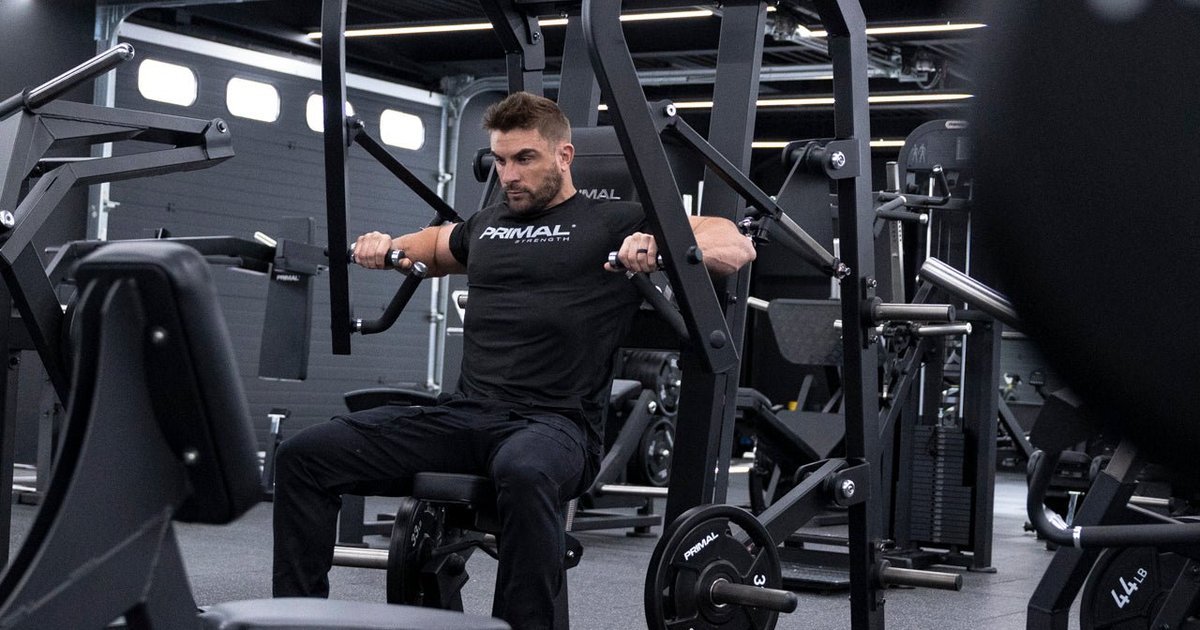
The seated machine chest press is a horizontal pushing exercise built around the pectoralis major, with meaningful help from the triceps and front of the shoulders. The padded backrest supports the torso, while the machine determines much of the pressing path. That makes it easier to repeat the same setup from set to set and can be useful when learning to press, adding chest work after free weights, or training hard without spending as much attention on balancing a bar.
A fixed path does not automatically make a chest press superior for muscle growth. A barbell, dumbbells, cables and different chest press machines can all challenge the pecs when the working sets are difficult enough, range of motion is appropriate and the load progresses over time. No reasonable comparison should treat the machine’s weight-stack number as equivalent to a barbell’s kilograms: pulley ratios, lever lengths, friction and the machine’s resistance curve all affect the challenge.
The chest does not work in isolation. Your elbows extend as the triceps contribute; your upper arm moves forward across the torso as the pecs do much of the pushing; and the front deltoids also participate. More effort from one area during an uncomfortable rep is not proof that the machine is “missing” the chest. Equipment fit, depth, technique and prior fatigue can change what you feel.
Use the machine as a repeatable pressing tool rather than as a shortcut around thoughtful training. The practical aim is to find a comfortable setup in which the handles travel through a productive range, the shoulders tolerate the movement and the target muscles are challenged over several consistent weeks.
Get Seat Height and Starting Depth Right
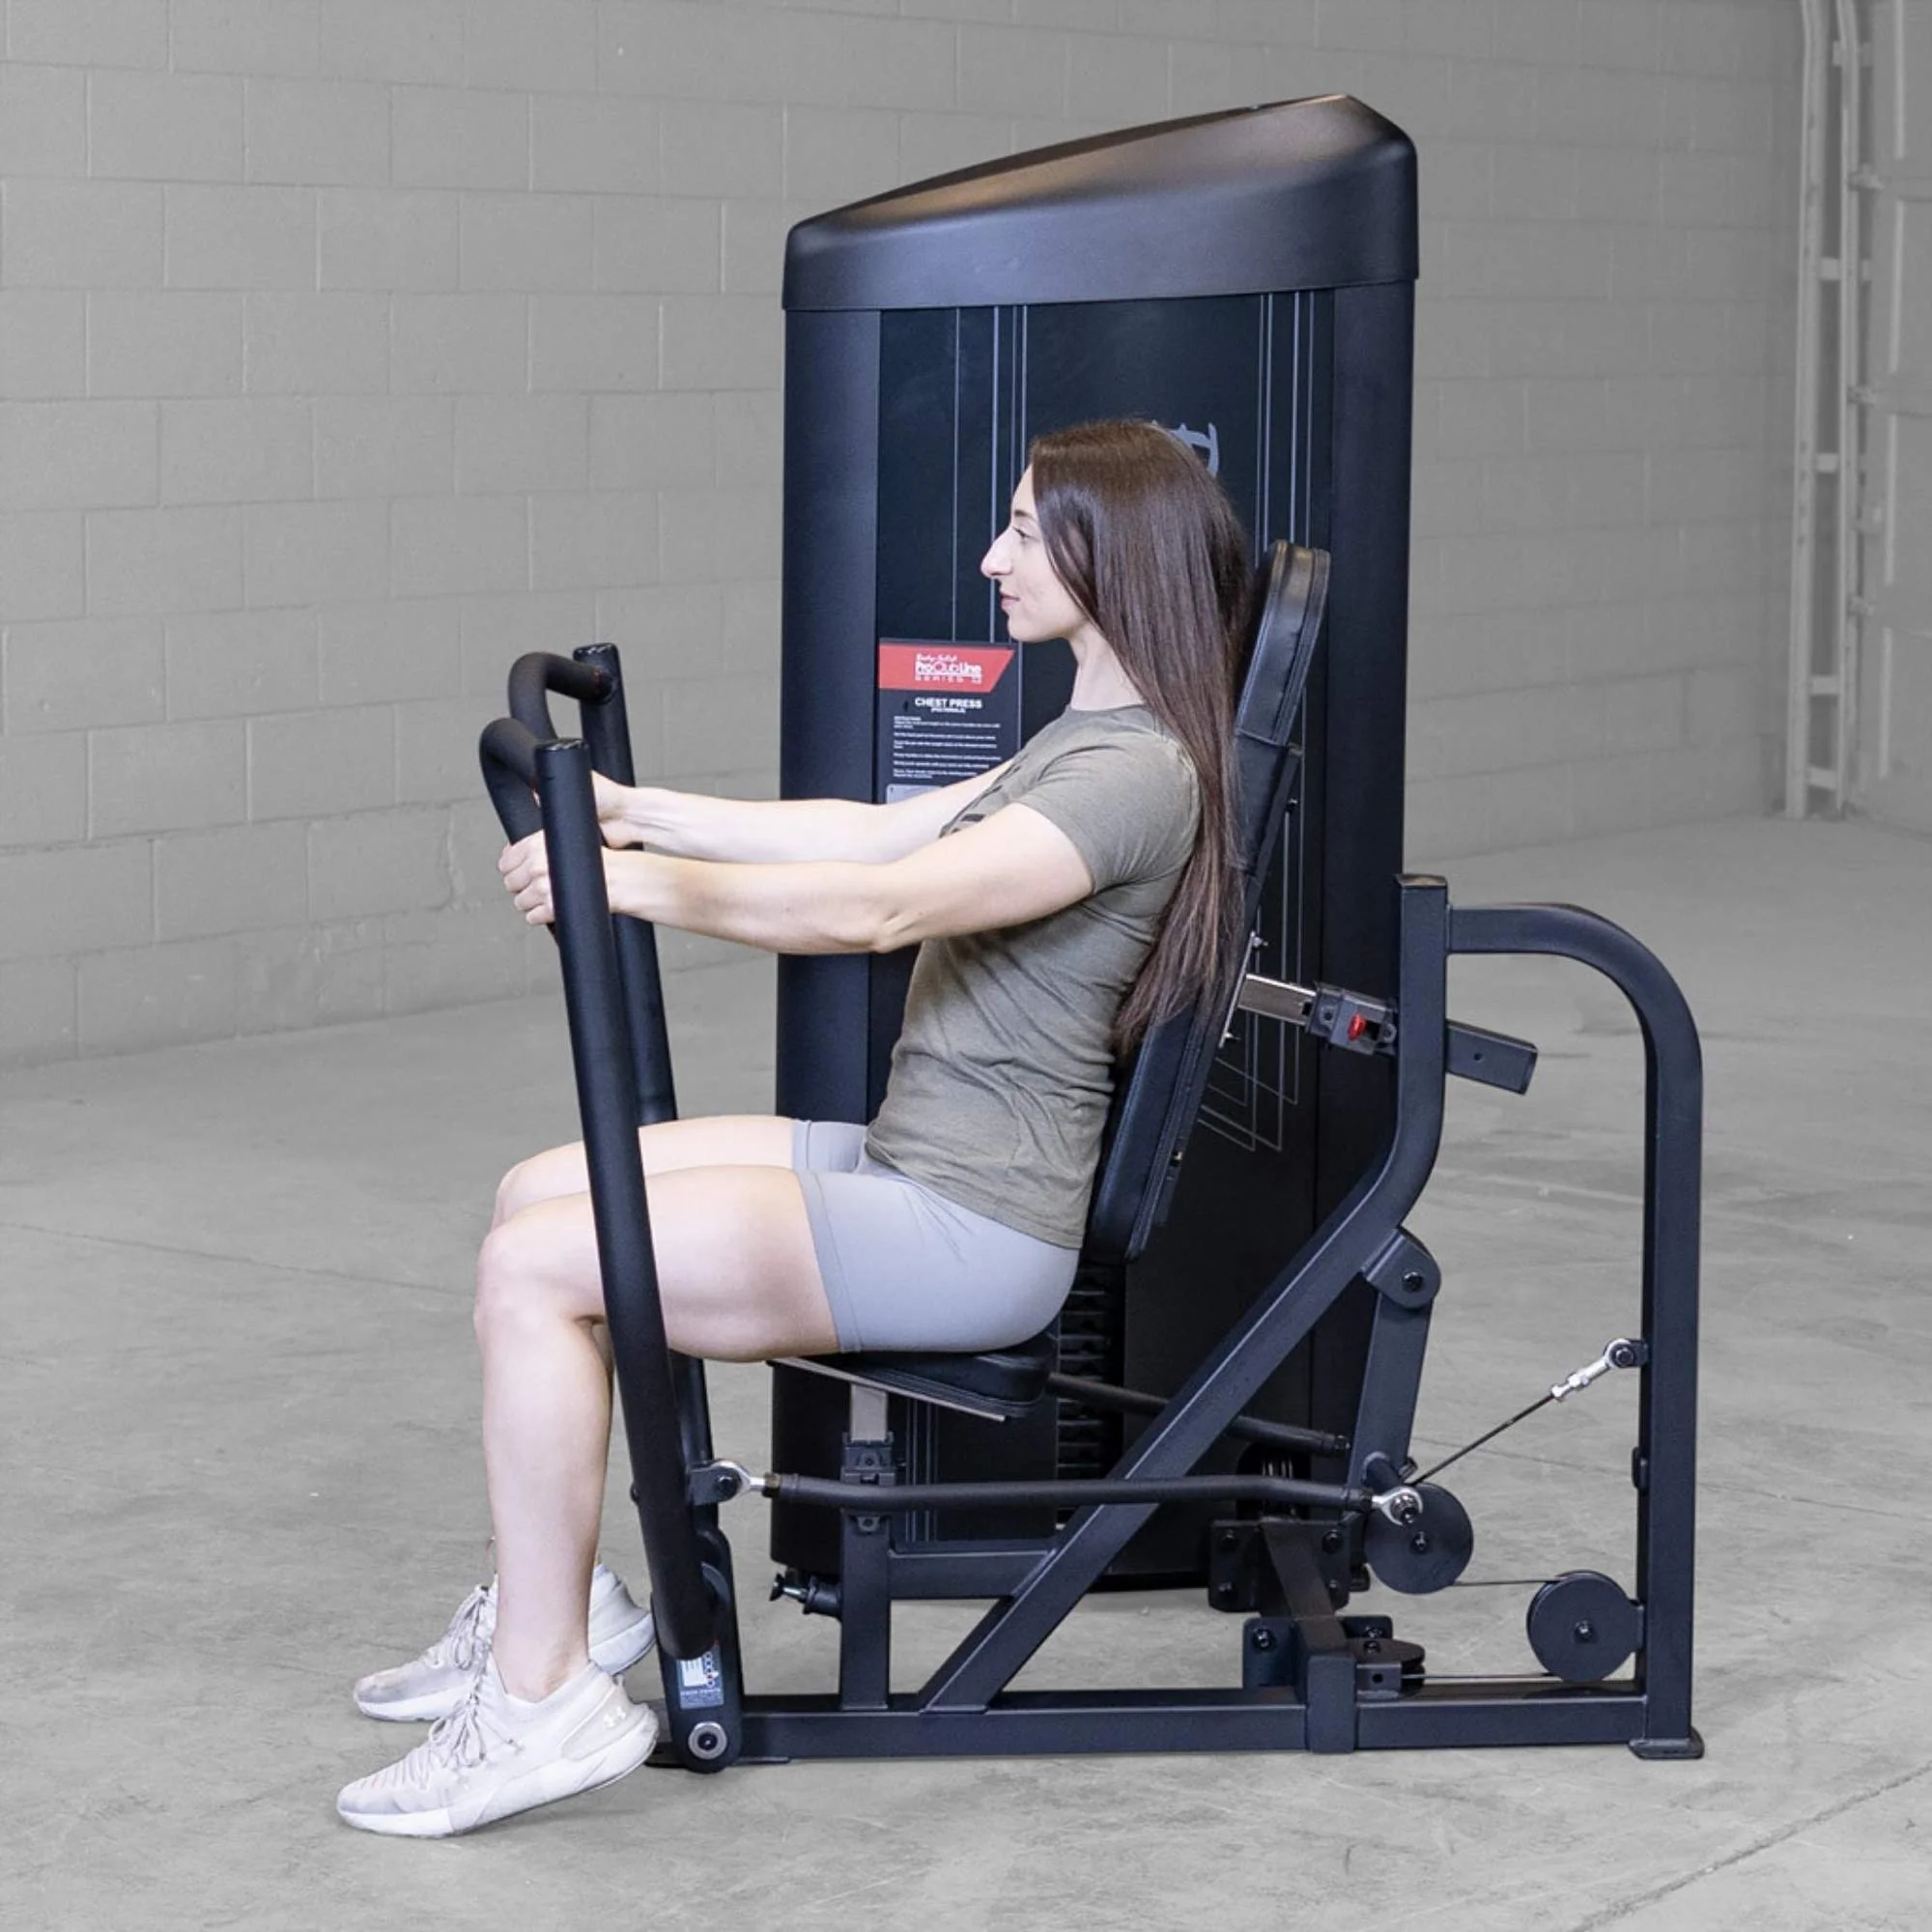
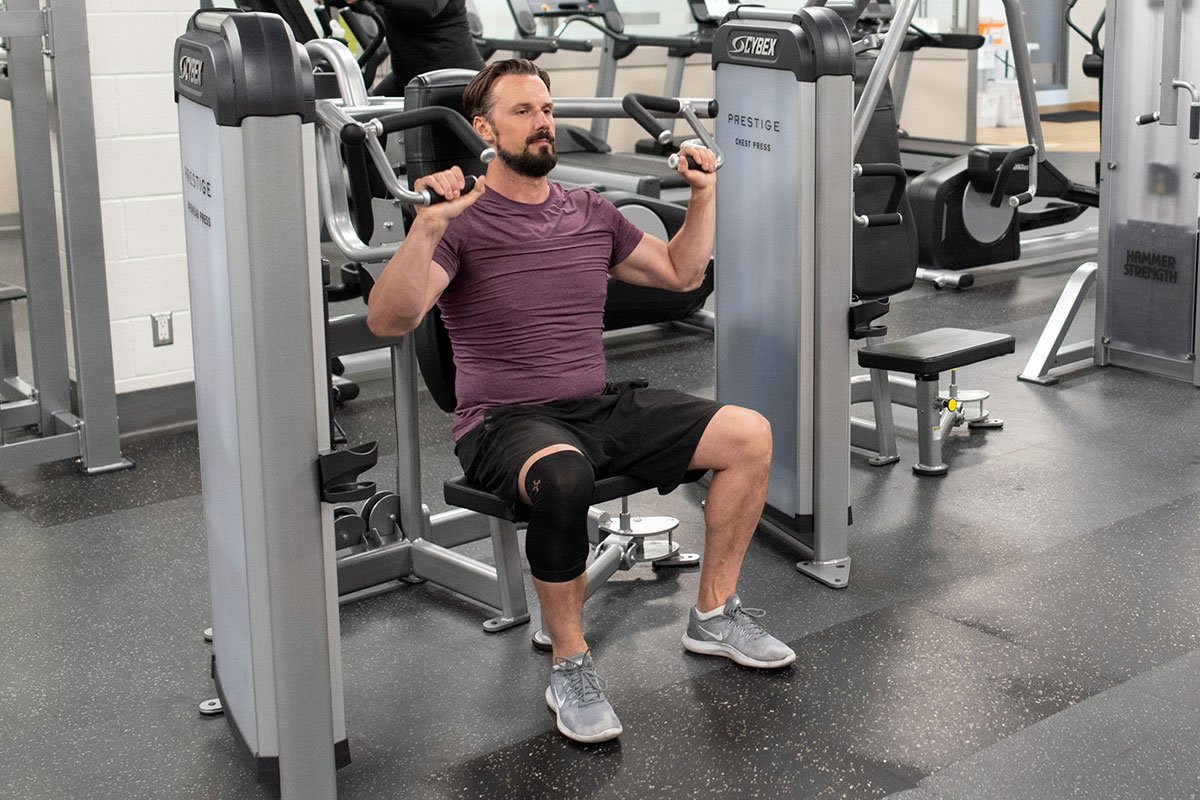
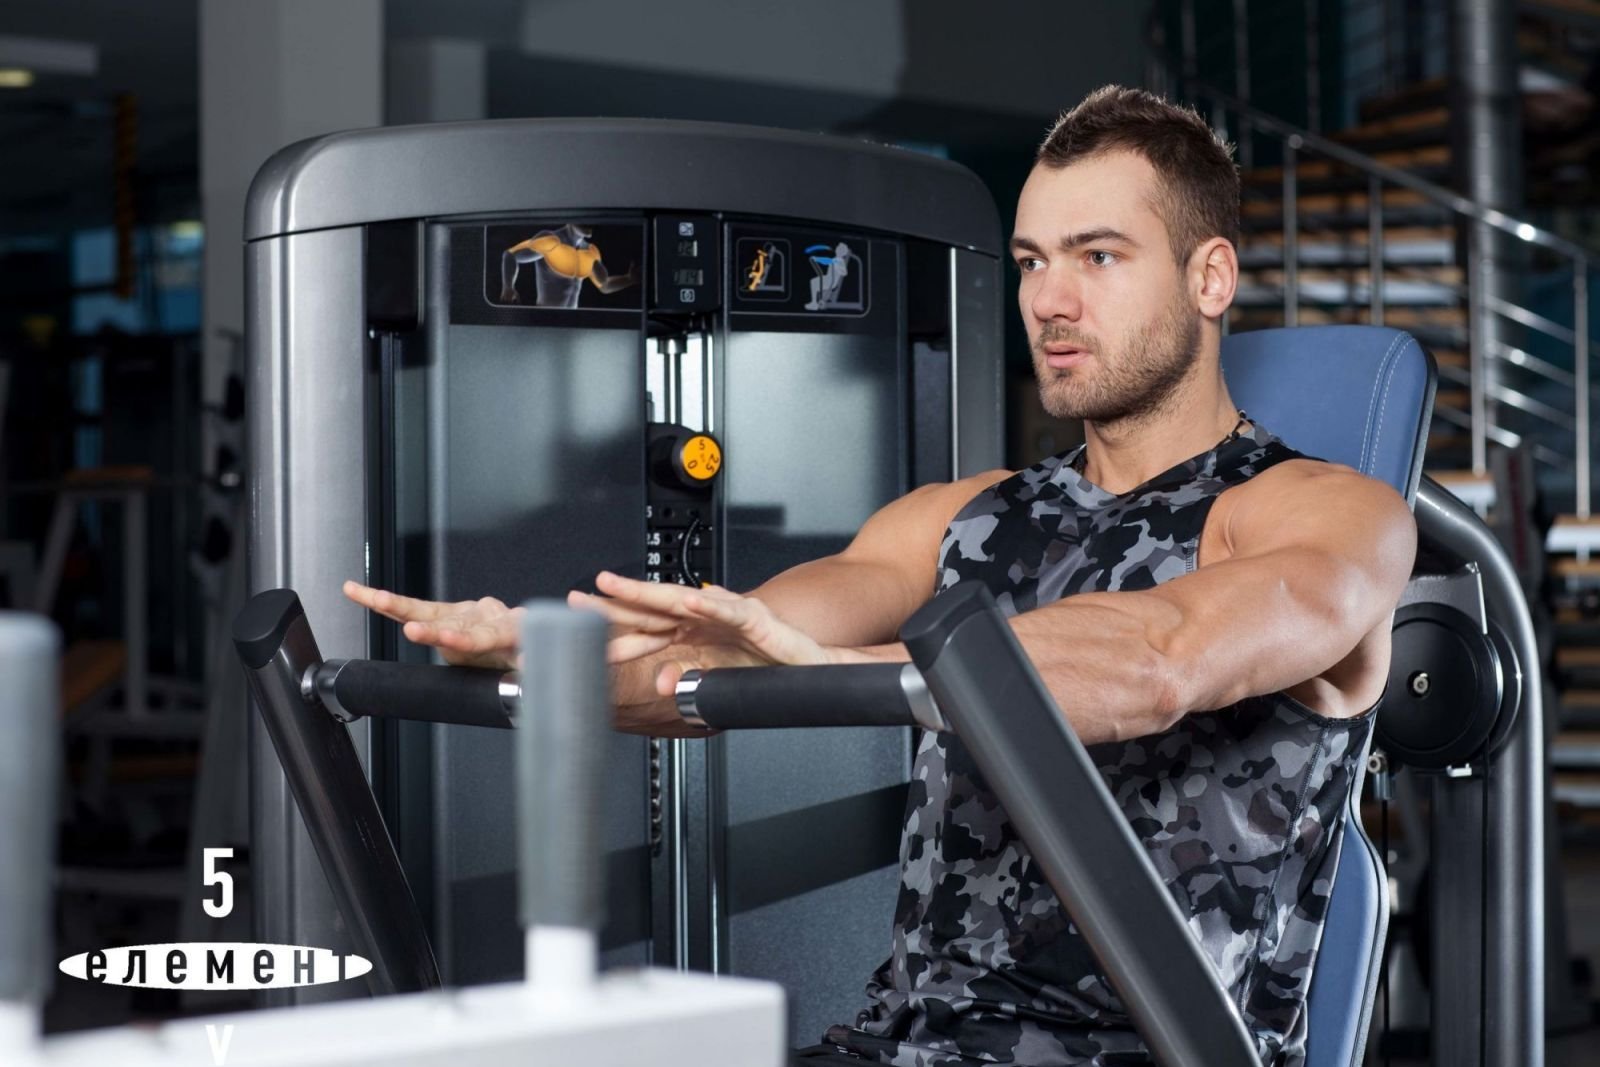
Seat height is the first adjustment to make, before selecting a challenging weight. Sit with your upper back supported and reach naturally for the handles. On a conventional horizontal chest press, they should start approximately level with the middle of your chest rather than at your neck or low near your abdomen. Many machines have a seat pin or a numbered scale: record the setting once you find one that fits.
If the seat is so low that the handles start above your upper chest, the press may feel more like an awkward shoulder movement. If the seat is too high, your hands may travel along an overly downward path. Neither change is a reliable way to isolate a different part of the chest, especially on machines whose arms follow a fixed track. Start with neutral alignment and adjust for comfort rather than chasing an imagined exact muscle-activation percentage.
Starting depth matters just as much. Some selectorized machines allow the press arms to be moved forward before the first repetition. Choose a start position that permits a controlled chest stretch without cranking your elbows far behind your torso. The deepest available setting is not automatically the most effective. People with long upper arms, reduced shoulder mobility or an old injury may need a shallower stop.
Check your feet and backrest after adjusting the seat. Both feet should rest securely on the floor or intended platform; your pelvis and upper back should remain supported. A natural small curve in the lower back is fine, but a dramatic bridge that lifts you away from the seat defeats the purpose of consistent technique. Test two easy repetitions, then select your working load. Small changes in the seat setting are worth noting in your training log because they make future load comparisons fairer.

Funny Gym Shirts & Workout Gear
Funny gym shirts, tanks, hoodies and workout gear for lifters who like training hard.

Kanye Chest Shirt | Bodybuilding Rap Music Parody | Che T-Shirt
Bring “Kanye Chest” humor to your next gym day.


My Bench Press Is Stuck Horror Movie Meme Scary Vest Tank Top
Bring “My Bench Press Is Stuck” humor to your next lifting session.

Shirt: Good Argument But I Bench More Than You – T-Shirt
Make gym days more fun with “: Good Argument But I Bench More Than You” style.

8 Plates Bench Club Meme & Gymbro Top T-Shirt
Make gym days more fun with “8 Plates Bench Club” style.

I Want You To Bench Press Uncle Sam – 4th of July Patri Tank Top
Train hard, laugh a little, and rep “I Want You To Bench Press Uncle Sam”.

I Love Bench Press Gym Decal | Heart Weight Plate Funny Sticker
Put “I Love Bench Press” gym humor on your laptop, bottle, or gym gear.

The Chestfather Arnold Meme Sweater Big Chest T-Shirt
For laid-back days and lifting humor: “The Chestfather”.

If You're Reading This Its Chest Day
Keep things casual with a little “If You're Reading This Its Chest Day Drake” attitude.

Build a Controlled Chest Press Rep
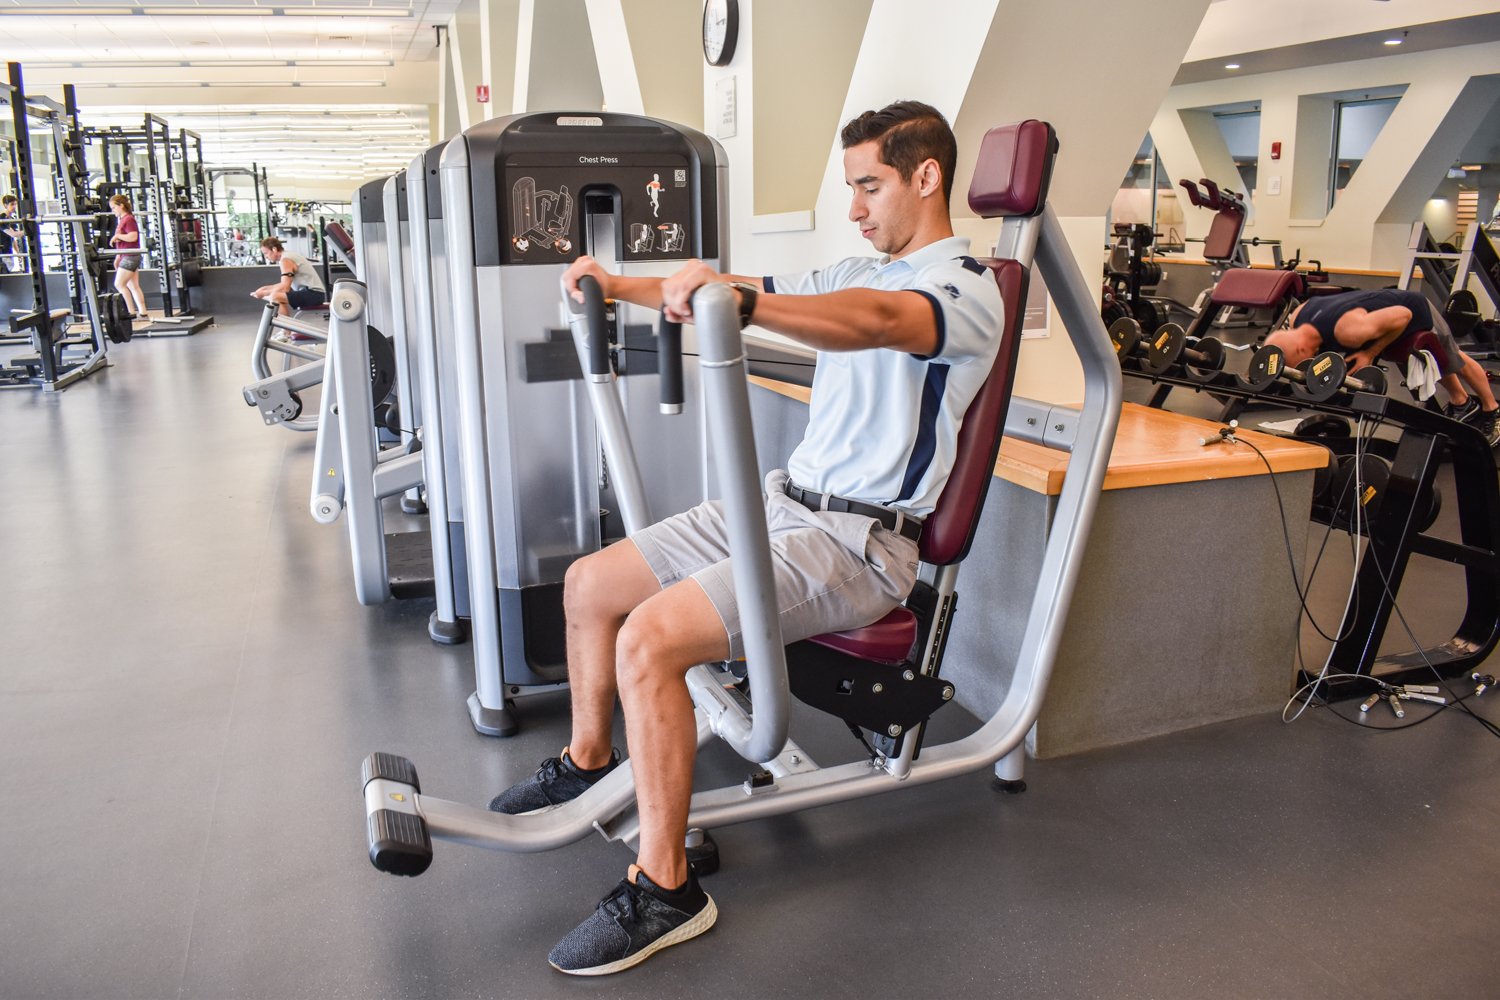
Begin each set by placing your whole back against the pad, anchoring your feet and wrapping your thumbs fully around the handles. Keep your wrists reasonably straight above your forearms rather than allowing the handles to bend the hands backward. Let your shoulders settle down and back into a stable position without trying to immobilize every bit of natural shoulder-blade movement. Maintain that support as the load rises.
Push the handles away smoothly. Think about moving the upper arms forward, not just straightening the elbows, and keep your left and right sides working at approximately the same pace. Depending on the machine’s geometry, the handles may travel straight forward or converge slightly as you press. Neither design requires you to force the hands together or twist at the wrists to create extra motion.
At the finish, extend the elbows to a comfortable point without slamming them into a rigid lockout. You do not need to stop every rep several inches short simply to keep the chest “under tension”; a controlled full range is useful when it feels good. Breathe out through the difficult portion if needed, then inhale as you return. Maintain a firm torso and avoid thrusting the ribs forward each time the resistance becomes demanding.
Lower the handles at a pace that allows you to stay in control. Roughly two seconds is a useful reference, not a mandatory tempo rule. Keep the weight stack from crashing down or resting between repetitions unless your program deliberately uses pauses. If the first few reps look clean but the final rep suddenly involves bouncing, shrugging and shortening the movement, stop the set or reduce the load. High-quality repetitions matter more than a heavy number displayed on the machine.

Equipment Worth Exploring
Explore equipment, accessories and gear from our carefully selected range.
VOLTRA
Compact digital cable trainer with smooth, adjustable resistance.

Go-Tone Pro
Portable digital cable trainer with up to 66 lb (30 kg) of adjustable resistance.

VForce Wall Trainer
Space-saving wall-mounted functional trainer with pivoting cable arms and variable resistance ratios.

VForce 2IN1
Half rack and pivot-arm functional trainer with switchable 1:1 and 2:1 pulley ratios.

VForce 3IN1
All-in-one rack combining an adjustable Smith machine, functional trainer, and free-weight station.

VForce 3IN1 Max
Six-post all-in-one rack with Smith machine, functional trainer, and variable-force cables.


FID Bench MAX
Adjustable bench offering flat, incline, and decline positions + adjustable headrest.


Neutral Handles, Overhand Grips and Independent Arms
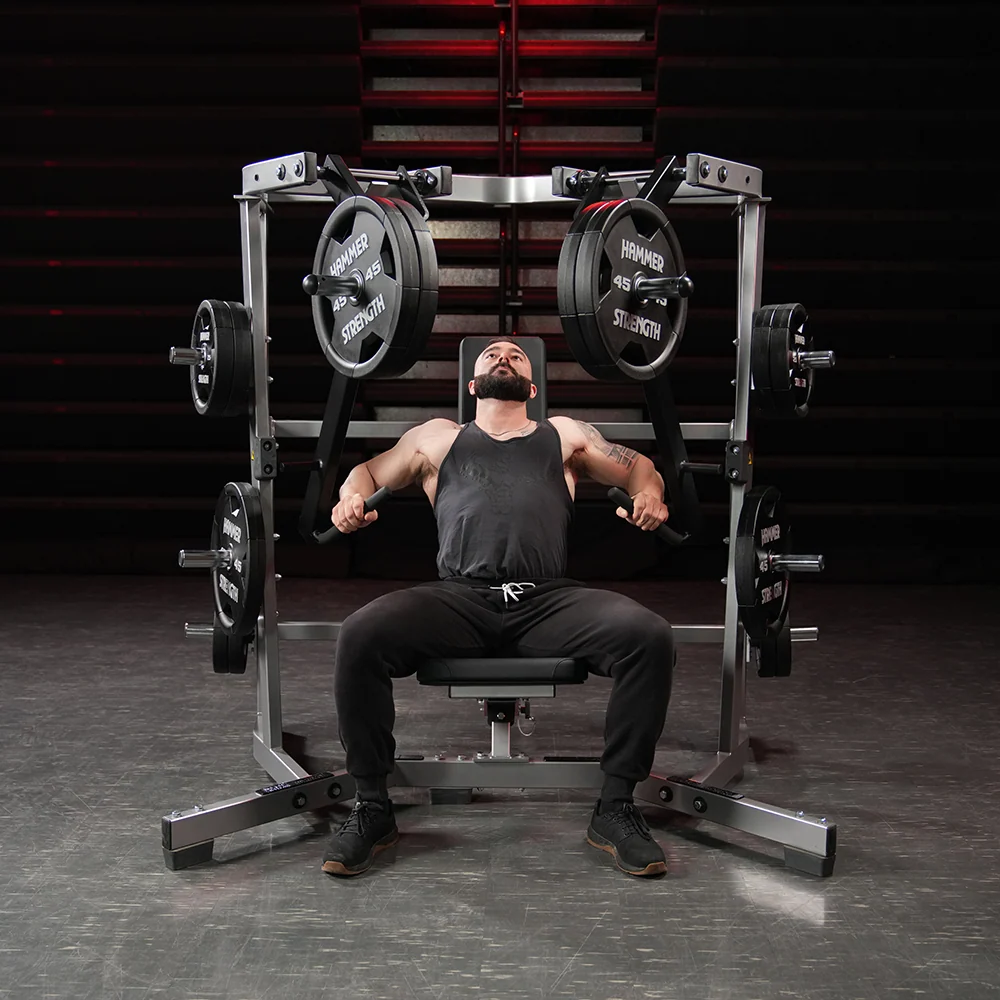
Many chest press machines provide two handle orientations. A horizontal handle usually places the palms down, while a vertical handle typically creates a neutral grip with the palms facing. The neutral option can feel more comfortable for people who prefer the elbows somewhat closer to the torso; an overhand grip may allow a wider elbow path. Both can challenge the pecs. Treat grip as a way to find a comfortable effective movement, not as a guarantee of building a specific hidden chest region.
Elbow position should suit your build and the machine’s path. Excessively flaring the elbows directly to the sides may feel awkward at the bottom, especially with the handles set far behind the chest. Pinning the elbows tightly against the ribs can also create an unnatural line of force. For many lifters, an intermediate arm angle is the easiest place to begin. Keep the hands and elbows tracking together without wrenching the shoulders into the machine’s preferred geometry.
Independent-arm presses allow the handles to move separately. They can reveal a meaningful side-to-side difference in coordination, and they make one-arm work possible on some models. But unilateral training is not automatically required to correct every small difference. If the two arms feel different, first check that the seat is centered, both grips are identical and the loads are symmetrical. Use light practice reps to establish a coordinated movement.
Changing grip or machine type can be worthwhile when a particular arrangement causes discomfort or when training becomes stale. What matters for progression is consistency within a chosen variation. If you switch from neutral to overhand, or between machines with different leverages, treat the first session as a new baseline rather than assuming the same displayed load has the same difficulty.
Selectorized, Plate-Loaded and Converging Press Machines
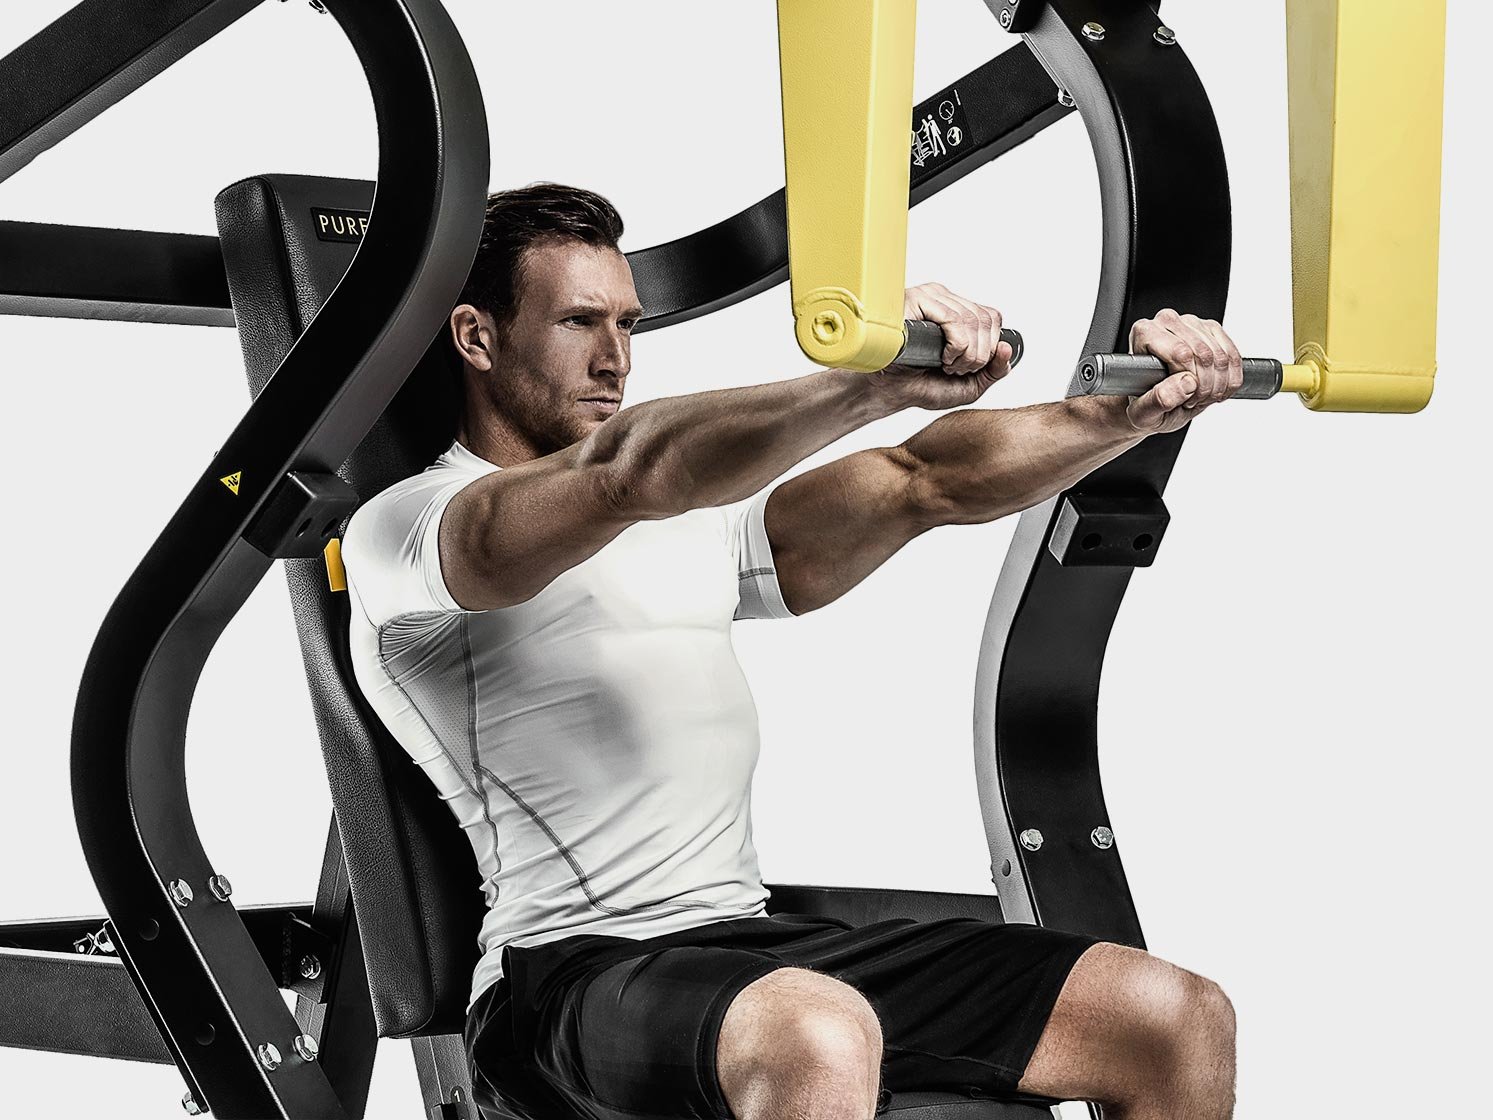
A selectorized chest press uses a weight stack and pin. It is convenient for incremental increases, fast warm-ups and controlled back-off sets. A plate-loaded machine uses barbell plates attached to lever arms. It may have a different arc and starting resistance, and its plate numbers should never be compared directly with those on a cable stack or another brand’s lever machine. Check both sides are loaded equally unless a program calls for unilateral work.
Converging presses move the hands slightly toward the midline as the arms extend. This can feel natural for some people because the pecs help bring the upper arm across the torso. But a converging path is not a universal biological requirement, and a conventional chest press is not inferior simply because the handles travel straighter. Judge the machine by joint comfort, available range, adjustability and whether you can progressively challenge the target muscles.
Incline chest press machines shift the torso or pushing angle. They can be useful complementary movements if your routine lacks an incline press, but individual models vary considerably. Be careful about extrapolating data from a particular incline bench to every differently engineered machine. A low-angle press and an upright shoulder press are distinct patterns; changing the seat height on a horizontal machine is not a reliable replacement for purpose-built incline geometry.
If your gym offers only one chest press, use that one effectively. If your machine has a start-position lever, try a comfortable depth with lighter weights before increasing resistance. If the handles are fixed too far behind you, or if the pad and seat cannot accommodate your dimensions, a dumbbell press or cable press may be a better fit than fighting an awkward mechanism. The best machine for an individual is the one that allows a repeatable, demanding movement without forcing pain.
Bodybuilding Shirts & Workout Gear
Bodybuilding shirts, tanks and gym gear for lifters chasing muscle, size, symmetry and the pump.

for Chest Day | I Love Bench Press Muscle Shirt with Pi Tank Top
Add some lifting attitude to training with “for Chest Day”.


Bench Press and Chill Funny Gym T
Make gym days more fun with “Bench Press and Chill” style.

Ultimate Bench Press Tee
Heavy lifts, good laughs, and a little “Ultimate Bench Press” energy.

Work on His Pecks Tee
Show some bodybuilding attitude with a playful “Why Did The Chicken Go To The Gym? To Work” tee.


The Brick House | Get Built Workout Sweater | LEGO Body T-Shirt
Bring “The Brick House” humor to your everyday gym style.

Jurassic Pump Gym | Dinosaur Muscle Shirt & Bodybuildin Tank Top
Your gym-day look, with a playful “Jurassic Pump” twist.

I Love Bench Press | with Pink Heart Weight Plate Desig Hoodie
Keep it laid-back with a little “I Love Bench Press” attitude.
Seven Mistakes That Make Your Press Less Useful
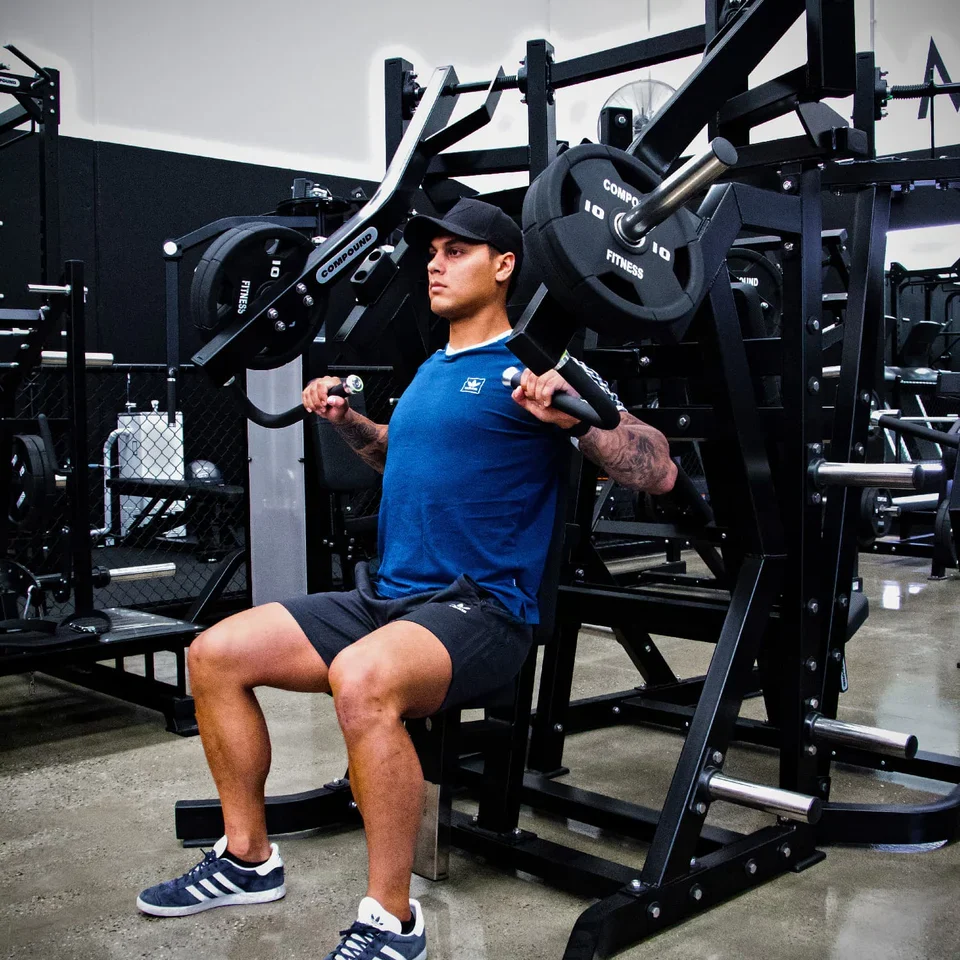
First, guessing the seat height. A setting copied from another person can put the handles at the wrong line for your torso. Reset the seat until the starting grips line up near mid-chest, and note the number. Second, loading the machine before you have tested the starting depth. An extremely deep position with heavy resistance can be unpleasant for the front of the shoulder. Use a lighter trial set to find the comfortable end range.
Third, allowing the wrists to collapse backward. Keep a full thumb-around grip and organize the wrists and forearms in roughly the same pressing line. Fourth, letting the shoulders rise toward the ears as every set gets harder. Maintain a stable upper back and avoid turning the finish into a shrug. Fifth, bouncing the handles out of the stretched position. A brief controlled reversal is more useful than forcing a collision with the machine’s mechanical stop.
Sixth, sliding the hips or chest off the pad to move a weight that is too heavy. Your torso should not become a moving counterweight on a supported chest press. If your back loses contact, reduce resistance or shorten the set. Seventh, treating every workout as a one-rep-max test. Chest growth depends on enough quality hard sets and progressive work over time. Constantly testing maximal single reps on an unfamiliar machine adds noise without necessarily improving the training stimulus.
Discomfort that improves after a small adjustment is different from sharp pain, unusual joint symptoms or pain that persists outside training. Do not work through those warning signs. Stop the movement, try a pain-free alternative and seek individual professional advice when symptoms warrant it. Your log should include machine model, seat position, grip, load, reps and any meaningful discomfort; those notes reveal what actually changes between sessions.
Equipment Worth Exploring
Explore equipment, accessories and gear from our carefully selected range.


Rubber Hex Dumbbells
Rubber-coated hex dumbbell pairs with a stable shape for home and commercial strength training.


Foldable Wall Rack
Wall-mounted folding squat rack designed to save floor space between workouts.

Competition Plates
Competition-style bumper plates for Olympic lifts and loaded strength training.

A Six-Week Machine Chest Press Progression
Train this movement twice weekly with at least a day between the two pressing sessions. If you already perform a lot of bench pressing, incline pressing or hard dips, count those toward your total chest workload rather than automatically adding every set below. The plan assumes you can do comfortable machine reps and have a resistance that allows controlled sets in the eight-to-fifteen-repetition range. It is a practical example, not a promise of a specific muscle-growth result.
In weeks one and two, use two working sets of ten to fifteen reps at each session, with about two or three repetitions left before technical failure. Choose a seat setting, grip and start depth you can repeat. Rest around ninety seconds to two minutes, or a little longer if breathing and performance have not recovered. Record the final clean reps rather than forcing a partial extra repetition after your shoulder position has deteriorated.
In weeks three and four, move to three sets on the first weekly session while keeping two sets on the second, provided recovery and the rest of your routine allow it. Try to add one or two repetitions across the working sets with the same load while preserving the same movement and seat position. When every set reaches the top of your chosen range, increase the resistance by the machine’s smallest convenient increment and accept that reps may drop back toward the bottom of the range.
In weeks five and six, maintain the three-set plus two-set structure and aim for another small improvement. The last set can finish around one or two good reps short of failure when technique remains steady, but there is no requirement to grind through joint pain. If fatigue accumulates or performance stalls despite adequate rest, reduce a set or make a smaller load increase. Finish by comparing week six with week one on the same machine and settings. Add a horizontal row or pulldown elsewhere in the week to balance pressing with pulling. Improvement here means more controlled resistance or reps over time—not a special grip, magic seat number or dramatic single-session pump.