Advertising disclosure: This page includes affiliate product links that may earn us a commission, as well as products from our own store.
Jump Rope Length and Double-Unders: Better Timing, Less Wasted Effort
When double-unders keep breaking at the second pass, it is tempting to jump higher or move the arms faster. Neither fixes a cable that is too long, hands that drift outward or a first rotation that arrives at the wrong moment. The skill starts with rope length, but it is finished by repeatable timing.
This guide explains how to fit the cable, build clean single unders, practice the two-pass jump, choose a rope and use short conditioning sessions without overwhelming your calves. The four-week sample plan is a practical progression, not a promise of a particular score.
Fit rope length to the clearance above your head
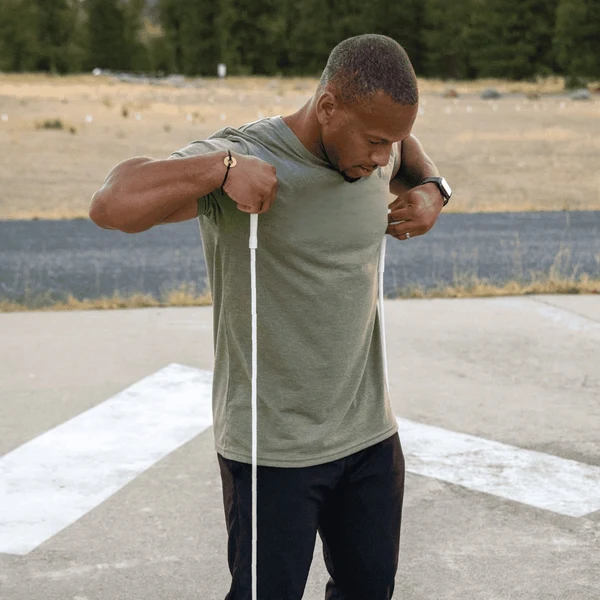
A jump rope does not have one perfect length for every person of the same height. Your hand position, jump height, cable stiffness and intended skill change the path the rope must travel. A beginner learning steady single unders can use more margin than an experienced athlete trying to complete two rotations with minimal extra effort. The useful measurement is how the rope behaves while you actually jump, not where the handles reach when you stand still.
Start by stepping on the middle of the cable with one foot and raising the handles along your body. That static test provides a first setting; it is not a final prescription. With the handles near your hips and slightly forward, try several easy jumps while someone watches from the side or you record a video. Look at the highest point of the rope above your head. Excessively large clearance often means more cable to accelerate and a wider, slower arc. Too little clearance causes frequent contact even with reasonable technique.
For efficient double unders, a practical advanced reference is roughly 10–20 cm of clearance above the head. General fitness jumping commonly uses more room. These are adjustable starting references, not a promise that every novice can immediately use the shorter setting. Shorten the cable gradually, retest for 15–20 smooth singles, and leave enough tolerance to keep your elbows and hands in a comfortable position. If your arms keep spreading to survive the rope, evaluate hand position before cutting again.
Make single-under jumps quiet and consistent
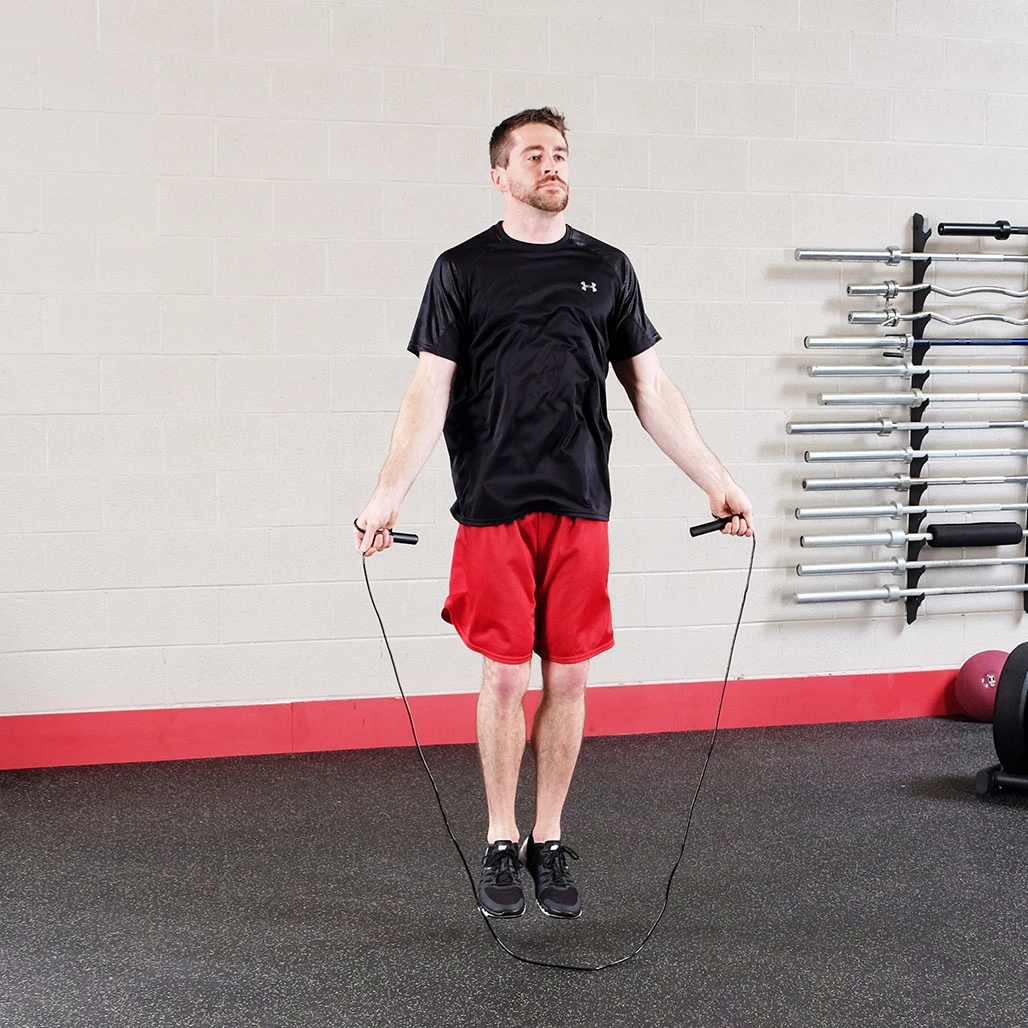
A good single under looks boring: a steady posture, small repeated jumps, and a cable that clears the feet without the shoulders doing all the work. Keep your eyes forward, ribs stacked over your pelvis, and elbows relaxed near your sides. Let the rope turn primarily from the wrists and hands. Your forearms can follow naturally, but big windmill circles usually waste energy and make each rotation harder to time.
Think about leaving the ground just enough for the rope to pass. Land softly on the front or middle of the feet and let the knees bend slightly. Do not deliberately lock your knees, whip the heels high behind you or fold sharply forward to clear the cable. If a double under requires an enormous jump, the limiting factor may be cable speed rather than leg power. Keep the torso quiet so that your normal training posture is recognizable across the set.
Test your baseline with four sets of 20–30 seconds of easy single unders, resting 30–60 seconds between sets. Stop the set after repeated clips, then resume with a shorter clean effort. Record the longest uninterrupted run and whether your hands stayed close to your hips. An uninterrupted 40-second rhythm tells you more about readiness for double unders than one exhausting minute spent recovering from constant tangles.

Equipment Worth Exploring
Explore equipment, accessories and gear from our carefully selected range.


Cast Iron Kettlebells
Textured cast-iron kettlebells for swings, squats, carries, and full-body training.

Competition Wall Ball
Competition-style weighted wall ball for HYROX, wall-ball shots, and functional conditioning.

Slam Ball
Low-bounce weighted slam ball for explosive throws and high-intensity conditioning.


Powerbeats Fit
Secure-fit wireless workout earbuds with active noise cancellation and a charging case.


Build the double-under with wrists and timing
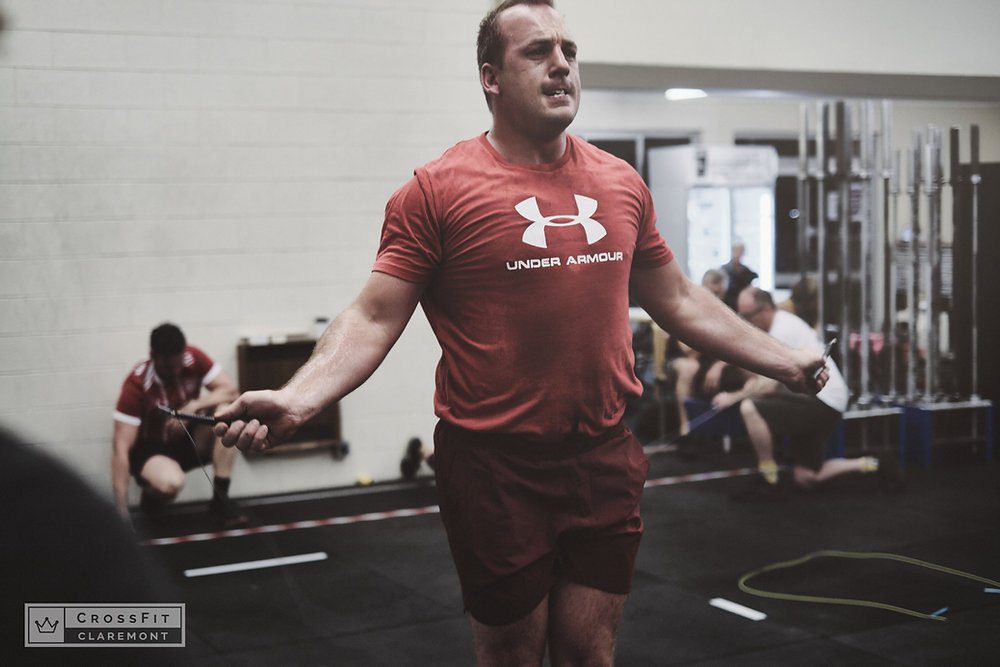
A double under is one jump with two complete rope passes under the feet. The second rotation does not come from violently pulling the knees to the chest. It comes from pairing a slightly higher, predictable jump with a quicker wrist-driven rotation. Aim to keep the body tall throughout the flight. Try a sequence of controlled single unders, then make just one jump high enough for a double and return to a single. Alternating prevents the whole session from becoming an all-or-nothing attempt at a long string.
Use a progression you can diagnose: ten easy singles, one deliberately higher single, then one double-under attempt. Another option is a short no-rope drill in which you jump and tap the sides of your thighs twice before landing; it rehearses the tempo but does not replace cable practice. Start the faster wrist action as you leave the floor. The exact cue can vary with rope weight and athlete timing, so observe whether your cable arrives underfoot too early, too late or not at all.
Trips are feedback, not a reason to jump higher every time. If the cable hits the toes on the second pass, review the rope length and wrist speed. If it tangles at the first pass, go back to steady single-under timing. If your shoulders burn before the calves, relax your upper arms and bring the hands closer to the hips. Practice single successful doubles with clean restarts before attempting consecutive reps.

Cardio Shirts & Workout Gear
Cardio and conditioning gym gear for runners, endurance athletes and anyone who earns the sweat.

Jump Rope Wonder Woman Tee
Show some superhero attitude with a playful “Jump Rope Wonder Woman” tee.

Anti Jump Rope Club Shirt Cardio Meme Top & Gymbros T-Shirt
Rep “Anti Jump Rope Club” humor in and out of the gym.

Hero Jump Rope Cardio Speed Flash Inspired Gym Pullover Hoodie
Keep it laid-back with a little “Gym Hero Jump Rope Cardio Speed” attitude.

Skip Cardio Exit Cardio Meme Hooded Hoodie
Keep it laid-back with a little “Skip Cardio” attitude.

Cardio Sucks Shirt Meme & Gymbros Top T-Shirt
Make gym days more fun with “Cardio Sucks” style.

Death By Cardio Shirt Meme & Top T-Shirt
Bring “Death By Cardio” humor to your next gym day.

Cardio Is Calling You , Meme Top Answer Or Decline? T-Shirt
Make gym days more fun with “Cardio Is Calling You” style.

The Flasher Superhero Cardio Meme Decal Workout for Gym Sticker
Give your everyday gear a playful “The Flasher” twist.

Anti Club Shirt Meme & Top T-Shirt
Make gym days more fun with “Anti Exercise Exercise Club” style.

Shirt – Don'T Quit Do It – Meme & Gains T-Shirt
Show some lifting attitude with a playful “Don't Quit Do It” tee.
Choose a rope that lets you feel each rotation
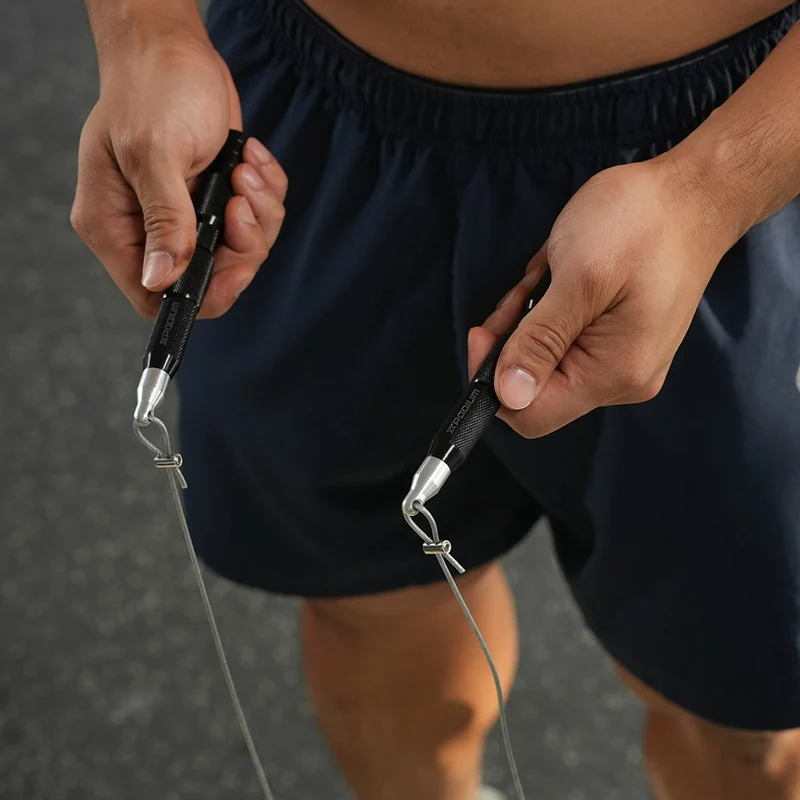
Ropes designed for conditioning do not all behave alike. A thicker PVC cord tends to give clearer feedback about where the rope is traveling. An ultralight coated-wire speed cable usually turns faster once you already know the rhythm, but it may be frustrating when you cannot sense the second pass. Handle shape, pivot angle, bearing smoothness and how securely the cable adjusts can also matter. The best starting rope is one you can control and resize without destroying the cable.
Before buying another rope, check the one you own. Make sure the cable is not kinked, the attachment points are intact, both handles rotate without binding, and the length is symmetrical. Compare how it feels over ten clean singles and ten attempted doubles. Do not assume an expensive handle fixes timing errors. If you use an abrasive floor, inspect cable wear frequently and use a suitable durable surface rather than expecting thin speed cable to last indefinitely.
Footwear and space matter too. Clear a comfortable perimeter around you, check overhead lights and fans, and ensure the surface is stable and not slippery. Shoes that allow secure repeated landing are more useful than chasing the lightest model. When the goal is a short skill session, select the rope that makes feedback easiest; when the goal is timed conditioning, select a version you can sustain consistently without sacrificing your jump pattern.
Turn rope practice into useful conditioning
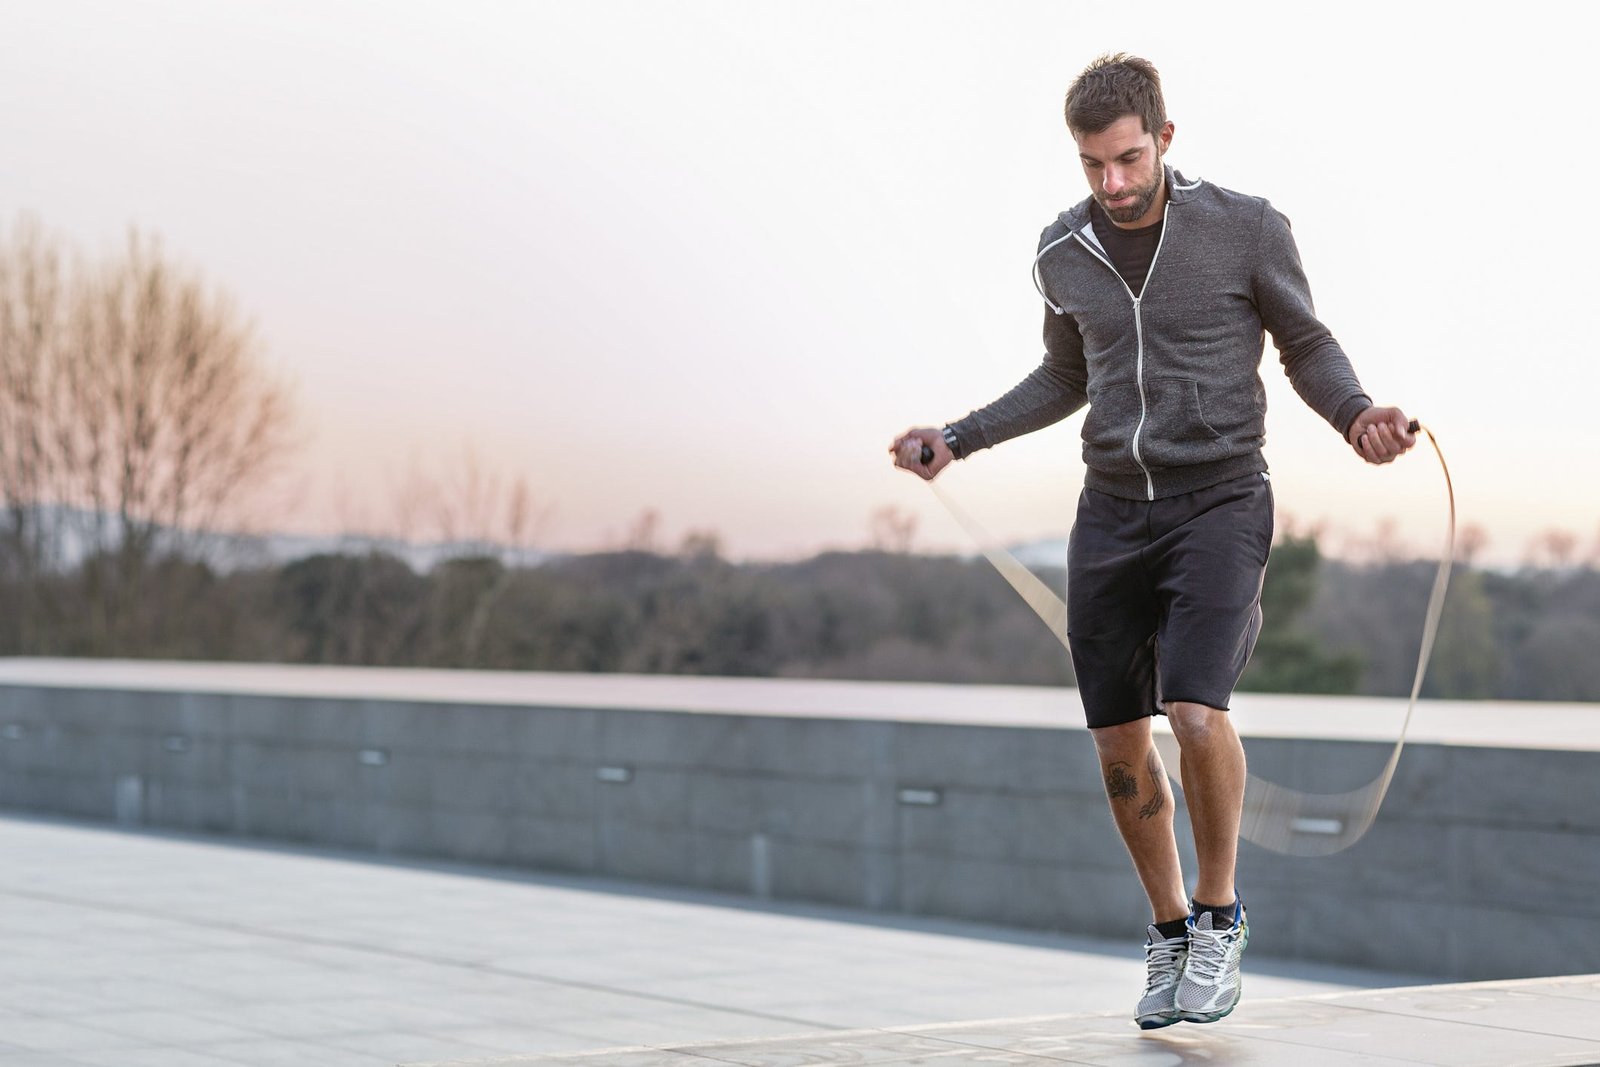
Jump rope can work as a conditioning tool beside strength training without becoming a punishment for a missed workout. The limiting factors differ by person: some run out of breath, others lose timing, and beginners may notice their calves and feet first. Count quality intervals rather than only total jumps. The goal is to finish with enough coordination to train again, not to turn every session into a maximum-effort test.
For a short cardio session, try six rounds of 30 seconds of steady singles and 60 seconds of walking rest. Increase the work interval to 40–45 seconds only after trips become occasional and landing quality stays stable. A stronger athlete can alternate 20 seconds of rope work, 40 seconds of kettlebell swings or bodyweight squats, and 60–90 seconds of recovery. Choose a load and repetition count that keep movement safe; the rope should not force rushed lifting under fatigue.
These are example training recipes, not a trial-backed guarantee of cardiovascular adaptation. For lifters who already squat, sprint and jump, schedule rope volume around those demanding sessions. Two short exposures each week often make it easier to practice good form than one long session that produces sloppy rebounds. If you want to track improvements, note completed work intervals, unbroken singles or doubles, and how quickly breathing settles before the next round.
Equipment Worth Exploring
Explore equipment, accessories and gear from our carefully selected range.


Rubber Hex Dumbbells
Rubber-coated hex dumbbell pairs with a stable shape for home and commercial strength training.


Power Tower
Freestanding pull-up and dip station with adjustable handles for bodyweight training.


Open Hex Bar
Open-frame trap bar with multiple handles for deadlifts, carries, and lower-body training.


A four-week progression from clean singles to strings
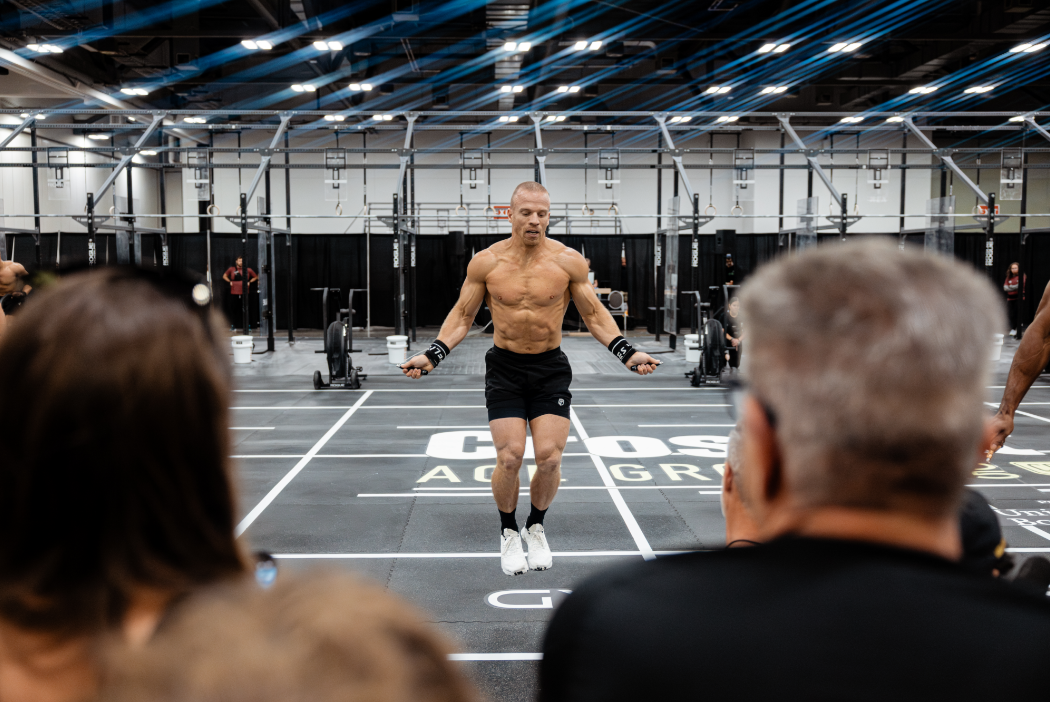
Progress jump-rope skill the way you would a lift: choose a measurable standard, add one stressor at a time and repeat enough clean attempts to know whether you improved. This four-week outline assumes you can tolerate gentle jumping and have access to a rope with an adjustable, suitable length. If you are new to impact exercise, use shorter efforts and more recovery; if you can already link doubles, begin at a later step.
Week one: complete two or three brief sessions of five sets of 20–30 seconds of singles, resting a full minute. Adjust cable length and make hand position consistent. Week two: keep the same easy warm-up, then add five sets of one higher single followed by one attempted double, with generous resets. Week three: aim for three to five clean single-double-single sequences per set and avoid chasing a record after repeated misses. Week four: begin three to five sets of doubles in pairs, then move toward strings of three to five only if landings remain quiet.
Use a simple log with cable setting, clean consecutive singles, successful doubles, total deliberate attempts and calf comfort the next morning. Improvement is not always linear; cable wear, fatigue, surface and concentration change results. If the last session left your lower legs unusually sore, repeat the easier stage rather than forcing the weekly target. This is a technical progression, not a requirement to do more impact work every week.
Troubleshoot missed jumps, fatigue and sore calves
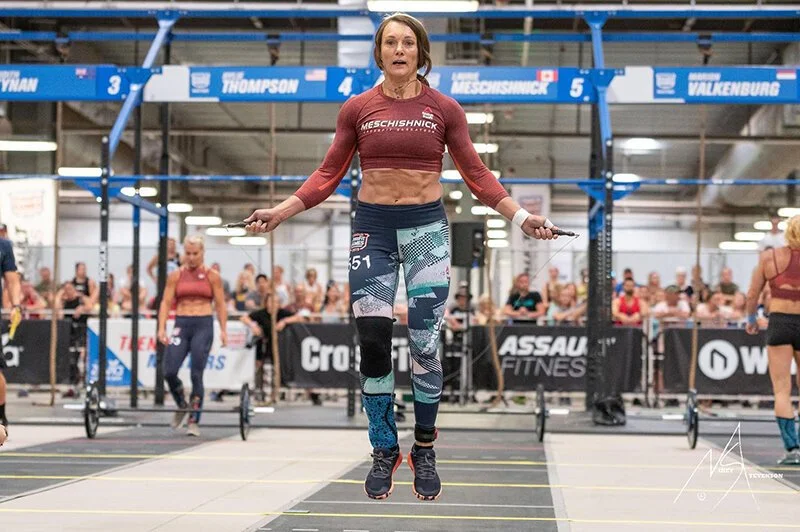
Most rope problems are easier to diagnose when you change only one variable. If the cable brushes the hair or head, lengthen it slightly or bring the hands back toward their normal position before attempting faster rotations. If it hits the toes, check whether the hands drifted outward, the feet kicked back or the rope was slowed by oversized arm circles. If one side of the rope repeatedly clips a shoe, look for unequal cable length and uneven handle placement.
Watch your jump pattern on video from the side. A hard landing can mean excessive jump height, fatigue, a surface that does not suit repeated jumping or an attempt to compensate for slow rotations. A gentle knee bend on landing and controlled ankle stiffness can be useful cues, but no single landing style eliminates the risks of repetitive impact. Gradual exposure matters more than trying to copy an advanced athlete’s volume immediately.
If shin, ankle, foot or Achilles pain appears rather than normal transient effort, stop the painful drill and lower volume or switch to lower-impact conditioning. Persistent or worsening symptoms deserve assessment rather than more aggressive rope practice. Return to the easiest controlled pattern after symptoms settle. A successful session is one in which technique remains repeatable, the rope behaves predictably and you can return next time without needing days to recover from a ten-minute skill drill.
Functional Fitness Shirts & Workout Gear
Functional-fitness shirts, tanks and workout gear for athletes who train strength, conditioning and everything in between.

Kettlebell Heart X-Ray – Valentine's Workout Jumper Pul T-Shirt
Keep things casual with a little “Kettlebell Heart X-Ray” attitude.

Dia De Los Muertos Kettlebell – Day of the Dead Workout Hoodie
Stay casual and show some lifting attitude with “Dia De Los Muertos Kettlebell”.

Strawberry Kettlebell – Kettlebell Meme Jumper Pullover T-Shirt
Bring “Strawberry Kettlebell” humor to your everyday gym style.

Pancake Kettlebell – Breakfast Gains Meme Vest Muscle S Tank Top
Bring “Pancake Kettlebell” humor to your next lifting session.

Heavy Metal Gym – Funny Kettlebell Rock Music Decal for Sticker
Put “Heavy Metal” gym humor on your laptop, bottle, or gym gear.

Cheeseburger Kettlebell – Burger Swings Meme Decal for Sticker
Stick a little “Cheeseburger Kettlebell” humor on your favorite gear.

Hells Kettlebells Hells Bells Parody AC/DC Heavy Metal T-Shirt
Add a playful “Hells Kettlebells” touch to your casual rotation.

Slim Shady Kettlebell Tee
Bring “Slim Shady Kettlebell Rap God” humor to your next gym day.

Super Kettlebell Hooded Pullover Superman Kettlebell Tr Hoodie
Stay casual and show some superhero attitude with “Super Kettlebell”.

Blue Macaroon Kettlebell – Whimsical Fitness Meme Vest Tank Top
Add some lifting attitude to training with “Blue Macaroon Kettlebell”.
Keep rope length adjustable until your jump, hand position and rhythm stay consistent. Clean singles are a foundation, not a failure to progress. A controlled string of doubles is worth more than an exhausting series of rushed attempts.