The half-kneeling landmine press looks simple: one knee on the floor, one end of a barbell in your hand, then press. Yet two lifters using the same plate can experience completely different movements. The distance to the anchor, the knee that stays down, the grip on the sleeve and the position of the ribs all change how the force reaches the shoulder.
That makes the setup worth learning before adding weight. An angled press can be a useful bridge between horizontal pressing and a straight overhead press, especially in a small home gym. It is not automatically safer, more effective or pain-free for everyone. What matters is a stable anchor, a comfortable path and repeatable technique. Here is a practical way to build those conditions and progress the exercise without turning it into a balancing contest.
Why the angled press deserves a place in your program
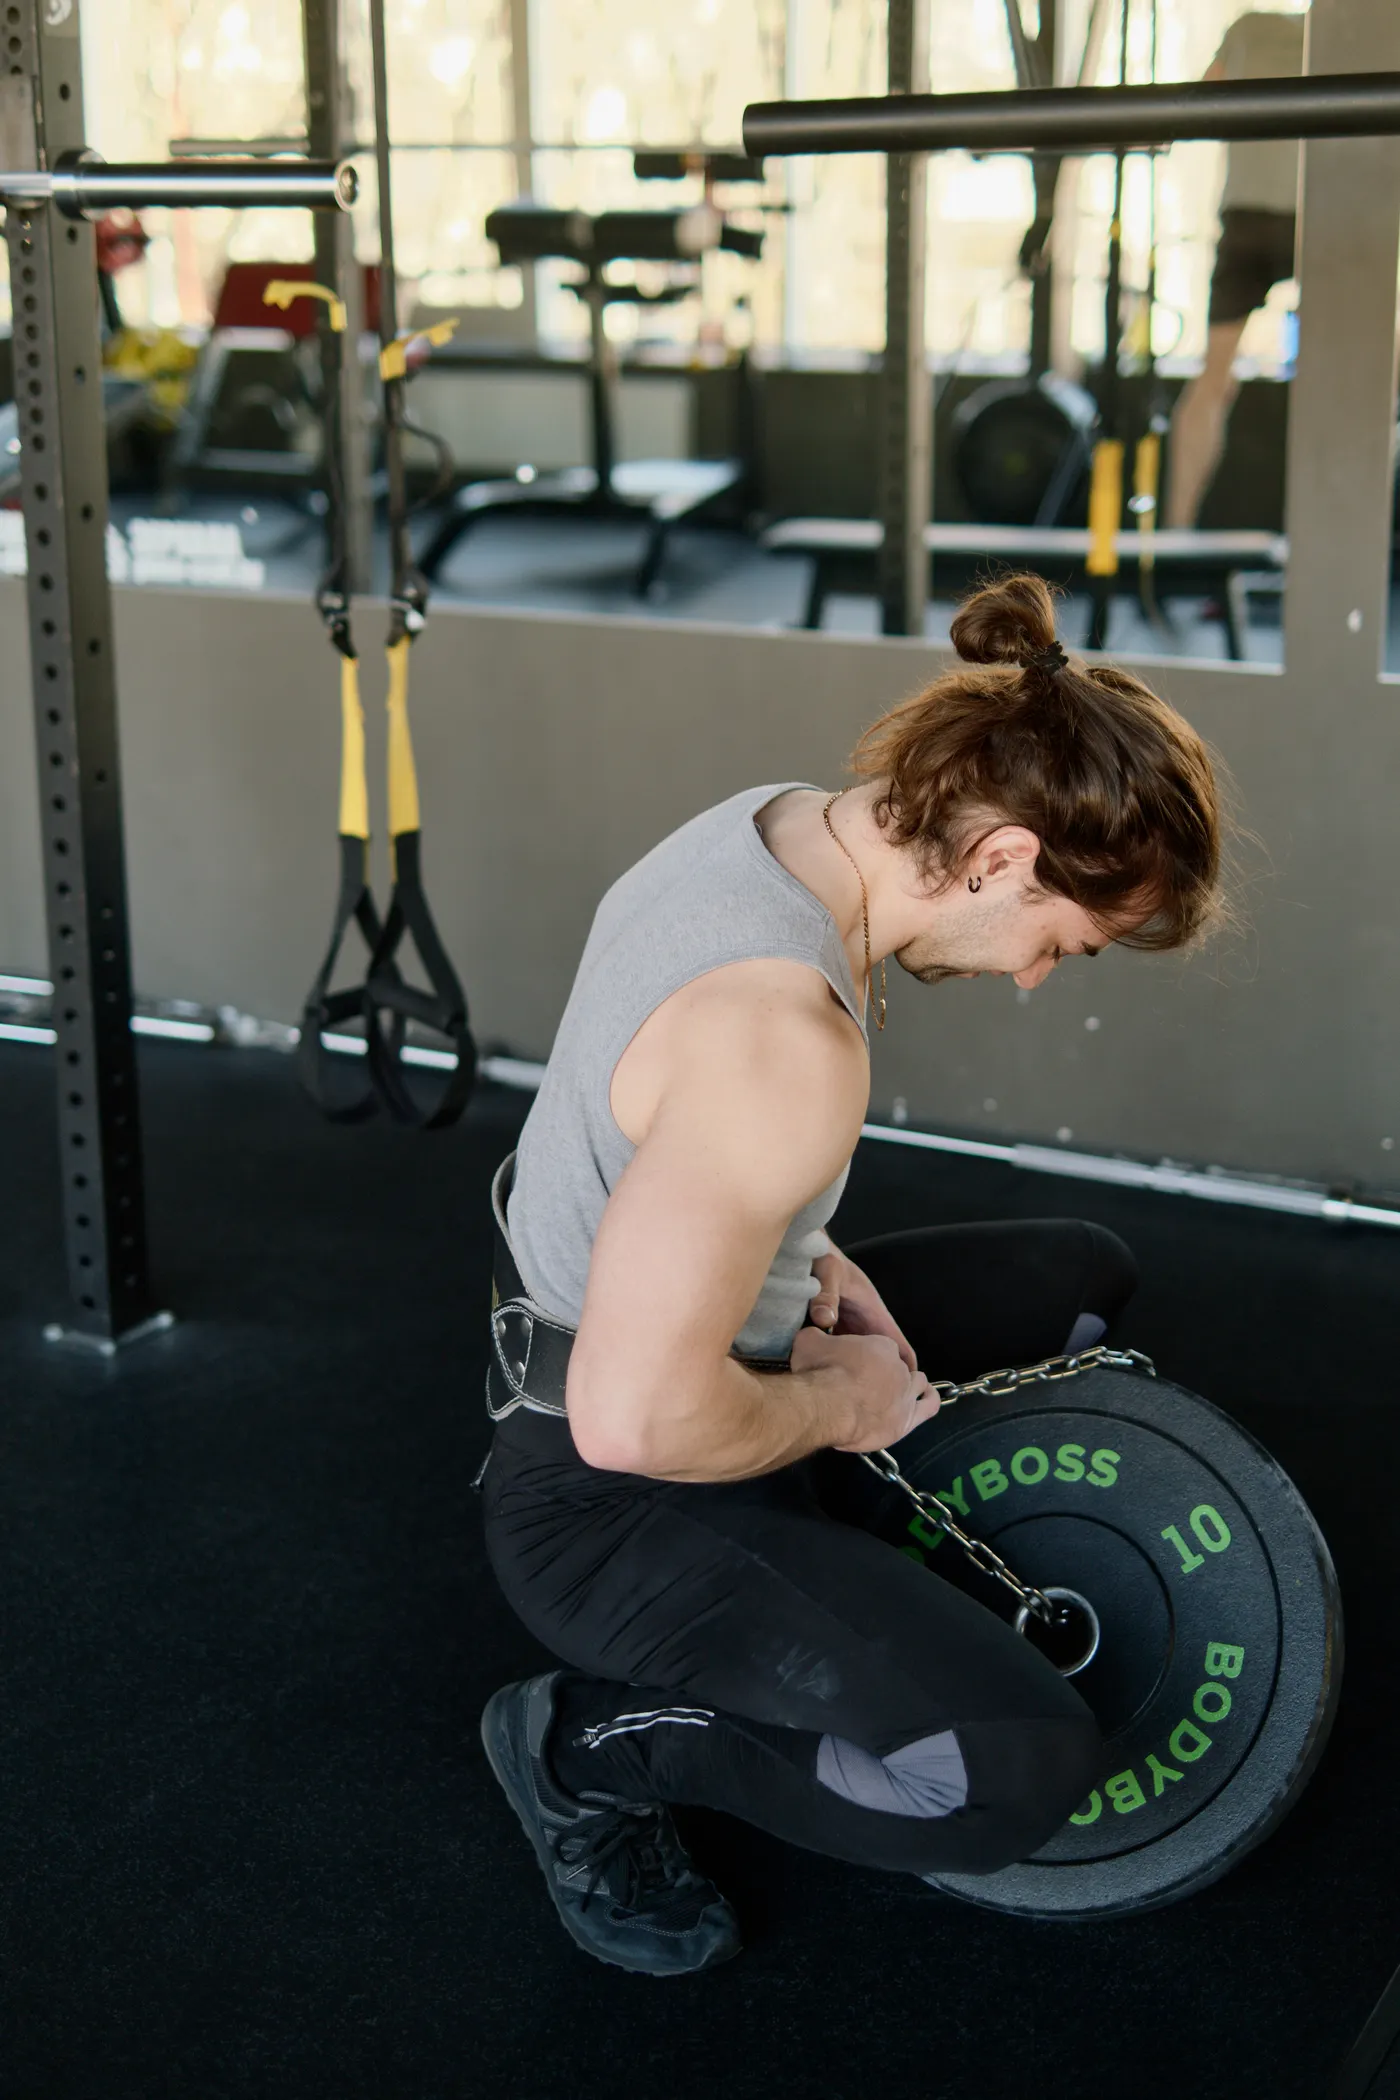
In a landmine setup, one end of the bar pivots around an anchored point. The loaded end travels along an arc rather than straight upward. The working shoulder therefore presses upward and forward, with a changing angle through the repetition. That is different from a dumbbell overhead press, a flat bench press or a fixed-path machine.
The main drivers are the shoulder and elbow extensors involved in pressing, while the trunk works to prevent rotation and excessive arching. The upper chest can contribute, and the shoulder blade should move naturally rather than being pinned down throughout the lift. A half-kneeling stance limits leg drive, making it easier to notice when you are leaning or twisting to finish a repetition.
There is an important evidence distinction: studies of overhead presses and other pressing variations help explain general muscle demands, but they do not prove that the half-kneeling landmine press builds more muscle than a conventional press. Use it because its line of force fits your shoulder, equipment and training goal—not because of a claim that one angle is universally superior.
Quick test: With an unloaded bar, perform five smooth repetitions per arm. If you can keep your torso tall and finish without a sudden wrist bend or trunk twist, the pattern is promising. If you must lean backward just to start, change the distance before increasing load.
Set the anchor, plates and distance before you kneel
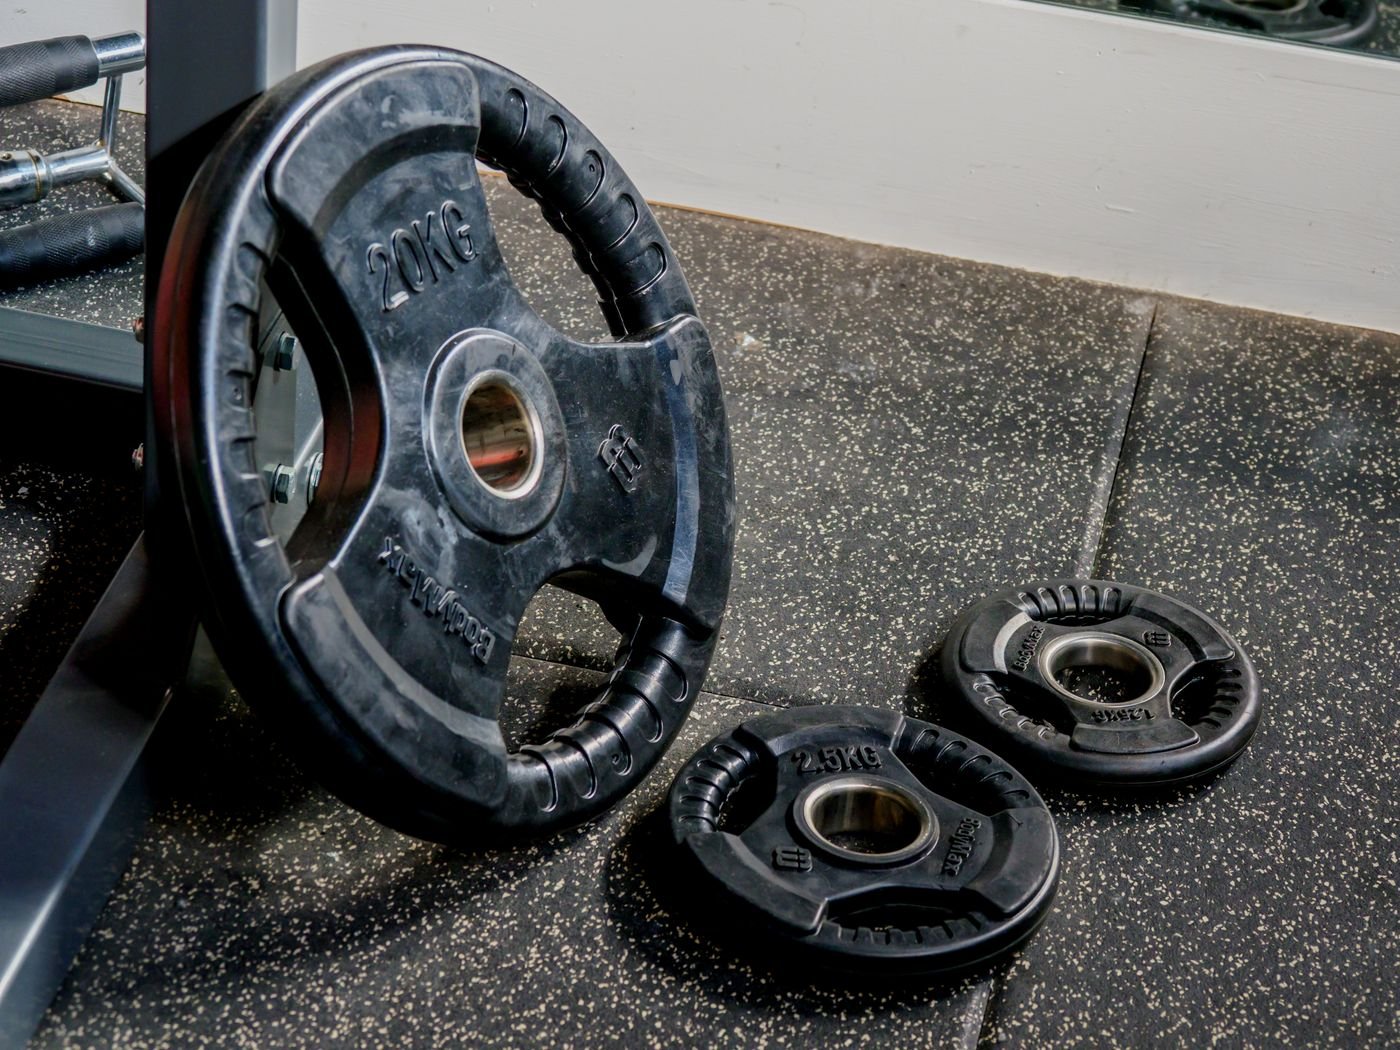
Start with a purpose-built landmine base that is properly secured and rated for the barbell. Check that the sleeve can rotate without snagging, that the bar cannot slip out of the pivot and that the loaded end has clear space to travel. A bar jammed into an unprotected corner is not equivalent to a stable attachment: it can damage the wall or shift during a rep.
Begin with the empty bar or the lightest manageable load. A 45-pound barbell does not feel like a 45-pound dumbbell in a landmine because part of its weight is supported by the pivot and the effective lever changes as it moves. The number on the plates is therefore a poor way to compare landmine strength directly with overhead-press strength. Record the bar, plates, setup and range of motion instead.
Facing the loaded end, take a half-kneeling position and bring the sleeve toward the working shoulder. You should be close enough to support it without reaching, but far enough away that it does not jam into your chest or force you to lean backward. If the bar crowds the shoulder, shift your body slightly away. If your arm must stretch far forward to hold the start position, move closer.
Keep the front foot fully planted, the front knee approximately above the ankle and the down knee under or slightly behind the hip. Place the foot and knee on separate parallel tracks rather than a tightrope. A folded mat under the down knee is fine, but avoid a slippery pad that shifts as you press.
Setup checkpoint: The bar starts near the front of the shoulder, the wrist feels secure, the ribs remain over the pelvis and the anchor stays motionless. Only then should the first working set begin.

Equipment Worth Exploring
Explore equipment, accessories and gear from our carefully selected range.




FID Bench MAX
Adjustable bench offering flat, incline, and decline positions + adjustable headrest.
Which knee goes down? Test both useful stances
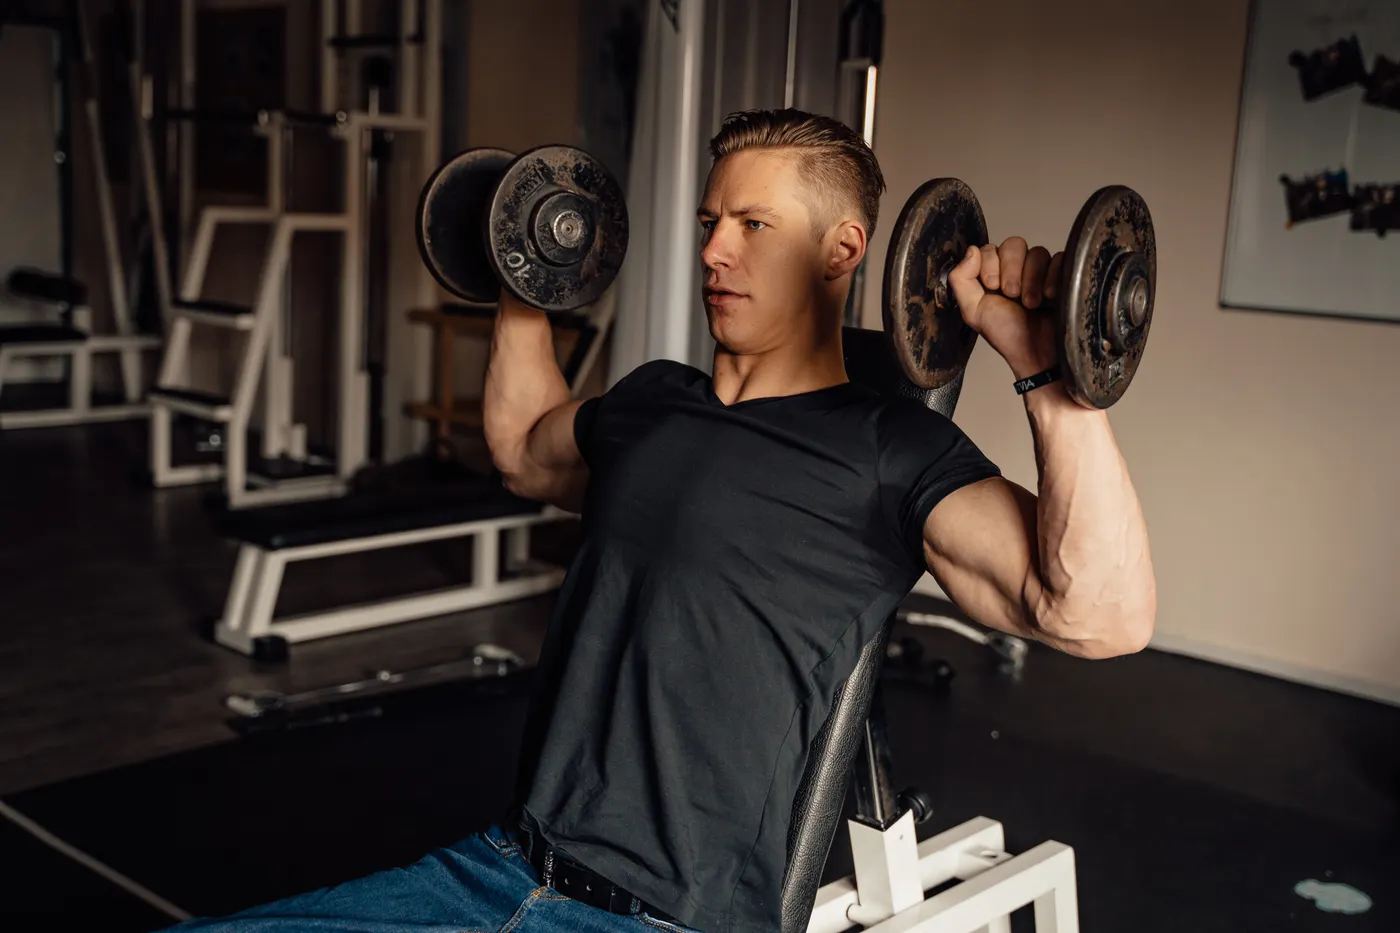
There is no need to turn knee selection into a universal rule. For a right-arm press, you can place the right knee down with the left foot forward, or place the left knee down with the right foot forward. Both are legitimate half-kneeling configurations. They simply distribute the balance challenge differently.
Same-side knee down: Right arm presses while the right knee is on the floor. The left foot forms the forward base. Some lifters find it easier to keep the pelvis square and reach along the bar’s arc in this position. Opposite knee down: Right arm presses while the left knee is on the floor. The right foot is forward. This creates a different diagonal demand through the trunk and may feel more natural for someone accustomed to split-stance movements.
Neither variation should require the pelvis to spin toward the bar. Press gently into the whole front foot, tighten the glute on the down-knee side and keep the sternum roughly over the belt buckle. If you wobble, widen the side-to-side distance between the foot and knee before deciding that your core is too weak.
Use two unloaded practice sets of five per side, one in each stance. Rate them on three questions: Can I stay square? Does the shoulder travel comfortably? Can I control the lowering phase? Pick the configuration that answers yes most consistently. A person with a sensitive kneecap may prefer a thick pad or a standing split stance rather than forcing prolonged kneeling.
Do not mistake a shaky setup for extra training value. If the load is so unstable that every rep becomes a balance recovery, it is difficult to deliver consistent work to the target muscles.

Bodybuilding Shirts & Workout Gear
Bodybuilding shirts, tanks and gym gear for lifters chasing muscle, size, symmetry and the pump.


Barbell Buddies for Gym Buddies and Lifting Together Tank Top
Add some powerlifting attitude to training with “Barbell Buddies”.

Barbell Breaker Heavy Metal Workout Bar Breaker Lifting T-Shirt
Show some metalhead attitude with a playful “Barbell Breaker” tee.

Iron Is My Therapy – Lifting Bodybuilding Powerlifting T-Shirt
Add a playful “Iron Is My Therapy” touch to your casual rotation.

Heavy Metal Lift Heavy – Hardcore Powerlifting Gym Crew T-Shirt
Show some gym-day personality with “Heavy Metal Lift”.

Gold Skull Uplift Iron Club Gym Decal Powerlifting Body Sticker
Put “Gold Skull” gym humor on your laptop, bottle, or gym gear.

Gym Cult Occult Barbell Meme – Powerlifting Bodybuildin Tank Top
Bring “Gym Cult” humor to your next lifting session.

Liftionaire Money Barbell Meme Workout Shirt Bodybuildi T-Shirt
Show some powerlifting attitude with a playful “Liftionaire” tee.

45LB Metal Weight Plate Barbell Standard Lifting Hoodie
Keep it laid-back with a little “45LB Metal Weight Plate” attitude.

Lift Smart Brain Weight Plate Mind Muscle Connection 45 T-Shirt
For laid-back days and lifting humor: “Lift Smart Brain Weight Plate”.
Grip, wrist and elbow: build a clean pressing line
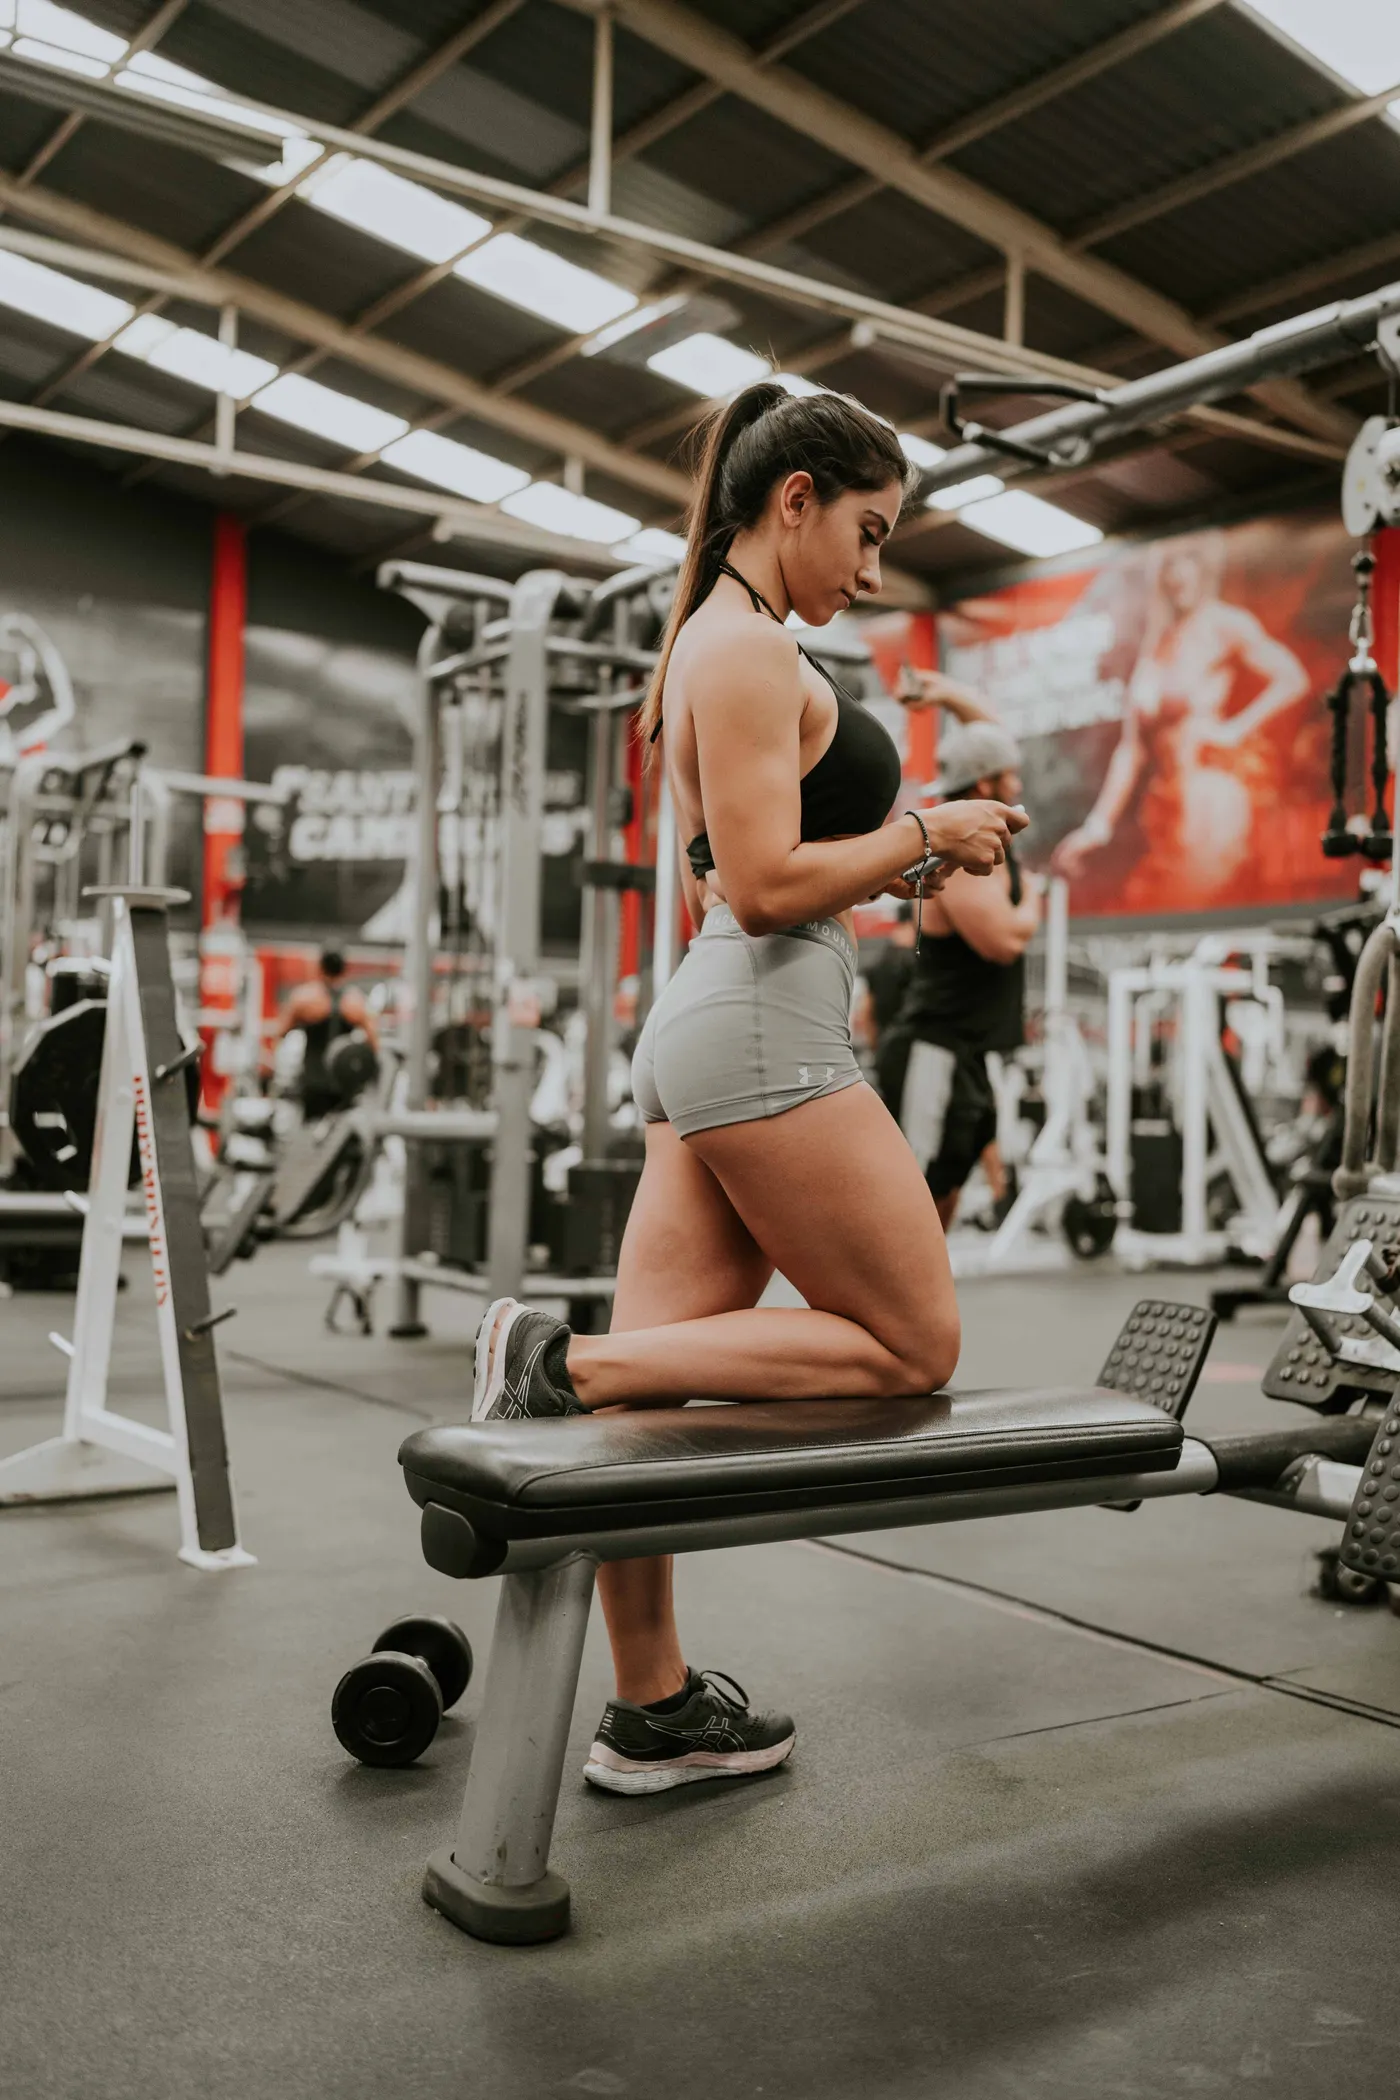
The barbell sleeve is much thicker than most dumbbell handles. That matters for small hands, long fingers and anyone with limited wrist extension. Two basic grips are available: cup the very end of the sleeve in the palm, or wrap the hand around the sleeve farther back. Use the one that lets you hold the bar securely without the wrist collapsing backward.
At the bottom, keep the working elbow under or slightly in front of the hand. It need not be pinned against the ribs, and it should not flare dramatically out to the side. The forearm follows the angled bar path, with the knuckles pointing generally upward. The shoulder blade can rotate and reach as the arm extends; forcing it rigidly down and back through the entire rep can make the motion feel unnatural.
Take a controlled breath, brace the abdomen and press the sleeve up and forward. Stop at the range you can own, normally near full elbow extension without rib flare. Lower deliberately toward the front of the shoulder rather than letting the bar fall into the hand. A roughly two-second descent is a useful starting cue, not a rigid tempo law.
Keep the neck relaxed and the eyes level. If the head pokes forward or the lower back arches to clear the bar, the load or distance is probably wrong. Try reducing the plates, moving the body slightly or shortening the range to the point where alignment stays consistent.
Sharp joint pain, tingling or a feeling of instability is a reason to stop and modify, not a signal to push harder. An angled press can be comfortable for some shoulders, but it is not a rehabilitation prescription or a guarantee against injury.
Five setup mistakes that steal useful repetitions
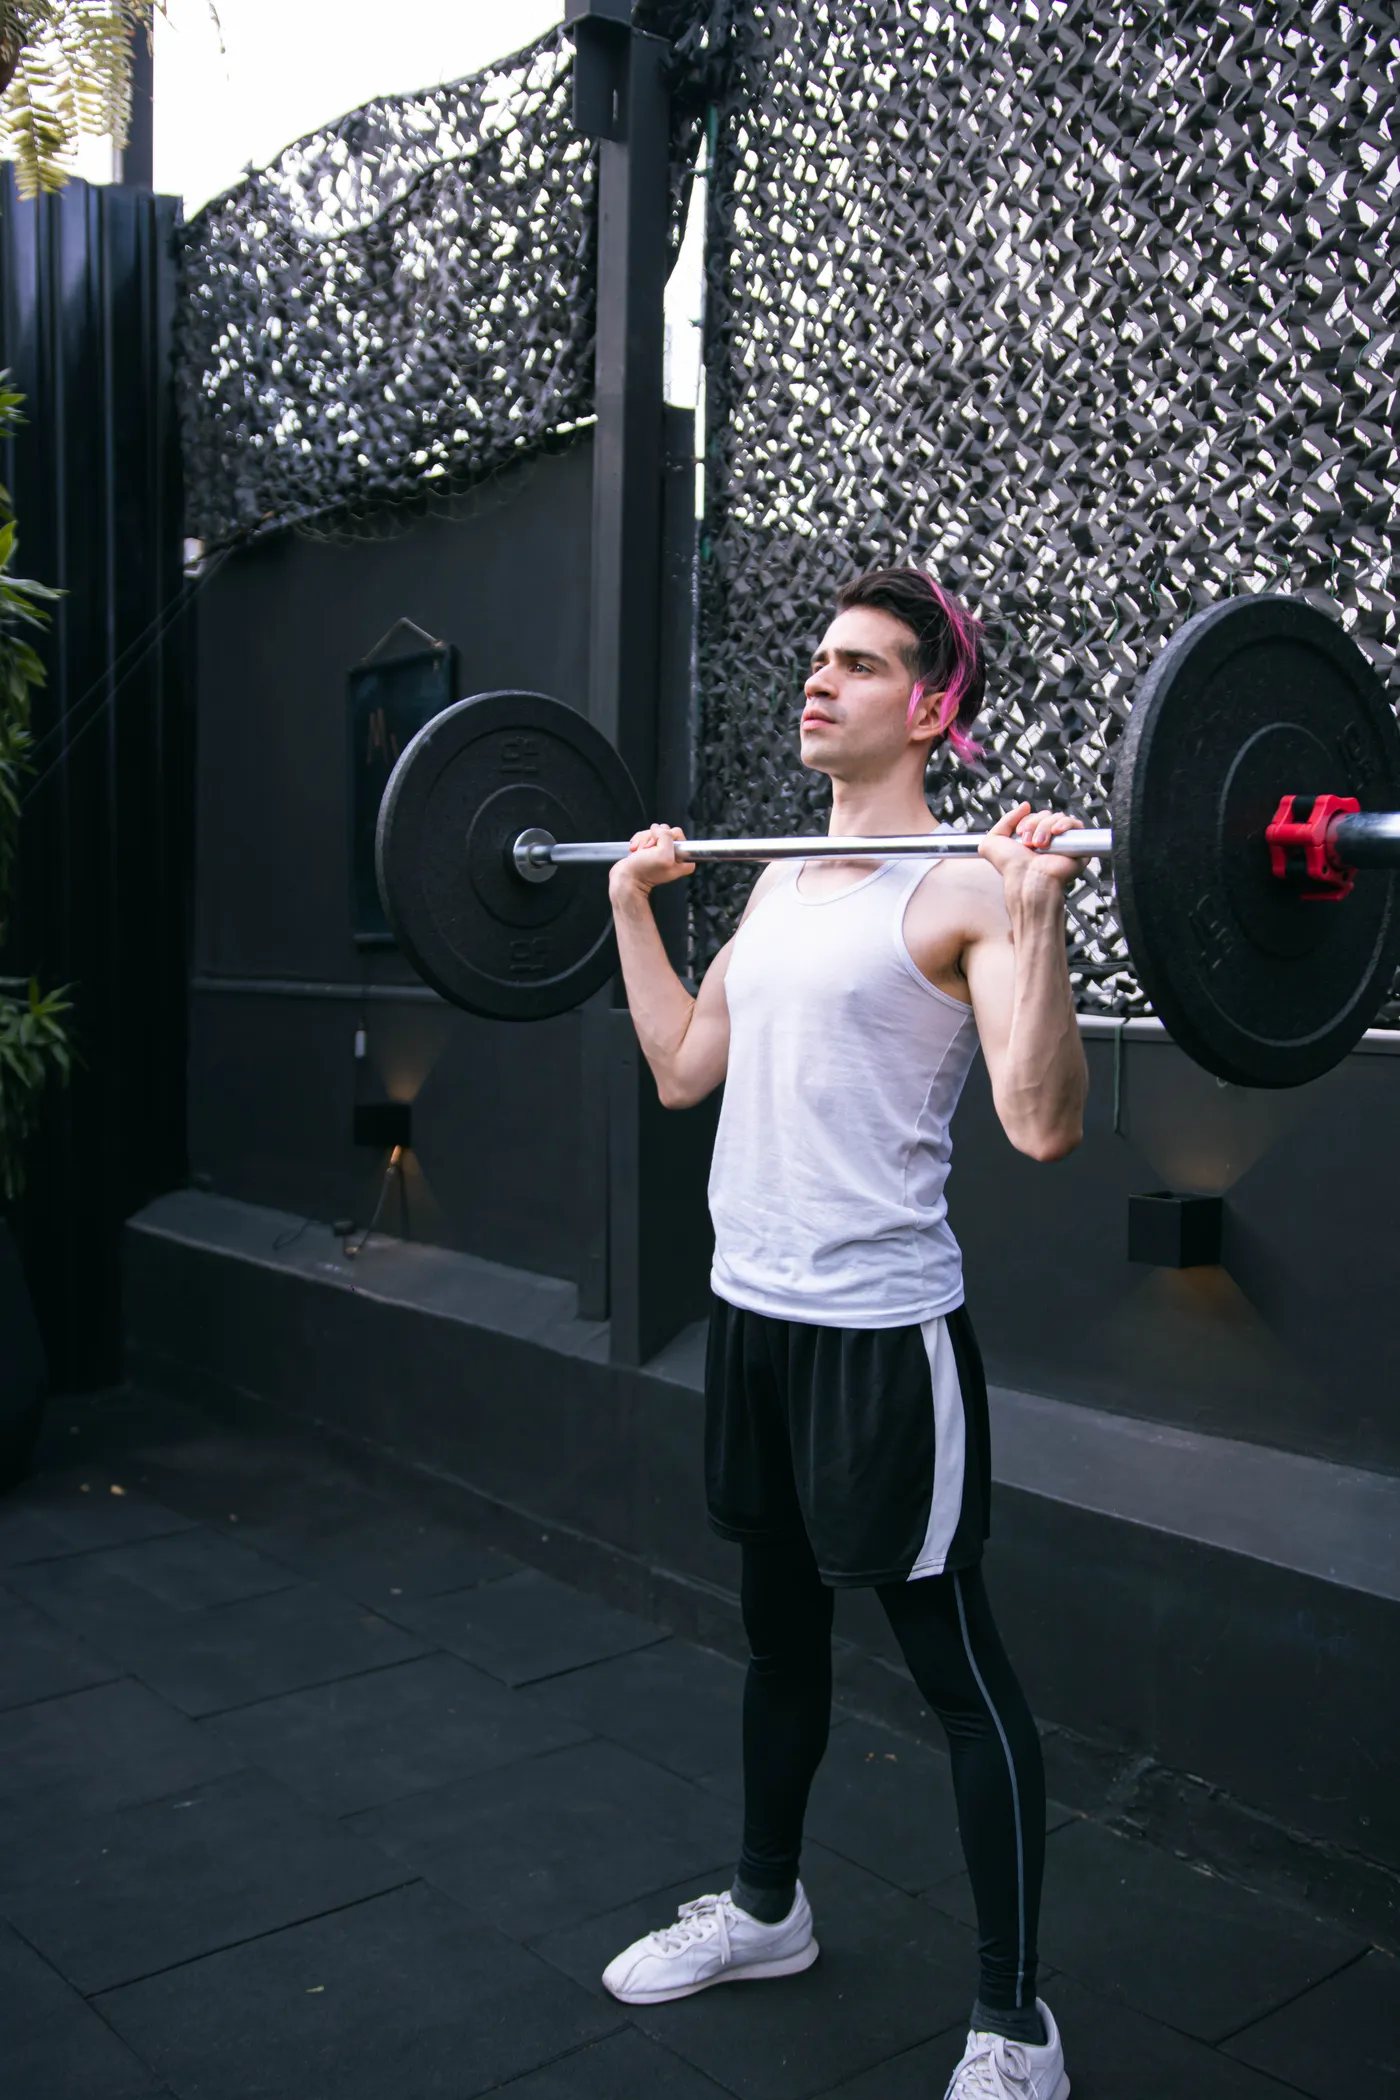
1. Kneeling too close to the bar. The loaded end crowds the shoulder and the lifter leans back to create space. Move the knee and foot slightly away from the anchor, reset the ribs and test the unloaded start position again.
2. Reaching from too far away. The hand starts well in front of the shoulder and the torso tips toward the sleeve. Move closer until the bar can be supported near the shoulder without losing balance. The correct distance is individual, not a fixed number of inches.
3. Letting the wrist fold backward. A thick sleeve can turn a reasonable load into an awkward grip challenge. Reposition the hand, use an appropriate secure handle attachment if available, or reduce the weight. Wrist wraps may support a wrist, but they cannot fix an unsafe grip on a slipping sleeve.
4. Turning the press into a backbend. When the ribs flare and the pelvis tilts forward, the torso is helping the bar rise. Exhale lightly, bring the ribs back over the hips, squeeze the down-knee glute and press through a range that does not demand lumbar extension.
5. Twisting to finish the rep. If the opposite shoulder rotates toward the bar or the front foot rolls onto its edge, widen the base and lower the load. Pressing one-handed creates an anti-rotation demand, but excessive rotation is not the goal.
A useful self-check is a short video from the front and side. Compare the first and last repetition: if the bar path, hip position and elbow finish change dramatically, the set was too heavy or too long. Correct the pattern before treating the extra reps as progression.
Equipment Worth Exploring
Explore equipment, accessories and gear from our carefully selected range.


VOLTRA
Compact digital cable trainer with smooth, adjustable resistance.

Go-Tone Pro
Portable digital cable trainer with up to 66 lb (30 kg) of adjustable resistance.

T-Bar Row Attachment
Welded barbell attachment that connects a D-handle bar for landmine and T-bar rows.

Angles 90 Grips
Flexible grip attachments that allow natural wrist movement during pulling exercises.

GymPin Ergo Handles
Pair of ergonomic cable handles shaped for comfortable triceps and pulling exercises.


Leather Wrist Grips
Padded leather lifting grips help support the hands and wrists on heavy pulling exercises.
A two-day plan for shoulder strength and muscle
Use the half-kneeling landmine press as a secondary press or, when it suits you better than vertical pressing, as the main shoulder-focused movement. The exercise is easiest to progress when it appears in the same position in your training week, with the same anchor height, barbell and stance.
Day A — controlled strength: After five minutes of easy movement and two light practice sets, complete three sets of six to eight repetitions per arm. Rest about 90–150 seconds between hard sets, and finish with roughly two repetitions in reserve. Pair it with a horizontal row for three sets of eight to twelve and a modest rear-delt or external-rotation accessory for two sets of twelve to fifteen.
Day B — repeatable volume: At least two days later, complete three sets of ten to twelve per arm with a slightly lighter load. Lower each rep under control, pause briefly near the shoulder and keep one to three reps in reserve. Follow with two or three sets of a horizontal press and two sets of lateral raises if your shoulder tolerates them.
Progress by adding a rep within the target range before adding the smallest practical plate. Once all sets reach the top of the range with stable form, increase the load modestly and return to the bottom of the range. Do not chase a heavier plate by shortening the press or changing your stance every week.
For a busy lifter, one session per week can maintain familiarity; two exposures create more chances to practice and accumulate quality work. The right weekly volume depends on what other bench, incline, overhead and accessory pressing you already perform. If your shoulders are still fatigued, reduce overlap rather than stacking every pressing variation in one workout.
Funny Gym Shirts & Workout Gear
Funny gym shirts, tanks, hoodies and workout gear for lifters who like training hard.

Iron Made Heavy Metal Made by Iron for Bodybuilding, Po Tank Top
Bring “Iron Made Heavy Metal Made by Iron” humor to your next lifting session.

Therapy Barbell – Lifting Bodybuilding Powerlifting Mem Hoodie
Stay casual and show some powerlifting attitude with “Therapy Barbell”.

Lift Heavy – Hardcore Heavy Metal Gym Decal for Powerli Sticker
Give your everyday gear a playful “Lift Heavy” twist.

Gym Hardcore Skull Crewneck for Powerlifting Bodybuildi T-Shirt
Keep things casual with a little “Hardcore Skull” attitude.

Atlas Lifting The Earth Meme Strongman Shirt T-Shirt
Bring “Atlas Lifting The Earth” humor to your next gym day.

Medieval Gymbro Lifting Iron Knight Hoodie
Show off your medieval humor in a laid-back “Medieval Gymbro Lifting Iron” hoodie.

Flaming 45LB Weight Plate Fire Barbell Lifting Apparel Tank Top
Add some powerlifting attitude to training with “Flaming 45LB Weight Plate”.

No Days Off for Lifting, Bodybuilding, and Everyday Fit Tank Top
Add some lifting attitude to training with “No Days Off”.

No Reps No Glory Viking Gym – Funny Norse Workout Jumpe T-Shirt
Show some gym-day personality with “No Reps No Glory Viking”.

Iron Knight Motivational Sweater & Fans Meme T-Shirt
Show some gym-day personality with “Iron Knight”.
When to use a variation—and what to remember
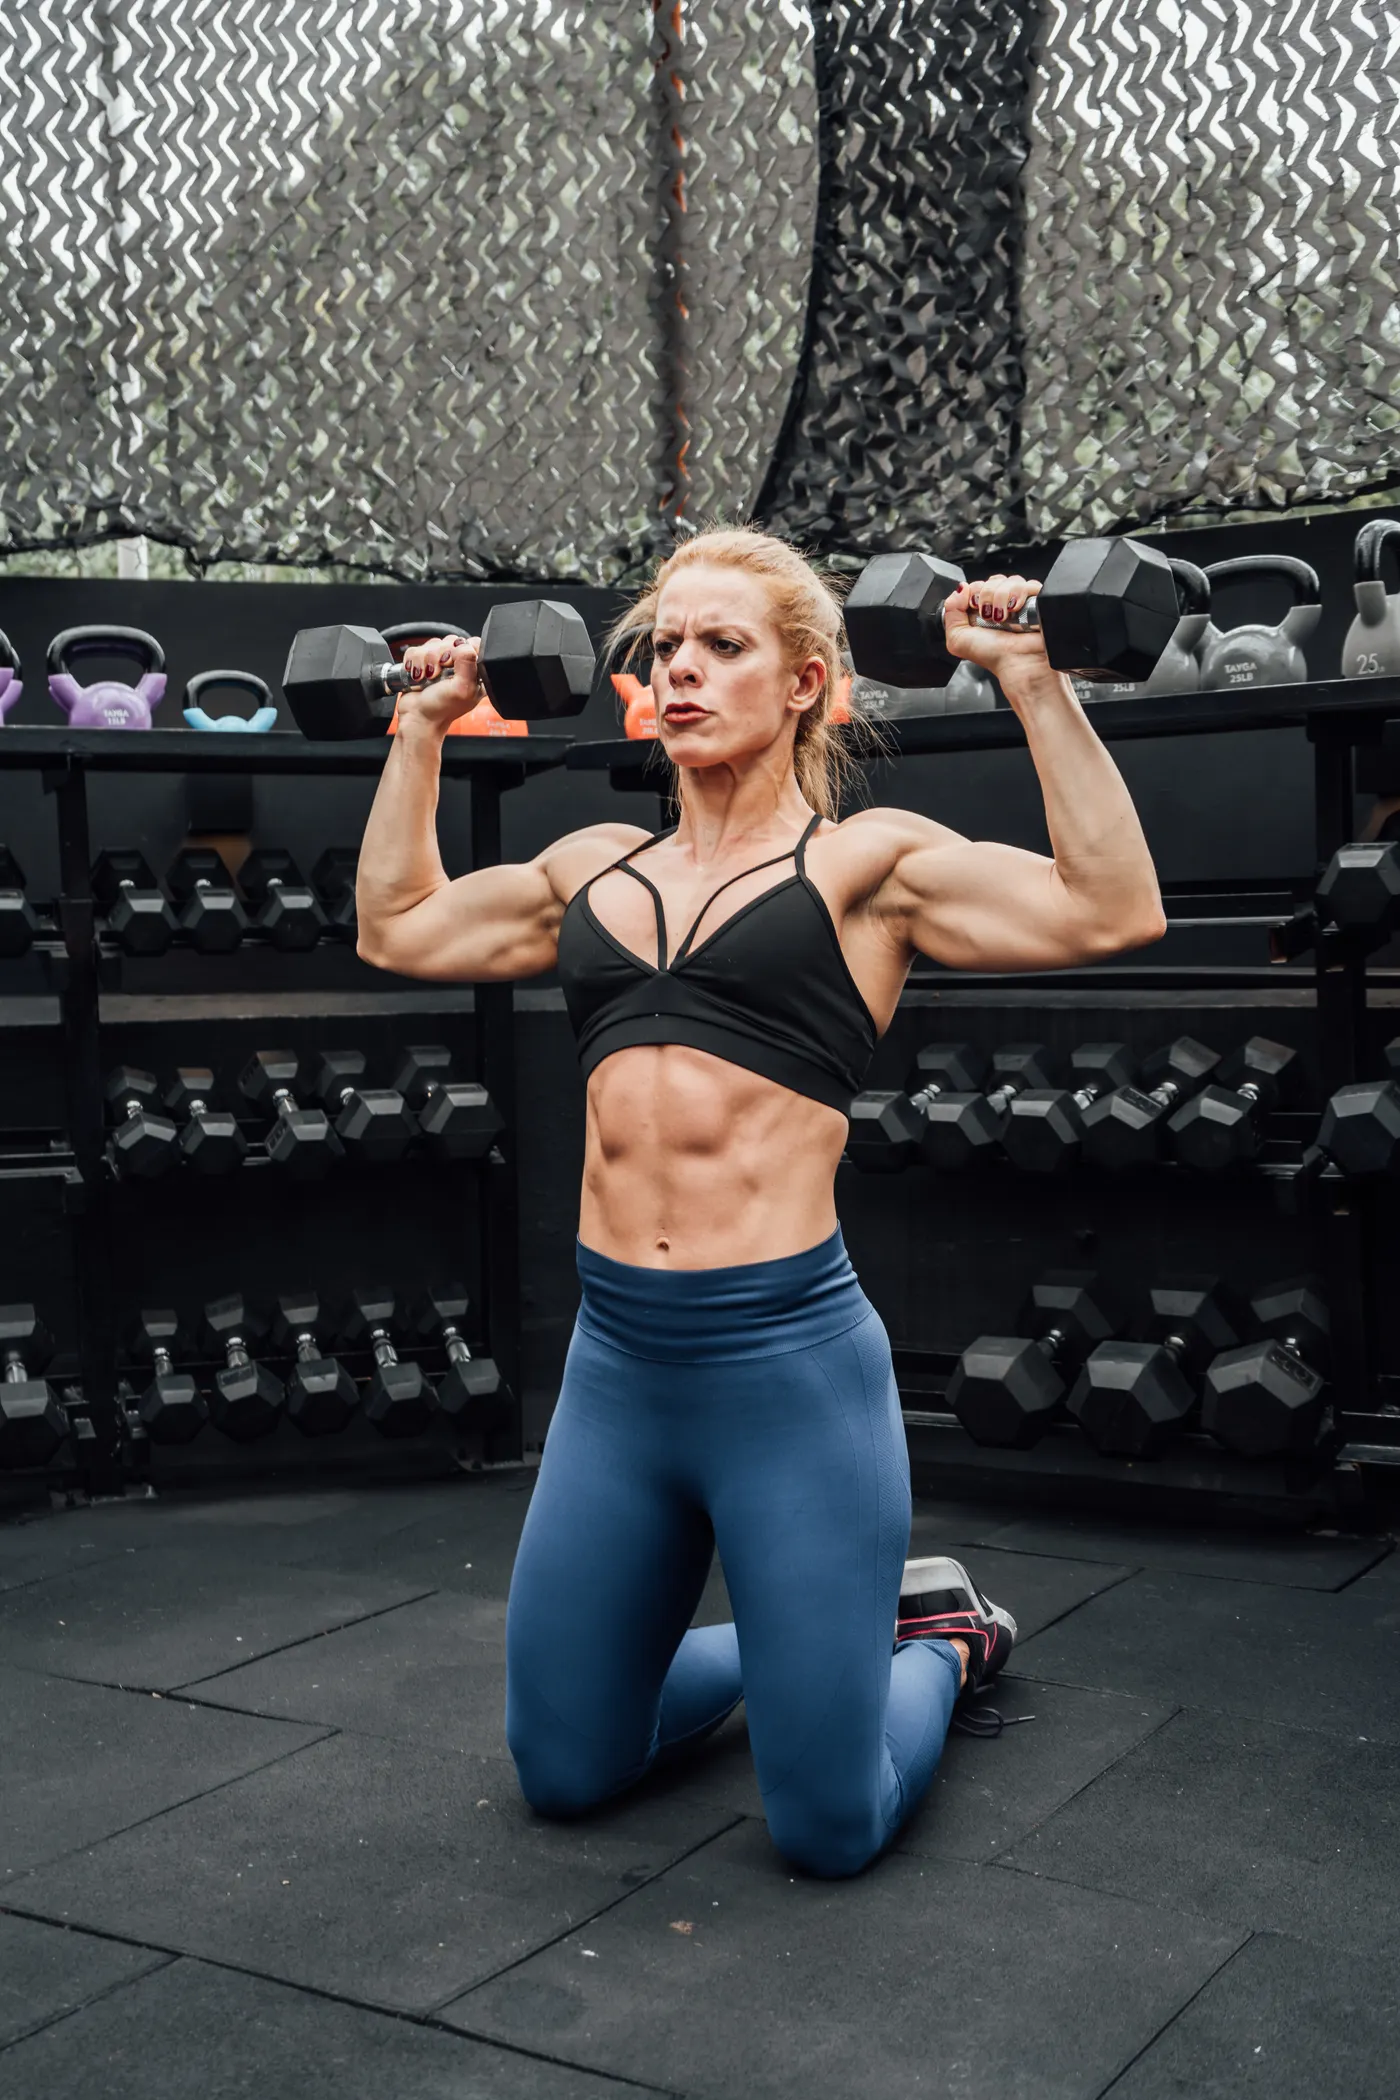
A standing one-arm landmine press allows a different balance strategy and may be more practical if kneeling irritates the knee. A two-hand landmine press reduces the unilateral anti-rotation challenge and lets you focus on a smooth pressing arc. A dumbbell press offers a free-moving implement and a different line of resistance; a cable press can approximate an upward-and-forward path without requiring a barbell pivot.
Choose the variation by the limiting factor. If the wrist cannot grip a thick sleeve securely, a dedicated handle or dumbbell may solve the problem. If the shoulder does not tolerate the arc, adjust the range or use another press. If you cannot keep the trunk square under even a light load, try the two-hand version or a stable seated exercise while building the skill.
Do not claim that a landmine automatically trains every part of the shoulder better. The front deltoid, upper chest and triceps can contribute, while side- and rear-delt development may still benefit from other movements. A complete upper-body plan also includes pulling and appropriate recovery, not just more pressing angles.
Before each working set, run the same short checklist: secure anchor, comfortable distance, stable foot-and-knee base, wrist over forearm, ribs over pelvis, smooth arc. Film a set occasionally, keep the same setup notes and make load changes only after the repetitions look alike. That repeatability is what makes the movement useful in a home gym.
The half-kneeling landmine press is not a magic shoulder exercise. It is a practical, adjustable pressing option whose value comes from the way you perform and program it. Get the geometry right, train within a comfortable range and let measured progress—not dramatic technique changes—decide when to go heavier.