Advertising disclosure: This page includes affiliate product links that may earn us a commission, as well as products from our own store.
Hack Squat Foot Placement: Find Your Stance, Keep Your Heels Down and Own the Depth
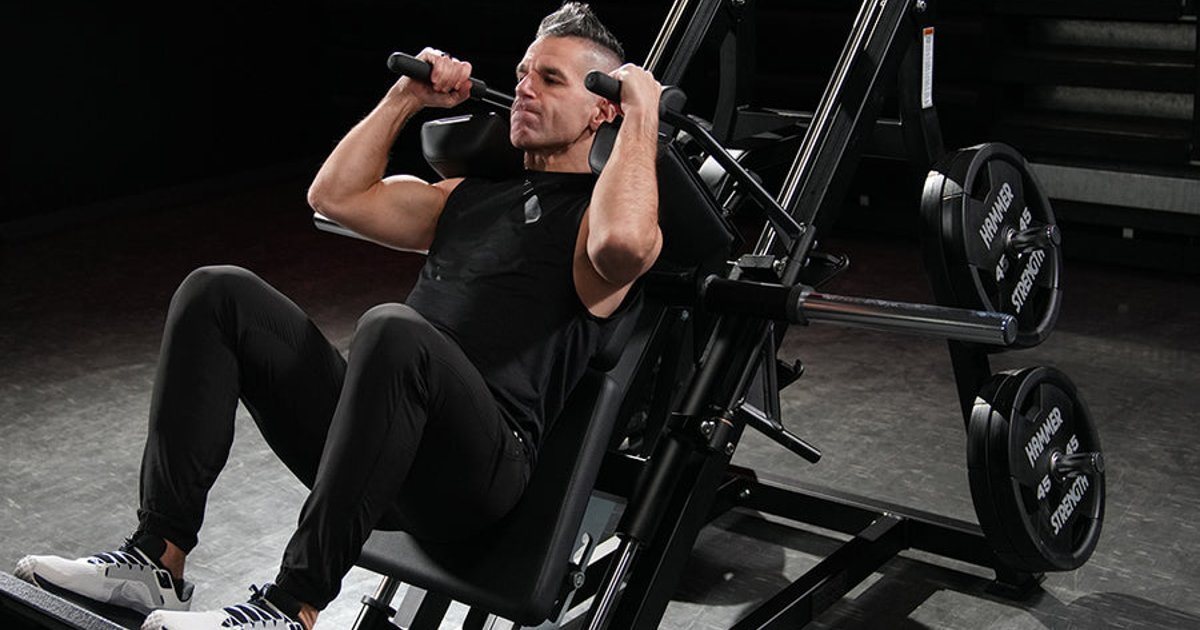
On a hack squat, shifting the feet a few centimetres can make the entire set feel different. That does not mean there is one magic foot position that isolates the quadriceps or instantly turns the sled into a glute machine. The useful target is a position in which your feet remain secure, your knees move comfortably, your hips stay supported and you can repeat a meaningful depth.
The angled sled reduces the balance demands of a barbell squat, but introduces different variables: footplate slope, rail angle, carriage weight, safety hardware and body proportions. Instead of copying someone else’s footprint, use a repeatable baseline and make small adjustments that you can compare fairly.
Set the machine and safeties before chasing load
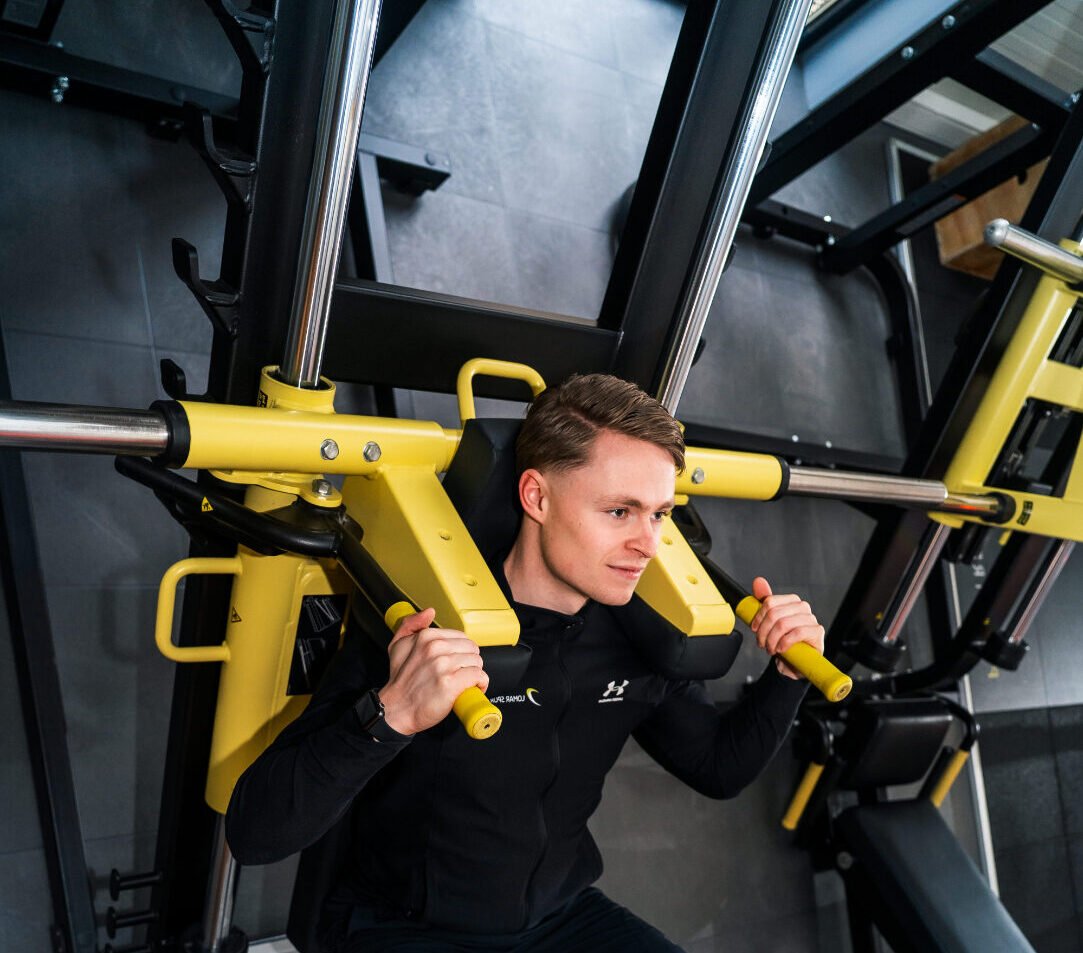
Before loading any plates, inspect the machine with its carriage safely supported. Locate both release handles, the bottom catches and every adjustable safety stop. Check how the stops engage when you turn the handles; different models work differently. Do not rely on a guess from another gym. If the carriage cannot stop above a position where you would be trapped, get a staff member to show you the system before lifting.
Step fully onto the nonslip platform and settle your back against the pad. Put the shoulder cushions in a position that supports you without jamming your neck. Begin around shoulder width, feet approximately in the platform’s middle, toes pointing slightly outward. Do not start with the heels overhanging an edge. Your footwear and the surface need enough friction to prevent sliding.
With a deliberately light load, lift the carriage off its stops, disengage the safeties as designed and perform a few cautious repetitions. The entire working movement should be controlled: bend the knees, keep your torso in contact with the support and drive through a secure whole foot. Restore the safeties and re-rack the carriage before stepping out. Rehearsing the release and return while fresh is more useful than learning them during a failed heavy rep.
A tall lifter may need a different starting position than someone with short thighs. Footplate size, ankle range and the way the hip fits the back pad all change what feels natural. Do not force your body into someone else’s shape. The starting stance is simply a reference point that lets you assess changes honestly.
Try a middle-platform stance before moving your feet
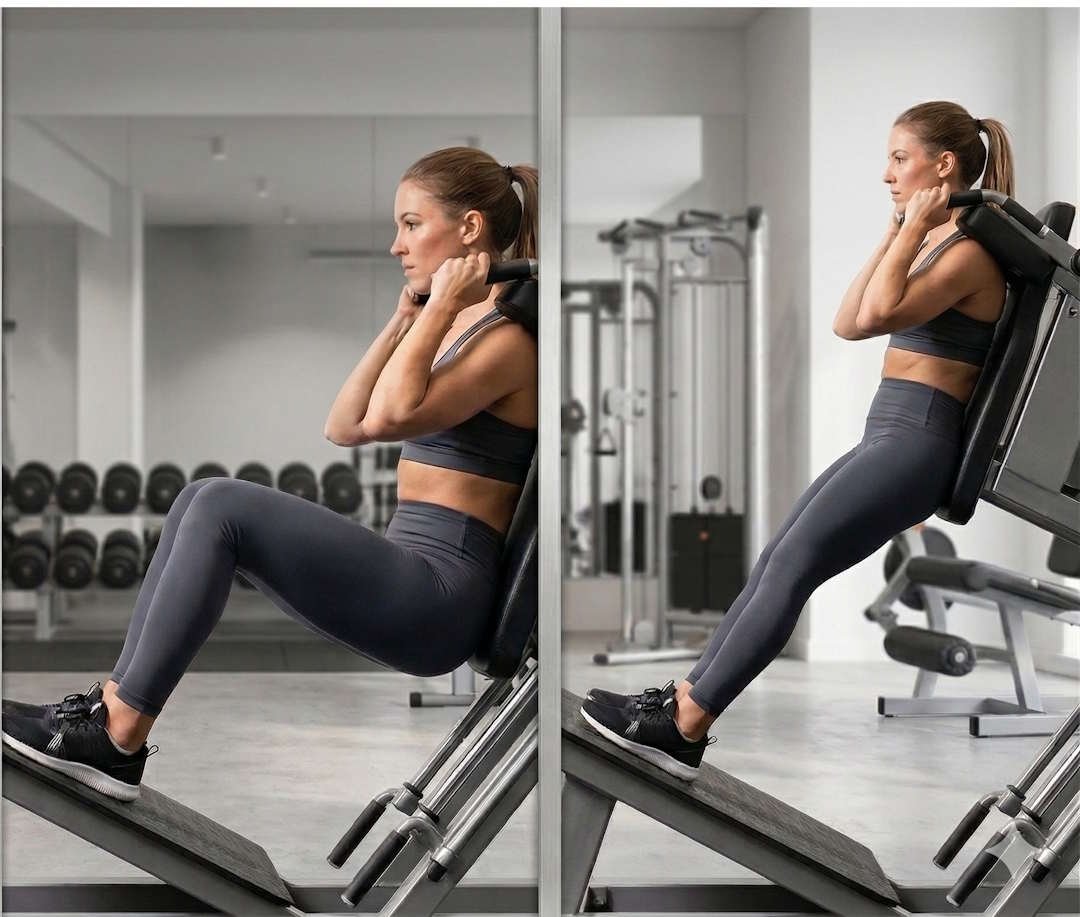
A lower foot position often increases forward knee movement and ankle demand. If you can keep your heel down, it may make the movement feel more knee-dominant. Moving the feet higher commonly changes the hip and knee angles, and a wider stance may suit some people better than a narrow one. But these are mechanical tendencies, not a promise that you can completely switch individual muscles on and off by relocating your shoes.
There is an important evidence limitation here. Much of the foot-height advice comes from leg-press or conventional-squat experiments rather than studies testing every stance on hack-squat machines. Electrical activity measured during a few repetitions is not equivalent to a long-term muscle-growth result. A supposedly quad-focused stance that makes you rock onto your toes or lose half your range is not an obvious improvement.
Use an experiment you can actually evaluate. Record your comfortable middle stance. At a light, fixed load, move both feet slightly lower and perform a controlled set. Observe whether the heels remain down, whether knee travel is smooth and whether the bottom position is repeatable. Return to the baseline before trying slightly higher placement. Later, adjust width by a modest amount if you have a specific comfort problem.
Only change one variable at a time. If you simultaneously raise your feet, widen your stance, increase the load and shorten the depth, you will not know which change helped. Likewise, narrower feet are not automatically more effective for the quads. Your preferred stance should respect your own hips, ankles and the actual machine’s dimensions.

Equipment Worth Exploring
Explore equipment, accessories and gear from our carefully selected range.

Leg Press/Hack Squat BPR-790
Convertible 45-degree leg press and hack squat machine with a broad footplate and band pegs.

Studio V-Squat
Plate-loaded V-squat machine for supported lower-body strength training.

Compact Leg Press CLP-700
Compact reverse-style leg press with a moving seat carriage and an adjustable footplate.

VForce 3IN1
All-in-one rack combining an adjustable Smith machine, functional trainer, and free-weight station.

Multi Pull Smith Rack MPHR-780
All-in-one rack with a Smith machine, functional trainer, lat pulldown and low row.

VForce 2IN1
Half rack and pivot-arm functional trainer with switchable 1:1 and 2:1 pulley ratios.


Competition Plates
Competition-style bumper plates for Olympic lifts and loaded strength training.

Grip Plates
Rubber-coated weight plates with handholds for loading barbells and machines.

GymPin Squat Wedges
Non-slip 15-degree squat wedges help elevate the heels for deeper quad-focused squats.
Build repeatable depth without losing contact
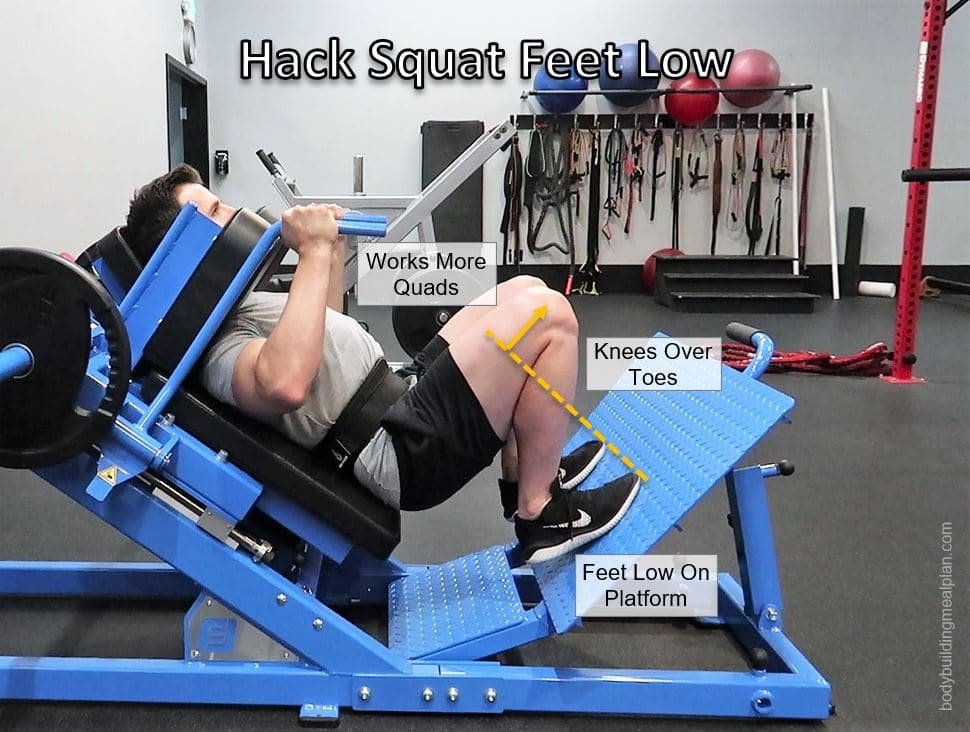
Depth matters when it is controlled and repeatable. Many lifters can bring the thighs close to the torso, but the same visual target does not fit every hip and ankle. Lower the carriage gradually and stop before the heels lift, the hips lose contact with the support, or the bottom becomes a painful or uncontrolled collapse. A slightly shorter repeatable movement is more useful than an impressive one-off depth followed by rushed half-repetitions.
For early technique practice, try a two- to three-second lowering phase and a brief controlled change of direction. This is not a special proven hypertrophy tempo; it gives you time to feel when the support or foot contact changes. Drive upward smoothly without slamming into a hard knee lockout, and do not use the rails or safety catches as a spring. A gentle, deliberate repetition lets you distinguish muscular effort from a bounce.
Your knees can move forward over the toes when your ankle and knee mechanics permit it. Aim for a path broadly in line with the toes, without aggressively twisting the knees outward or letting them collapse inwards. If one side shifts significantly more than the other, reduce the weight and check whether both feet started symmetrically. Do not deliberately raise the heels just to make the sled travel farther.
If possible, film a light set from a safe side angle where the camera does not interfere with anyone. Look at the heel, hip and back-pad contacts on the first and last repetitions. An extra plate accompanied by shallower knee bends is a different task. Measure improvement against a stable standard, not merely a heavier total on the loading pins.
Understand what a hack squat can and cannot replace
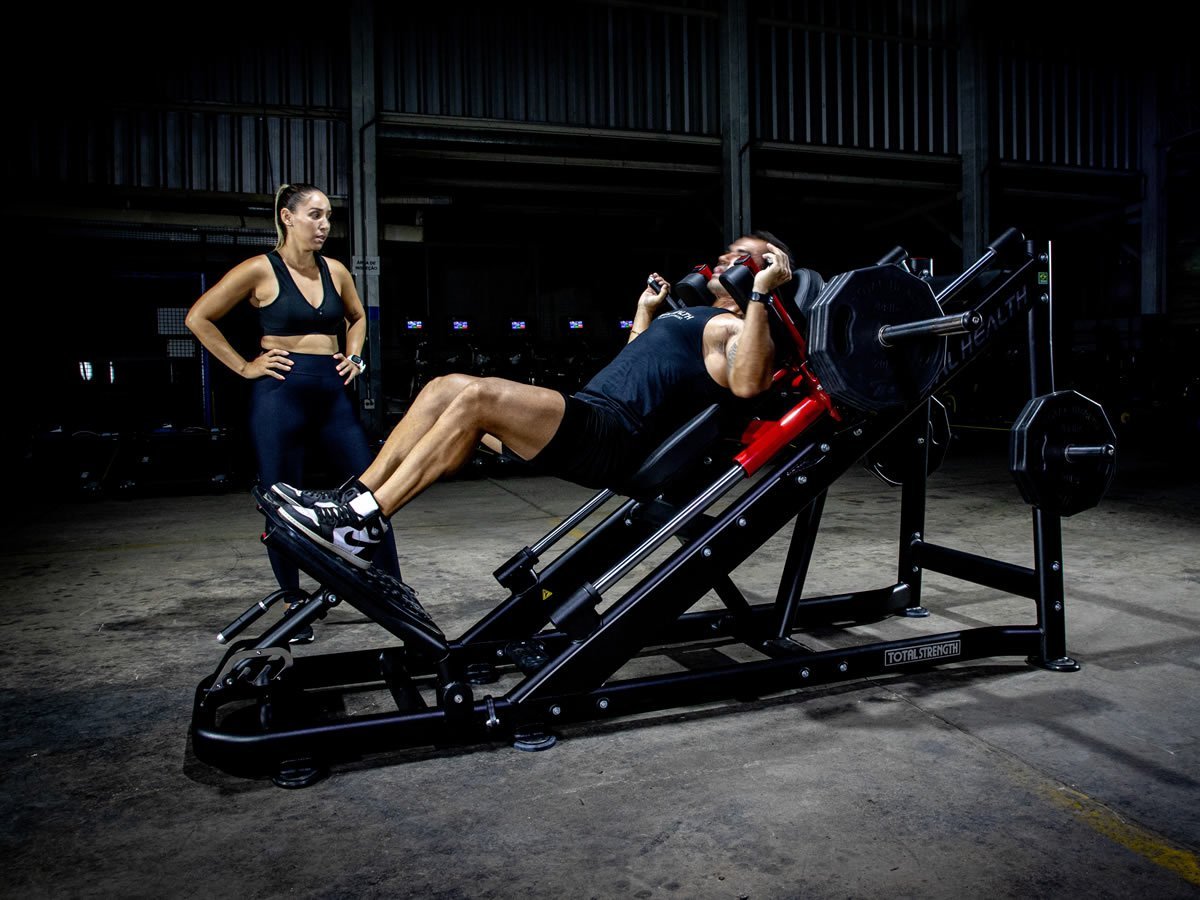
A machine hack squat is not the same exercise as a behind-the-legs barbell hack squat. In the former, the torso rides a supported path; in the latter, a bar starts behind the body and creates different balance and bar-clearance problems. A leg press also supports the torso but changes the position of the seat, platform and moving parts. All can train the legs, yet their loads and ranges cannot be compared directly.
In a small comparison of ten male lifters, supported hack squats required less trunk muscle activation than conventional back squats under the tested relative loads. That makes sense given the reduced need to balance an unsupported barbell. It does not prove one exercise is categorically superior for quadriceps hypertrophy or that a supported squat is effortless. The back squat may provide a useful whole-body bracing demand; the hack squat may help you focus on a more repeatable leg movement.
Choose the implement that fits your joints and goals. If the shoulder pads dig in, the platform is too small for secure feet or the bottom stops are inadequate, do not simply load heavier and hope it improves. Use another machine or free-weight movement that allows stable positioning. Avoid improvised loose wedges or pads on a moving platform: an unstable accessory can turn a comfortable variation into a slipping hazard.
Machine numbers are particularly deceptive. Empty carriages have different weights; rails use different angles and bearings; friction and range vary. Counting only plates on one machine and the whole sled on another makes comparisons worse. Log the model and your counting method. Strength gains are most interpretable on the same machine with the same technique.

Leg Day Shirts & Workout Gear
Leg-day gym shirts and workout gear for lifters who never skip squats, lunges and lower-body punishment.
Heavy Metal Skeleton Squat for Powerlifters, Bodybuilde T-Shirt
A t-shirt featuring the Heavy Metal Skeleton Squat for Powerlifters, Bodybuilders and Leg Day Lifters artwork, bringing lifting-inspired humor and distinctive gym graphics to your everyday gear.


Leg Day Squats Deadlifts Vest Meme Tank Top
Bring “Leg Day” humor to your next lifting session.

Leg Day / Metallica
Add a playful “Leg Day The Day That Never Comes Metallica” touch to your casual rotation.

Funny Squat Inspector Gym | Edgy Leg Day Meme Muscle Sh Tank Top
Show some personality between sets with “Squat Inspector”.

Legday – Squats & Deadlifts , Meme Top Bros & T-Shirt
Bring “Legday” humor to your next gym day.


Medieval Gym – Dost Thou Even Hoist Knight & Dragon Squ T-Shirt
Make gym days more fun with “Medieval” style.

Quadzilla Massive Quads Sweater Leg Day Squatting T-Shirt
Keep things casual with a little “Quadzilla” attitude.

Squat Here | Edgy Workout Decal for Water Bottles & Gym Sticker
A fun “Squat Here” touch for bottles, laptops, and lockers.
Progress for six weeks without changing the exercise
Weeks one and two should establish the movement, not a personal record. Use a recoverable weight for two work sets of eight to ten controlled reps, leaving several reps available. Record foot height and width, the actual machine, your shoe choice, safety-stop position and the bottom depth you can consistently reach. A second weekly exposure can be reasonable if your overall leg programme and recovery allow it, but it is not mandatory.
During weeks three and four, aim for three work sets of eight to twelve with the same stance and depth. Add repetitions before adding weight. If the last set becomes dramatically shallower, repeat the load next time rather than calling that a new maximum. Take enough rest to keep the next set technically consistent. A harder set can be useful without needing every repetition to approach failure.
In weeks five and six, increase resistance by the smallest practical plate increment after completing the upper rep target at the original standard. Returning to fewer repetitions after an increase is normal. If extra load forces your heels up or your pelvis away from the support, back off and retest. Individualise the process if you have knee, hip or back pain; persistent symptoms are a reason to seek appropriate professional advice, not push through.
A practical record includes machine model, plate load, whether carriage weight counts, stance, footplate location, depth, reps and approximate effort. That is more useful than one isolated number. Consider the exercise alongside your other squats, lunges, leg presses and knee-extension work so the total volume remains recoverable.
Bottom line: start near the middle of the footplate, keep the whole foot secure, move the knees comfortably and choose a depth that stays stable from the first to last rep. Make small placement changes for a clear reason, then build strength on a setup you can reliably repeat.