Advertising disclosure: This page includes affiliate product links that may earn us a commission, as well as products from our own store.
A dumbbell step-up looks simple: place one foot on a box, stand up, and return to the floor. Yet small choices—box height, rear-leg push-off, how you descend, and where the weight hangs—determine whether your quads and glutes do the work or momentum does. This guide breaks down a repeatable setup, shows how to load the movement without losing balance, and explains what muscle-activation studies can and cannot tell you. The goal is not the tallest box or heaviest dumbbells. It is to make each leg perform controlled work you can progress from week to week.
Pick a step height that you can actually control
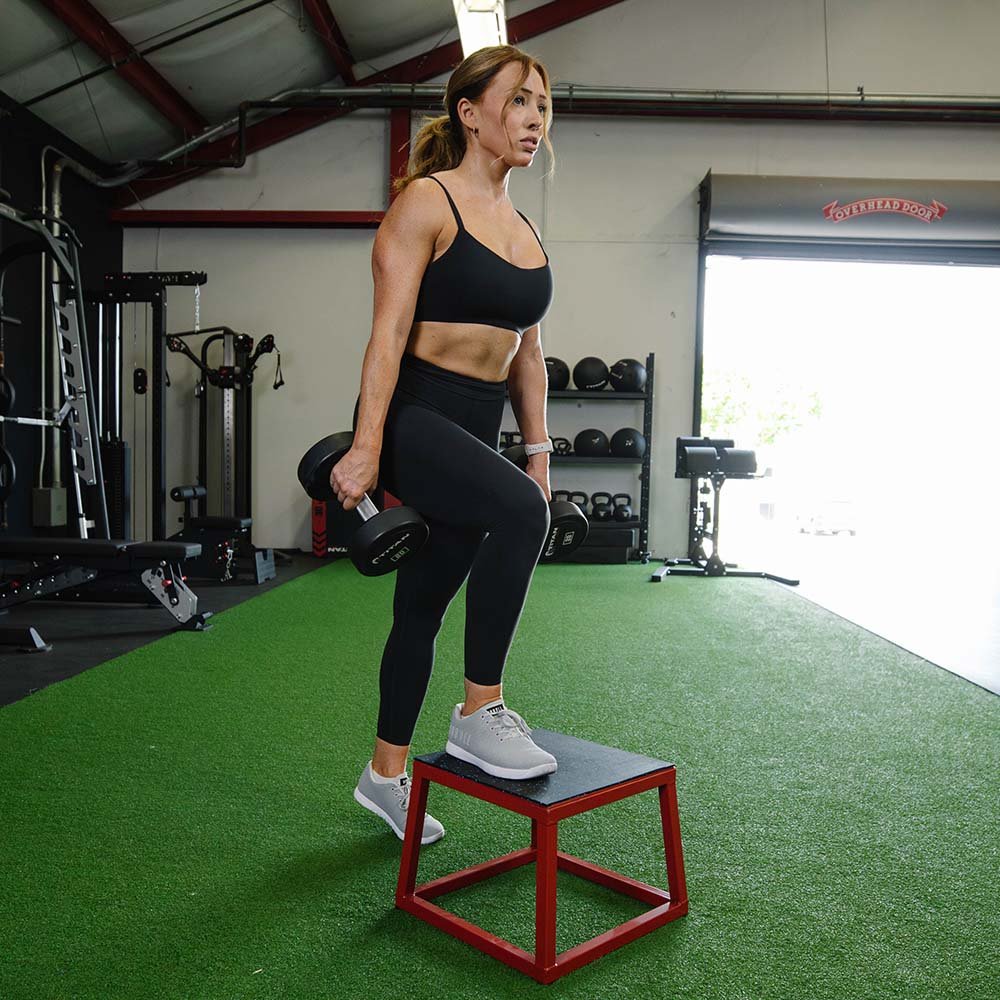
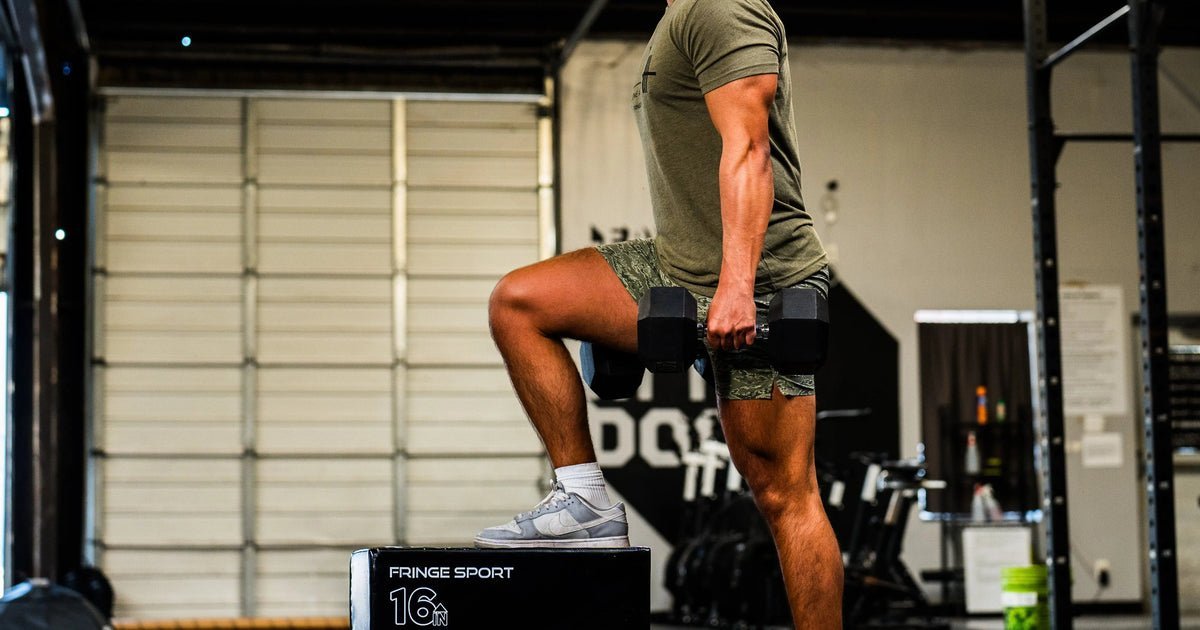
The platform determines much more than how impressive a set looks. A taller step requires deeper hip and knee flexion, usually increases the balance demand, and may tempt you to spring from the trailing foot. Start with a platform below knee height if that lets you keep your pelvis level, place your entire shoe on the surface, and rise without twisting. You should not need to launch yourself upward or hook your back leg around the edge.
Test the height before taking any weights. Stand at the base, plant one foot, and complete three slow, clean bodyweight repetitions on each side. The leading heel should remain supported, the knee should track in the general direction of the toes, and the trailing foot should rise because the elevated leg is doing the work. If you lose balance or fold your torso to get up, lower the step. Height is a training variable, not a badge of strength.
Use a rigid, non-slip platform rated for your body weight plus external load. A firm exercise box or properly stable step is safer than a rolling chair or narrow unstable bench. Make sure there is room behind you to step down; avoid stepping onto a surface with loose plates, wheels, or a slick covering. When progressing, prefer better control and more repetitions over adding height immediately.
Drive with the lead foot instead of bouncing from behind
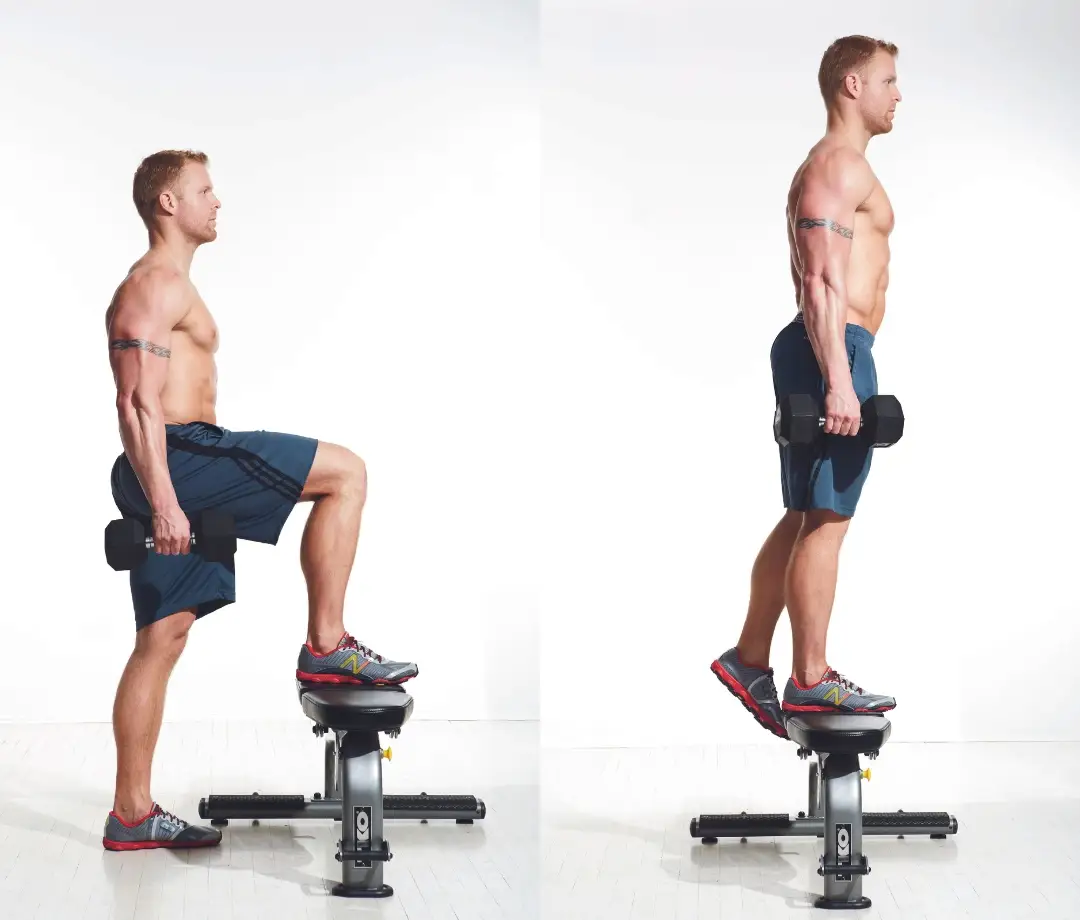
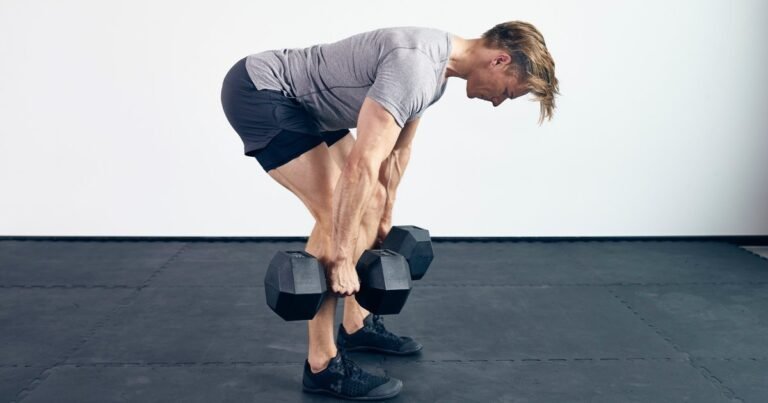
Stand close enough to the platform that you are not reaching forward from the hips. Hold the dumbbells down at your sides, let the shoulders remain relaxed, and brace lightly as you would for a controlled lunge. Plant the whole working foot on the box. Keep your gaze ahead or slightly downward to check the landing area, rather than throwing your head up to force the movement.
Think of pushing the box away with the foot already on top. Your trunk can lean forward a little as needed; a rigid, perfectly vertical torso is not a universal requirement. The important distinction is a deliberate weight shift onto the working leg instead of a hard jump with the rear calf. Rise until the hips and knees are extended comfortably, then either briefly bring the free foot beside the planted foot or leave it hovering if that helps your rhythm. Neither style should require a violent lockout.
On the way down, return the free foot to the floor without crashing. Keep the working foot on the box until that descent is controlled, or fully reset both feet if you prefer alternating legs. Count each side’s completed repetitions rather than letting the stronger leg accumulate extra work. Film a set from the front and side if uncertain: a tiny wobble can be normal, but repeated hip rotation, knee collapse, rear-leg bouncing, or swinging dumbbells indicate the current load or height is too demanding.
Know which muscles work and what the evidence really measures
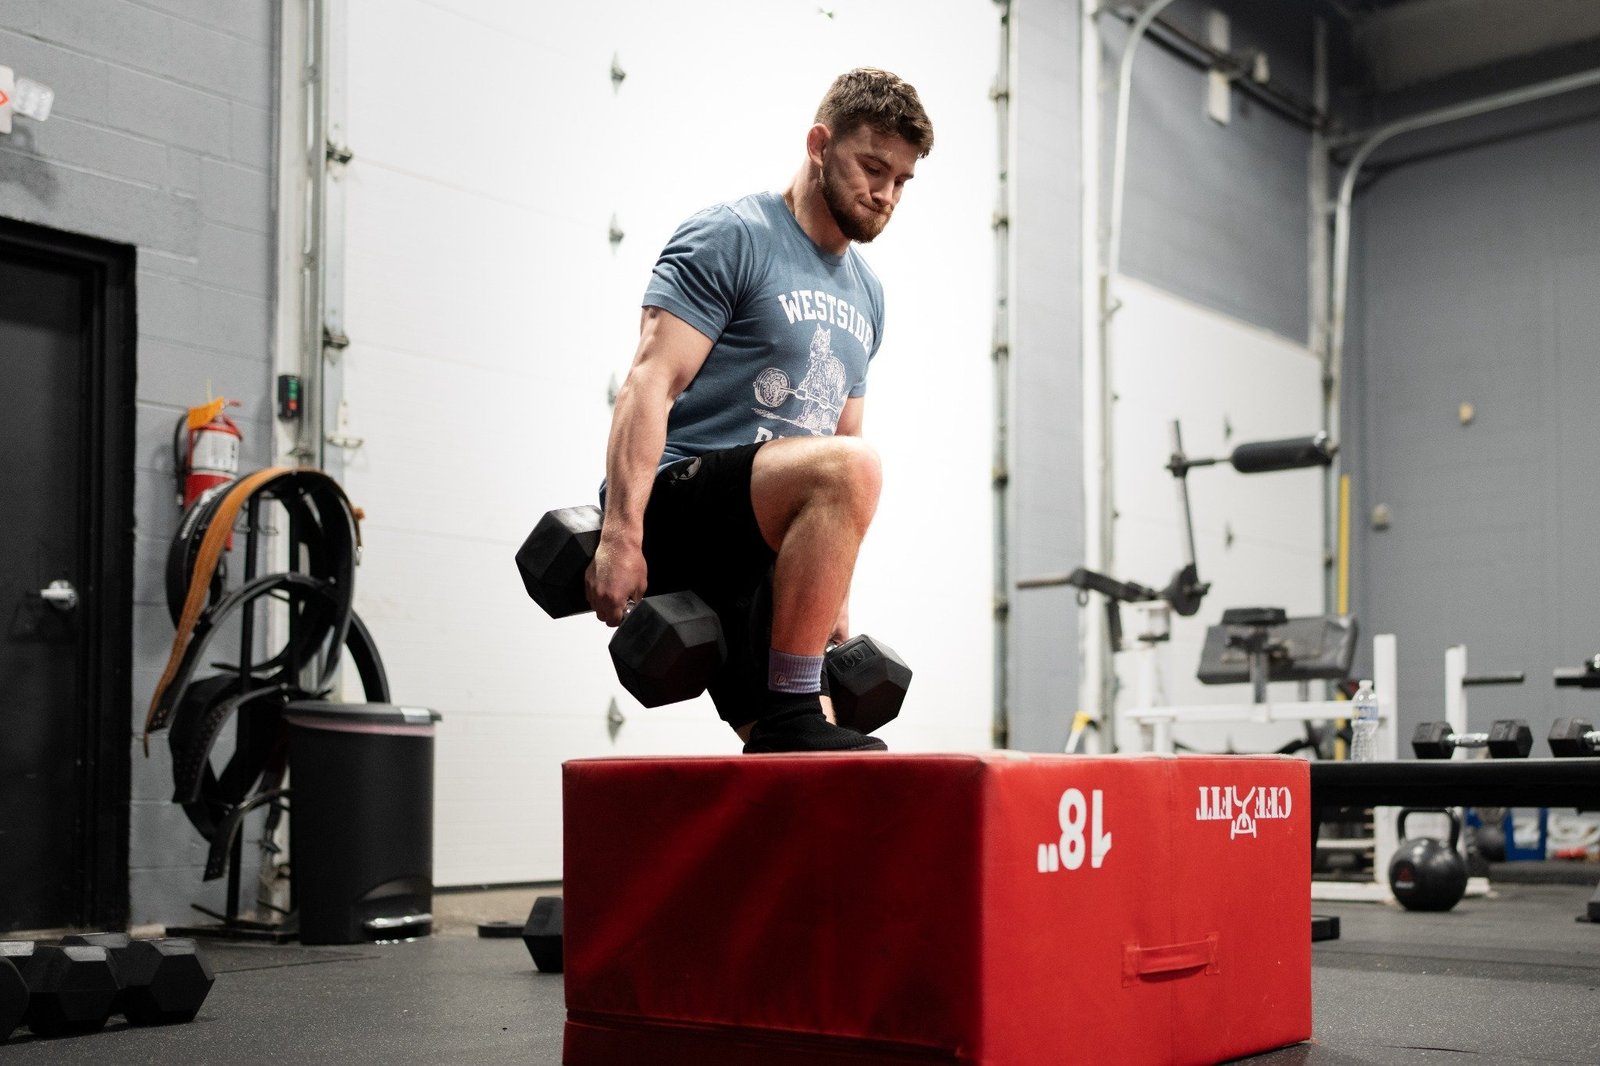
The quadriceps extend the knee, while the gluteus maximus assists hip extension as you rise. Hamstrings and adductors also contribute to hip mechanics, and muscles around the pelvis and ankle work to keep you stable. Because one leg has to accept most of the upward task, the movement offers a useful way to train legs separately. It can expose obvious side-to-side control differences, though such differences are not automatically signs of an injury.
One small laboratory experiment compared four loaded step-up directions in 15 resistance-trained women using 18-inch boxes and six-repetition-maximum loads. The forward step-up showed strong activation in several hip and thigh muscles, while the crossover variation produced greater concentric gluteus medius activation in that specific setup. That tells you the direction of the step can change the immediate muscle activity. It does not establish one variation as the best for everyone, or prove which option produces more muscle growth over months.
Surface electromyography measures electrical activity, not hypertrophy. Other work reviewing glute activation across exercises also cannot replace long-term comparisons of strength and size. For practical training, choose the variation that gives you a strong working-leg effort with repeatable form. A lower platform and moderate dumbbells may provide a better muscle-building stimulus for a given lifter than a very tall step performed with heavy bouncing. Treat activation research as context, not as a scoreboard for exercise quality.

Equipment Worth Exploring
Explore equipment, accessories and gear from our carefully selected range.


Rubber Hex Dumbbells
Rubber-coated hex dumbbell pairs with a stable shape for home and commercial strength training.


FID Bench MAX
Adjustable bench offering flat, incline, and decline positions + adjustable headrest.
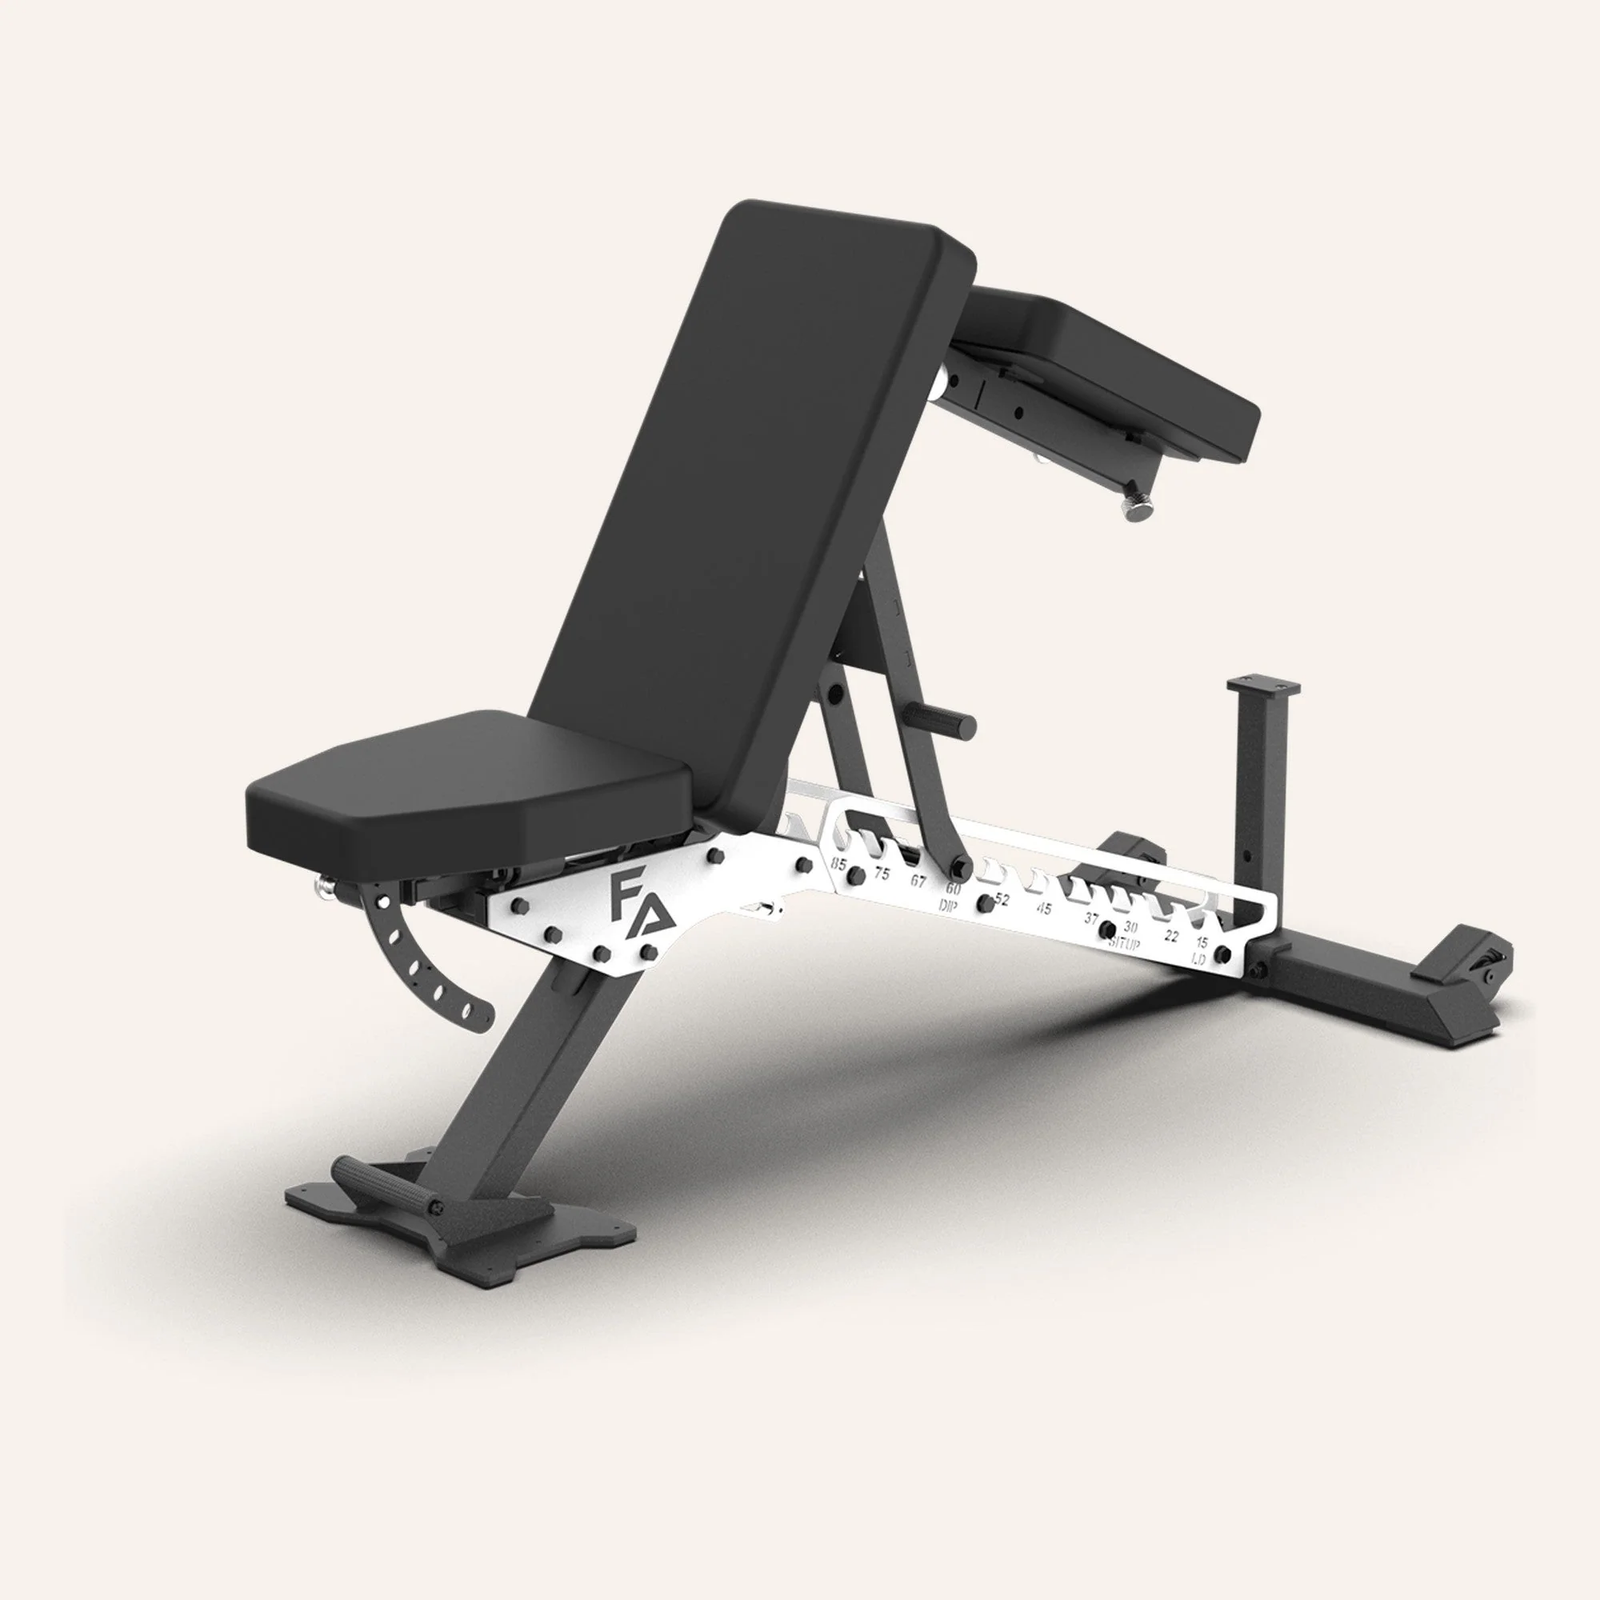


Multi Bench MBX-650 2.0
Adjustable multi-bench with roller adjustment, 15 backrest positions and accessory mounts.

Control the lowering phase and protect your balance
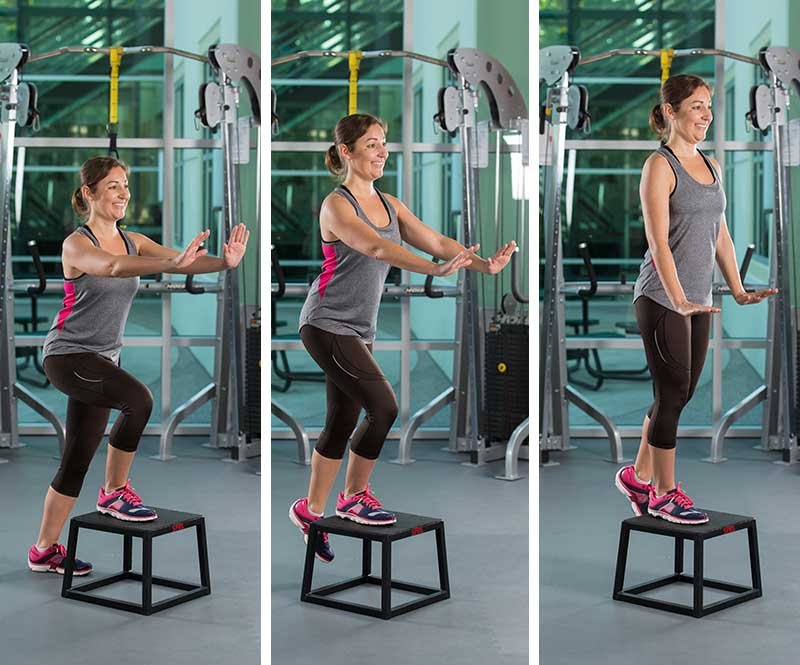
The descent is not dead time between repetitions. The elevated leg must regulate how quickly your body moves downward, while your trunk and hip stabilizers manage balance. Lower the trailing foot until it contacts the ground softly instead of dropping your body from the top. A useful cue is to be quiet: if the landing thuds every rep, the weight or step height may be beyond your current control.
Do not interpret ‘slow’ as an obligation to spend five or ten seconds on every descent. A controlled count of roughly two seconds is a simple place to start, but natural tempo can vary with weight and goal. If your heel lifts excessively on the top foot, the knee drifts unpredictably, or you have to grasp a wall suddenly, simplify the set. Using one hand on a sturdy support is a legitimate regression while learning the movement.
Keep space between the box and surrounding equipment. A loaded step-up is an especially poor place to test grip failure: if the dumbbells start to slide, end the set and return them safely. Sharp knee, hip, or ankle pain is a reason to stop or regress rather than forcing a prescribed rep target. Some knee travel over the toes is normal in a step-up; what matters is controlled motion and an individually comfortable range, not trying to freeze the shin perfectly vertical.
Choose between dumbbells, bodyweight and other loading options
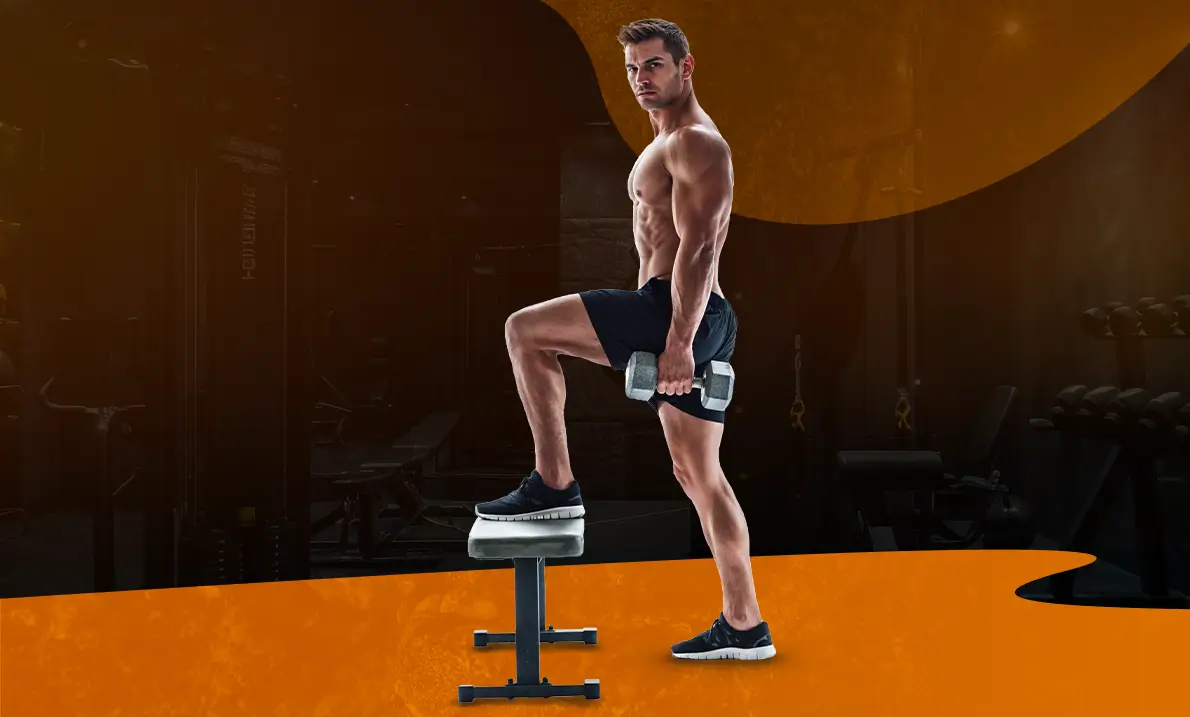
Bodyweight step-ups are a complete starting exercise. Add a light dumbbell in each hand only when the platform height, balance and descent feel predictable. Dumbbells keep the loading close to your sides and are easy to set down between sets; they also make grip endurance part of the exercise. If your legs could do more but your grip is failing, use shorter sets, lighter weight, or a properly supported vest rather than dragging the weights through sloppy reps.
A single dumbbell can be held in a suitcase position, although asymmetrical loading introduces an additional anti-lean challenge. You may also hold a light weight at chest level, or use a weight vest when your grip is the limiting factor. Those are different progressions, not merely interchangeable ways to display the same number on a training log. Record the implement, height and repetitions so you can actually compare performances.
A barbell across the back is possible for experienced lifters but makes a missed step and balance error more consequential. It is rarely the first progression to recommend. Similarly, an unstable soft surface may feel challenging but can turn a straightforward quad-and-glute exercise into a balancing contest. For most hypertrophy work, prioritize a predictable platform and loading that allows consistent leg effort. Save deliberately unstable drills for a separate goal, under suitable supervision and conditions.
Program step-ups without turning every set into cardio
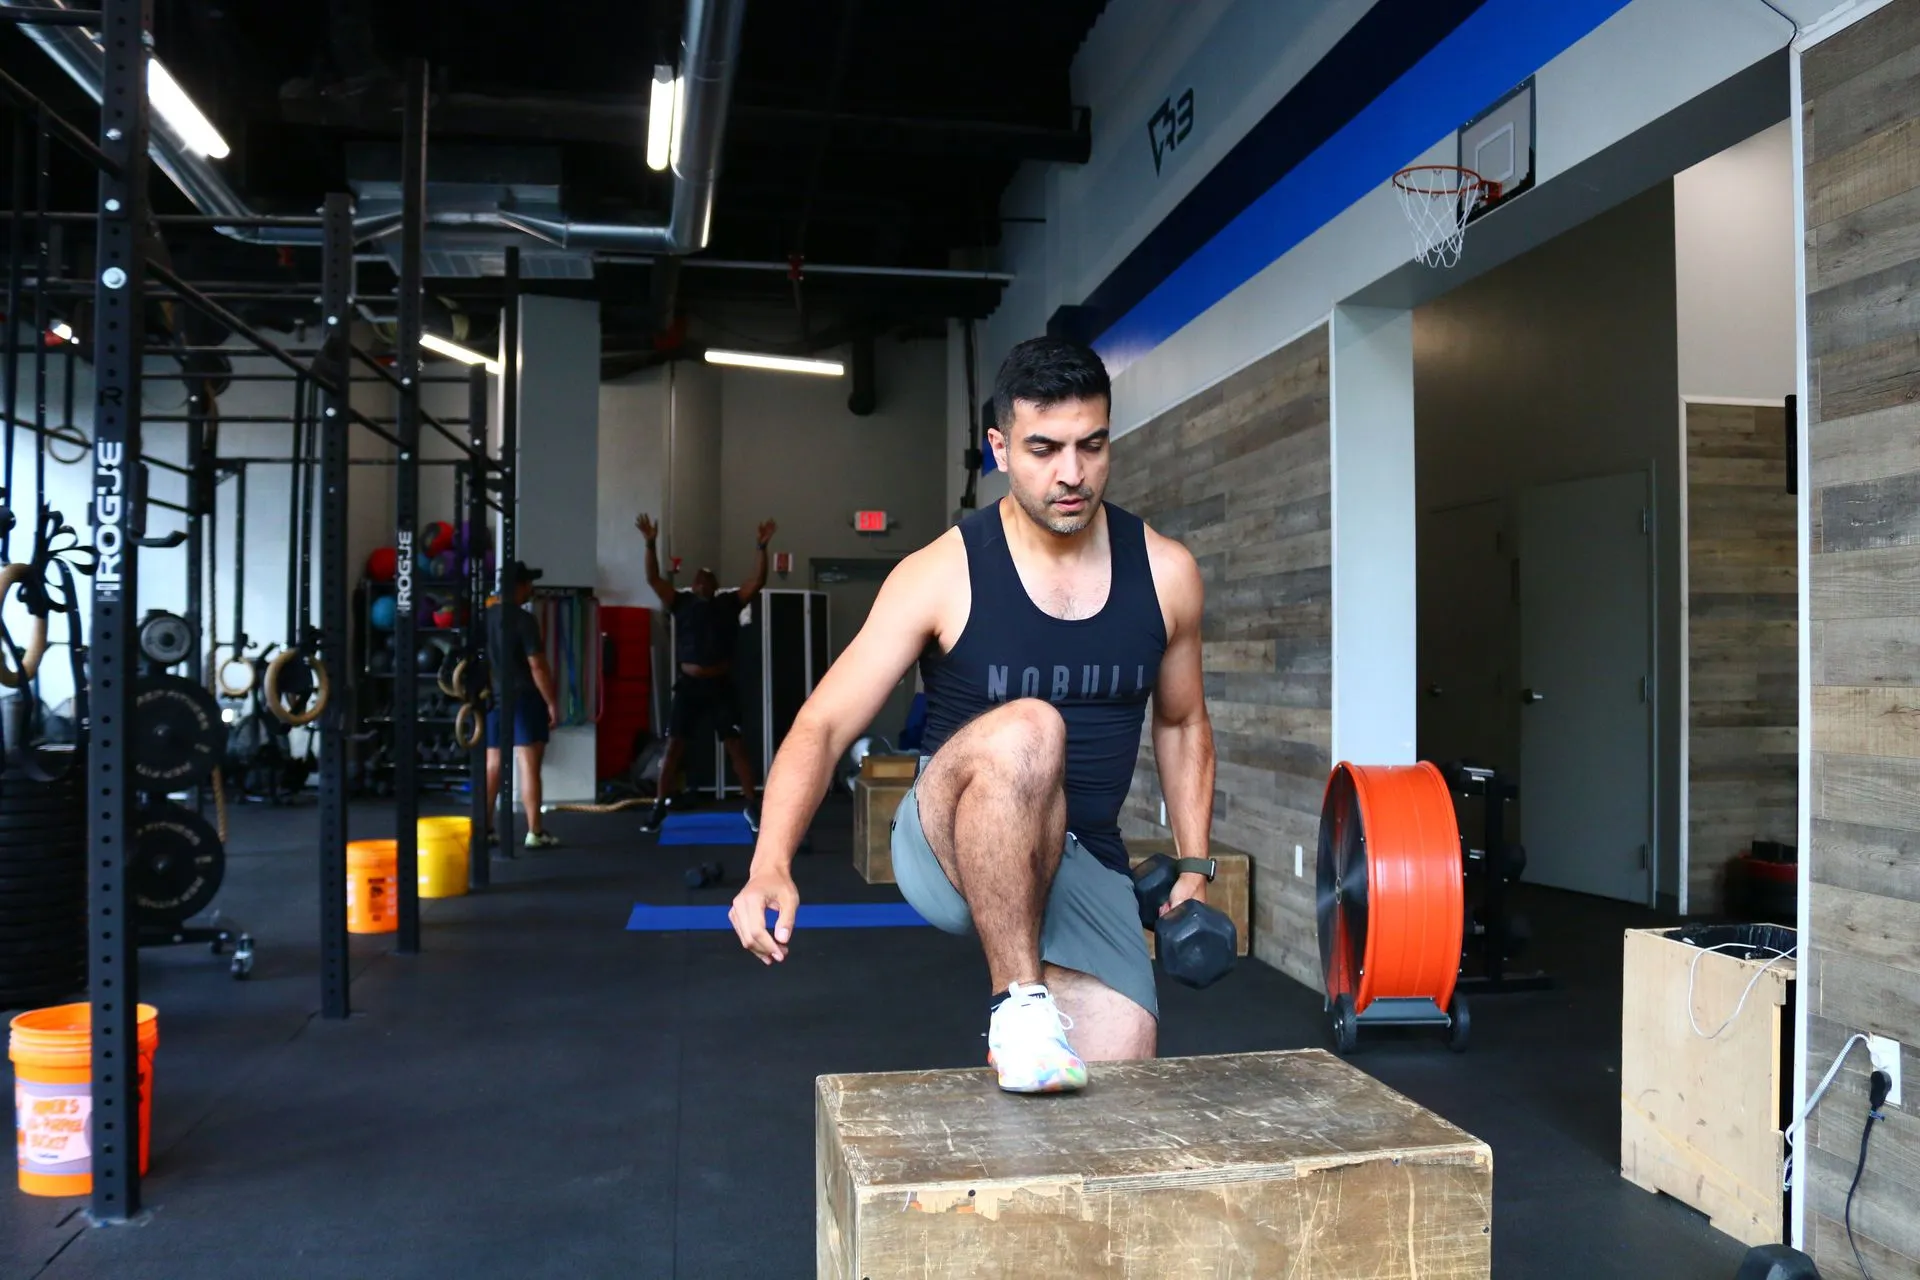
Start with two sessions per week and leave at least a day between hard lower-body sessions when practical. For a lifter already doing squats, presses and hinges, two or three challenging step-up sets per leg may be enough accessory volume. Place them after your main squat or hinge if maximal strength there is the priority, or earlier if you specifically need to improve step-up control. Sets of six to ten clean repetitions per leg make a useful starting range; higher repetitions are possible but should not become a race to breathe harder.
Here is a simple four-week example, assuming no pain and a stable platform. Week 1: two sets of eight bodyweight reps per leg, tracking height and smoothness. Week 2: three sets of eight with the same height, adding only enough load to keep two or three good repetitions in reserve. Week 3: three sets of nine or ten at the same load. Week 4: return to eight per leg with a small dumbbell increase if every repetition has stayed balanced. If technique changes, repeat the prior week instead.
Rest roughly 60 to 120 seconds after completing both legs, longer when holding heavy dumbbells or if breathing prevents quality movement. You can alternate legs each rep or perform all reps on one side before switching; be consistent within a training block. Keep each leg’s effort comparable, generally beginning with the side that feels less confident. The load increase is earned by controlled work, not by an arbitrary deadline.

Leg Day Shirts & Workout Gear
Leg-day gym shirts and workout gear for lifters who never skip squats, lunges and lower-body punishment.

Thicc Booty Energy Sweater Leg Day & Squat Lovers T-Shirt
Show some gym-day personality with “Thicc Booty Energy”.

Girl – Invisible Booty To Visible Booty Meme Squats, T-Shirt
Rep “Gym Girl” humor in and out of the gym.

Juicy Booty Booty Builder Big Booty Gains & Leg Day Tank Top
Train hard, laugh a little, and rep “Juicy Booty”.

Shirt – Squat Inspector Leg Day & Booty Gains – Meme T-Shirt
Make gym days more fun with “Squat Inspector” style.


Negative Leg Day Review Leg Day Sucks Meme Squats, T-Shirt
Show some leg-day attitude with a playful “Negative Leg Day Review” tee.

Funny Booty Out Of This World Gym | Alien Meme Workout T-Shirt
Keep things casual with a little “Booty Out Of This World” attitude.

Funny Squat Queen Gym | Burger King Parody Workout Swea T-Shirt
Add a playful “Squat Queen” touch to your casual rotation.

Booty Building Mode Leg Day & Squat Meme Fans Hooded Hoodie
Show off your leg-day humor in a laid-back “Booty Building Mode” hoodie.

Never Skip Legday – Chicken Legs Meme , , & Leg Day T-Shirt
Heavy lifts, good laughs, and a little “Never Skip Legday” energy.
Use lateral and crossover variations only for a clear reason
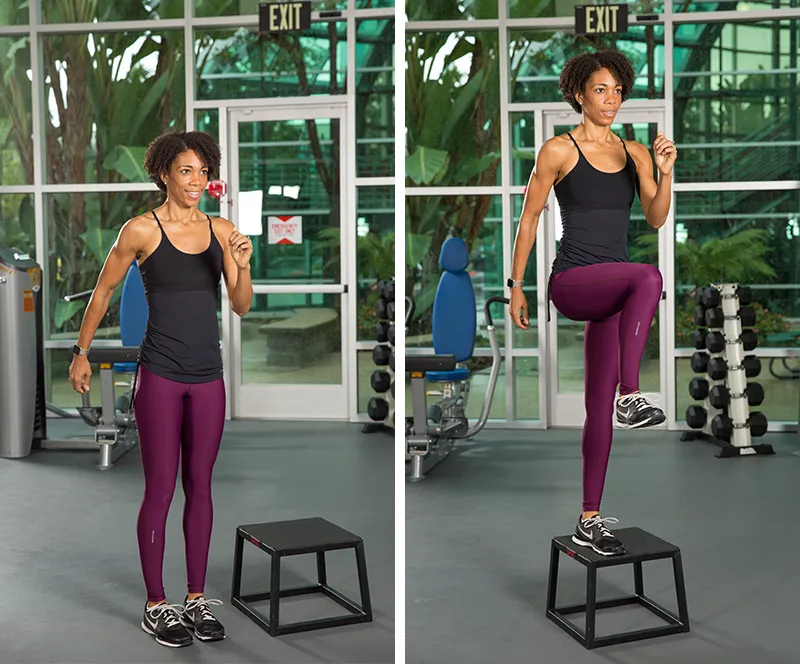
The standard forward step-up is not the only option. A lateral step-up begins beside the box, asks you to move upward from a different direction and can emphasize frontal-plane control. A diagonal step-up changes your approach angle. A crossover step-up reaches across the body and may challenge hip stabilizers differently, but it also demands more coordination and room to maneuver. Learn each variation without weights and with a low box before deciding whether external load is useful.
Choose variations by the problem you want to solve. If the standard step-up feels awkward because the box is too high, lowering the box is more valuable than inventing a complicated crossover. If you want to practice side-to-side hip control, lateral step-ups are a reasonable addition. If you already train split squats and lunges hard, the forward step-up can be a small accessory rather than a mandatory extra leg-day marathon.
The simplest progress markers remain consistent: the same platform, a controlled start, complete-foot contact, and more good work over time. A step-up is worth keeping when it builds a repeatable combination of single-leg strength, balance and confidence. It is not a replacement for every squat, hinge or calf exercise, and it does not need to be marketed as one. Pick a version you can own today, then increase the challenge as your technique catches up.