Advertising disclosure: This page includes affiliate product links that may earn us a commission, as well as products from our own store.
Some product links may be affiliate links. If you shop through them, Mind Muscle Perfection may earn a commission at no extra cost to you.
A bigger back comes from more than collecting random rows and pulldowns. Your lats help drive the upper arm toward the torso, your upper-back muscles manage the shoulder blades, and your spinal erectors keep the trunk stable under load. Training all three jobs matters if you want a back that looks developed from behind and performs better when you pull.
This four-week back workout offers two repeatable weekly sessions: one centered on vertical pulling and one on supported or free-weight rows. The goal is to accumulate productive work, keep execution consistent, and progress without turning every set into an exhausting test. Four weeks is a useful training block, not a promise of a visible transformation or a deadline for muscle growth.
1. Train back width, thickness, and stability as different jobs
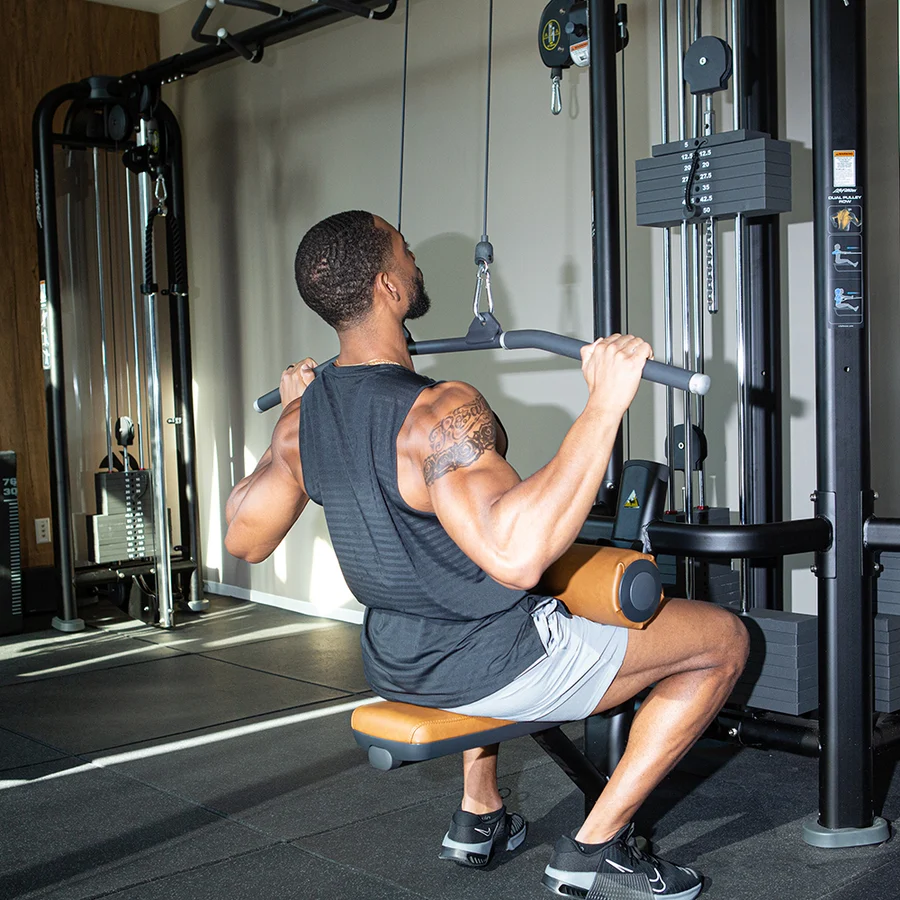
The word back covers several muscles that do not all perform the same function. The latissimus dorsi contributes to shoulder extension and adduction, which is why pull-ups, pulldowns, and elbows-toward-hip rows make sense for lat-focused training. The middle trapezius and rhomboids help position and retract the shoulder blades; movements involving the elbows traveling away from the body can place more emphasis on the upper back. The spinal erectors resist trunk flexion and support posture during rows and hinges, although they need not be the limiting factor of every back exercise.
A balanced week therefore needs a vertical pull, a horizontal row, and enough trunk or scapular control work to make the heavier movements repeatable. You do not need a dozen different grips to achieve this. A comfortable neutral-grip pull-up, a stable cable row, and a chest-supported dumbbell row can cover much of the work. If you enjoy barbell rows or deadlifts, they can fit too, provided their fatigue cost does not crowd out your other training.
Think in terms of elbow path and function, rather than marketing claims about an exercise isolating one magical strip of muscle. Driving elbows down toward your pockets tends to make a pull feel lat-focused; bringing elbows farther out and allowing controlled shoulder-blade motion can shift attention toward the upper back. Neither position completely switches one muscle off, and individual anatomy affects which grip is comfortable.
2. Session A: pull-ups and pulldowns for stronger lats
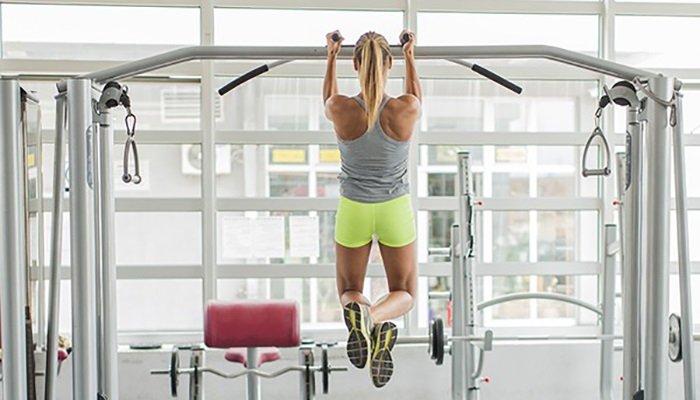
Begin with a vertical pull while you are fresh. If you can perform clean pull-ups, use three sets of five to eight, stopping with roughly one or two repetitions in reserve. If you cannot yet complete five, use an assisted machine or band and select enough help to keep the rep quality high. If even assisted pull-ups irritate the shoulders, a neutral-grip lat pulldown is a practical primary movement. You can progress the load and reps just as deliberately as with pull-ups.
For the second exercise, use a pulldown grip that differs modestly from your first movement—for example, neutral handles after standard pull-ups. Perform two or three sets of eight to twelve. Keep the rib cage relatively stable rather than turning the rep into a backward lean. Pull the elbows toward the ribs, let the arms travel overhead again, and use a range of motion that your shoulders tolerate without forcing the bar behind your neck.
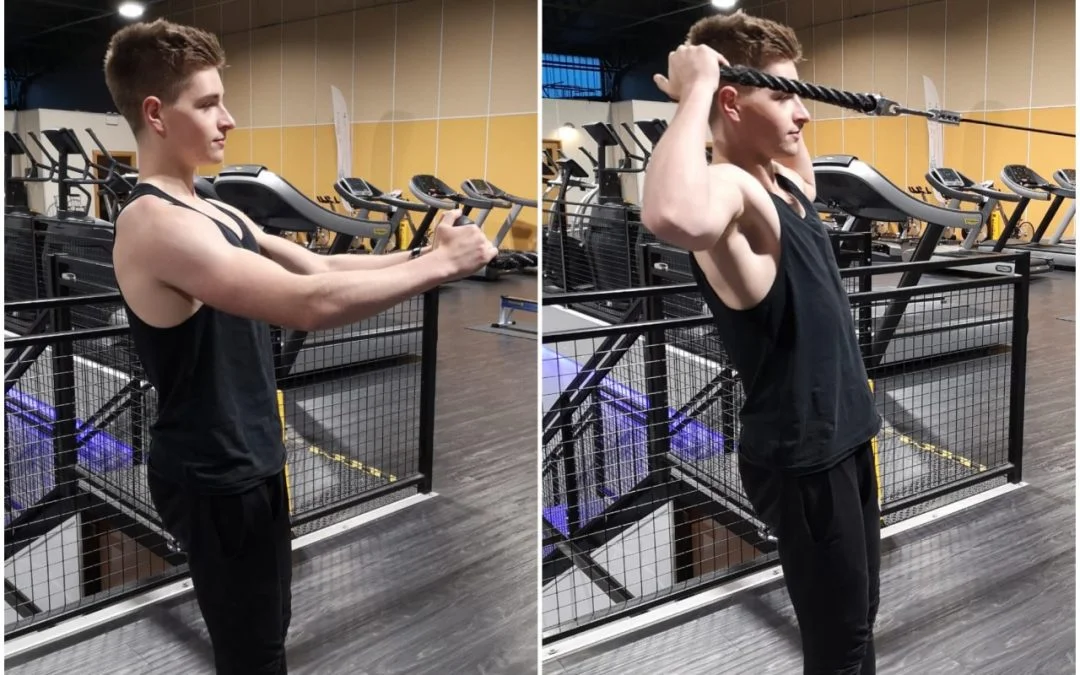
Finish with two sets of straight-arm cable pulldowns for twelve to fifteen smooth repetitions, or replace them with one-arm cable pulldowns if the setup is more comfortable. This is an accessory, not a competition for maximum weight. Control the eccentric phase so the lats remain loaded as the arms rise. If your grip fails much earlier than your back, consider straps for selected hard sets, but keep some unassisted gripping work elsewhere in your training.
Example Session A: pull-up or assisted pull-up, 3 × 5–8; lat pulldown, 3 × 8–12; straight-arm pulldown, 2 × 12–15. The notation is sets times reps. Take about two minutes or more before difficult pull-up sets and enough rest on accessories to preserve smooth technique. Warm-up sets are additional and should not be counted as your hard working sets.

Equipment Worth Exploring
Explore equipment, accessories and gear from our carefully selected range.

Power Tower
Freestanding pull-up and dip station with adjustable handles for bodyweight training.


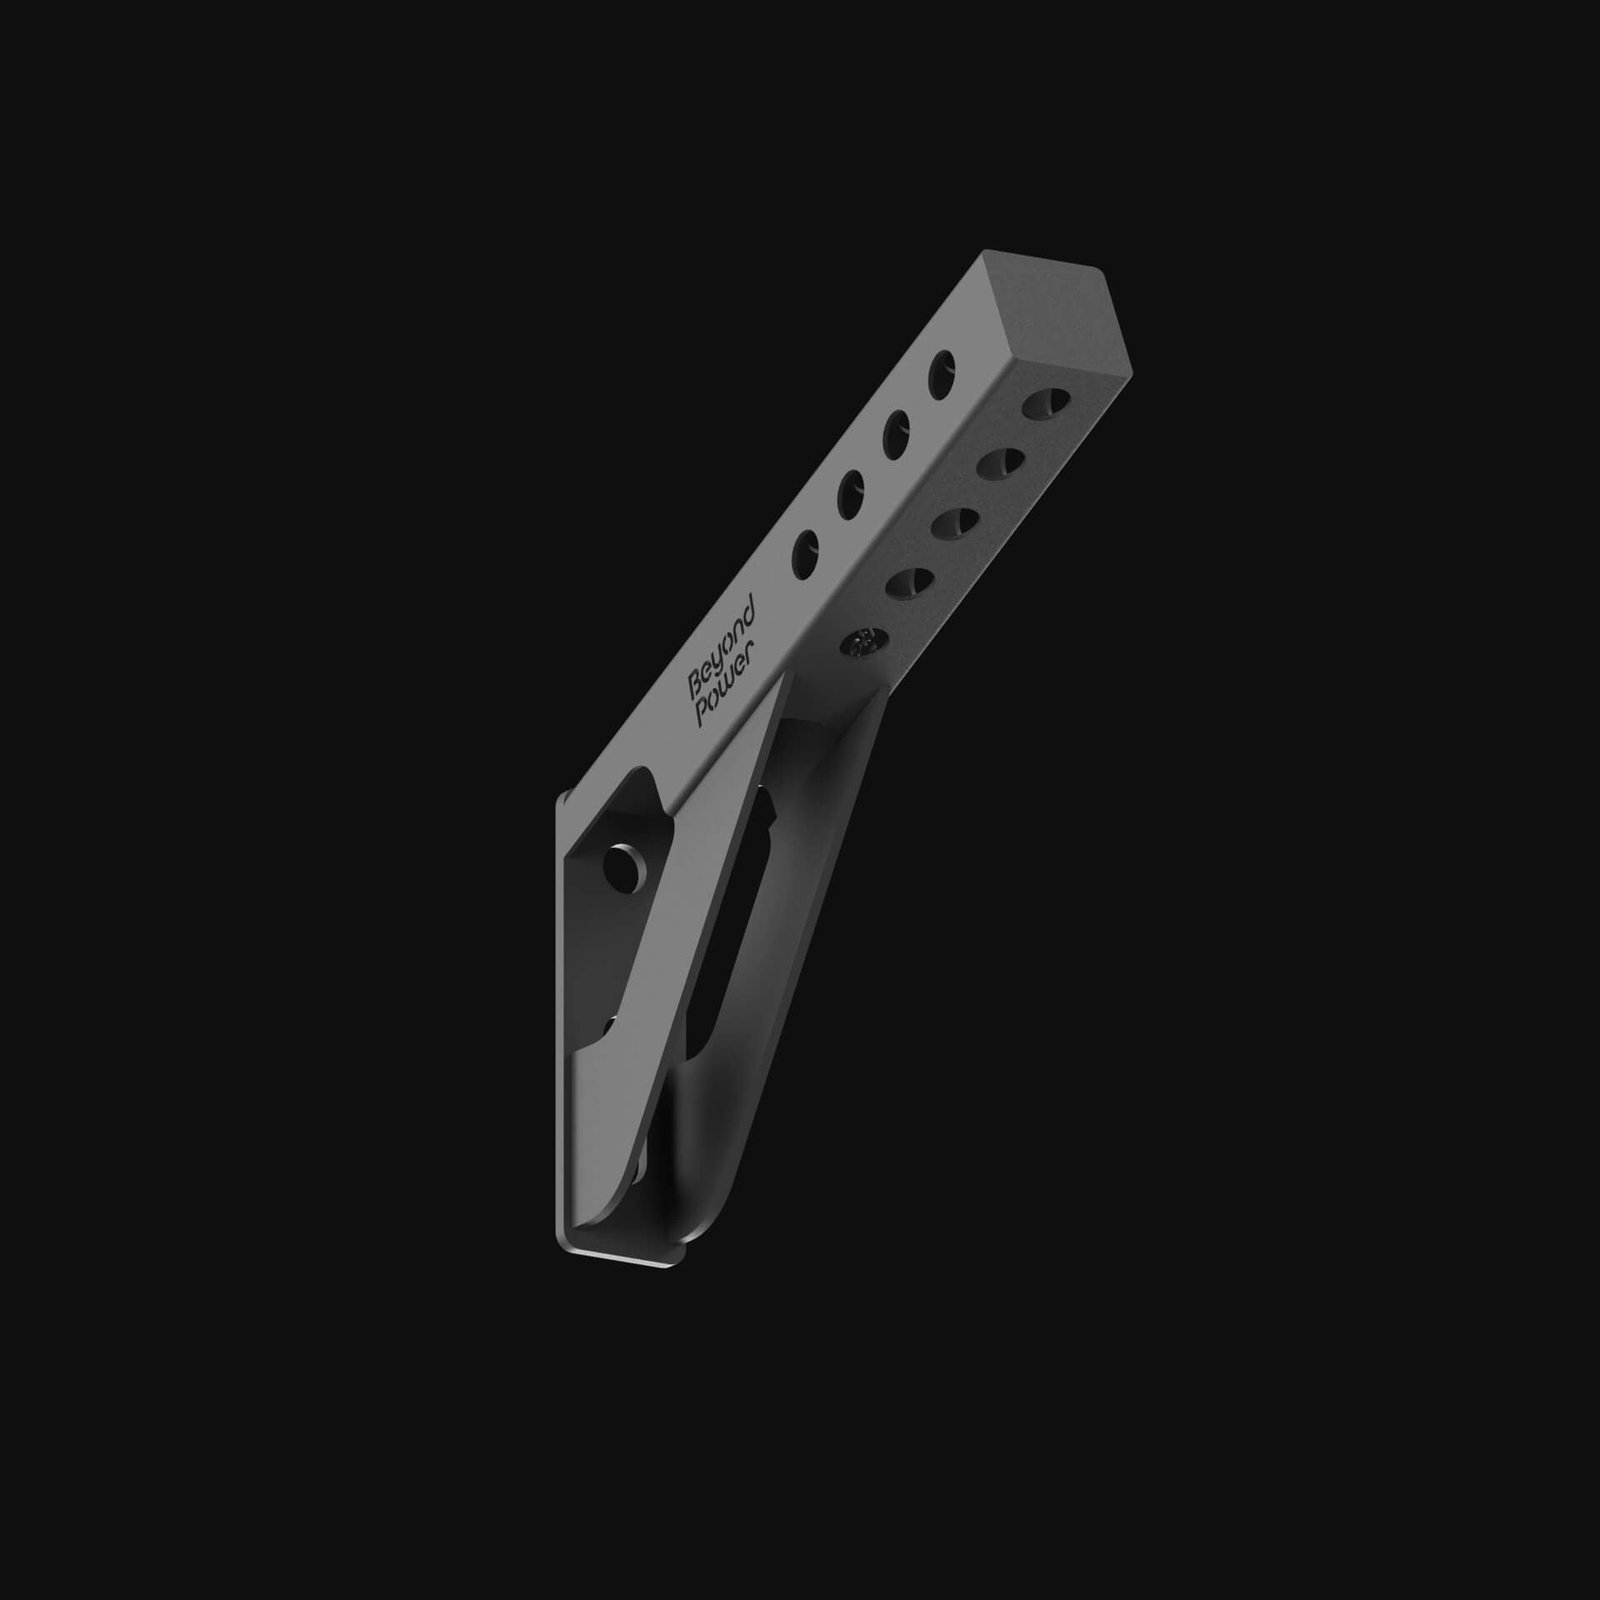
VOLTRA
Compact digital cable trainer with smooth, adjustable resistance.

Go-Tone Pro
Portable digital cable trainer with up to 66 lb (30 kg) of adjustable resistance.
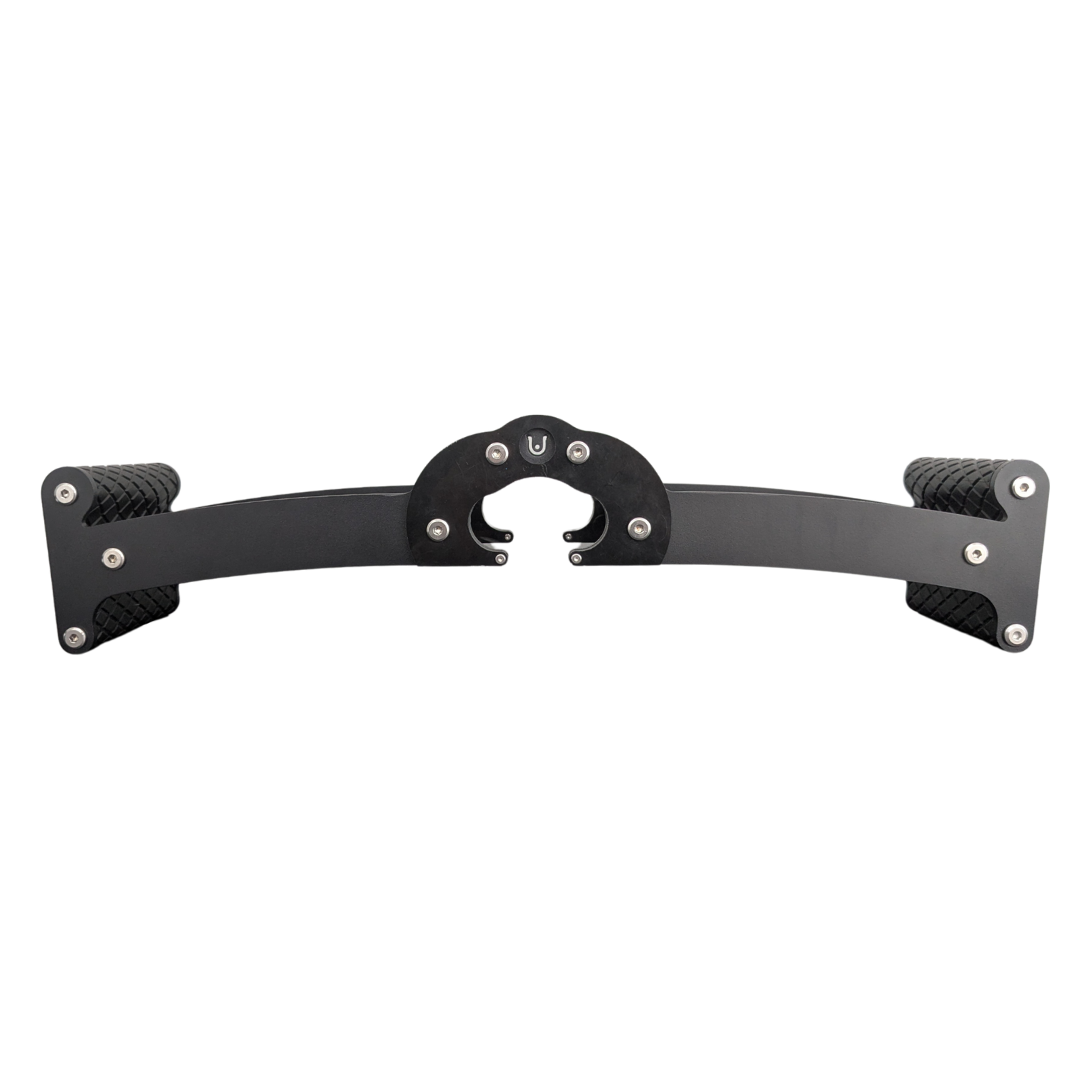
Back Bar
Multi-grip cable and landmine bar with a built-in deadlift jack.

Leather Lifting Straps
Padded leather straps support grip during heavy rows, deadlifts and pulling exercises.
3. Session B: rows for the middle back and controlled loading
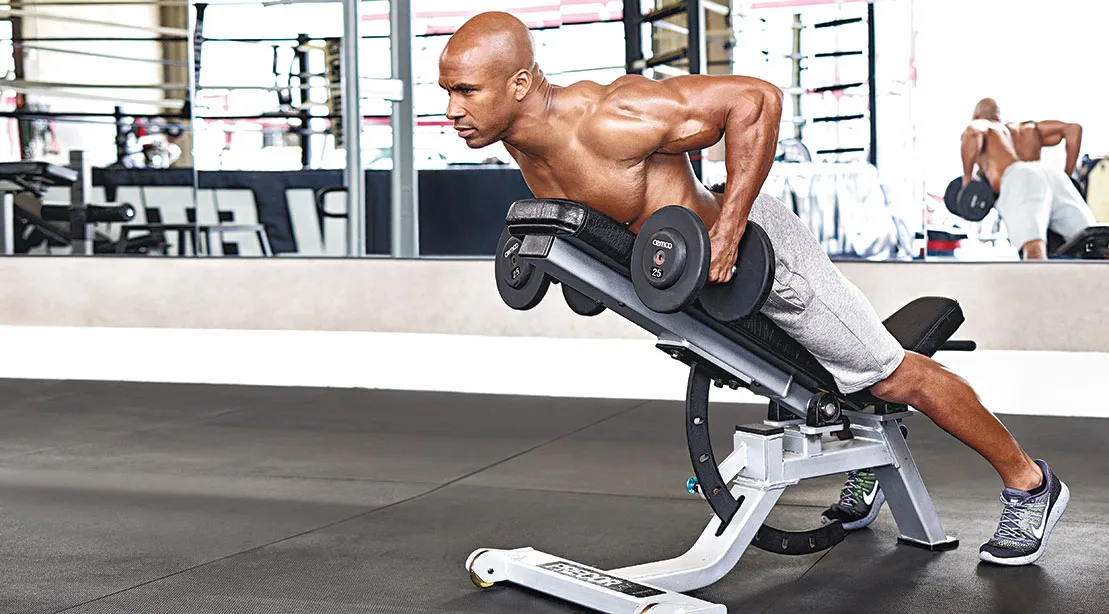
On your second back day, lead with a row. A chest-supported dumbbell row is an excellent option when your lower back is already tired from squats or hinging. Set the bench to a comfortable incline, allow the arms to reach forward without collapsing the trunk, then row the weights toward the lower ribs. Three sets of six to ten repetitions give you room to build strength without making every set a maximal pull. Pause briefly at the top if that helps you avoid bouncing.
Follow with a seated cable row for three sets of eight to twelve. Aim to move the elbow and shoulder blade together, not to fling your torso forward and backward to move the stack. A moderate range of motion performed consistently is usually more informative than a larger movement created by momentum. Alternate overhand and neutral handles across training blocks if you like, but do not expect minor grip changes to produce radically different results.
Finish with a rear-delt row, reverse fly, or face pull for two sets of twelve to twenty. These accessories reinforce upper-back control and provide work that heavy lat-dominant pulling may not emphasize as much. If you have only one row station, vary elbow path and effort instead of hunting for more machines. A supported row plus an upper-back accessory can be a complete session when your overall program already contains pulling during other days.
Example Session B: chest-supported dumbbell row, 3 × 6–10; seated cable row, 3 × 8–12; face pull or reverse fly, 2 × 12–20. Start with weights that leave one to three technically good repetitions in reserve. The program totals roughly sixteen challenging back-focused sets per week if every listed exercise is performed; treat that as a substantial starting volume, not a prescription for beginners who are also doing many other pulls.

Bodybuilding Shirts & Workout Gear
Bodybuilding shirts, tanks and gym gear for lifters chasing muscle, size, symmetry and the pump.

Black Panther Big Back Gym Funny Workout Pullover Hoode Hoodie
Keep it laid-back with a little “Black Panther Big Back” attitude.

Back In Shape Back In Black Album Cover Parody AC/DC He Hoodie
Stay casual and show some metalhead attitude with “Back In Shape”.

The Empire Lifts Back – Star Wars Back Day Meme Vest Mu Tank Top
Your gym-day look, with a playful “The Empire Lifts Back” twist.

Train Back You Must Gym | Funny Yoda Bodybuilding Meme Hoodie
Make your off-duty look more fun with “Train Back You Must”.

Strong Back Bodybuilder | Meme Hooded | The Simpsons Wo Hoodie
Bring “Strong Back Bodybuilder” gym humor to lazy days and post-workout plans.

Big Back SpongeBob Decal Water Bottles Meme Sticker
A fun “Big Back” touch for bottles, laptops, and lockers.

Lat Spread Mickey Mouse Decal Meme Water Bottles Sticker
A fun “Lat Spread” touch for bottles, laptops, and lockers.

Zombie Deadlift Lifting Dead Halloween Hooded Hoodie
Stay casual and show some Halloween attitude with “Zombie Deadlift”.

Deadlift And Chill Shirt Netflix & Gains Meme Top T-Shirt
Bring “Deadlift and Chill” humor to your next gym day.

Pump Vader Villain – Sci-Fi Emperor Deadlift Gains, T-Shirt
Bring “Pump Vader Gym Villain” humor to your next gym day.
4. Four weeks of progression without changing everything

Week 1 is your baseline. Write down the exercise variation, working weight, reps, rest time, and whether the last set remained controlled. Choose the lower end of each rep range and stop before technique changes significantly. A set of six solid pull-ups is more useful as a baseline than eight repetitions that end with kicking, half reps, or strained shoulders.
Week 2 is about rep quality and small increases. Keep the same exercise setup. If you performed three sets of six assisted pull-ups in week one, try six, seven, and seven at the same assistance level. On a cable row, aim for one additional rep on one or two sets rather than immediately increasing the pin. Improvements at a fixed load are progress, even if the scale weight and mirror appear unchanged.
Week 3 introduces a load increase when earned. When all working sets reach the top of the assigned range with repeatable form, raise the load by the smallest reasonable step and return toward the bottom of the range. For weighted pull-ups, that may be a very small plate. For dumbbells, the available jump may be too large, so another week of controlled reps can be the better choice. Do not sacrifice shoulder position just to match last week’s number with heavier equipment.
Week 4 consolidates your gains. Keep the movements comparable and aim to beat at least one clear performance marker: more total high-quality reps, a modestly heavier load for equal reps, or better control at the same difficulty. If the elbows or lower back feel overworked, reduce one accessory set and finish the block with cleaner, less fatiguing work. Four weeks is long enough to see skill and performance trends, but not long enough to assume large gains in muscle thickness.
A simple log might read: week one, row 30 kg for 10/9/8; week two, 10/10/9; week three, 12/11/10; and week four, 32 kg for 10/9/8. The example illustrates double progression, not a required rate of adaptation. Repeating a familiar lift under comparable conditions makes the result much more meaningful than swapping the whole exercise list every Monday.
5. Grip width, shoulder position, and the myth of the magic angle
Back-training advice often claims that a very wide pulldown builds width, a narrow grip builds thickness, and a particular wrist angle targets a hidden part of the lat. Real biomechanics are less tidy. Changing the grip affects joint motion, comfort, forearm demand, and sometimes the distribution of muscular activity. But a momentary electrical signal measured during an exercise is not a four-month measurement of muscle growth.
For most lifters, grip selection should begin with a useful range of motion and the ability to keep tension where intended. A neutral grip can be easier on some shoulders and wrists. A shoulder-width or slightly wider overhand grip is another reasonable option. If a grip causes pain, do not treat discomfort as evidence that it is working harder. Adjust the handle, range, exercise, or load. When building a program, two well-executed angles are more valuable than seven interchangeable pulldown variations that all limit progress tracking.
Shoulder-blade movement also deserves attention. Let the scapula rotate naturally as the arms reach overhead rather than trying to pin it down throughout a pull-up. During rows, a controlled reach can allow the upper back to lengthen, followed by a smooth pull without jerking through the spine. The goal is not to hold an artificial posture at all costs; it is to move deliberately, remain within comfortable joint ranges, and load the intended movement.
Face pulls and reverse flies are useful here because they expose different upper-back movement from the heavy vertical pulls. They are best performed with modest weights, enough range to avoid shrugging the entire load, and repeated attention to technique. This section of the plan should feel precise, not like a second deadlift workout performed with a rope attachment.
Equipment Worth Exploring
Explore equipment, accessories and gear from our carefully selected range.

T-Bar Row Attachment
Welded barbell attachment that connects a D-handle bar for landmine and T-bar rows.

GymPin Barbell Row Handle
Heavy-duty handle attachment for barbell, landmine and T-bar rows.


GymPin Ergo Handles
Pair of ergonomic cable handles shaped for comfortable triceps and pulling exercises.
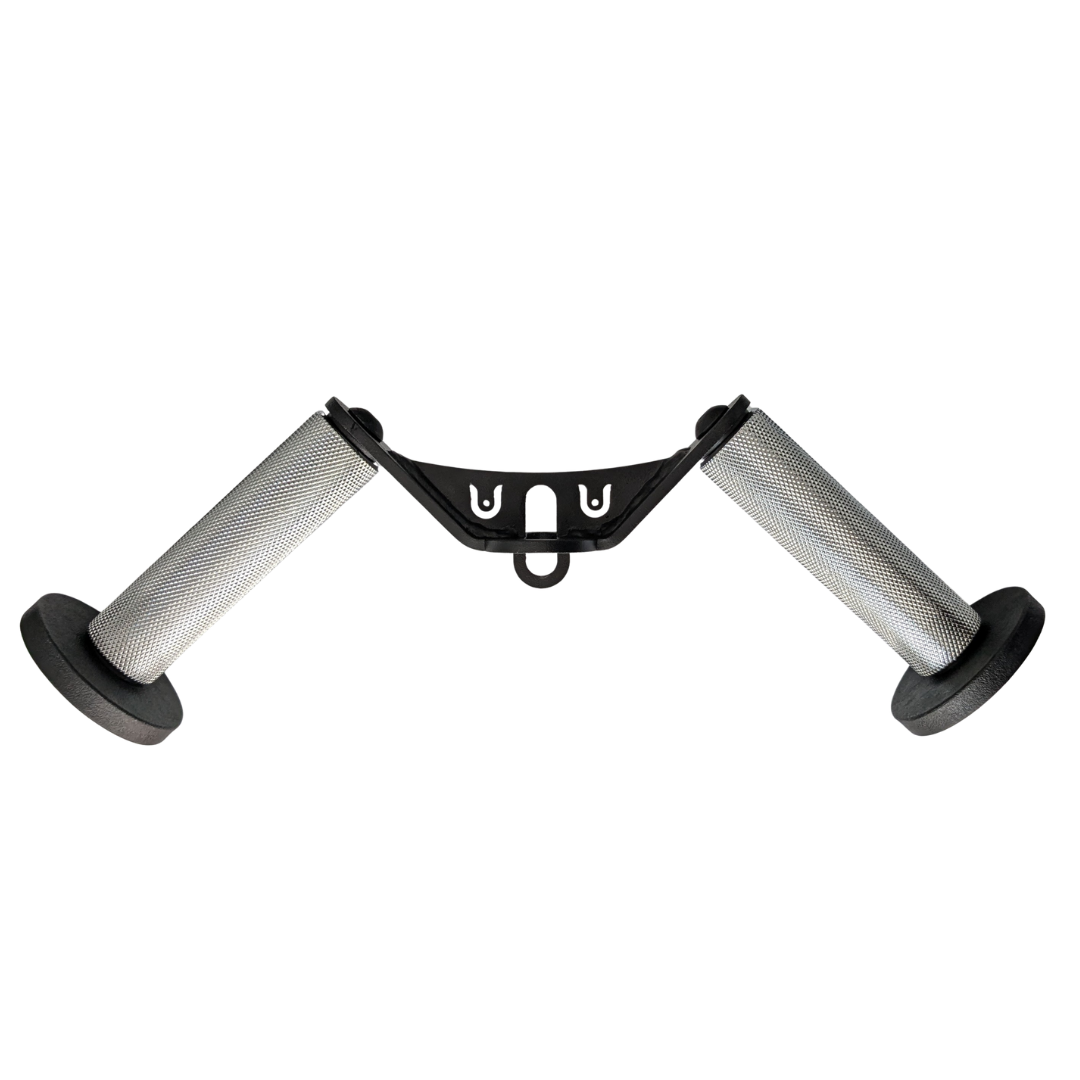
W Grip
Angled cable grip for comfortable rows, pushdowns, and curls.
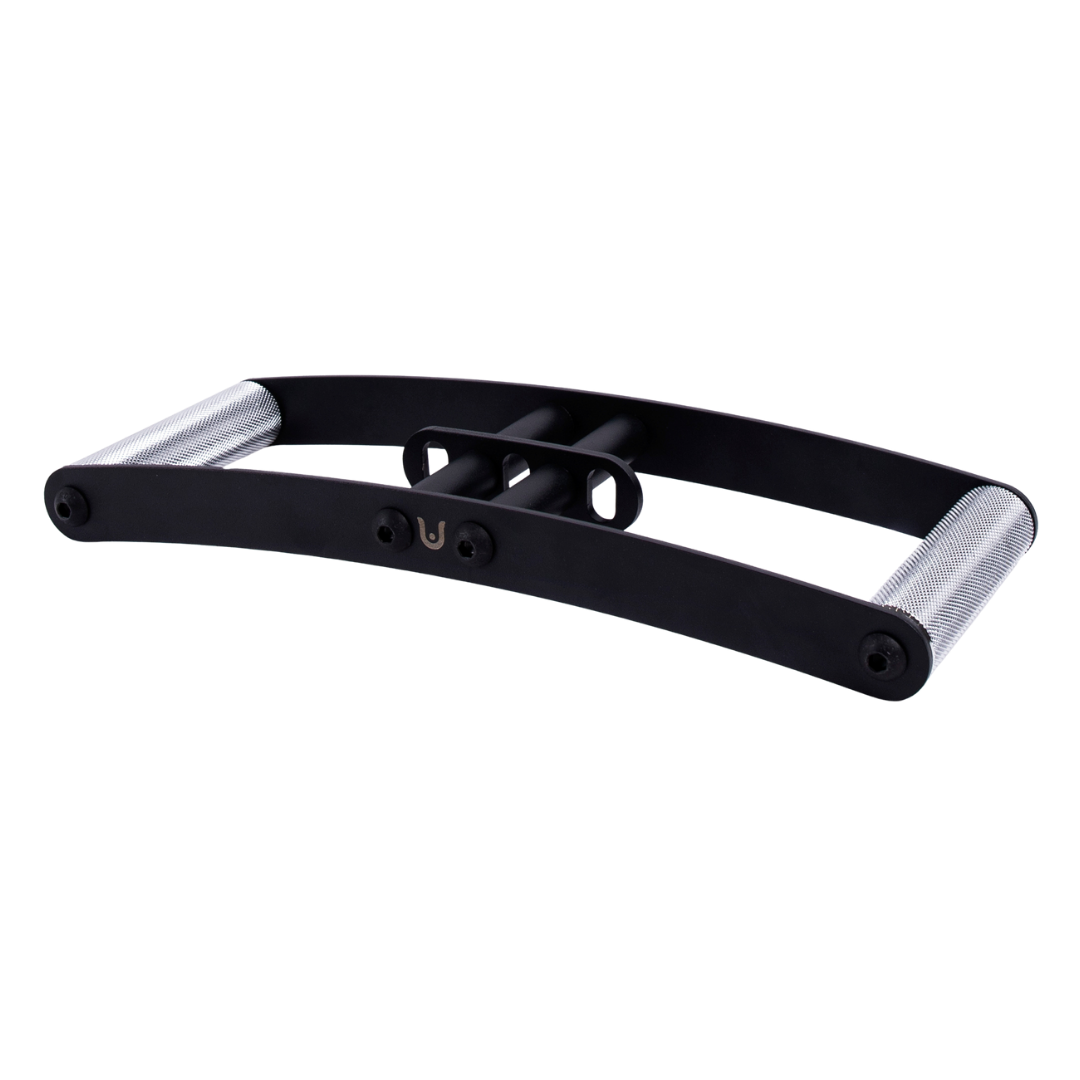
Horizon Grip
Ergonomic V-style cable grip for rows and back training.


FID Bench MAX
Adjustable bench offering flat, incline, and decline positions + adjustable headrest.
6. Rest, weekly sets, and fatigue management determine the payoff

The number of hard sets that makes sense depends on what else you already do. Pull-ups also challenge the elbow flexors; deadlifts and barbell rows can place significant demands on the trunk; other gym sessions may already contain rear-delt work. If your full-body or upper/lower split includes plenty of those movements, add up the overlap before prescribing sixteen extra back sets. A novice could start with six to ten direct weekly back sets and add volume if recovery and progression justify it.
More sets are not automatically better. A useful general reference for lifters pursuing hypertrophy is around ten challenging sets per muscle group per week, with individual needs and tolerances varying. The practical signal is whether you are progressing while remaining able to train the target muscles again. If your biceps or grip always give up before the back, a different handle, a supported row, or well-placed straps may improve the quality of the limiting sets. If your spinal erectors are exhausted, choose more supported pulling rather than piling on another bent-over exercise.
Rest periods should support the task. Heavy pull-ups and difficult rows often benefit from two to three minutes or more so the next set is not ruined by breathlessness or premature forearm fatigue. Lighter accessories can use shorter rests when performance remains stable. Resting sixty seconds because a plan says so is not an achievement if it cuts the quality of every subsequent set.
Keep the rep tempo controlled, especially during the lowering phase, without turning it into an exaggerated slow-motion drill. Use the full range you can own, avoid yanking from a vulnerable position, and stop or adjust exercises that provoke persistent pain. Food, sleep, and the rest of the training week still matter. One spectacular back workout cannot compensate for four weeks of missed sessions or consistently inadequate recovery.
Calisthenics Shirts & Street Workout Gear
Calisthenics and bodyweight-training gear for pull-ups, dips, handstands and street-workout athletes.

Gandalf Lord of the Calisthenics Rings Shirt | LOTR Wor T-Shirt
Make gym days more fun with “Gandalf Lord of the Calisthenics Rings” style.

Lord of the Calisthenics Rings | Gollum Workout Crewnec T-Shirt
Show some gym-day personality with “Lord of the Calisthenics Rings”.

Lord of the Calisthenics Rings Gym | Funny Jesus Lifter Sticker
Put “Lord of the Calisthenics Rings” gym humor on your laptop, bottle, or gym gear.


Always Pull Yourself Up Hoodie
Make your off-duty look more fun with “Always Pull Yourself Up”.

Calisthenics Heartbeat Crewneck Pullover Sweater for Pu T-Shirt
For laid-back days and lifting humor: “Calisthenics Heartbeat”.

Calisthenics Evolution Muscle Shirt Athletic Vest for B Tank Top
Add some lifting attitude to training with “Calisthenics Evolution”.

Human Flag Calisthenics Decal Workout for Water Bottles Sticker
A fun “Human Flag” touch for bottles, laptops, and lockers.


Be Stronger Than Your Excuses Funny Gym
Bring “Be Stronger Than Your Excuses” humor to your everyday gym style.
7. How to evaluate your back after four weeks—and what to do next

Judge the block with specific indicators. Compare pull-up performance at the same body weight and grip; compare cable-row reps and load with the same machine setup; and note whether your supported rows move more smoothly through the same range. Training logs reveal progress well before physique changes become obvious. A stronger grip or improved exercise coordination can contribute to early gains, so avoid attributing every extra rep to new muscle tissue.
Photographs can be useful if you want a physique check, but keep lighting, pose, camera distance, and timing consistent. A pump after training is not the same thing as a lasting change in muscle size. If you want to measure circumference, record several consistent measurements rather than interpreting a single tape reading taken after a salty meal. Recovery indicators also count: persistently sore elbows, worsening sleep, and declining performance are reasons to reconsider your dose.
At the end of the month, keep the movements that are productive and comfortable. If vertical pulling stalls while rows improve, give pull-ups a little more practice or place them earlier in the week. If grip and elbows are unhappy, reduce accessory variety or lower weekly volume temporarily. If both sessions progress, continue the same exercises for another block with small loading adjustments instead of replacing them merely for novelty.
The point of a four-week plan is to create repeatable decisions. Train back width with vertical pulls, build thickness with sound rows, include upper-back control, and progress the exercise you actually perform. Doing those basics consistently offers a better foundation for long-term development than searching for a single perfect handle, grip width, or high-intensity finisher.