Advertising disclosure: This page includes affiliate product links that may earn us a commission, as well as products from our own store.
The cable hip abduction is one of the easiest side-glute exercises to perform badly: a little extra weight can turn a strict outward raise into a swaying side kick. This guide covers what the movement actually trains, ankle-strap setup, realistic form cues, cable-versus-machine choices and a six-week progression for a compact or commercial gym.
What Cable Hip Abduction Trains—and What It Does Not
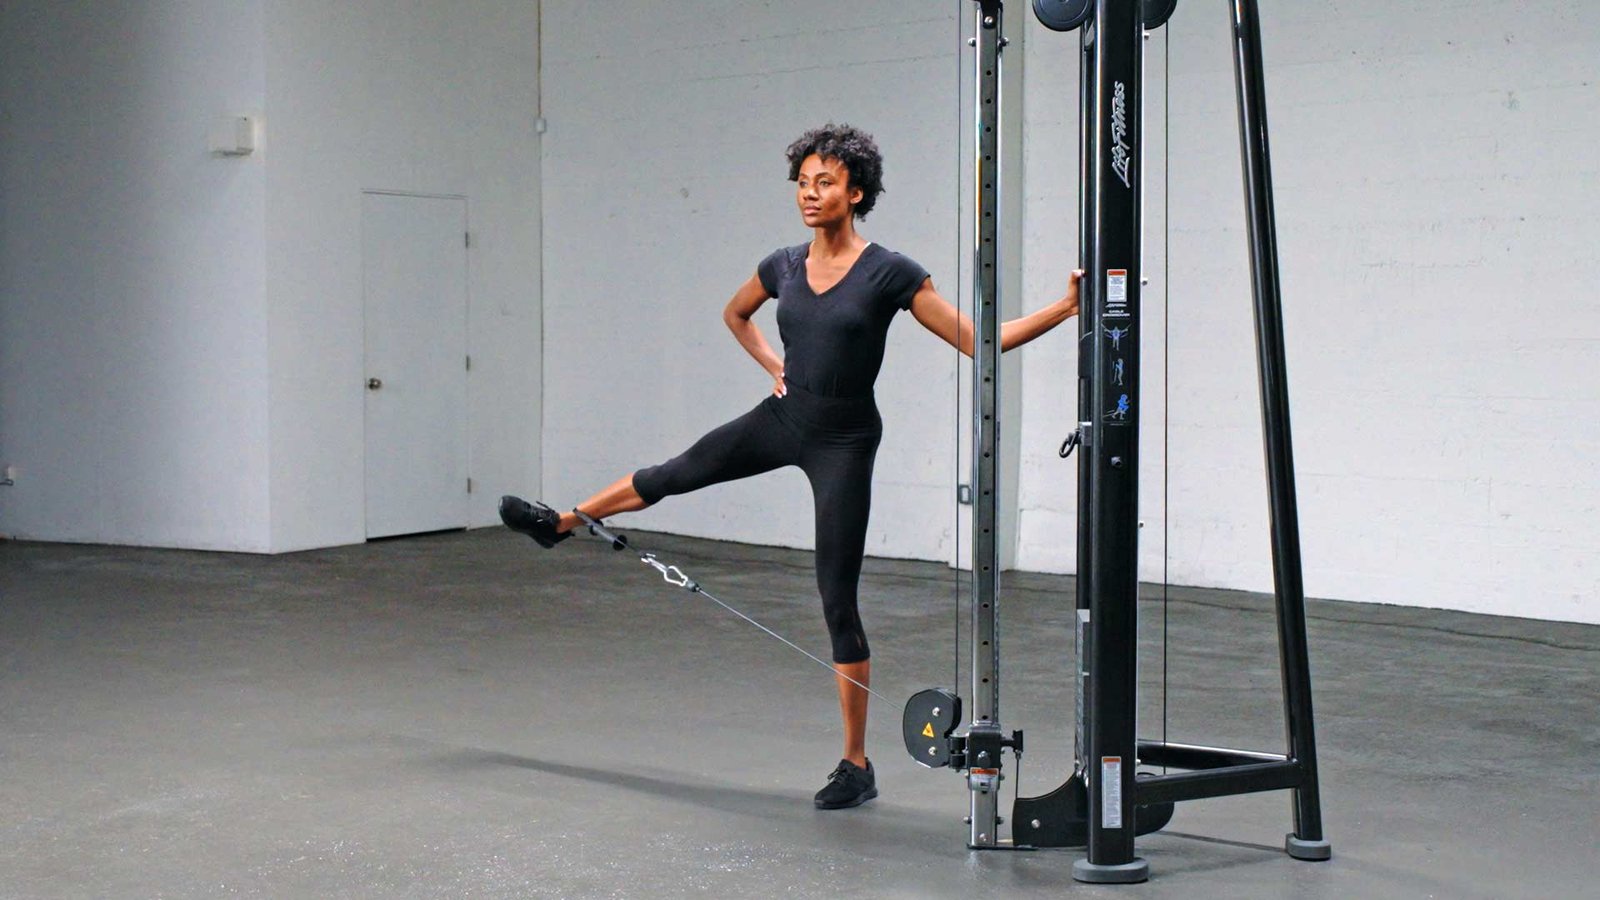
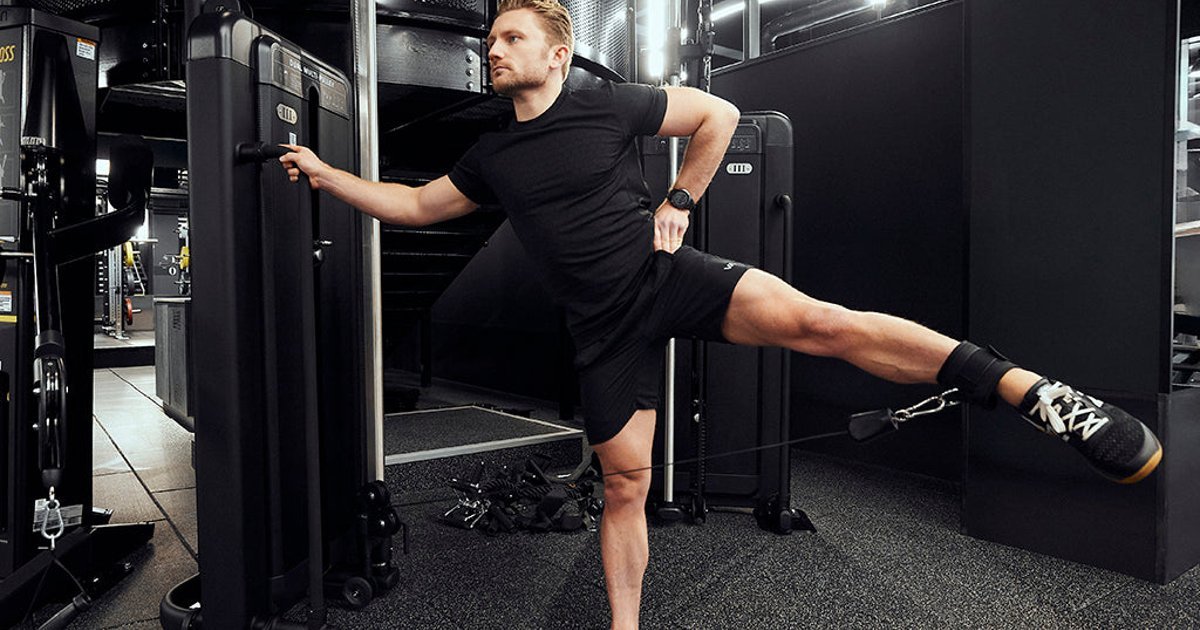
Cable hip abduction is the standing movement where the working leg travels sideways away from the body’s midline against a low cable. It targets the outer-hip muscles, especially the gluteus medius and gluteus minimus, while the standing leg, trunk and hip stabilizers keep the pelvis organized. Unlike a squat or hip thrust, it has a short, mostly single-joint path. That makes it useful for adding direct work without another exhausting compound lift.
The gluteus medius is not one uniform muscle with one task. Its fibers contribute to hip abduction, rotation and pelvic control. During walking, stairs and single-leg work, the hip muscles help control side-to-side motion. A standing cable exercise can train one piece of that capacity, but it cannot guarantee better running mechanics or solve every knee or back complaint.
Electrical muscle-activity measurements help explain why lateral raises deserve a place in a program. An analysis of 23 exercise studies found high gluteus medius activity in several movements, including standing hip abduction using resistance at the ankle, side-lying abduction and side bridges with leg raises. Another synthesis of 20 studies and 33 exercises found that unilateral standing challenges can be demanding. These results describe short-term activation, not direct proof that a cable version grows muscle faster than a machine or a band.
The practical aim is simple: move the thigh outward through a repeatable range, keep the pelvis quiet and let resistance build gradually. If the weight stack moves but your torso swings farther than your leg, the intended muscles may not be receiving the clean, progressive stimulus you think they are.
Set Up the Cable and Ankle Strap Without Fighting the Machine
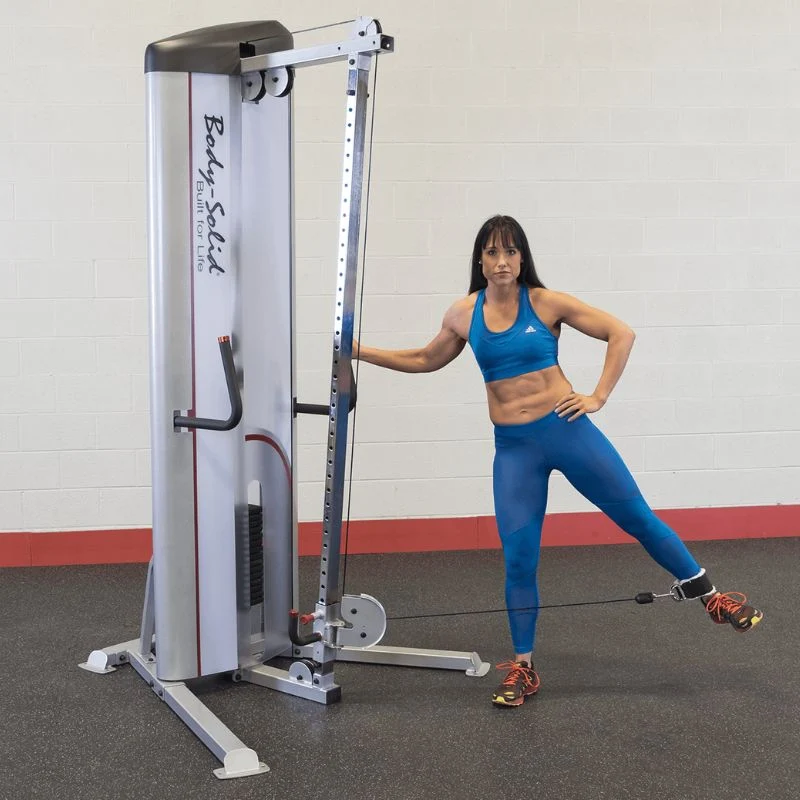
Put the adjustable pulley at its lowest working position. Clip a sturdy ankle cuff to the cable carabiner and secure it comfortably around the ankle farthest from the machine. Stand sideways to the upright with the working leg on the outside. The cable should cross in front of the planted leg as needed, without scraping the standing shin. Keep enough room for the working leg to travel sideways without hitting a bench or the frame.
Hold the tower with the inside hand for balance. This is not cheating: a stable handhold reduces wobbling and lets the hip abductors do more of the intended movement. Set the stance foot firmly, unlock its knee a little and square the hips. Choose the lowest useful resistance first. A small stack number can still feel surprisingly heavy when the load acts at the ankle through a long lever.
Ankle-cuff design matters. A wide, padded cuff is generally more comfortable than clipping a hard hook against the skin. Check that the buckle and stitching are intact, the carabiner is closed and the pulley line stays clear of moving parts. On compact cable towers, confirm that the low setting allows smooth cable travel through the entire side raise; a pulley height or body angle that drags the cable across your shoe can make an otherwise good movement awkward.
Before the first hard set, make three unloaded or very light repetitions on each leg. Mark where you can raise without tipping the pelvis. That is your honest baseline range, not the highest foot position you can reach by leaning. Switch sides rather than turning your body into a twisted stance.
- Pulley: bottom position, free cable path.
- Cuff: secure on the outside working ankle.
- Support: fingertip or hand contact with a stable upright.
- Load: light enough to stop and return without swinging.

Equipment Worth Exploring
Explore equipment, accessories and gear from our carefully selected range.
VOLTRA
Compact digital cable trainer with smooth, adjustable resistance.

VForce Wall Trainer
Space-saving wall-mounted functional trainer with pivoting cable arms and variable resistance ratios.

VForce 2IN1
Half rack and pivot-arm functional trainer with switchable 1:1 and 2:1 pulley ratios.

VForce 3IN1
All-in-one rack combining an adjustable Smith machine, functional trainer, and free-weight station.

VForce 3IN1 Max
Six-post all-in-one rack with Smith machine, functional trainer, and variable-force cables.
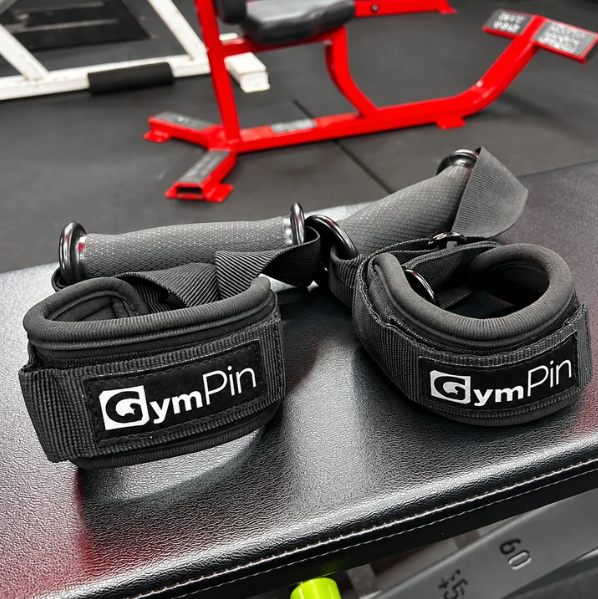
GymPin D Cuffs
Adjustable wrist cuffs with textured grips for supported cable-machine exercises.

VForce Lat Tower
Wall-mounted cable tower with pivot arms and adjustable 1:1 or 2:1 pulley ratios.

Original GymPin
Adds Olympic plates to compatible cable-machine weight stacks for extra resistance.

GymPin MiniPin
Compact Olympic-plate loading pin for compatible cable stacks with limited clearance.

Go-Tone Pro
Portable digital cable trainer with up to 66 lb (30 kg) of adjustable resistance.
A Strict Rep: Foot Direction, Pelvis and Controlled Return
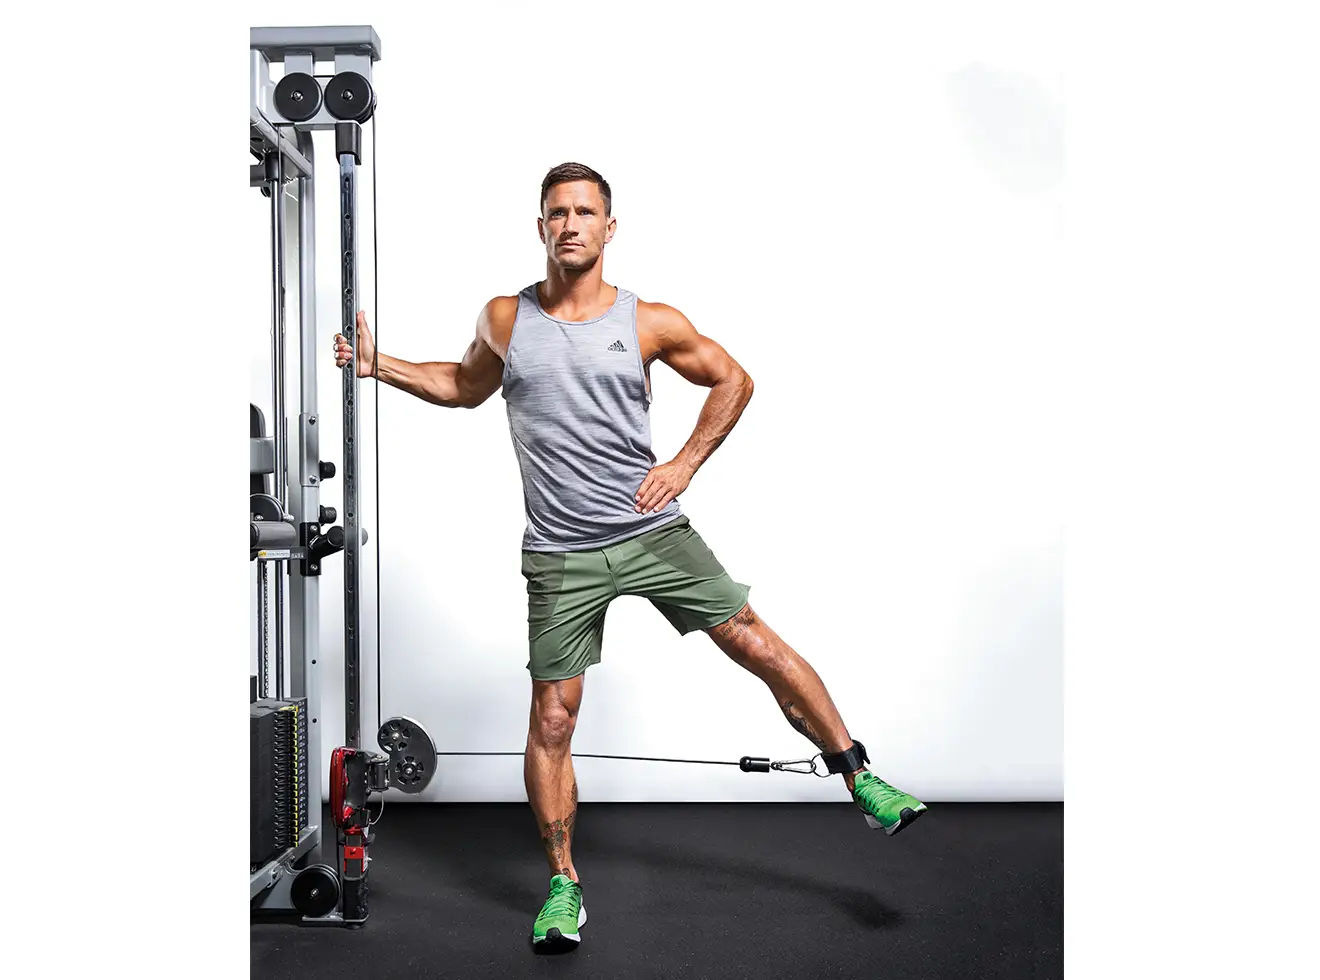
Begin standing tall, eyes forward, ribs roughly over the pelvis. Keep the working knee softly extended rather than forcefully locked. Move the thigh outward, not forward into a hip-flexor swing. Most lifters will need only a modest outward arc before their pelvis wants to tilt. Stop there, pause briefly and lower back toward the start over about two seconds.
Keep the toes roughly facing forward, allowing natural individual hip alignment instead of forcing an uncomfortable foot angle. Turning the toes dramatically toward the ceiling can change the motion into a mixture of rotation and abduction. Meanwhile, twisting your torso or hiking the working-side hip makes it difficult to compare one session with the next. There is no bonus for drawing a bigger arc using your lower back.
A helpful cue is to imagine pushing the outer side of the shoe into the room while the waistband stays level. Breathe out gently during the lift and inhale as the leg returns. You should feel muscular effort around the outside of the hip on the working side. The planted-side glute and core also work to balance your body, so bilateral effort is expected.
For the first set, use 10–15 controlled reps per side. Stop with two or three clean repetitions in reserve. If the last three reps are shorter, faster and more tilted than the first three, end the set or reduce resistance. Progress is easier to measure when your stance, line of pull and rep speed remain similar. Record the stack setting, reps and whether you used a handhold so that later increases mean something.

Leg Day Shirts & Workout Gear
Leg-day gym shirts and workout gear for lifters who never skip squats, lunges and lower-body punishment.

Booty Building Mode Witch Leg Day & Squat Gains Meme Hoodie
Show off your leg-day humor in a laid-back “Booty Building Mode” hoodie.

Big Heart Bigger Ass & Leg Day Meme Vest Tank Top
Show some personality between sets with “Big Heart Bigger Ass”.

Big Butt Energy Sweater Leg Day & Glute Gains Meme T-Shirt
For laid-back days and leg-day humor: “Big Butt Energy”.

OnlyGains Leg Day & Booty Building Meme Athletic Tank Top
Add some leg-day attitude to training with “OnlyGains”.

Juicy Booty Booty Builder Big Booty Gains & Leg Day Tank Top
Train hard, laugh a little, and rep “Juicy Booty”.

Thicc Booty Energy Sweater Leg Day & Squat Lovers T-Shirt
Show some gym-day personality with “Thicc Booty Energy”.

Thickers Gym | Funny You're Not You With A Small Booty Sticker
Put “Thickers” gym humor on your laptop, bottle, or gym gear.


I Love Booty Peach – Valentine's Leg Day Meme Decal for Sticker
Give your everyday gear a playful “I Love Booty Peach” twist.

GymTok – TikTok Parody Peach Booty Training for Gym Gir Hoodie
Show off your gym-girl humor in a laid-back “GymTok” hoodie.
Six Technique Errors That Hide the Glute Work
1. Swinging from the waist. Leaning away from the machine creates space for a larger-looking leg swing without necessarily improving hip abductor work. Start again with a smaller load and keep the sternum over the planted hip.
2. Hiking the pelvis. Lifting the working-side waist to elevate the foot makes the motion less repeatable. Keep both sides of the waistband approximately level and shorten the range before the pelvis tips.
3. Turning the foot into a side kick. Rotating the entire leg dramatically or letting the foot turn far outward changes the movement. A little individual variation is normal; the goal is a comfortable, mostly lateral thigh path.
4. Picking the biggest stack number. Ankle-loaded exercises create high leverage. If the cable jerks you inward or you need to brace with both hands and heave, decrease resistance.
5. Dropping the return. Letting the weight plates slam between reps removes the controlled lowering phase. Follow the cable inward, keeping tension and enough clearance to avoid trapping the foot.
6. Turning an accessory into rehabilitation advice. Side-hip fatigue during training is different from sharp groin pain, a catching hip or persistent symptoms. Do not push through unusual joint pain. Training for ordinary fitness and treatment of an injury are different tasks; a clinician should guide the latter.
Video one set from the front if possible. Watch whether the waistband stays level, whether the stance knee remains steady and whether each rep uses the same return path. Fix one error at a time rather than chasing an idealized camera angle.
Cable vs Seated Machine vs Bands: Choosing the Right Tool
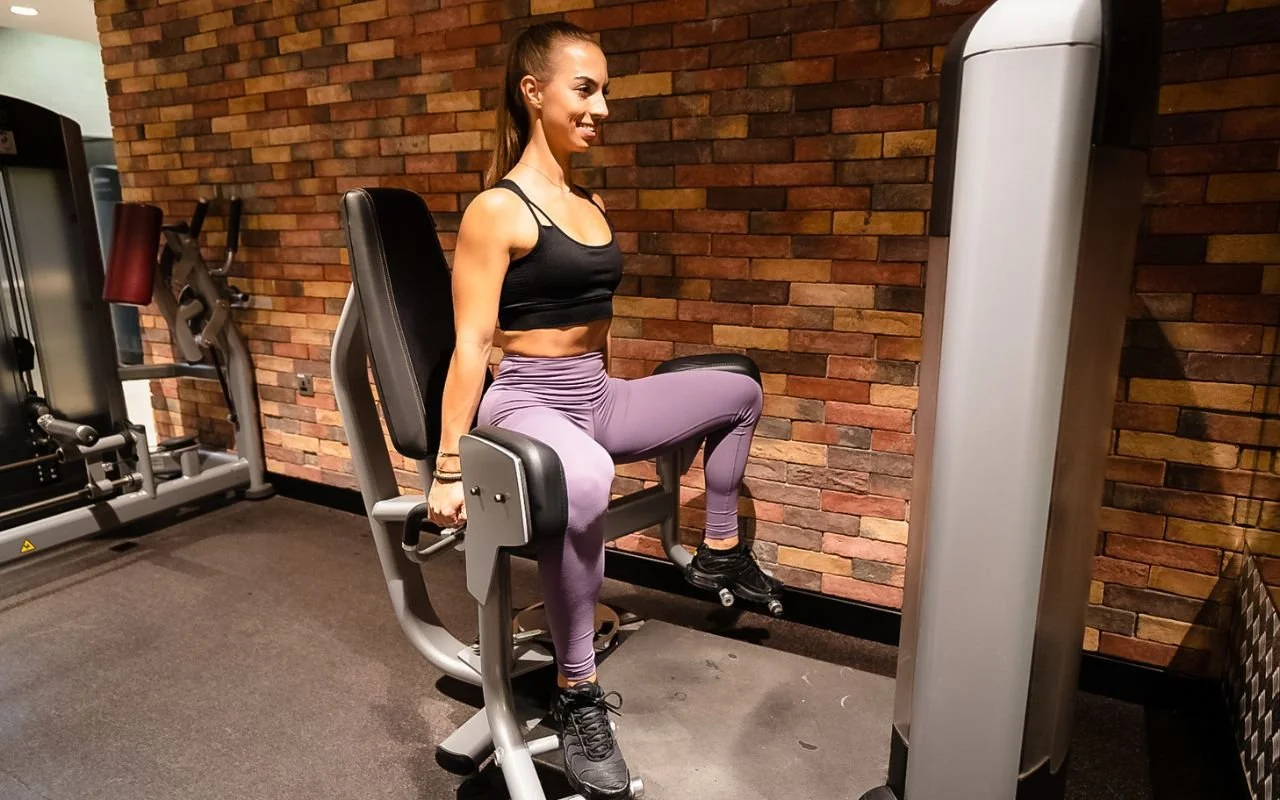
A standing cable and a seated abductor machine can both challenge hip abduction, but the training experience differs. With a cable, the working leg moves through space while the other side stabilizes your body. A seated machine supports the torso and uses pads against the legs, so balance is less of a limitation. Neither setup is automatically superior for growing the side glutes; usable resistance, range, comfort and progression matter more than the logo or the machine label.
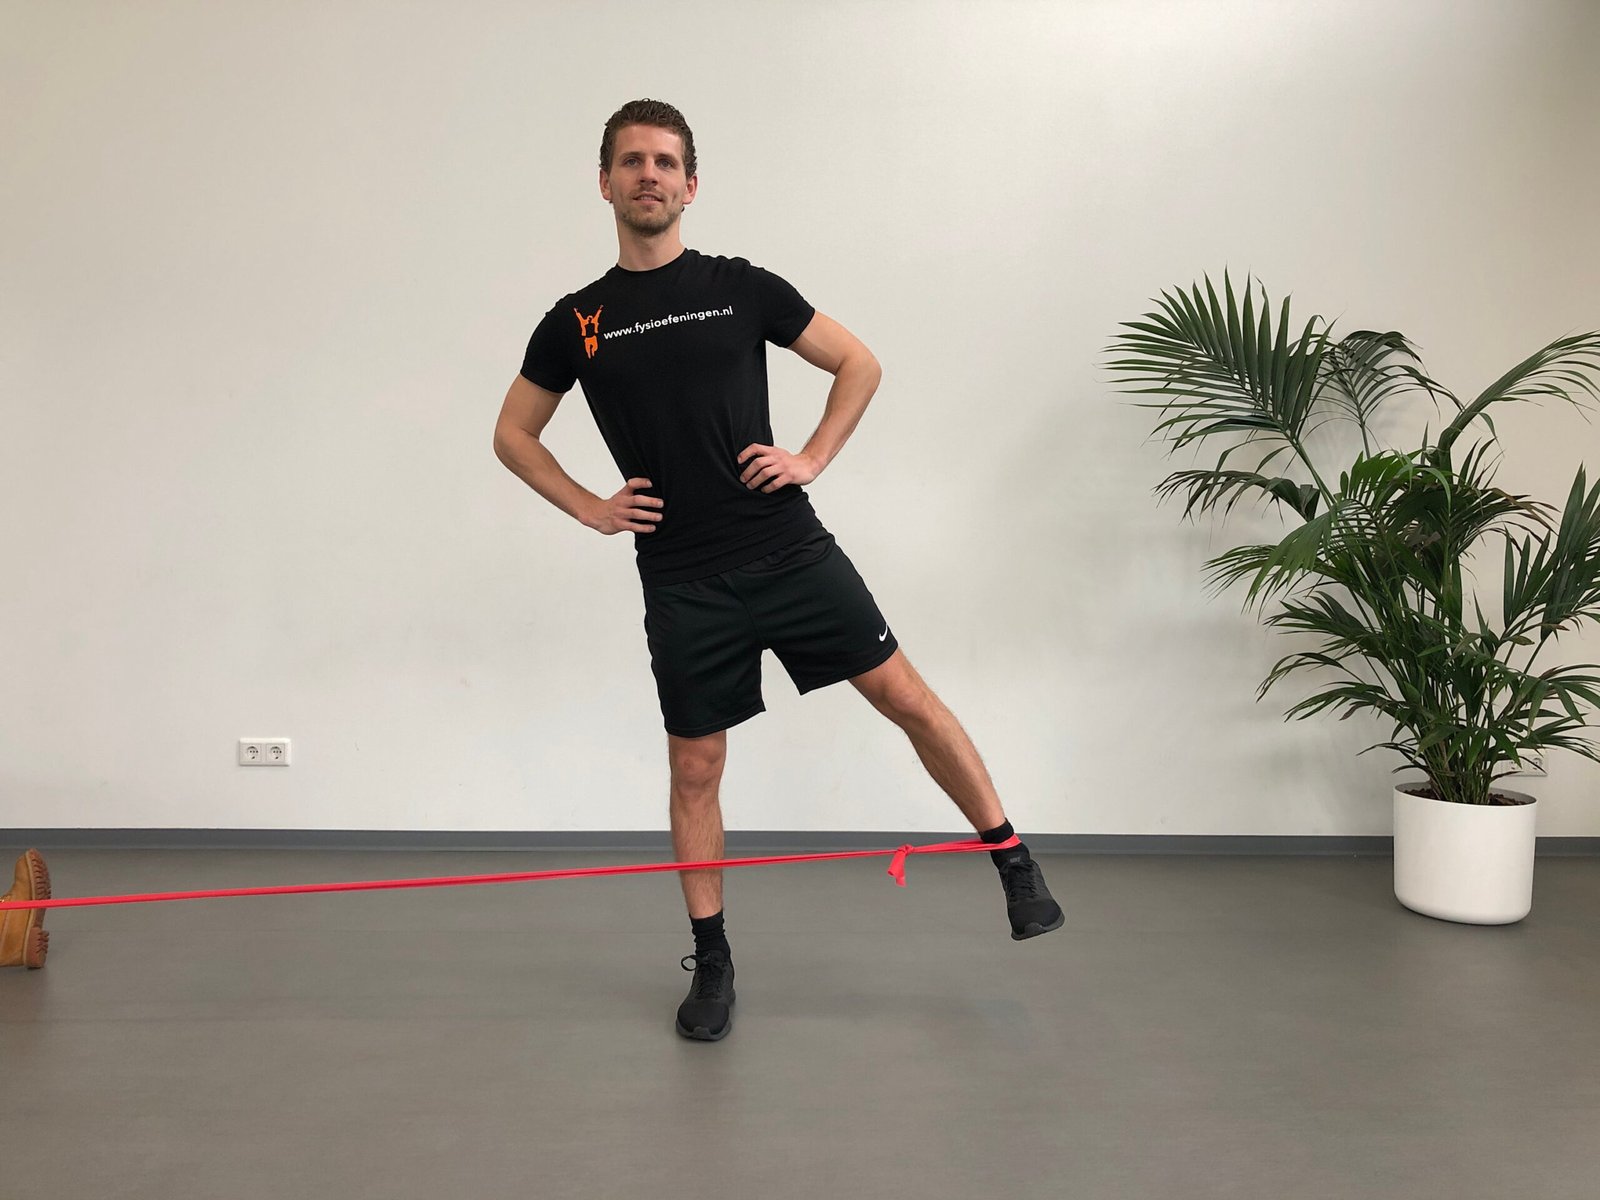
A loop band offers a practical travel or home-gym alternative. The band generally becomes harder as it stretches, whereas the cable’s force follows its own line of pull and the station’s pulley mechanics. That difference can change where a rep feels hardest. Keep the band anchored securely, use a sturdy upright for support and do not compare band colors directly with cable stack numbers.
Side-lying leg raises and clamshells are another accessible choice. They use body position and smaller external resistance and can be useful when a cable tower is occupied. They are not one-for-one replacements for every cable load. In the published activation literature, some side-lying and band-resisted variations elicited high relative muscle activity, but surface EMG is not a head-to-head hypertrophy trial.
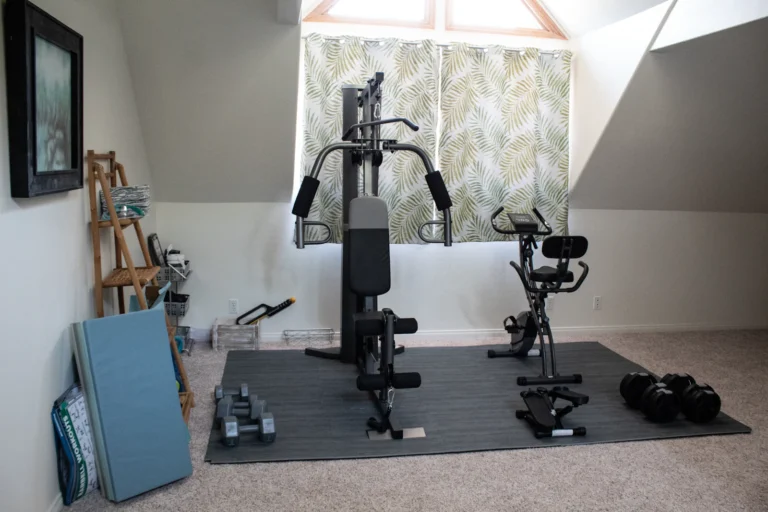
For a compact home gym, the sensible equipment order is a reliable low pulley, safe ankle cuff, stable handhold and enough lateral clearance. If space is tight, a resistance loop and a sturdy fixed support may be better than spending money on a dedicated machine. You can also use cable towers for rows, curls and other movements, giving the pulley system utility beyond one hip isolation exercise.
Equipment Worth Exploring
Explore equipment, accessories and gear from our carefully selected range.

Standing Abductor
Plate-loaded standing hip abductor for targeted outer-glute and hip-stability training.

Studio Glute Drive
Plate-loaded hip-thrust machine with supported back pad and adjustable foot platform.


FID Bench MAX
Adjustable bench offering flat, incline, and decline positions + adjustable headrest.


GymPin Ergo Handles
Pair of ergonomic cable handles shaped for comfortable triceps and pulling exercises.

Angles 90 Grips
Flexible grip attachments that allow natural wrist movement during pulling exercises.

GymPin D Handle Bar
Multi-use steel D-handle bar for cable rows, pulldowns and other cable exercises.
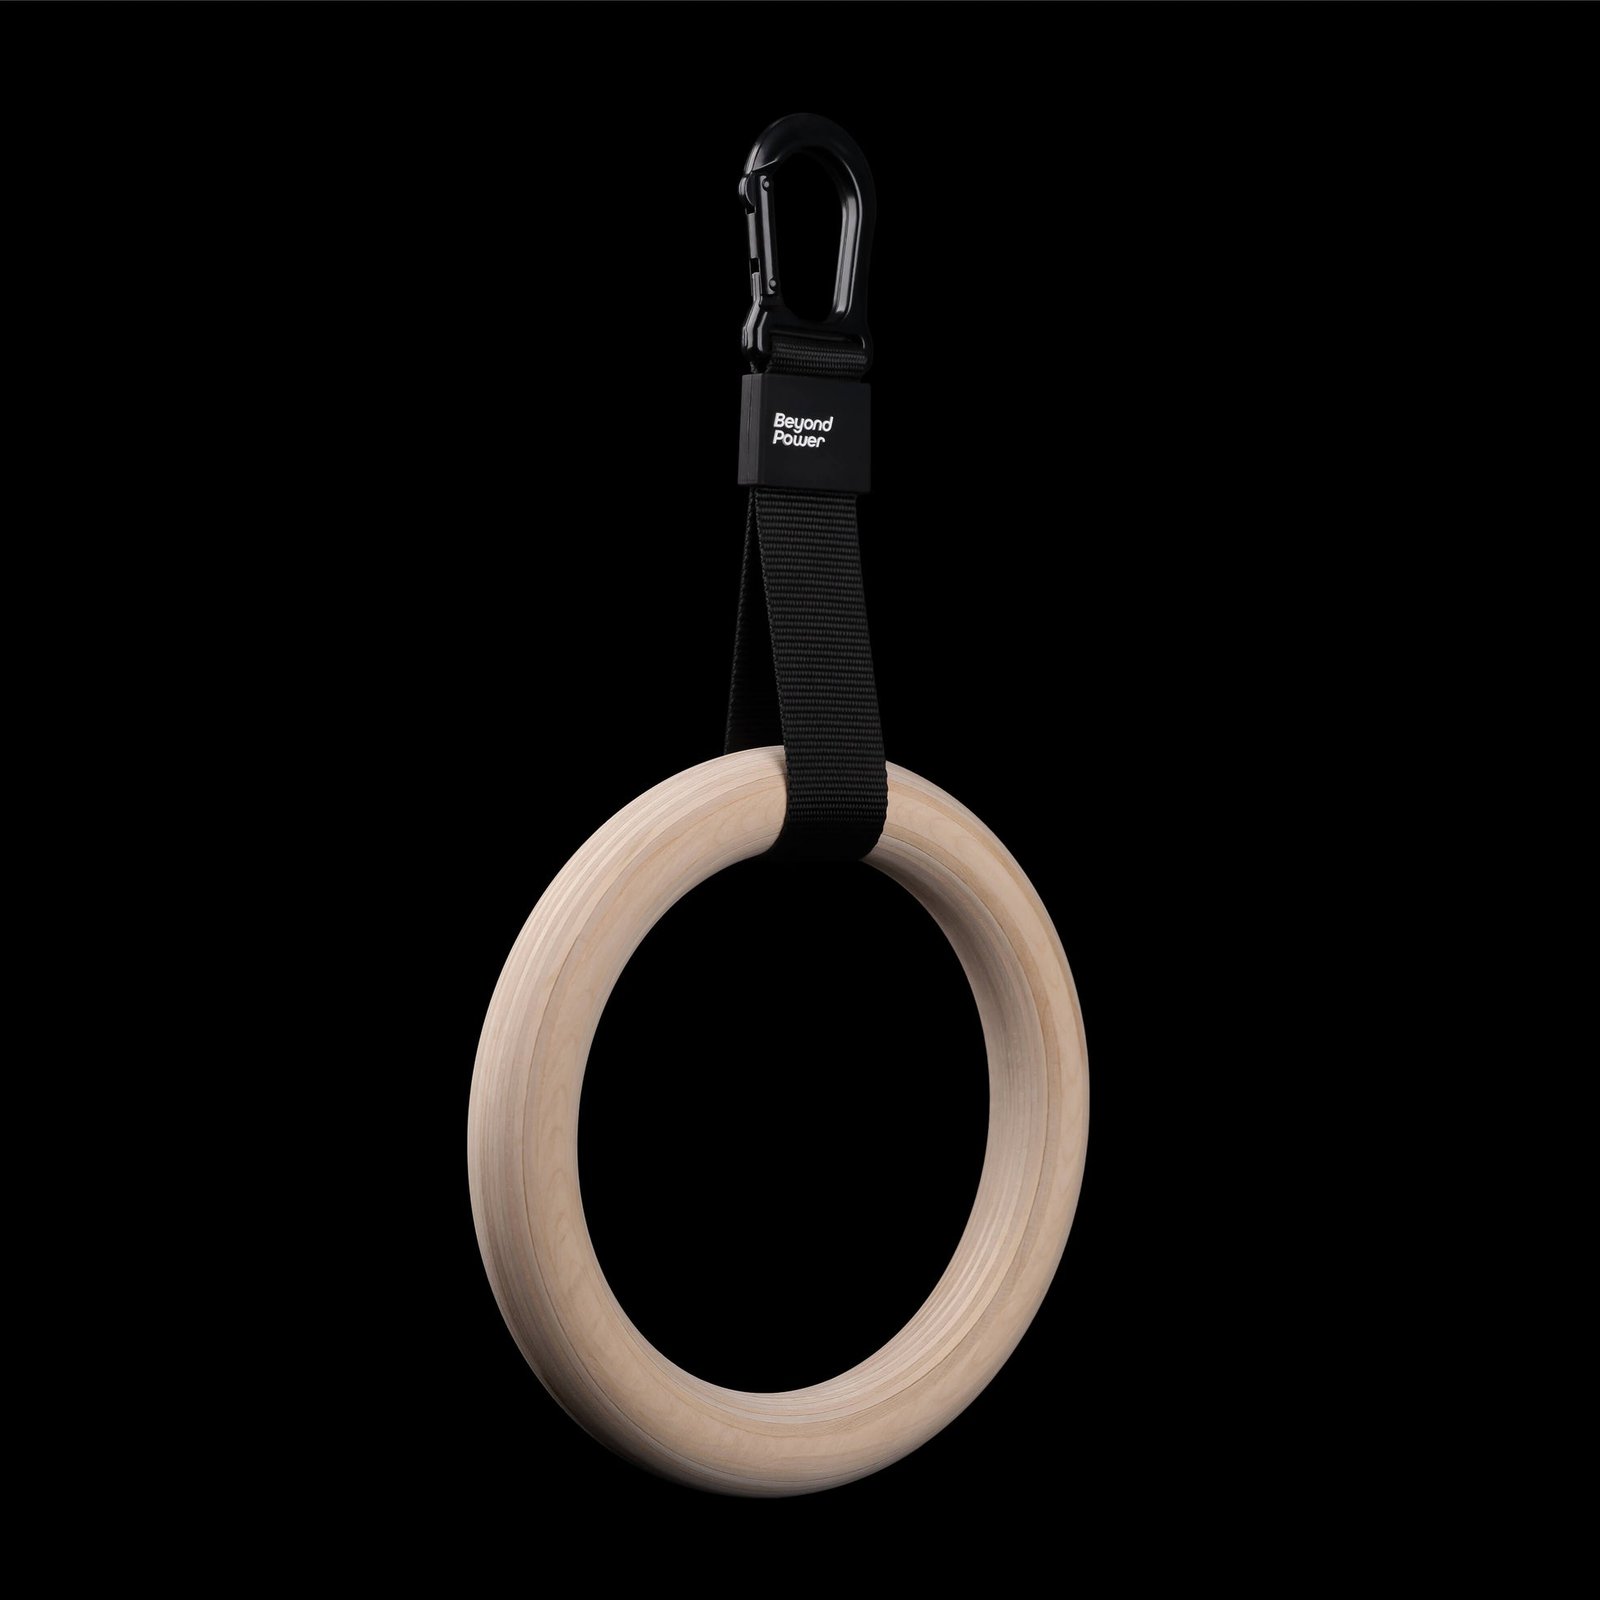
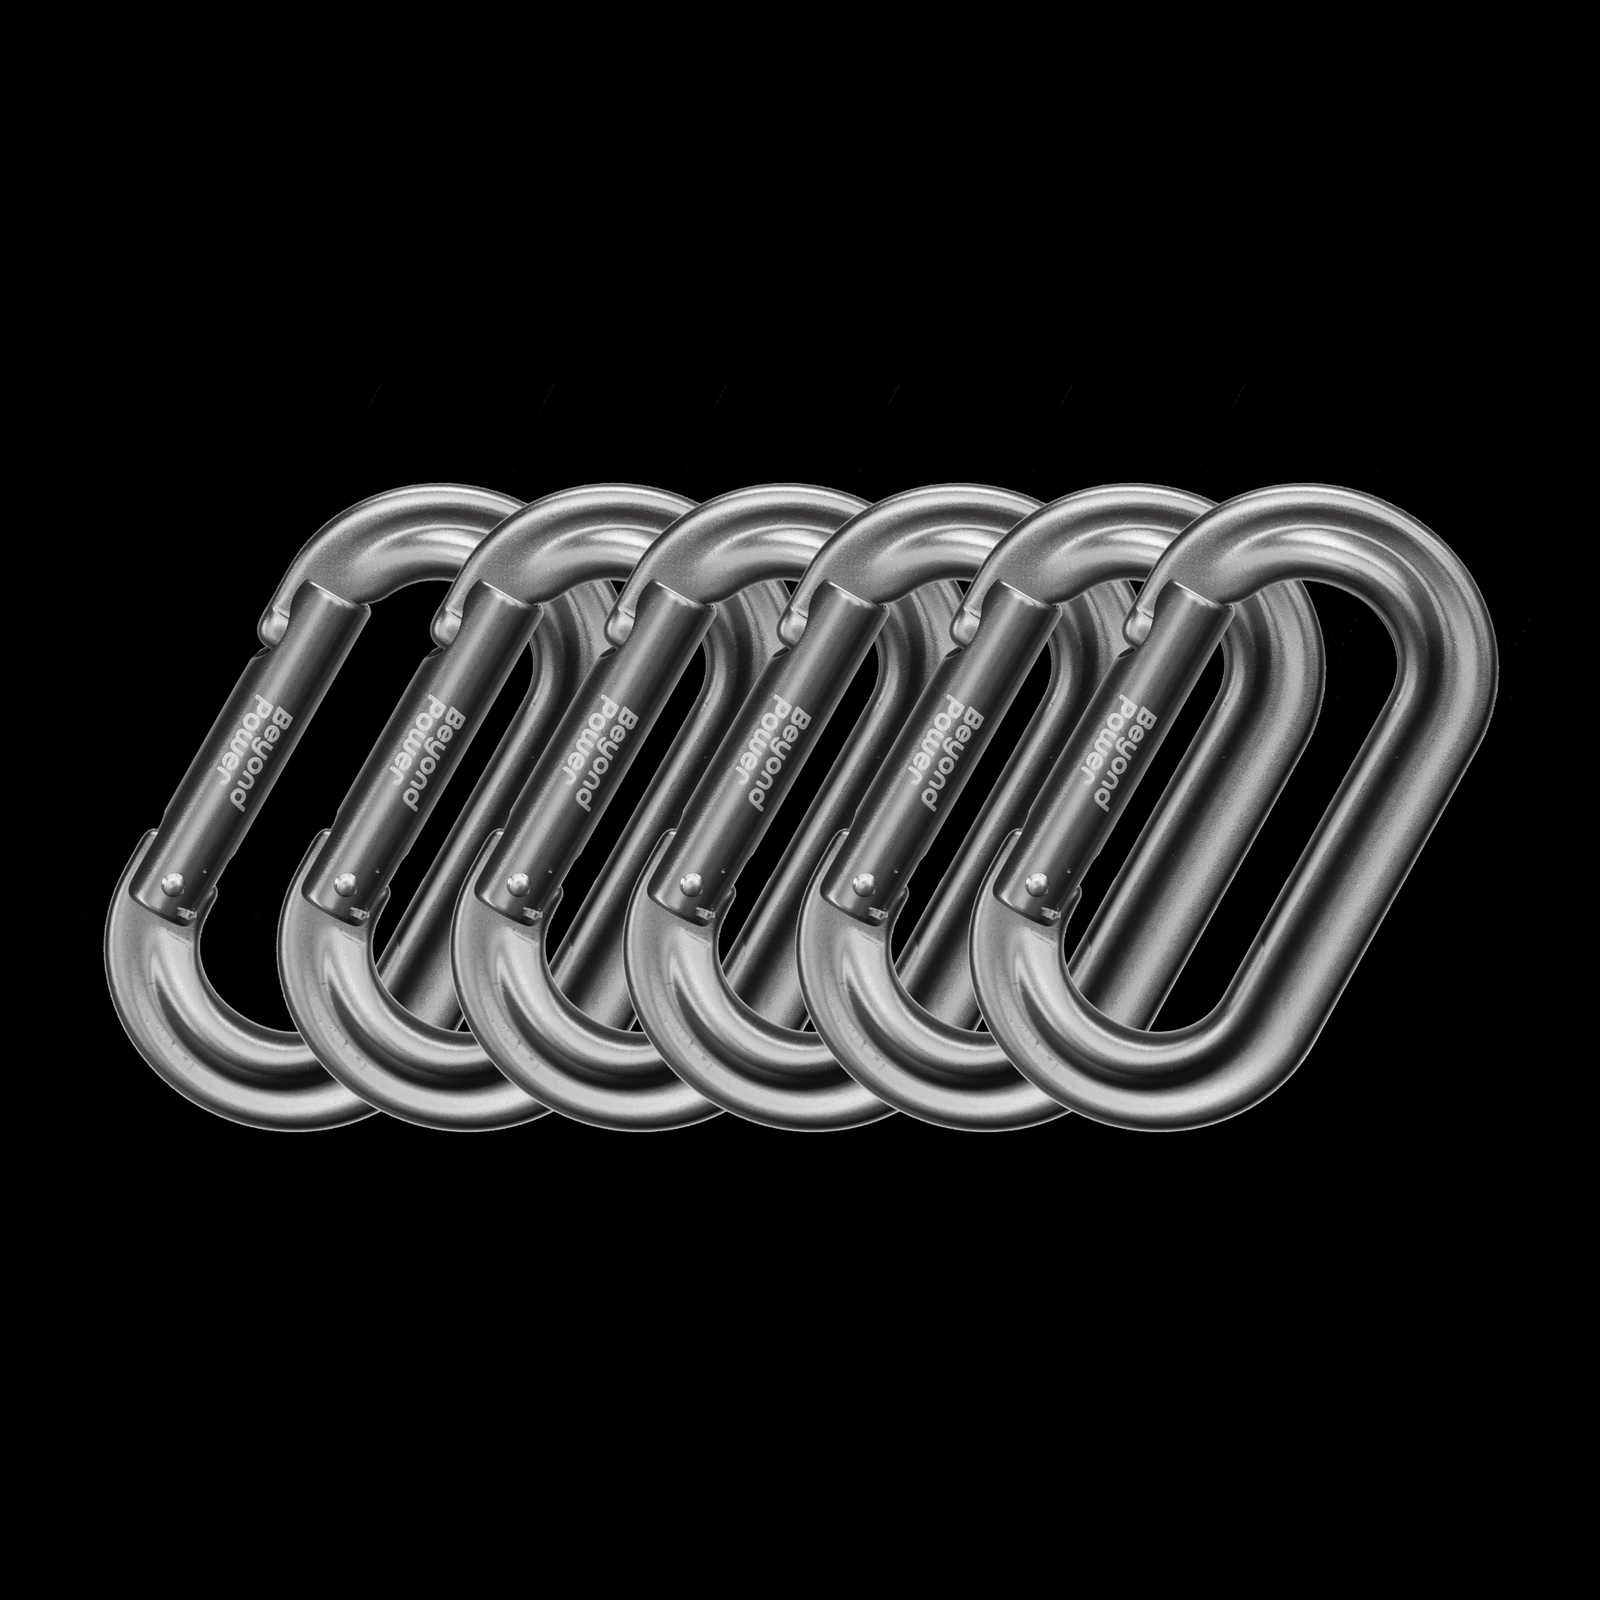
Premium Carabiner
Durable carabiner for connecting cable attachments and training accessories.
A Six-Week Glute Medius Plan for One or Two Cable Days
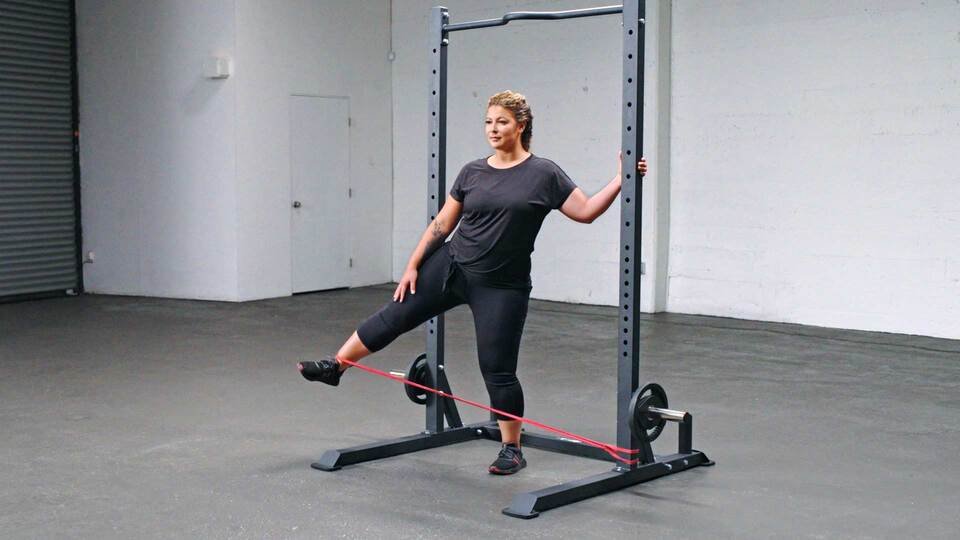
Use this as a simple accessory progression alongside your usual squats, lunges, hinges and walking, not as a replacement for all lower-body training. Start with one session weekly if your leg program is already demanding; add a second only when recovery, technique and schedule allow. Always train both legs. Do not assume one side needs heavier weight just because it feels less coordinated.
| Weeks | Work per leg | Effort and goal |
|---|---|---|
| 1–2 | 2 sets × 12–15 | Keep 3 reps in reserve; learn the range, hold steady. |
| 3–4 | 3 sets × 10–15 | Keep 2 reps in reserve; slow the return and pause. |
| 5–6 | 3 sets × 12–18 | Keep 1–2 clean reps in reserve; increase load only after all reps meet the standard. |
Rest roughly 45–90 seconds between sides or alternating sets. The exact duration matters less than having enough control to repeat the movement. Keep the working foot direction, cuff attachment, stance and stack pulley ratio consistent. A two-to-one cable ratio can make the effective handle or cuff force different from the labeled stack value, so log the machine you used.
When you complete the top of the rep range with a level pelvis and no swing in two consecutive sessions, add the smallest sensible stack increment and return to the lower rep target. If your station’s next jump is huge, add a controlled pause or a single rep rather than forcing the increase. A light band warm-up is optional, not a requirement; the main cable sets remain the measurable training stimulus.
The six weeks describe a practical training template, not the exact duration of a clinical experiment proving that these settings produce a particular amount of growth. Muscle gains depend on total training, effort, protein, recovery and individual response.
Where to Put It in Leg Day—and When to Scale Back
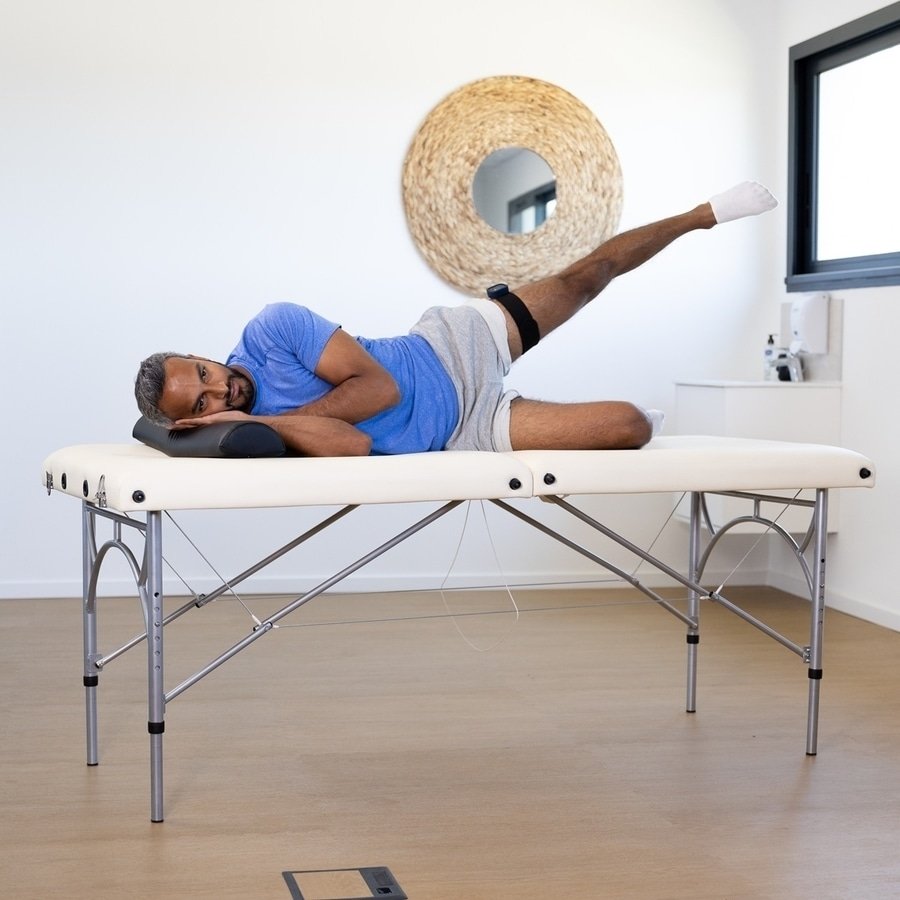
Cable hip abduction usually works well after squats, split squats, leg presses or hip hinges, when you can give an isolation movement focused attention without tiring your pelvis stabilizers before heavy technical lifts. If you are learning single-leg balance, a very light set before training may serve as a rehearsal, but a hard pre-fatigue set is not automatically helpful.
For glute-focused sessions, pair two or three strict cable sets with movements that load the hip differently: a squat or step-up for knee and hip extension, a hinge or hip thrust for additional hip-extension stimulus, and perhaps a side-lying or band movement if you want a low-equipment finisher. Avoid counting every leg set as direct glute medius work. Keep your weekly total realistic, especially if you already perform lots of lunges and lateral movements.
Watch your recovery markers: tenderness that steadily improves, stable single-leg balance and the ability to reproduce the same motion next week are generally better signs than chasing soreness. If the hip pinches, clicks painfully, radiates symptoms down the leg or disrupts walking, stop that exercise and seek appropriate medical evaluation. Reduce load or range when form deteriorates even if the hip itself does not hurt.
The takeaway is that a cable abduction should look almost boring. Secure the cuff, use a stable upright, push the leg sideways without tilting, lower slowly and progress small amounts. You do not need spectacular weight or sweeping range to give the outer hip muscles useful work. You need a repeatable movement that you can recover from and gradually improve.
Bodybuilding Shirts & Workout Gear
Bodybuilding shirts, tanks and gym gear for lifters chasing muscle, size, symmetry and the pump.

Bulking Bad Vest & Mass Gainers Tank Top
Show some personality between sets with “Bulking Bad”.

Bulking King Bodybuilders & Mass Gain Phases Meme Tank Top
Your gym-day look, with a playful “Bulking King” twist.

Jurassic Pump | Dinosaur Workout Sweater | Fitness Meme T-Shirt
Add a playful “Jurassic Pump” touch to your casual rotation.

Swole Shady Gym | Funny Rap Hip Hop Workout | Slim Shad Hoodie
Stay casual and show some powerlifting attitude with “Swole Shady”.

Big Wayne Gym Swole Meme Funny Workout | Hip Hop Bodybu T-Shirt
Keep things casual with a little “Big Wayne Gym Swole Meme” attitude.

Princess – Booty Builder Meme & Gains – Top Girls T-Shirt
Show some gym-girl attitude with a playful “Gym Princess” tee.

BootyBuilder Decal Water Bottles & Gear Barbie Meme Sticker
Put “BootyBuilder” gym humor on your laptop, bottle, or gym gear.

Booty Building Mode Wonder Girls Meme Top Tank Top
Your gym-day look, with a playful “Booty Building Mode Wonder Lifter” twist.

Brozilla Gym | Funny Godzilla Gym Meme Workout Decal | Sticker
Put “Brozilla” gym humor on your laptop, bottle, or gym gear.

Shirt – The Plot Thickens Thicc Meme – Edgar Allan T-Shirt
Show some bodybuilding attitude with a playful “The Plot Thickens Thicc Gym Meme” tee.