Advertising disclosure: This page includes affiliate product links that may earn us a commission, as well as products from our own store.
Cable Rope Hammer Curls: Set the Pulley, Keep Your Grip Neutral and Build Stronger Arms
The cable rope hammer curl looks like an ordinary arm exercise, but the setup can change the feel of every repetition. Put a rope on a low pulley, face the machine and curl with your palms facing each other. That simple combination gives you a neutral-grip elbow-flexion movement with a resistance line that is different from a dumbbell. The useful part is not a secret muscle-isolation trick. It is having a repeatable way to load the elbow flexors without swinging a dumbbell or forcing the wrists around a rigid bar.
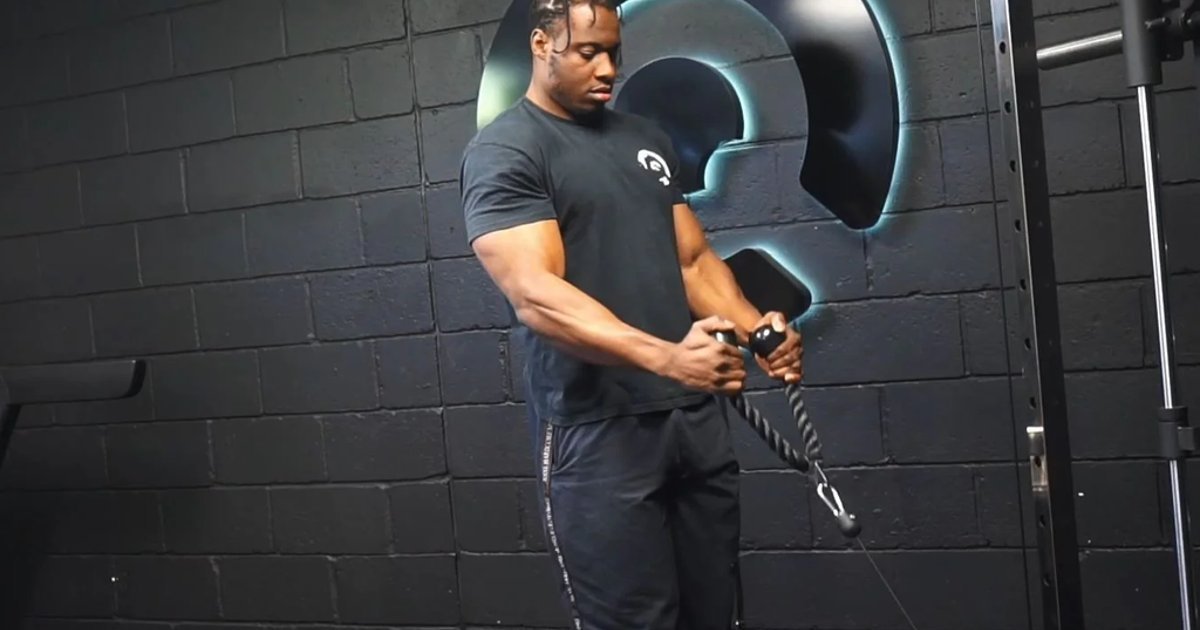
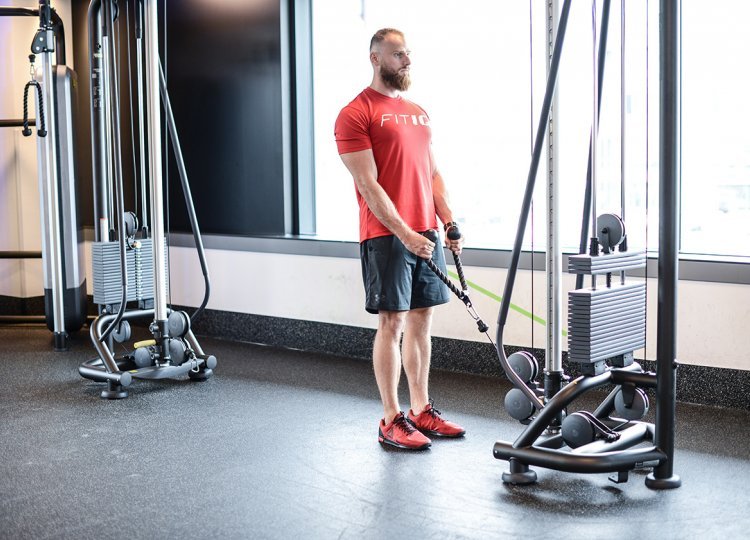
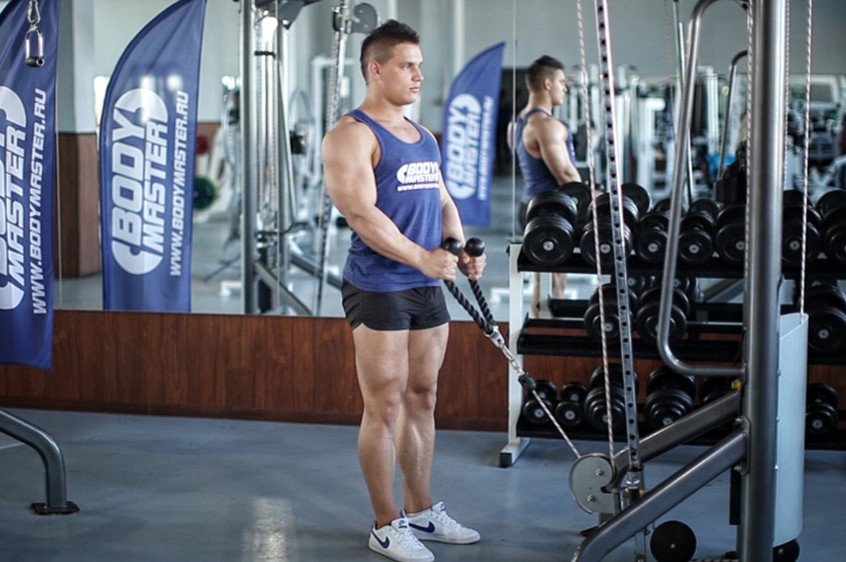
A good cable hammer curl should be easy to recognize from the side: feet planted, shoulders quiet, upper arms nearly still, rope traveling smoothly and a controlled return. Yet it is remarkably easy to turn the same exercise into a backward lean followed by a hurried drop. Here is how to choose the pulley, maintain the grip, understand what the muscles are doing and build a progression that can survive more than one enthusiastic arm day.
1. What a neutral-grip rope curl actually trains
The brachialis, biceps brachii and brachioradialis all contribute to bending the elbow. The biceps also helps turn the forearm palm-up, which is why supinated curls feel different from hammer curls. A rope with two free ends lets your hands stay roughly parallel instead of locking them into an underhand position. That makes the rope curl an accessible variation, but it does not mean the brachialis becomes the only working muscle, or that the forearms somehow replace the biceps.
Grip studies are a useful reminder not to oversell the explanation. In a controlled experiment involving ten competitive bodybuilders, the ascending phase of a curl produced greater measured biceps excitation with a supinated grip than with a neutral grip. Brachioradialis excitation was not automatically higher in the neutral position either. A newer experiment involving twelve trained men likewise examined how grip and contraction phase influence electrical activity. These are measurements made during specific barbell-curl conditions, not a direct comparison of long-term muscle growth from a cable rope and dumbbells.
For practical training, think of the rope hammer curl as an elbow-flexor accessory that gives you another grip and resistance profile. The direction of pull is set by the cable and your distance from its pulley. The body still has to stabilize the shoulders and trunk; the rope does not remove that requirement. If your hands feel comfortable in neutral and you can repeat your elbow path, you have a sound reason to keep this movement in your program without promising it will isolate one tiny strip of muscle.
2. Build the low-pulley setup before you curl
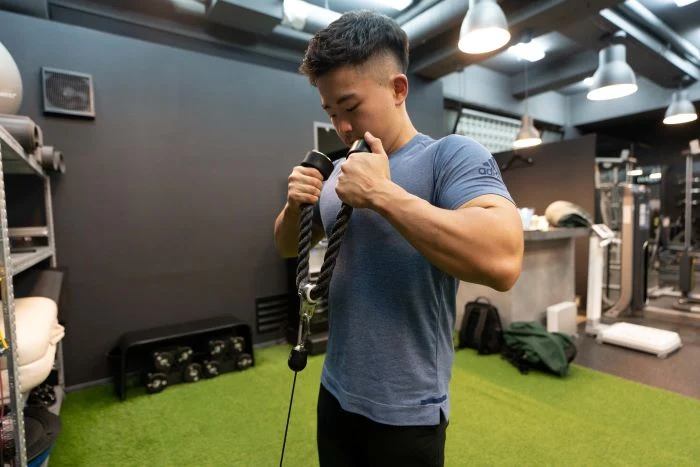
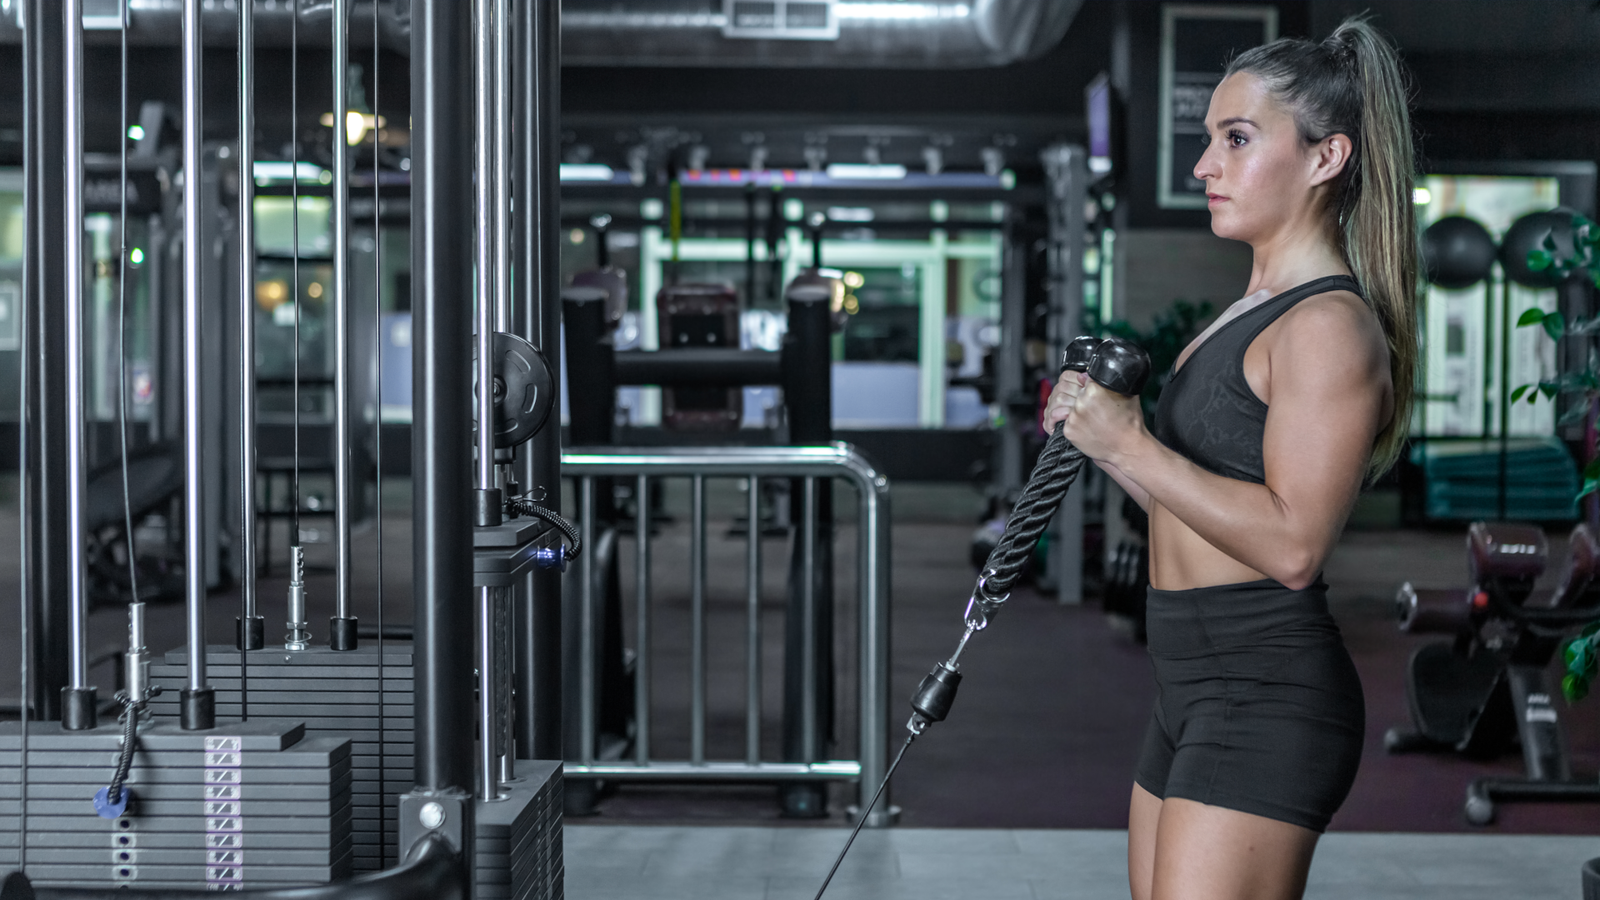
Start by attaching a sound rope with a properly closing carabiner to the lowest practical pulley point. Inspect the connector, rope and machine before selecting the weight. Choose a moderate resistance that you could lift without rocking, then hold a rope end in each hand with your palms facing inward. Your thumbs should point generally upward, your wrists should line up with the forearms, and the rope stoppers should sit securely in your hands. A grip that immediately bends your wrists is a poor starting point.
Stand facing the pulley with feet approximately hip-width apart. Step backward just enough for the cable to be taut when your arms are extended comfortably, without letting the machine lift your shoulders forward. A small staggered stance is fine if it helps balance, but keep your weight distributed and your knees soft. You do not need to march several feet away: excessive distance changes the cable angle and may encourage pulling backward rather than curling upward.
Before the first repetition, brace lightly, bring your upper arms near the sides of your ribs and keep your head above your torso instead of looking skyward. You should be able to pause for a second in the starting position without the stack slamming down or your shoulders being yanked toward the machine. On a portable cable trainer, align the anchor and its rated attachments so the rope does not scrape an edge as it travels. If the line of pull feels awkward, change your standing distance or anchor position rather than bending your wrists to compensate.

Equipment Worth Exploring
Explore equipment, accessories and gear from our carefully selected range.
VOLTRA
Compact digital cable trainer with smooth, adjustable resistance.

Go-Tone Pro
Portable digital cable trainer with up to 66 lb (30 kg) of adjustable resistance.


Long Tricep ERGO Ropes
Extended triceps ropes with ergonomic grips for cable pressdowns and overhead extensions.
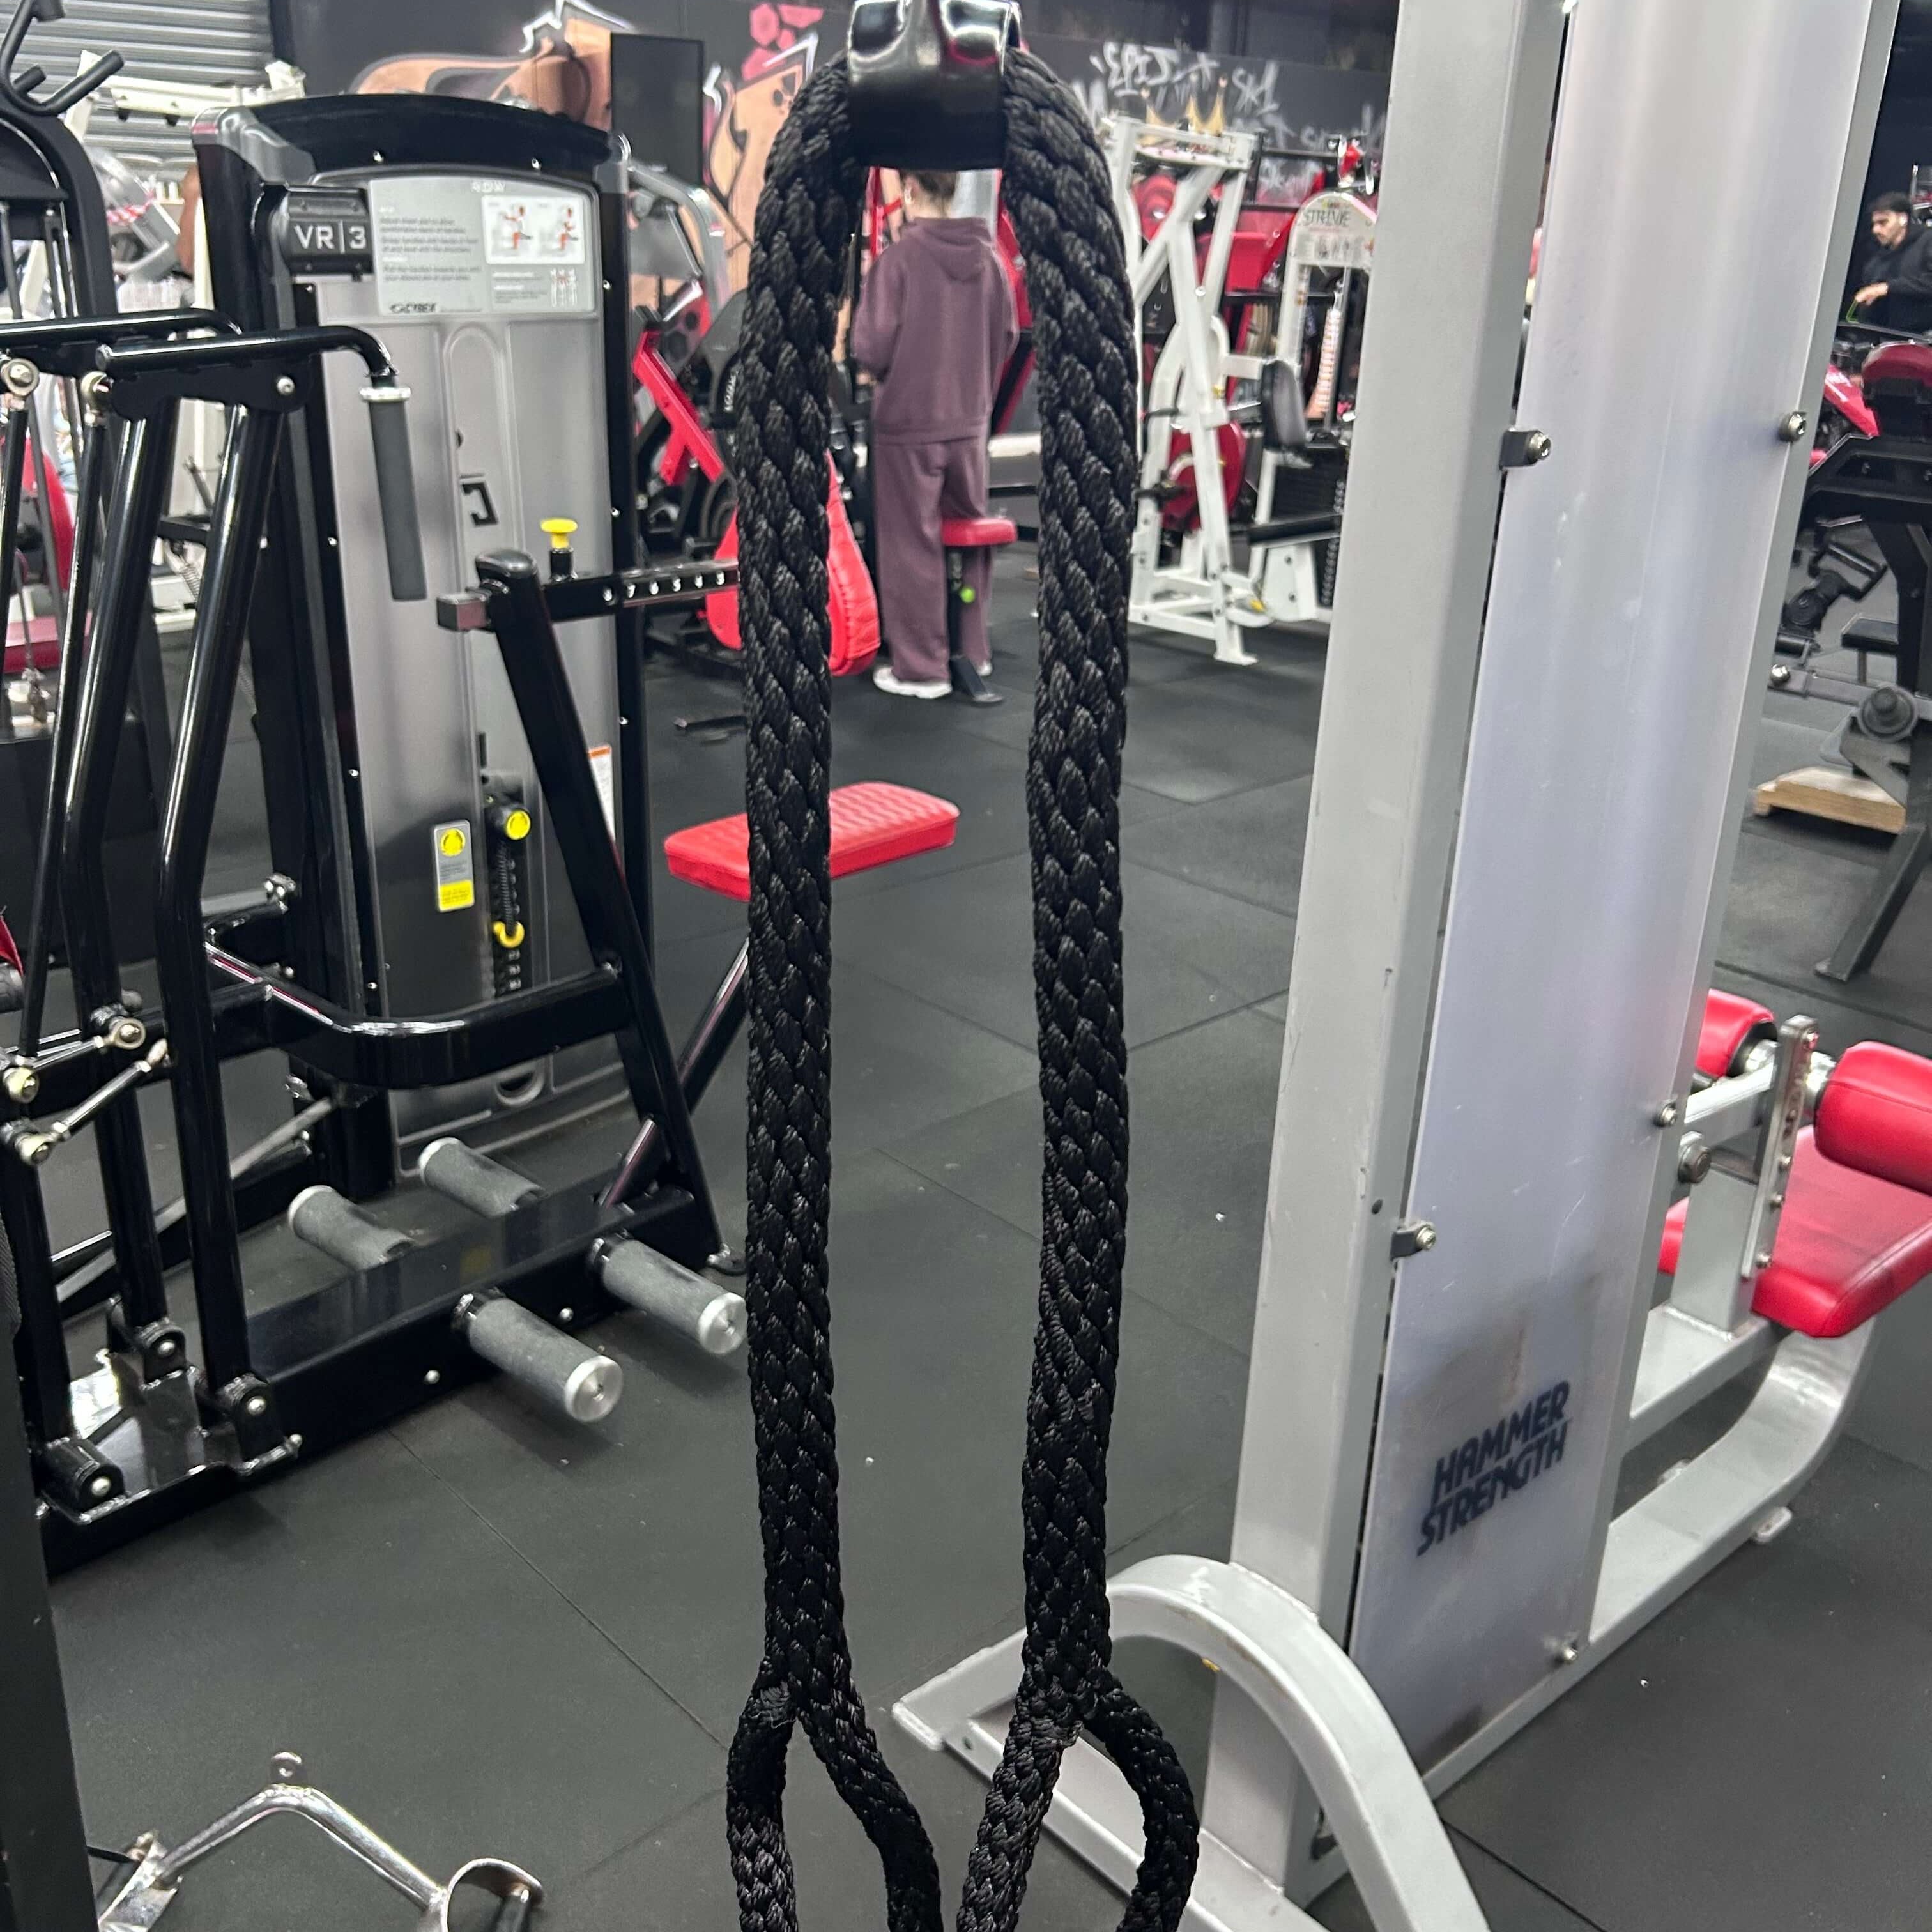
Super Long Tricep Rope
Extra-long looped cable rope for triceps pressdowns and overhead extensions.
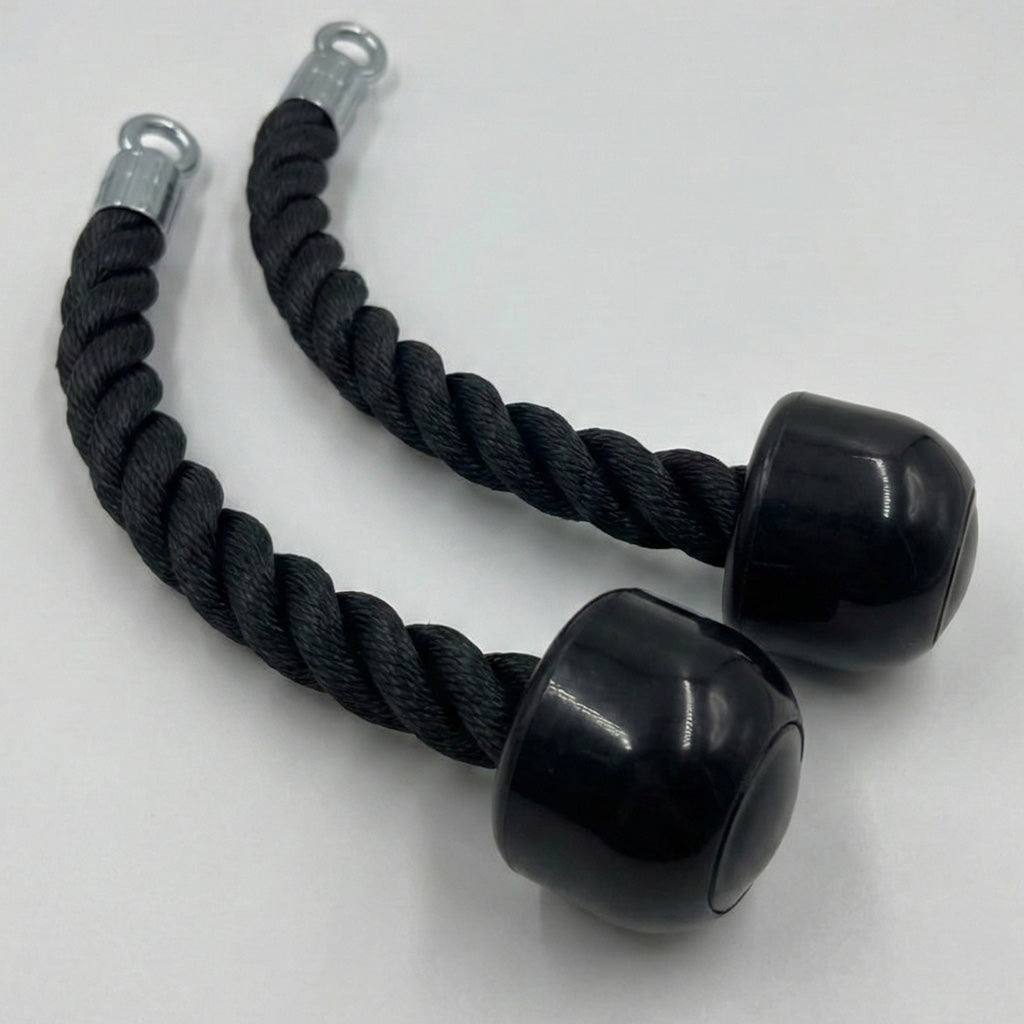
Individual Tricep Ropes
Pair of individual cable ropes for triceps pressdowns and cable hammer curls.

Multi-Length Tricep Strap
Adjustable-length cable strap for triceps, biceps and upper-body cable exercises.
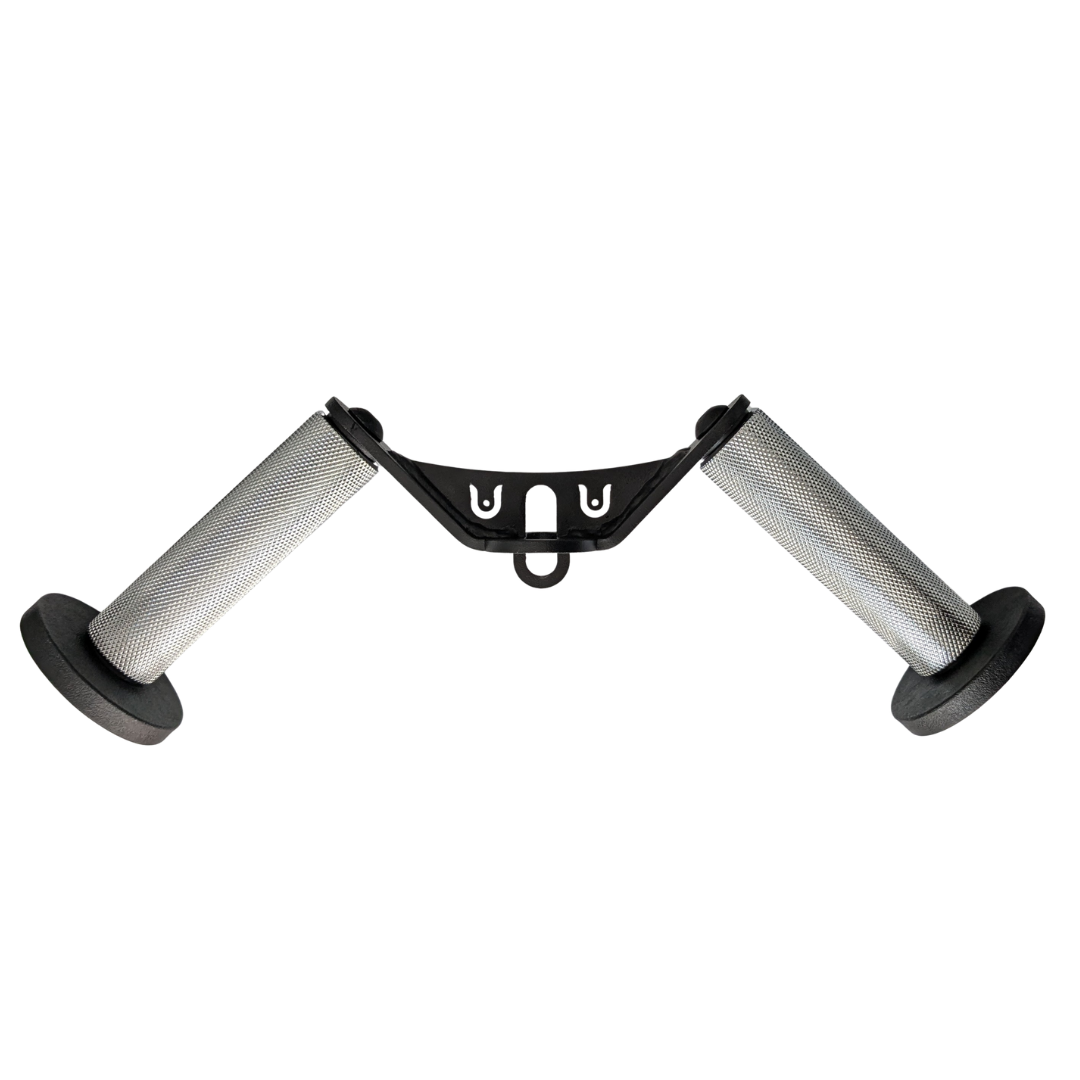
W Grip
Angled cable grip for comfortable rows, pushdowns, and curls.

GymPin Ergo Handles
Pair of ergonomic cable handles shaped for comfortable triceps and pulling exercises.

VForce Wall Trainer
Space-saving wall-mounted functional trainer with pivoting cable arms and variable resistance ratios.
3. Keep the elbows and grip steady through the arc
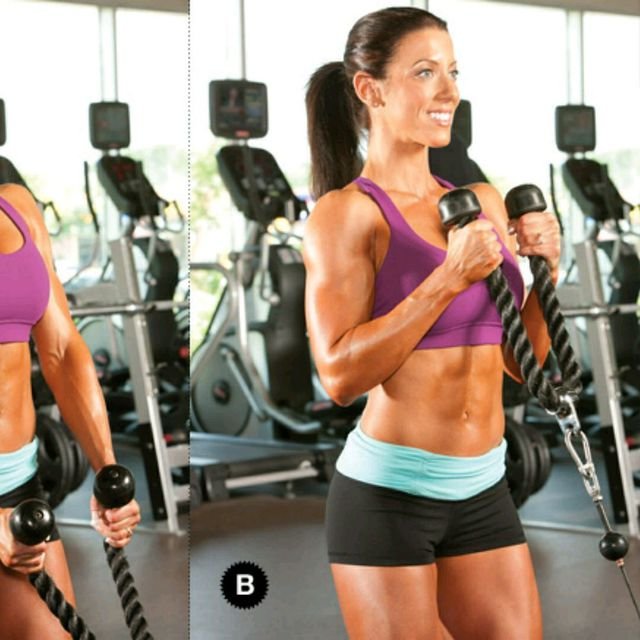
Begin by bending your elbows. Bring the rope ends upward toward the lower chest or shoulders while keeping the upper arms reasonably quiet. Some natural elbow movement is inevitable, but a large forward swing changes the exercise and can turn the last half of the rep into a shoulder movement. Keep the palms facing one another for the main set. You can allow a comfortable amount of separation between the rope ends near the top, but there is no requirement to wrench them apart or rotate into an awkward position.
Finish the upward phase when you can no longer curl without moving your shoulders or twisting your wrists. Hold the top briefly if it is comfortable; then lower smoothly toward the starting position. The negative should not resemble a dropped weight. A two- or three-second descent is an optional technique cue, not a universal tempo that must be enforced to exhaustion. What matters is that the weight, range and posture are consistent enough to compare one set with another.
Check your repetition from the side. If your torso rocks back, lower the load. If your elbows travel dramatically forward, shorten the rep to the last clean position and practice keeping the humerus steadier. If one rope end races ahead of the other, make a deliberate effort to match the hands rather than hiding the imbalance with momentum. On the last rep, step toward the station and let the stack settle under control before releasing the rope. Never let a tensioned cable snap away from your hands.
4. Choose cable tension over theatrical squeezing
A cable does not create identical resistance at every joint angle. Its effective challenge depends on the direction of cable force relative to the forearm and the elbow throughout the curl. A dumbbell is pulled vertically by gravity; the low cable pulls along the line between your hands and the pulley. One can feel harder in an area of the movement where the other feels easier. Neither is guaranteed to produce faster growth simply because it feels more continuous or lets you squeeze at the top.
The most useful comparison is between two sets you can reproduce. With a rope, the hands can settle into their own comfortable orientation, which may suit a lifter who dislikes a fixed bar. With dumbbells, each arm moves independently and you can change shoulder position or curl across the body. Straight-bar cable curls place the forearms in a different grip; a single cable handle lets you examine right-to-left differences. Those are options, not a ranking of winners and losers.
Avoid three common shortcuts. First, do not stand so close to the machine that the rope goes slack and then jerks tight at every rep. Second, do not drag the elbows behind you to pretend the cable has more range than your arm actually does. Third, do not turn a light accessory set into a back-extension contest by adding more plates. For most lifters, a clean set of moderate effort is more informative than a heavy, abbreviated set whose movement changes every repetition.

Bodybuilding Shirts & Workout Gear
Bodybuilding shirts, tanks and gym gear for lifters chasing muscle, size, symmetry and the pump.

Dost Thou Even Curl Tank
Bring “Dost Thou Even Curl Medieval Knight Bicep” humor to your next lifting session.

Muscle Mountain – Bicep Mountain Meme Pullover Jumper T-Shirt
Keep things casual with a little “Muscle Mountain” attitude.

Right to Bare Arms George Washington Patriotic Gym Pull Hoodie
Show off your bodybuilding humor in a laid-back “Right to Bare Arms” hoodie.

GymTok – TikTok Parody Bicep Gym Decal for Gymbros and Sticker
Give your everyday gear a playful “GymTok” twist.

Ravencurl Hogweights Harry Potter Meme & T-Shirt
Show some powerlifting attitude with a playful “Ravencurl Hogweights” tee.

Shirt – Tyrannosaurus Flex T-Rex Dinosaur – Meme Top T-Shirt
Rep “Tyrannosaurus Flex T-Rex Dinosaur” humor in and out of the gym.


Swole Goose Meme Shirt Goose T-Shirt
Make gym days more fun with “Swole Goose Gym Meme” style.

Flex X- Hero – Superhero , & Gains T-Shirt
Rep “Flex Men X-Men Gym Hero” humor in and out of the gym.
5. Progress your arm work and know when to change variations
Treat the rope hammer curl as one piece of your weekly pulling and arm workload. A sensible starting point is two sets of ten to fifteen controlled repetitions once or twice per week. If you already row, pull up, curl and train with high volume, begin at the low end rather than piling new sets on top. Rest around sixty to ninety seconds if that allows similar technique on the next set; extend the rest when the goal is consistent strength rather than just a burning sensation.
For a simple four-week progression, use the first week to establish a repeatable weight and comfortable range. During the second week, try adding one clean repetition per set while leaving the cable and stance unchanged. During the third week, add a set only if recovery and the rest of your arm training justify it. In the fourth week, raise resistance by the smallest useful increment only if you can still meet your original repetition target without rocking, wrist collapse or shortened range. Otherwise, use the same weight and build more consistent repetitions.
Log the machine, cable position, attachment, load, repetitions and any unusual discomfort. Cable resistance readings can vary between machines because of pulley ratios and mechanics, so a number on one stack is not automatically equivalent to a number on another. Compare progress primarily on the same equipment. When the rope makes your wrist uncomfortable, switch to a more suitable neutral handle or use dumbbells. When elbow or forearm pain persists, do not train through it simply because the exercise is marketed as joint-friendly.
You can finish a session with a supinated curl on a separate day, alternate hammer-curl styles between training blocks, or keep rope curls as a short accessory after back training. There is no need to add every variation at once. Pick one that fits your equipment, keep the movement recognizable, and make increasing performance the reward for good repetitions rather than a reason to abandon them.