Advertising disclosure: This page includes affiliate product links that may earn us a commission, as well as products from our own store.
Toes-to-bar looks like a simple task: hang from a pull-up bar, bring your feet up, repeat. Yet the difference between one hard-won touch and a smooth set often is not abdominal strength alone. Grip endurance, shoulder position, hip compression and timing of the return swing all matter. You can have strong abs and still lose every other repetition to a runaway pendulum.
This guide separates the strict toes-to-bar from the dynamic version commonly used in functional-fitness workouts. You will learn to choose a safe bar, build the prerequisites, troubleshoot failed touches and follow a four-week plan without throwing more tired attempts at the problem. That plan is practical programming, not the result of a clinical trial.
1. Define a complete rep before deciding how to train it
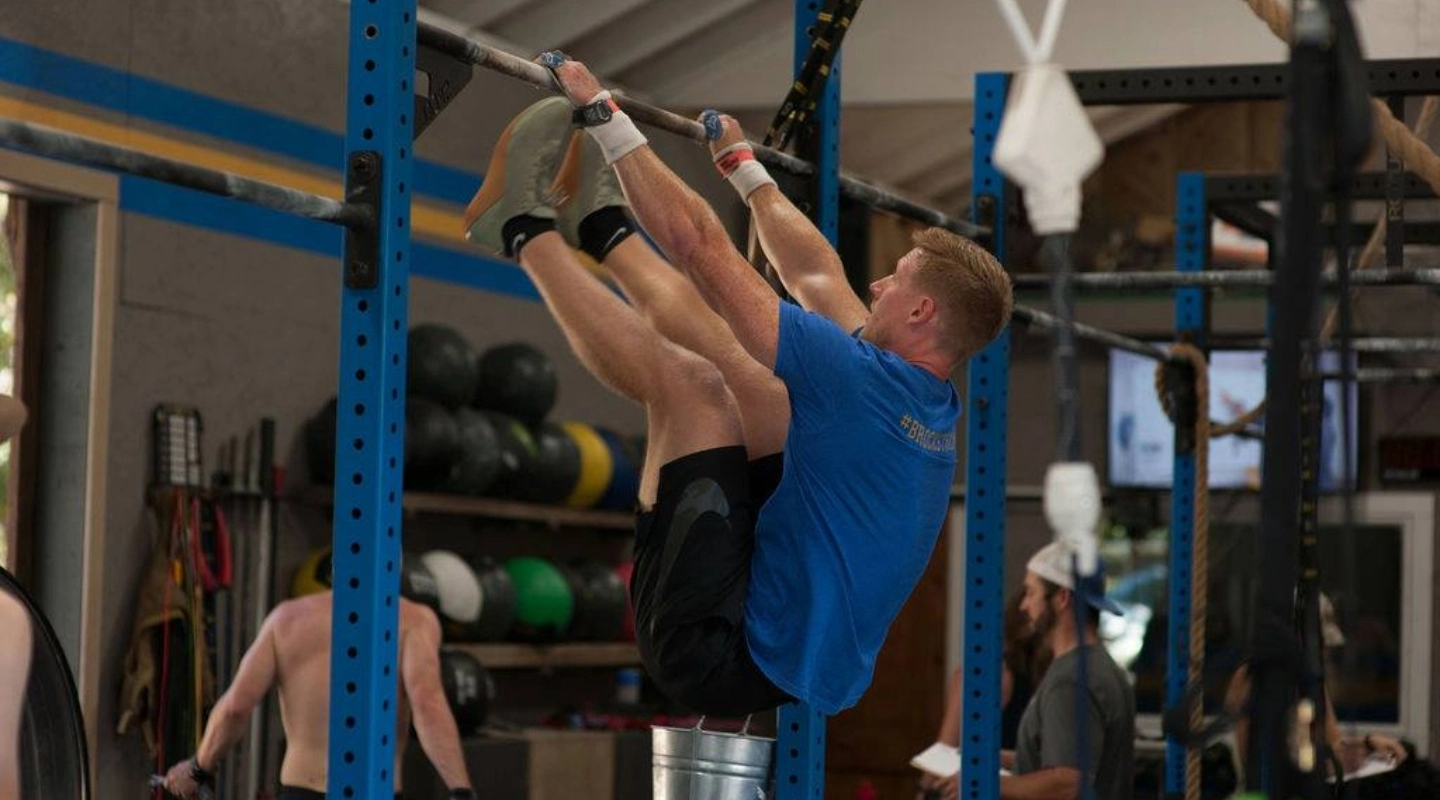
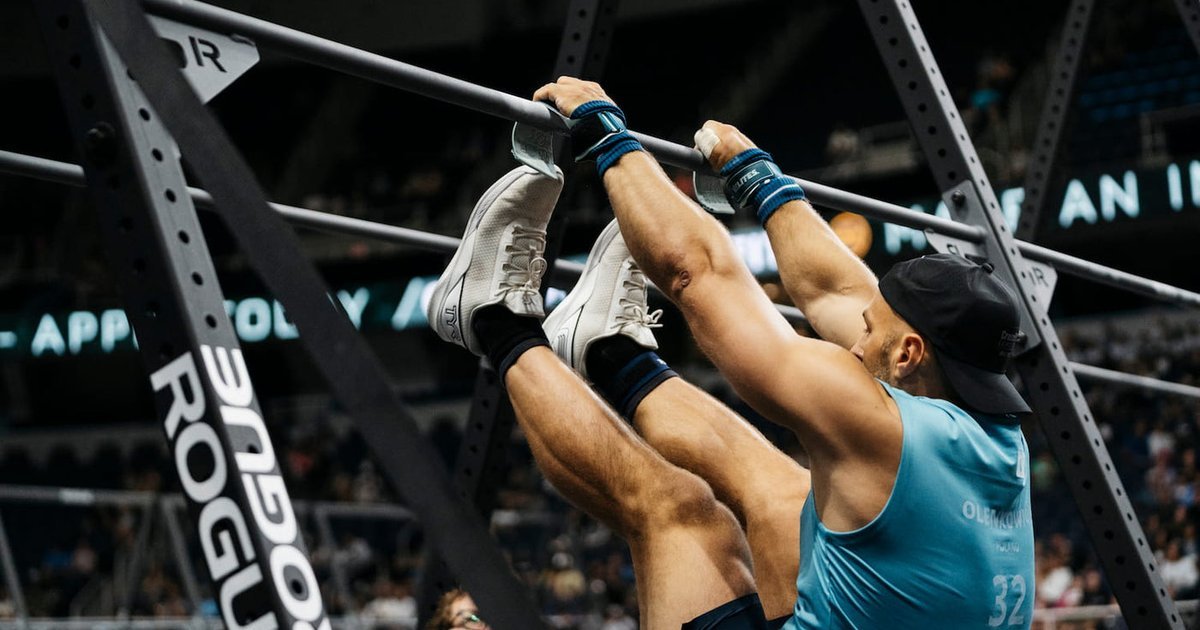
A full toes-to-bar repetition starts with an overhead hang and finishes with both feet contacting the pull-up bar. In many judged functional-fitness events the standard is more specific: begin with arms extended and heels brought back behind the bar’s vertical plane, and finish with both feet touching the bar together between the hands. Check the current event’s rulebook if your goal is a scored workout. A useful training drill is not automatically a competition-standard rep.
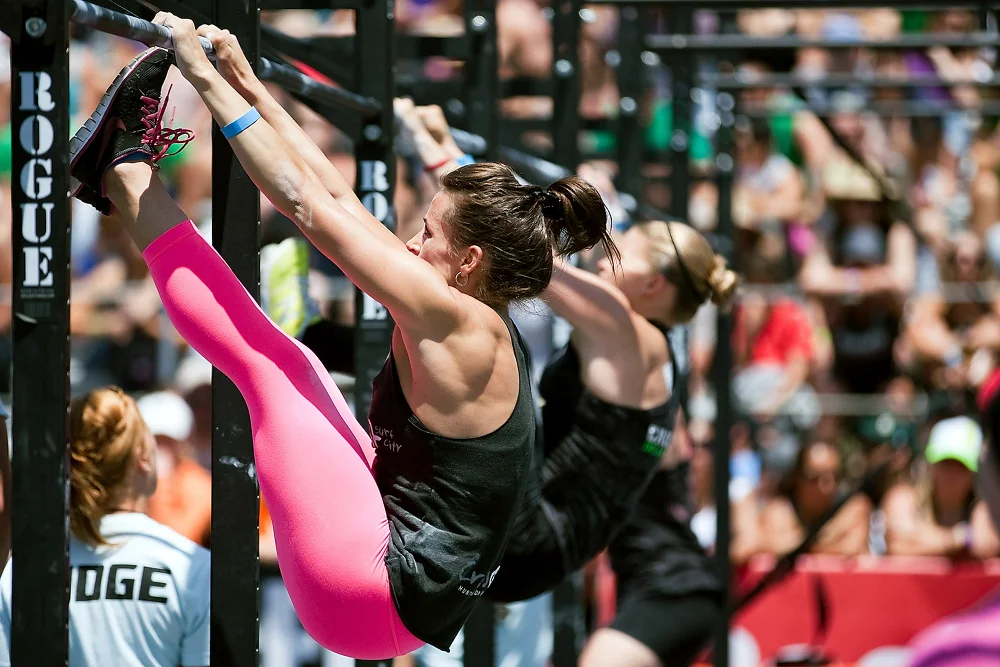
A strict rep has no intentional swing. From a still hang, lift the legs, fold at the hips, curl the pelvis toward the rib cage as the feet approach the bar and lower under control. A kipping rep uses a deliberate hollow-to-arch body rhythm plus a press on the bar to coordinate a faster reach. Both require meaningful abdominal and hip-flexor effort. The kip changes how momentum is generated and recycled, not whether you must control the shoulders and grip.
Choose the version for your purpose. For compression strength, start with controlled raises and strict attempts. For timed workouts, develop a compact, repeatable kip rather than trying to kick harder on every repetition. Neither version is automatically superior for visible abs, and a dynamic movement does not replace progressive strength training.
Ask three questions before adding volume: Can I maintain a comfortable hang with the shoulders engaged? Can I lift my knees without losing trunk position? Can I lower the legs without an uncontrolled second swing? The answer identifies your next drill more usefully than a high-rep target.
2. Build a secure bar setup, active hang and dependable grip
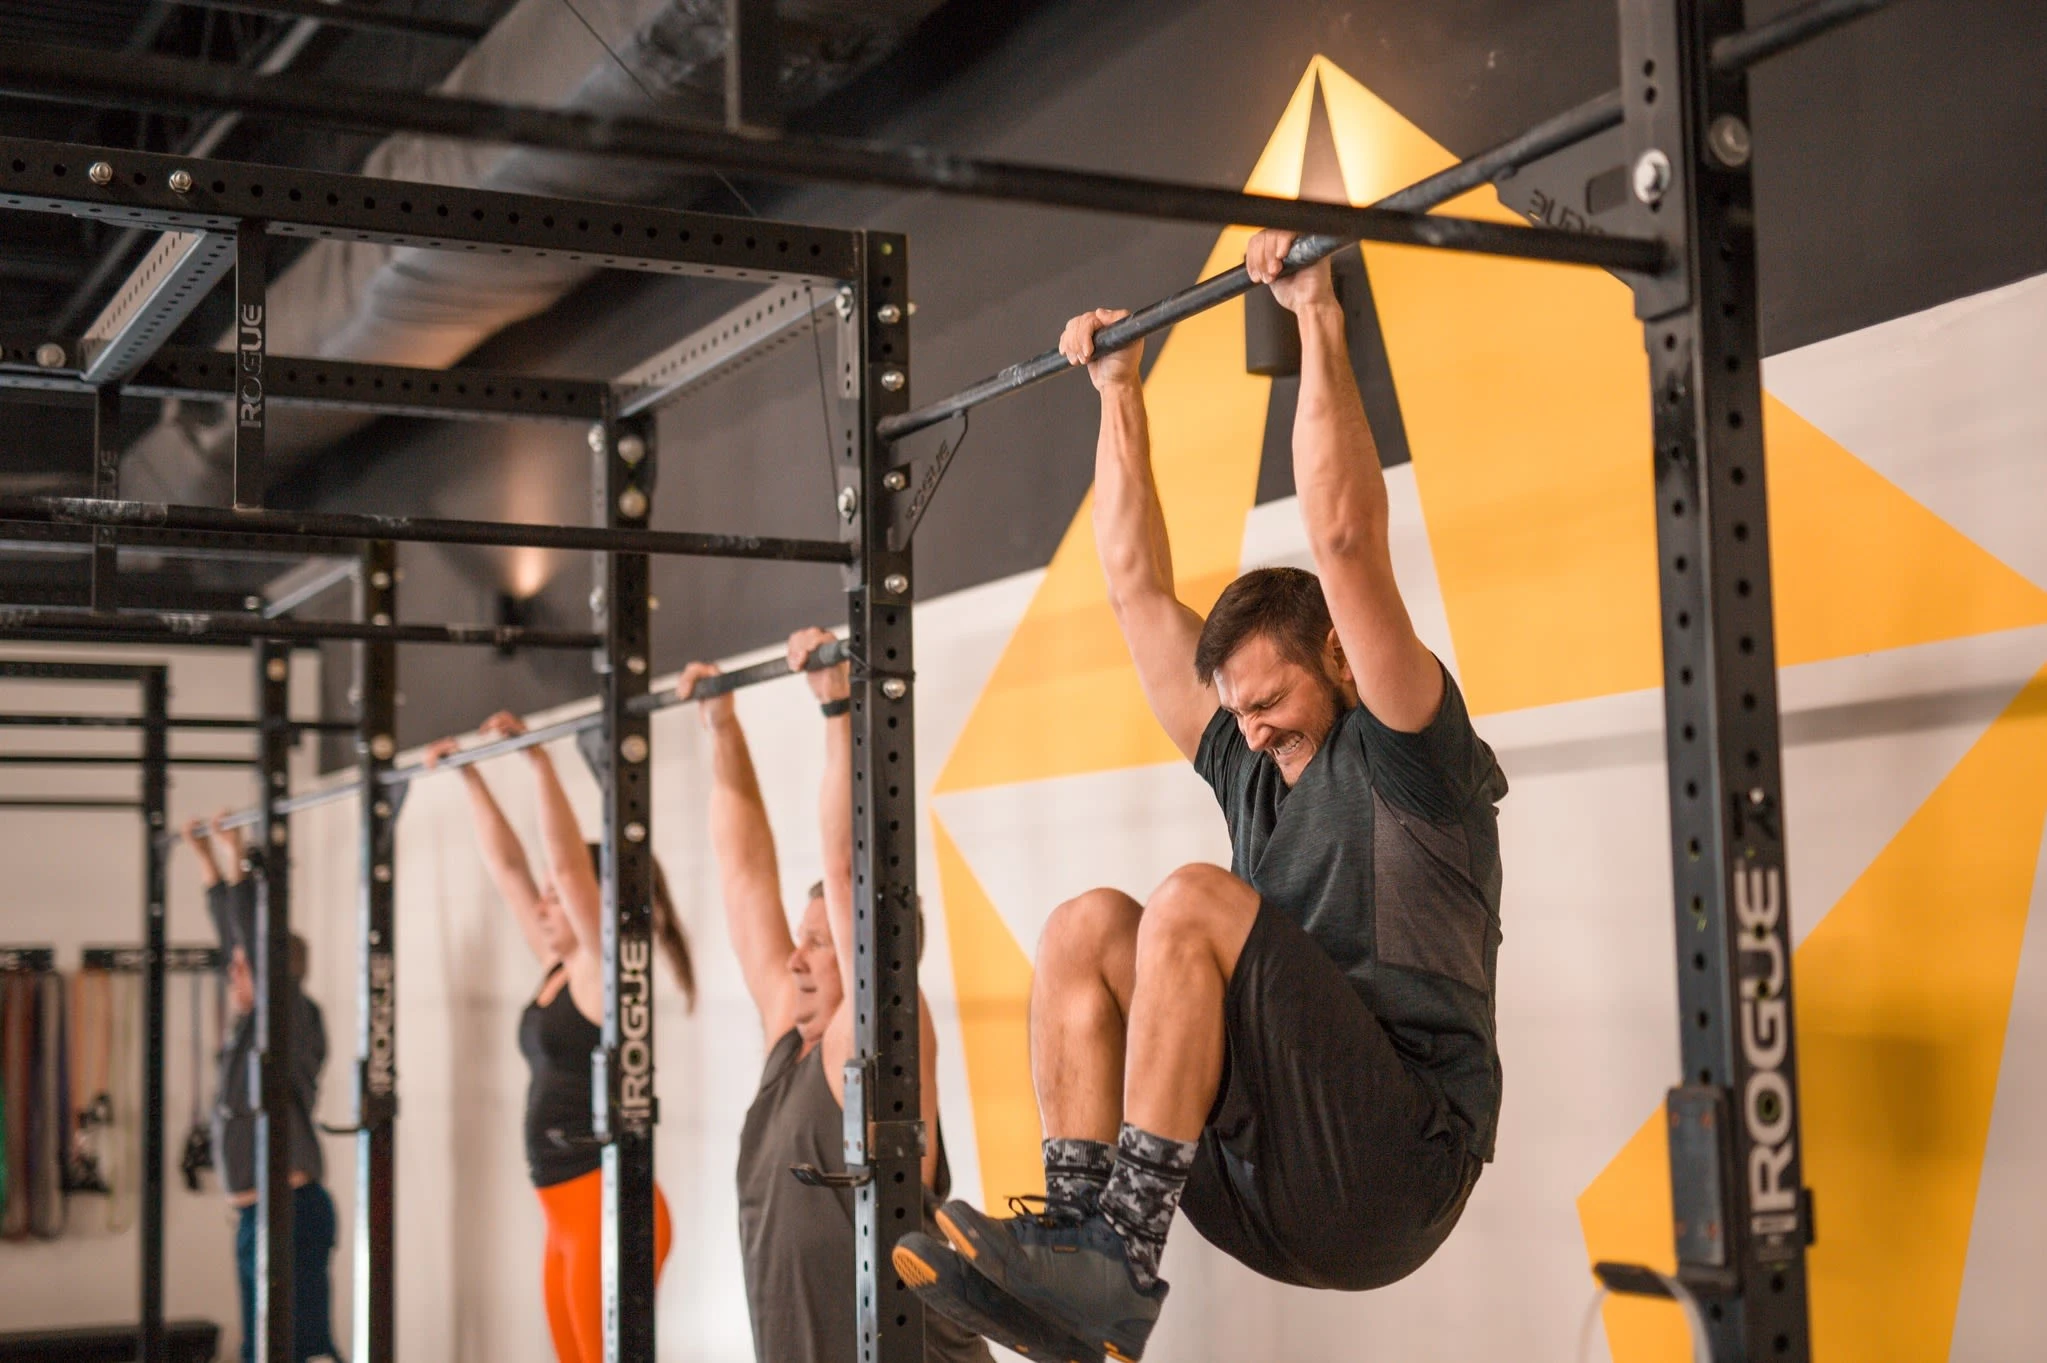
Your first task is not to touch the bar. It is to verify the equipment. Use an anchored pull-up rig or a stable station with enough height and front-to-back clearance. Check its rated load and stability; a doorway bar or unverified wall mount should not be used for kipping. Remove loose equipment and keep other people outside the swing area. A suitable static hanging station is not necessarily certified for dynamic movement.
Grip comfortably around shoulder width or slightly wider, with the thumbs securing the bar. Keep the elbows extended and create controlled shoulder tension rather than collapsing into an uncomfortable passive hang. Think about maintaining shoulder organization without performing a pull-up. Place the hands where both feet can approach the bar inside them, not so narrowly that you must twist to clear the arms.
Chalk or appropriately fitted gymnastics grips may help repeated bar contact, but inspect the combination of grip material and bar. Some combinations are too slick or too grabby. Leather straps intended for rows or heavy deadlifts are not automatically suitable for kipping gymnastics; do not wrap yourself to the bar. If skin begins to tear or the hands slip, stop the set rather than trying to save the last few repetitions.
Start with two 15–25-second controlled hangs, then two sets of five small hanging shoulder movements. Keep these easy enough that you could confidently step down rather than fall. If overhead reaching causes pain or your grip cannot secure the bar, regress to floor-based trunk drills or get help from a qualified coach before attempting dynamic work.
A stable pull-up station is the essential equipment. Rings can provide separate hanging and hip-flexion drills, while grip accessories can support other training. None of them turns an unsuitable mount into a safe kipping rig.

Equipment Worth Exploring
Explore equipment, accessories and gear from our carefully selected range.

Power Tower
Freestanding pull-up and dip station with adjustable handles for bodyweight training.


Foldable Wall Rack
Wall-mounted folding squat rack designed to save floor space between workouts.


Leather Wrist Grips
Padded leather lifting grips help support the hands and wrists on heavy pulling exercises.

VForce 2IN1
Half rack and pivot-arm functional trainer with switchable 1:1 and 2:1 pulley ratios.

VForce 3IN1
All-in-one rack combining an adjustable Smith machine, functional trainer, and free-weight station.


Leather Lifting Straps
Padded leather straps support grip during heavy rows, deadlifts and pulling exercises.
3. Learn the hollow-to-arch rhythm before kicking higher
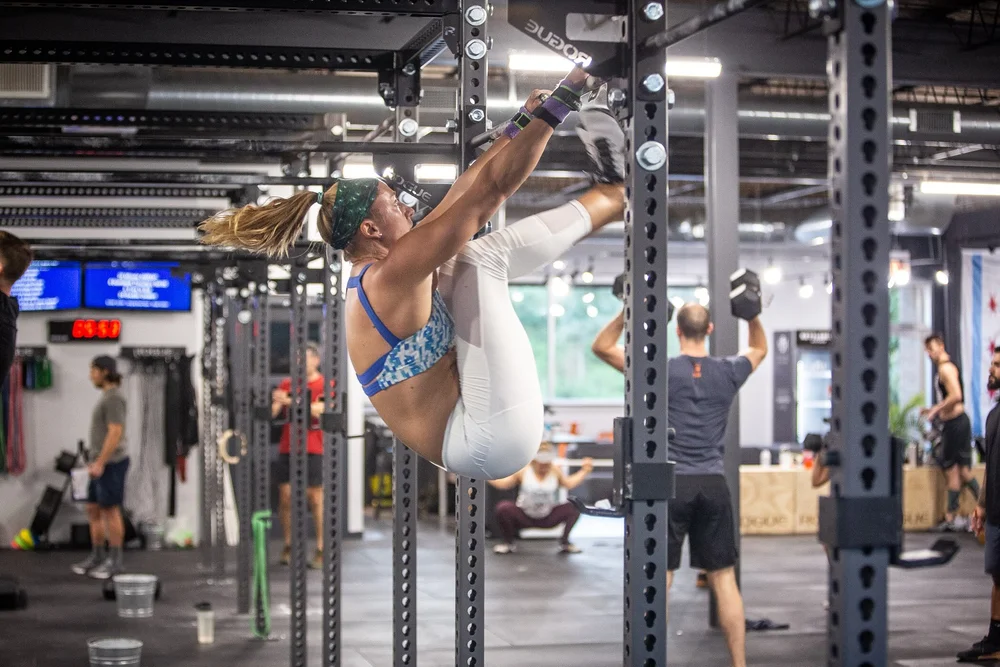
A controlled kip starts with two modest body shapes. In the hollow, the ribs and pelvis move toward a braced position and the feet drift in front. In the arch, the chest moves through the arms and the legs travel slightly behind, without an exaggerated bend in the lower back. The transition should be coordinated by the shoulders and trunk instead of an uncontrolled hip kick.
Try three to five sets of three to six small beat swings with generous rest. Move through a modest arch, then press down on the bar as you shift to hollow. When the motion becomes reliable, add one controlled knee lift during the hollow portion. The shoulder press helps bring the hips behind the bar as the legs rise. You are changing the geometry of the reach rather than making the hip flexors cover the entire distance alone.
A common mistake is to generate a huge forward swing while remaining directly beneath the bar. The legs shoot upward, miss and drop, making the next swing larger. Reduce amplitude and regain the planned path. A small repeatable kip with well-timed shoulder action beats a giant pendulum you cannot arrest.
Use a drill of two beat swings, one knee raise and a deliberate reset. Perform three sets with enough recovery to make the sequences look alike. If each gets bigger and less controlled, stay with beat swings before attempting toe contact. If shoulder discomfort appears, avoid forcing dynamic end-range movements and choose a pain-free alternative.
Remember that kipping is an optional skill. Strict hanging raises, controlled leg lifts and appropriately loaded floor trunk exercises remain useful even if you never need a fast set of toes-to-bar.
4. Build hip compression with strict raises and an honest range
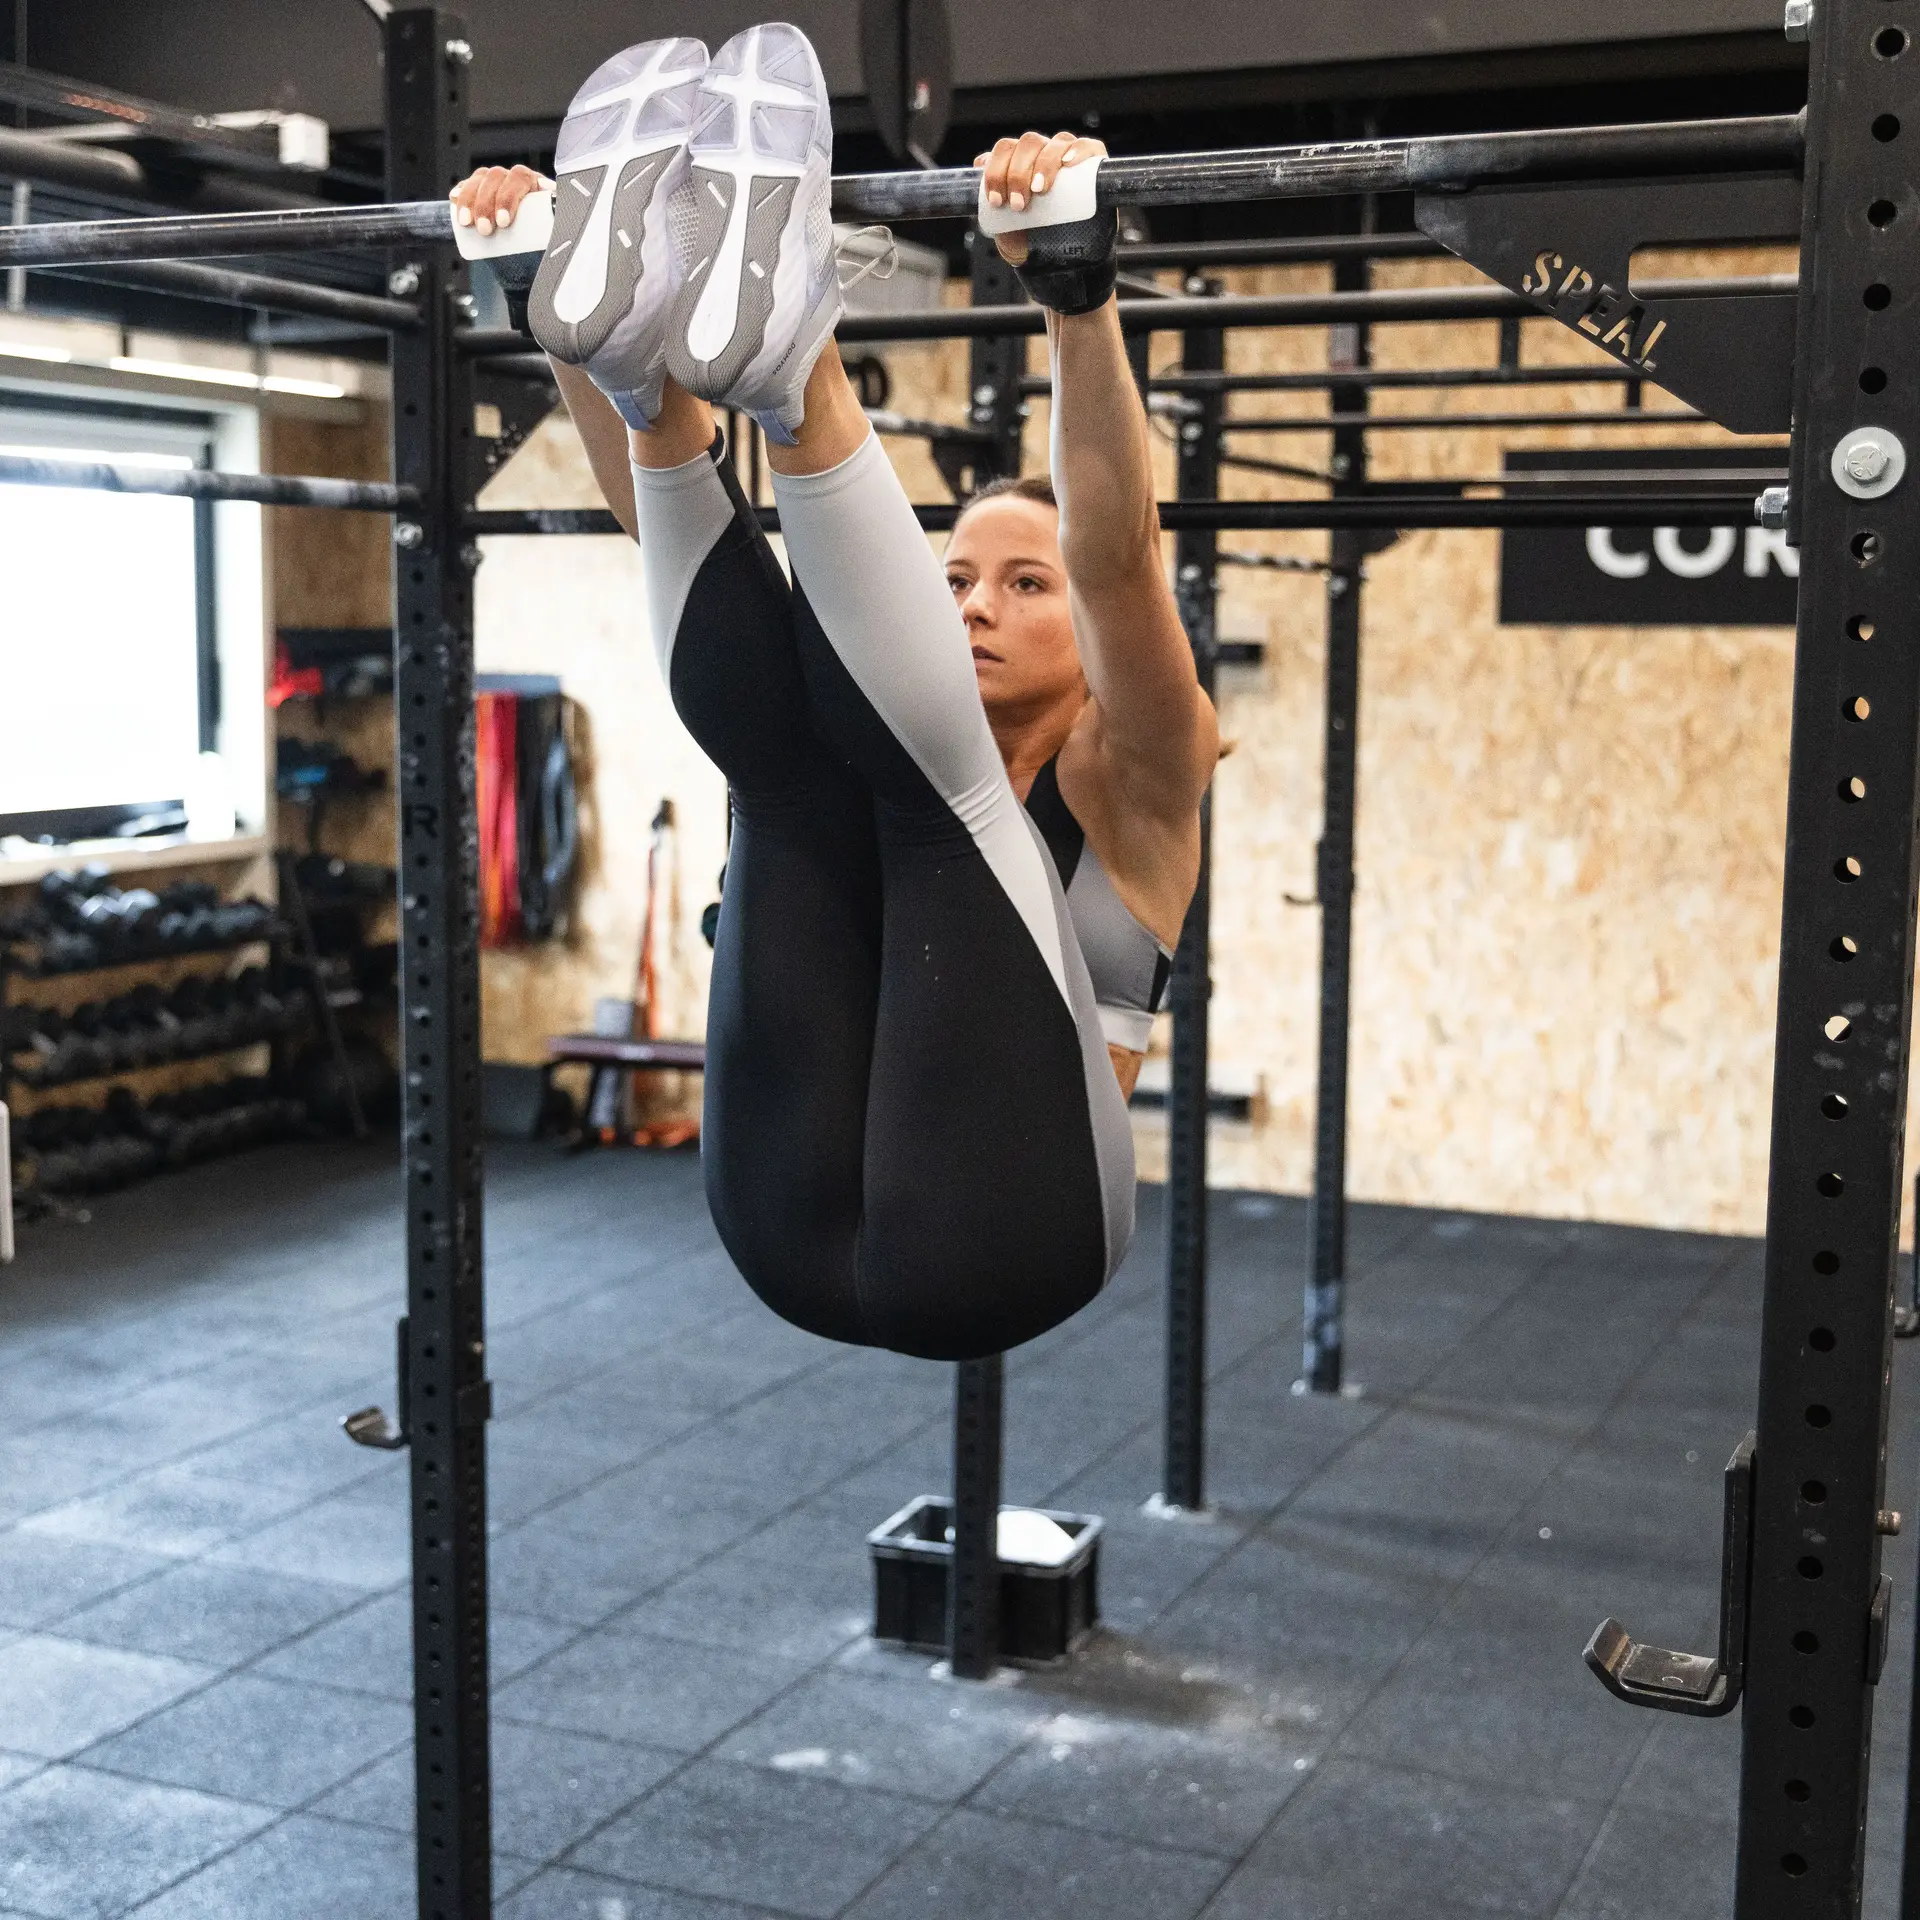
Reaching the bar also requires a strong folding motion. The hip flexors raise the thighs while the abdominals help position the rib cage and pelvis, especially as the body folds beyond a simple right angle. Hamstring flexibility can affect how straight the knees stay. A small knee bend may be more realistic than forcing an idealized straight-leg demonstration.
Use a simple ladder. Level one: hanging knee raises for six to ten controlled reps without swinging. Level two: knees toward elbows for three to six reps, bringing the pelvis into the movement. Level three: straight-leg raises to a repeatable horizontal height. Level four: tuck-and-extend touches or single-leg reaches, training both sides. Level five: low-rep strict touches, if shoulder control and flexibility permit.
Keep the stopping point honest. A knee raise to chest height is not a failed toes-to-bar: it is a named progression you can improve. Likewise, toes that miss the bar by several inches are not a completed touch. Record whether both feet made contact, whether you used a kip and whether you could regain the start without an uncontrolled swing.
For strict work, think about curling the pelvis upward instead of only staring at your shoes. Lowering slowly can make a shorter range challenging, but do not jump into an inverted position on an unverified bar to manufacture eccentric reps. Choose the largest safe range you can reproduce with comfortable shoulders and a secure grip.
If a short-lever version is cleaner and pain-free, it belongs in the program. The goal is repeatable compression strength, not a false impression of progress from adding momentum.
5. Link repetitions by controlling the return after the touch
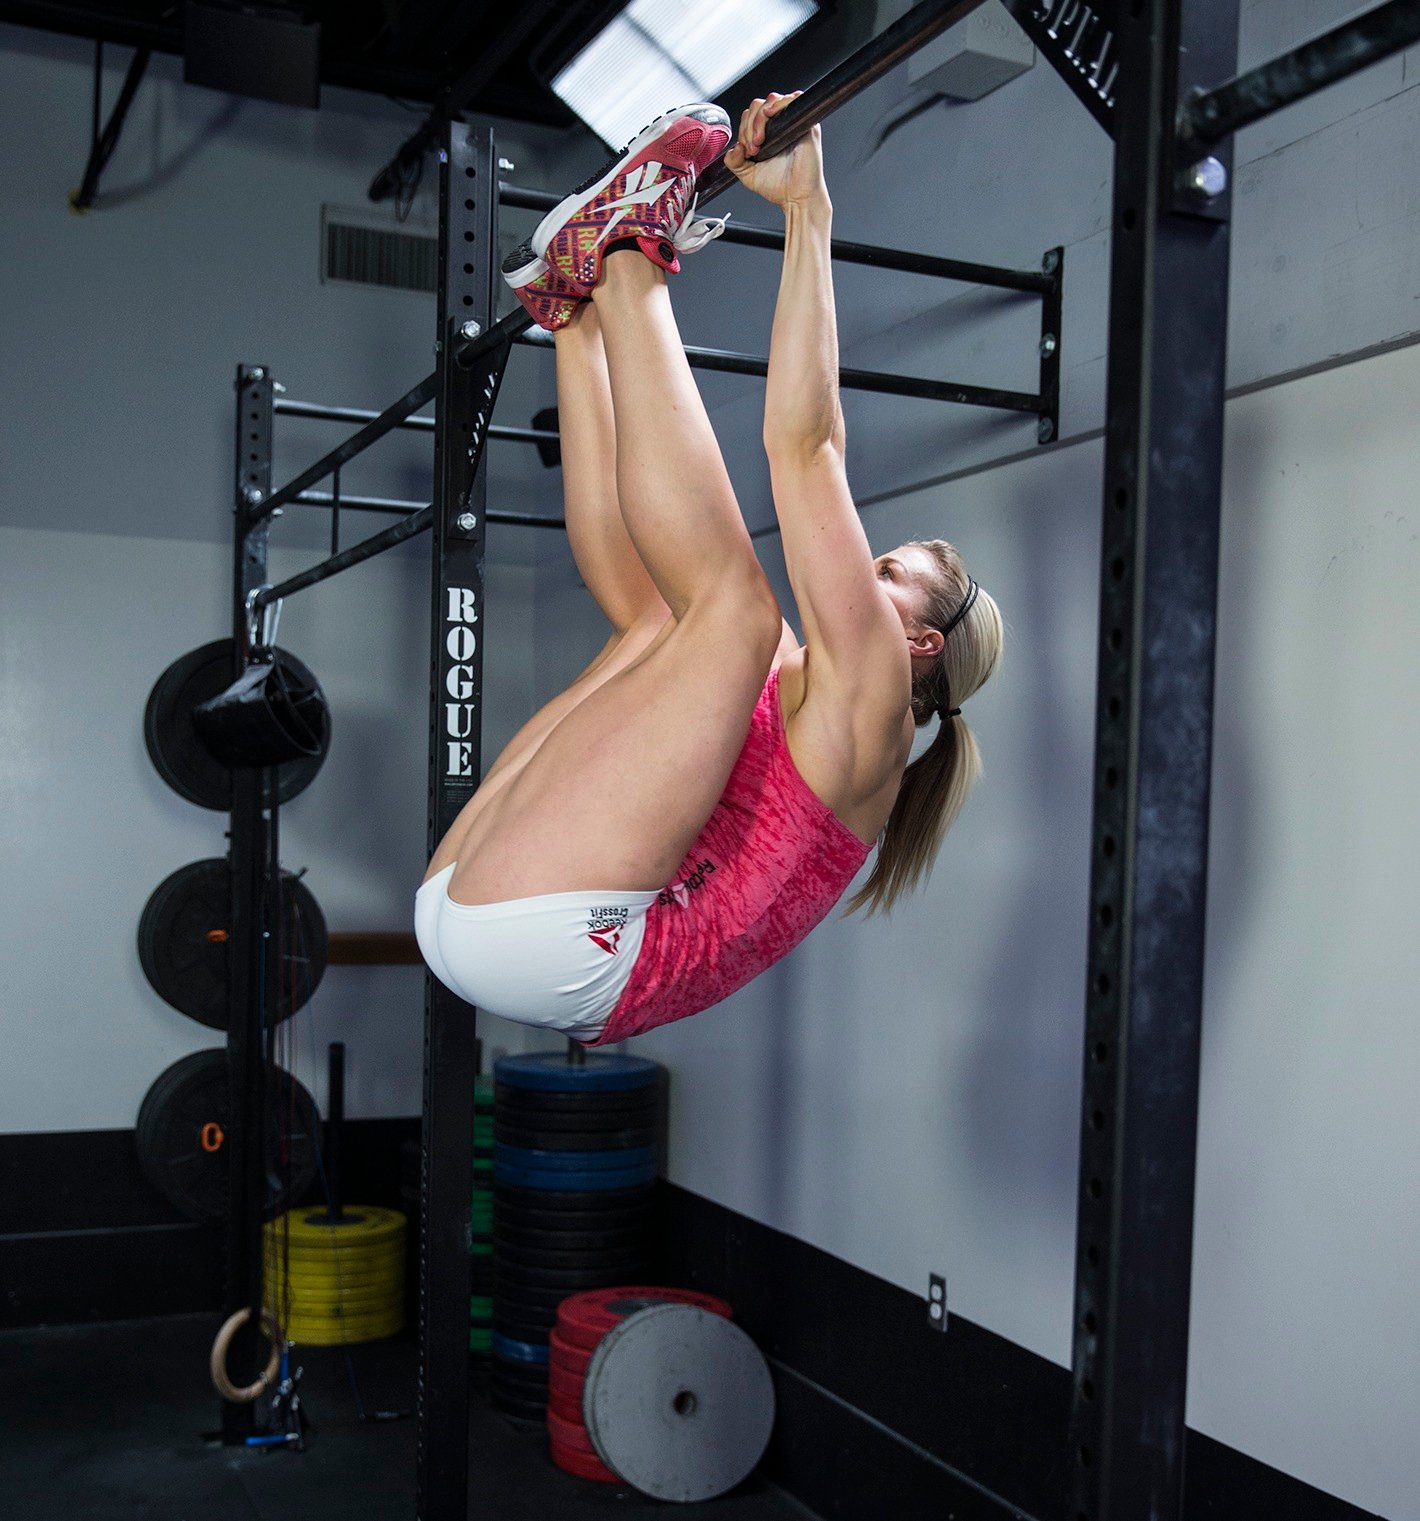
Once you can contact the bar once, the next obstacle is usually the descent. Letting the legs fall straight down produces extra swing, forces a rushed correction and leaves the next rep farther from the target. Linked toes-to-bar require a deliberate return: after contact, bring the legs down and back into the arch as the chest shifts forward under control.
Use the complex two beat swings, one toes-to-bar, two beat swings for three to five rounds with rest. It isolates the difference between making one rep and repeating a rhythm. When that is consistent, try two linked touches, then three. Stop when the feet cannot reach the same target zone or the hips swing progressively farther away on each cycle.
Keep separate training records for strict and kipping reps. A strict triple and a kipping set of eight are different performance measures. Within kipping, note whether you used straight legs or tuck-and-extend, whether you reset, and whether both feet actually touched. Those distinctions make progress measurable without pretending all repetitions share the same difficulty.
For judged events, both feet touching together matters, as does touching inside the hands and respecting the full hanging position. A reduced-range drill can be excellent general training, but label it as such. Do not turn a near-miss into a score.
As forearm and shoulder fatigue increases, break the total volume into small clusters. Four tidy triples often make better skill practice than one uncontrolled twelve-rep attempt. An opening grip, painful shoulder or inability to regain the intended hang is a stop sign, not something to push through.

Calisthenics Shirts & Street Workout Gear
Calisthenics and bodyweight-training gear for pull-ups, dips, handstands and street-workout athletes.


Always Pull Yourself Up Funny Gym T
Heavy lifts, good laughs, and a little “Always Pull Yourself Up” energy.

Calisthenics Evolution
Show some lifting attitude with a playful “Calisthenics Evolution” tee.

Calisthenics Heartbeat Hoodie
Keep it laid-back with a little “Calisthenics Heartbeat” attitude.

Gandalf Gymbro Lord of the Rings Calisthenics | Funny W Hoodie
Show off your lifting humor in a laid-back “Gandalf Gymbro Lord of the Rings” hoodie.

Spider Hero Pullups Decal for Water Bottles Laptops Gym Sticker
Bring “Gym Spider Hero Pullups” attitude to your water bottle or laptop.


Shirt Calisthenics Lovers Hilarious Gains & Meme T-Shirt
Rep “for Calisthenics Lovers” humor in and out of the gym.
6. Follow a four-week plan with clear checkpoints
Practice two or three times weekly on nonconsecutive days, after warming up but before hard back work exhausts the grip. The following is an original, scalable coaching template rather than a studied protocol. Do not advance simply because the calendar says so. Warm up with shoulder movements, controlled hangs, gentle hamstring mobility and floor hollow-body exercises.
Weeks one and two: establish your starting variation
Session A, strict control: two 15–25-second active hangs, three sets of six to eight hanging knee raises, then two sets of five short hollow-body holds of roughly five seconds. Rest enough to repeat the same range. More experienced athletes can substitute straight-leg raises to a consistent horizontal position.
Session B, timing: three sets of five compact beat swings, followed by three to five rounds of two swings plus one deliberate knee raise or alternating single-leg reach. Make the reset the focus, and record only repetitions with a consistent start. If beat swings are uncontrolled, substitute small hanging shoulder drills.
Week three: earn a clean contact
Keep Session A similar while adding a little range rather than doubling volume. In Session B, attempt a single toes-to-bar after two preparatory beats, or use a knees-to-elbows progression if contact is not yet available. Reset fully after every attempt. Aim for three to six successful, repeatable technical singles across the workout, not a large number of failing kicks. Strict specialists can focus on three sets of two to four controlled raises near their best available height.
Week four: test repeatability
In Session A, compare the same raise variation with week one: height, body swing, grip comfort and lowering control. In Session B, if singles are consistently successful, try two linked contacts for three or four rounds. Otherwise make the singles more reliable. An optional third session may contain just two easy sets of hangs, a few beat swings and floor hollow-body work.
Track four columns: variation, clean touches, uncontrolled swings and grip or shoulder comfort. That tells you more than total repetitions alone. Progress might mean the same number of contacts with less extra swing, or the same strict knee-raise count at a slightly higher, repeatable position. There is no need to manufacture more reps to demonstrate improvement.
Advanced athletes can use the same technique audit while gradually building total work in small sets. Keep strict and dynamic records apart, and if training at home choose the strict variation unless the bar, supports, load rating and clearance are verified for dynamic use.
Bottom line: toes-to-bar is coordination layered on top of hanging strength and hip compression. Own the hang, develop the shoulder-driven rhythm, lift through a measurable range and make the next rep look like the first.
Some equipment links may be affiliate links, which can support our independent editorial work at no additional cost to you.