Advertising disclosure: This page includes affiliate product links that may earn us a commission, as well as products from our own store.
You can build a serious back without turning every pulling session into a contest against a heavy barbell. The inverted row puts your body underneath a fixed bar or pair of handles, then asks you to move as one rigid unit toward the grip. It is simple enough for someone practicing their first strict pull-up and adjustable enough to challenge an experienced lifter.
The catch is that small technique changes can quietly change the exercise. A few centimeters of hip sag, an ever-shorter pause, or a sudden shift in foot position can turn a difficult set into a misleading number in the log. Get those details right and this overlooked horizontal pull becomes a practical way to train your upper back, arms and body tension.
Here is how to set it up safely, what the research can and cannot tell us, how to increase difficulty, and how to fit it beside pull-ups, dumbbell rows and cable work without doubling your recovery bill.
Why a horizontal bodyweight row belongs on back day
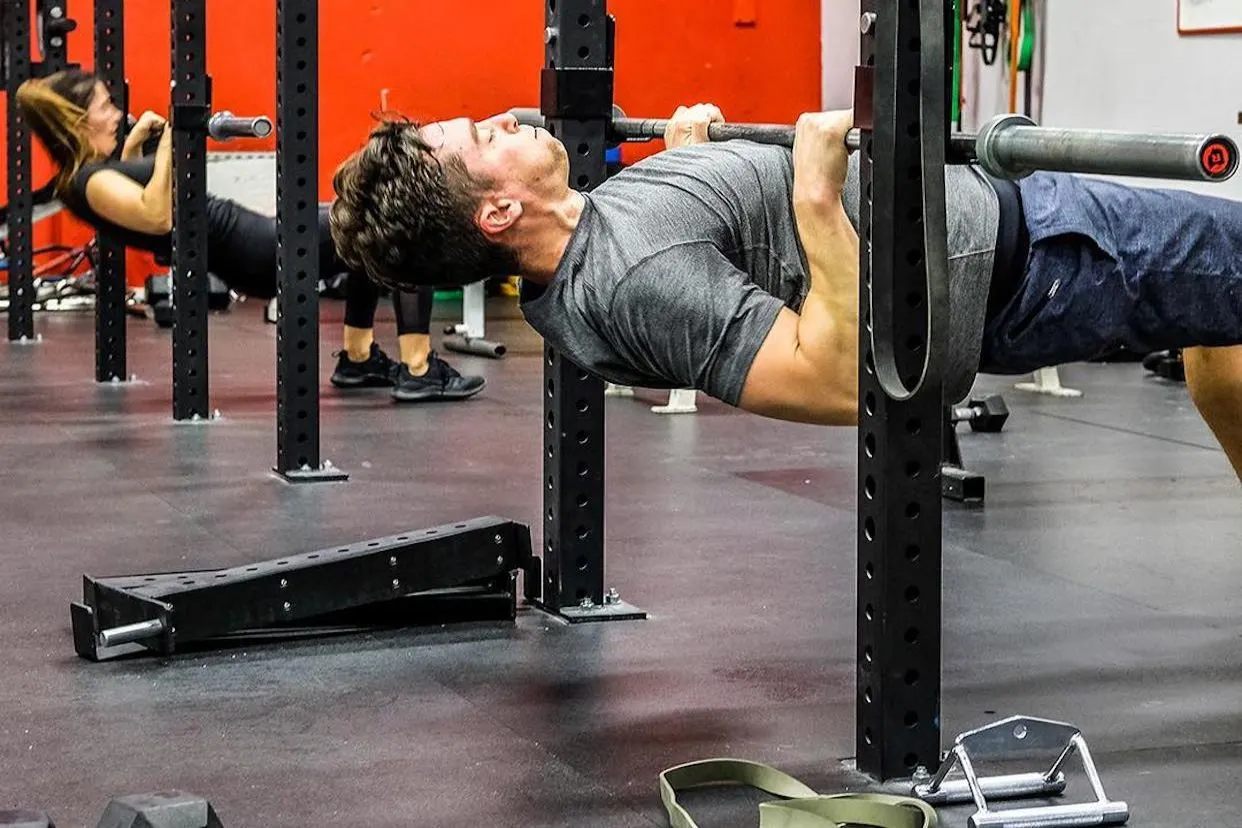
The inverted row gives your back a familiar job: pull your upper arm behind you while keeping the torso stable. The difference is the resistance comes from the angle of your own body, not a loaded plate or a cable stack. Your mid-back, lats, rear shoulders and elbow flexors all contribute; your glutes and trunk have to stop the torso from folding in the middle. That makes it a useful bridge between free-weight rows and strict bodyweight strength.
A pull-up moves the body vertically and usually requires lifting a larger share of its total mass through a tougher strength curve. An inverted row is a horizontal pull. You can put your feet farther under the bar to reduce the challenge, or move them forward to make each repetition harder. It is especially practical when you can do only a few strict pull-ups but still want enough controlled pulling repetitions to train your back seriously.
The exercise is not automatically superior to a dumbbell or cable row. A fixed bar gives repeatable hand placement, while suspension handles let each wrist and shoulder move more freely. Neither setup guarantees that one region of the back grows faster. The good reason to use the movement is that it is adjustable, requires little equipment, and makes sloppy body positioning obvious. In a balanced plan it can complement heavier rowing rather than replace it.
Set the bar, the anchor and your body position first
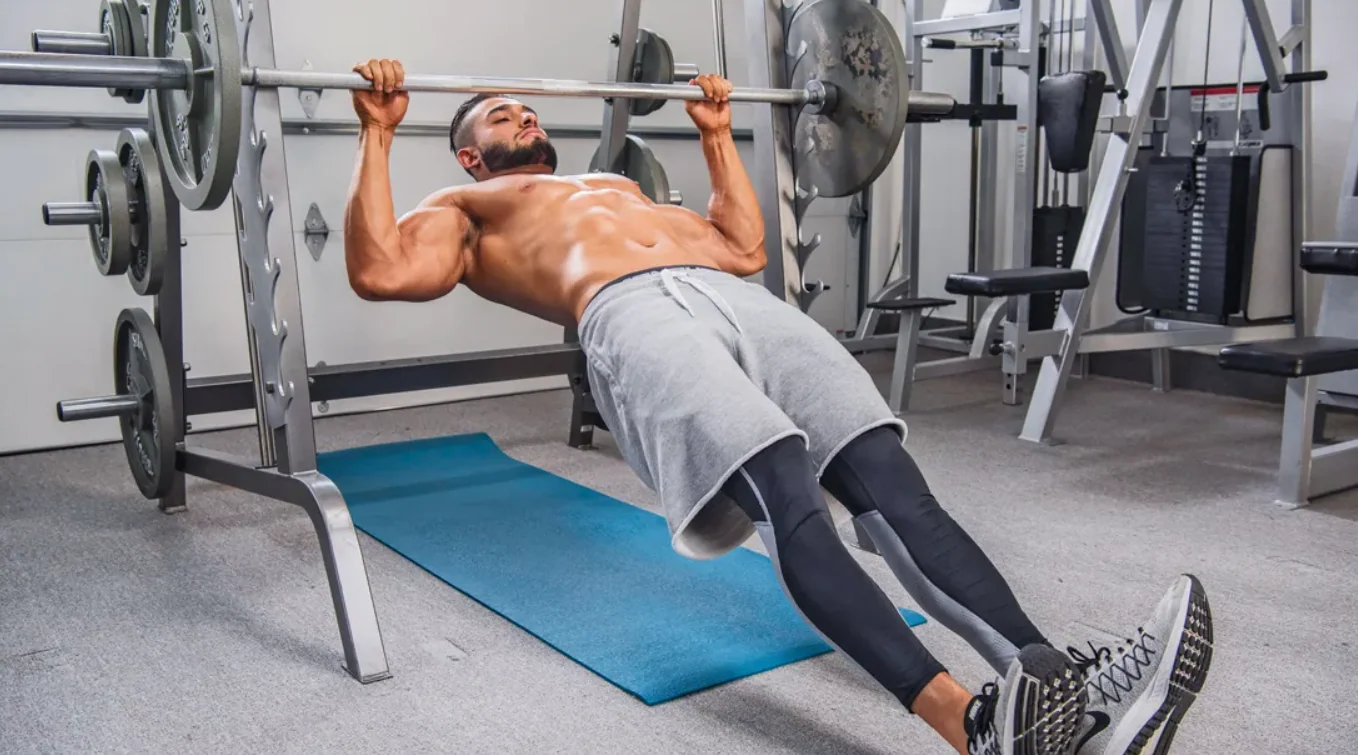
Begin with a bar fixed securely in a rack or Smith machine at a height that lets you reach it with straight arms while your torso stays off the floor. Set your heels on the ground ahead of you. Use a grip around shoulder width or a little wider, then tighten the abdomen and glutes until ankles, hips and shoulders form one long line. Raise the bar if this angle is too hard, or bend your knees and plant your feet closer to your hips. Make the initial difficulty one you can control for eight clean repetitions.
Pull your lower chest toward the bar while keeping that straight body line. Let the elbows travel backward rather than forcing them directly out to the sides. Pause briefly where your shoulder motion comfortably ends. Lower yourself in a deliberate two-second descent until the arms are nearly straight again, without dropping the hips or shrugging the shoulders into an uncomfortable position. The goal is a consistent range, not a chest-to-bar stunt.
Equipment security comes before intensity. Confirm that the bar cannot roll, tip, or dislodge from its supports; adjustable bench frames and improvised household anchors are not interchangeable with load-rated training hardware. If you use rings or straps, check their mounting point, stitching, lock mechanism, and clearance. Do not assume a doorway or furniture will hold a falling body. A stable setup also makes tracking progress easier because the height and foot placement stay repeatable.
Starter prescription: two or three sets of six to ten reps, stopping with about two controlled reps left. Keep the setup identical for the entire session before you experiment with steeper angles.
Equipment Worth Exploring
Explore equipment, accessories and gear from our carefully selected range.


Power Tower
Freestanding pull-up and dip station with adjustable handles for bodyweight training.


Foldable Wall Rack
Wall-mounted folding squat rack designed to save floor space between workouts.
VOLTRA
Compact digital cable trainer with smooth, adjustable resistance.
Back Bar
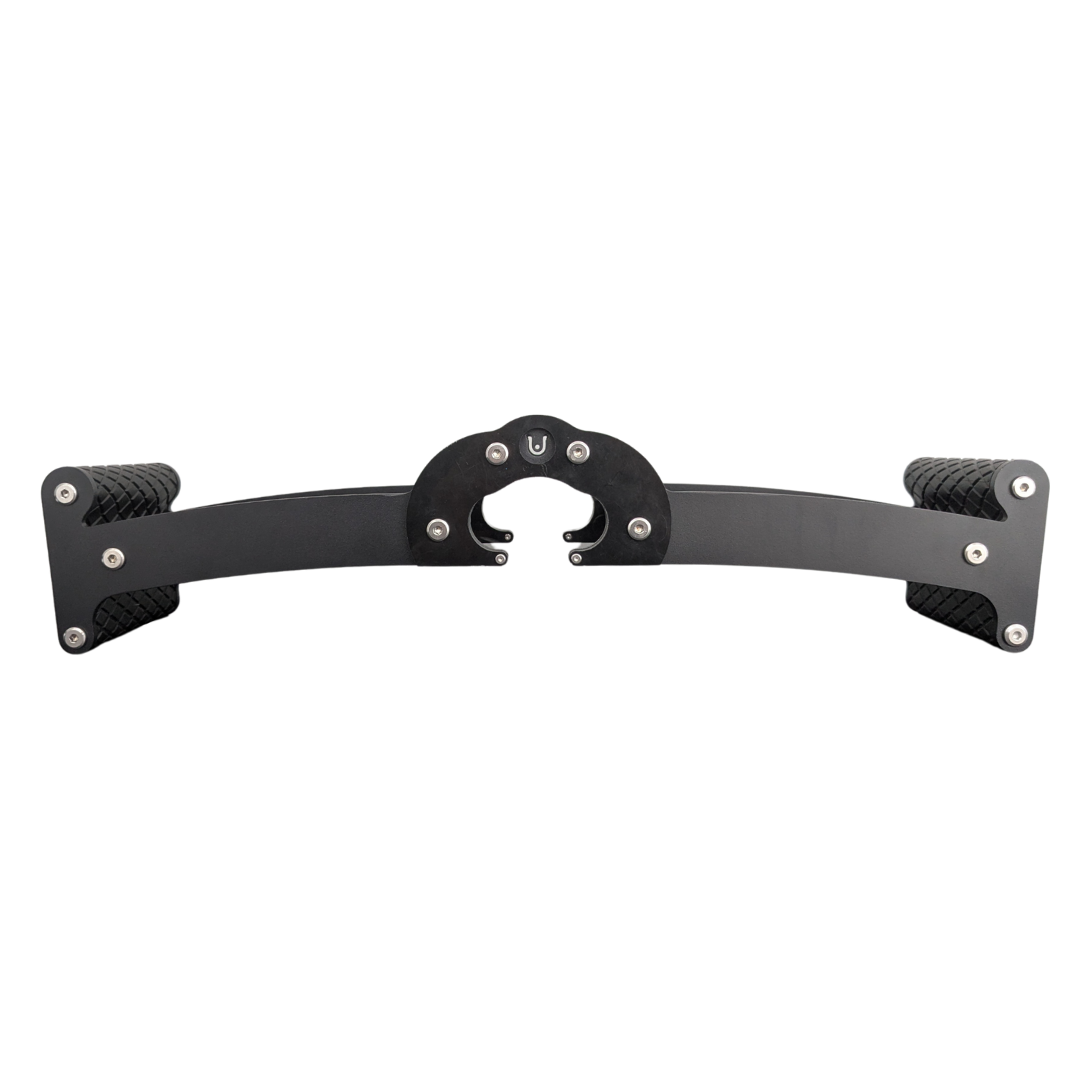
Multi-grip cable and landmine bar with a built-in deadlift jack.
Horizon Grip
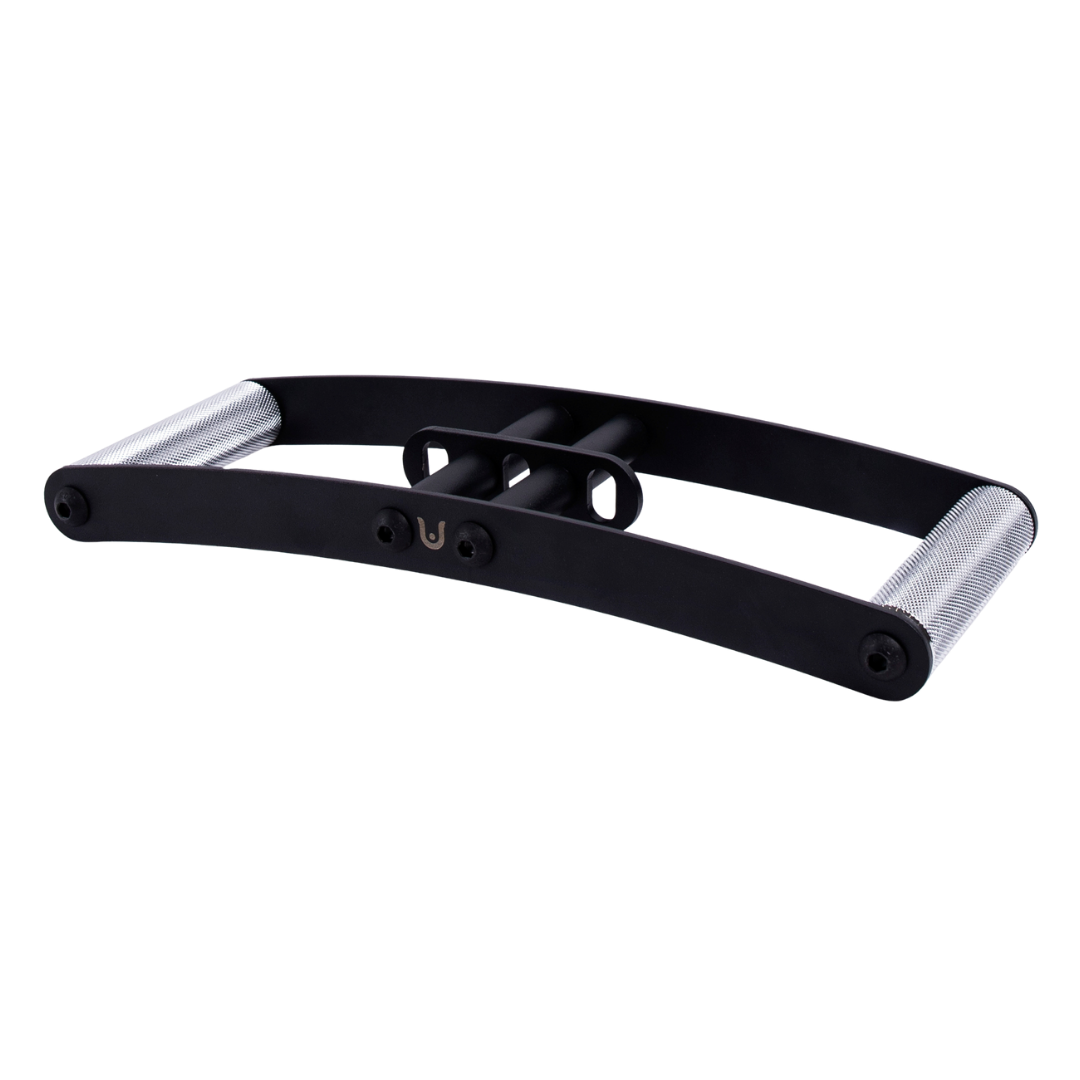
Ergonomic V-style cable grip for rows and back training.

Leather Lifting Straps
Padded leather straps support grip during heavy rows, deadlifts and pulling exercises.

VForce Lat Tower
Wall-mounted cable tower with pivot arms and adjustable 1:1 or 2:1 pulley ratios.
Four technique cues that make every repetition count
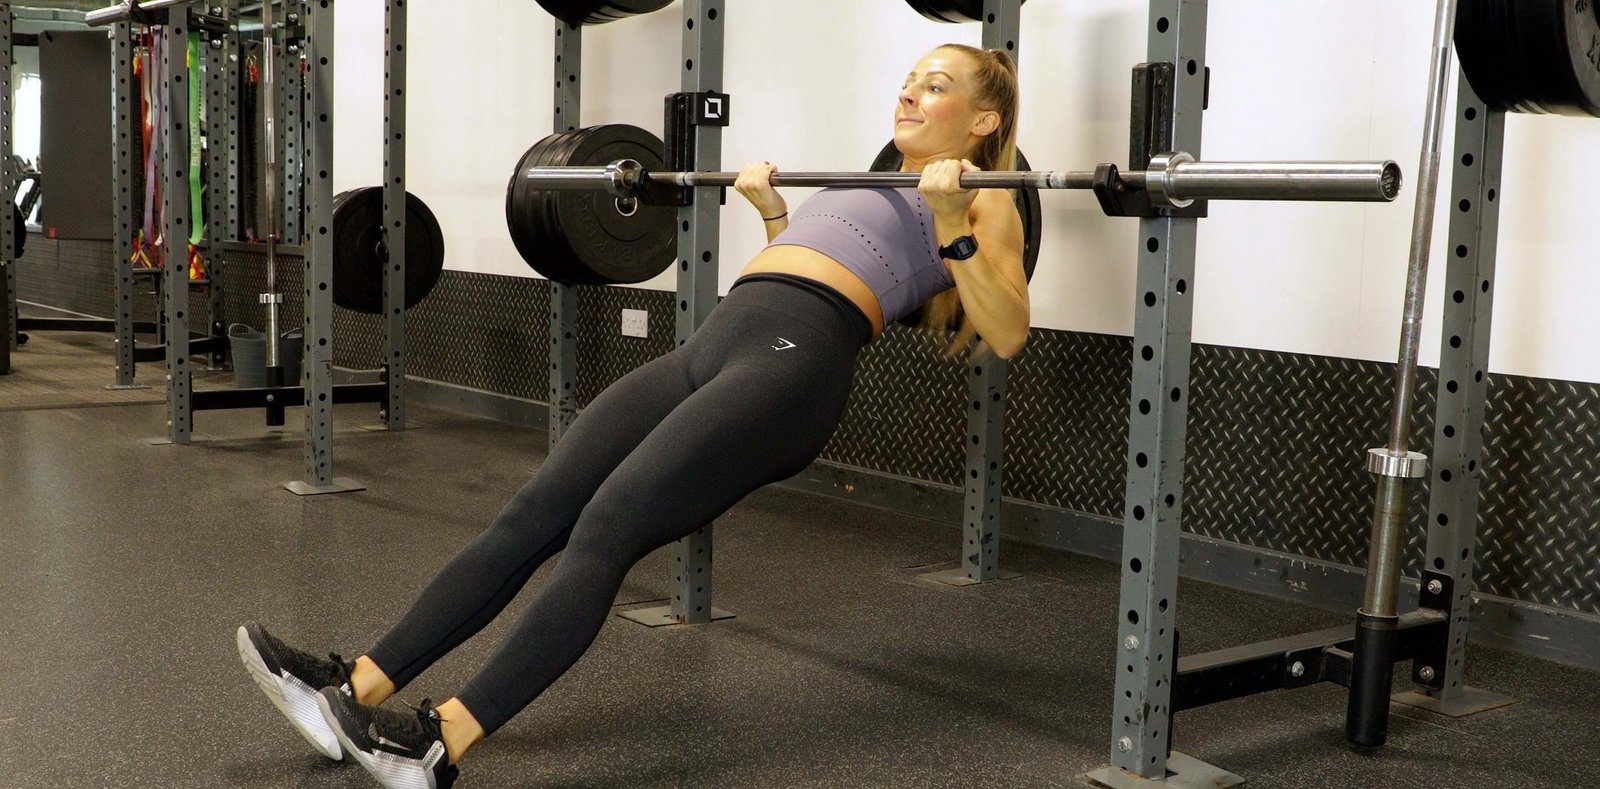
First, make the entire torso one unit. Brace as if preparing for a firm tap to your stomach, and gently squeeze the glutes. If the hips sag, the lower back starts doing unnecessary work and the exercise gets easier for the wrong reason. If you arch aggressively to reach the bar, you are turning a row into a moving bridge. Film a side view and look for one line from shoulders to knees or ankles, depending on the variation.
Second, lead with the upper arms. Think about moving your elbows toward the space behind your ribs. The hands are hooks that connect you to the bar; they are not the main target. A broad upper-back sensation is normal. If your biceps fatigue much earlier than your back, experiment with a less supinated grip, reduce the angle, or slow the first half of the pull without overthinking individual muscle activation.
Third, let the shoulder blades move naturally. At the bottom, allow a controlled forward reach. As you row, the blades retract as the elbows come back. Avoid locking them together for the entire repetition, but also avoid throwing your shoulders forward at the top. The movement should be smooth enough that you could stop briefly anywhere on the way up.
Fourth, own the finish and the descent. The final few centimeters are useful only if you do not have to kick or throw the pelvis upward to get them. Stop at the highest point you can reach with a quiet torso. A one-count pause plus a controlled lowering phase gives you a repeatable standard. A set of eight clean reps beats a set of twelve that gradually becomes a hip-thrusting contest.
Make inverted rows easier or harder without guessing
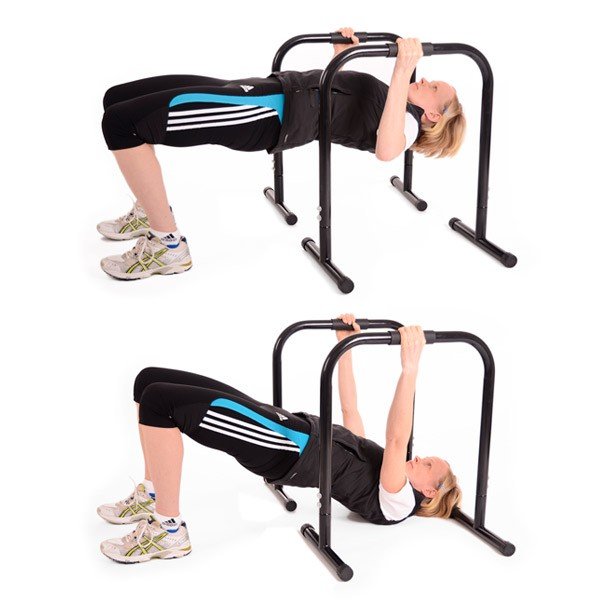
The simplest progression variable is body angle. With your feet closer to the bar and the torso more upright, a smaller fraction of bodyweight has to be pulled. Walk the feet forward and lower the torso toward horizontal, and the challenge rises. Bent knees shorten the lever as well; they are a legitimate starting variation, not a failure. Beginners can also use a higher fixed bar, then lower it one rack setting when every repetition meets the same standard.
For a harder version, straighten the legs, move the feet farther out, or elevate the feet on a secure stable surface. Another option is to add a brief pause at the top or increase the controlled lowering time. Do not change all three difficulty levers simultaneously. For example, earn three sets of twelve at one angle, then lower the bar slightly and aim for three sets of eight again. That produces progression you can actually reproduce next week.
Suspension rows add another useful option: rotate the handles or let the wrists stay neutral while the arms travel independently. Research comparing suspension variations with conventional pulling has found meaningful muscle activity and substantial loading in some positions. But an electrical muscle-activity snapshot is not the same as a long-term study of muscle growth; it cannot prove that straps outperform a fixed bar. Choose the version that gives a pain-free, consistent path and allows the intended muscles to work hard.
When reps stop improving, check the log before assuming you need weight. Did the bar move lower? Were your heels farther forward? Did the pause become shorter? Standardizing those details is how a bodyweight movement becomes a measurable training tool.

Calisthenics Shirts & Street Workout Gear
Calisthenics and bodyweight-training gear for pull-ups, dips, handstands and street-workout athletes.


Pull Up Or Shut Up Sticker
Put “Pull Up or Shut Up” gym humor on your laptop, bottle, or gym gear.

Always Pull Yourself Up Funny Gym T
Heavy lifts, good laughs, and a little “Always Pull Yourself Up” energy.

Calisthenics Heartbeat Muscle Shirt Athletic Vest Human Tank Top
Bring “Calisthenics Heartbeat” humor to your next lifting session.

Calisthenics Evolution Crewneck
For laid-back days and lifting humor: “Calisthenics Evolution”.


Human Flag Calisthenics Hooded Workout Gymbro Pullover Hoodie
Make your off-duty look more fun with “Human Flag”.

Funny Calisthenics Gym Muscle Shirt Athletic Vest for B Tank Top
Your gym-day look, with a playful “Calisthenics” twist.

Turn Off Gravity Funny Calisthenics Gym Crewneck Pullov T-Shirt
Show some gym-day personality with “Turn Off Gravity Funny Calisthenics”.

Grip, elbow path and the difference between rows and pull-ups
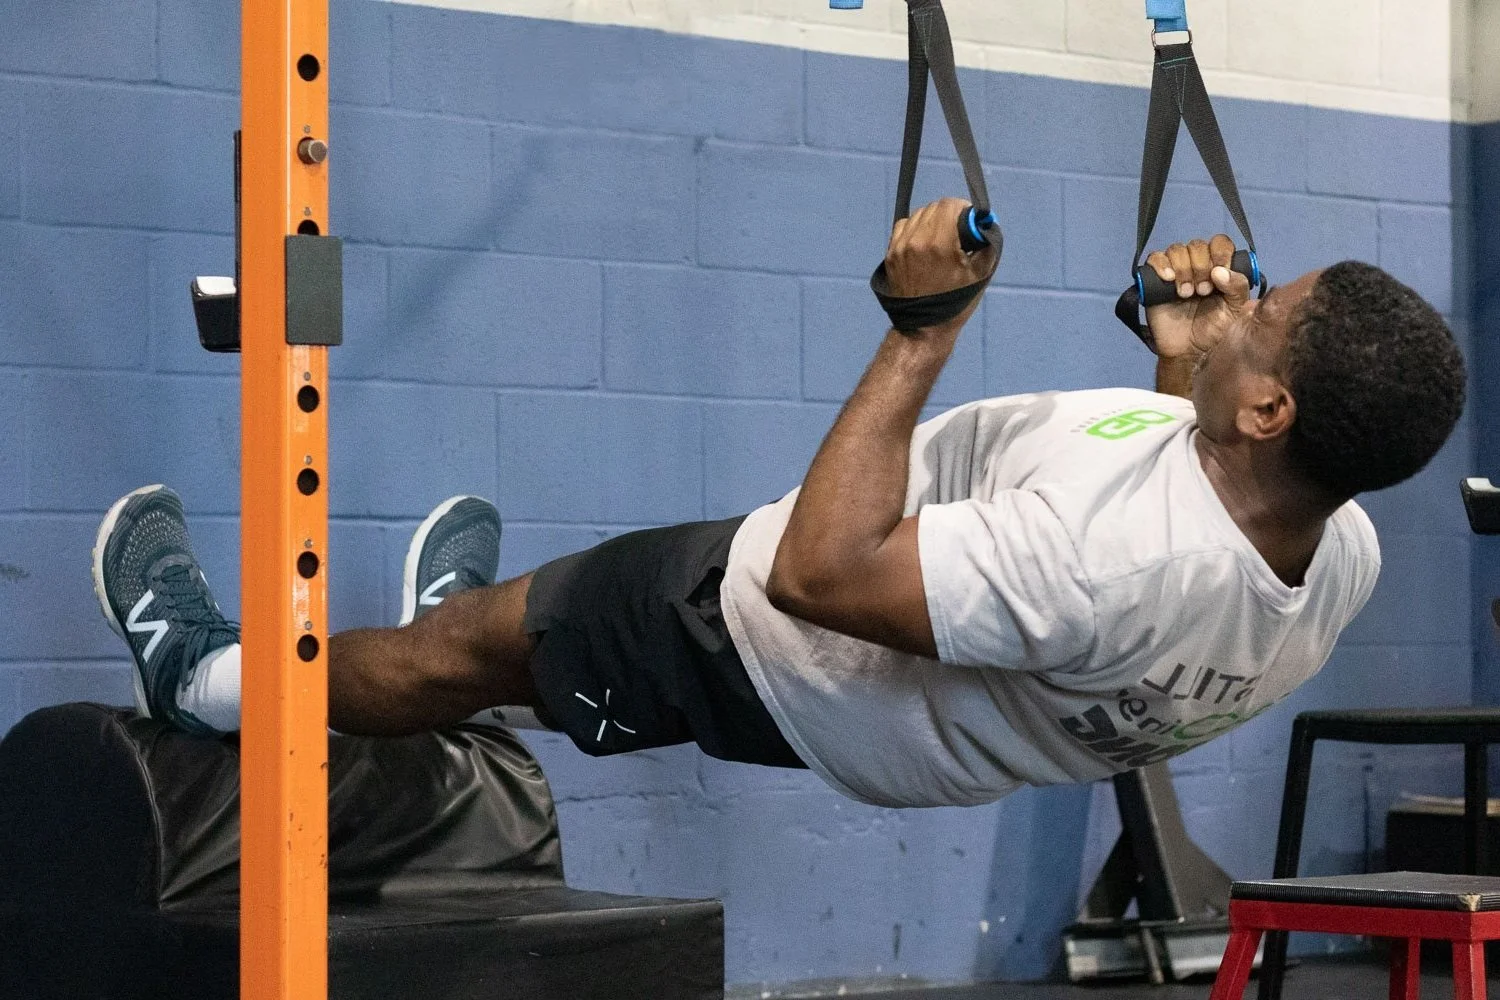
An overhand bar grip is a straightforward default. Keep the hands just outside shoulder width and let the elbows open naturally without forcing a theatrical wide flare. A neutral-grip suspension row can feel friendlier on the wrists because the hands can turn as you pull. An underhand grip may increase the sensation of work in the elbow flexors, but it is not automatically a better lat exercise. Try each style with the same torso angle and tempo before deciding which is strongest.
Horizontal rows and vertical pulls overlap in muscle involvement, but the movement patterns are not identical. A pull-up or lat pulldown brings the arms downward from overhead; a row draws the upper arms backward from in front of the body. Both can contribute to a well-rounded back program. If your pull-ups are stuck at three reps, use assisted pull-ups to practice the vertical pattern, then add inverted rows for additional high-quality pulling volume. If you already row heavy with a barbell, the inverted row can offer a lower-load accessory that requires no extra plates.
The best grip is the one you can train progressively without joint irritation. Wrist pain, sharp elbow pain, or an unstable shoulder are cues to change the setup and, if symptoms persist, seek individualized assessment. Do not force full range through pain to satisfy an imaginary chest-to-bar rule. Once a grip works, keep it long enough to compare performance over several sessions; endless hand-placement experiments make progress difficult to see.
Equipment Worth Exploring
Explore equipment, accessories and gear from our carefully selected range.

GymPin Barbell Row Handle
Heavy-duty handle attachment for barbell, landmine and T-bar rows.

T-Bar Row Attachment
Welded barbell attachment that connects a D-handle bar for landmine and T-bar rows.

Lat Pulldown Set
Multi-grip cable attachment set for pulldowns, rows, and varied upper-body training.

Angles 90 Grips
Flexible grip attachments that allow natural wrist movement during pulling exercises.

VForce Wall Trainer
Space-saving wall-mounted functional trainer with pivoting cable arms and variable resistance ratios.

GymPin D Handle Bar
Multi-use steel D-handle bar for cable rows, pulldowns and other cable exercises.

GymPin Ergo Handles
Pair of ergonomic cable handles shaped for comfortable triceps and pulling exercises.

48in Aluminum Lat Bar
48-inch aluminum lat pulldown bar with knurled grip and rotating center swivel.

An eight-week inverted-row plan for a stronger back
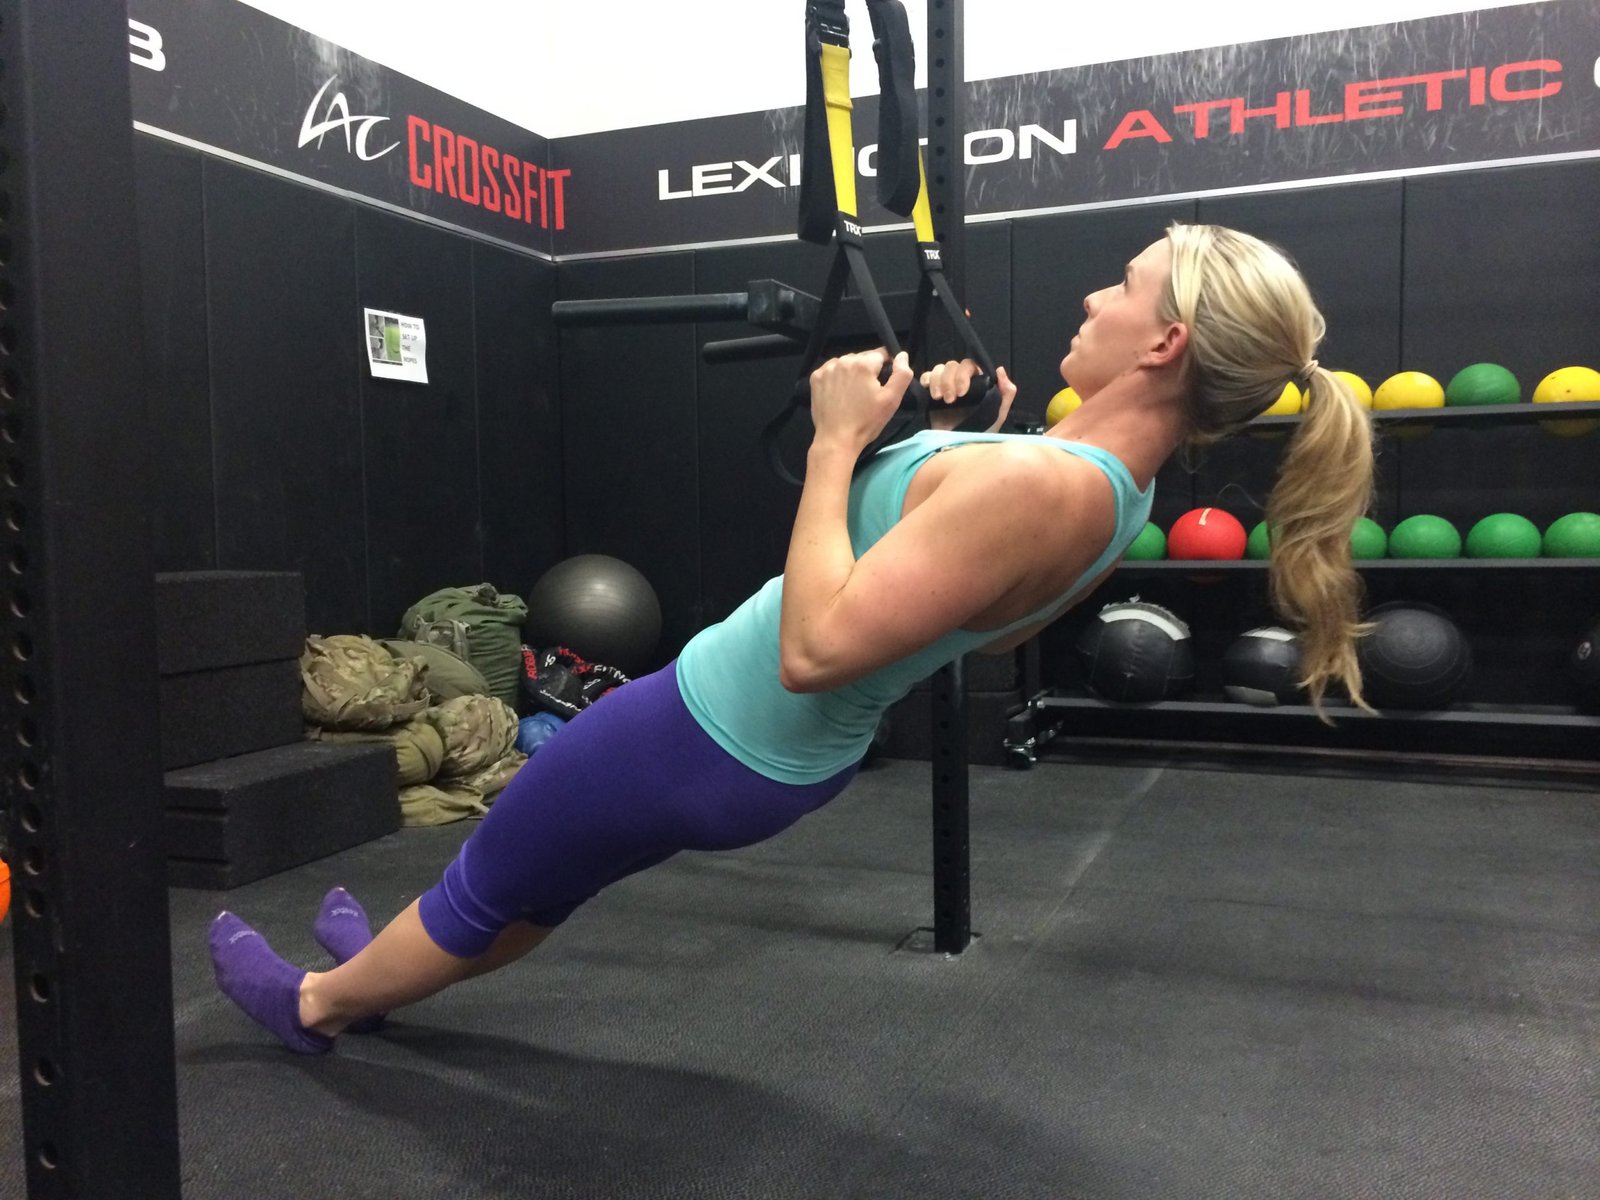
Train the inverted row twice a week, ideally with a day or more between harder pulling sessions. In the first two weeks, pick an angle that allows three sets of eight clean repetitions with approximately two reps in reserve. Use a controlled descent and stop each set when the hip position deteriorates. During weeks three and four, build toward three sets of ten to twelve at that same setting. Move the bar lower or the feet slightly forward only after you can hit the top of that range across all sets.
In weeks five and six, keep the tougher angle and work within three sets of six to ten. Add a one-second pause at the top on the last few controlled reps. Weeks seven and eight can progress to four sets, or to a modest feet-elevated variation if the original position no longer challenges you. Increasing both sets and difficulty together is unnecessary. If soreness starts disrupting your other lifts, keep the set count steady while you progress angle or execution.
Example pull-day A: pull-ups or lat pulldowns for three sets of five to ten; inverted rows for three sets of eight to twelve; a rear-delt movement for two sets of twelve to twenty; then optional curls. Pull-day B: a heavier chest-supported or cable row for three sets of six to ten; inverted rows for two or three sets of eight to twelve; then a controlled straight-arm pulldown. Rest roughly ninety seconds to two minutes between challenging row sets, longer when needed to preserve form.
Track bar height, heel position, body angle, repetitions, and how many clean reps you thought remained. These five notes are more meaningful than merely writing “bodyweight rows.” A modest improvement in range or rep quality may be genuine progress even when your scale weight changes. Keep your hardest pulls early enough in the workout to perform them well, and avoid adding endless low-quality sets just because the movement looks simple.
Bodybuilding Shirts & Workout Gear
Bodybuilding shirts, tanks and gym gear for lifters chasing muscle, size, symmetry and the pump.

Lat Man Big Back – Jumper With Huge Lats – Back Day T-Shirt
Add a playful “Lat Man Big Back” touch to your casual rotation.

Strong Back Bodybuilder Gym | Funny Workout Decal | The Sticker
Stick a little “Strong Back Bodybuilder” humor on your favorite gear.

Big Back SpongeBob Bodybuilders Back Day Vest Tank Top
Show some personality between sets with “Big Back”.

Back Sabbath Back Day Heavy Metal Back Training Workout T-Shirt
Bring “Back Sabbath Back Day” humor to your next gym day.

We Are So Back Shirt | Bodybuilding Back Workout | Grap T-Shirt
Heavy lifts, good laughs, and a little “We Are So Back” energy.

Back In Gym Back In Black Album Cover Parody AC/DC Heav Hoodie
Stay casual and show some metalhead attitude with “Back In”.


Black Panther Big Back Hero – & Meme Fans T-Shirt
Make gym days more fun with “Black Panther Big Back Gym Hero” style.

Train Back You Must Gym | Funny Yoda Bodybuilding Meme Sticker
A fun “Train Back You Must” touch for bottles, laptops, and lockers.
Troubleshooting: hips sagging, missed reps and stalled progress
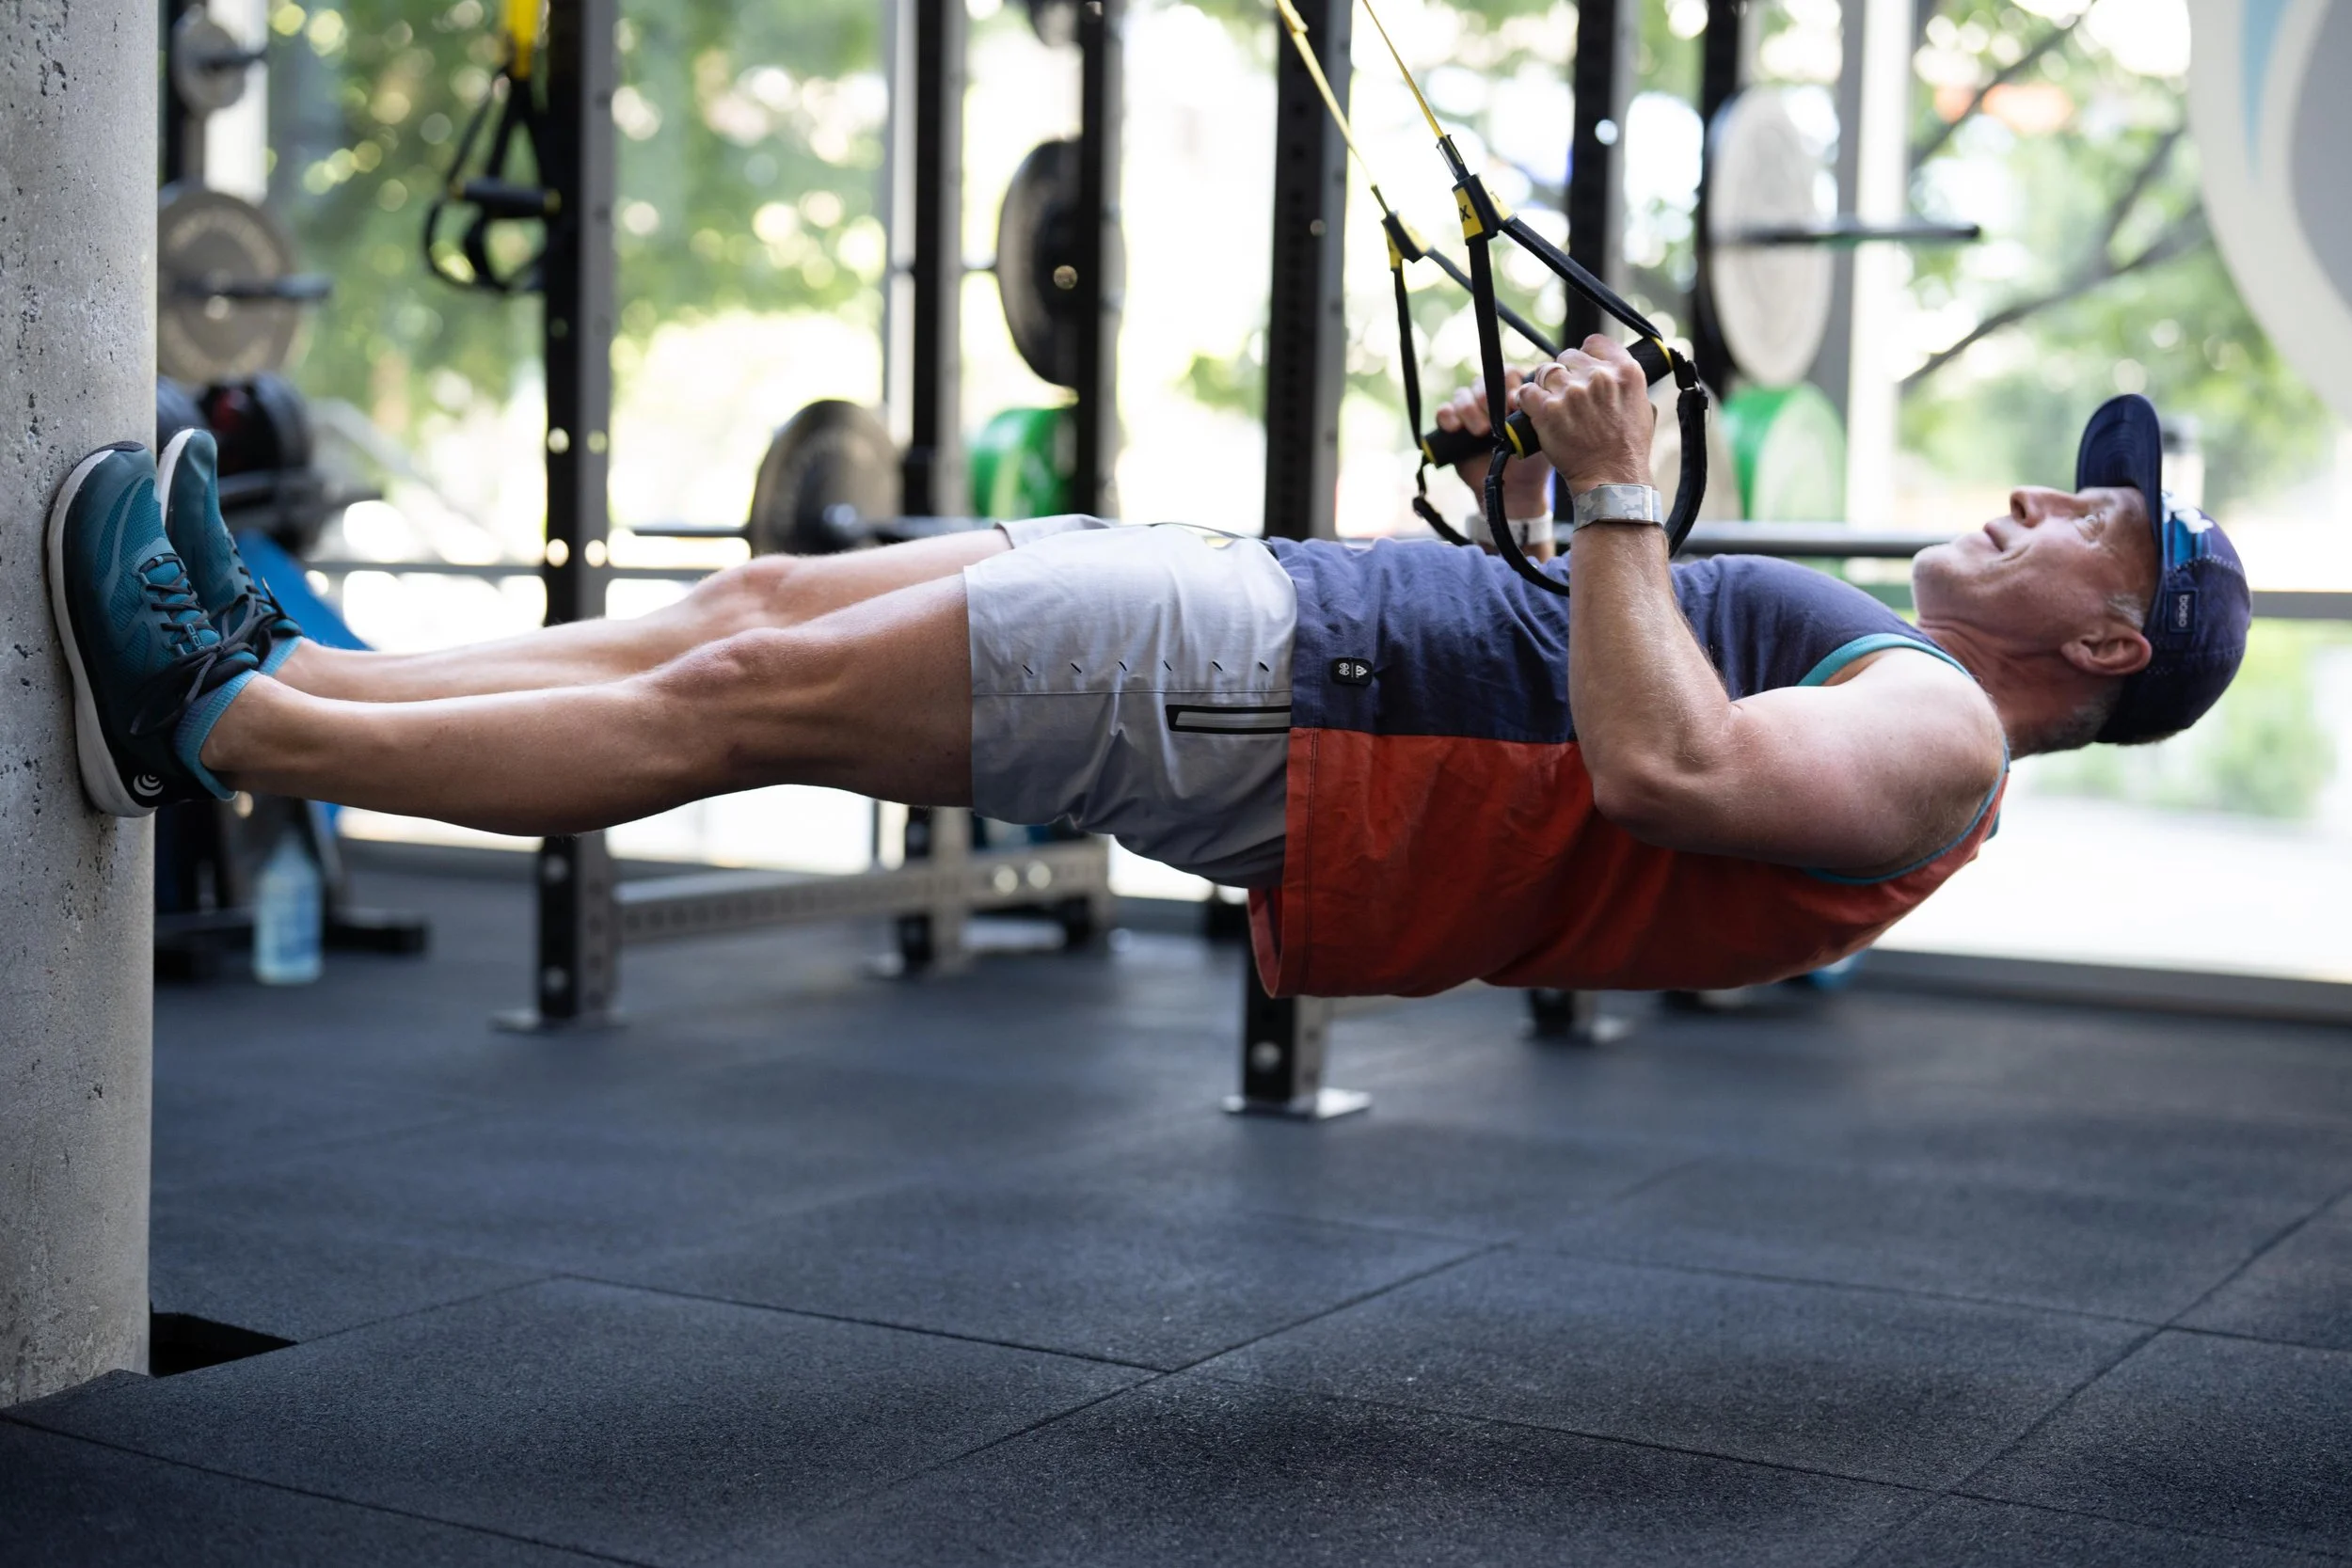
Your hips sag before the back tires: raise the bar, bend the knees, or shorten the set. Practice holding a straight-body starting position for ten seconds before the first repetition. Bracing is a skill, and weak body position can hide the amount of pulling strength you already have.
You cannot reach the same height on later reps: the first repetitions may be too ambitious. Stop slightly below the absolute top if reaching it requires a neck crane or a dramatic arch. Compare your side-view video from rep one and rep eight. A stable pause point is a better progress marker than occasionally tapping the bar with momentum.
Your forearms give out first: check grip width, avoid unnecessary squeezing, and consider a neutral handle if available. Build grip separately if it is an ongoing limitation. Straps may help during other heavy rows, but do not use them to disguise an unsafe or slipping inverted-row setup.
Progress has stalled for two weeks: standardize the setup before changing programs. If every variable really is the same, hold the difficulty and add one total clean rep across the workout, or take a lighter session and resume. Training harder is not always the first answer; poor sleep and accumulated pulling fatigue can also flatten performance.
Which is better for building your back, rows or pull-ups? Neither wins universally. Different pulling directions, grips, and loading options make them complementary. Use rows to build controlled horizontal pulling volume and pull-ups to practice vertical pulling. The durable rule is simple: select a safe setup, repeat a consistent full-body position, progress one difficulty variable at a time, and make every repetition recognizable as the same exercise.